 Hi everyone! My name is Ashley Young and I am so excited to be a guest designer for ThermOWeb this month.

I’ve always loved their amazing foils to add a beautiful shine to projects, and I am honoured to show off some of my creations using their products here on the blog!
Happy Halloween Cards with Laura Kelly Products
Today, I have two Halloween cards to share, using products from Thermoweb’s Laura Kelly designer line. I made two cards in one by using the negative space from a piece of foil and toner card front. Here is a picture of the finished cards:
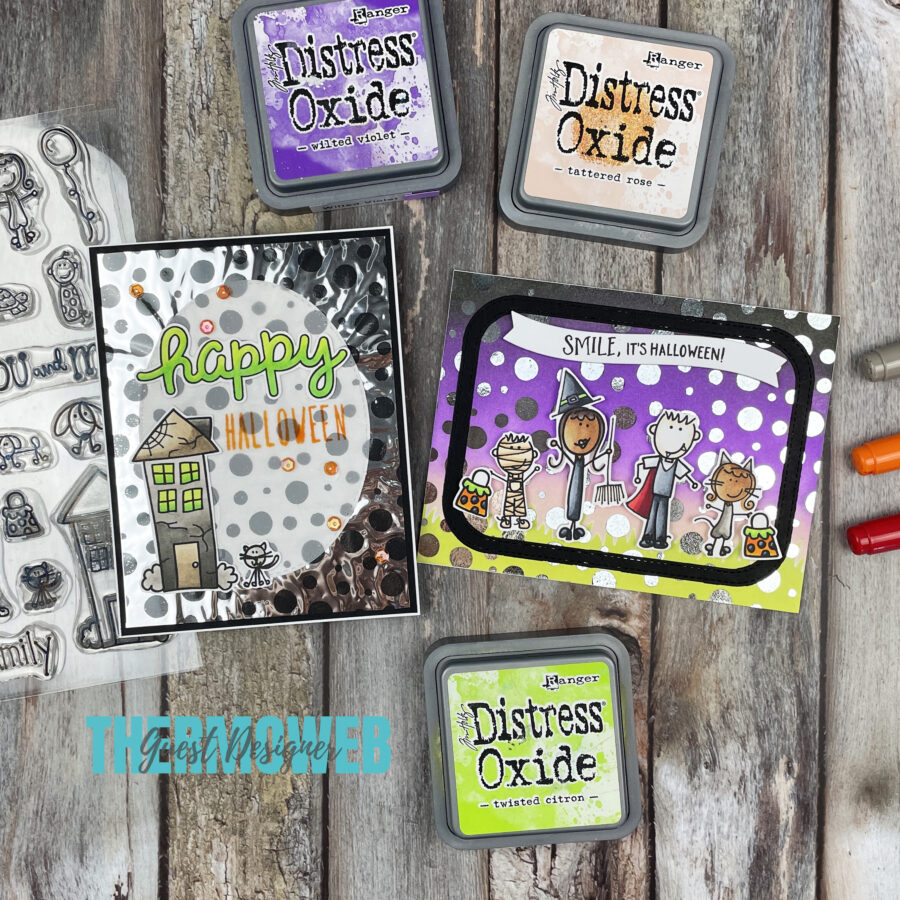
To start making these cards, I ran a Laura Kelly toner sheet in Spotty Dots through a laminator machine, along with a Laura Kelly foil transfer sheet in Magic Wand Silver. Once that was done, I was left with the toner sheet having a sparkly silver spot pattern, as well as the foil sheet “negative” – basically, the leftover piece that had the spots removed, but the silver left around the spots.
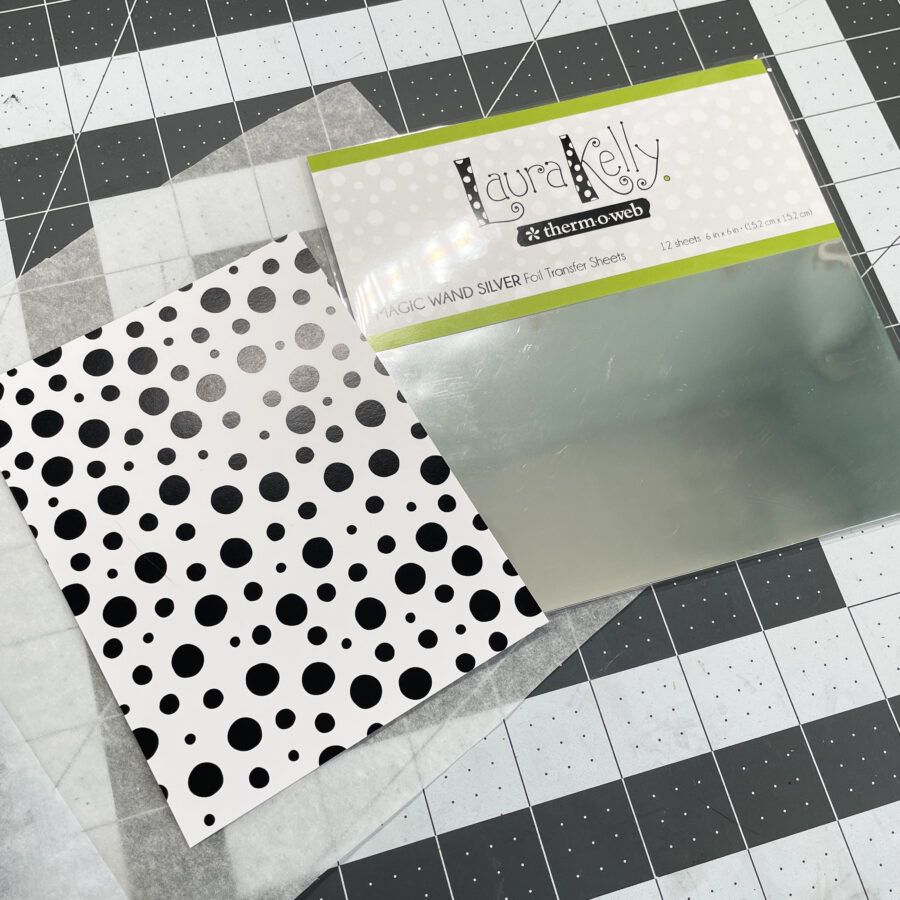
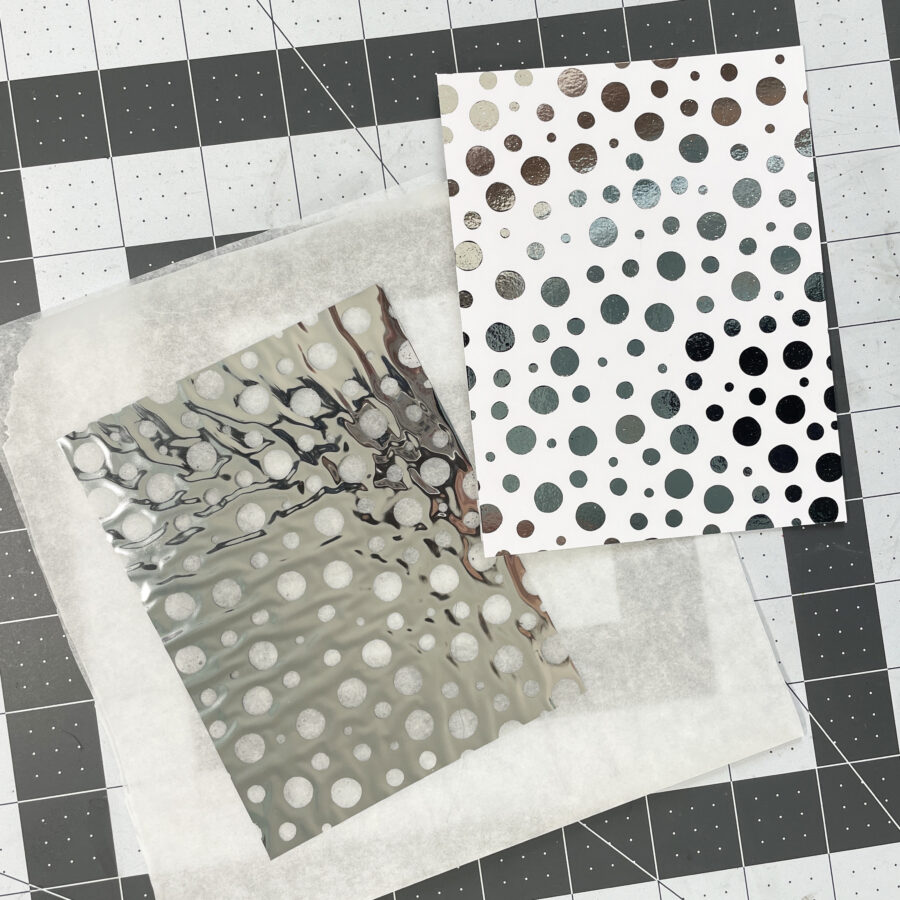
I treated each piece differently: for the toner sheet, I blended Distress Oxide inks in Twisted Citron, Tattered Rose, Wilted Violet and Black Soot to get a spooky sky scene. I used a grass stencil to make a ground look for the green ink. For the negative space foil piece, I glued it directly onto some black cardstock to help it stay sturdy.
I then prepped my images, which were all from the Laura Kelly clear stamp set, Me and My Peeps. This stamp set has cute images in a doodle style that is not necessarily made for Halloween, but I changed them up a bit to fit the Halloween vibe.
First, I stamped out all the images in black ink.
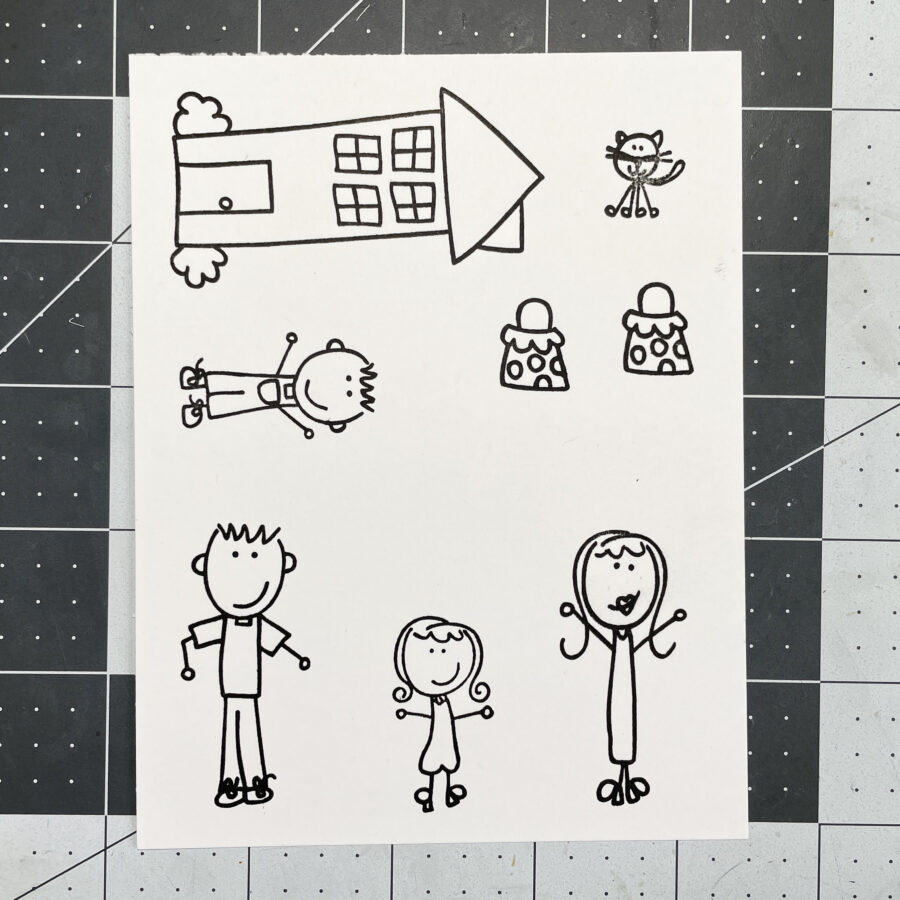
Then, I used a black marker to add costumes to each family member. I just drew these additions freehand with a pencil first, and then went over them with a black marker when I was happy. Since the images are styled to look like handmade drawings already, my handmade sketched additions fit in just fine! I put the daughter into a cat costume, the son into a mummy costume, the mother into a witch costume, and the father into a vampire costume.
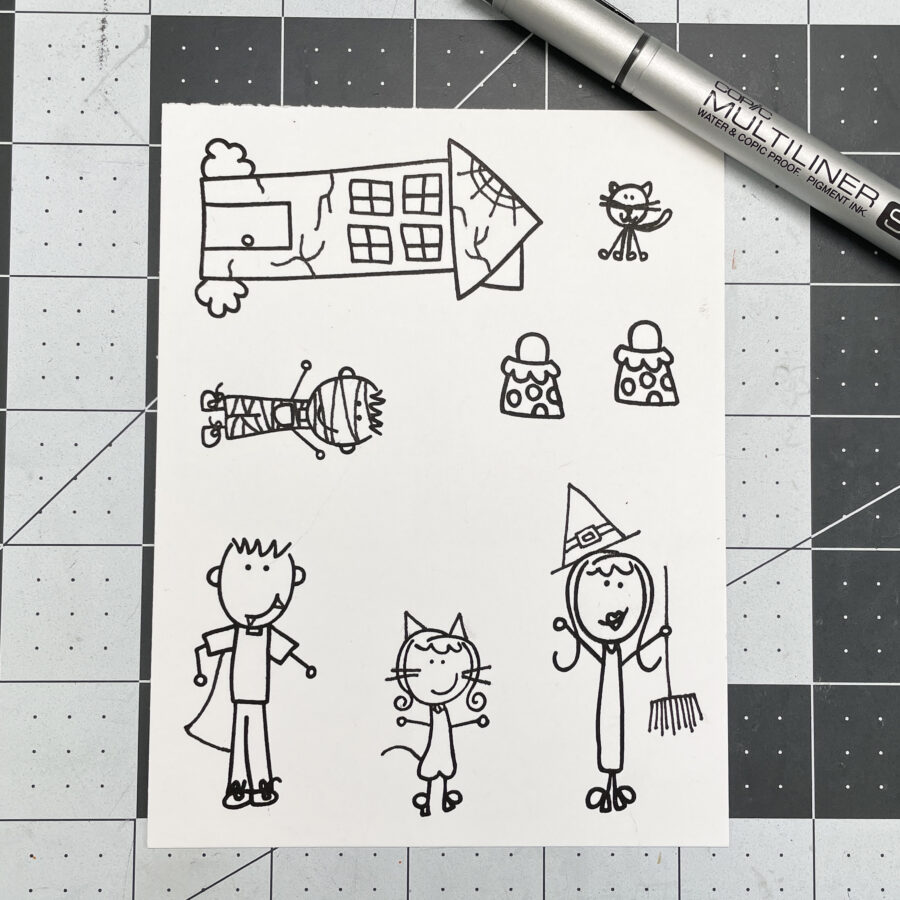
I also added some spooky details to the house, including some cracks and a cobweb.
I then coloured in all of these images using my markers. I coloured the little shopping bags in black, orange and green, to make them look like trick or treat bags!
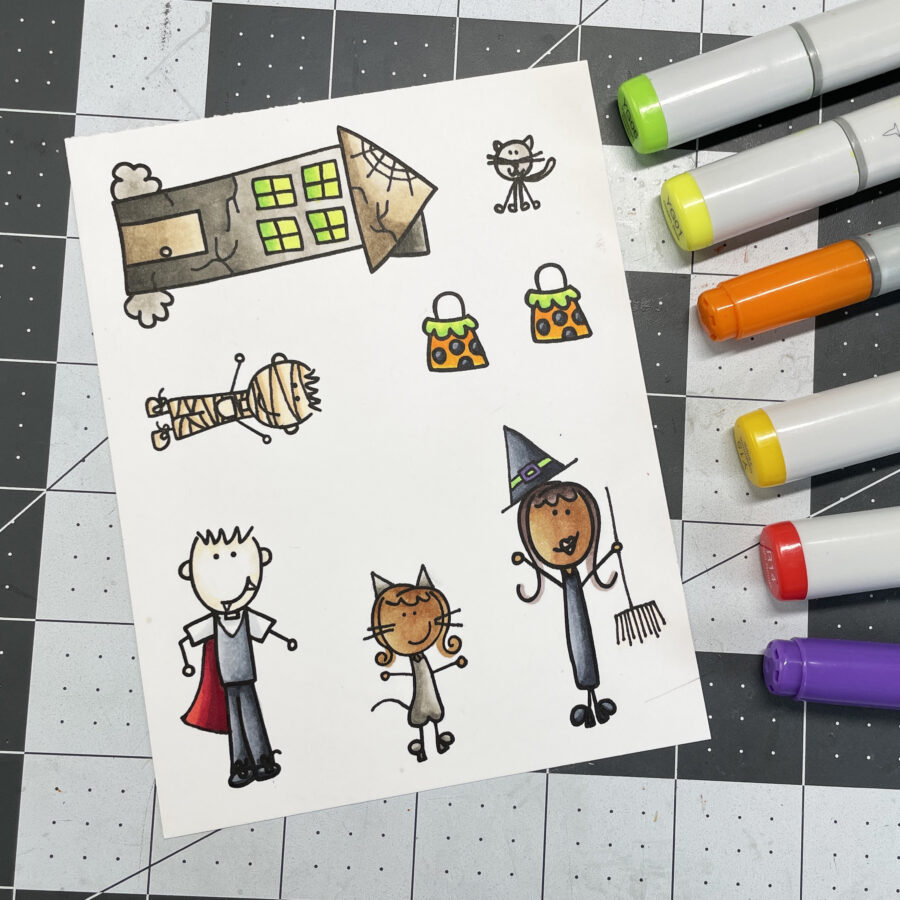
I fussy-cut the images out, and then I could assemble my cards!
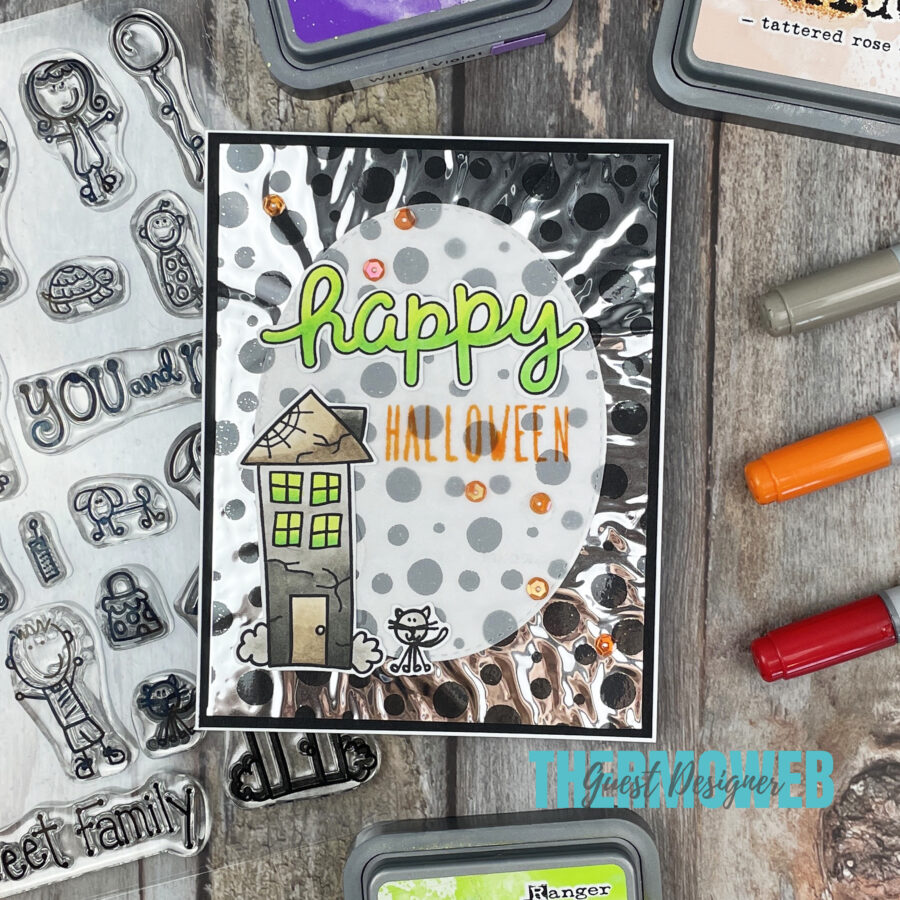
For the first card, I cut an oval out of vellum and stamped out the sentiment pieces to say “Happy Halloween”. I then placed the elements, including the spooky house and cat images, onto the silver foiled negative space, and glued the whole thing onto a white card base so just a bit of border was showing. I finished it off with a scattering of orange sequins!
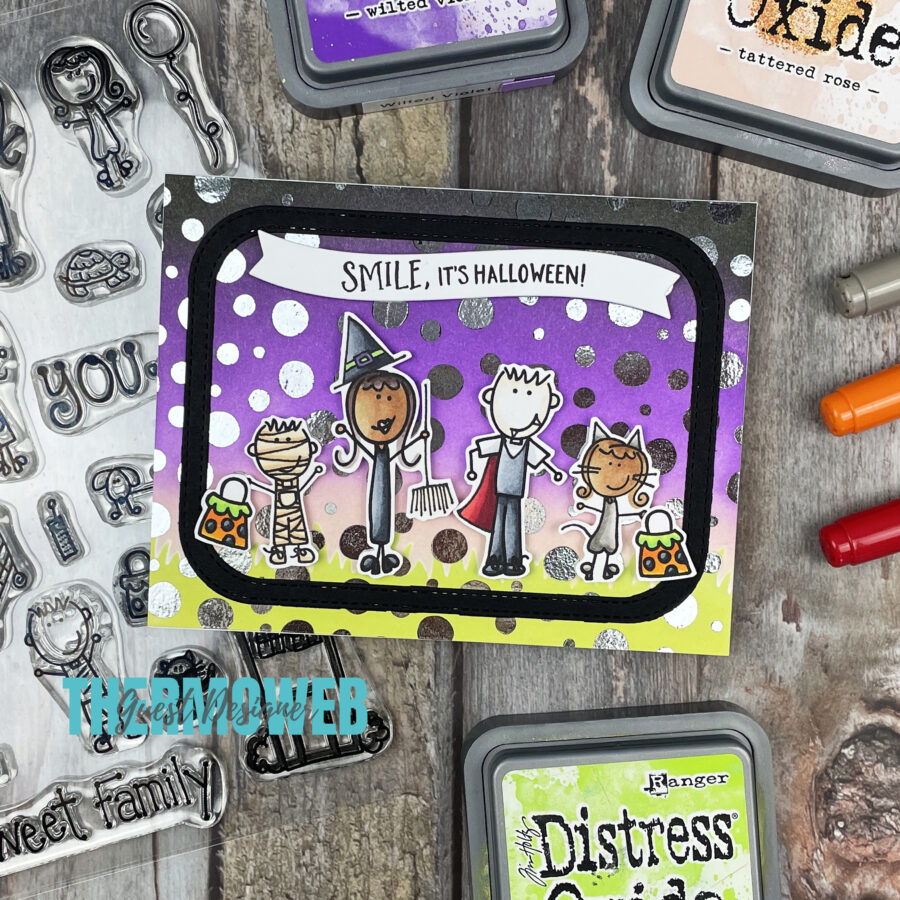
For the second card, I cut a rounded rectangle frame out of some black cardstock and arranged it along with the cute costumed family onto the foiled piece. I elevated the family members onto some foam squares, to give them some dimension. I added a spooky sentiment on a white banner just above the family, and then glued the whole thing down onto a standard-sized card base.
I had so much fun making these cards – it’s always so satisfying when you can get two cards out of one supply!
Thanks so much for following along today. I’ll be back soon with another card to share!
