 Hello and welcome!
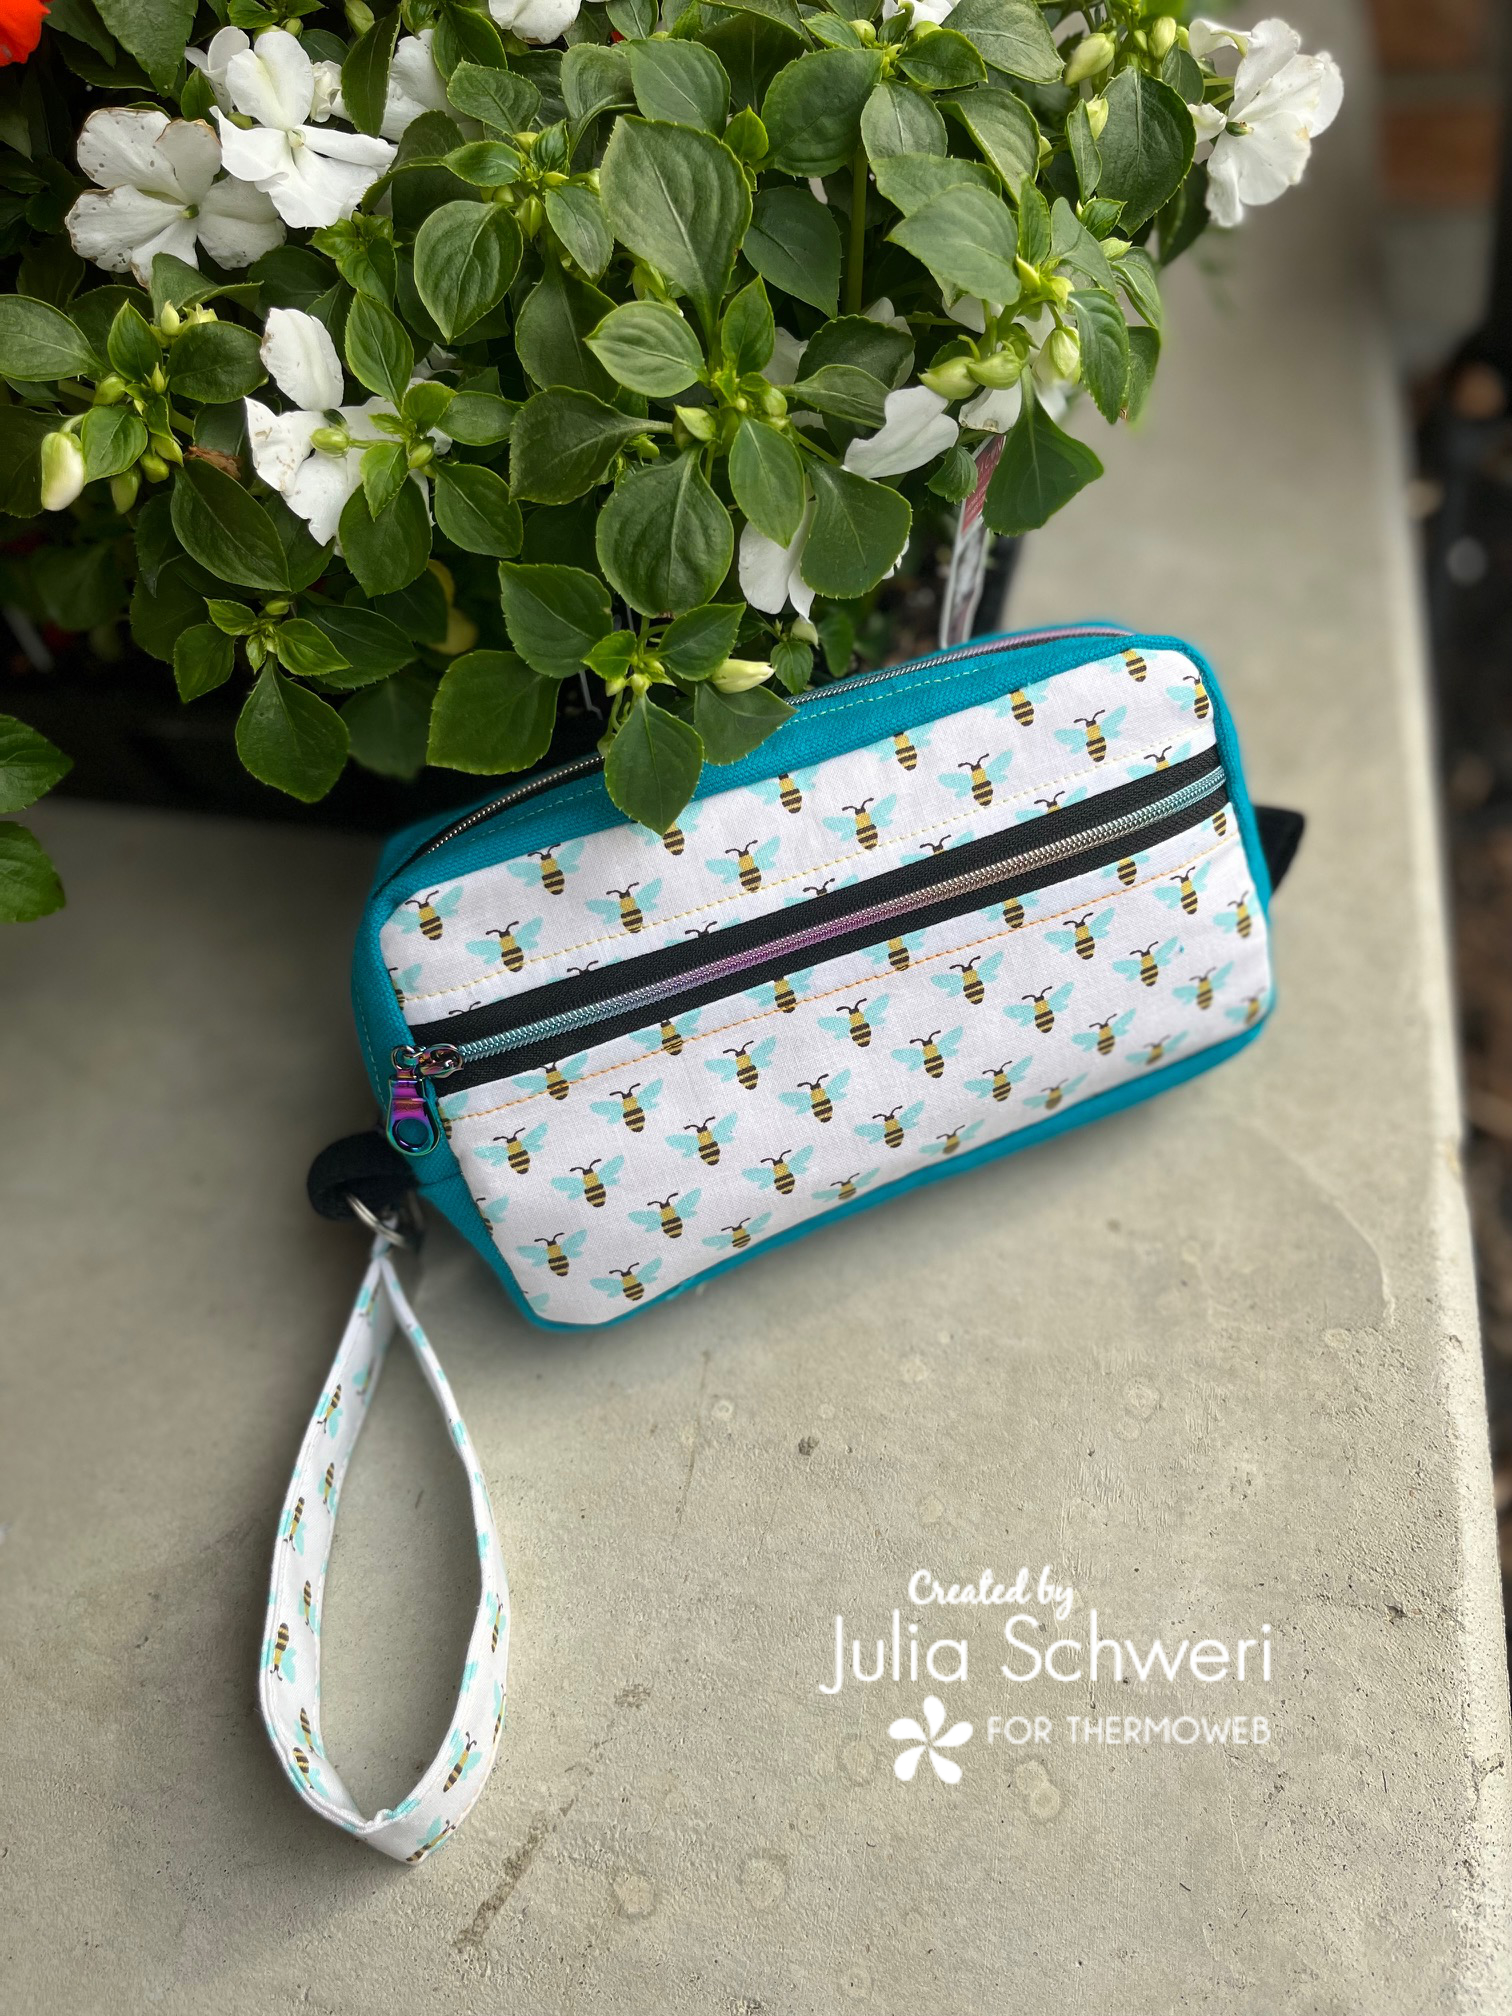
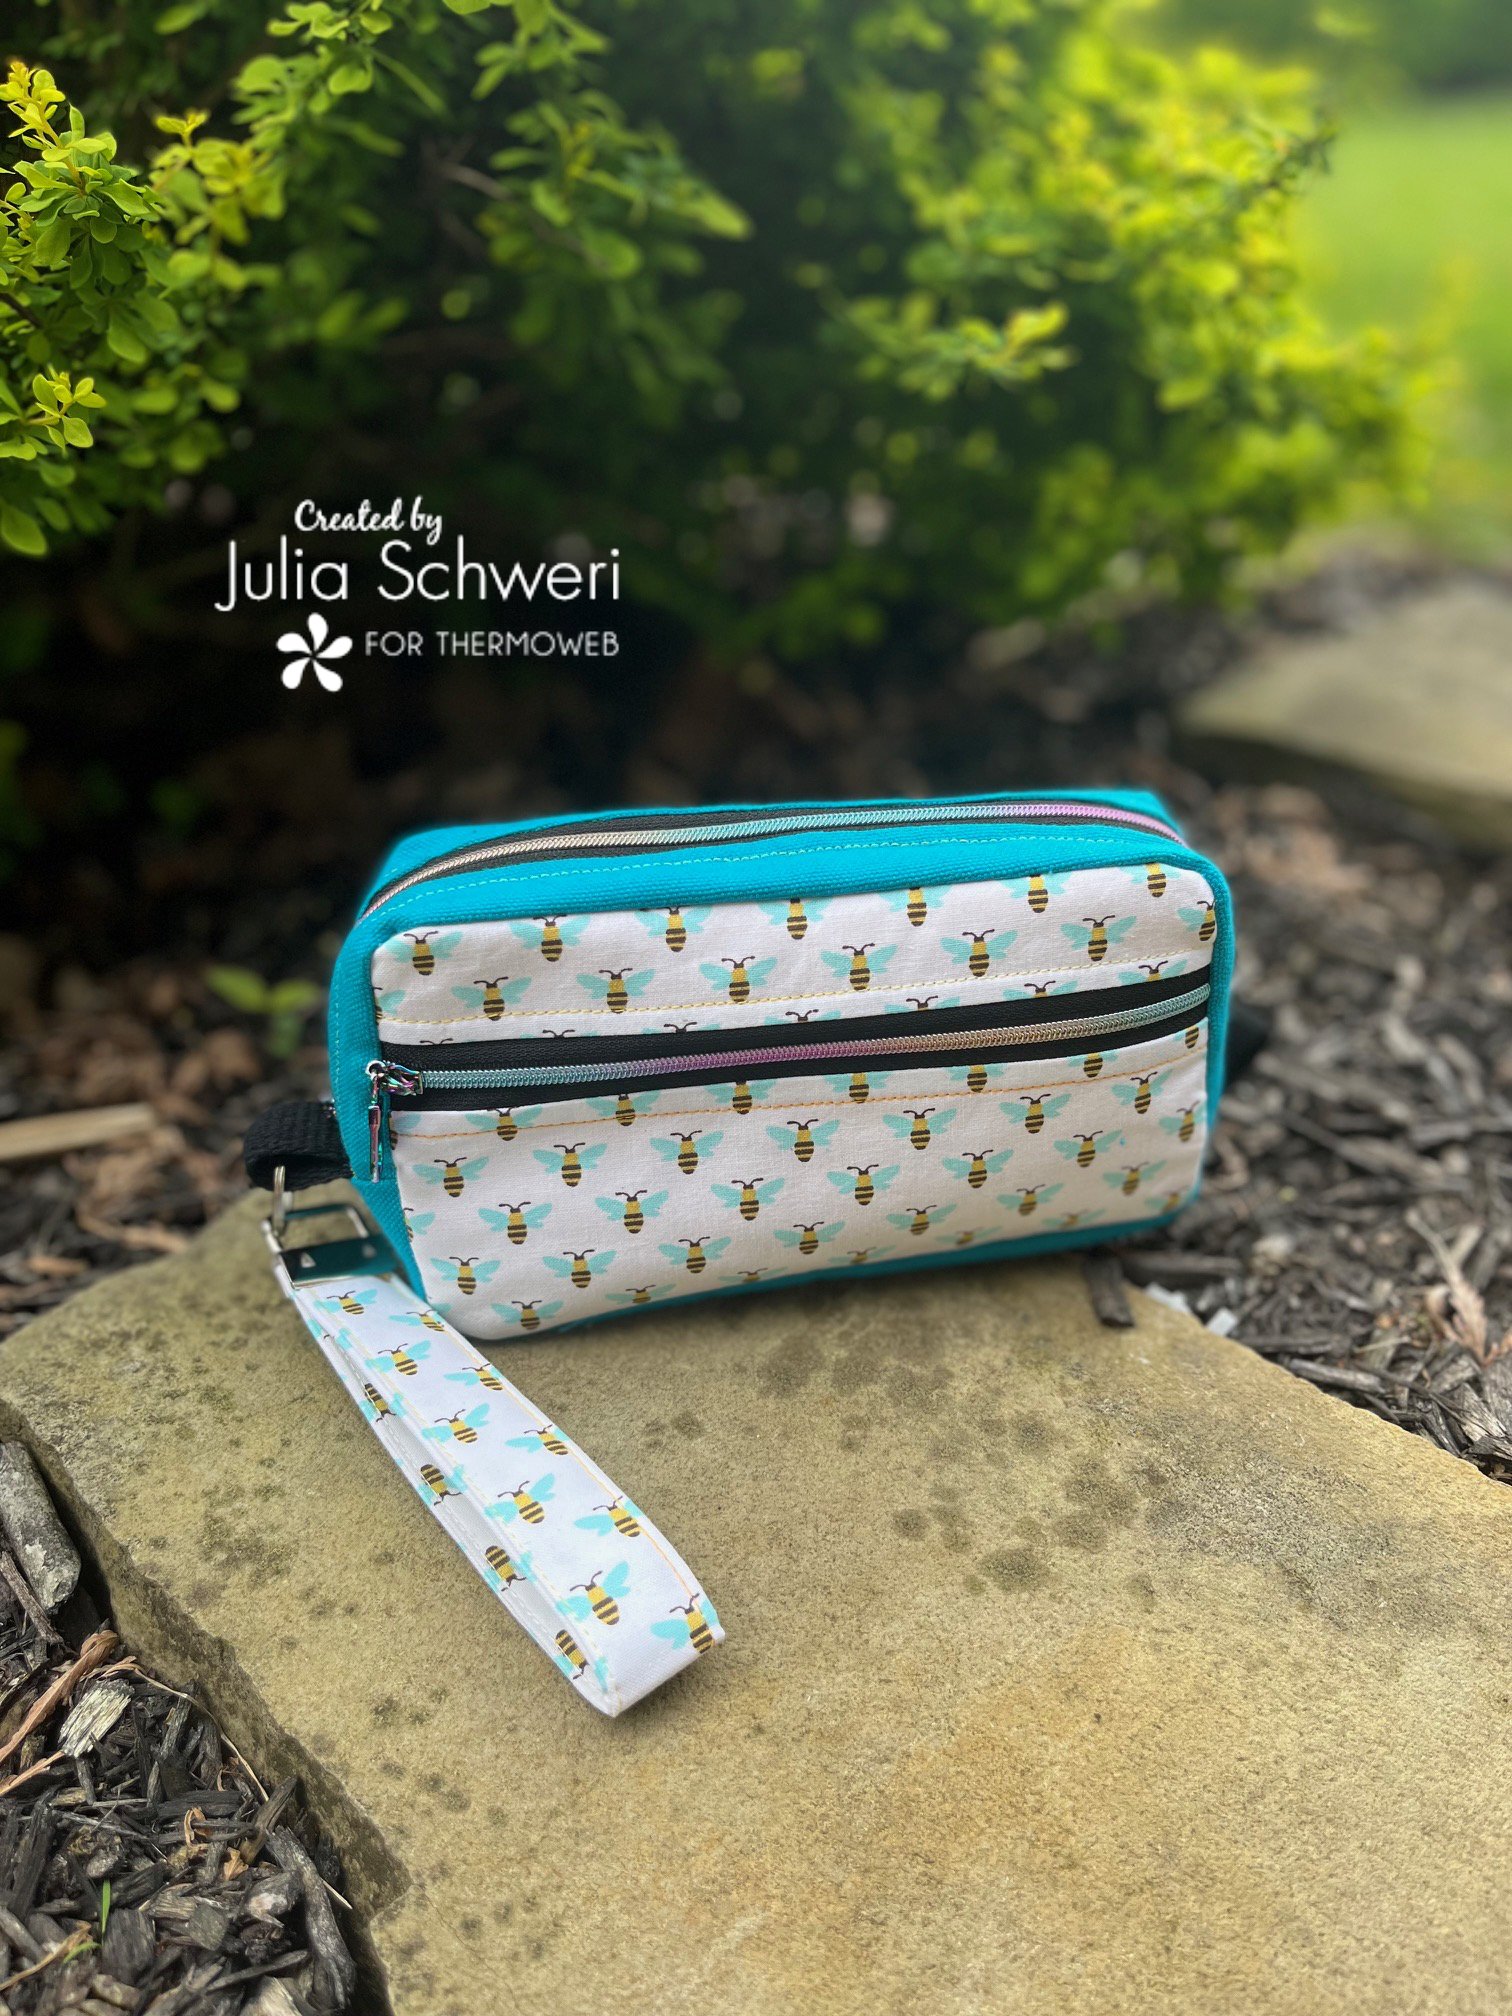
It’s Julia from Inflorescence Designs! I’m so joyful you are visiting today. This week is all about GOING PLACES! Today’s project features an amazing pattern by Sarah Kristen. It is her “Fennel Fanny Pack.”
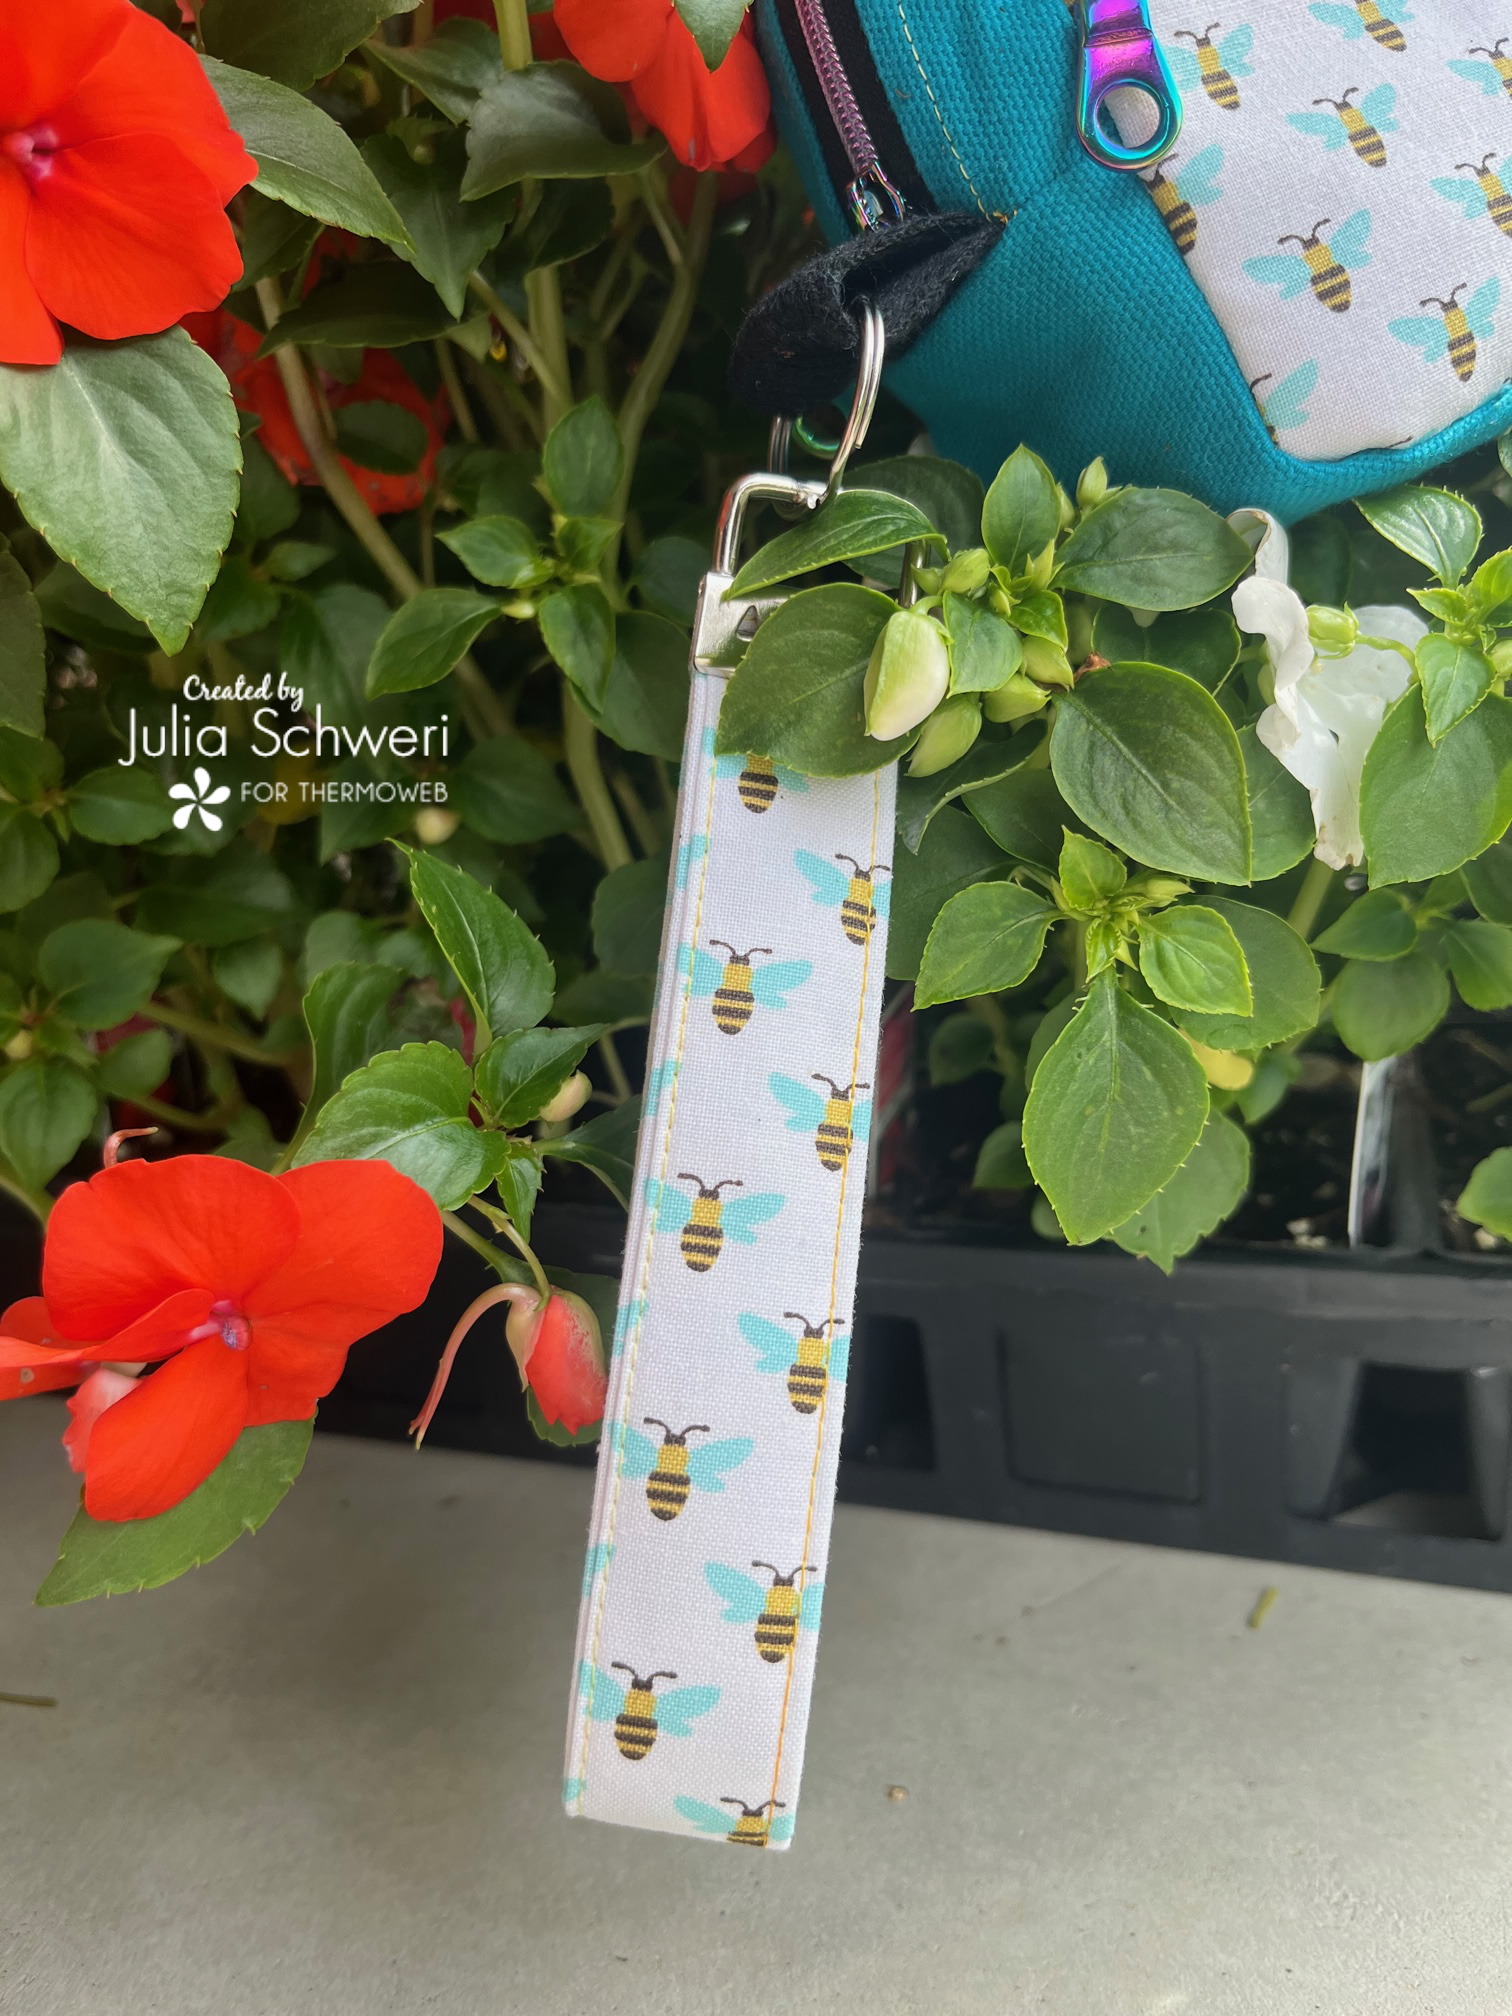
The pattern is simply amazing. It’s simple enough for an advanced beginner to follow. The design also allows for some creativity. For instance, I decided I didn’t want my bag to be a “fanny pack” so I skipped the step where you add the belt and instead, I made my little bag into a wristlet by simply adding thinner webbing in another spot. I actually added thinner webbing on both sides of the bag in case I decide I want to add a longer strap and make the bag into a purse!
Going Places Wristlet with Fusible Interfacing

You can find the pattern for this project HERE!
Below I will show you how I used Thermoweb’s medium weight fusible interfacing and fabric stiffener to make the “Fennel Fanny Pack” as well as how to make your own simple keyfob!
Supplies:
- Purchase the “Fennel Fanny Pack” by Sarah Kristen
- Use the pattern for fabric and other supplies needed
- Thermoweb Fusible Interfacing Medium Weight
- Thermoweb Fabric Stiffener
- SpraynBond Basting Spray (Optional for step 19)
- 1″ Cotten Webbing: 2 1/2″ needed for each side of the bag
- 1 1″ D-Ring and claw clasp
- 1 1″ Split key ring
- 1 1″ Key fob
- 11″ x 3 3/4″ Cotten fabric for key fob
- 11″ x 3″ Fusible interfacing medium weight
- Oliso Iron
- Basic sewing notions

SpraynBond Fabric Stiffener & Fusible Interfacing
Before I began my “Fennel Fanny Pack” I used SpraynBond Fabric Stiffener. When making the bag you handle it quite a bit and the Fabric Stiffener Spray helps keep the fraying at a minimum. After applying the fabric stiffener, I fused my interfacing to the appropriate pattern pieces. The fraying you see below was before I added the spray. I forgot to trim the pieces off!


To create the wristlet look, instead of creating a fanny pack, I added the 1″ webbing in step 10. I first basted the 2 1/2″ piece in half and then placed it over the zipper.
Helpful Tip: The webbing does make it a little bulky. Just go slow and steady when sewing this area.


Once you purchase the pattern, you will see that the inside is finished with a binding technique. However, you have to option of a drop-in liner. Sarah Kristen has a video tutorial showing you how to create a drop-in liner if the binding isn’t your cup of tea. You can find that video HERE.
However, she has also created a video for those who wish to do the binding finish as well. You can find that video HERE.
Fabric Key Fob Tutorial
To make the key fob, first, take your 11″ x 3 3/4″ strip of fabric and adhere your medium-weight fusible interfacing to it. Next, fold it in half lengthwise and press.

Continue by folding each long end into the center and then folding it in half again. Press. Your fabric piece should measure 1″ or just slightly smaller. You do not want any overage when you attach the key fob.

Stitch down each side of the strip. Finish by folding your piece in half and attaching the key fob according to the instructions. If you are using plyers to close the key fob, consider placing a piece of batting between the plyers and the key fob to reduce scratching.

Finished!

Thank you for visiting today! Come back soon to see what else will be starting to bloom with Inflorescence Designs!
Starting to bloom by choosing JOY ~ Julia
This post contains affiliate links. For more information, see our disclosure HERE.
