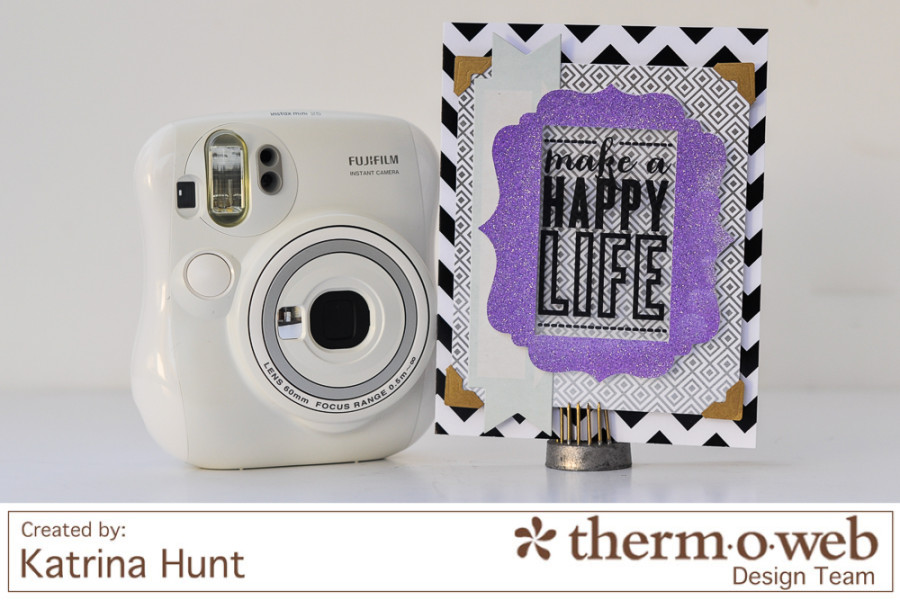
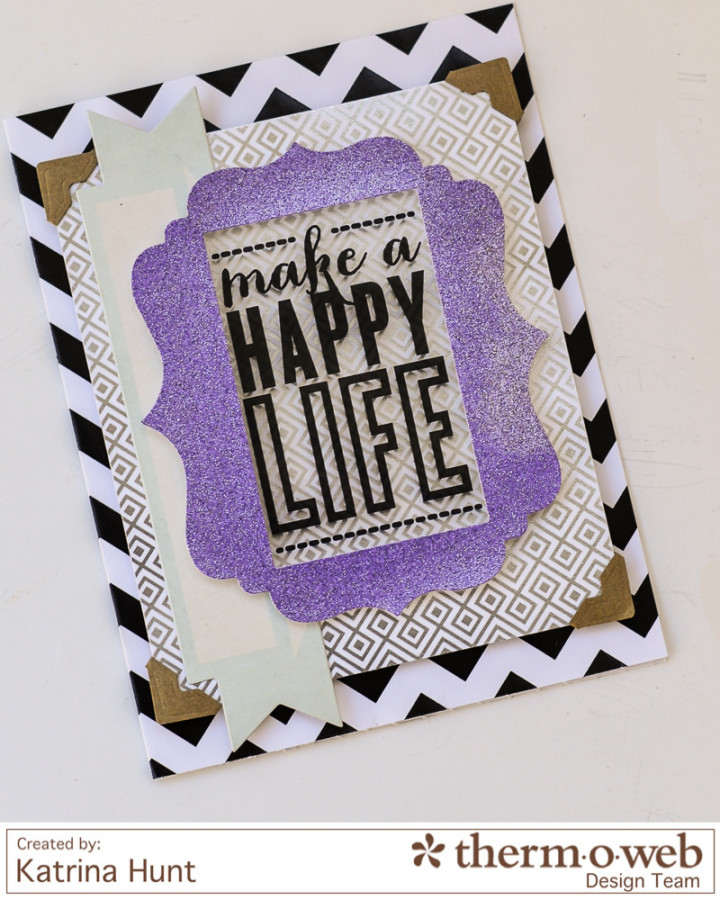
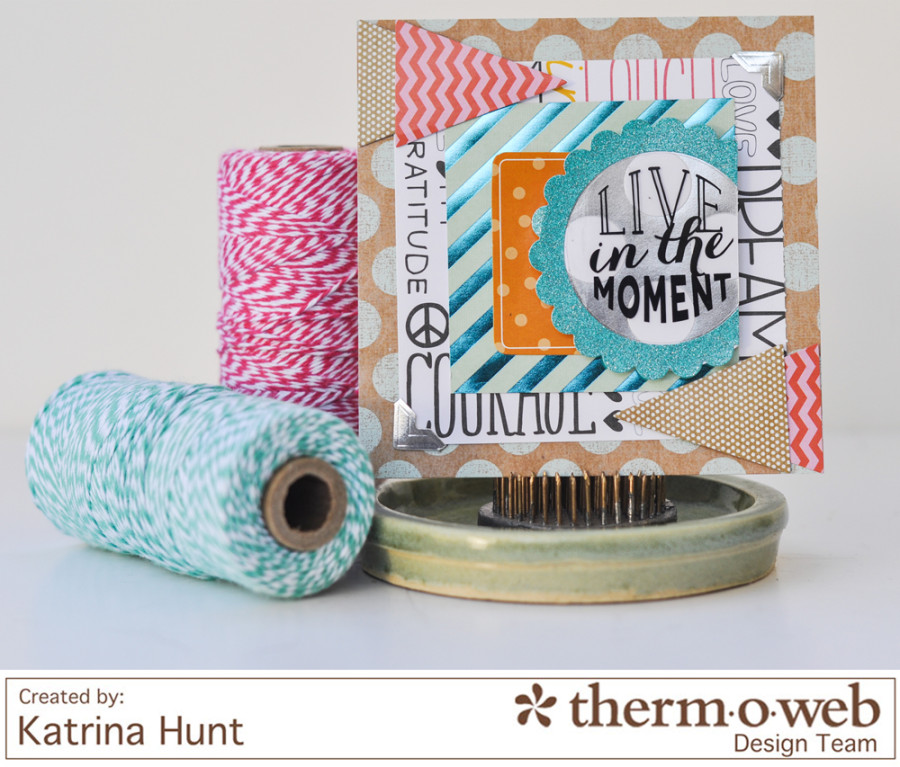
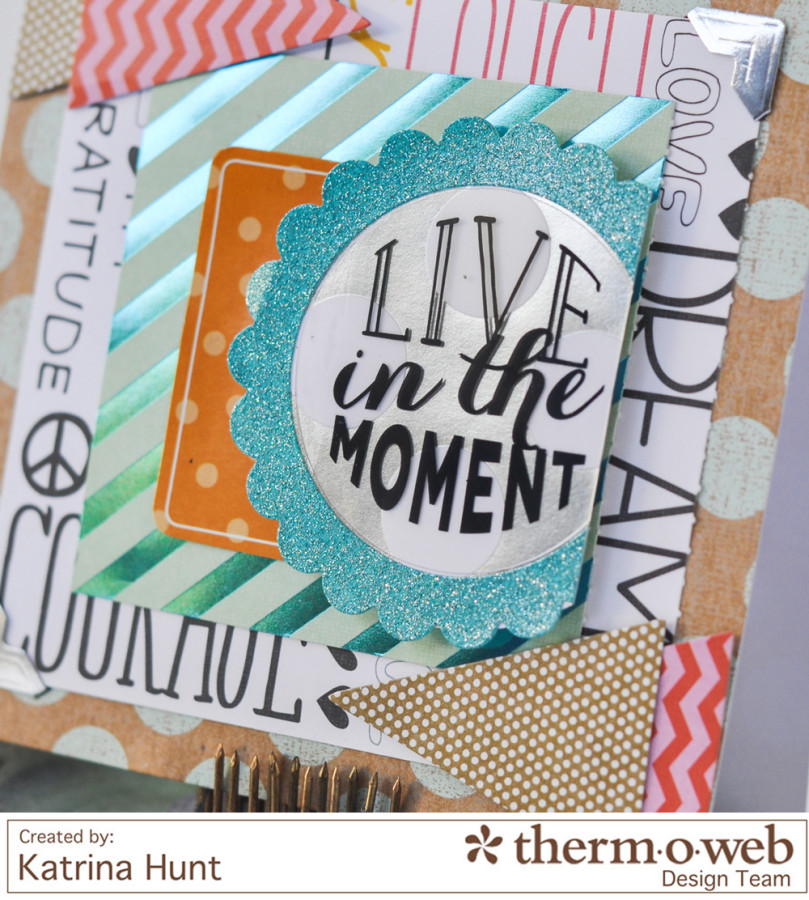
ThermOWeb’s Glitter Dust™ Deco Frames and Decorative Photo Corners will give a pop to any project. Mix them with some MAMBI products and it just turns into a whole lot of fun. Katrina here on the blog today to share a couple of cards that I made with these products. These card designs are great, not only because they are fun, but they would be very easy to mail! The Deco Frames and Decorative Photo Corners give some dimension to you projects, without a lot of bulk that you get with chipboard frames.
Therm O Web Supplies:
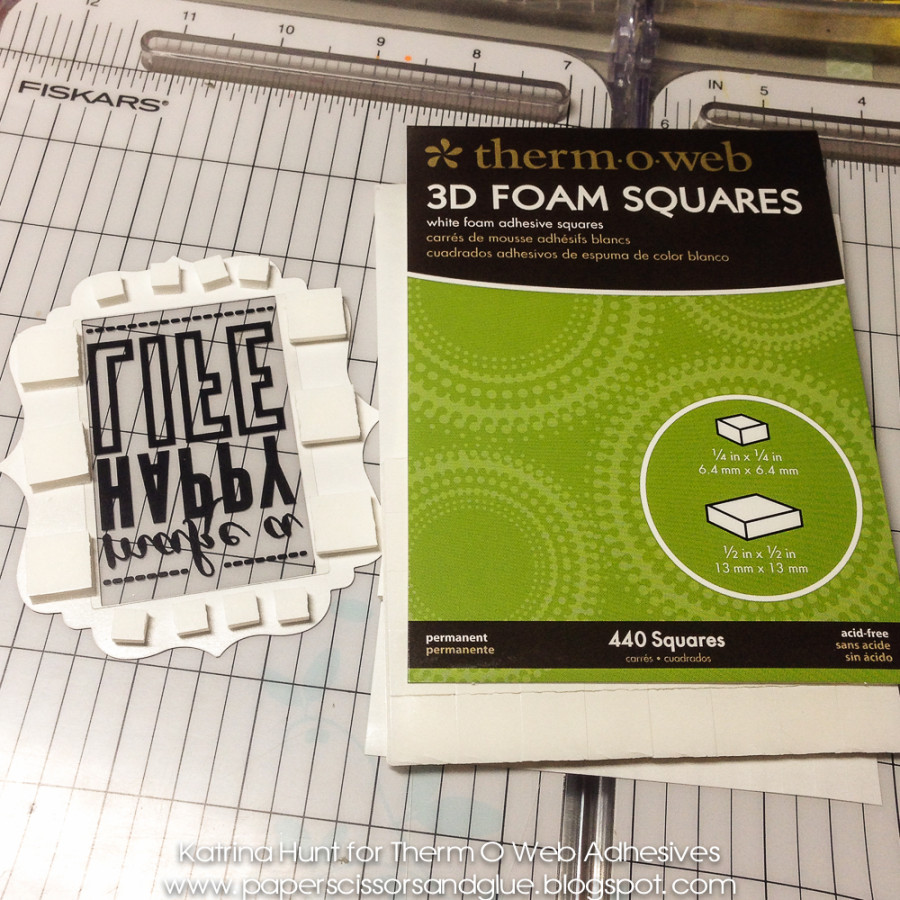
Therm O Web 3D White Foam Squares-Combo Pack
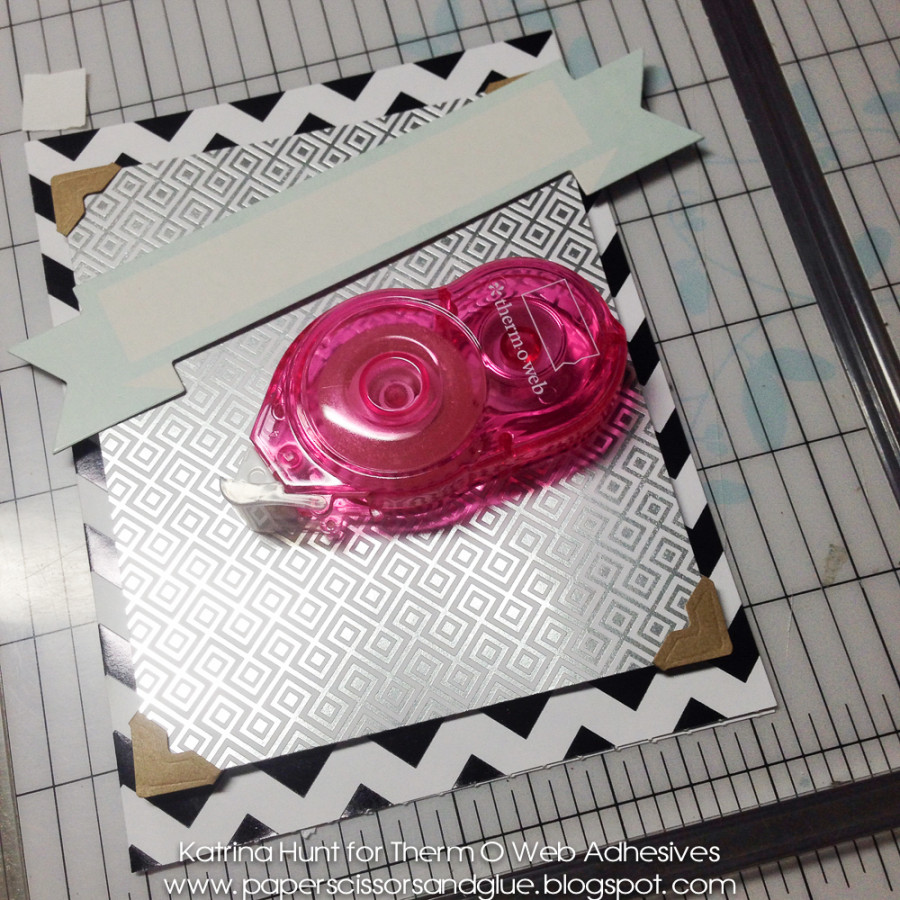
Therm O Web Sticky Tape Mini Runner
Therm O Web Glitter Dust Deco Frames-Purple
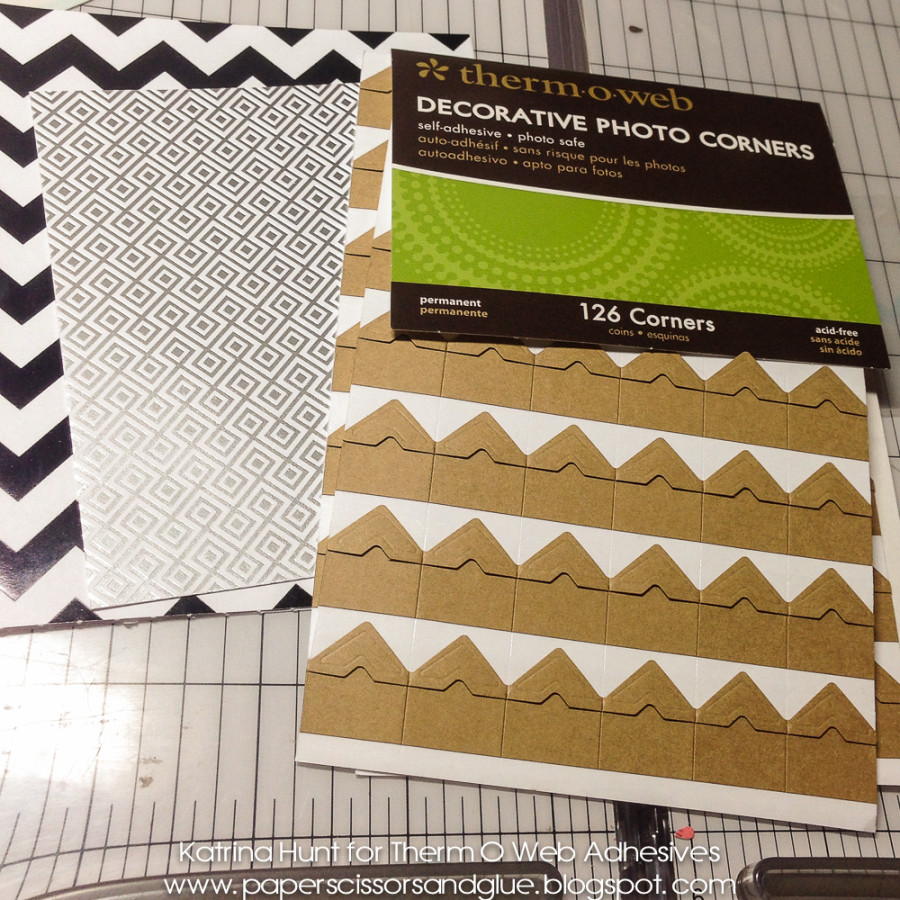
Therm O Web Decorative Photo Corners-Kraft
Therm O Web Zots™ Singles Medium
Project Instructions:
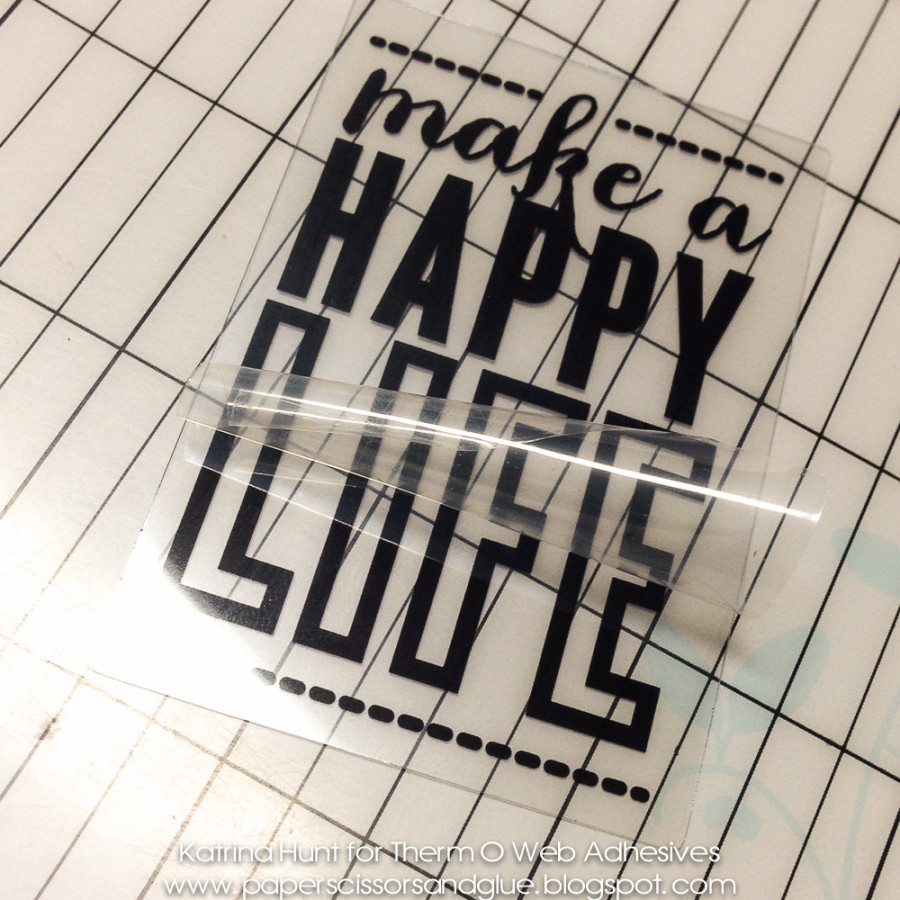
Select papers that you would like to use. Choose a Glitter Dust Deco Frame to compliment the papers and that will fit the transparency quote. Remove the clear film that is on the transparency, as seen below by peeling it off.
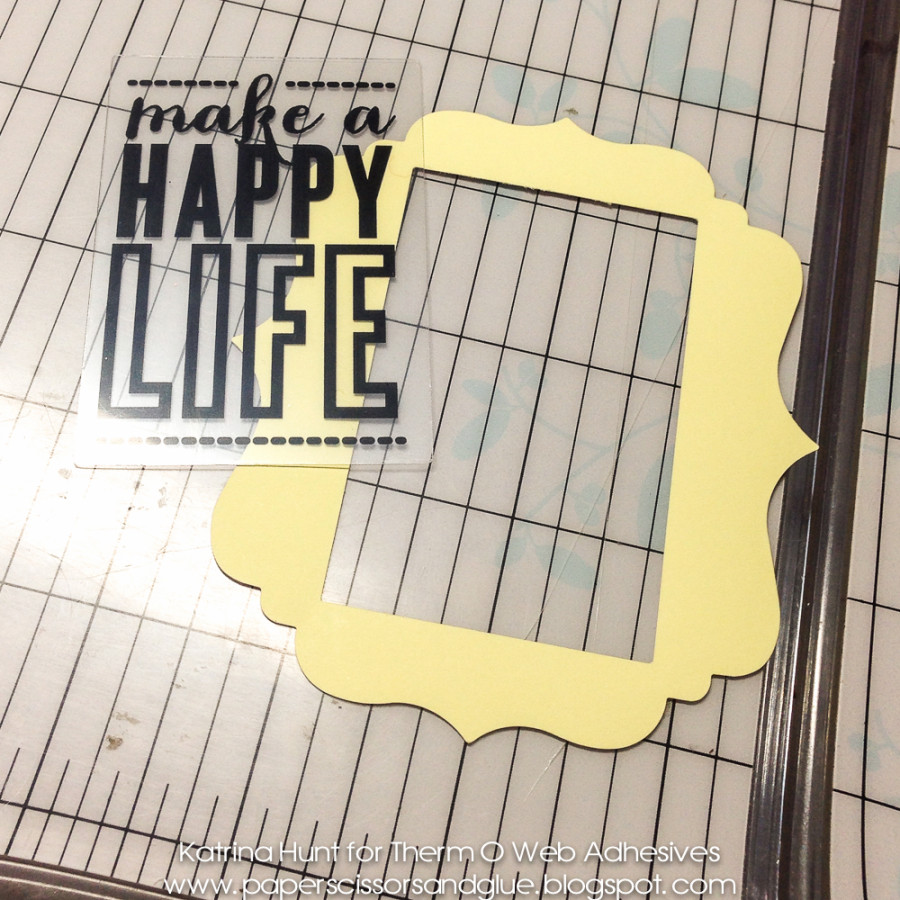
Remove the yellow backing on the Glitter Dust Deco Frame that covers the adhesive back. Carefully line up transparency with the opening of the frame and adhere.
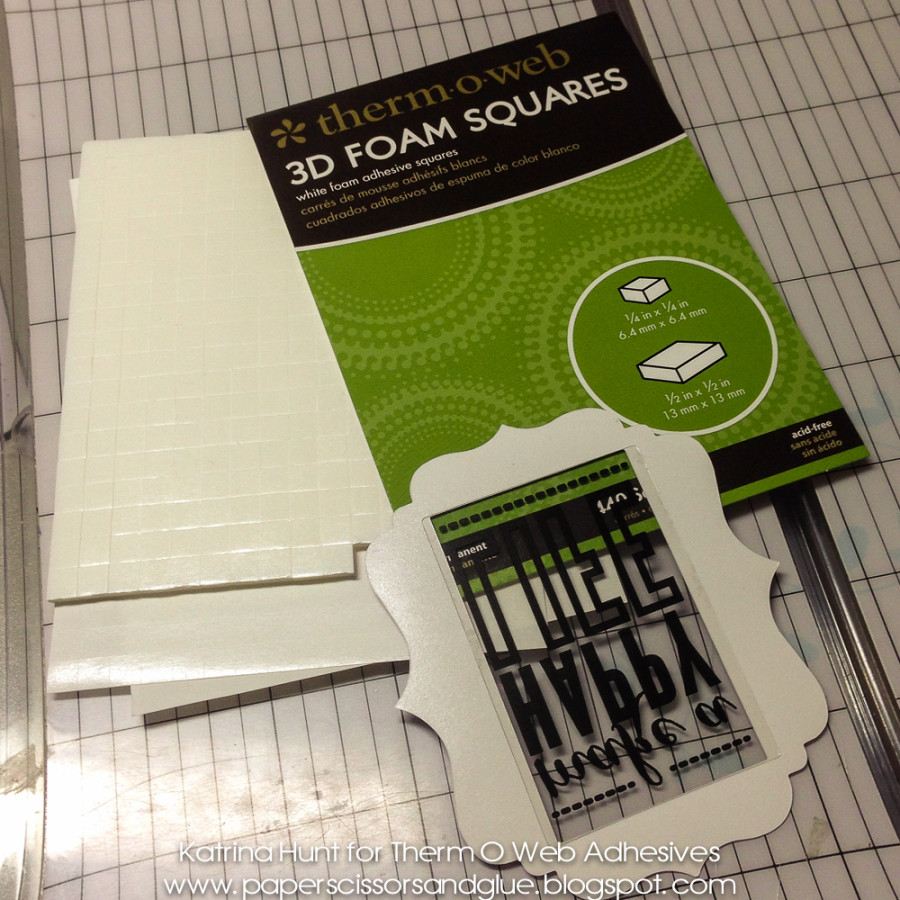
Use the Combo Pack of 3D Foam Squares and attach them around the frame edges.
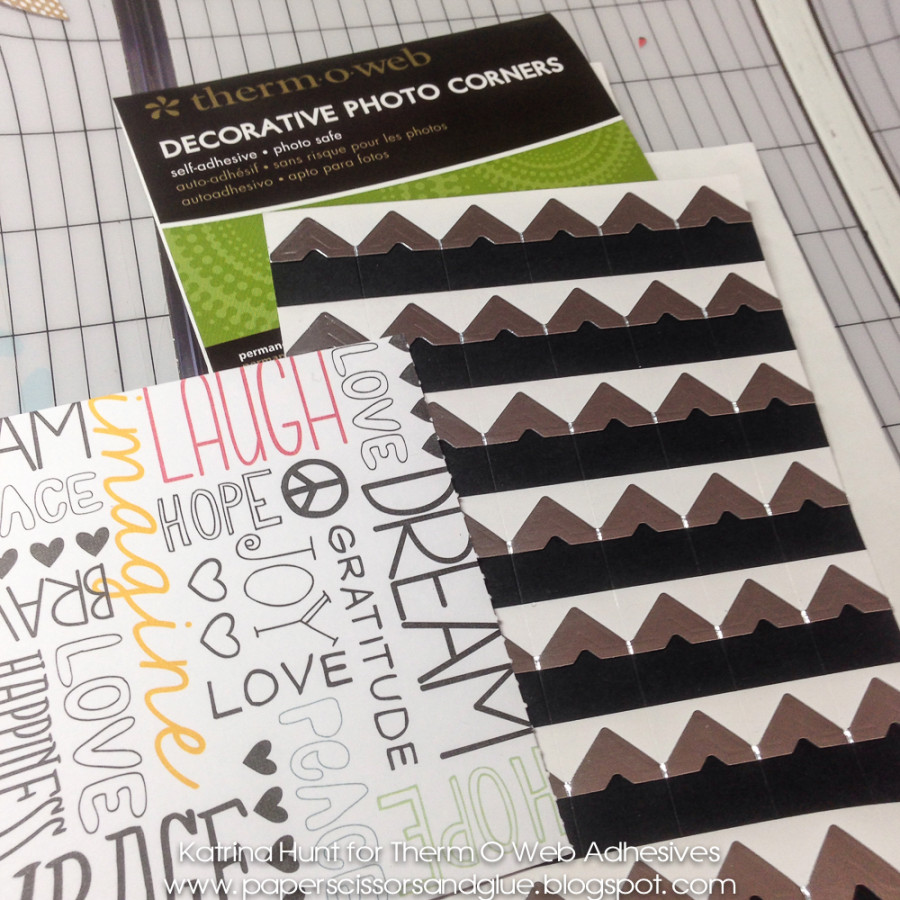
Cut card base and layer from coordinating paper. Use Decorative Photo Corners as accents on the layer edges.
Pick out a banner to use as a layer under the Glitter Dust Frame. Adhere layers by using a Sticky Tape Mini Runner.
Adhere Glitter Dust™ Deco Frame to card and enjoy!
And now another card to share. We are going from shiny and sparkly to shiny and kraft. Glitter and shine mix well with kraft colored items, as I found out!
Therm O Web Supplies:
Therm O Web 3D White Foam Squares-Combo Pack
Therm O Web Sticky Tape Mini Runner
Therm O Web Glitter Dust™ Deco Frames-Teal
Therm O Web Decorative Photo Corners-Silver
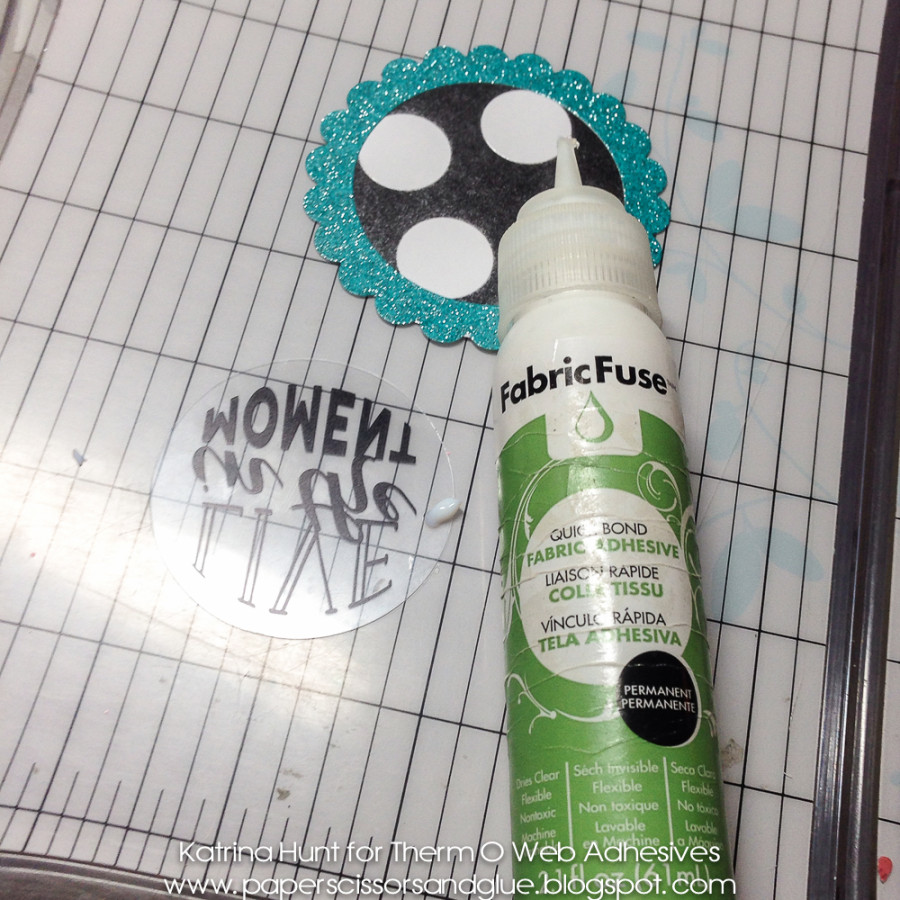
Therm O Web Fabric Fuse Liquid Adhesive
Therm O Web Zots™ Singles Medium
Project Instructions:
Again, start by picking out some coordinating papers and embellishments. This card is sized at 4.75 inches square, just for reference. And Fabric Fuse™ Liquid Adhesive is GREAT for attaching transparencies, because it dries clear!
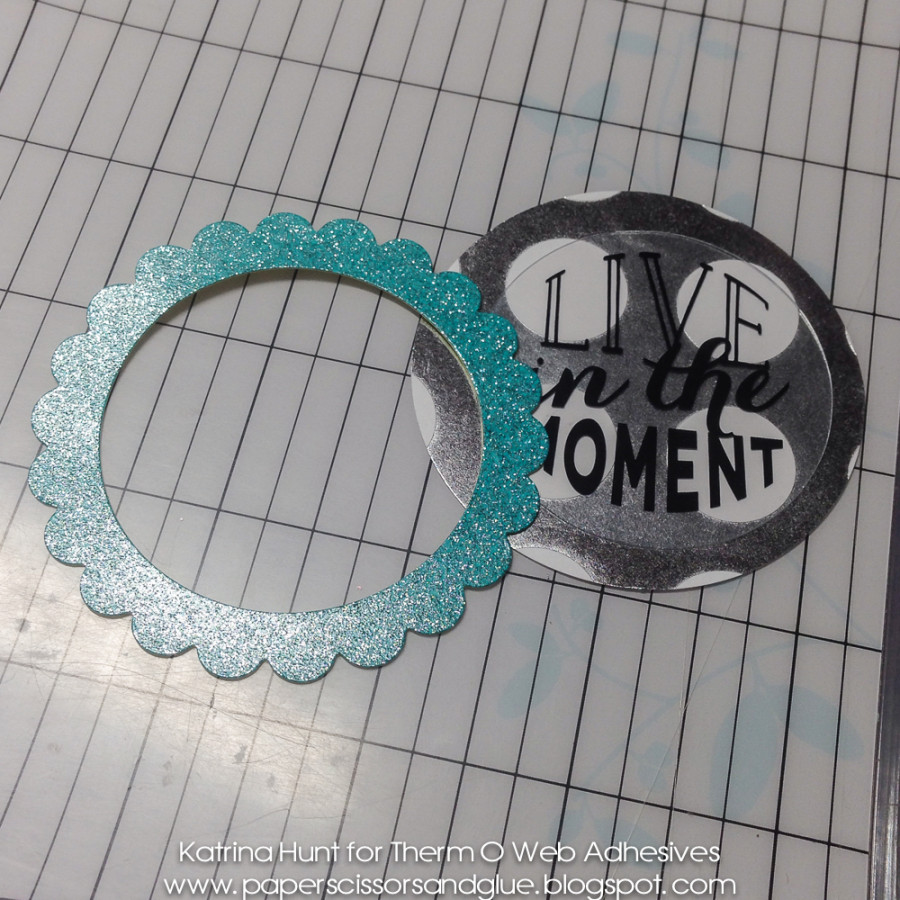
Use a round circle punch to create a backing for the transparency and Glitter Dust™ Deco Frame.
Note: This was a larger Deco Frame and I used a 3 inch circle punch.TooltipTextPeel backing off Glitter Dust Frame and attach punched circle. Use a small amount of Fabric Fuse™ Liquid Adhesive to attach the transparency to the circle. Place adhesive in small areas and spread out.
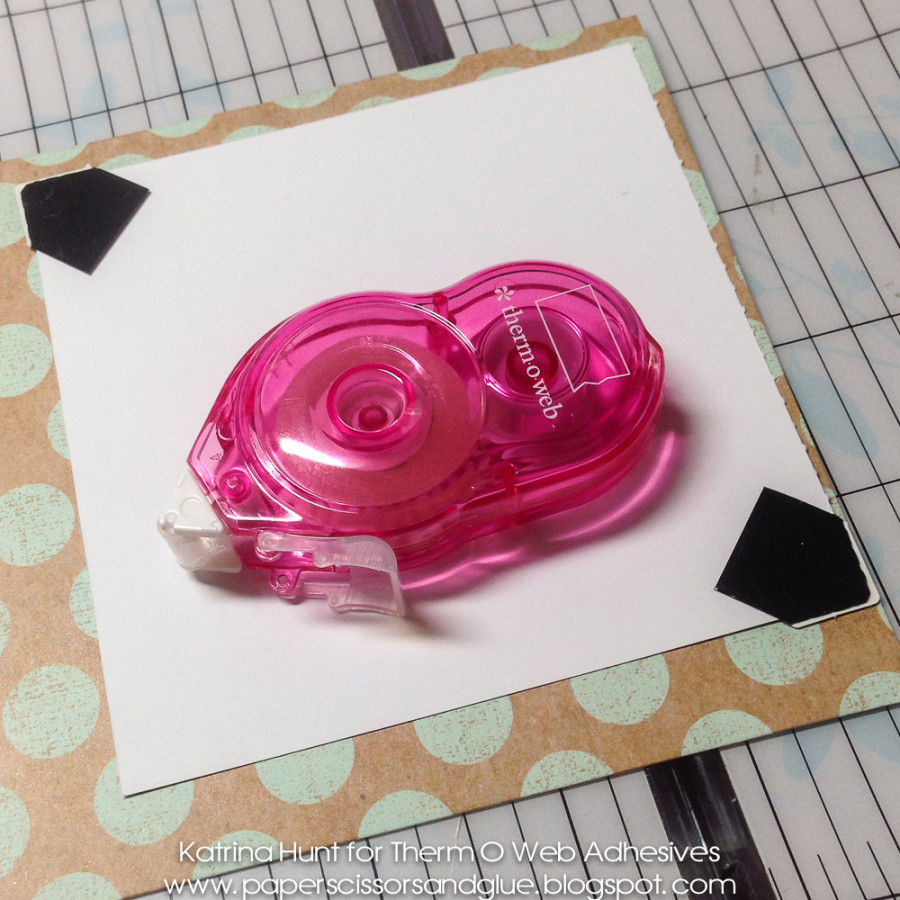
Note: A little of the Fabric Fuse for this will go a LONG way! The dot of adhesive I had was plenty to attach the transparency.TooltipTextCreate card base and layers. Attach Decorative Photo Corners in Silver to opposite corners and then adhere with Sticky Tape Mini Runner.
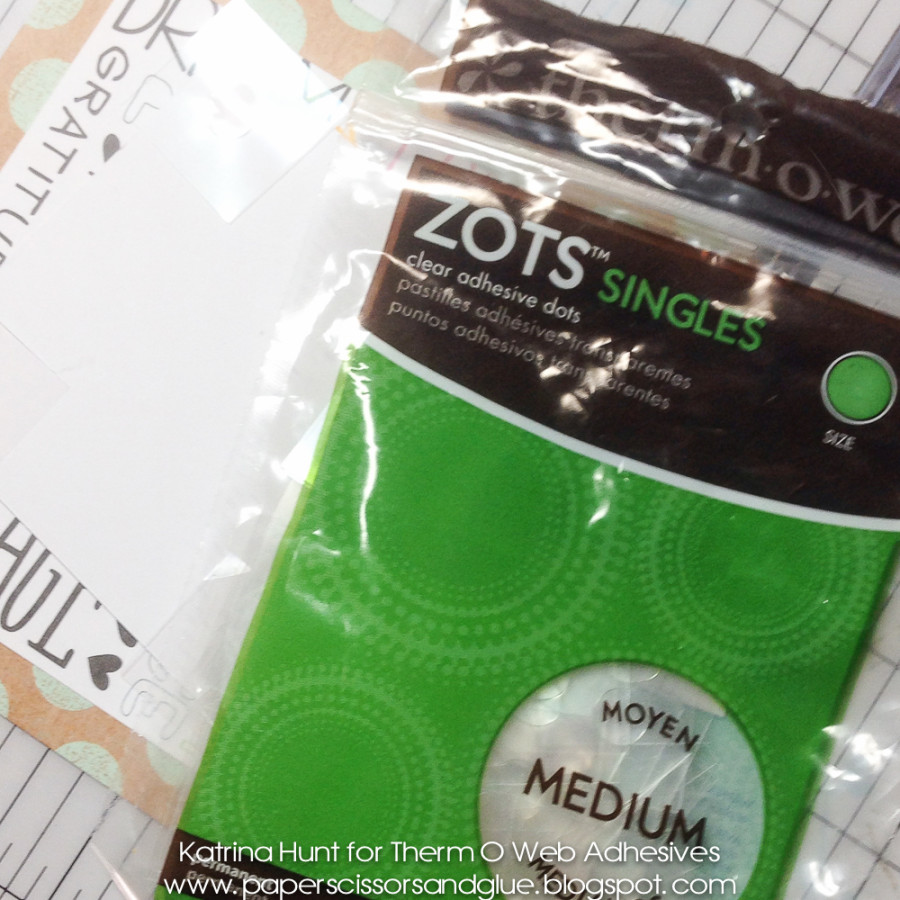
Using Zots™ Singles-Medium attach banners and the orange tab that is under the Deco Frame.
Trim off edge of Glitter Dust™ Frame for a different look to your card. Line up cut edge with edge of layer underneath. Use 3D Foam Squares to attach the Glitter Dust™ Deco Frame to the card front.
And now you have another fun and unique card to sent to someone. Thanks for stopping by during our swap with MAMBI! I have another project on my personal blog with ThermOWeb and some more MAMBI products if you would like to see it. You can find the post HERE. Thanks for stopping by today!
Katrina Hunt

