Hi there! Happy Thursday! It’s Erin here with you today, and I want to take a moment to talk about gratitude. It comes in all forms, and has such meaning to us all. Especially, this time of year right?
Beyond my sweet family and dear circle of friends, I have so much gratitude for this amazing hobby we all adore: the world of crafting! Not only is it a creative outlet for me, it has allowed me to express myself when I have no words!
I’m beyond grateful for all the talented crafters I’ve met along this journey into this world! Thank you all so much for what you and and how you do it! What inspiration!
Ok, for today’s card, here we go!
As you can see, I’m always about the layering:)
What we will focus on today is the main scalloped flower that sits behind the sentiment, Give Thanks.
I learned this technique from the amazing Pam Black at Creative Escape a few years back, and is one that I often go back to in one form or another!
Here’s what you will need for this card, in addition to some corrugated cardboard if you would like for the background, bakers twine, embossing folder, and trim. I’m only focusing on the scalloped flower itself today:)
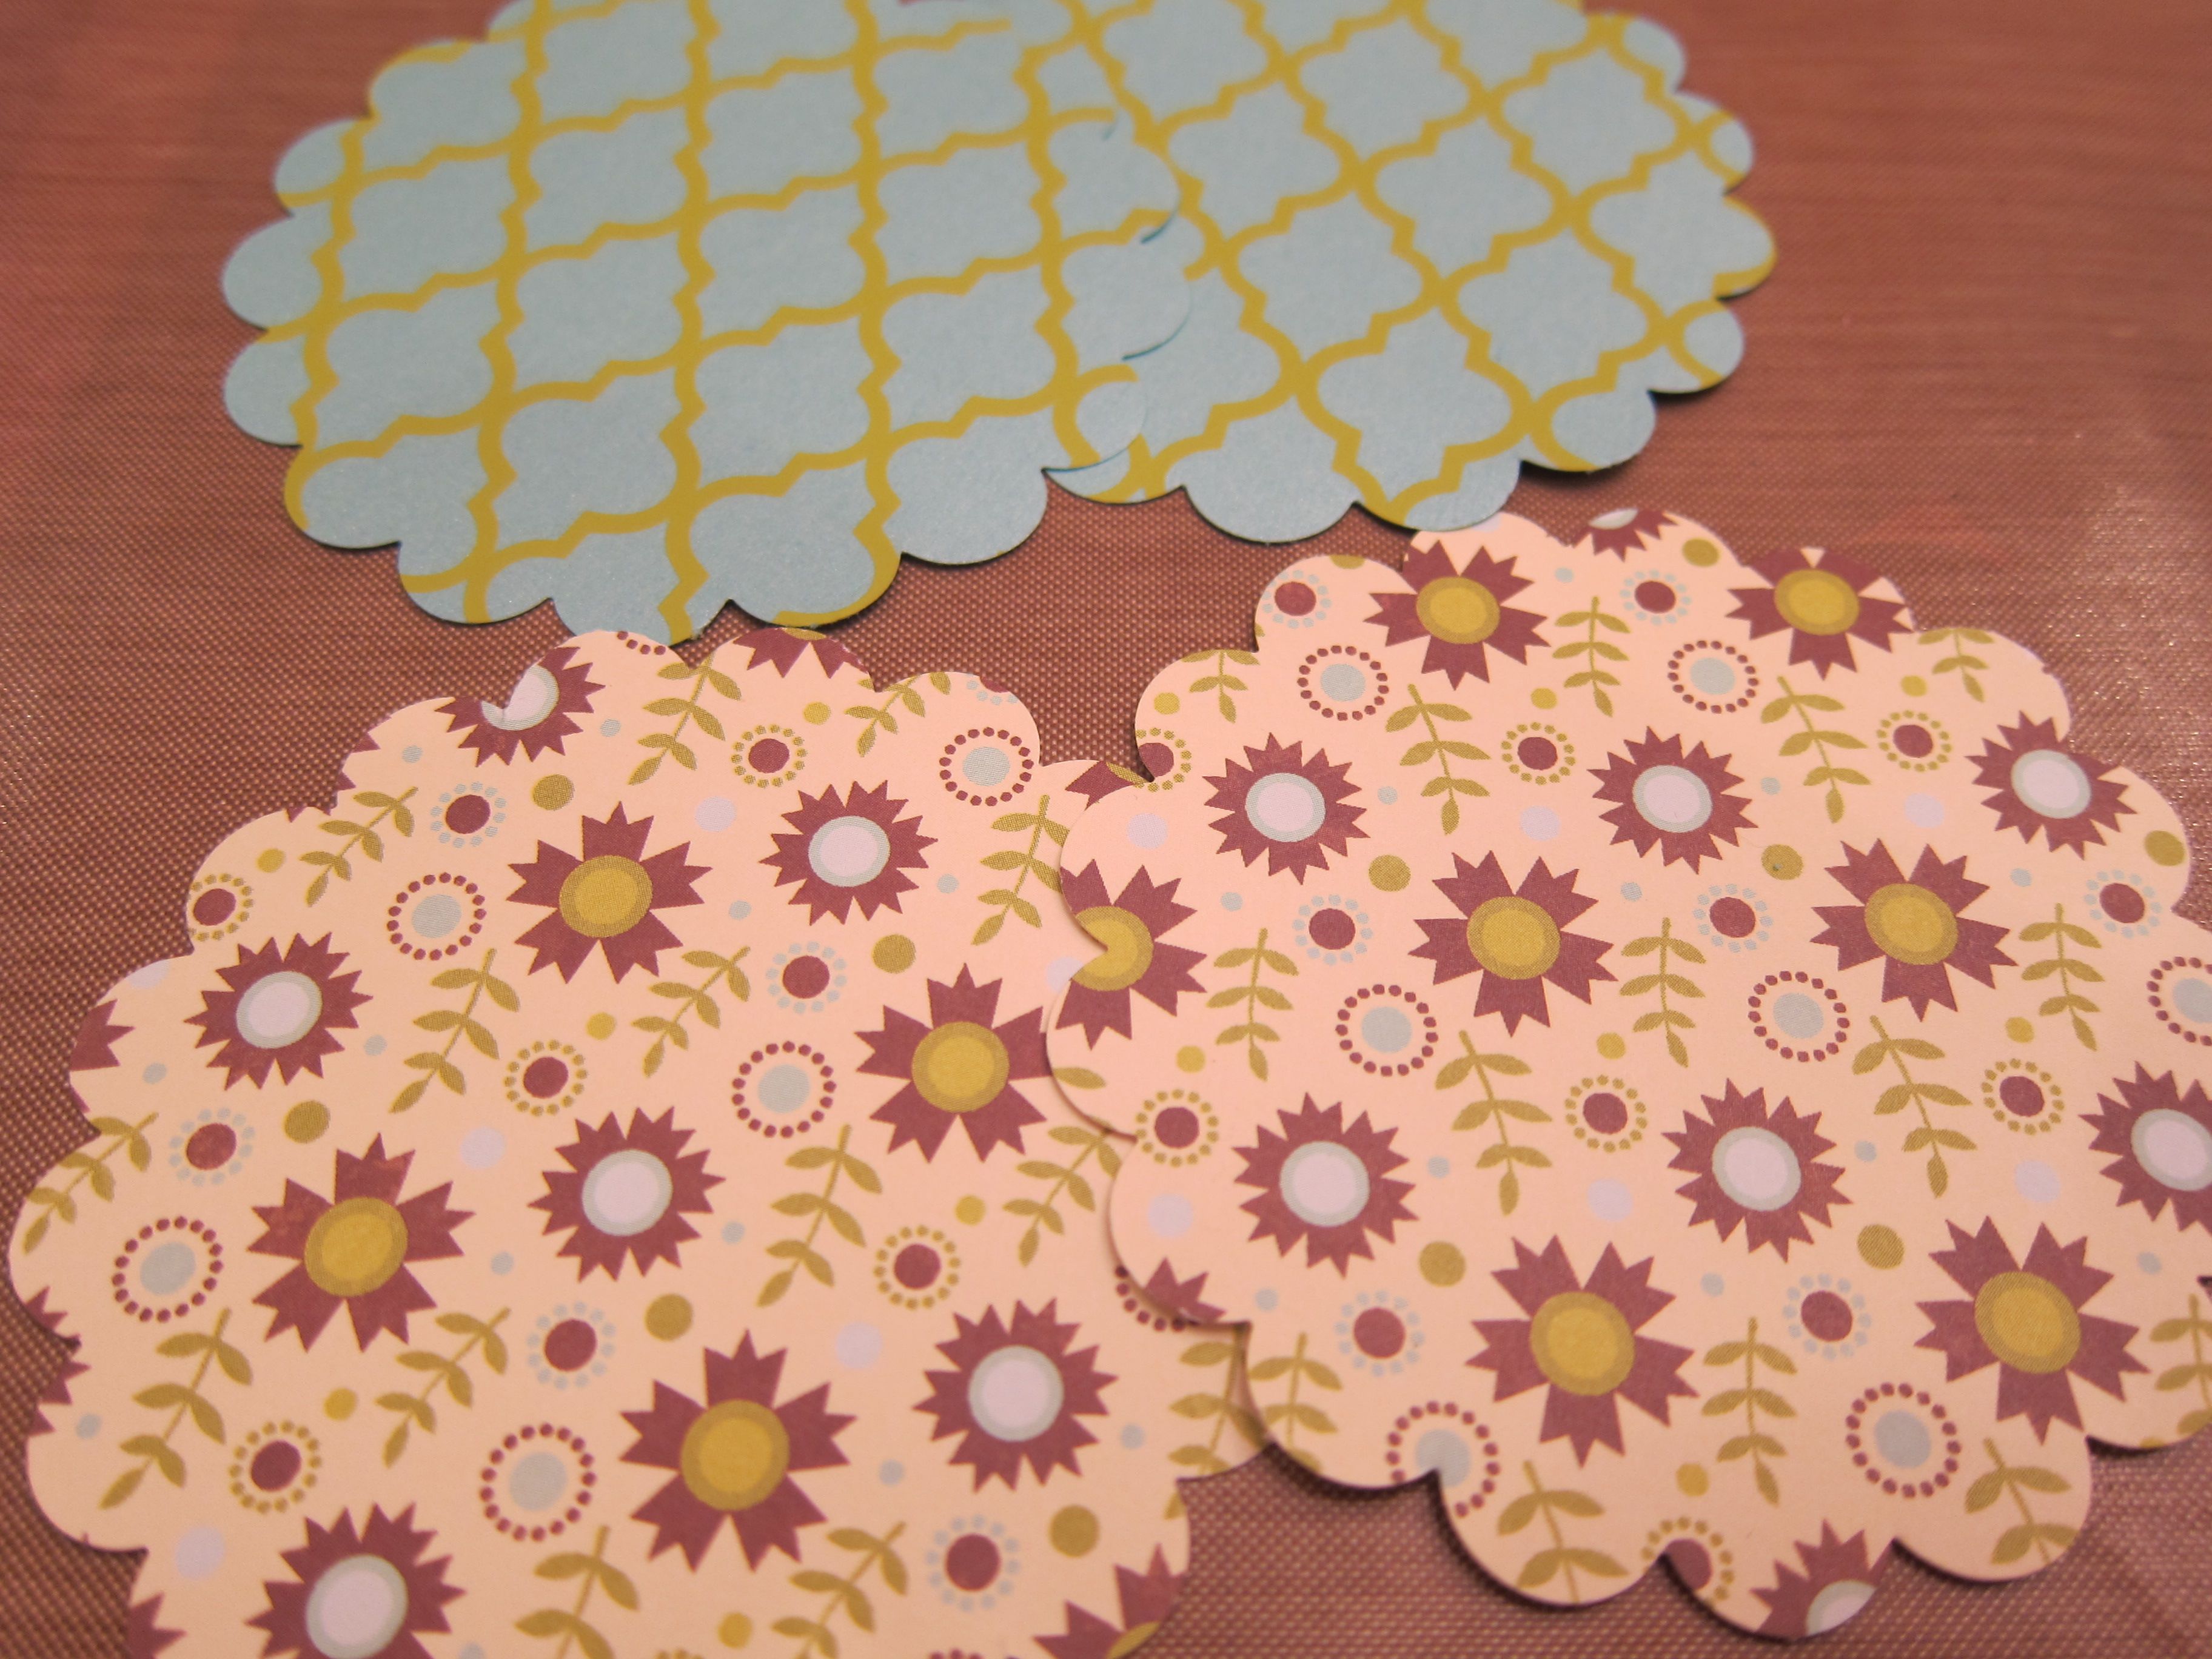
For the flower, choose 2 different patterned papers, and punch out 2 scalloped circles from each paper. I used the 3″ scallop circle punch by EK Success.
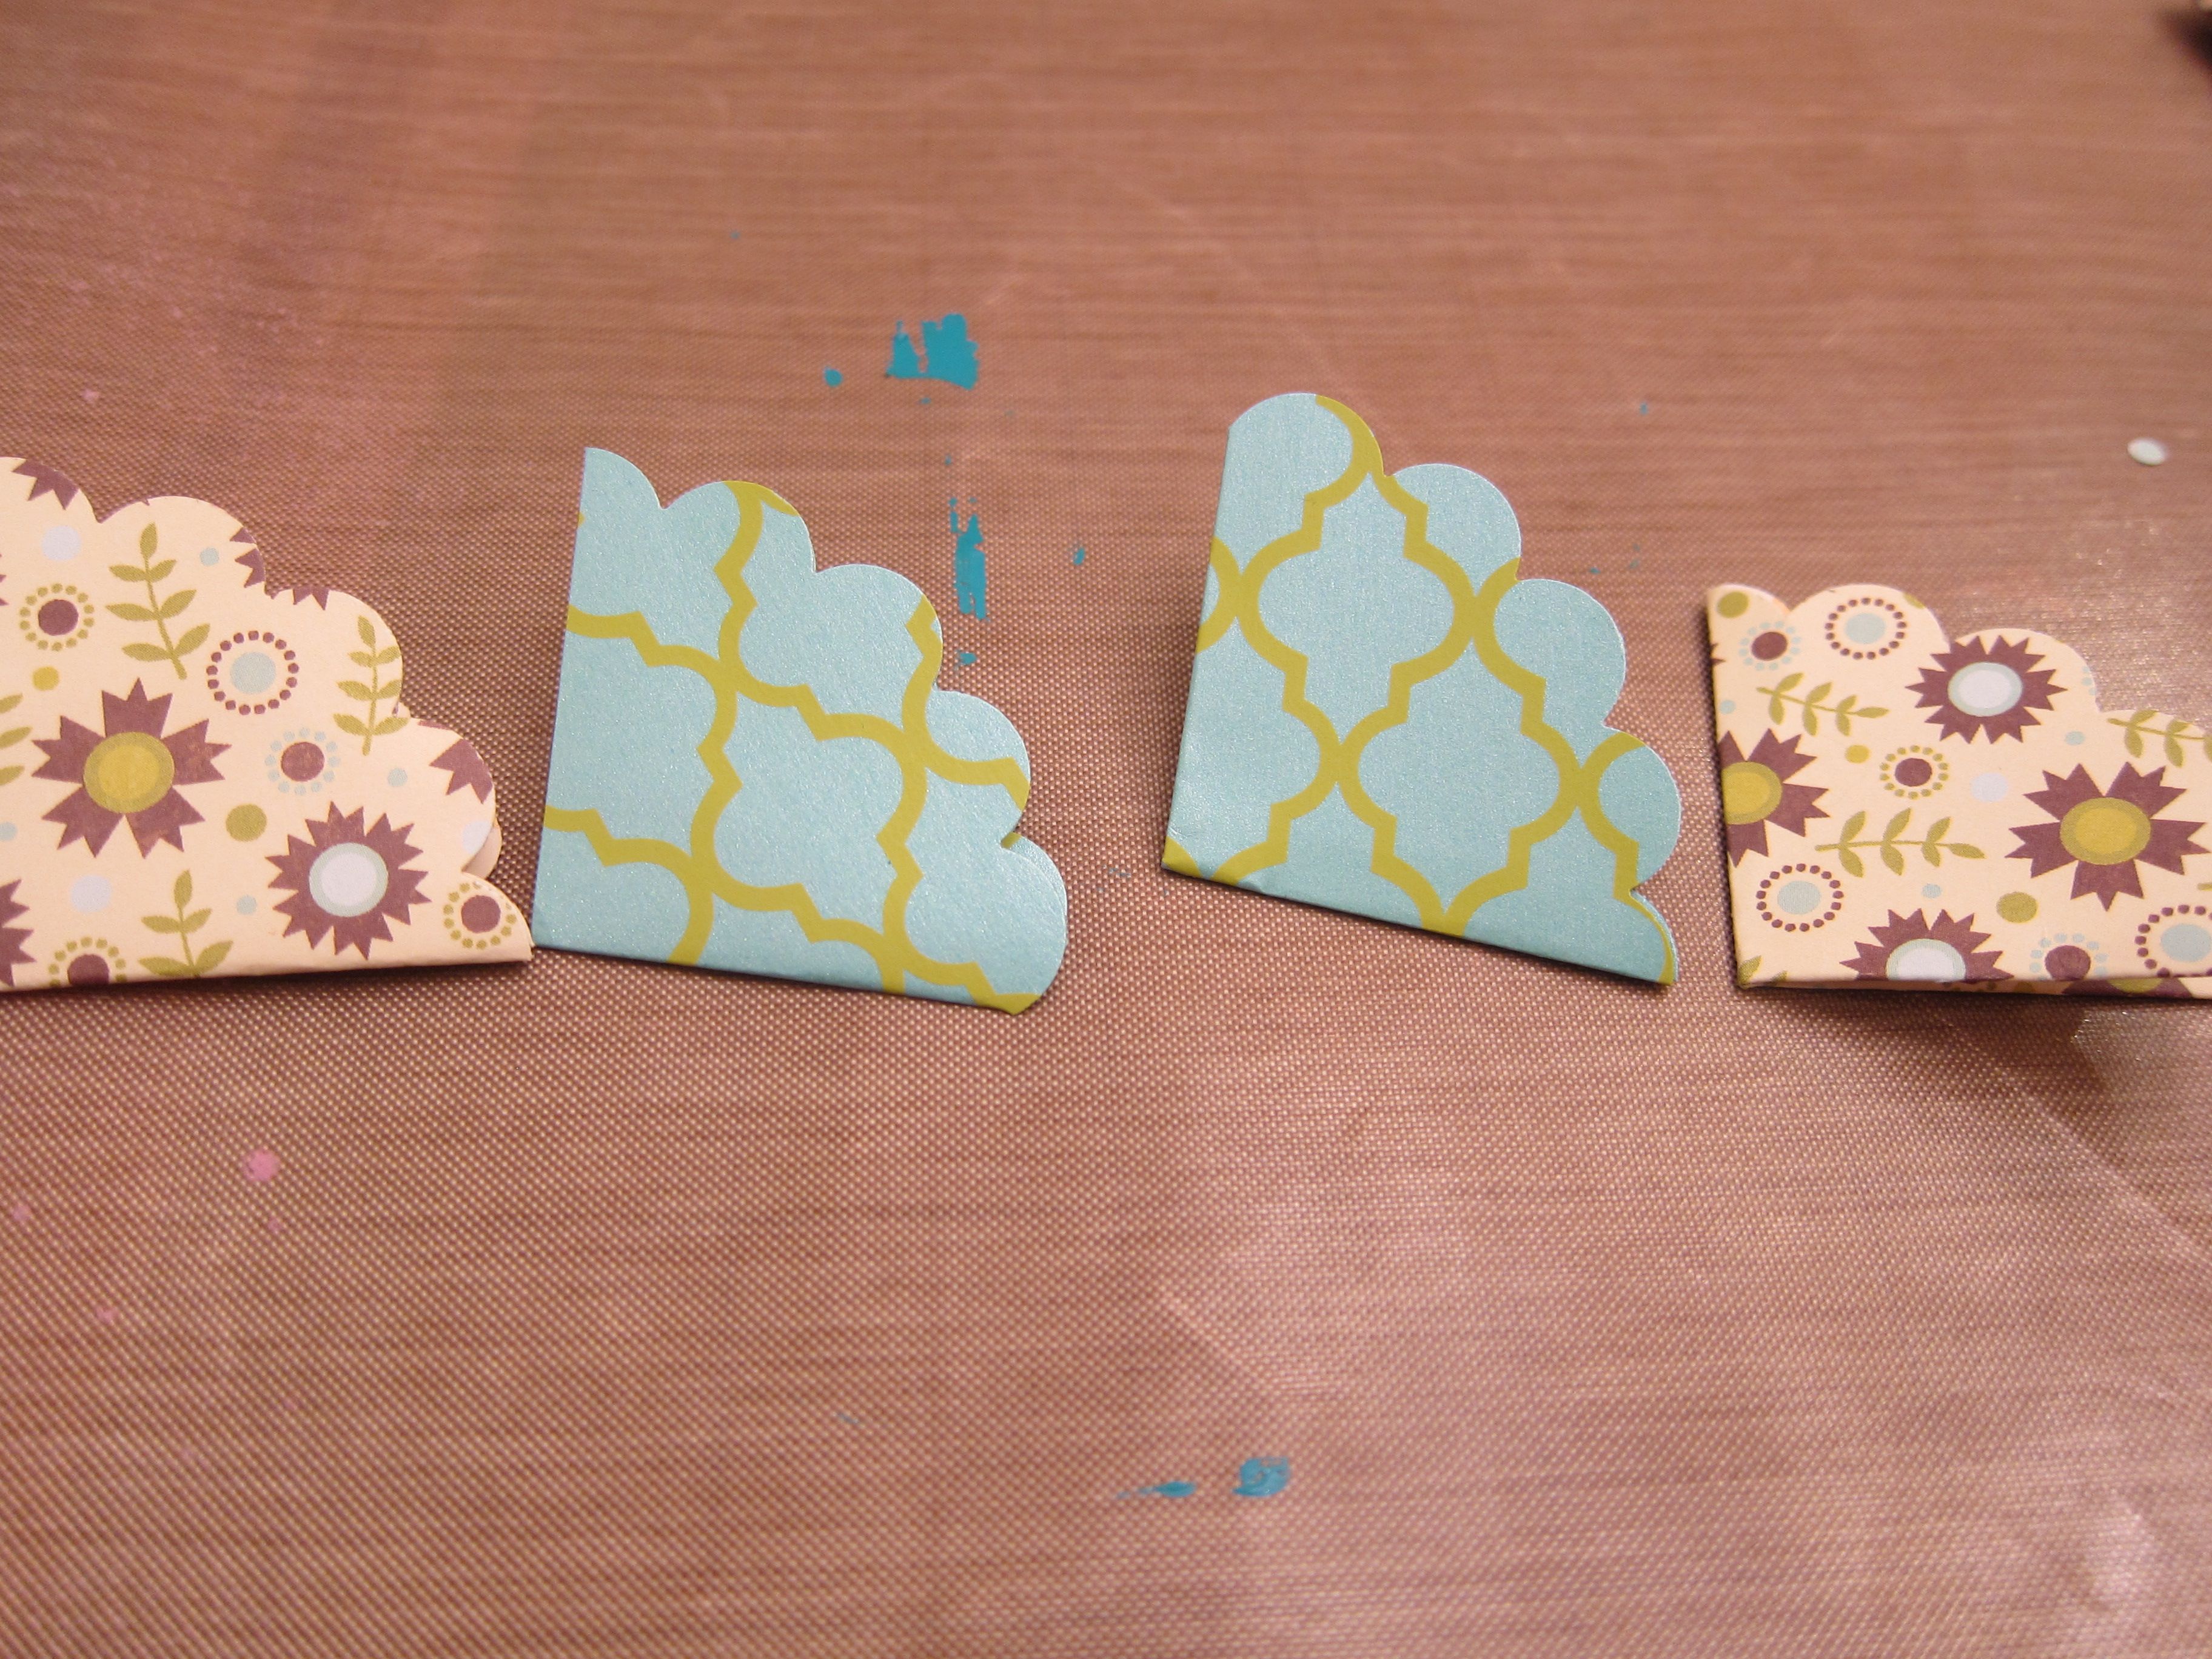
Starting with one of the circles, fold it in half. Then, fold that in half once more. Repeat that with all 4 circles.
Take 2 of the scalloped papers, 1 of each design. You are going to adhere the back of 1 of them to the front of the other one. I used Zot dots in medium for these.
Next, take another scalloped paper and repeat, only this time using the lower half of the set you were just working with.
And repeat again with your last scalloped paper, and your end result will look like this:
If you work in one direction, it can be helpful:)
I chose to add more dimension and adhered it with foam squares.
With graduating sized punches, you can keep going with these here, or simply attach a sentiment like I did:)
Endless possibilities with this sweet little flower!
I hope you will try this out during your next creative break!
Here’s the Therm O Web supplies used:
Sticky Dot Runner
Foam squares
Zot dots, medium and 3D
Have a blessed day!
~ Erin


debbiesherman
November 10, 2011 at 7:28 am (14 years ago)Awesome flower tutorial Erin!! I’ll be trying this one!!
rebecca keppel
November 12, 2011 at 3:06 pm (14 years ago)What a pretty card! Your paper folding is simply amazing!
maobullock
November 14, 2011 at 10:22 am (14 years ago)I love all the texture in this card. Great folding technique too!