Hello crafty friends. Today I’m sharing some fun 3D flocked trees that would make the perfect home décor pieces or last-minute gifts. And while these trees are not “flocked” in the traditional sense, I think you will find them an easy and fun project!
Flocked 3D Christmas Trees w/ Flock Transfer Sheets
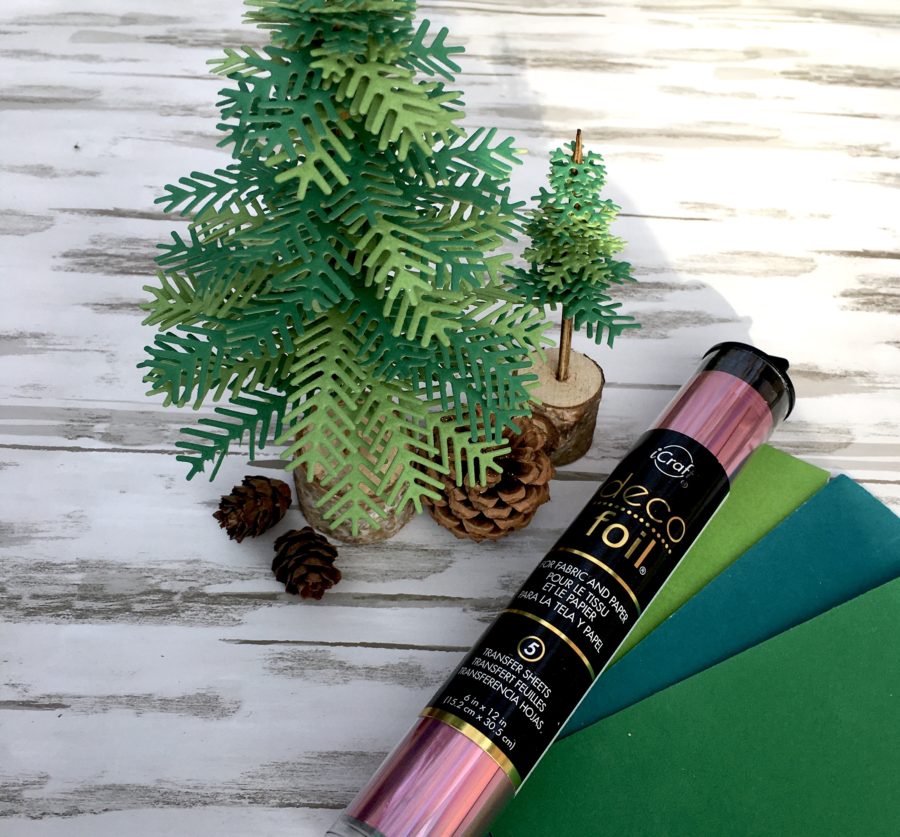
Tree Supplies:
Deco Foil Transfer Sheet – Enchanted Rose
Deco Foil Flock Transfer Sheets – Green, Emerald Green and Teal
iCraft Ultra Bond Liquid Adhesive
Other Supplies: Cardstock, die-cutting system and dies, skewers and wood pieces
STEP ONE:
Line a 6×6 piece of green cardstock with Easy Tear Tape and remove the release paper. Place Green Flock Transfer Sheet (fuzzy side down) over the tape. Run the cardstock and Flock through your die-cut machine without dies for maximum pressure. Next, peel the Flock backing off of the tape, leaving a beautifully flocked surface. Repeat this step for each shade of green.
Hint: If you don’t want to run it through your die-cut machine, you can burnish the Flock Transfer Sheet onto the sticky tape.
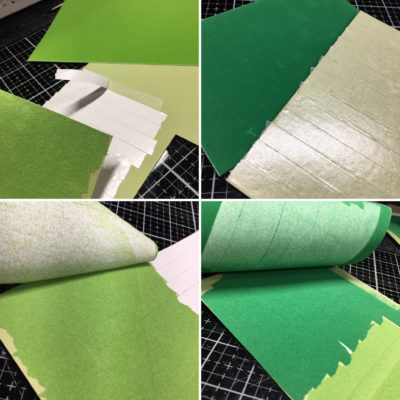
STEP TWO:
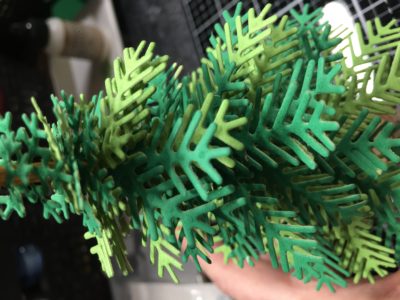
Die-cut tree branches from the flocked cardstock and begin to place onto a wood skewer starting with the larger branches and graduating down to the smallest as you work from bottom to top.
Hint: I’ve seen some new dies that cut two branches at once to make this project even faster and easier!
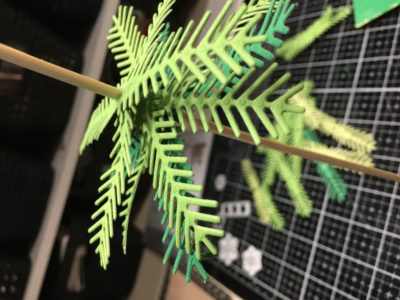
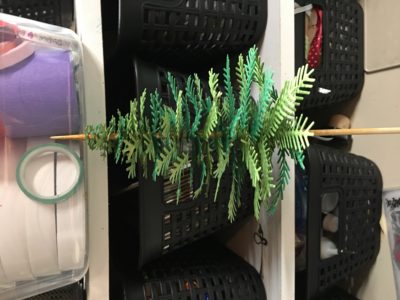
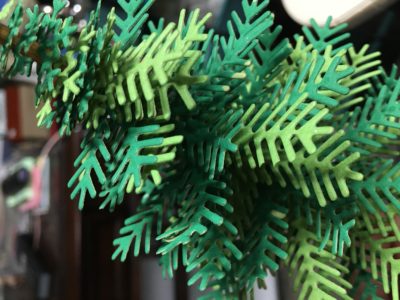
Check out these close-ups that show just how pretty the flocked branches are.
STEP THREE:
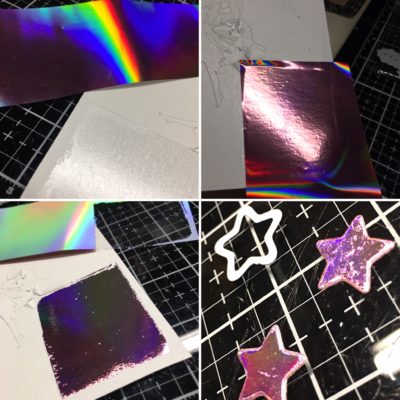
Cut a small piece of PeelNStick Adhesive Sheet and stick it onto a piece of cardstock. Peel away the release paper to reveal the sticky surface. Press a square of Foil Transfer Sheet (dull side down) onto the sticky surface and burnish well. Peel the Foil backing away to reveal the beautifully foiled surface. Die-cut your tree topper (mine is a star) from the foiled surface.
Hint: If you don’t have a star, you can draw a star on the back of the foiled cardstock and cut it with scissors.
STEP FOUR:
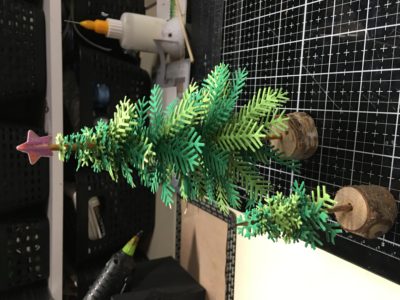
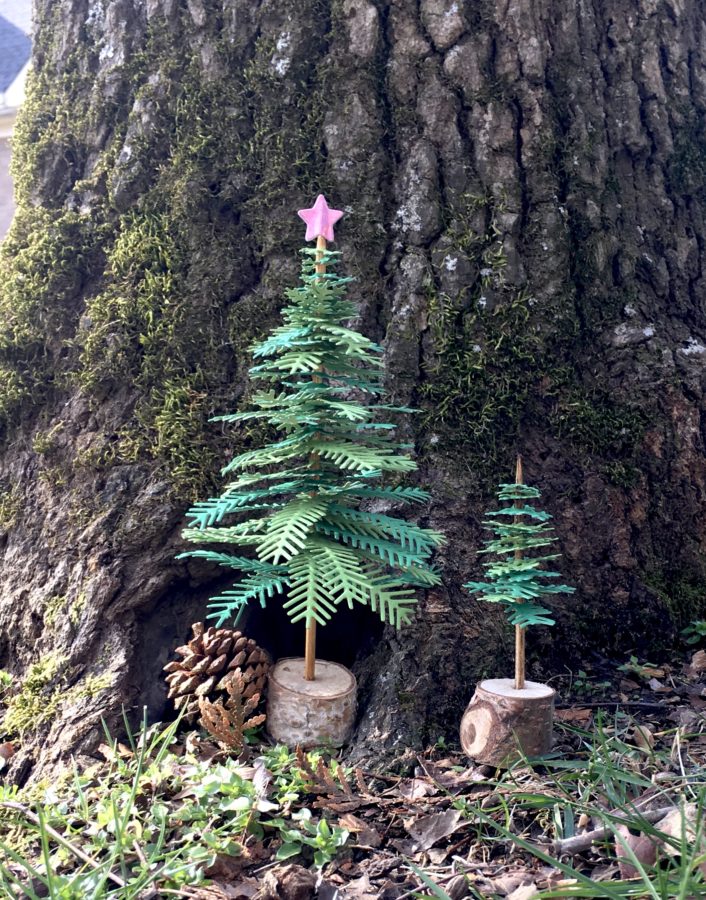
Add the Star to the top of your tree. Use two tiny birch tree pieces as stands (I used a small hand drill to make holes). Insert the skewers into the tree stand pieces using a little Ultra Bond Liquid Adhesive to ensure they stay put.
Hint: To create a second smaller tree, use only the smaller pieces and trim down the bottom layers.
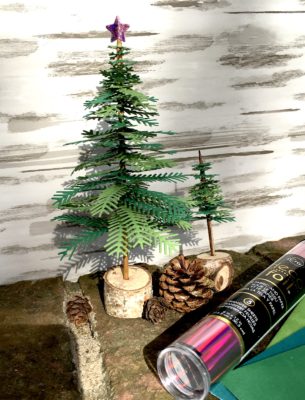
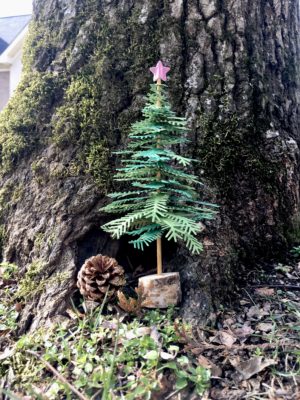
These trees may take a bit of time to die-cut all of the pieces, but the finished flocked layers are so fun and pretty I think you will love them as much as I do!
Merry Christmas!

Katherine Cartwright
November 6, 2021 at 8:35 am (4 years ago)I love this Tree idea. I think I have some dies like this so I will try it out! Thanks for sharing.