


 Hello friends, this is Jennifer Long from, Bee Sew Inspired, fabric designer with Riley Blake Designs and doll and quilt pattern designer.
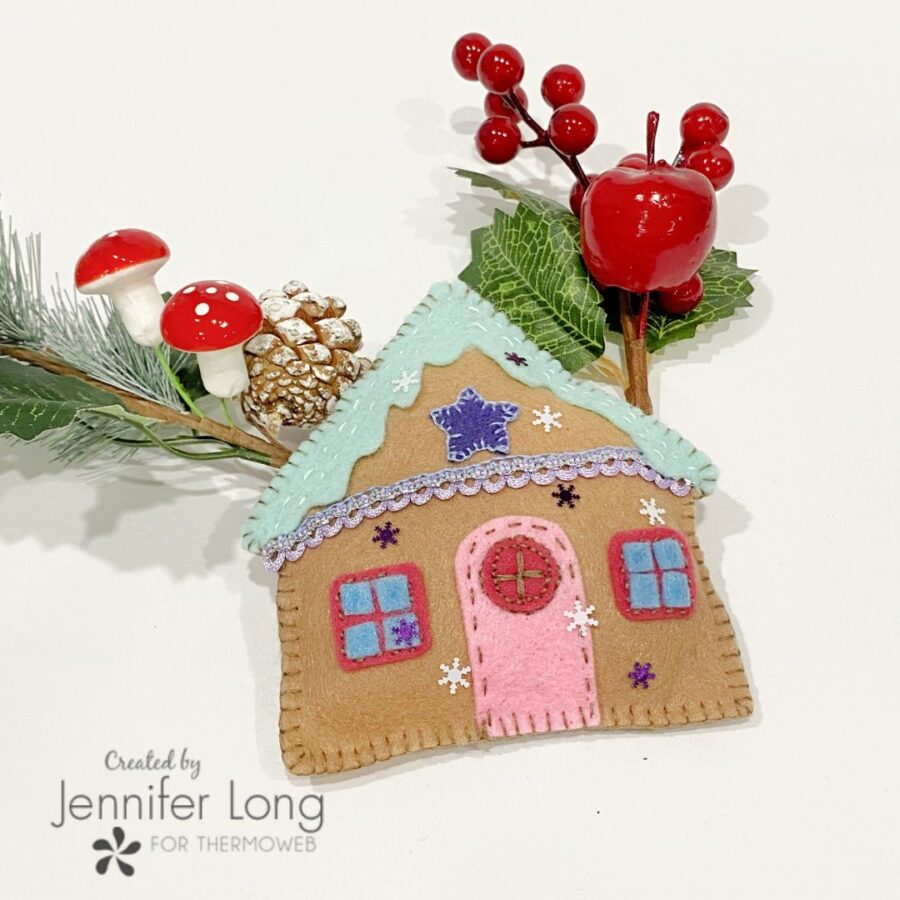
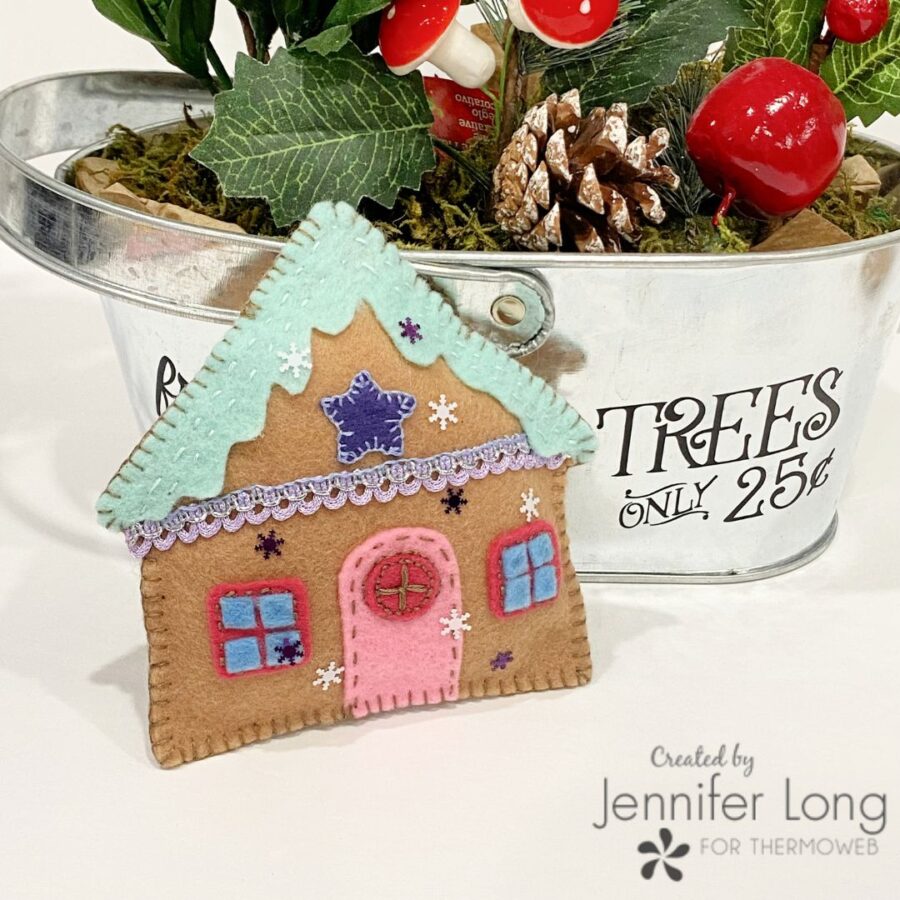
Felt Gingerbread House with Fabric Fuse
One of our favorite things to do at Bee Sew Inspired, is create craft projects with endless possibilities so we can use up some of our treasured scraps and tiny bits of ribbon. What’s even better, is when we can sit down as a family for an afternoon and create the most yummy-looking Gingerbread House!

Today, we are taking a holiday tradition – the Gingerbread House, and turning it into a felt craft project that will last year after year. Make a village of these as a garland, or set up a crafting session with the children in your life, and see the creativity take shape! There are two sizes of PDF and SVG Cut Files to download. A bigger size may be a little easier for little hands to work with, the smaller size makes a fantastic tree ornament!
Let’s get creative! Just gather the supplies below, then download the pattern/files. Don’t forget to share your project on social media using the hashtag #thermowebprojects and tag @beesewinspired.

What You Need:
Tools
- Download the Gingerbread House Pattern Template at http://www.beesewinspired.com/download-codes and use the code “GINGERBREADPDF”
- Download the Gingerbread House SVG Cut Files at http://www.beesewinspired.com/download-codes and use the code “GINGERBREADSVG”
- Scissors
- Hand sewing needle
Materials
-
Different colors of felt
-
Embellishments and ribbons
-
Embroidery Thread in matching colors
-
Thread
-
Small amount of Polyester Fiber Fill
Instructions:
1. Download the Gingerbread House Pattern designed by Bee Sew Inspired. You can choose either the PDF Pattern to hand cut your shapes, or the SVG Cut File and follow the directions to have your Cricut Maker cut the felt shapes. Make sure to use your rotary blade and set the fabric to felt.
2. Start by cutting out two house shapes, one for the front and one for the back. Set the back of the house aside, you won’t need it until you’re ready to assemble the two pieces.
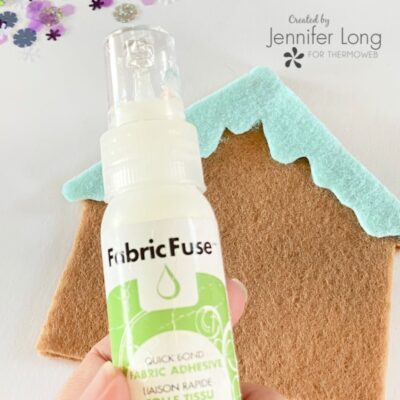
3. Cut out the various shapes required to decorate the front of your house. We used Fabric Fuse to secure all the elements to the house starting with the roof.
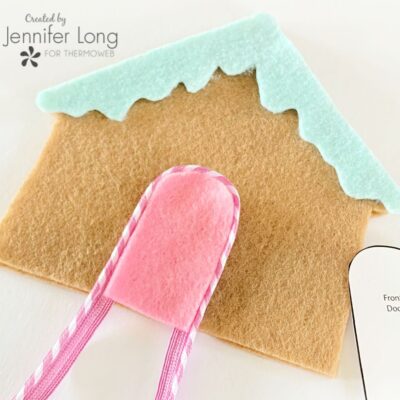
4. Before gluing everything down, try different embellishments. This ribbon around the door didn’t make the final cut but may be something we could use on the next Gingerbread House.
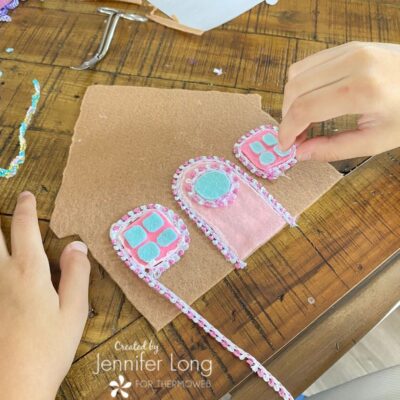
5. Here’s a good time to encourage your child to be creative, let them try different things and be a little messy.

6. You can also use a variety of embroidery stitches to give your house some texture as we did here on the roof.
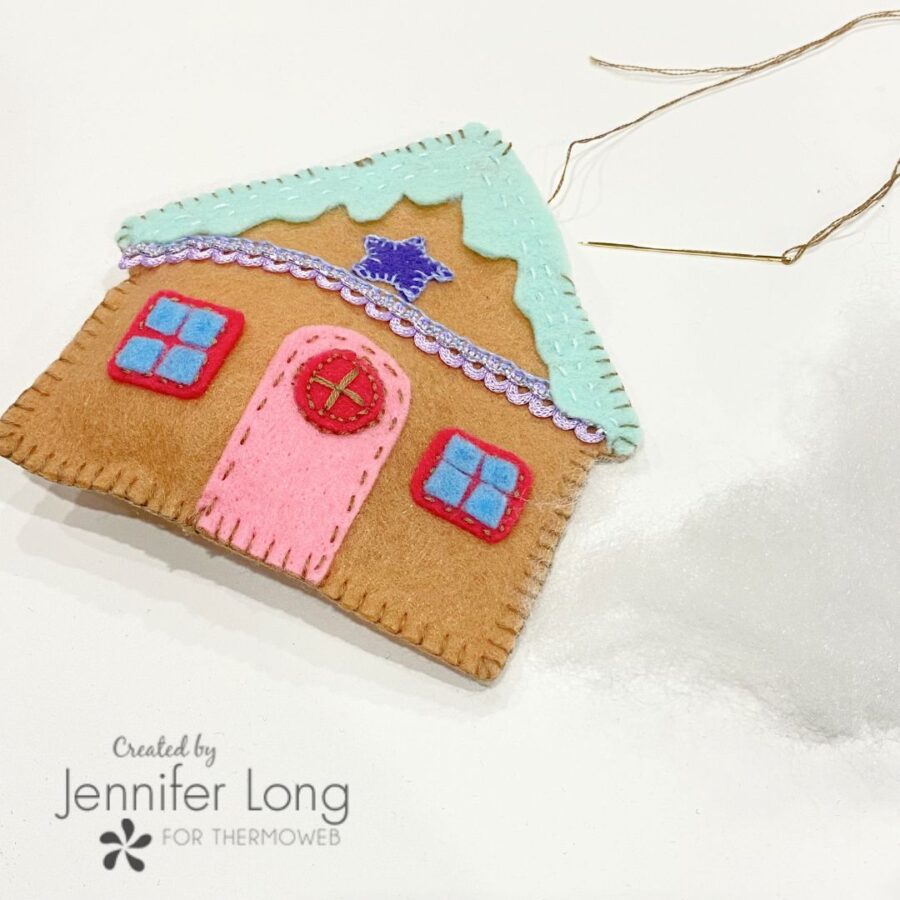
7. Once you’ve completed the front of the house with all its embellishments, place the house front to back with right sides out and blanket stitch around the perimeter leaving a little opening. Stuff a small amount of fiberfill into the shape. You really don’t want to over stuff! Close up the form using a blanket stitch.
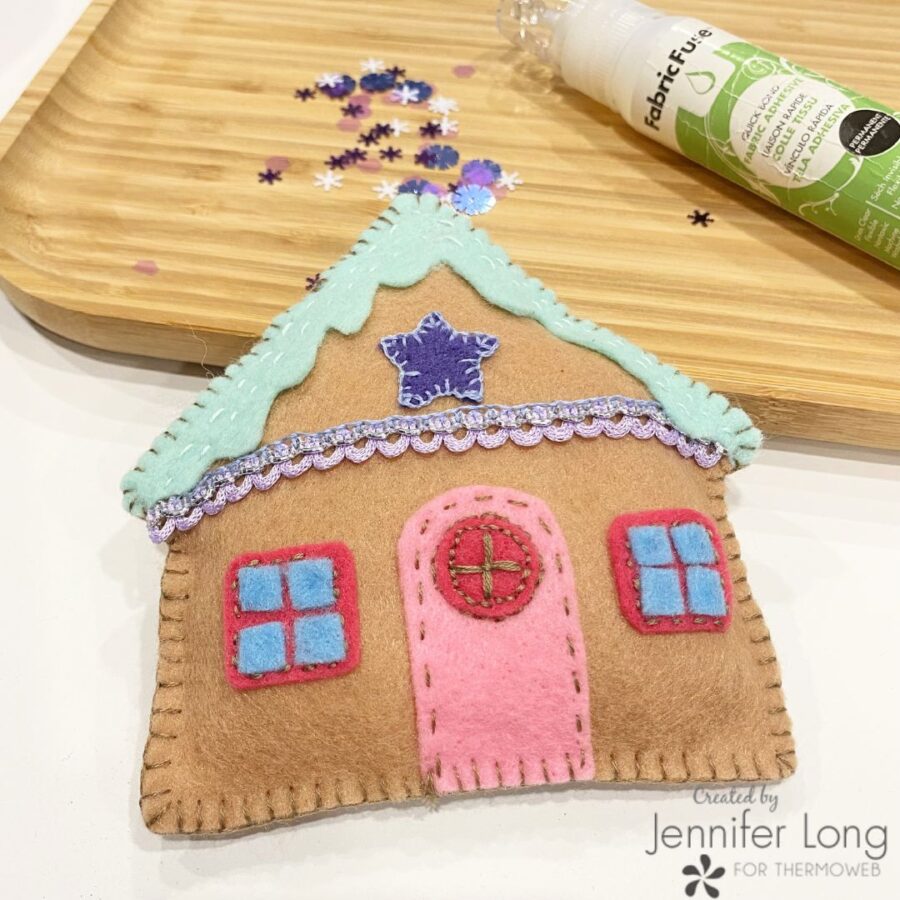
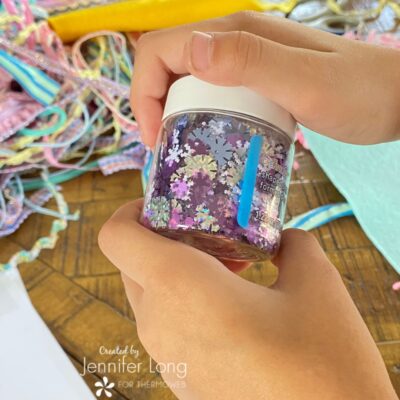
8. Once the house is closed up with the blanket stitch, or any other stitch you decide to use, you can add a little bit of sparkle. Once again using some Fabric Fuse and a handful of sequins. If you wish to make the house as a tree ornament, simply tie a length of embroidery thread as a loop at the top of the house.
How lovely these would look as a little village!
Thank you for joining me today on the Thermoweb Blog! If you liked this project, I would love to invite you to join our weekly Bee Sew Inspired Newsletter at http://www.beesewinspired.com
Until next time! Keep crafting!!!