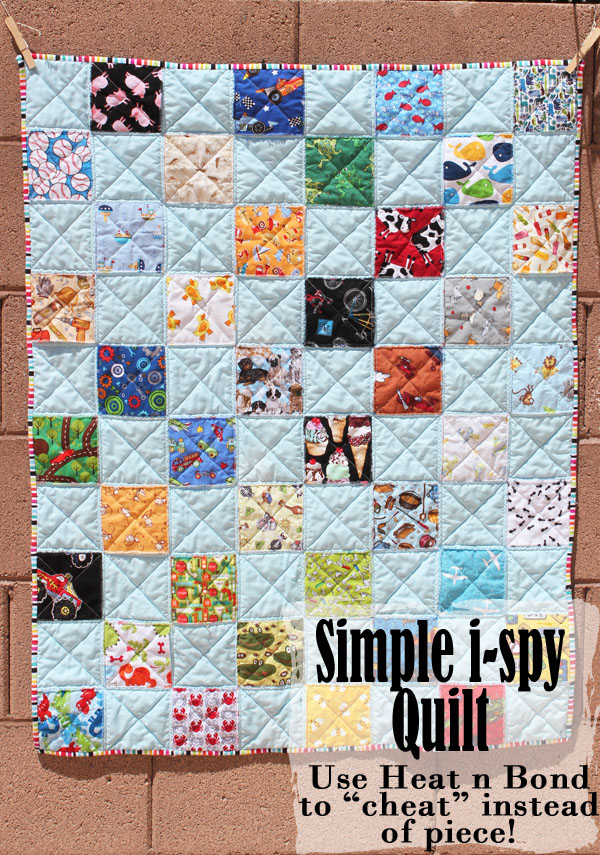
That’s right – from collecting my materials to stitching on the binding, this quilt was done in one day. Had I chosen to machine bind instead of hand bind, I could have had it done in an afternoon! Instead of cutting all the light blue squares to make a checkerboard, and piecing all the squares together, I used the light blue as a background, and fused the i-spy fabrics on like applique! The squares were stitched down during quilting (super simple with a walking foot). Without all the extra cutting and piecing, this is such a fast quilt to make! I’ll show you how. You need:
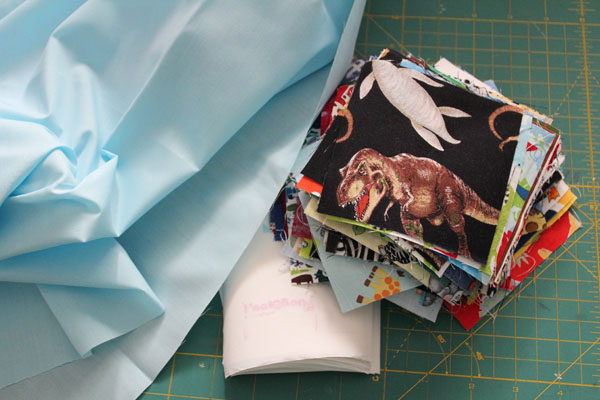
1 yard of background fabric
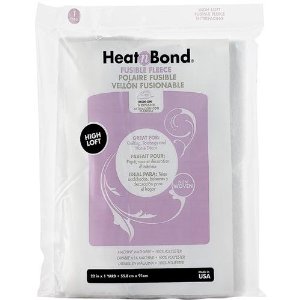
Thermoweb Heat n Bond® Lite
i-spy fabric squares (mine were 4″, and I used 40 of them)
Blue “wet-erase” fabric marker or chalk pencil
Ruler
Iron and ironing board
batting
Spray n Bond®
1 1/4 yard backing fabric
1/2 yard binding fabric
Sewing machine with walking foot
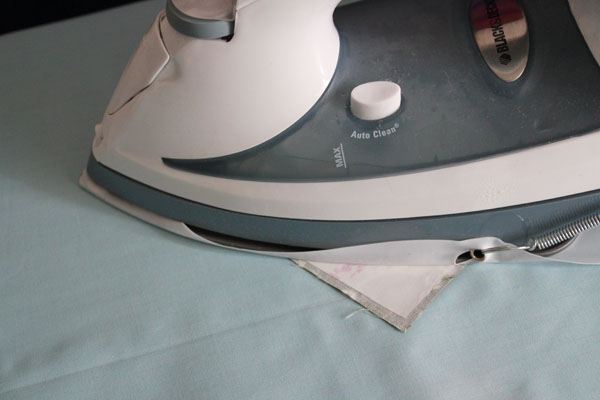
Start by cutting the Heat n Bond®. I needed 40 squares, each 1/4″ smaller than my i-spy squares – so 3 3/4″. Fuse each of these to the back of an i-spy square. It should fit nicely inside each of the squares, leaving a small border.
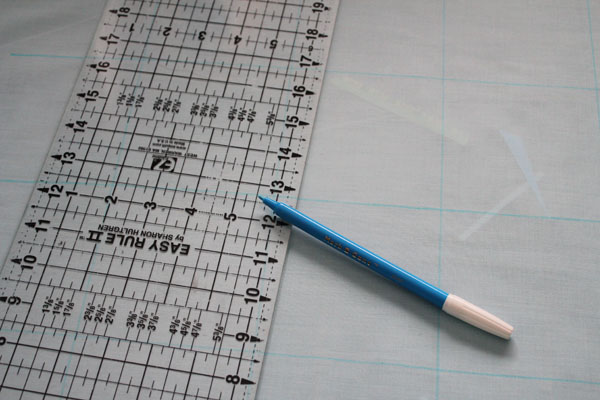
Using the ruler and marker or chalk pencil, draw a grid the size of your squares on your background fabric – my grid had 4″ squares. I chose a plain blue solid, which helped my i-spy fabrics “pop” better than a busy print would.
Peel off the backing paper, and fuse each square onto the grid, making a checkerboard pattern. If any of the squares aren’t exactly 4″, just float them in the square. It won’t even be noticeable when you’re done – I promise!
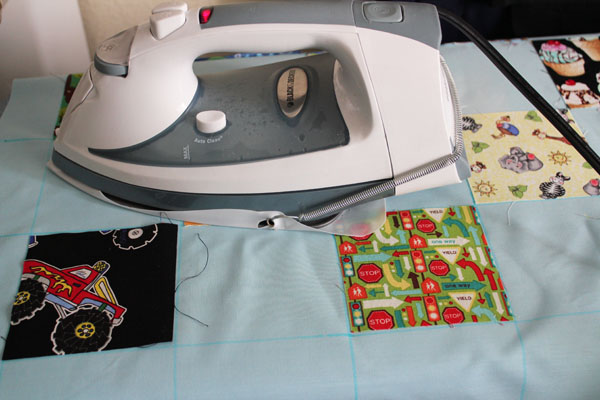
Fusing the squares down won’t take much time at all… and then your top is done! Easy-peasy!
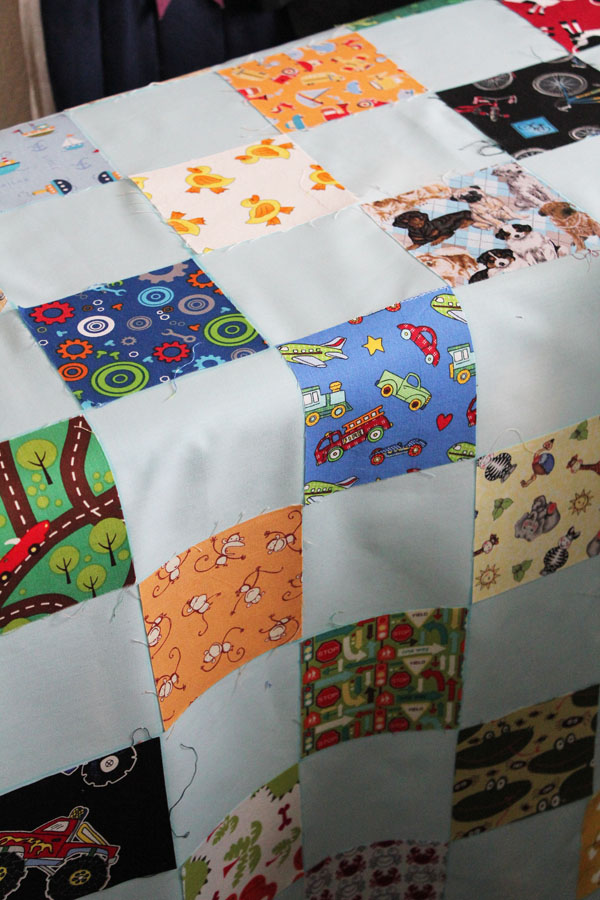
Use Spray n Bond® to baste together the backing, batting, and top. Then quilt down with your walking foot. Stitch rows and collumns about 3/8″ from the edge of the squares. This will secure the edges down, while still giving you a great rag-quilt look after washing. Make sure you stitch down all four sides!
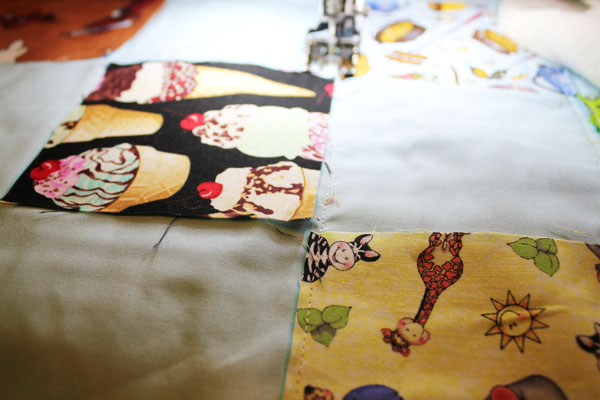
Then quilt down the angles, making an X on each of the squares. At this point, my son crawled on my lap to find all the squares… he loved finding the cars, frogs, airplanes, and more!
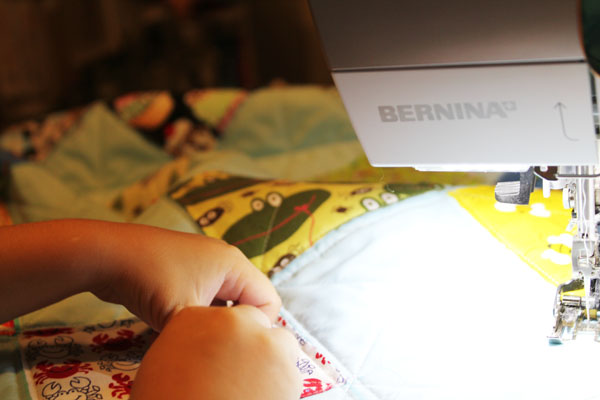
After quilting, trim and bind your quilt.
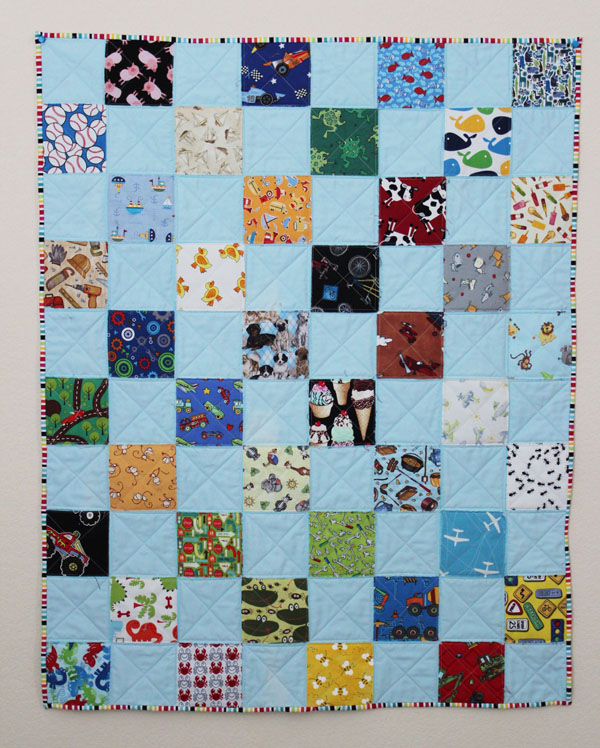
Then throw it in the washer and dryer to get the awesome crinkly, rag-quilt look. When you take it out of the dryer, you’ll notice a lot of fraying.
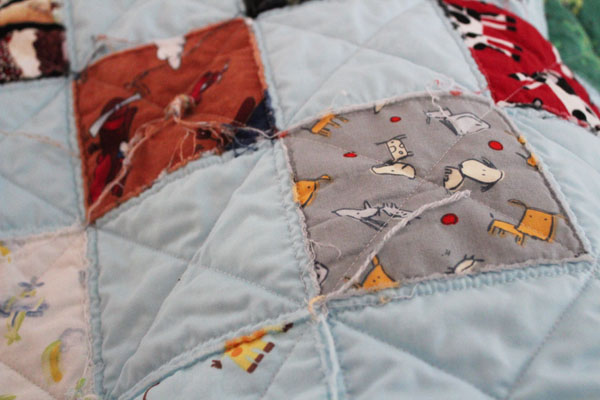
Just trim off the frayed ends, and you’re done! A fast and easy i-spy quilt… without all the tedious cutting and piecing!
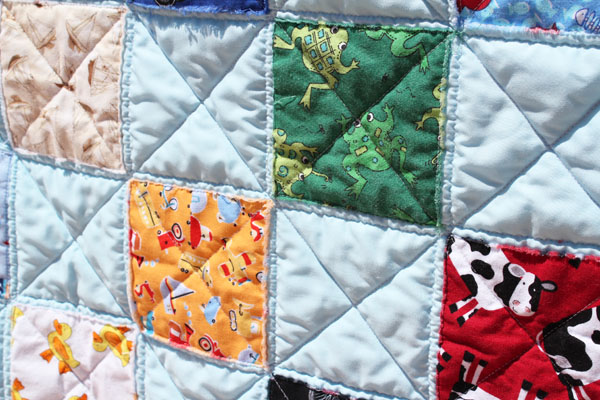
This baby quilt would make a great baby shower gift, and is easy enough for a beginner to make. There is no need to match points or press open seams, and no fancy quilting… just a quilt that will be loved for years to come!
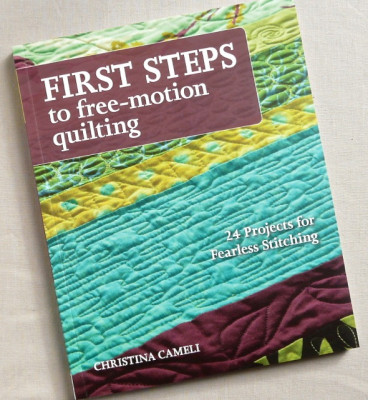
To go along with our fun Quilt Week we’d like to give you a chance to win some fun goodies including this NEW Idea Book from Designer Christina Cameli!



Cecilia
August 9, 2014 at 12:28 pm (11 years ago)Thanks for the great tutorial for a quick gift.
Debbi Crowl
August 10, 2014 at 1:44 pm (11 years ago)I love the quilt as you go quilting. I am just starting to get into quilting and I think that this book would help me out with the free motion quilting. I love the baby quilt with the personalization of the babies name!