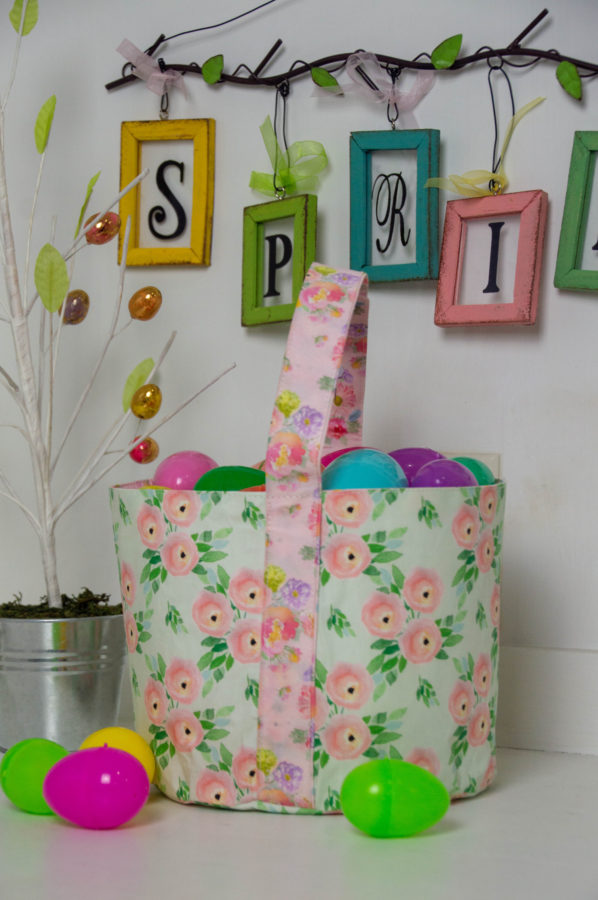
Hi all! Becca here from Sunflower Seams. I recently made the sweetest dress for my newest niece’s Easter dress and had just enough fabric left over to make this matching Fabric Easter Basket. When Easter is over she’ll have a cute little basket to hold her toys, hair bows, books…really anything, this basket can be used for so many things.
Today I’ll be showing you how to make one too! So grab your favorite spring fabrics, download the free pattern below and let’s get started.
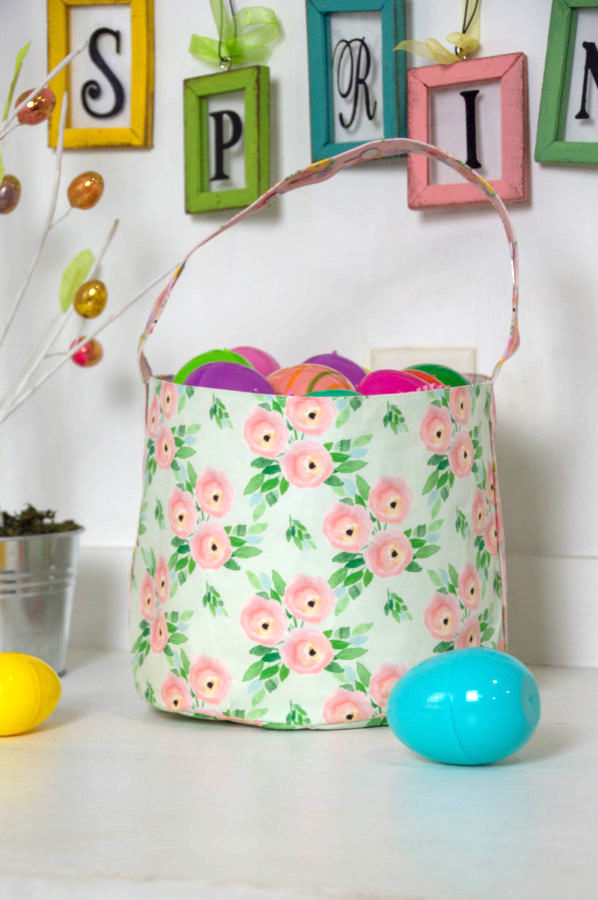
Fabric Easter Basket
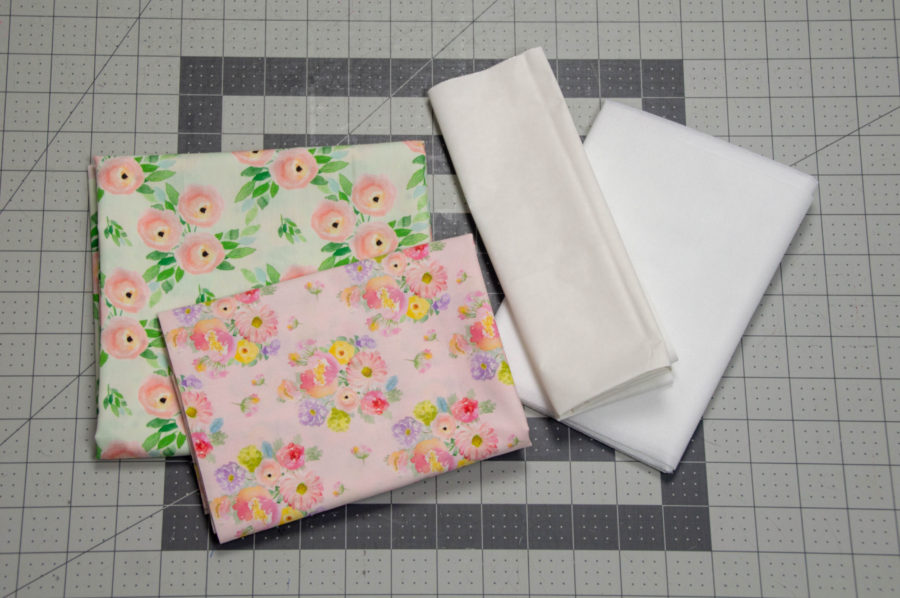
Supplies Needed:
HeatNBond Extra Firm Interfacing
HeatNBond Fusible Lite Interfacing
1/2 yard of Hawthorne Supply Co. Little Awakening for Main Basket and Bottom
1/2 yard of Hawthorne Supply Co. Little Garden Party for Lining Basket and Bottom
5″ x 30″ piece of Hawthorne Supply Co. Little Garden Party for Basket Handle
Fabric Fuse/ Tape
Fabric Easter Basket Instructions
Seam Allowance is 1/2″
Step One: Tape or glue your pattern pieces together. The pages will overlap exactly 1″. Cut out your pattern pieces.
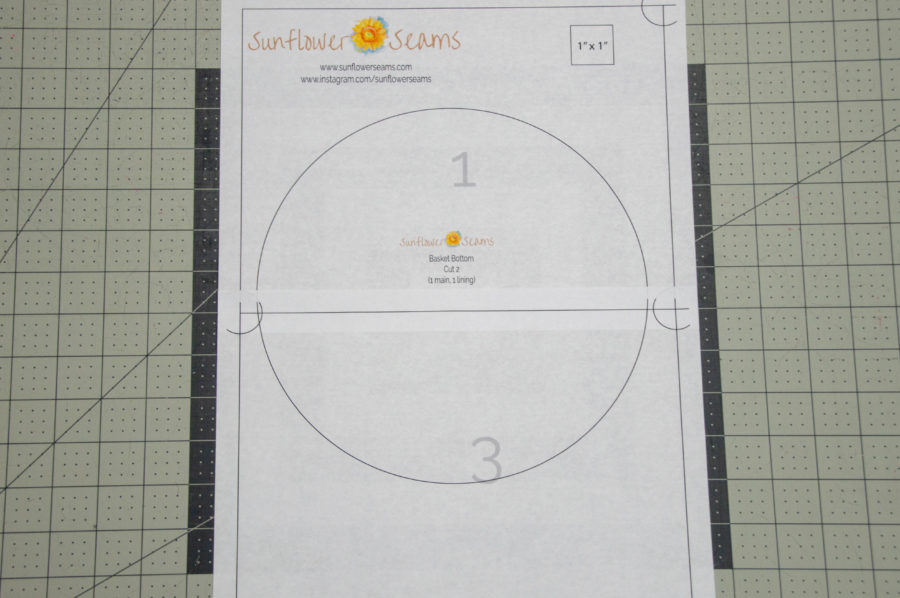
Step Two: Cut out your fabric as follows:
Main Fabric: Cut 1 basket bottom, 1 basket side
Lining Fabric: Cut 1 basket bottom, 1 basket side, 1 5″x30″ strip for the basket handle
Extra Firm Interfacing: Cut 1 basket bottom, 1 basket side, 1 5″x30″ strip for basket handle
Lite Interfacing: Cut 1 basket bottom, 1 basket side
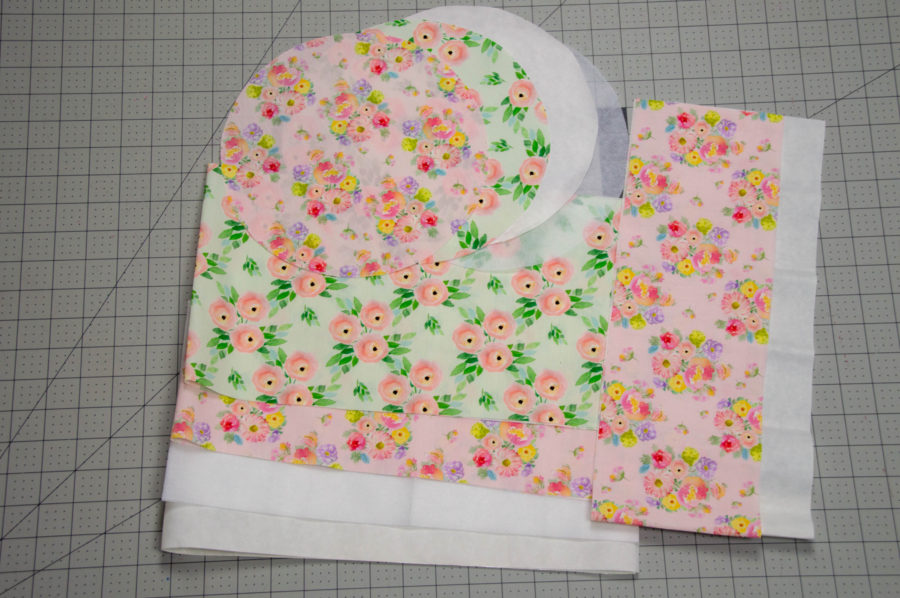
Step Three: Press the Extra Firm Interfacing to the wrong side of the main basket bottom, basket handle and main basket side according to the package directions. Repeat this step with the Lite Interfacing and Lining pieces.
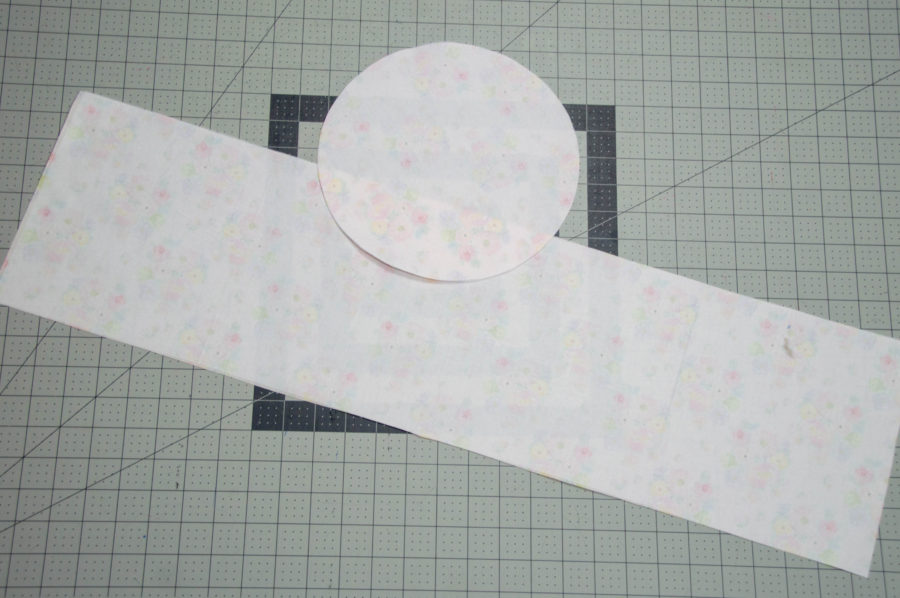
Step Four: Fold the lining basket side in half widthwise, right sides together and pin. Sew down the seam. Press seams open. Repeat this step with the main side piece.
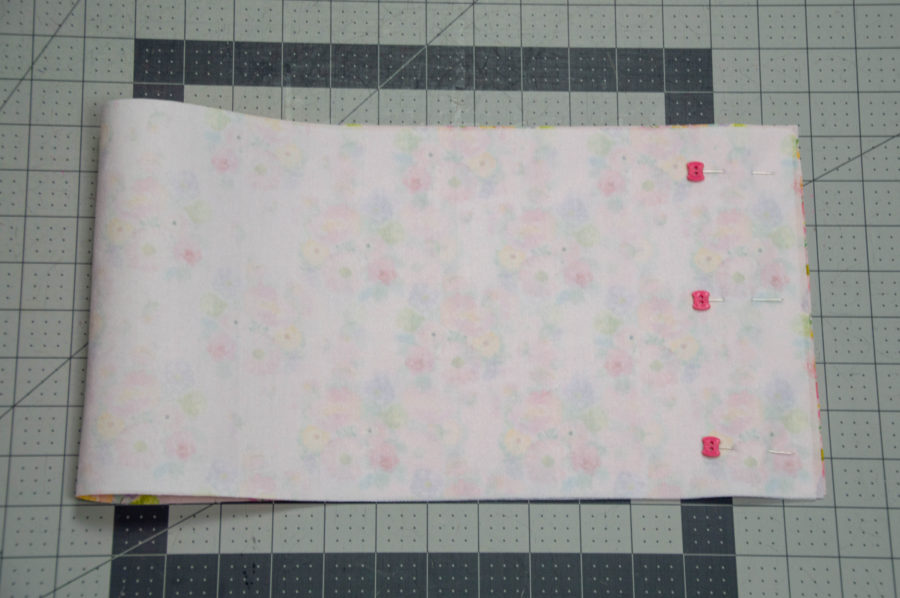
Step Five: Carefully pin the lining basket bottom to the lining basket side, right sides together. Stitch all the way around the bottom. NOTE: Do not repeat with the main basket piece.
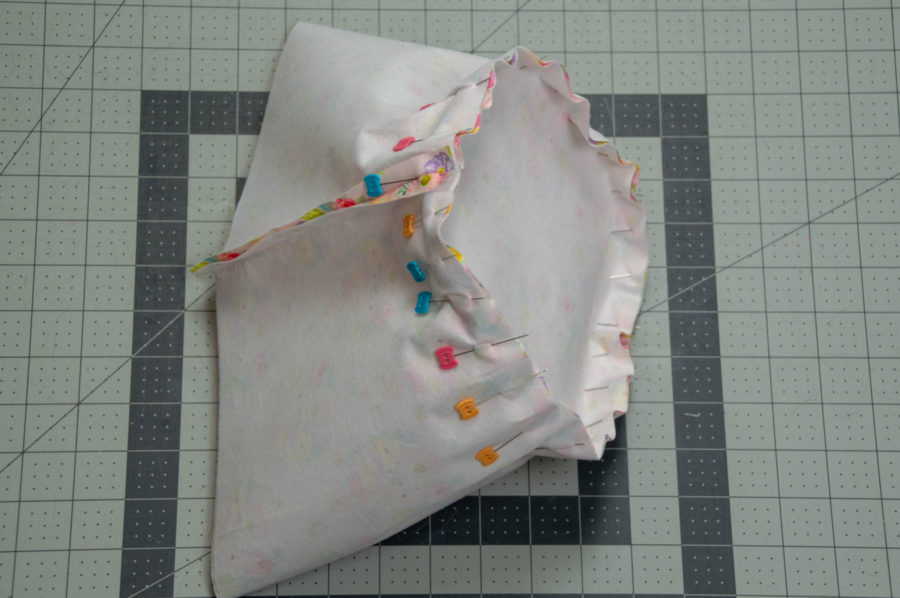
Step Six: Fold the basket strap in half lengthwise, wrong sides together and press. Unfold. Using the crease you just made, fold the long raw edge towards the center and press. (You can skip to step 8 if you don’t want a handle).
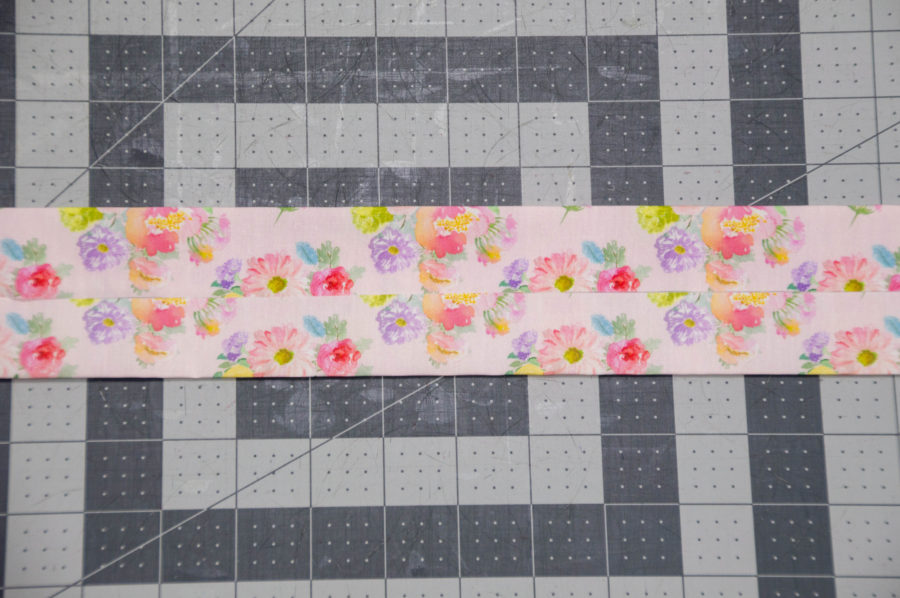
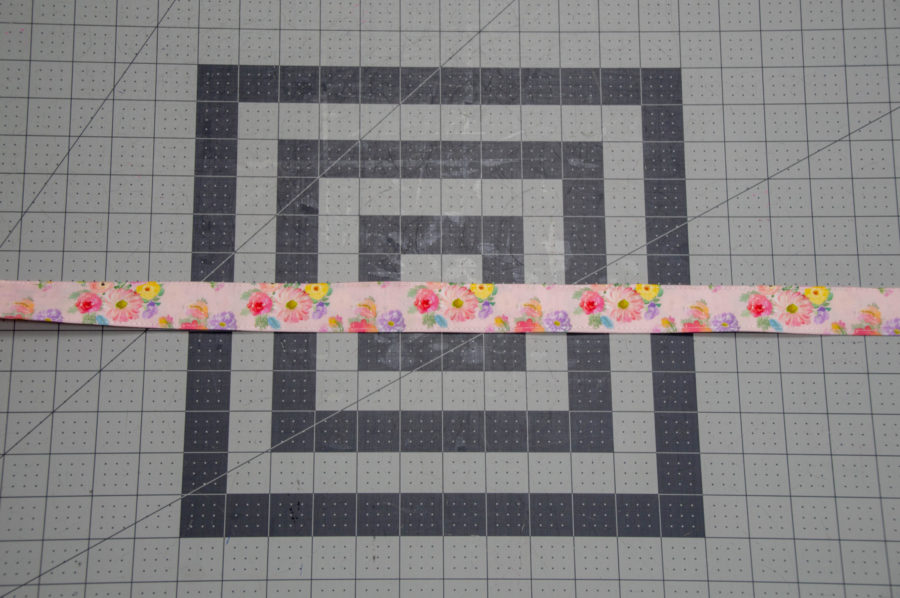
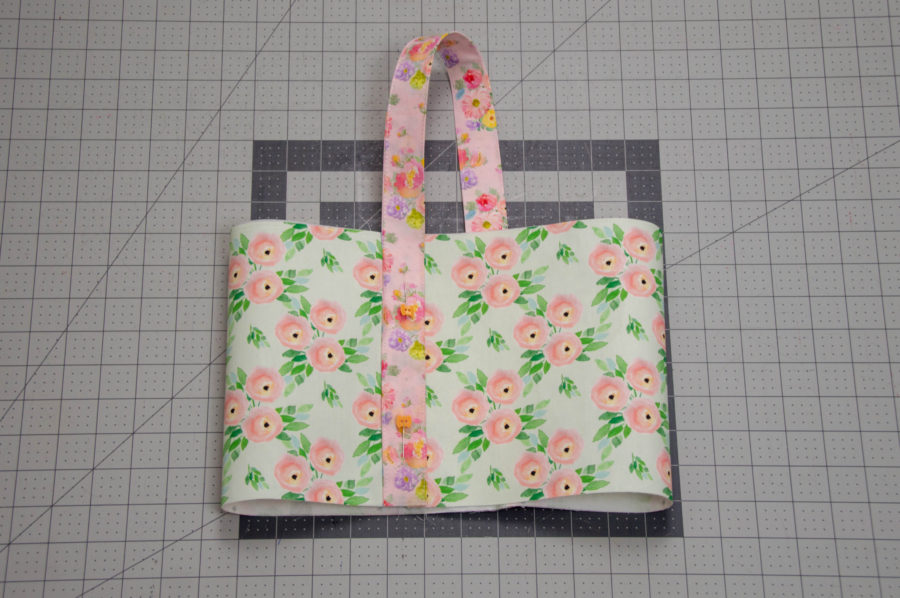
Step Seven: Fold the main basket in half at the seam to find the center and mark with a pin. Place the center of the basket handle over the seam and pin in place. Repeat this step for the center mark. Topstitch both sides of the basket handle to the main side, stopping 1″ from the top of the basket.
Step Eight: Carefully pin the lining basket bottom to the lining basket side, right sides together. Stitch all the way around the bottom.
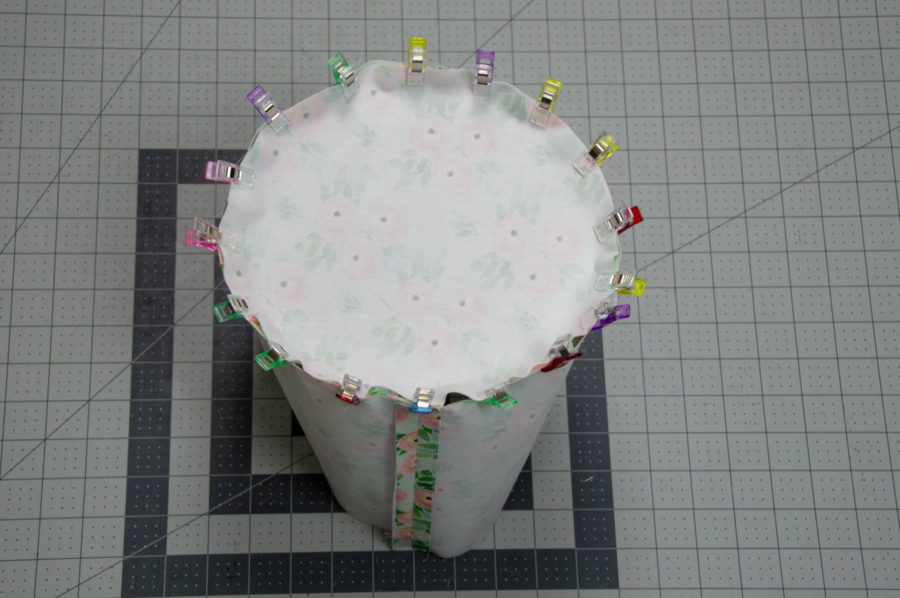
Step Nine: Place the lining basket inside of the main basket, right sides together. Pin in place. Stitch around the top of the basket leaving a 2-3″ opening.
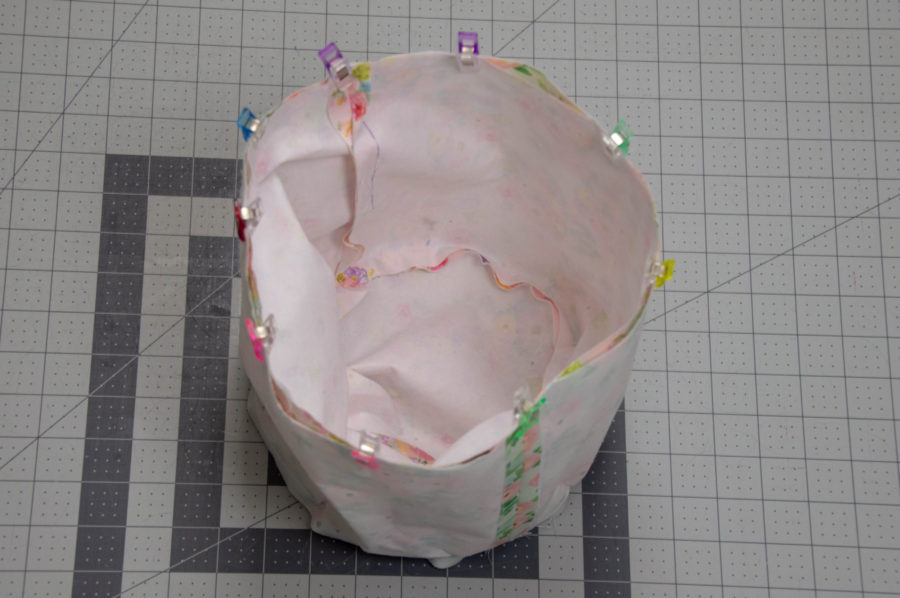
Step Ten: Using the opening you left in step nine, carefully pull the basket right side out. Press well.
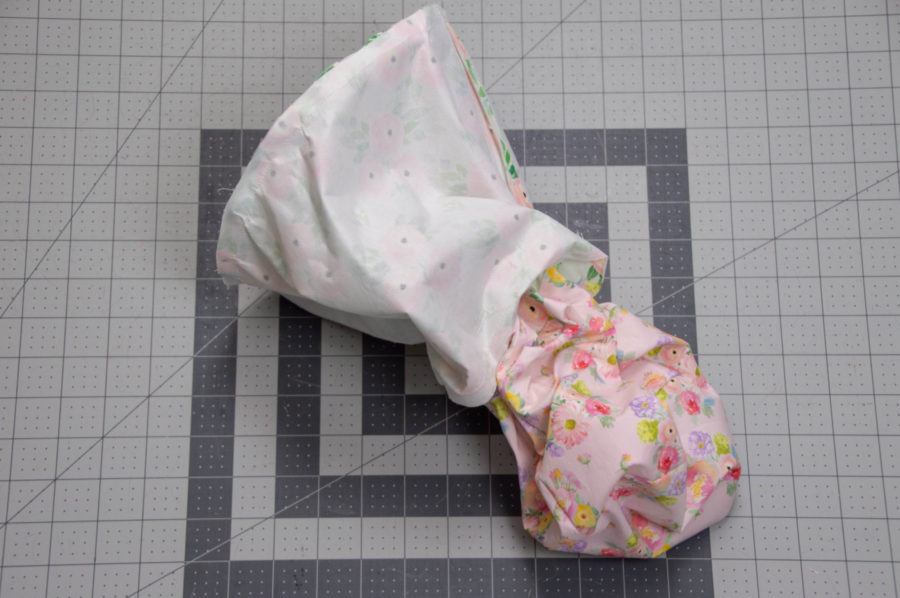
Step Eleven: Topstitch all the way around the top of the basket 1/8″ away from the top edge to close the opening. Finish topstitching the basket handles to the basket.
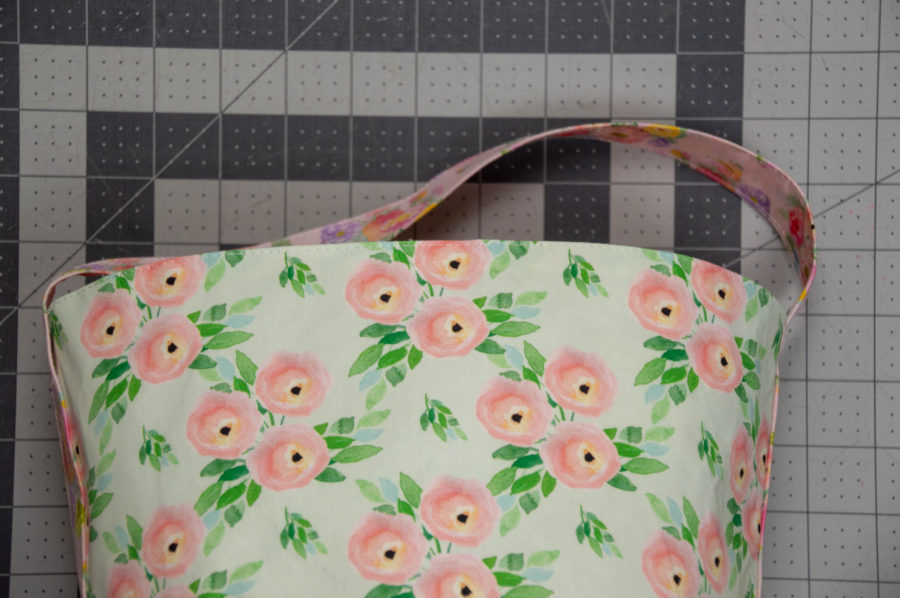
Step Twelve: Fill the basket with goodies for someone special!
Happy Sewing!
xoxo, Becca
