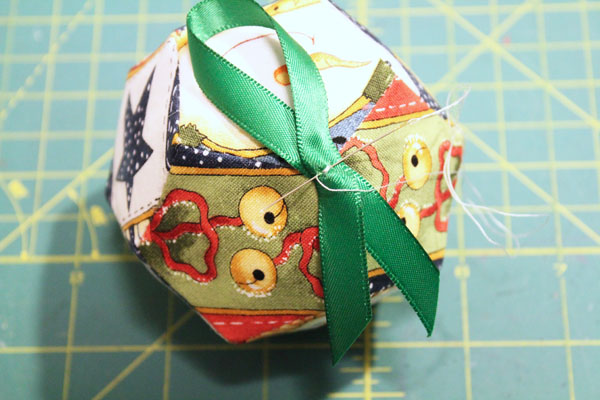
I love having a small project to take in my purse for times when I’m stuck waiting – car pool, appointments, or when the baby falls asleep on the way to the store, and I don’t want to wake him. English Paper Piecing is the perfect little to-go project, and this ornament can be made fairly quickly, with just a few supplies.
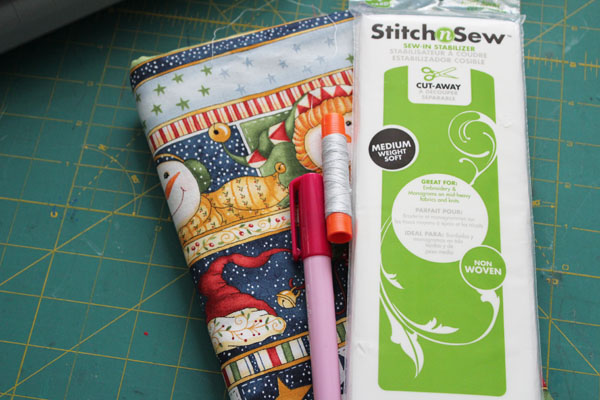
To make this ornament, you’ll need:
Thermoweb StitchnSew™ Cut Away Medium Weight Interfacing
Holiday Fabric (Fabric Scraps work well)
Glue Stick
Needle and Thread
Polyfill (optional)
Ribbon for hanging loop
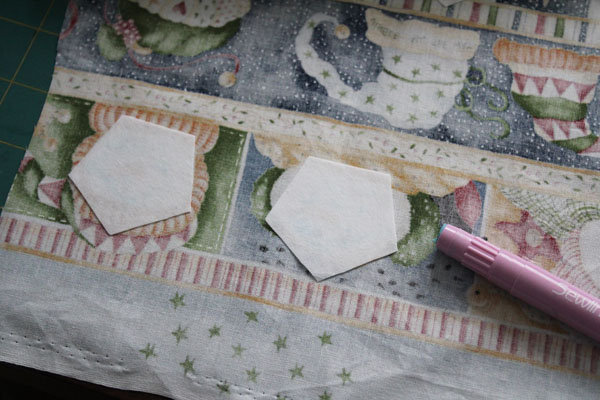
Start by cutting out pentagons from the interfacing. They should all be the same size, between 1-2″ is a good size. You’ll need 12 Pentagons per ornament. Glue them to the wrong side of the fabric using a glue stick or Liquid Fabric Fuse. You can carefully position them to get specific designs in the fabric.
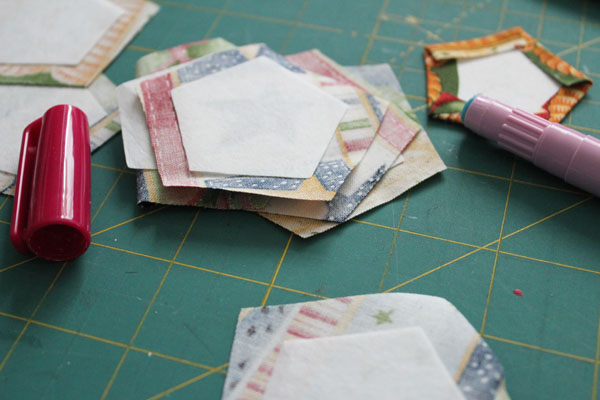
Cut 1/4″ away from the pentagons on all sides. Glue in the sides using the glue stick.
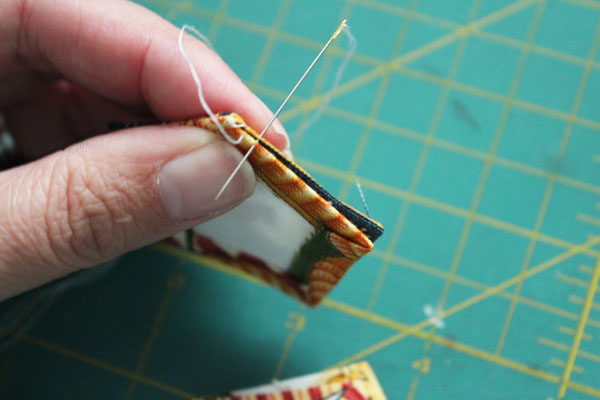
Take two pentagons, right sides together, and stitch the edges together, English Paper Piecing style.
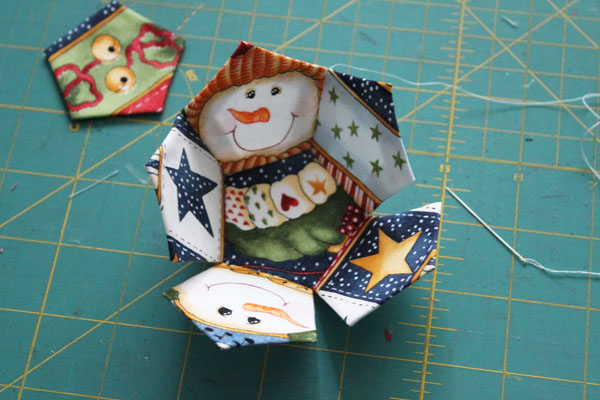
Stitch 5 pentagons around a sixth pentagon.
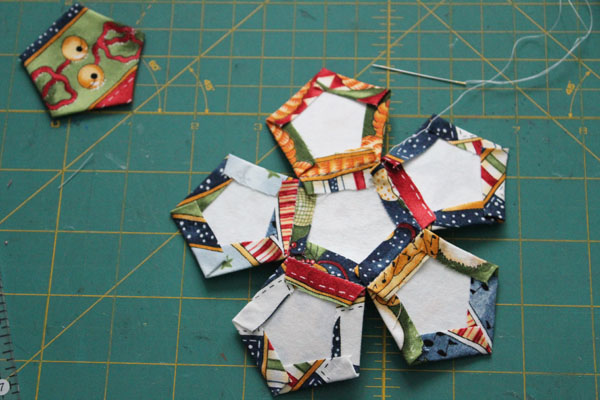
Stitch the edges of the sides together to make a bowl shape. Stitch all 5 outer pieces together to complete one half of the ornament.
Repeat these steps with the remaining 6 pentagons to make a second half.
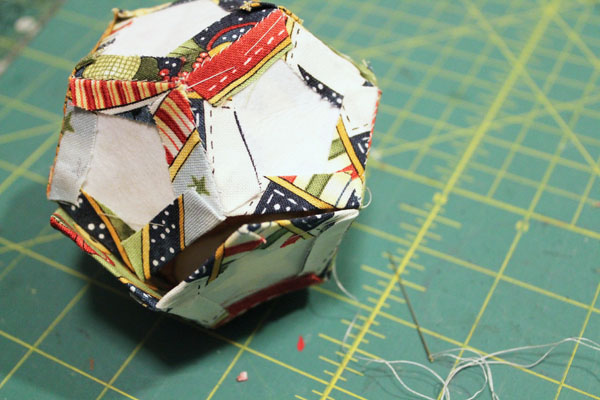
Put the two halves together, and start stitching them all the way around the middle.
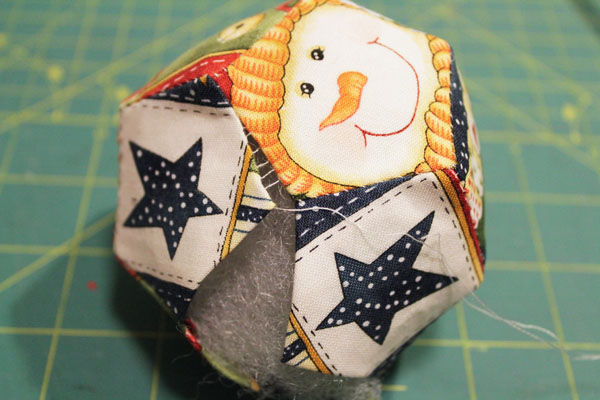
When you have four seams left, turn the ornament right side out. You can fill with Polyfill at this point, if you like. Use a ladder stitch to stitch the opening closed.
Cut a piece of ribbon, and stitch in place.
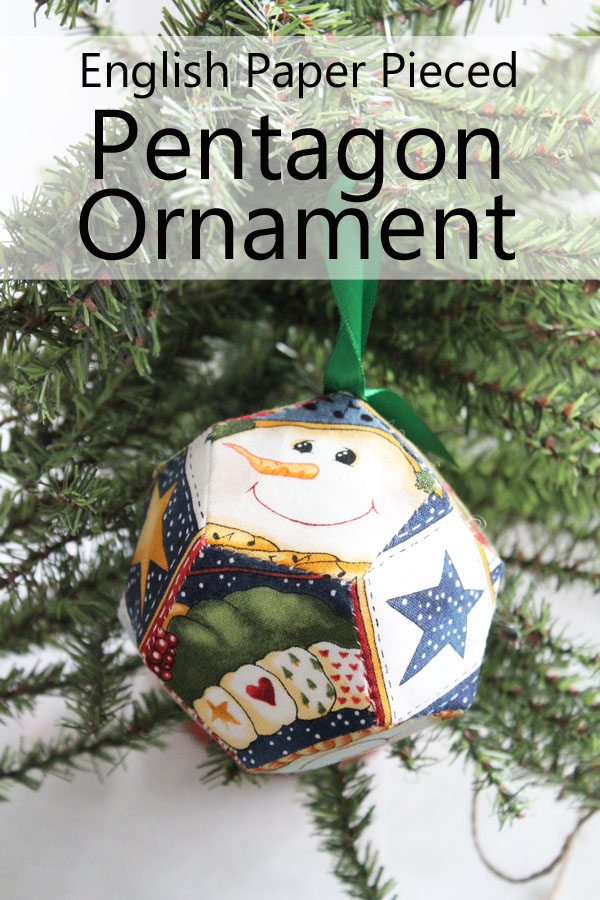
Your ornament is done! Hang it on the tree!

