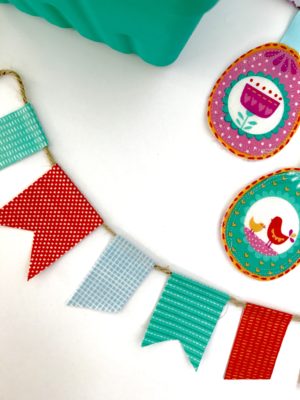
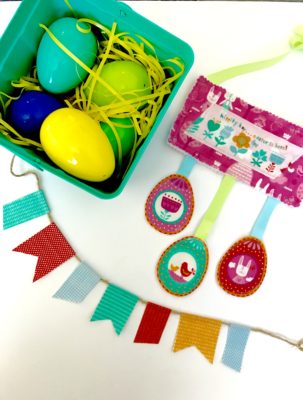
Hoppy Holidays friends! I’m so excited to share with you two of my spring/Easter themed projects! Moda Fabrics was so kind to send some fabulous prints and when I received my fat quarter bundle my eyes went all hearts and bunnies with possibilities. I love love love washi tape and have been trying to find a way to make a fabric washi style project and finally, I figured it out! So let’s fall down the bunny hole and get all springy…
Easter Sign and Washi Tape Banner with Heat n Bond
Supplies:
Thermoweb Heat n Bond Ultrahold
Thermoweb Fusible Fleece
Fat quarter bundle of Moda Fabrics Spring Bunny Fun by Stacy Iest Hsu (this will make the projects for this post and my second easter post as well!)
Pastel Ribbon (mine came from the dollar section at Target)
Rope for banner
Aurifil Dove MK50-2600
Oliso Smart Touch Iron
Additional Supplies: Pinking Shears, Scissors, Rotary Cutter, Rulers, Thread, Needle, Pins, Sewing Machine
Washi Banner Instructions:
Take one of the fat quarter patchwork pieces and iron it well. Cut a piece of HeatnBond Ultrahold 18” x 21”. Following the instructions iron on the HeatnBond to the back of the fat quarter.
Let your fat quarter cool completely. Once it is completely cool, cut strips down the width of your fabric ranging from 1 1/2” to 3”. You will now have long strips with the different patchwork pieces in it. Take that long strip and cut it where each patchwork strip starts. Now you will have a bunch of 5” strips of washi fabric tape.
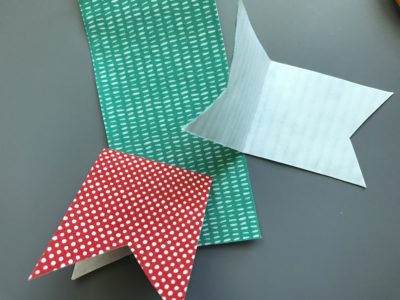
Here’s where the real fun begins! Take each piece of washi tape and fold it in half wrong sides together. When it is folded cut the raw edge end in a diagonal or v shape. Play around with lengths and cuts.
Take your rope and cut it to your desired length. Since mine is going on a pegboard I cut mine to be about a foot long. Now take the folded washi pieces and place them around the rope with the folded edge wrapping the rope. Each washi piece will be about a 1/2” to 1” apart depending on your style.
Once you have picked the order you want it to go in, simply remove the backing of the heat n bond ultra hold and iron the pieces together. Iron one at a time starting on the edge. Tie off each end of your rope and hang!
Easter Banner Instructions:
Pick out one fat quarter to be your main banner print and one print with the easter eggs on it. Iron well. For this project, you will be using the super cute selvage edge of the fabric.
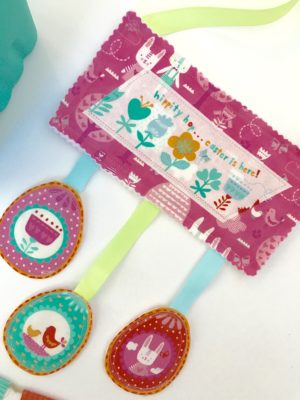
Cut the selvage into a 3-inch strip, centering the words in the middle. Cut a piece of heat n bond ultra hold 3” by the same length as your selvage and fuse it to the back of your selvage. Now trim down your selvage piece just past the saying on each side by about an inch. I chose to do a diagonal cut to match my washi banner, but you could also cut it straight on each side of the saying.
Cut a 7 1/2” by 14” piece of fabric from your main banner print. Cut a piece of fusible fleece the same length (7 1/2” by 14”) and fuse it to the back of the main print. Now cut this into three sections. Two 7 1/2” by 4 1/2” pieces for the main banner and then the remaining will be for the back of the easter eggs. Using your pinking shears cut around all four edges of your two 7 1/2” by 4 1/2” pieces.
Take your Easter egg print and pick out three eggs of varying styles and cut them out in a 3” by 4” square. Cut three 3” by 4” pieces of heat n bond ultra hold and fuse it to the back of each of your Easter eggs. Cut out each Easter egg around the edge.
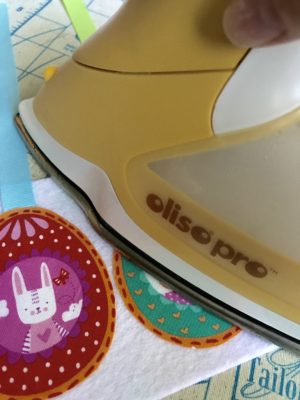
Cut three pieces of ribbon for your Easter eggs (3”, 5”, 4”). Lay down your remaining piece of main fabric down with the fleece facing up. Place the eggs on top and trace around each. Cut the fleece eggs out. Layer the fused fleece fabric egg, a ribbon placed one inch in from the top, and the egg together. Remove the fused backing of the egg and iron. Now top stitch around the entire egg twice to secure the ribbon.
Take one of your main banner pieces and your cut selvage saying. Iron the saying to the center of your front banner piece. Sew around the saying once with a top stitch to give it a finished look.
Cut two pieces of ribbon 10” each. You are now going to layer everything together to create your banner! Place the back banner and front banner piece wrong sides together on your table. Place the two 10” ribbon pieces on the edge of each of your top corners diagonally so that when you tie them together they will lay right (use the final photo as a guide). Now place the egg ribbons on the bottom. Place one in the center and then measure two inches on each side and place the remaining egg ribbons there. Pin down all five ribbon pieces. Topstitch around the entire parameter of the banner twice. This will give it a great sturdy structure.
Hang both banners and you are ready for Spring!
Happy Spring and happy sewing!
Kristen Wright of Two Blondes and a Sewing Machine
 March is National Craft Month and National Quilting Month and we want to offer you a chance to win some fun supplies!
We have two prizes to give away this week…one is perfect for the fabric crafter and the other the paper crafter!
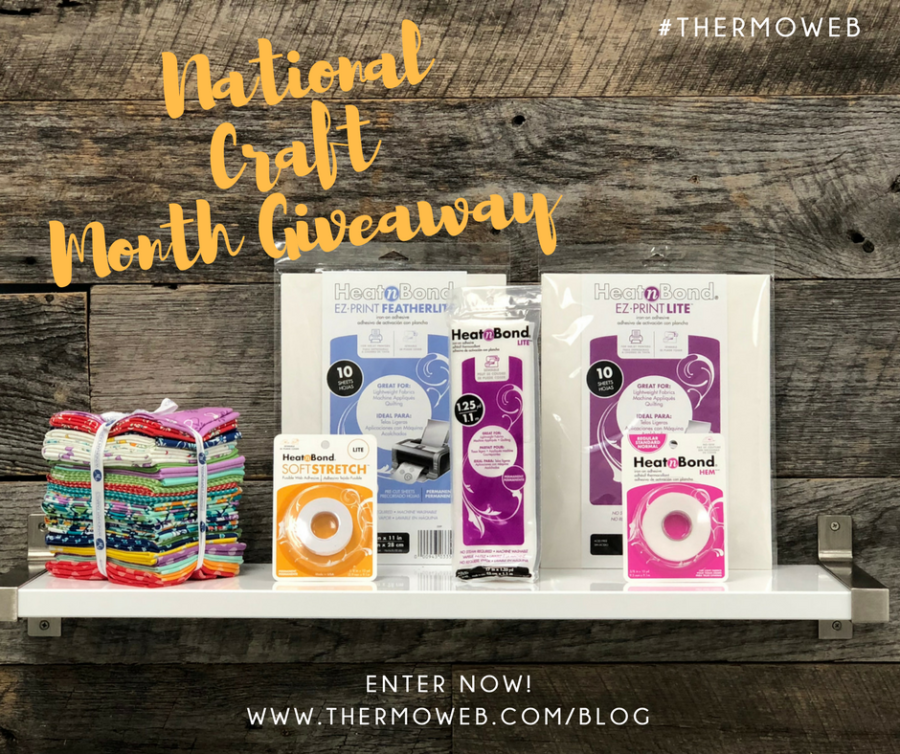
This prize contains adorable Hello Jane fabrics from our friends at Windham Fabric along with must-haves in any craft room! We’ve included our HeatnBond Lite Fusible Adhesive, Heatnbond Hem Tape, HeatnBond EZ Print Sheets in Lite and Featherlite PLUS our HeatnBond Soft Stretch Hem Tape!
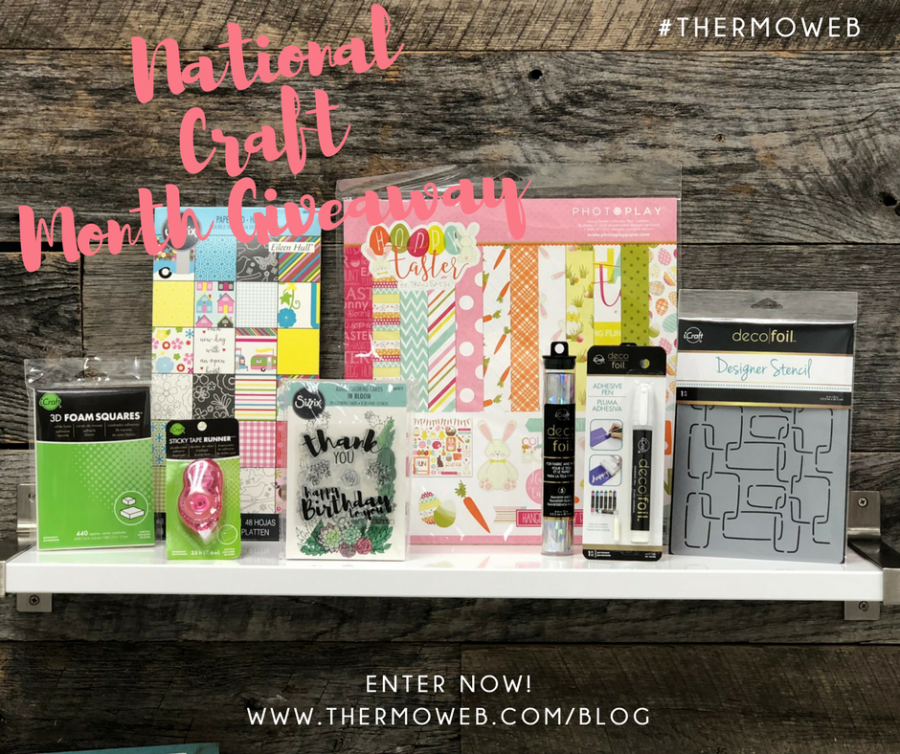
Our paper prize has lots of good things! Sizzix paper pad, coloring pad and stamps, Photo Play Ppaer Hoppy Easter paper kit, Deco Foil Transfer Sheets, Adhesive Pen and our NEW Designer Stencil plus 3D Foam Squares and our favorite Mini Tape Runner!
Follow the Rafflecopter steps to get yourself entered to win! We’ll pick two winners to send these goodies out to!

Betsy Roux
July 10, 2018 at 3:17 pm (7 years ago)Great idea!