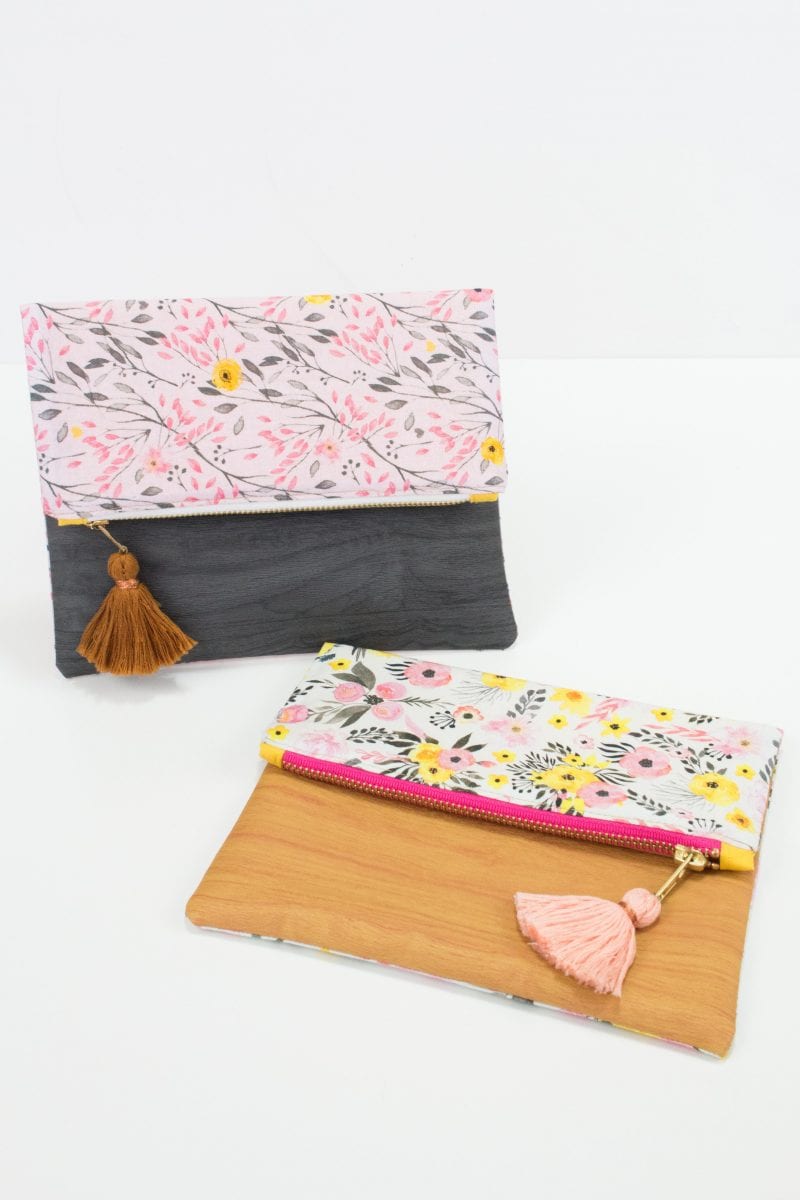
Hi, It’s Kimberly from Sweet Red Poppy! I can’t wait to share this fun bag tutorial with you today!
It’s super stylish and it’s the perfect bag to take with you for a night out on the town! Did I mention it takes less than an hour to make?
Sew a Stylish Fold-Over Clutch Bag with HeatnBond Ultrahold
 Sew a Stylish Fold-Over Clutch Bag Instructions:
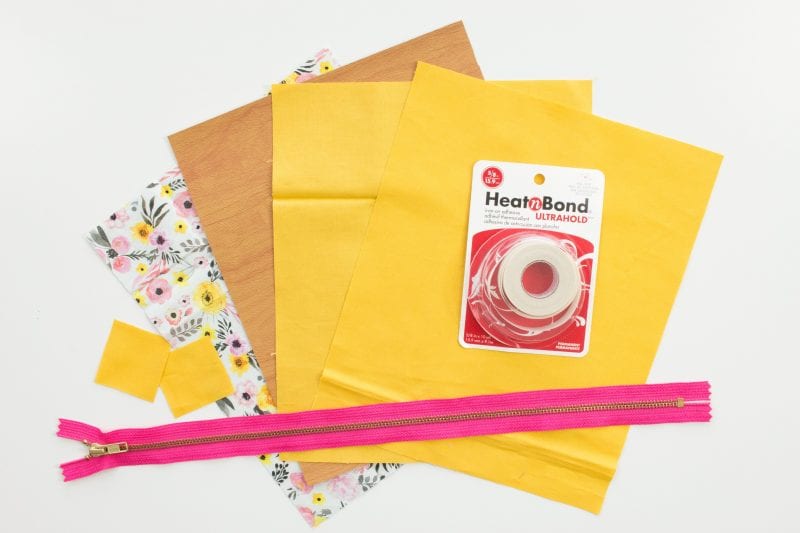
Begin by cutting the two outer and two lining pieces of fabric to 9 1/2” x 11”.
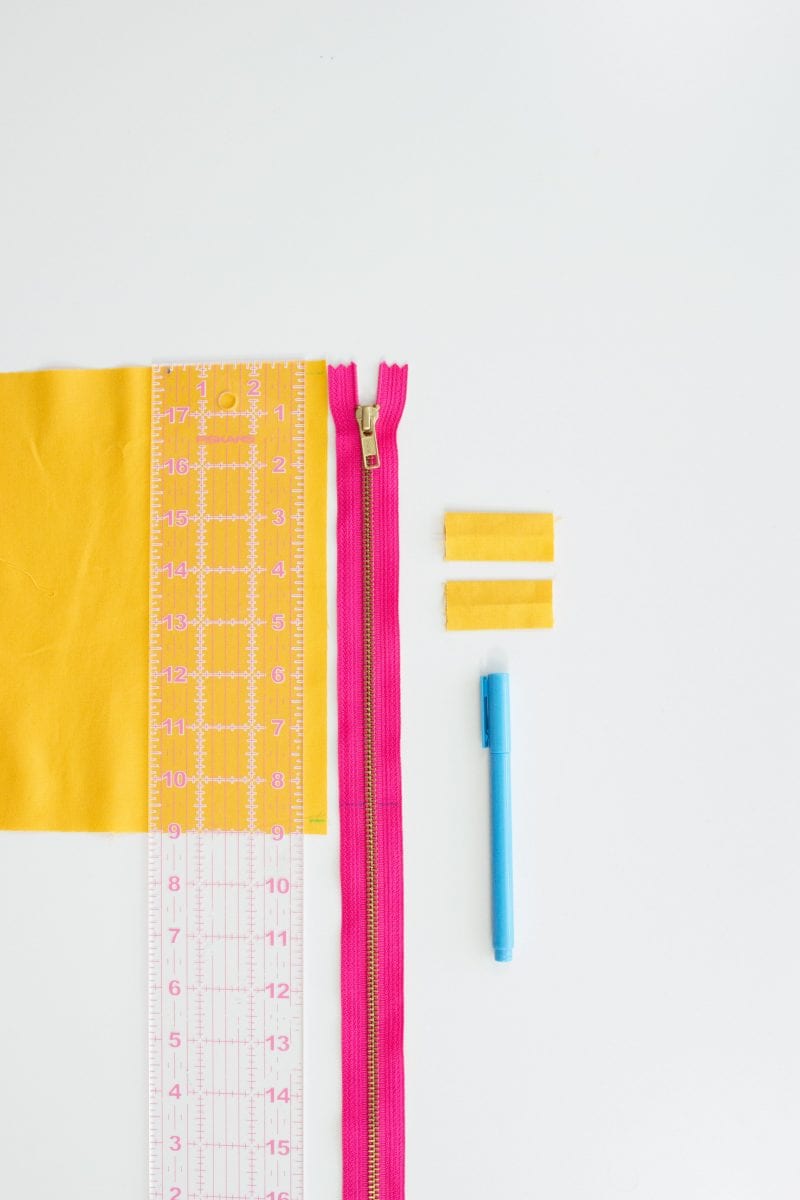
On the lining fabric (the shorter side) mark 1/4 inch in from the edge of the fabric on both sides.
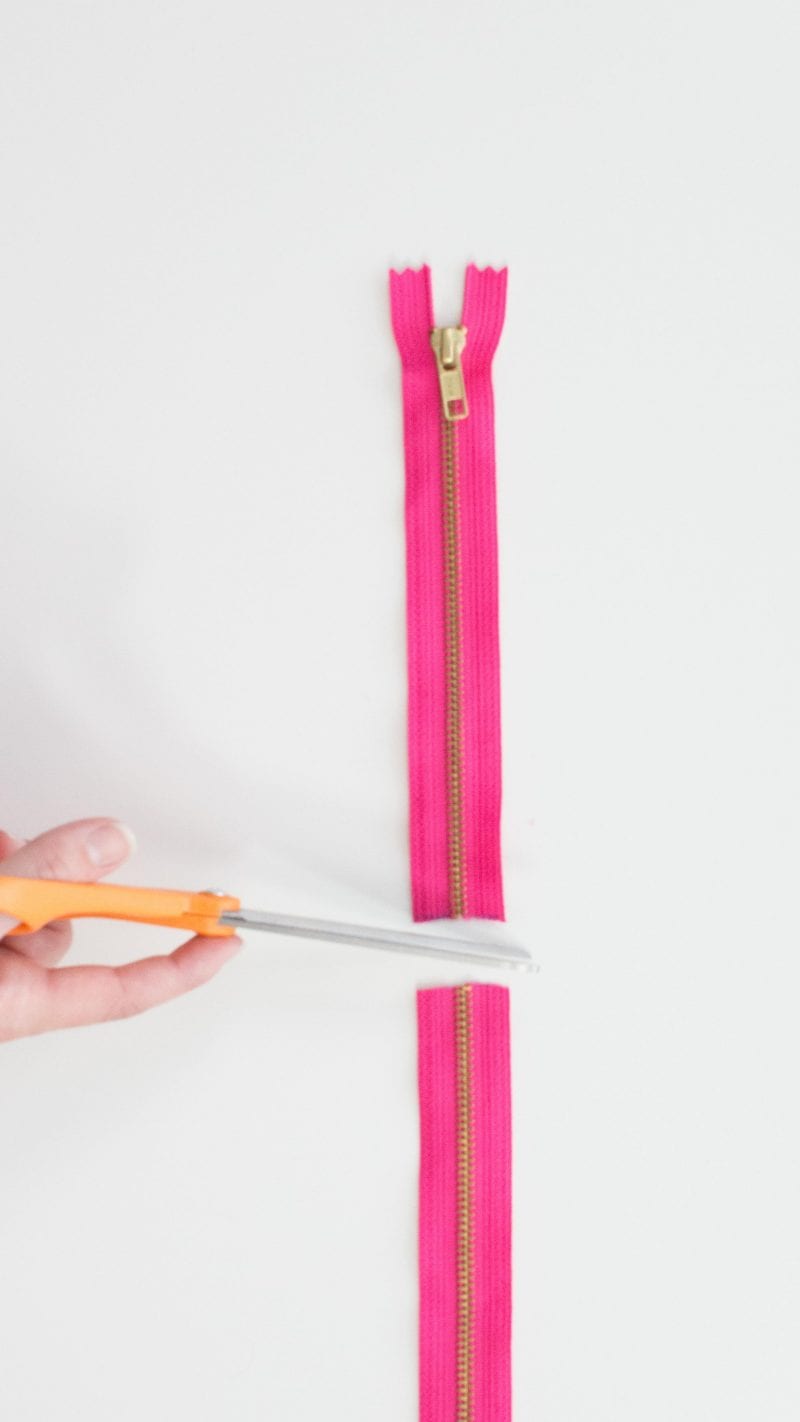
Place the zipper by the fabric and trim a small amount from the top of the zipper and enough from the bottom that it lines up with the line you just drew.
With a needle and thread sew 1/4 inch from the edge to secure the zipper teeth together.

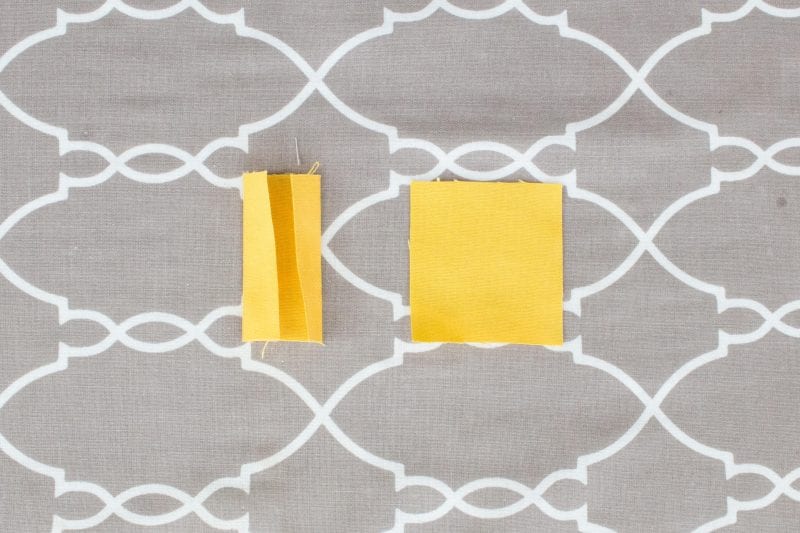
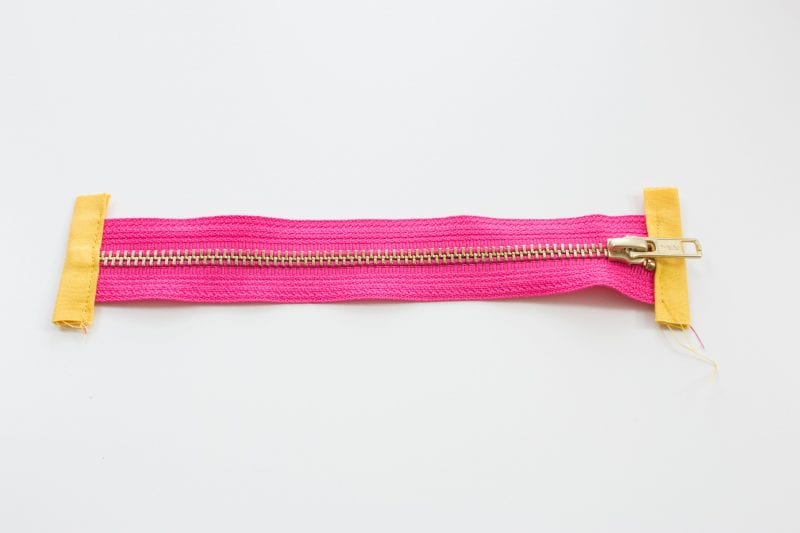
Cut two pieces of fabric 2”x2”. These squares will be used for the zipper tabs.
Fold the squares in half and press, then bring the outer edges to the middle to create a double fold bias tape and press again.
Open the bias tape and sandwich the zipper tab inside. Pull the zipper out of the way and line either side of the zipper tape as close together as possible.
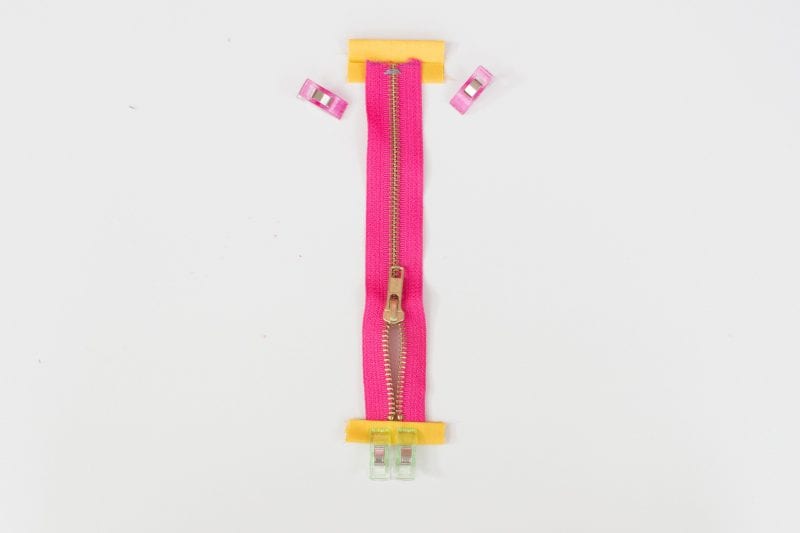
Use clips to hold the bias tape in place.
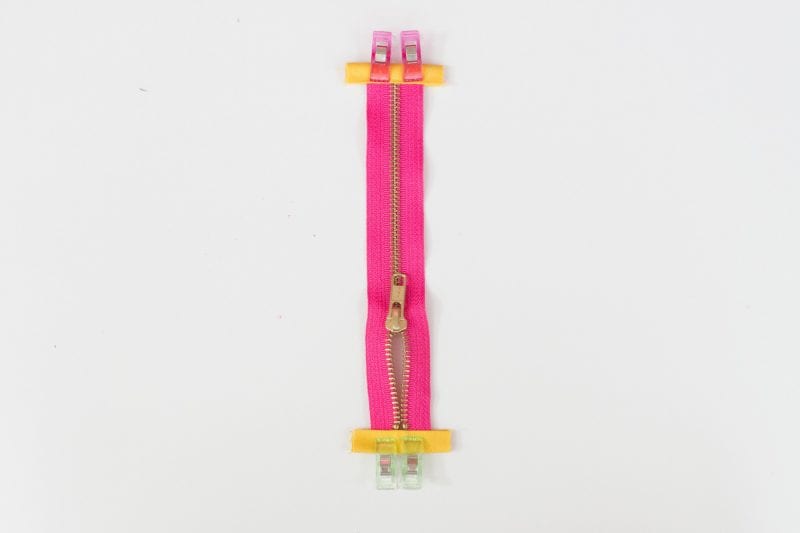
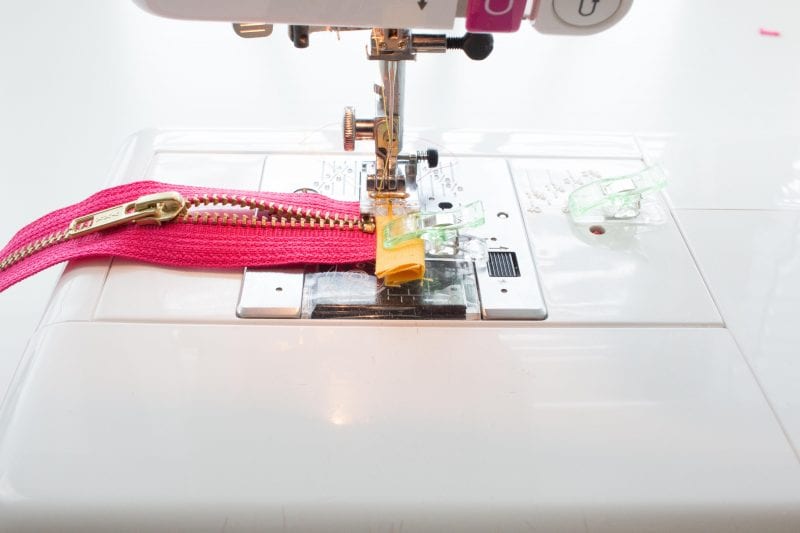
With a 1/4 inch seam allowance sew along the edge of the bias tape securing it to the zipper.
If you are using a zipper with thick coils you may want to switch to a sturdier needle or hand crank the needle as you go over the coils.
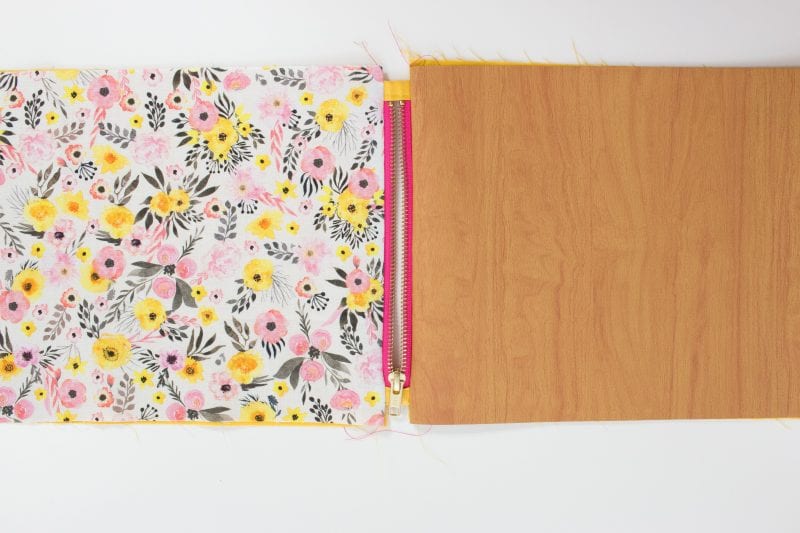
Lay the faux leather face up on the table in front of you. Place the zipper face down and centered on top of the faux leather.
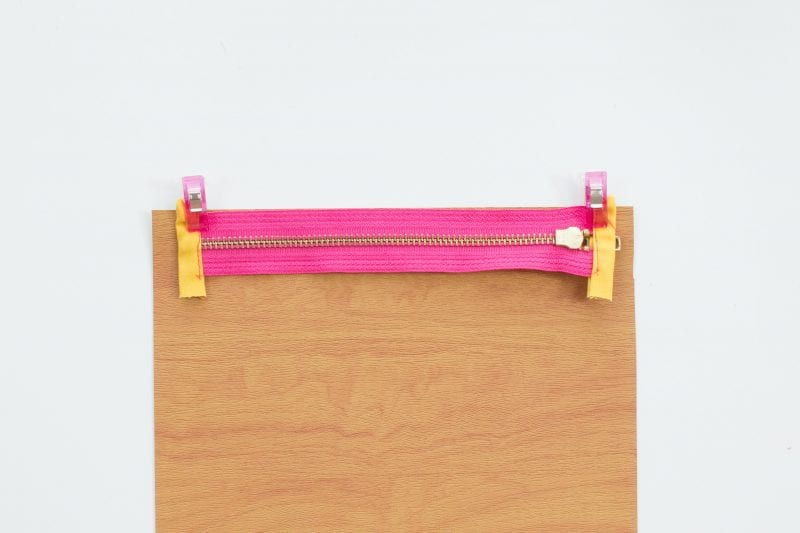
Take the lining fabric and place it on top of the zipper and leather.
Clip all three layers together making sure that all three edges are perfectly aligned.
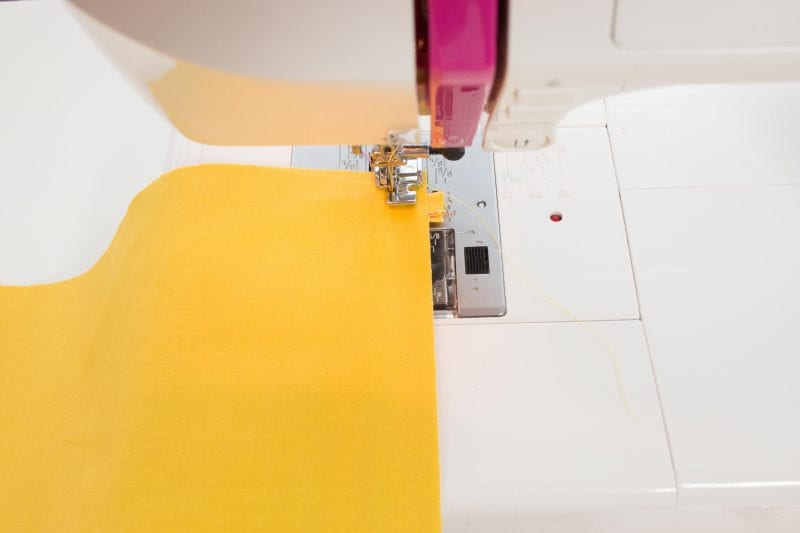
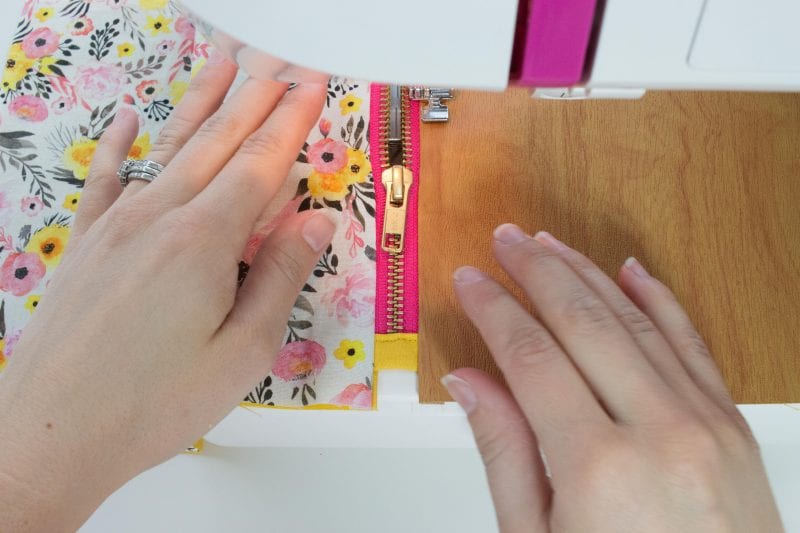
Switch out your normal presser foot to a zipper foot.
Since I like to have a bit of the zipper exposed for a pop of color I like to sew further away from the zipper than I normally would. If you want to hide the zipper tape align the presser foot with the edge of the zipper.
Sew the three layers together and be careful to keep the seam allowance consistent the entire time.
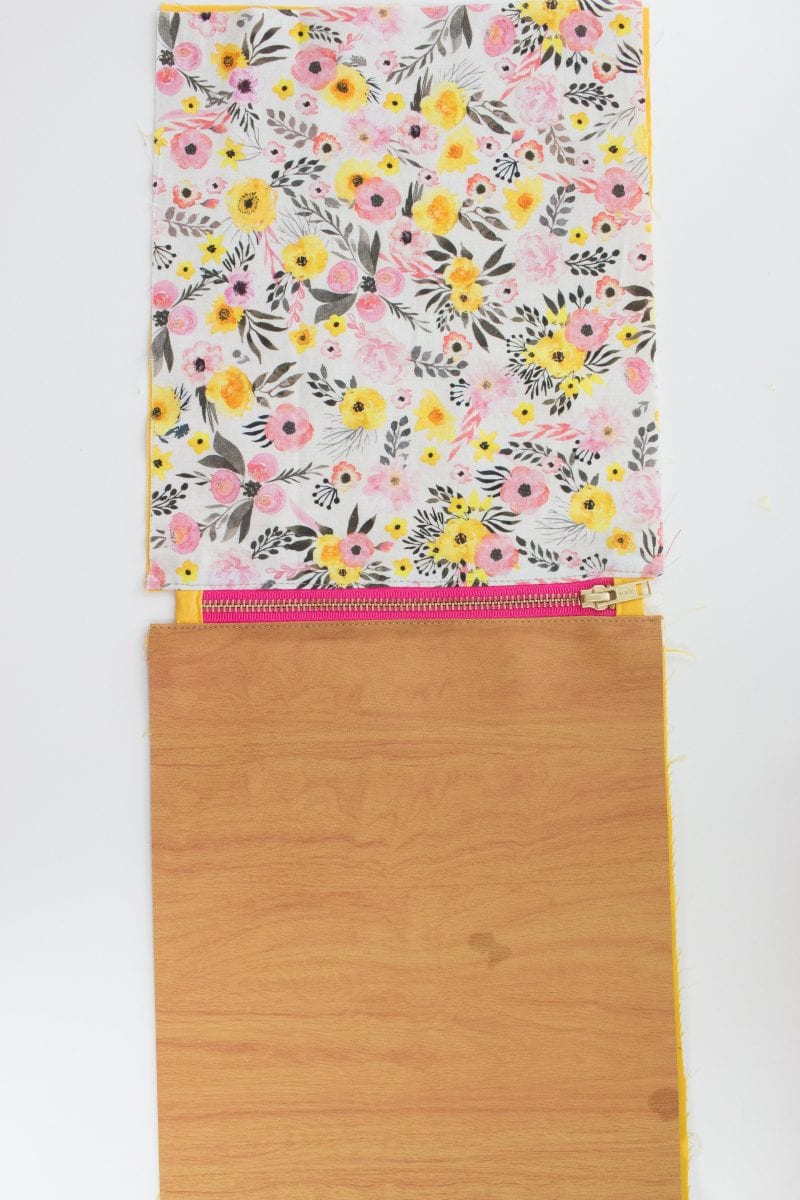
Lay the second outer fabric face up and repeat this entire process.
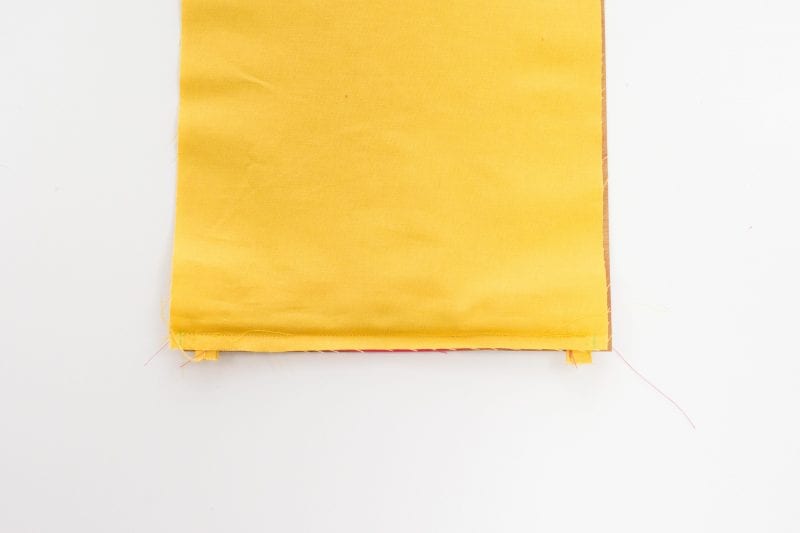
Once both sides of the bag have been sewn you will need to press them flat with a hot iron. If you are using faux leather be sure to use a pressing cloth to avoid burning the leather.
Now it’s time to topstitch. Increase your stitch length to a 3 and sew 1/4 inch from the edge. I like to use an edge stitching foot to get a perfectly straight line.
You will be topstitching through the main fabric and the lining. Repeat on the opposite side.
Once you come to the zipper put your needle in the down position raise the presser foot and pull the zipper to the opposite side.
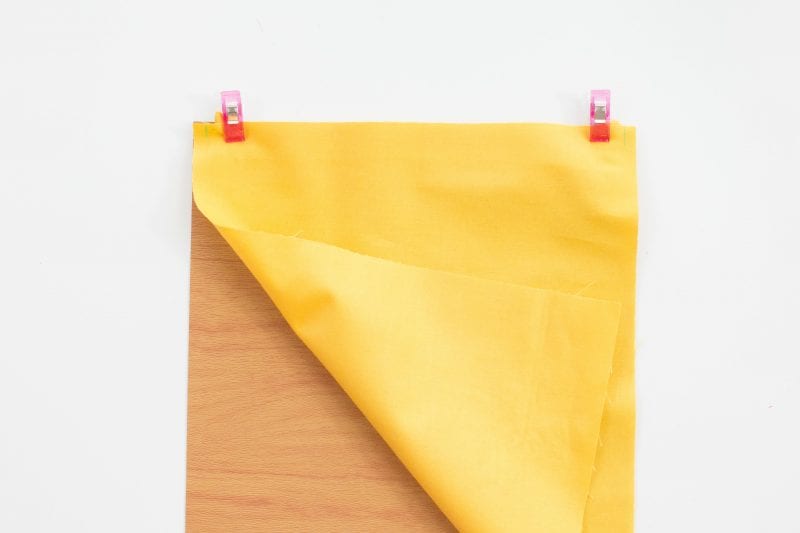
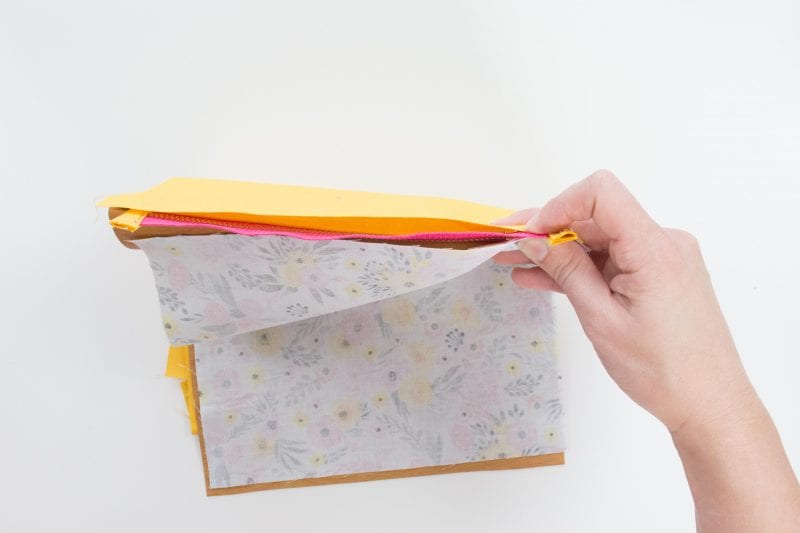
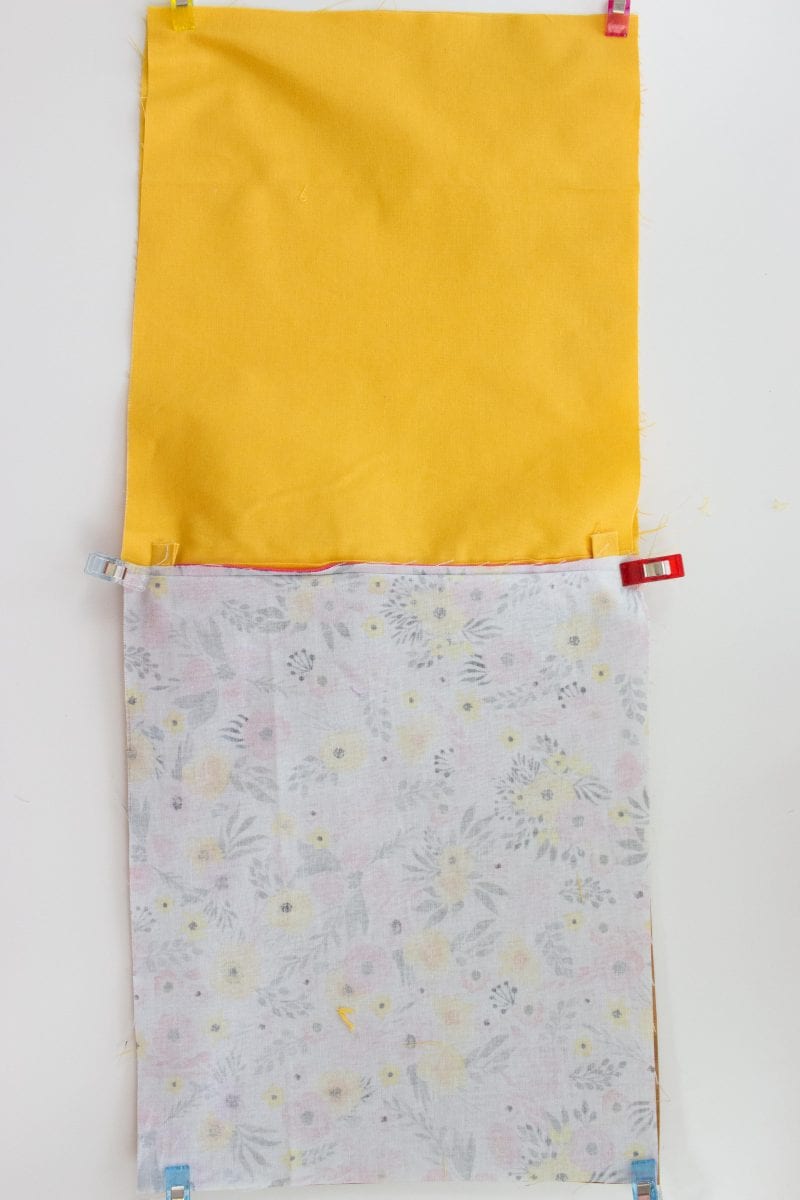
Lay the bag out flat on the table with the main fabrics facing upwards.
Pull the floral fabric over to the faux leather side.
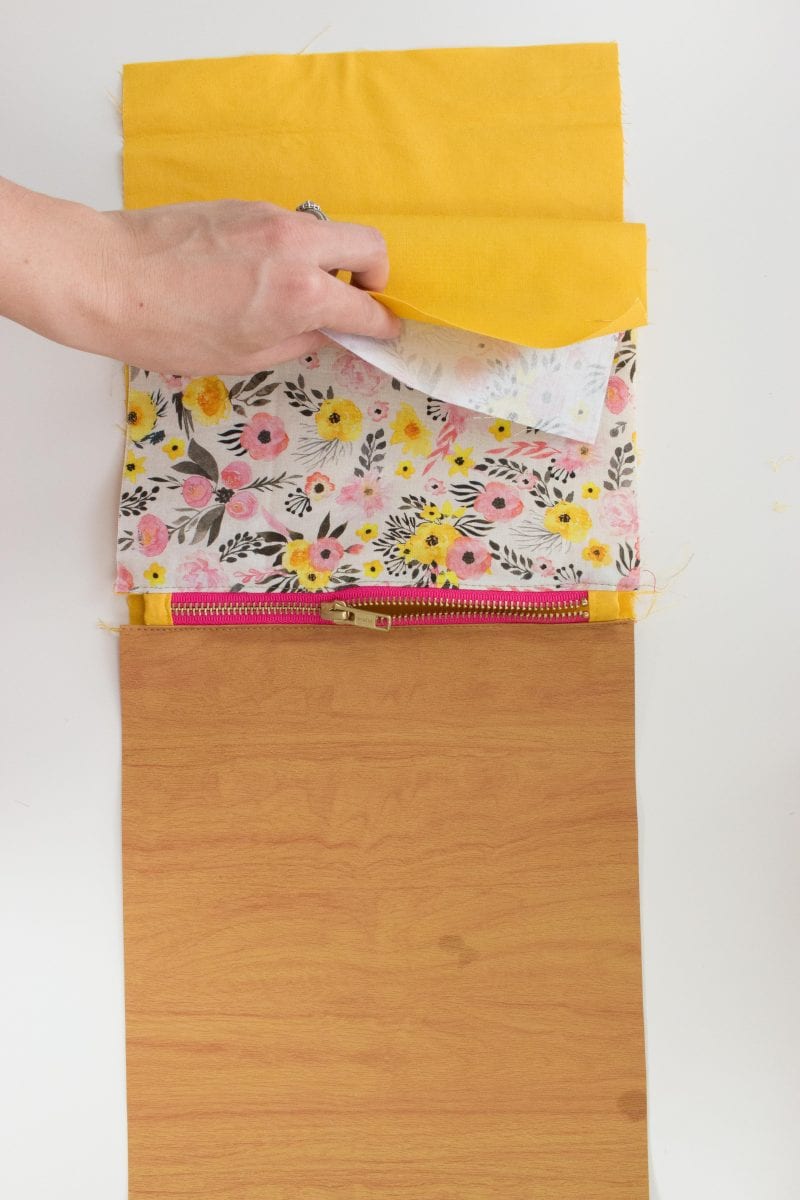
The lining fabric should be on one side and the outer fabric should be on the other.

Clip the fabric in place.
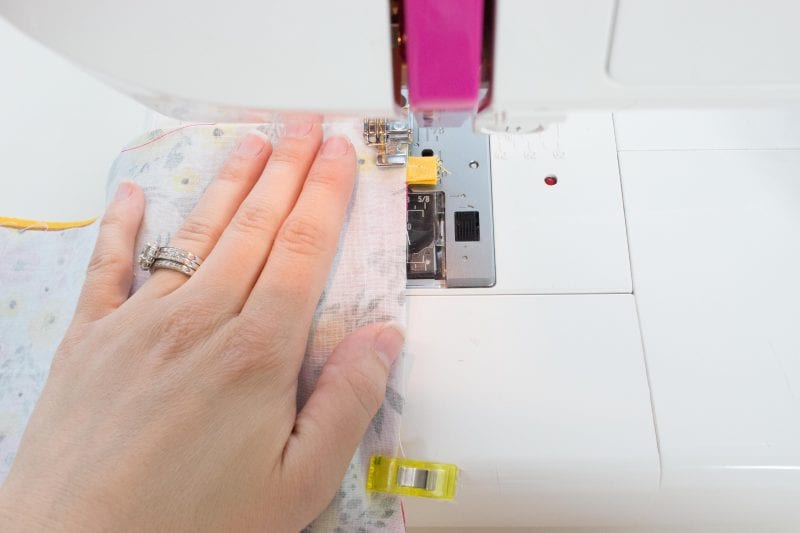
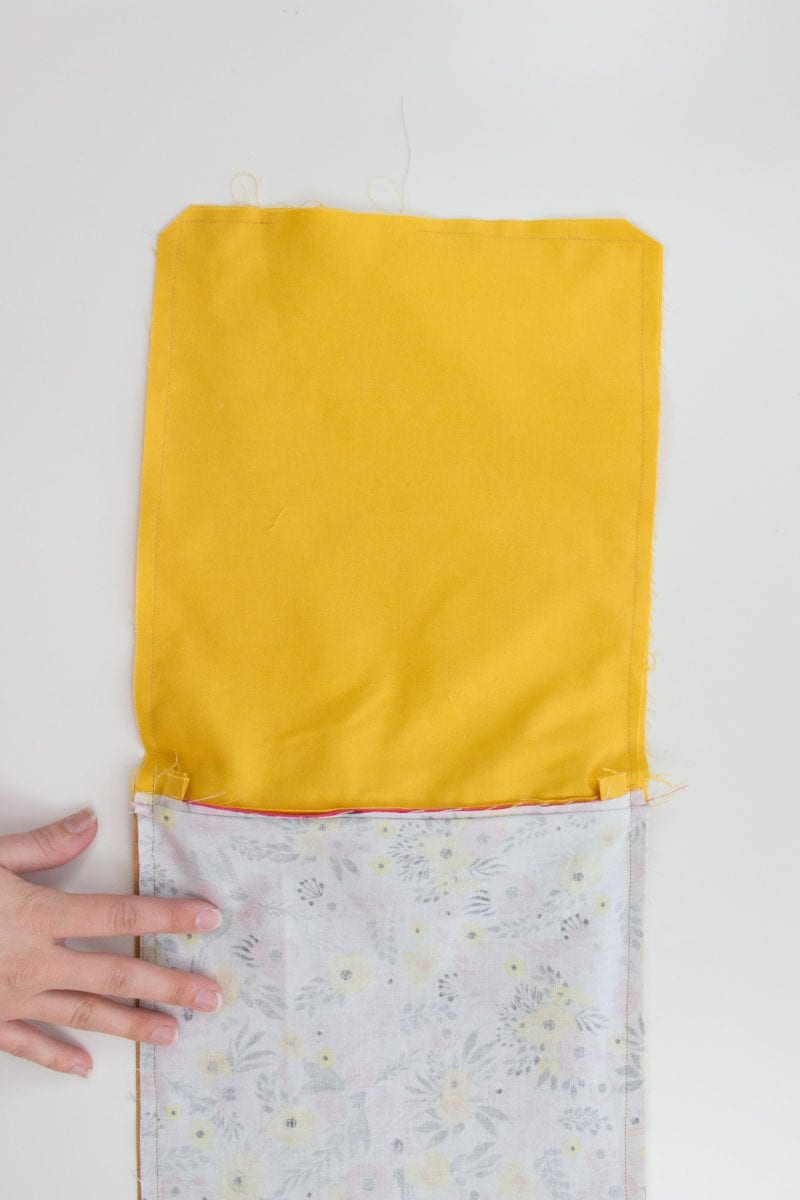
Sew around the entire bag with a 1/4 inch seam allowance leaving a 4-5 inch opening along the bottom of the lining.
When you come to the zipper, you should be sewing right next to the zipper tab but not on top of it.
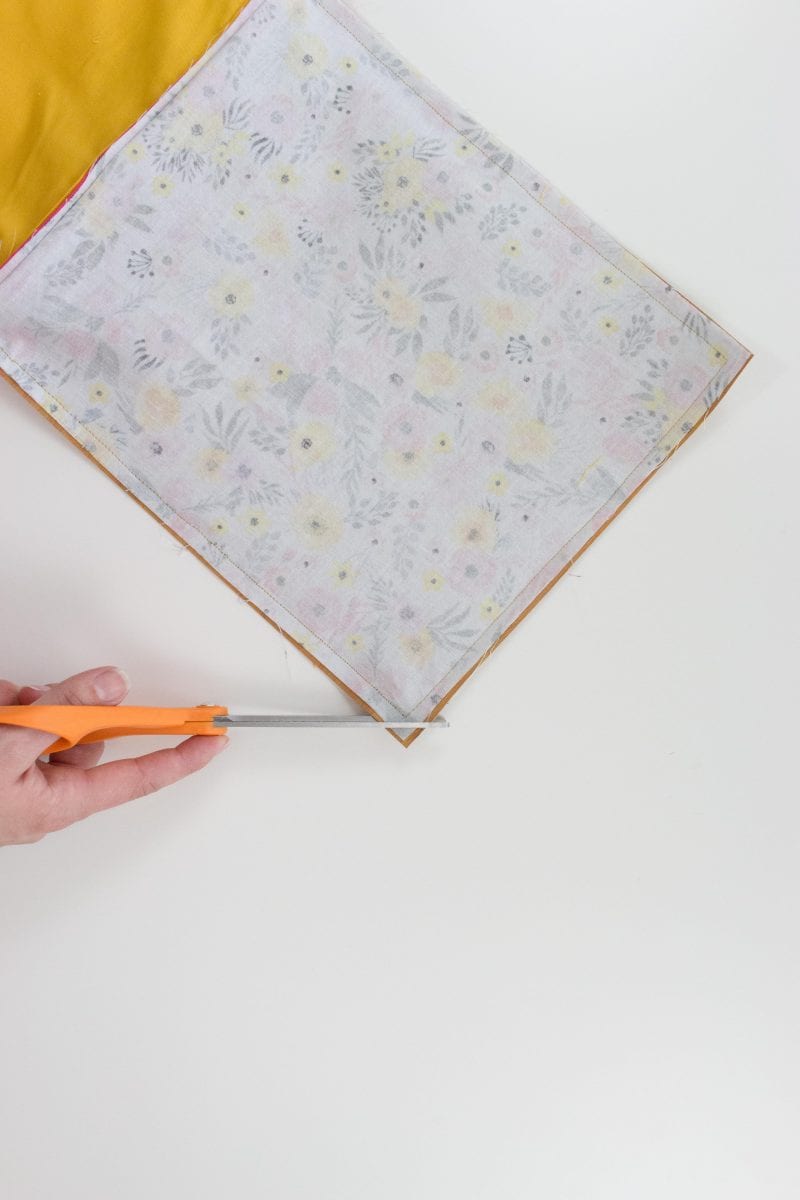
Trim all four corners of the bag. This will help you to get a sharp point on the finished bag,
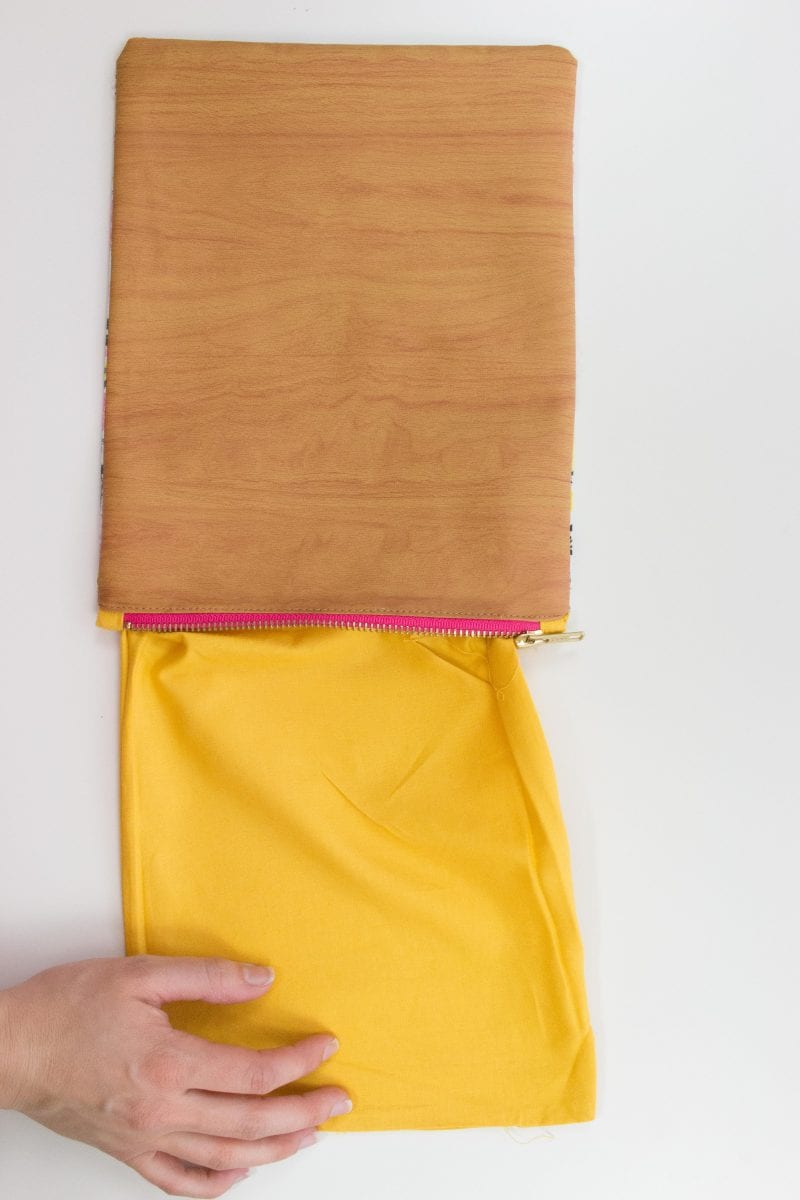
Turn the bag right side out pulling it through the opening in the lining.
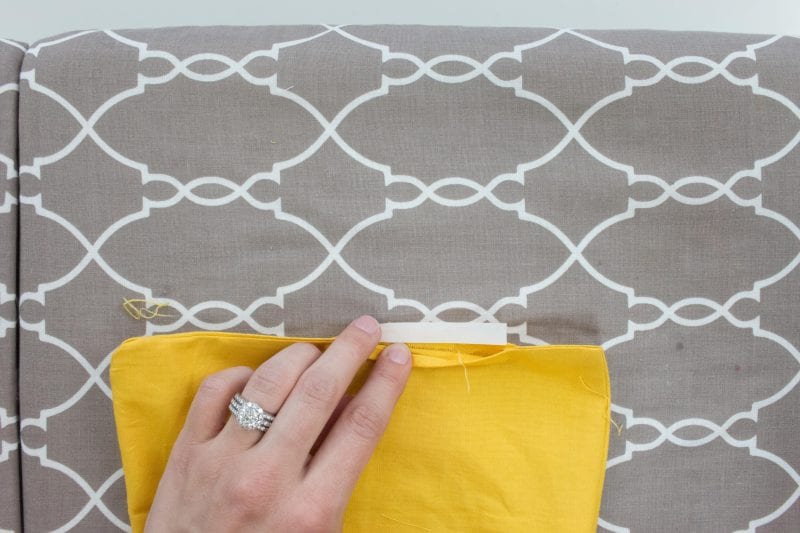
Cut a piece of HeatnBond Ultrahold Hem Tape to the size of the opening in the lining. Trim it down to match the seam allowance.
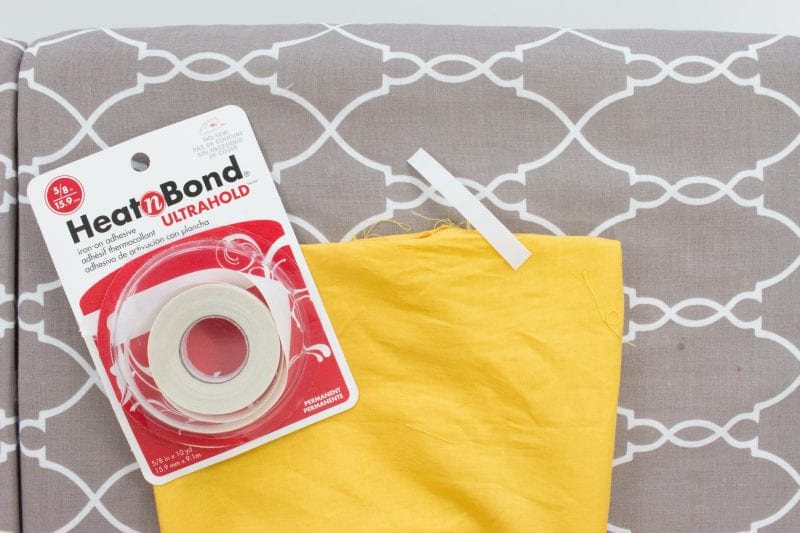
Use an iron to heat the tape, then remove the backing and press the two pieces of fabric together.
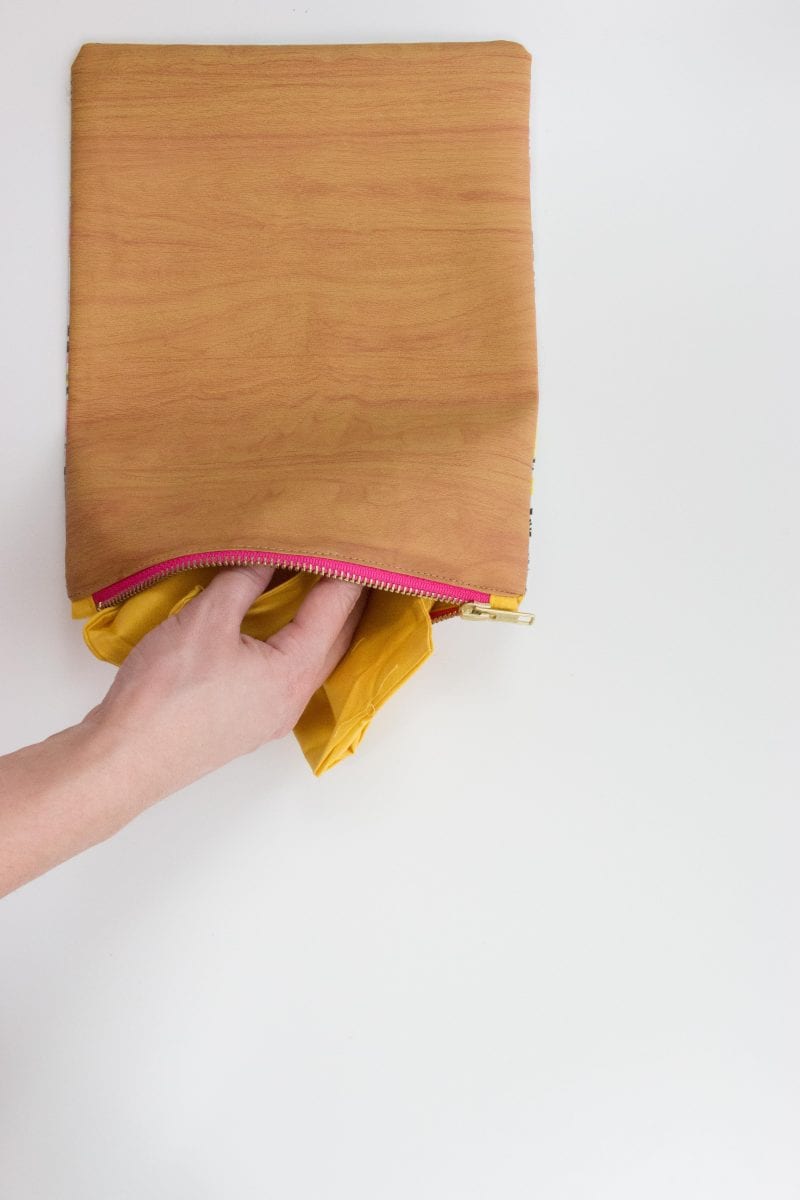
Push the lining into the bag. Use a turning tool to gently push the corners out to create a sharper looking point.
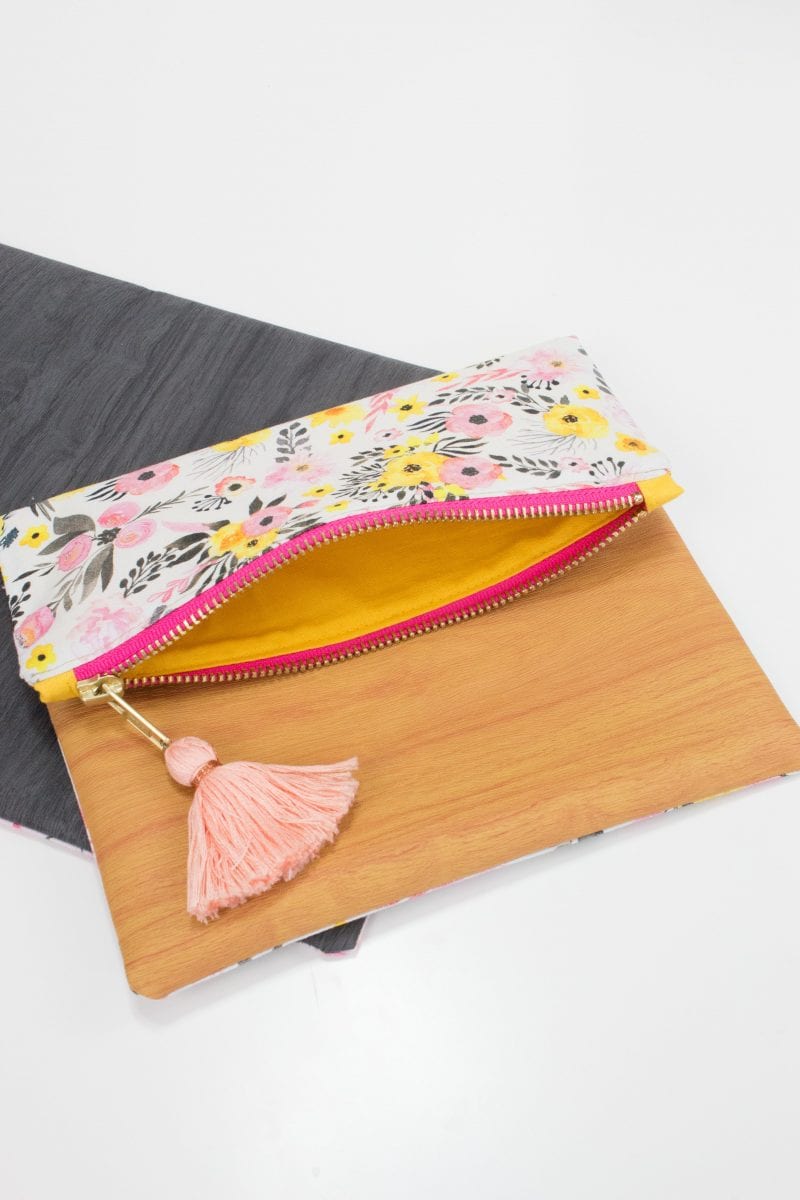
Throw all your necessities in your bag, zip it up, fold it over and you’re ready for a night out on the town!