Hi friends! Today I’m excited to be working with the cutest fabrics “Down the Rabbit Hole” by Jill Howarth for Riley Blake. My youngest daughter and I are big fans of Alice in Wonderland. We love to watch all the movies together. I looovveeee these fun fabrics and can’t wait to cut into them with you.
For this tote I’ve included a few applique shapes you can add to your front pocket or with these sweet fabrics you can also fussy cut your favorite characters for the pocket. Let’s get started.

Supplies:
- Print Pattern Pieces (DOWNLOAD HERE)
- Down The Rabbit Hole or other Quilters Cotton (½ yard main, ½ yard lining)
- Medium Weight Woven fabric (¼ yard)
- Cotton Webbing (1 yard)
- Coordinating Wool Felt
- Pompom for bunny tail (optional)
- StitchnSew Sew-in Fleece
- HeatnBond Lite Iron-on Adhesive
- SpraynBond Basting Adhesive
- HeatnBond Soft Woven Fusible Interfacing
- 6” length of ¼” double fold bias tape
- One ½” white pompom (optional)
Cut Guide (WxH):
- Main fabric (2) 12.5”x10”
- Medium Weight fabric (2) 12.5”x4.5”
- Linen Fabric (2) 12.5”x14” & (1) 12” x 6” (for pocket)
- StitchnSew Fleece (2) 12.5”x14”
- HeatnBond Soft Woven Fusible Interfacing (2) 12.5”x14” & (1) 12” x 6”
- (2) 18” lengths of the webbing for handles
**All seam allowances are ¼” unless otherwise stated.
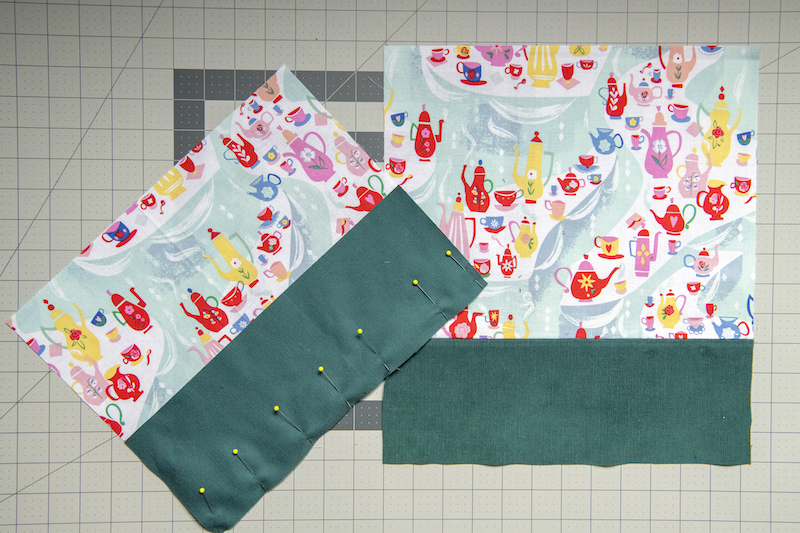
Cut out all of the above as well as the pattern pieces. Ok, Let’s get started. Grab both your main fabric rectangle (12.5” x 10”) and your medium weight fabric rectangles (both 12.5” x 4.5”). Pin the medium weight fabric rectangles to the bottom of your main fabrics, right sides together. Sew using our ¼” seam allowance. Press. These pieces will be referred to as our main tote panels.
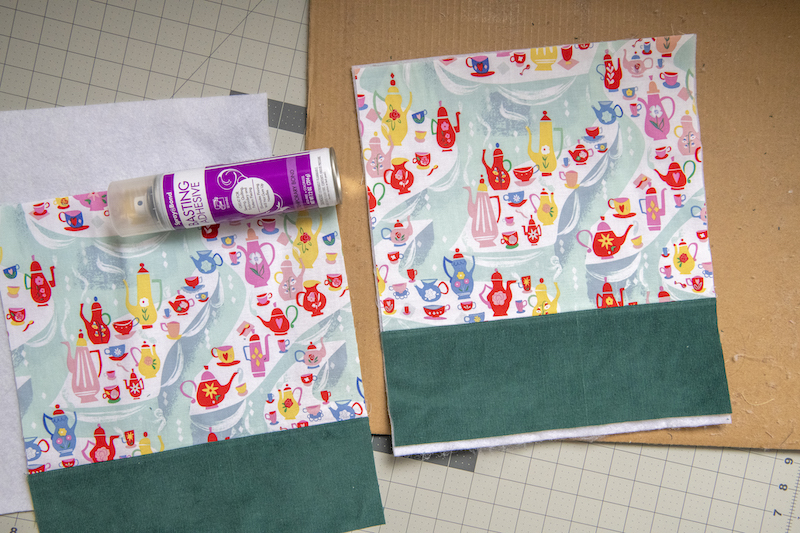
Using your SpraynBond Basting Adhesive spray the back of your main tote panels and adhere them to your StitchnSew sew-in fleece rectangles (12.5” x 14”). You can also use fusible fleece instead (and skip the quilting step) but I personally prefer this method for larger projects and the fusible fleece for smaller projects. The fleece may grow on your a bit but no worries, just trim it down after quilting. I use a piece of cardboard when using the spray adhesive to avoid getting it on my work surface.
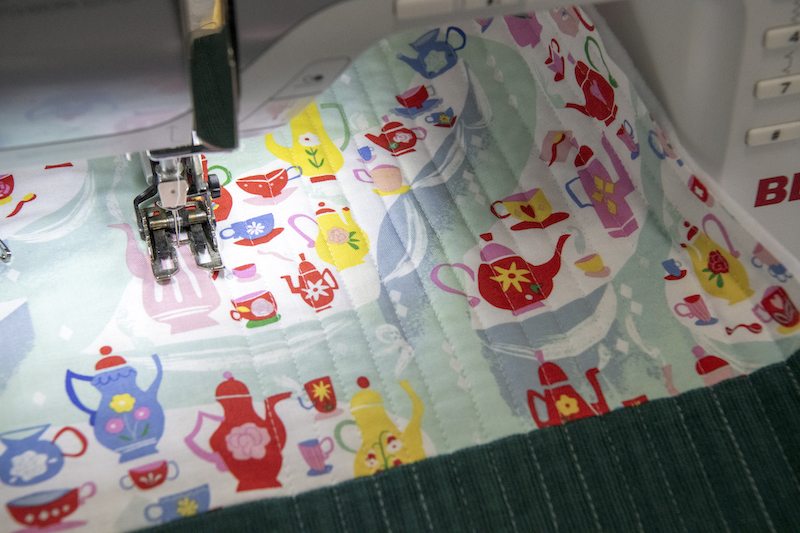
Take to your sewing machine and quilt the main tote panel to the fleece. I stick with sewing straight lines as it’s the easiest but you can get fancy as well.
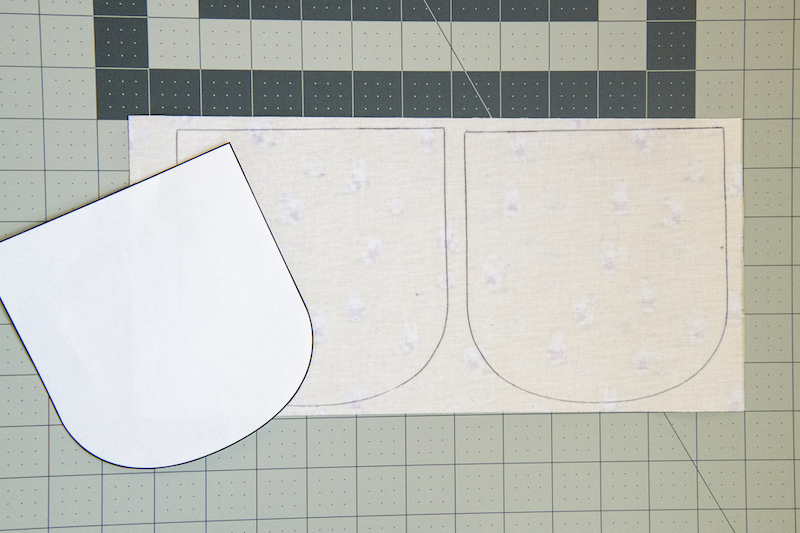
Next let’s make our pocket. Grab your pocket fabric (12” x 6”) and the same size interfacing and fuse the interfacing to the backside of your fabric. Trace two of your pocket shape pattern piece onto the back and then cut them out.
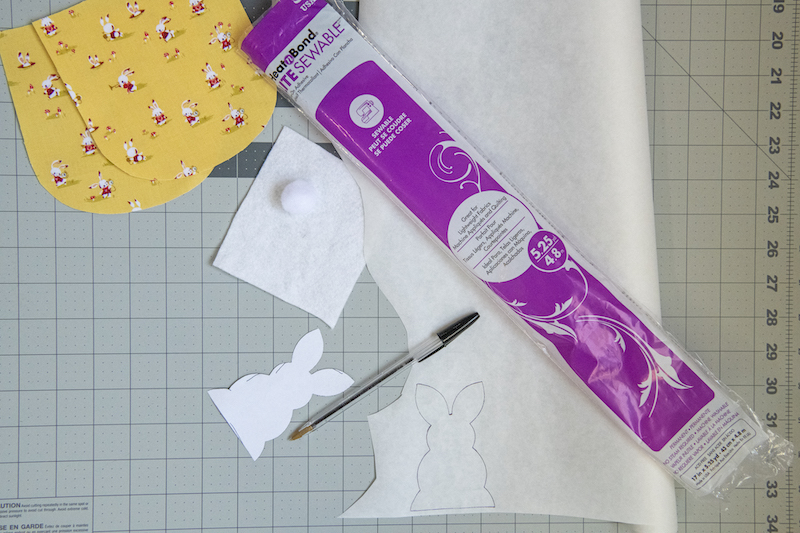
If you are adding applique to your pocket grab the applique pattern, your wool felt, and your HeatnBond Lite Iron-on Adhesive. Trace your applique pattern piece onto the smooth side of the HeatnBond. Cut out leaving some negative space around the shape. Iron the shape onto your wool felt. Make sure to use a barrier cloth between the iron and your wool felt. The felt will melt if it has direct contact with your iron.
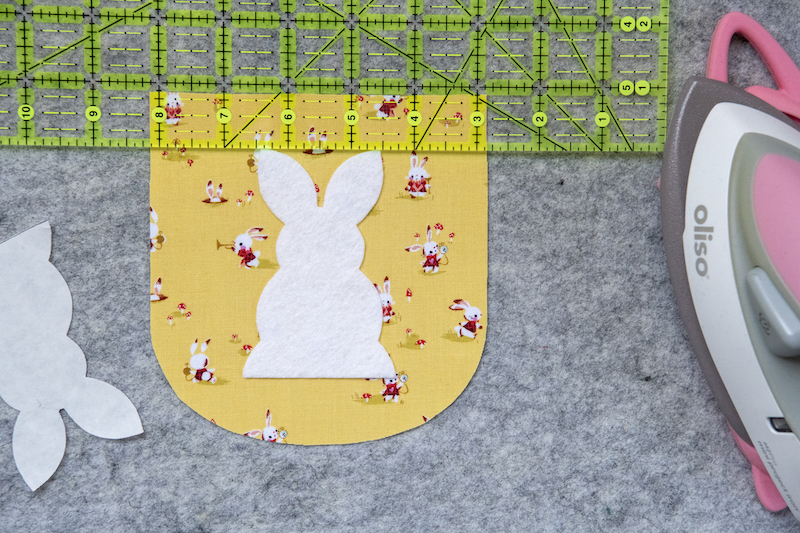
Cut the shape out. Take the backing off the adhesive, measure 1” down from the top for the heart and a little less (⅞”) for the bunny, and center it on one of your pocket. Press with your iron to adhere the shape in place.
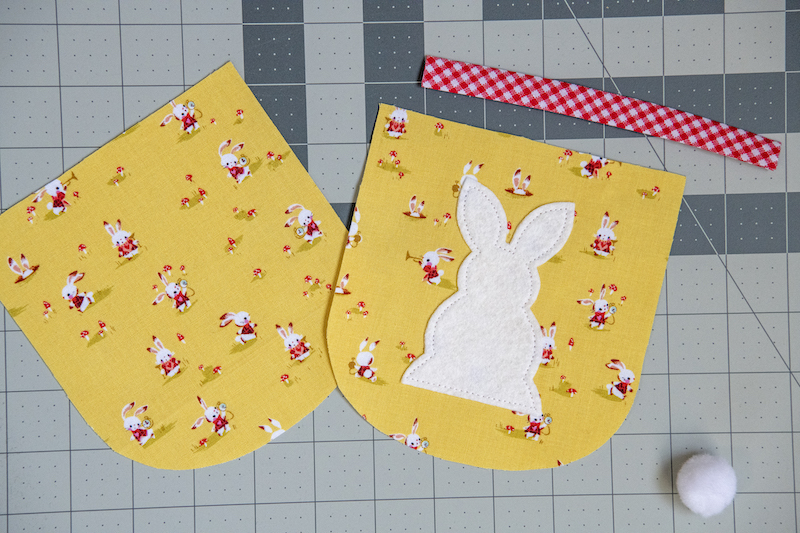
Top stitch around the perimeter of your shape pulling the thread ends to the back and tying to secure them. Grab your second pocket and pin the two, right-sides together. Sew from one top corner around to the other side (remember to back stitch and the beginning and end) leaving the top straight edge unsewn.
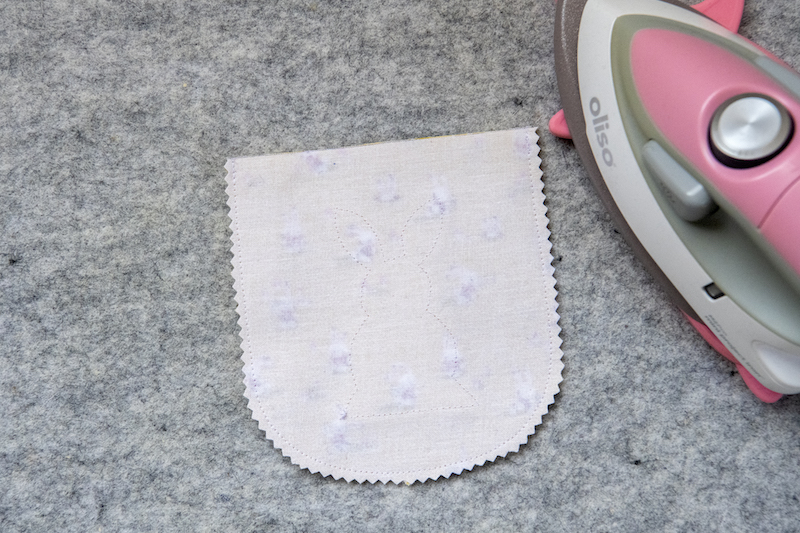
Use some pinking shears or cut a few notches in the seam allowance of your pocket to help the curved edge lay flat.
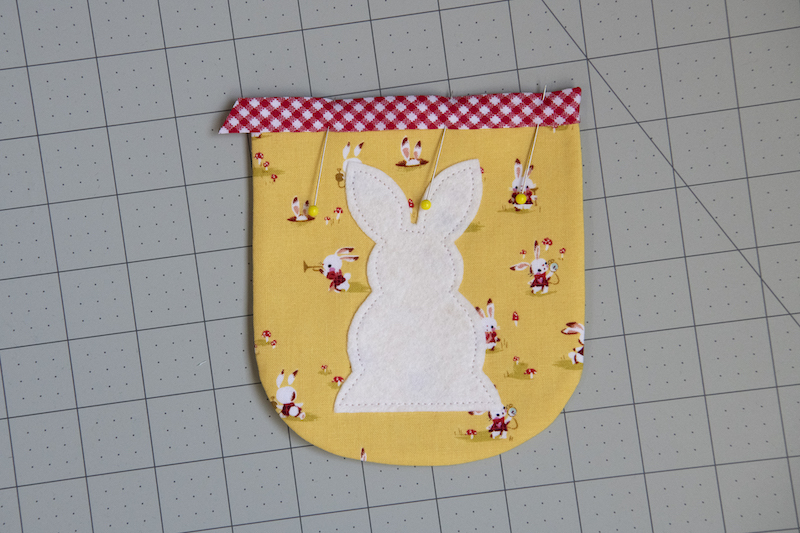
Take your pocket and turn it right side out and press. Grab your bias tape. Place the bias tape over the top opening of your pocket. On the end cut it at an angle facing in towards the pocket. Tuck the raw edge in by pushing the front “flap” of the bias tape to the back (so the side of the pocket is hidden inside) as well as the back notch. Pin in place or use a bit of glue to hold it. Repeat on the other side. Top stitch the bias tape in place.
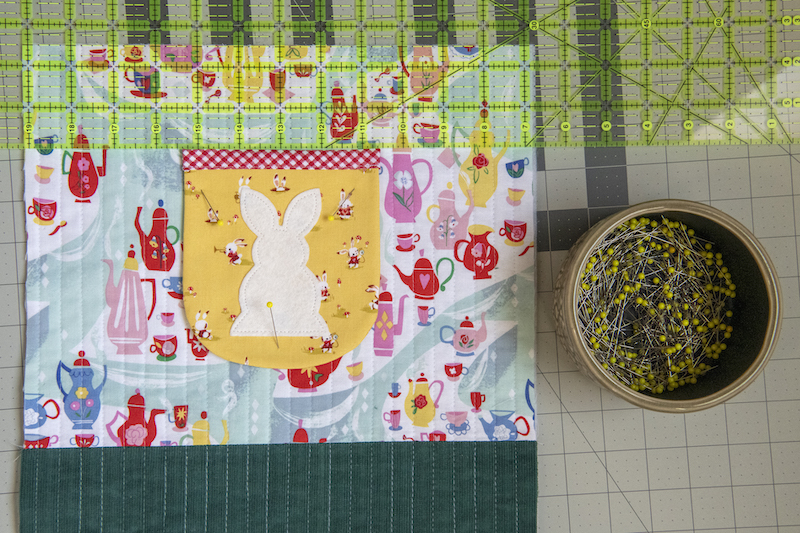
Place the pocket on one panel of your tote. Measure down 2 ½” from the top edge of your main tote panel and line up the pocket at that point. Center the pocket and pin in place.
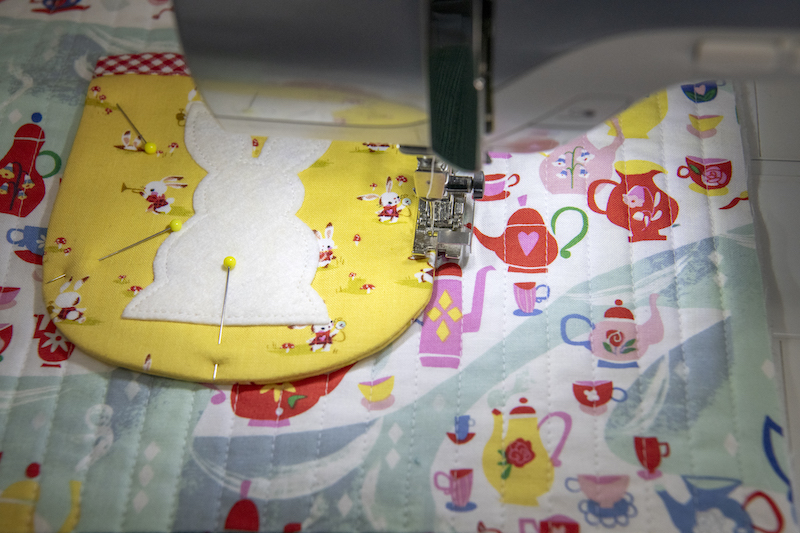
Top stitch around the pocket leaving the top bias covered straight edge open.
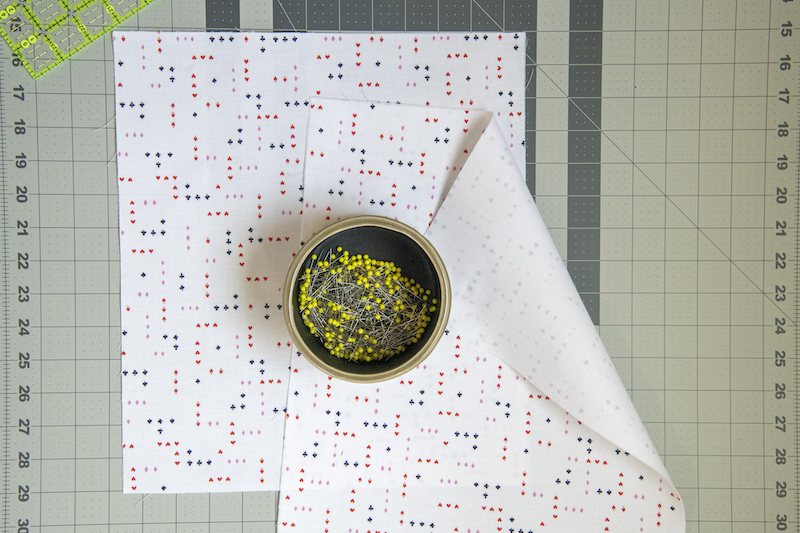
Ok, we are ready to put our tote together now. Grab your lining and the coordinating interfacing. Press interfacing to the backside of your lining fabric.
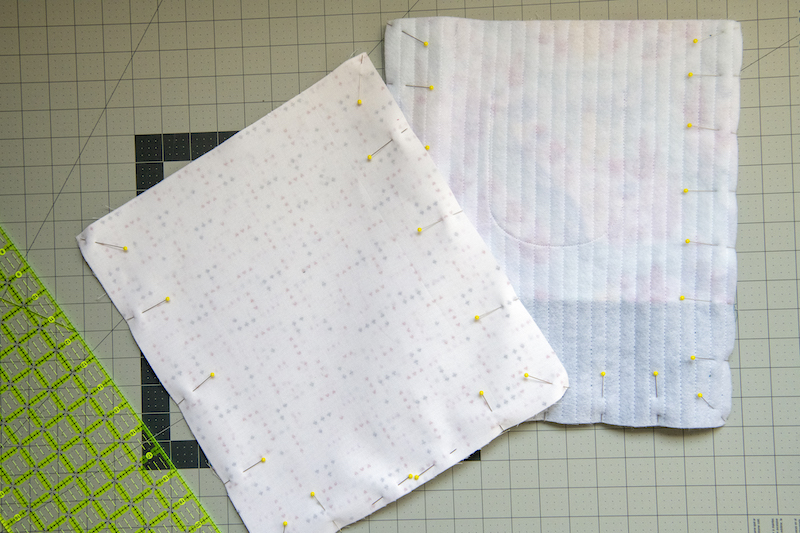
Take your two lining fabrics now and place one on top of the other, right sides together. Pin around the two sides and the bottom. We will need to leave an opening in the bottom for turning. I place a few pins horizontal at the bottom as a place marker and reminder to leave an opening. Repeat with your main bag panels. The only difference is you do not need to leave an opening for the main tote.
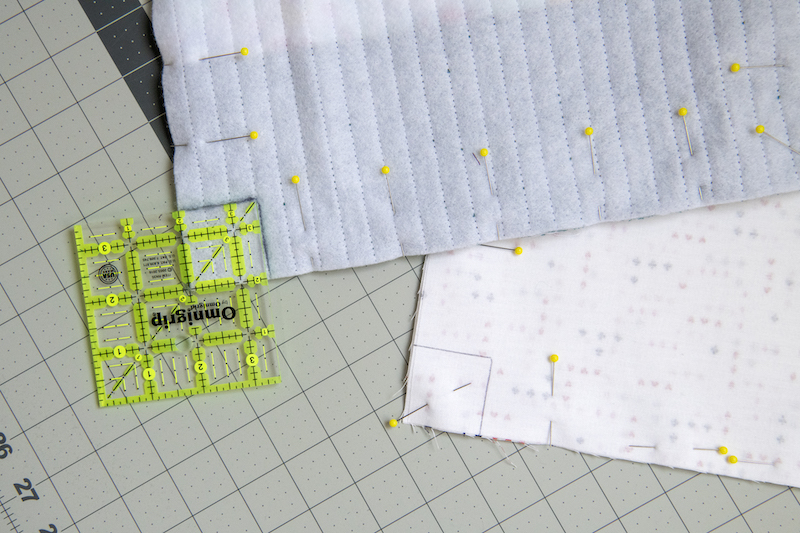
Next we will be marking the bottom corners of both the lining and main bag for boxing to give it shape and structure. On all bottom corners mark a 1.5” square. You can either cut them out before sewing or after. I prefer after.
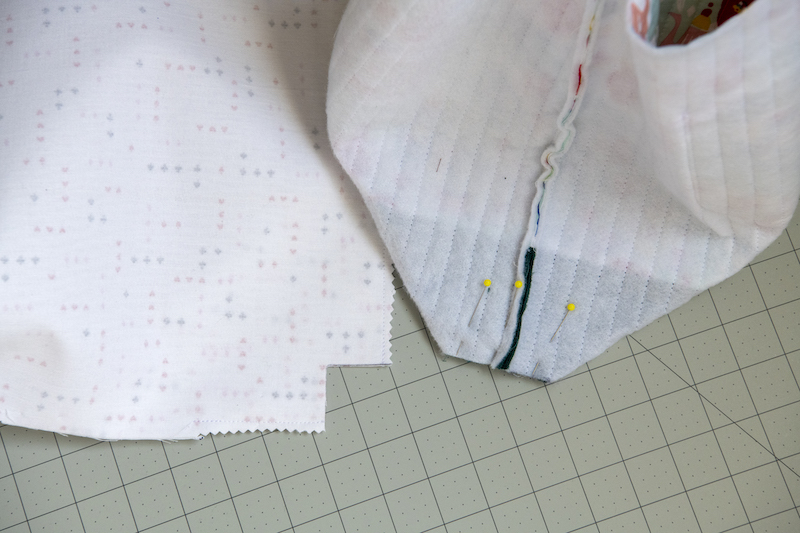
Sew along the pinned sides remembering to leave the opening on your lining and remember to back stitch at the top and bottom as well as by the squared corners. To get the lining to fit a little more snuggly I prefer to move my needle in a notch or two when sewing it compared to the ¼” seam allowance I use on the main tote panels. Cut out the drawn squares at the corners. Open up the tote and on each corner push the seams together and pin then pin to the sides so the corner lays flat. Sew. Repeat.

Turn your main tote right sides out. Grab your webbing straps. Measure in 2.5” from one of your outside seams and pin your webbing with the raw edge facing up along that 2.5” mark. Take the second end and do the same on the opposite side making sure that the webbing isn’t twisted. Repeat with the second strap on the back of your main tote.
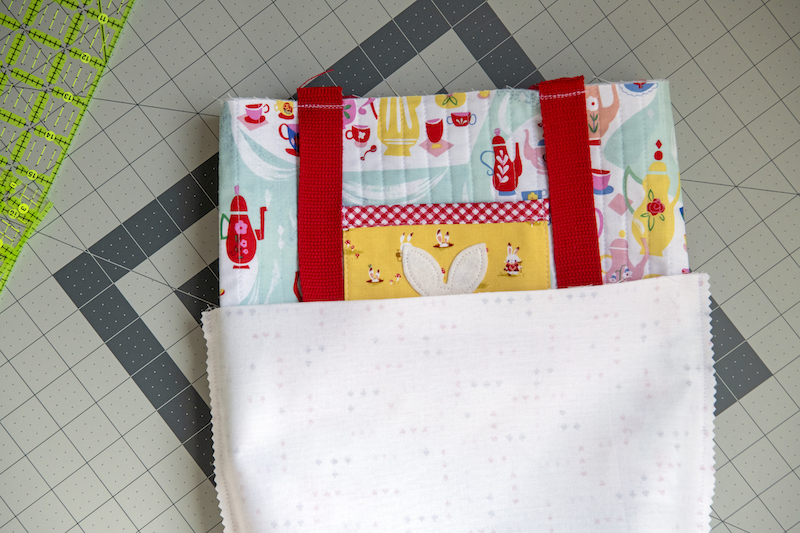
Tack the webbing in place. Almost done. Next grab your lining and with it, still wrong side out, slip the main tote into the lining. Make sure the webbing is inside as well.

Match the side seams up and pin. Then pin the two together all along the top.

Take to your sewing machine and sew. Pull the main tote through the hole in the bottom of your lining.
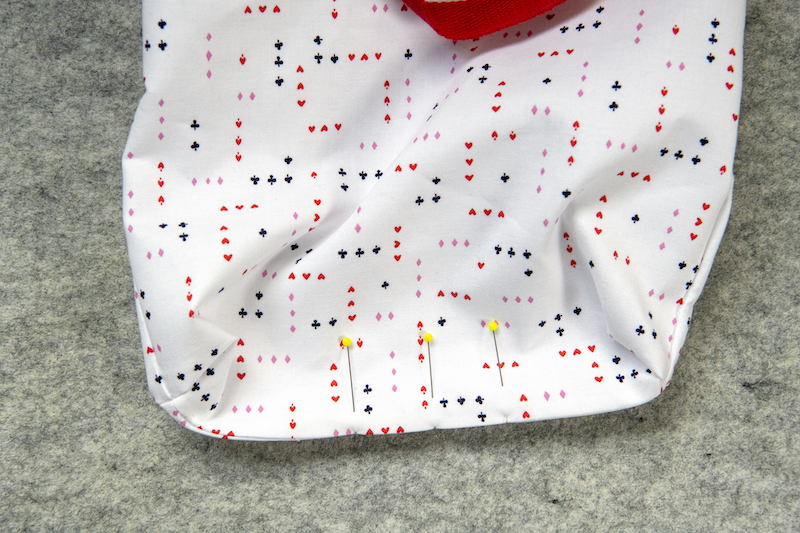
Sew the opening closed. Push the lining inside the main tote. Press the top seam so it lays flat. Top stitch.
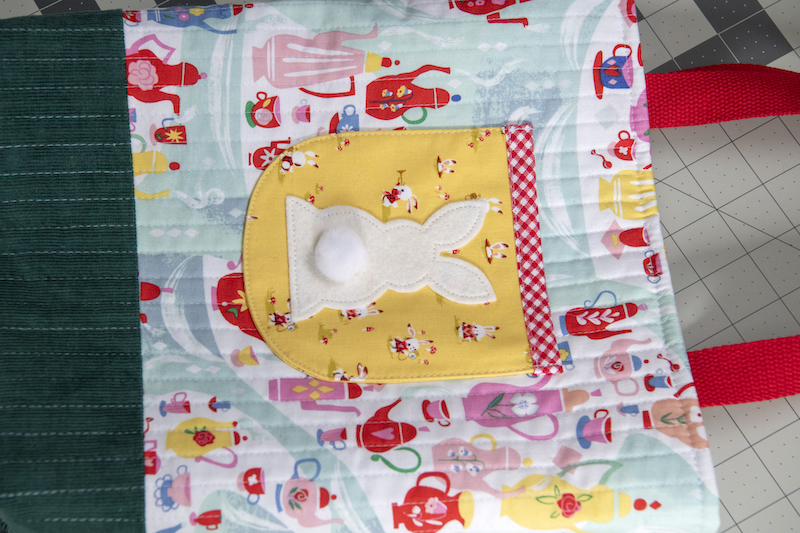
Lastly, if you’ve done the bunny applique, glue the pompom in place as the tail. I just use hot glue.
