Dog Walkin’ Go Bags with HeatnBond Fusible Fleece
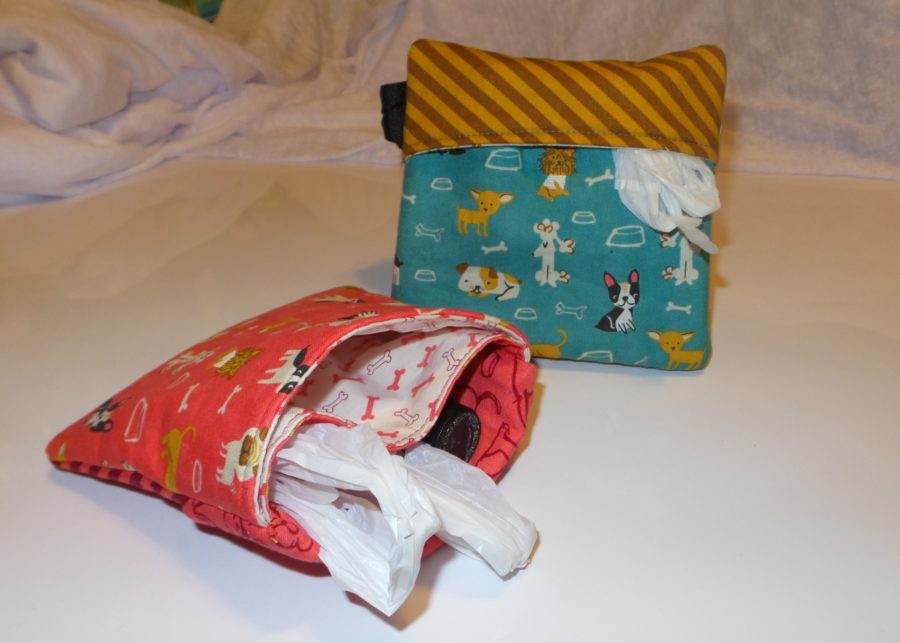
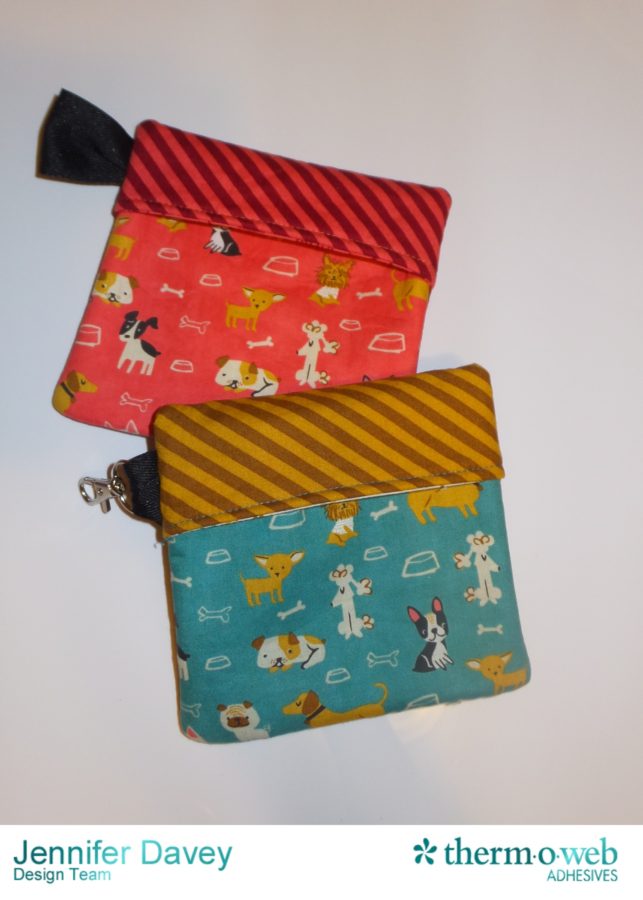
Dog Walkin” Go Bags by Jennifer Davey
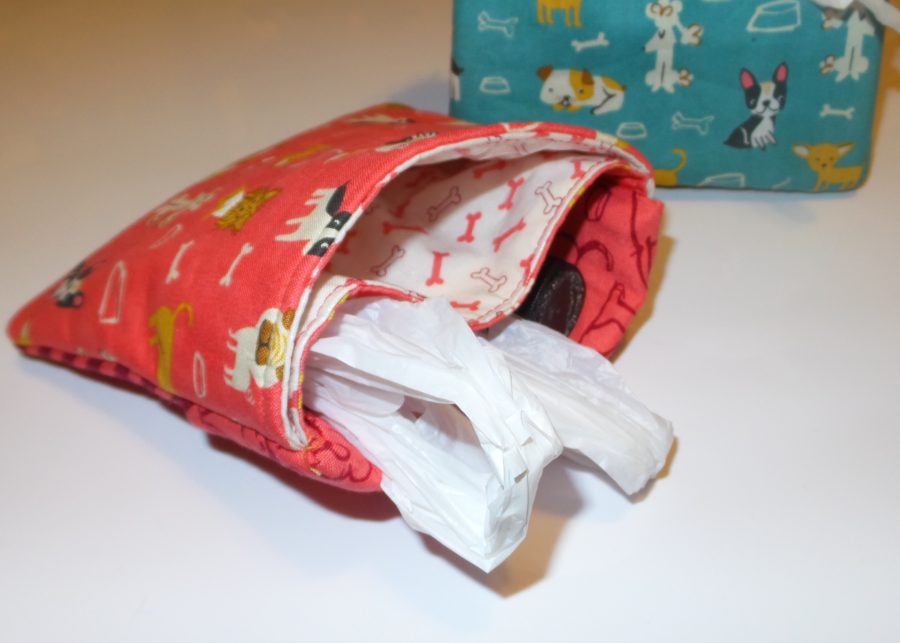
Never be caught without the most important of dog walking supplies; baggies, treats and hand sanitizer will all fit easily in this Dog Walking Go bag. Perfect for use of fat quarters or large scraps. The treat pocket is vinyl to protect the fabric and make for easy cleaning a separate pocket for hand sanitizer will keep your fur baby safe.
Dog Walkin’ Bag Supplies:
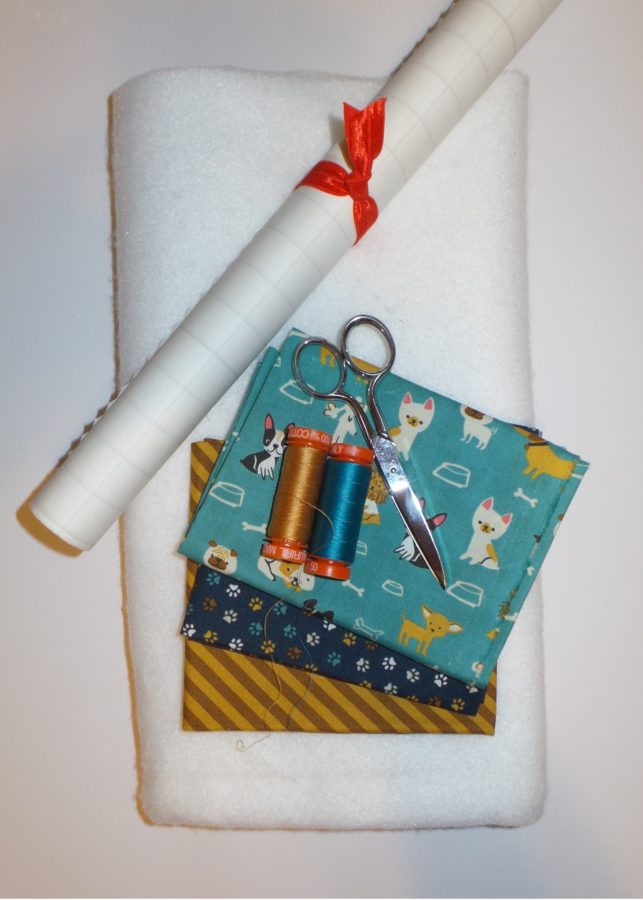
HeatnBond Fusible Low Loft Fleece (coming soon!)
Moda: Woof Woof Meow, 4 fat quarters
Aurofil Thread: 4182 & 2930
Oliso Iron
Basic Sewing supplies: Sewing machine, cutting tools, wonder clips and hand sewing needle, alligator clip.
Dog Walkin’ Go Bags Instructions:
Cut 1 each:
9 x 7 inch- lining, back and HeatnBond Fusible Low Loft Fleece.
6 x 7 inch- HeatnBond Fusible Low Loft Fleece
4-inch ribbon
Cut 2 each:
6 x 7 inch – HeatnBond Iron-On Vinyl, outer pocket, & pocket lining
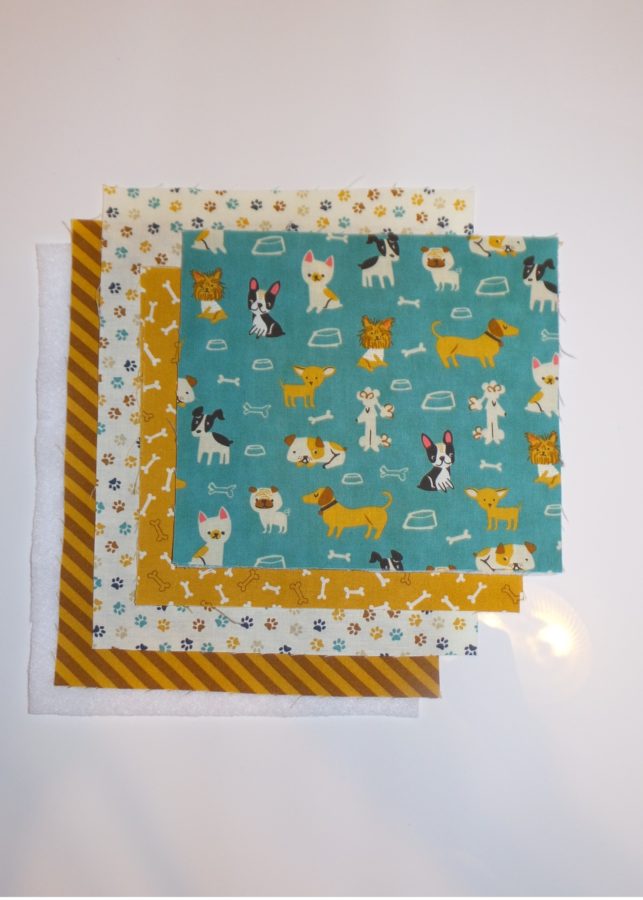
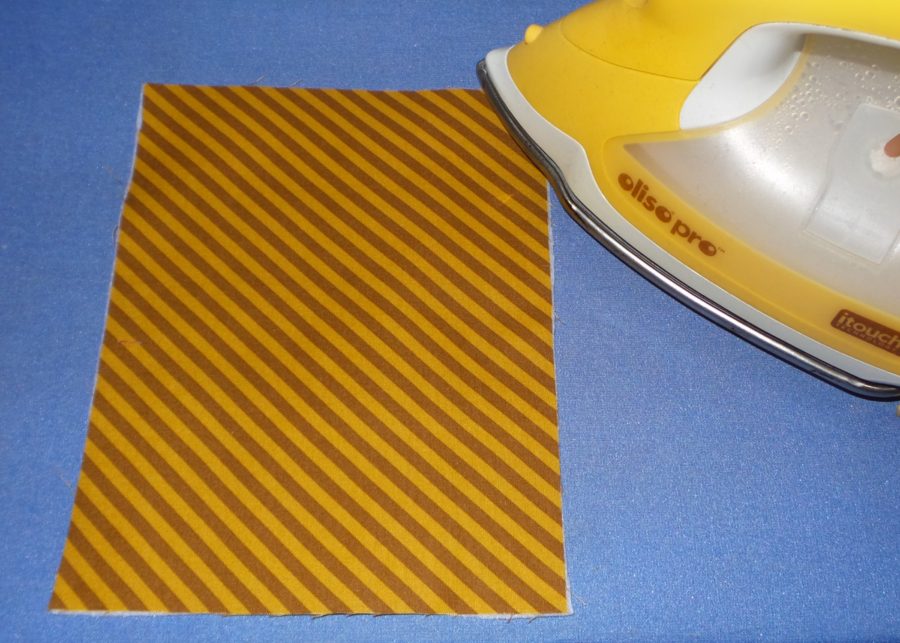
Press matching size HeatnBond® Fusible Low Loft Fleece to the wrong side of the back fabric and one of outer pocket fabric.
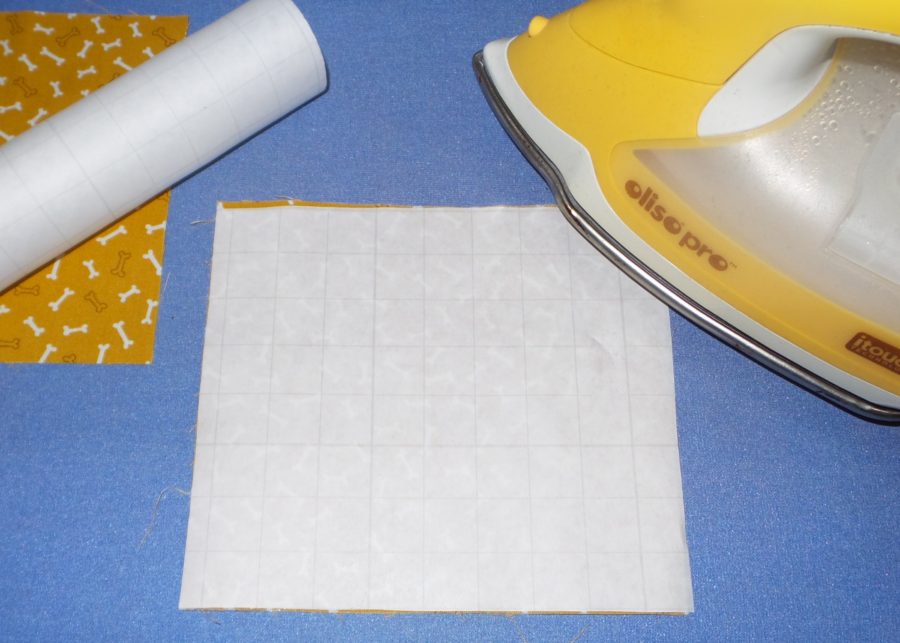
Following printed directions apply HeatnBond Iron-On Vinyl to right side of both pocket lining pieces. (The vinyl with both contain the crumbs and protect your fabric.)
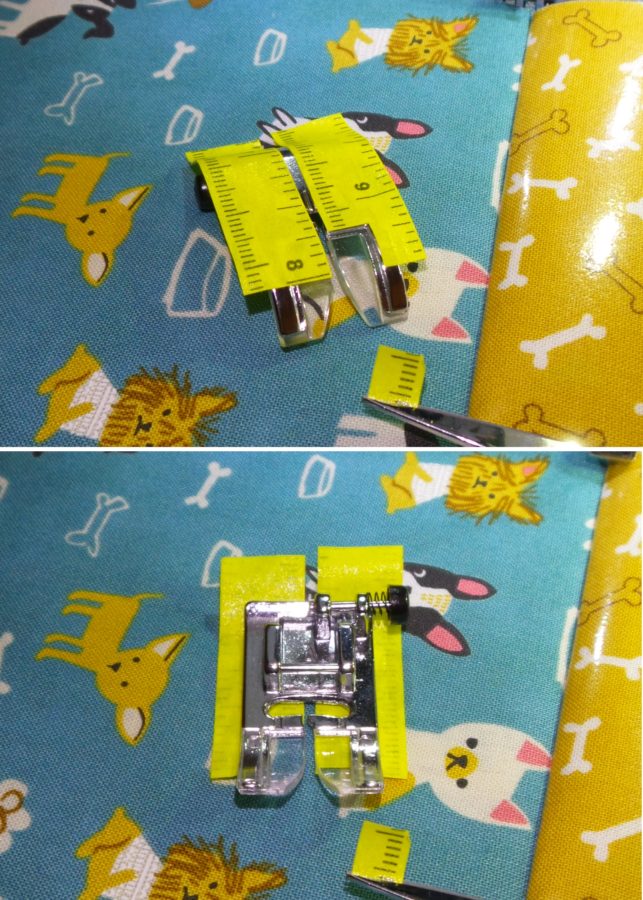
Sew pocket lining to pocket fronts with right sides facing, sew along the top of the 7-inch side with 3/8 inch seam allowance (all other seam allowances will be the same unless indicated).
Turn right side out and top stitch 1/8 inch from the seamed edge.
In the same manner, assemble the second pocket.
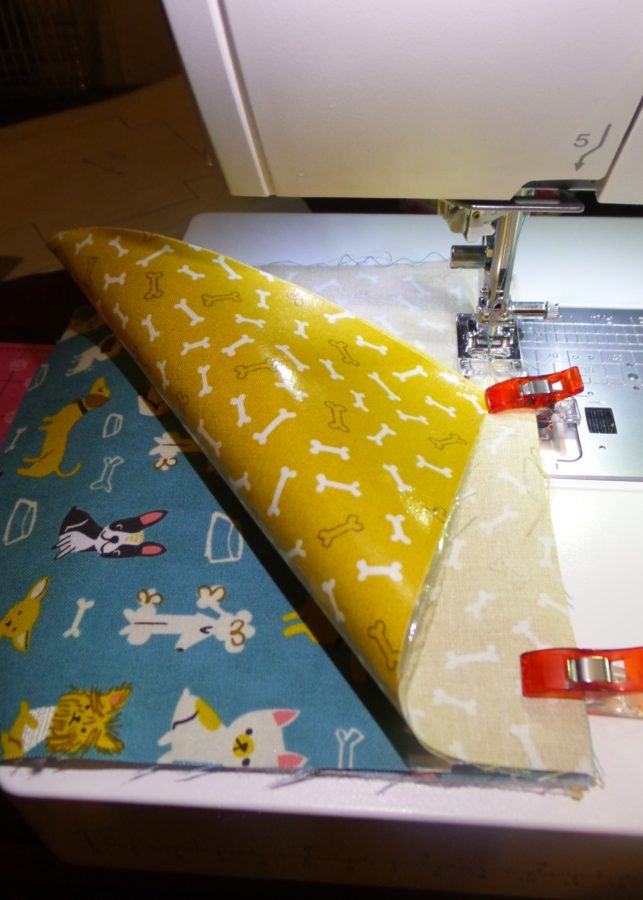
Stack pockets with vinyl sides facing and place at bottom of lining piece matching corners. Baste pockets in place along 3 raw sides.
Place back fabric on top of pocket unit matching the top edge and stitch together in the same manner as pocket assembly, turn right side out and add the top stitch.
Accordion fold at the top as illustrated, the fabric will come down about 2 1/4 inch then back out, the backing fabric will come all the way back down to the bottom of the pockets. Add a folded loop of ribbon between folded backing section at the top (see pic). Sew around raw edges leaving 2 1/2 to 3 inch opening at bottom of bag.
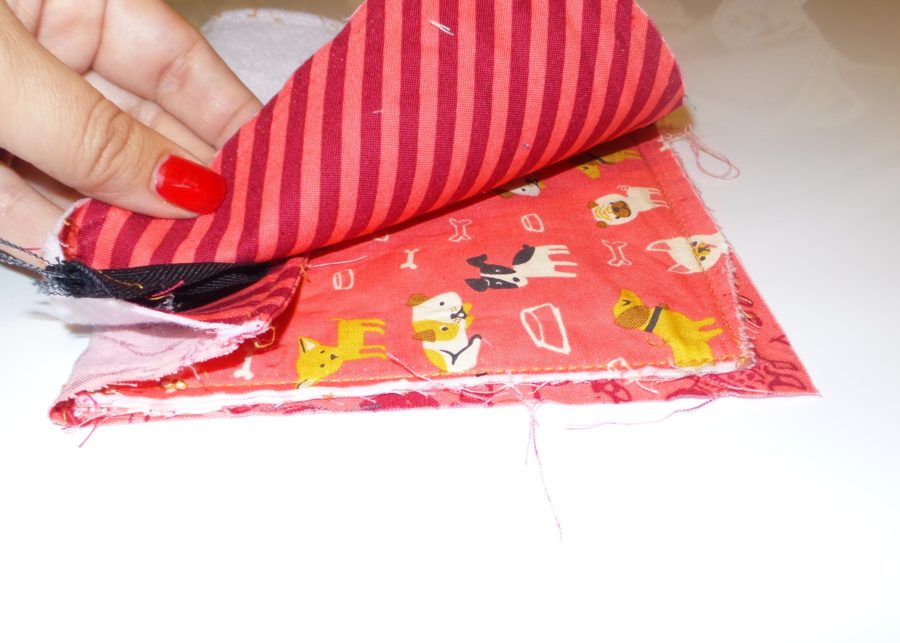
Trim excess fabric around seams to reduce bulk when turned. Flip right side out through opening and hand sew opening closed.
Happy Stitching!
;”>Save

Belinda
August 30, 2017 at 8:52 am (8 years ago)Thanks for the cute and useful product tutorial!