


 Hello everyone and thank you for stopping by for Mix It Up Monday! What is Mix it Up Monday? On Monday’s we celebrate all the unique products in our Rebekah Meier Designs Mixed Media line and all the ways you can use them. Deb Riddell here to share a mixed media plaque I created with Rebekah Meier Designs line of products from Therm O Web. I used Rebekah Meier Designs Mixed Media Art Tape, Transfer Foils and Mixed Media Art Paper along with some of Rebekah’s stencils from The Crafter’s Workshop. And I have three different techniques to share with you so you can make your own foil stenciled washi tape from the Mixed Media Art Tape, read on for the how to!
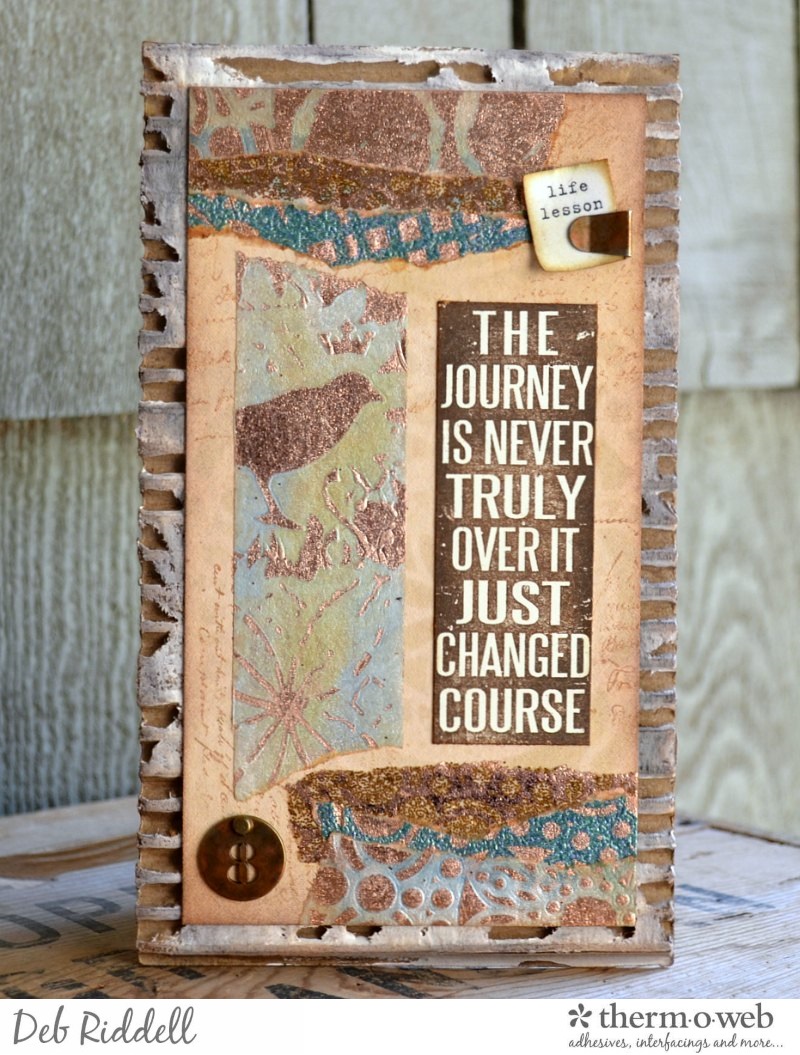
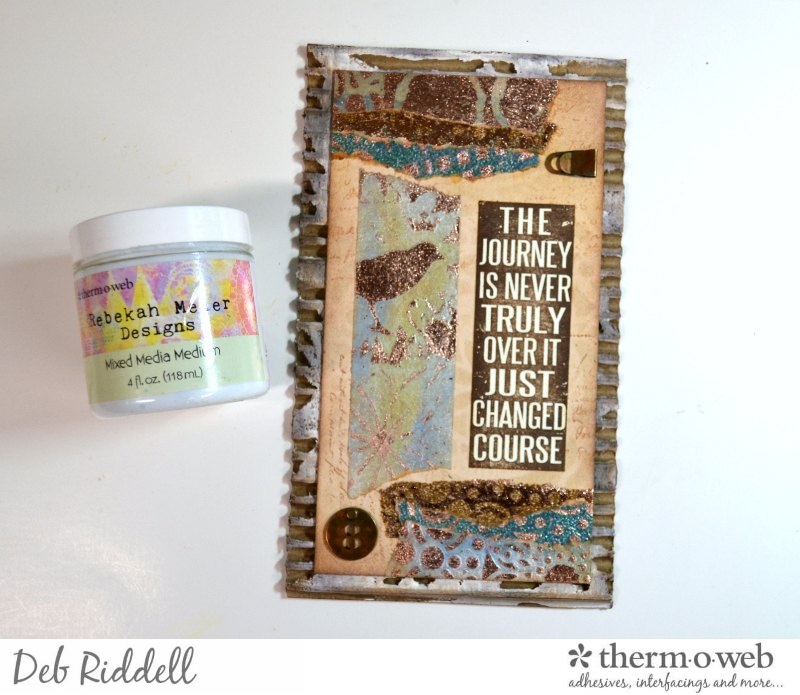
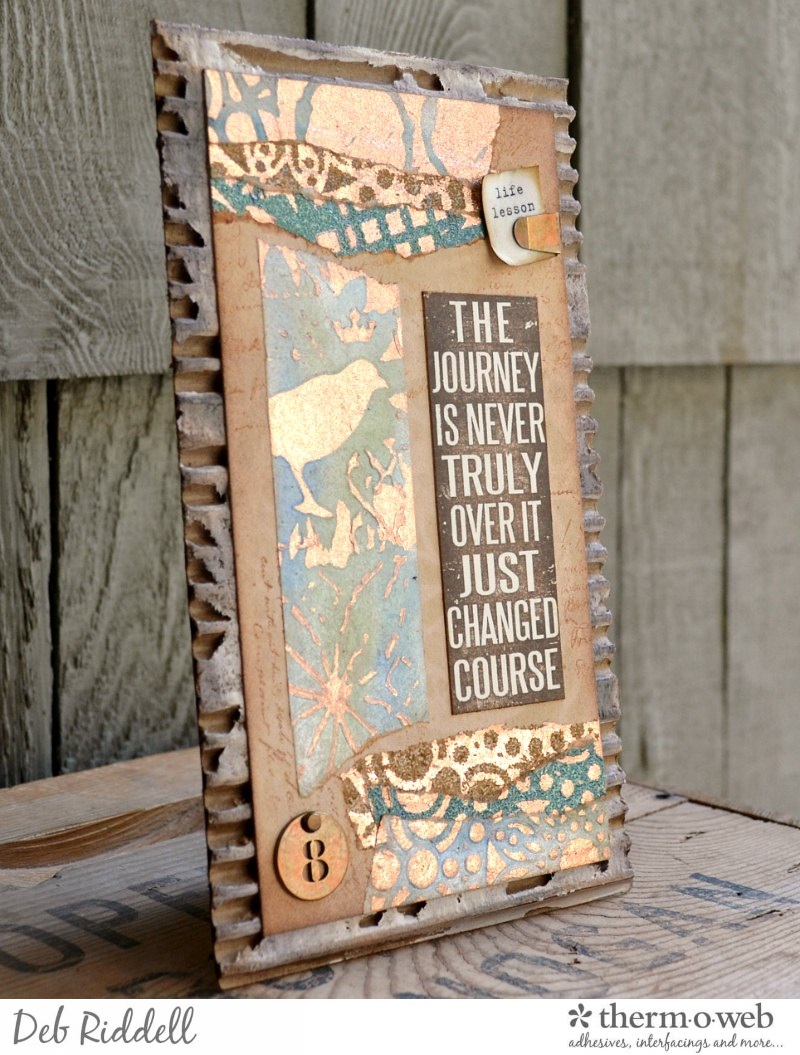
Life Lesson Number 8 Foil Stenciled Mixed Media Plaque
Therm O Web Supplies Used:
Rebekah Meier Designs Mixed Media Art Tape 1.5″ x 8 yd
Rebekah Meier Designs Mixed Media Art Paper 9″ x 12″ (4 sheets per pack)
Rebekah Meier Designs Transfer Foil 6″ x 6″ (12 sheets per pack) • New Penny
Rebekah Meier Designs Mixed Media Medium Jar 4 fl oz
Gina K. Designs Premium Cardstock 8.5″ x 11″ • White
Other supplies:
Mini Infinite Lace, Mini Rosetta, Mini Star and Flower, Mini Raven Mosaic stencils – Rebekah Meier Designs For TCW
Perfect Pearls powders, Distress Inks, Distress Stains, Distress Glitter, Distress Archival Ink, Alcohol Ink – Ranger Ink
Ledger Script stamp, Tim Holtz Clear Stamps Phrases 2 – Stampers Anonymous
Number Tokens, Index Clip, Distressables Journaling Cardstock – Advantus
Small Easel die – Sizzix
Northern Lights embossing powder – Emerald Creek Craft Supplies
Miscellaneous – white acrylic paint, stylus, heat gun, corrugated cardboard, gesso, brad, computer printer
Life Lesson Number 8 Foil Stenciled Mixed Media Plaque Instructions:
Tear off a length of Rebekah Meier Designs Mixed Media Art Tape (approximately 12 inches) and remove the paper backing.
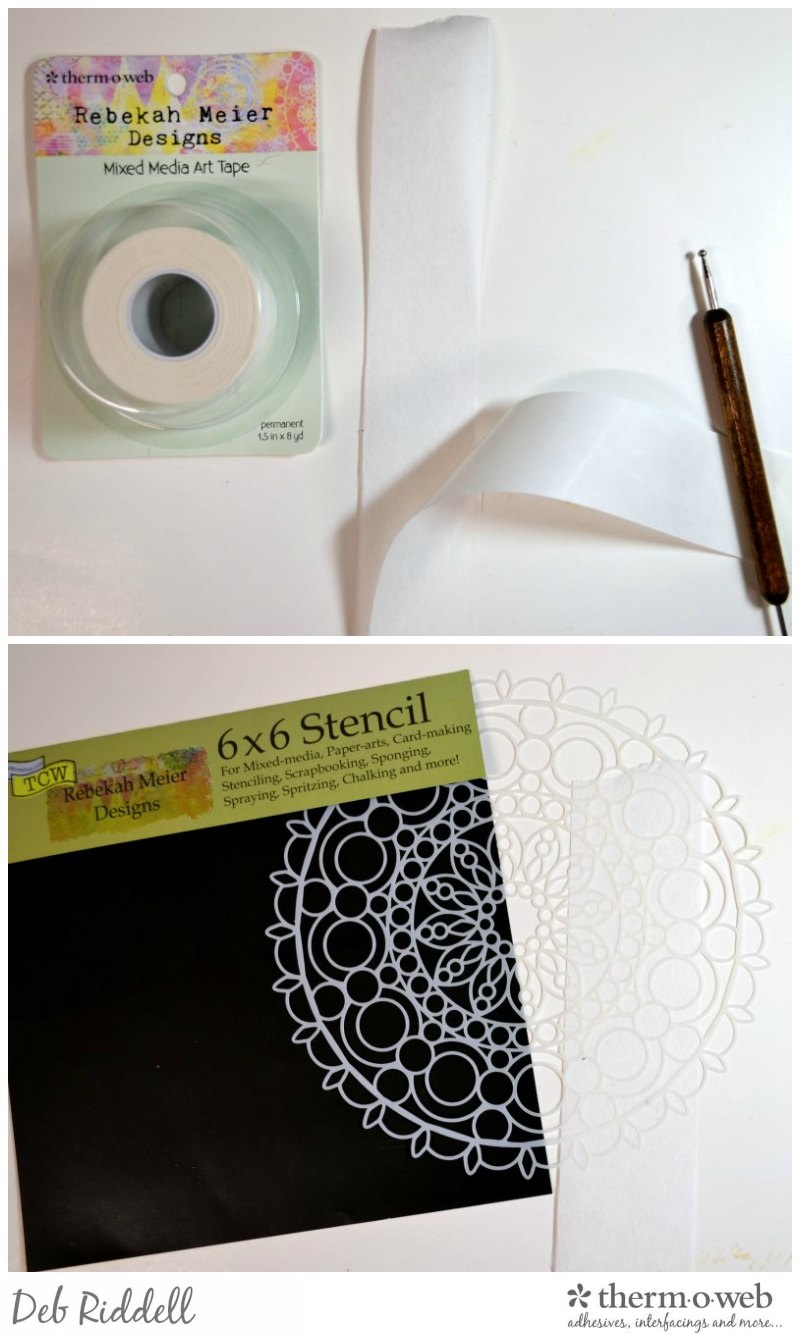
Place the Art Tape, sticky side down over top a section of your chosen stencil (this is Mini Rosetta from TCW).
Turn the stencil and Art Tape over so that the sticky side of the tape is facing you and position a piece of Rebekah Meier Designs New Penny Transfer Foil over the Art Tape so that the stencil is sandwiched in between the Transfer Foil and the Art Tape. Make sure that the coloured side of the foil is facing you when you make your sandwich.

Flip the sandwich over again so that the Art Tape is now on top and transfer the foil to the Art Tape by burnishing the tape with a stylus, making sure to follow the stencil design. You can peek every now and again by gently lifting the Transfer Foil to see where you need to burnish some more to get a nice clean transfer.
Once you are happy with the design, remove the Transfer Foil and voila, foiled stenciled Art Tape! (Make sure to keep the negative image left on the Transfer Foil because we will be using it too!)
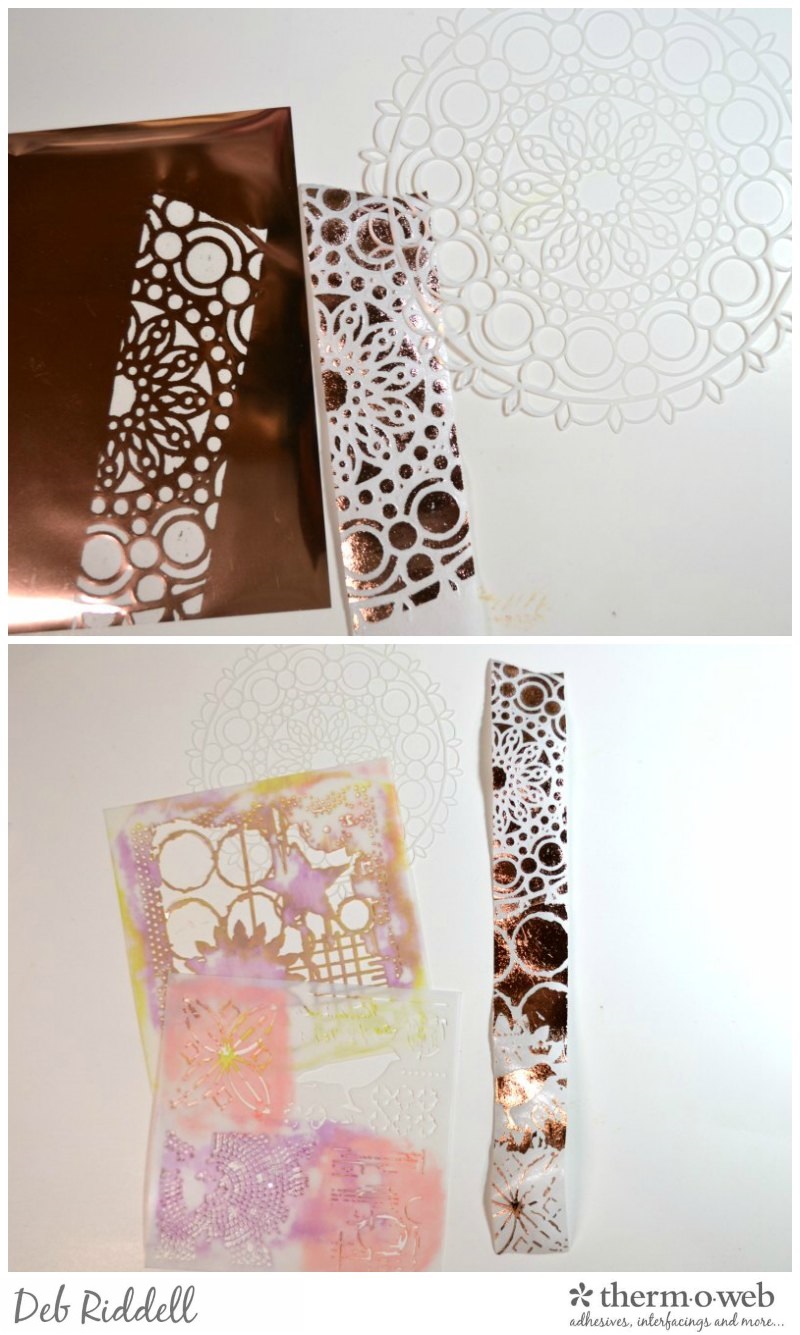
Continue stenciling the rest of the Art Tape in the same manner, using the same stencil or mixing it up with some others if you like (stencils used here were Mini Rosetta, Mini Raven Mosaic and Mini Star and Flower).
Cover the rest of the adhesive left exposed on the Art Tape by dusting on some mica powder or Perfect Pearls (I used Perfect Pearls Forever Green, Forever Blue and Perfect Pearl) to create your first piece of foil stenciled washi tape.
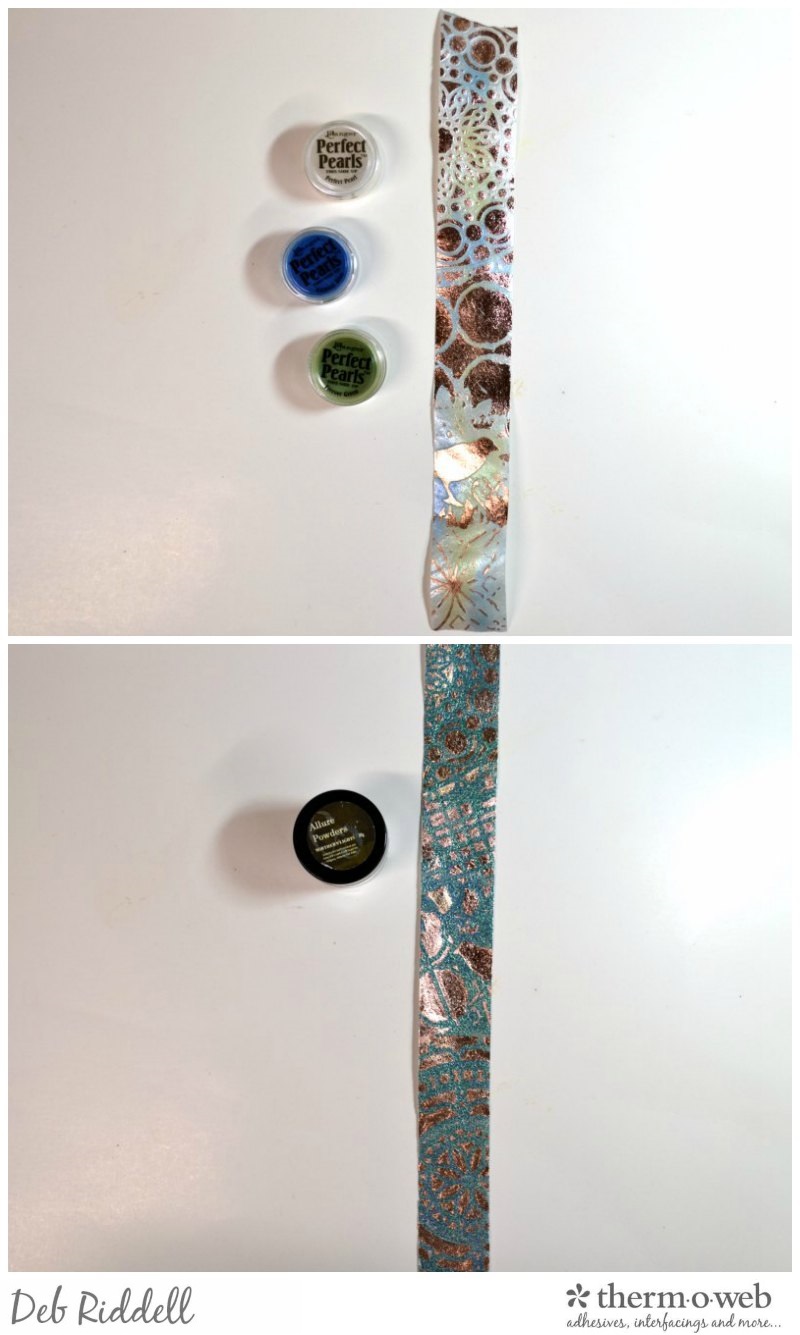
Mixed Media Art Tape Technique
Tear of another length of Art Tape, repeat the foil stenciling process and this time sprinkle embossing powder over top the exposed adhesive on the Art Tape (this is Northern Lights embossing powder). Melt the embossing powder with your heat gun and your second piece of foil stenciled washi tape is complete.
Tear of the third length of Art Tape and cut out those lovely negative designs left on the Transfer Foil, making them about the same width as the tape.
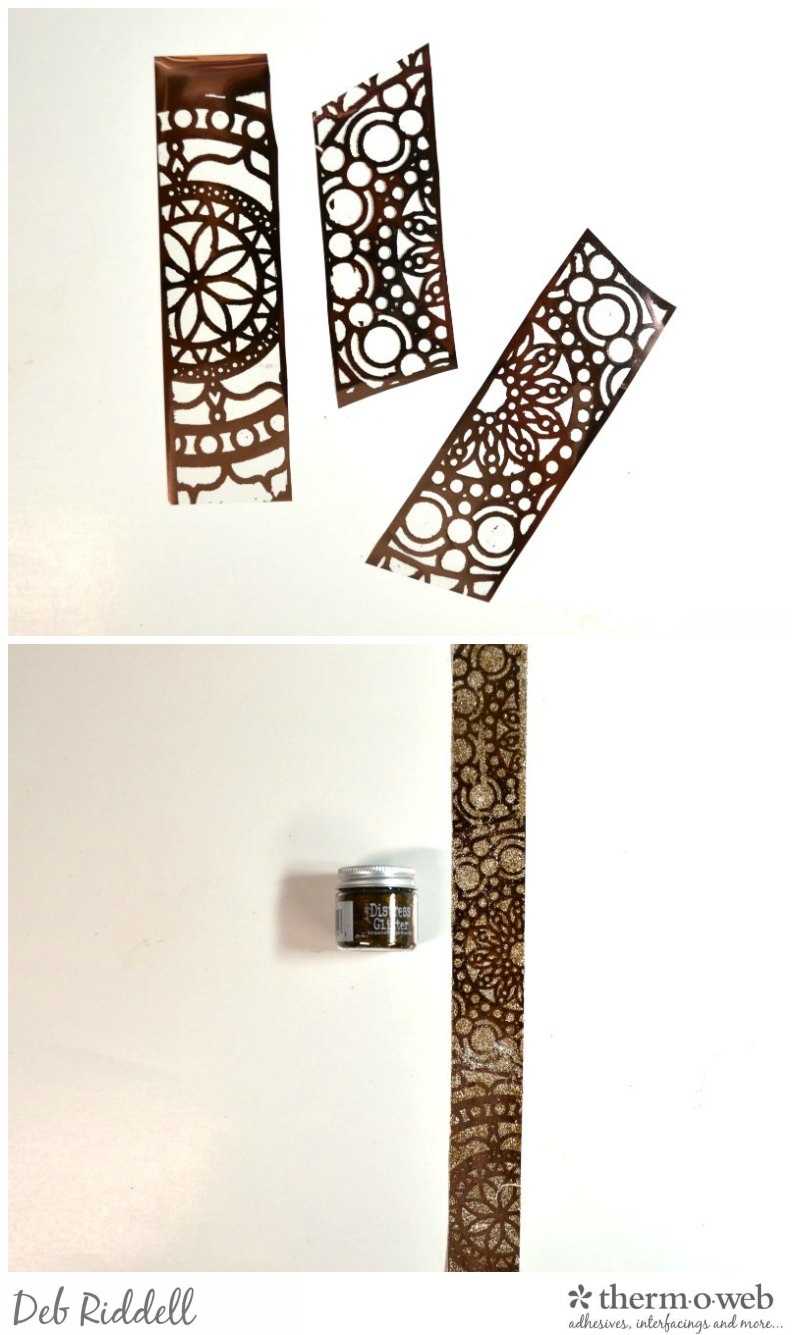
Adhere the foil segments to the sticky side of the Art Tape, burnish well with a bone folder and remove the clear backing from the foil. Sprinkle some glitter onto the Art Tape to cover the exposed adhesive (this is Brushed Corduroy Distress Glitter), patting it down with your fingers to get good contact. Remove the excess glitter and your third piece of foil stenciled washi tape is complete!
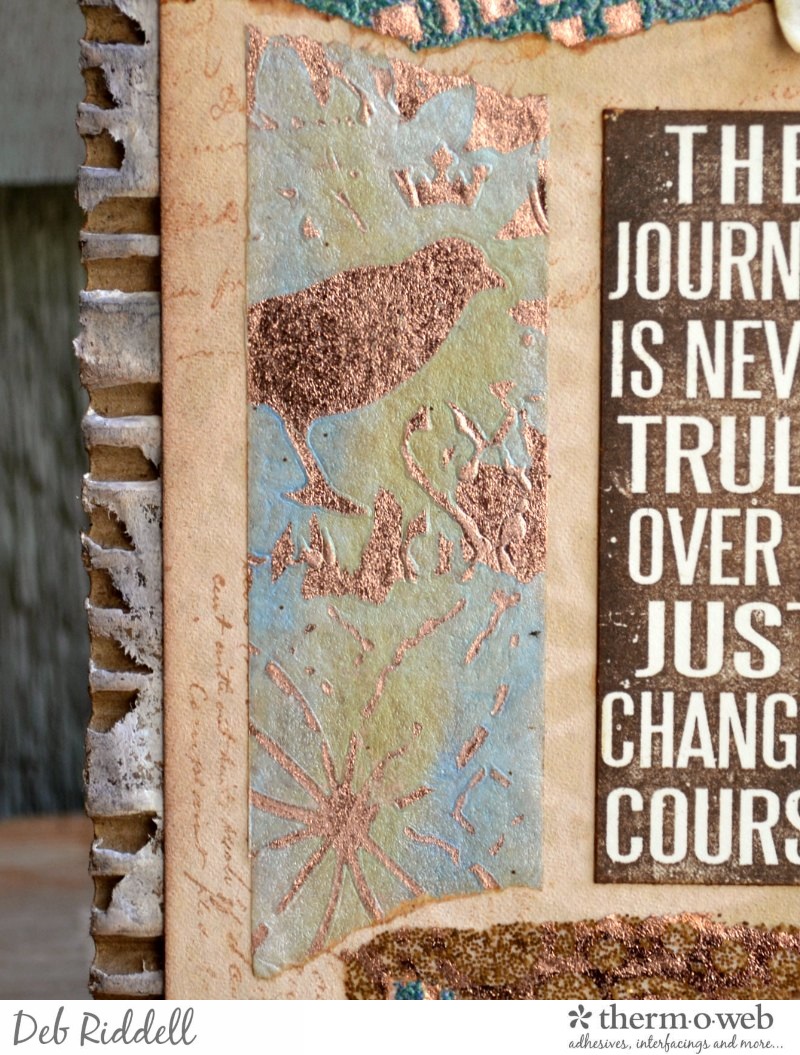
Paint a piece of Rebekah Meier Mixed Media Art Paper with Antique Linen Distress Stain. Dry the stain and then add a white wash of diluted white acrylic paint over top. Once the paper has dried, randomly stencil the Art Paper through the Mini Infinite Lace and Mini Rosetta stencils with Antique Linen Distress Ink for a subtle tone on tone background pattern.
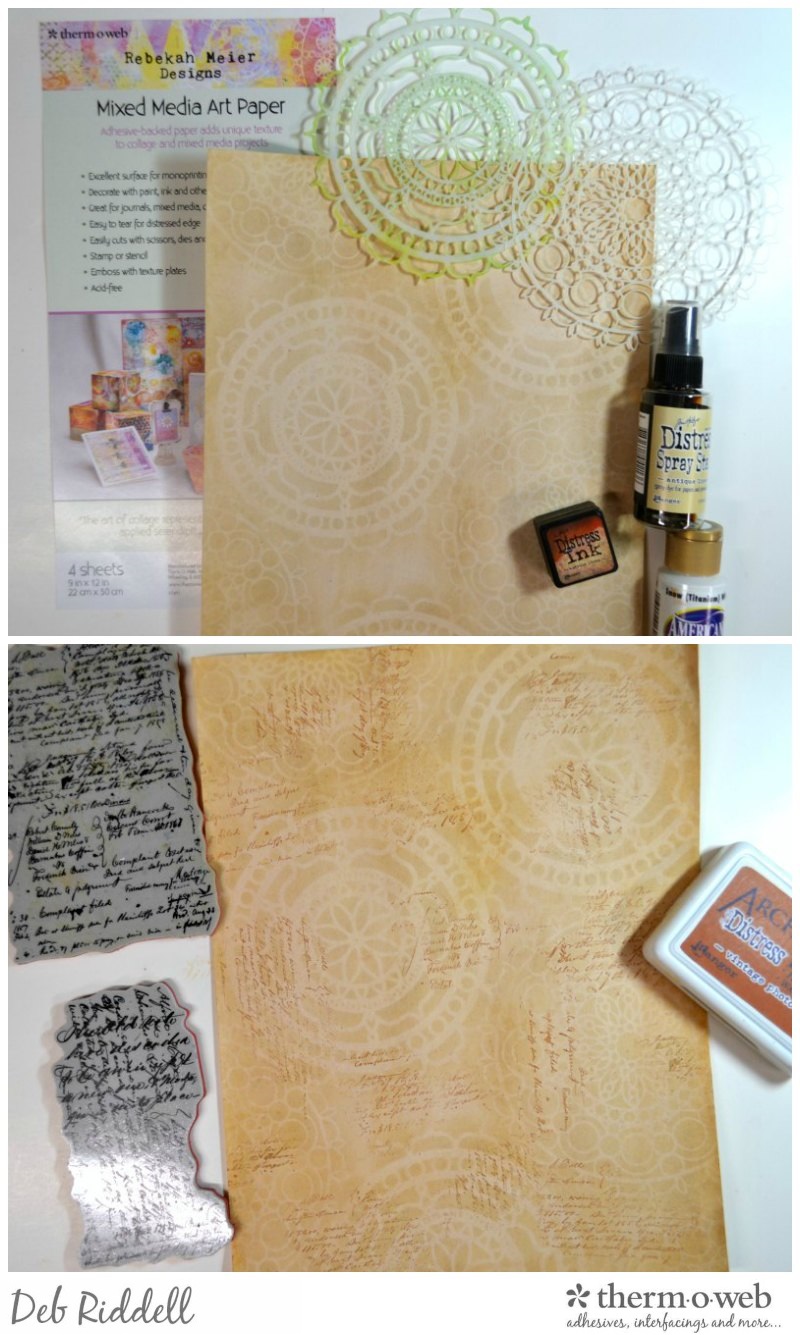
Randomly stamp script here and there onto the Art Paper with a permanent brown coloured ink (these are Ledger Script stamps and Vintage Photo Distress Archival ink).
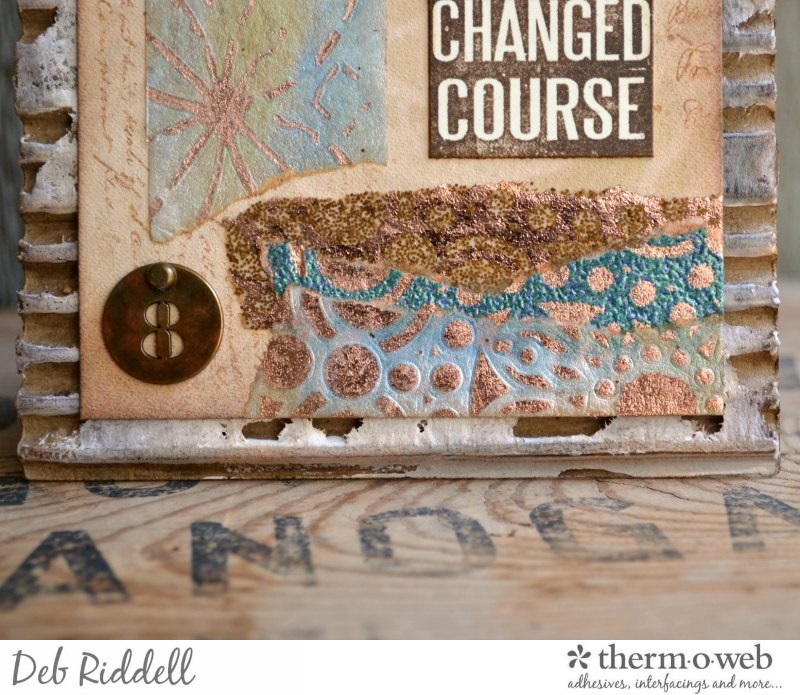
Find a piece of your foil stenciled washi tape that you want to use as a focal point and tear it off. Adhere the washi tape focal point onto the stenciled and stamped Art Paper background with Rebekah Meier Designs Mixed Media Medium. Tear the remaining foil stenciled washi tape into strips and layer the three different tapes over top of each other with the torn edges exposed, inking the edges with brown ink. Choose a sentiment and stamp it onto Gina K. Designs white Premium Cardstock with brown permanent ink and cut it out (this stamp is from Tim Holtz Clear Stamps Phrases 2). Adhere the sentiment beside your washi tape focal point and then adhere the layered washi tape pieces above and below as shown. Peel the backing off of the Art Paper and adhere it to a piece of Gina K. Designs cardstock for stability and trim to size (mine ended up being about 7″ x 4″ but make yours whatever size you’d like).
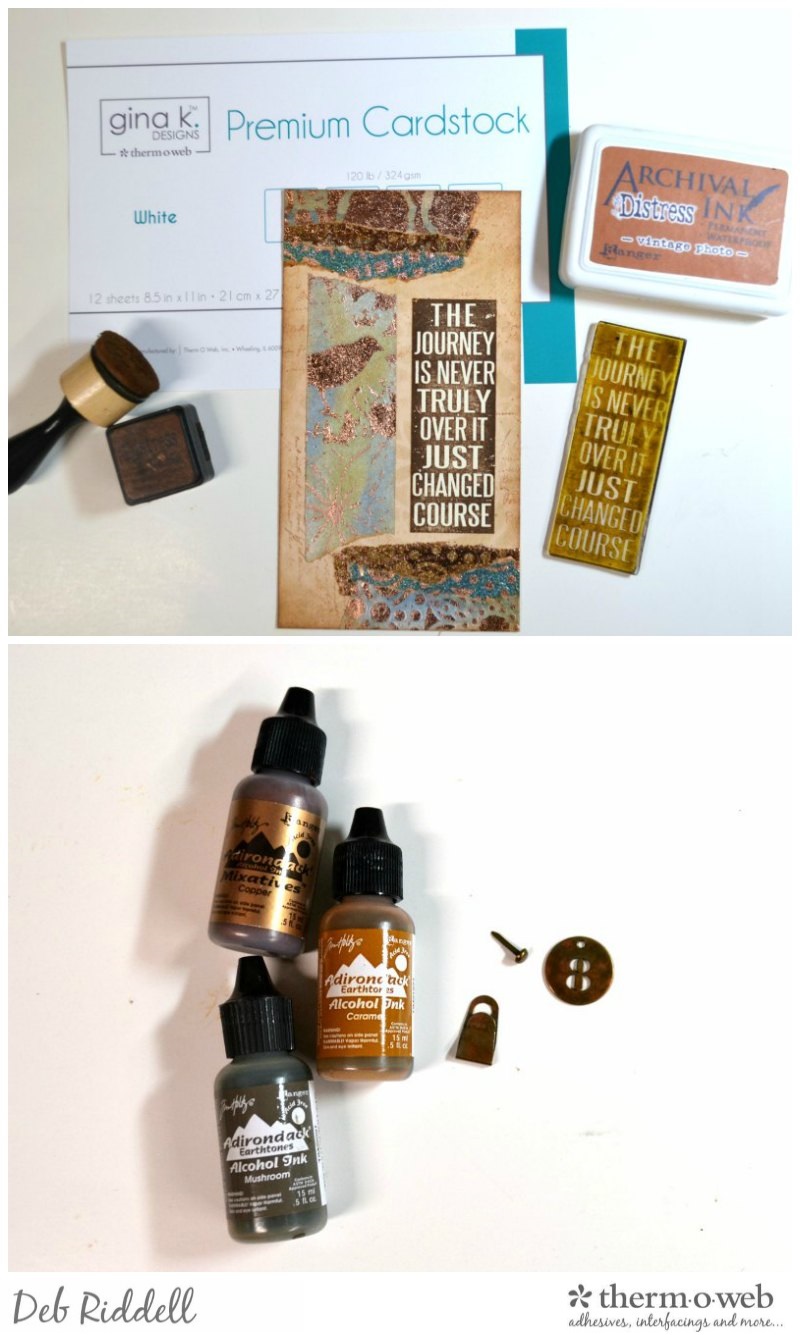
Colour a Number Token, Index Clip and brad with Caramel, Mushroom and Copper Mixative alcohol inks.
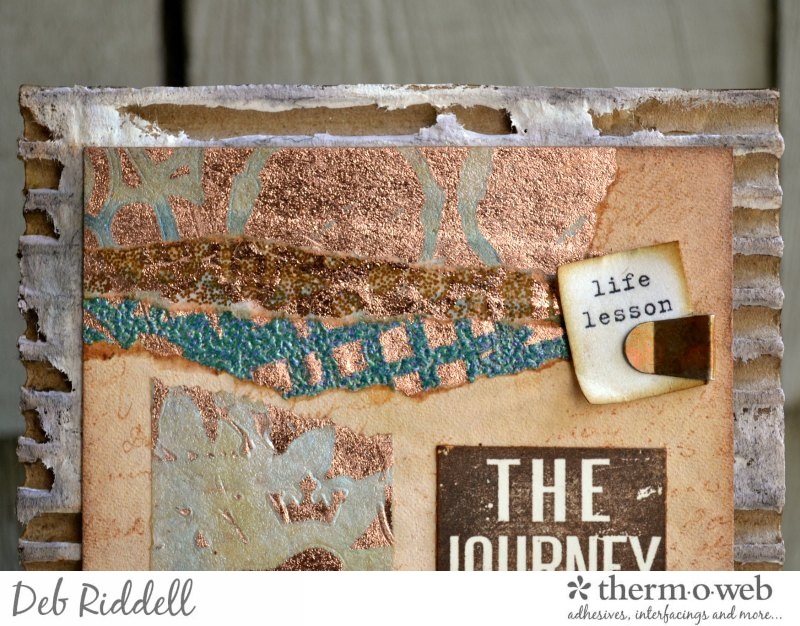
Attach the Number Token onto the bottom left corner of your prepared plaque with the brad. Adhere the Index Clip to the top right corner. Cut a piece of corrugated cardboard to about 3/8″ larger on all sides than your plaque and tear off the top layer of paper covering the corrugations here and there. Finger paint white gesso over top the corrugations, let dry and then randomly add Antique Linen and Ground Espresso Distress stain here and there. Once dry, adhere your prepared plaque on top of the corrugated cardboard with Mixed Media Medium.
You can add a hanger to the back of your plaque to display it or die cut a Small Easel for a stand, whichever you prefer. Here are a few close-ups of the finished plaque.
I typed out the words ‘life lesson’ on the computer and trimmed it to size to fit in the Index Clip.
Love the way the Transfer Foil shines on the stenciled Art Tape!
Hope that you’ve enjoyed seeing how my Life Lesson Number 8 mixed media plaque came together and that I’ve given you some ideas on how to create some foil stenciled washi tape of your own! Thanks again for stopping by today and as always happy creating!
Deb xo
Save
[…] Tin over top of the stencil and use a stylus to transfer the snowflake images to the Art Tape (click here for a step by step tutorial on this technique). Sprinkle Vintage Platinum embossing powder over […]