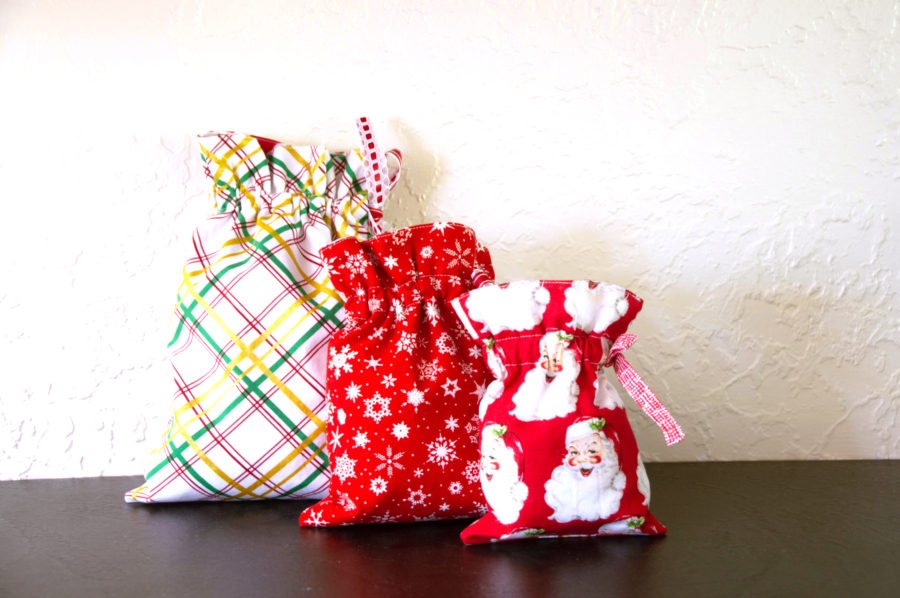
Becca here from Sunflower Seams. Have you started your Christmas shopping yet? I have a few things I’ve picked up for the kids and needed to get them wrapped before they start snooping around. This year I wanted to consume less trash come Christmas morning so I decided to make these quick and fun reversible fabric gift bags that we can reuse every year.
Let’s get started…
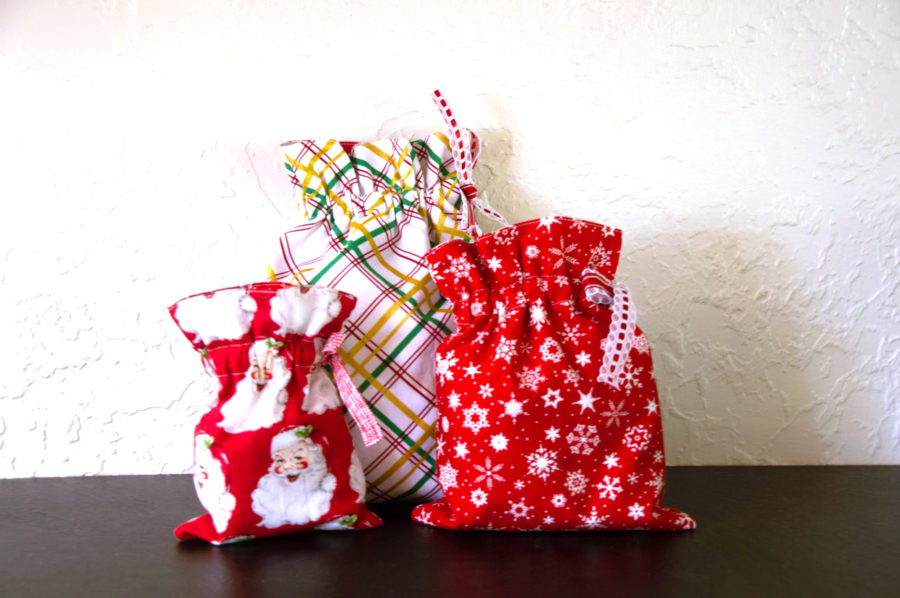
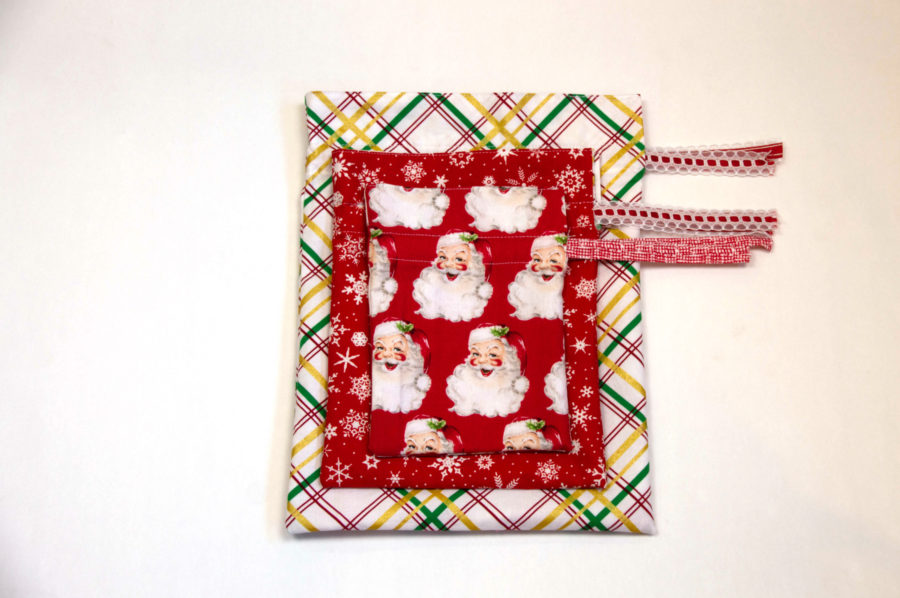
How to Sew a Reversible Santa Bag
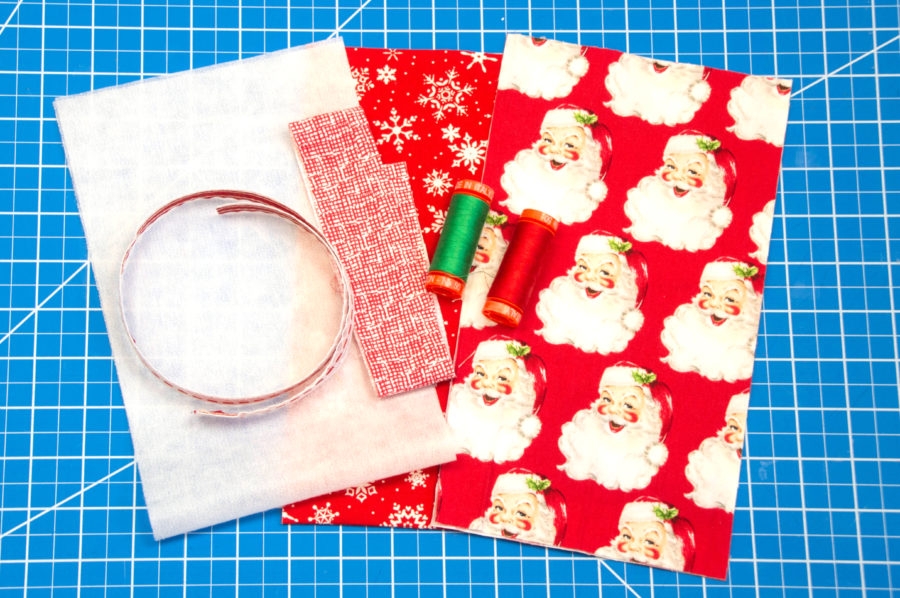
Supplies Needed:
Heat N Bond Light Weight Non-Woven Interfacing
Fabric scraps (refer below for the dimensions needed for each size)
Ribbon or Fabric scrap for the drawstring
Coordinating Aurifil Thread
Basic Sewing Supplies
Reversible Santa Bag Instructions
1/4″ seam allowance
Step One: Cut your fabric and ribbon according to the dimensions below:
- For a small bag: two 6″ × 20″ fabric piece (one main, one lining); one 6″ x 20″ interfacing piece; two ribbon piece cut to 22″ or two 1.5″ x 22″ fabric strip
- For a medium bag: two 8″ x 24″ fabric piece (one main, one lining); one 8″ x 24″ interfacing piece; two 24″ ribbon piece or two 1.5″ x 24″ fabric strip
- For a large bag: two 10″ × 30″ fabric piece (one main, one lining); one 10″ x 30″ interfacing piece; two 26″ ribbon piece or two 1.5″ x 26″ fabric strip
NOTE: If you are using a directional fabric you can cut 4 fabric pieces instead of 2 and attach them at the bottom where it would normally be folded. Remember to divide the length measurement in half and add 1/4″ seam allowance to the bottom edge. An example cut four 6″ x 10.25″ fabric pieces.
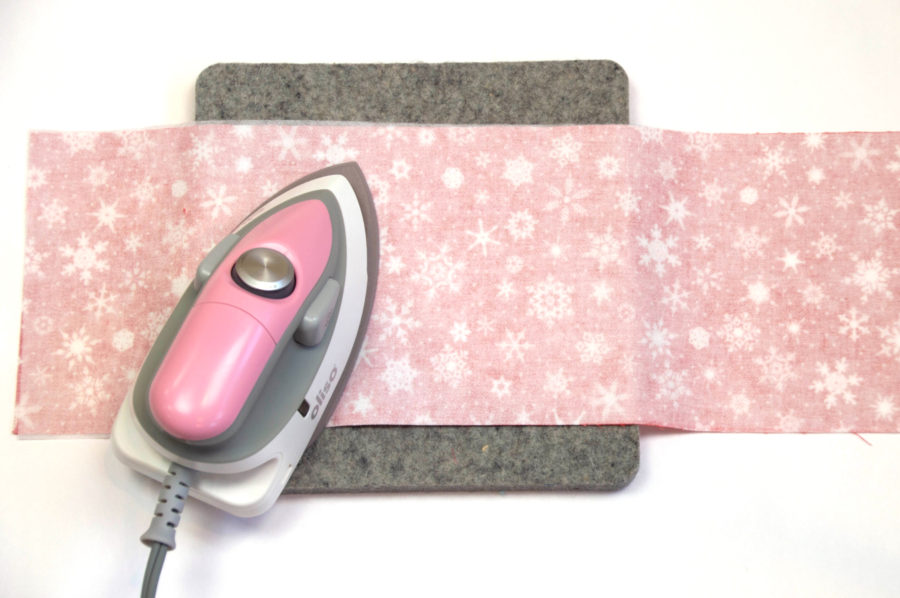
Step Two: Using your preferred heat source, attach heat n bond interfacing per the instructions to your main fabric piece.
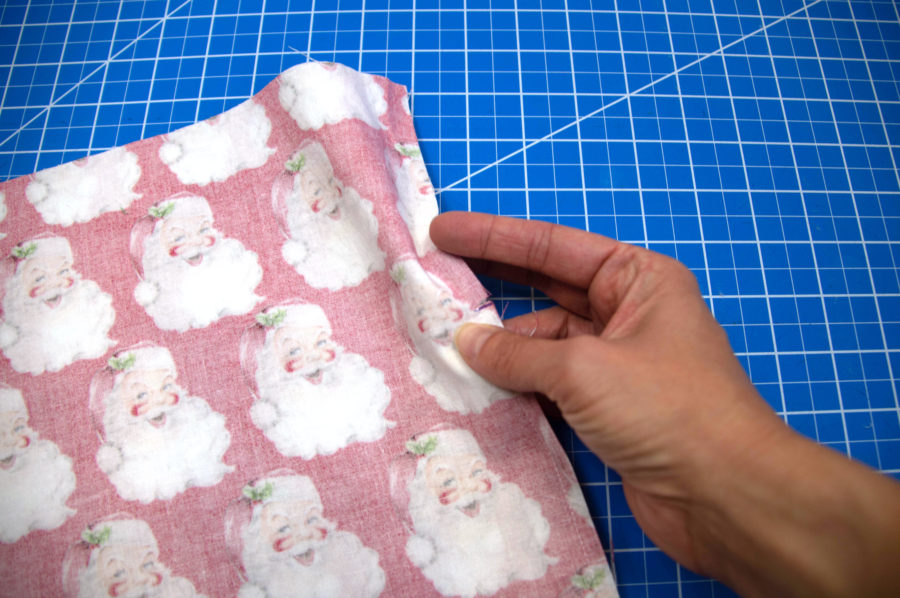
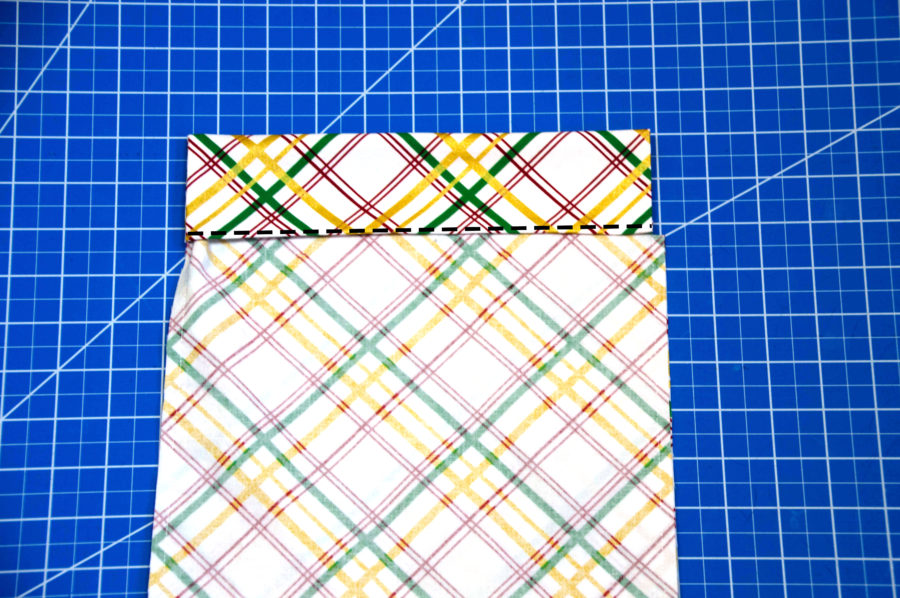
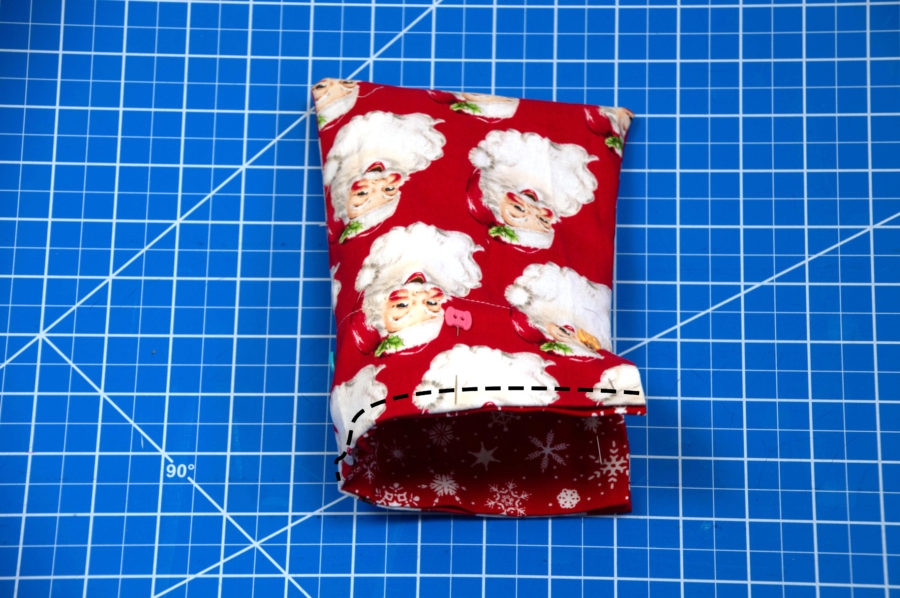
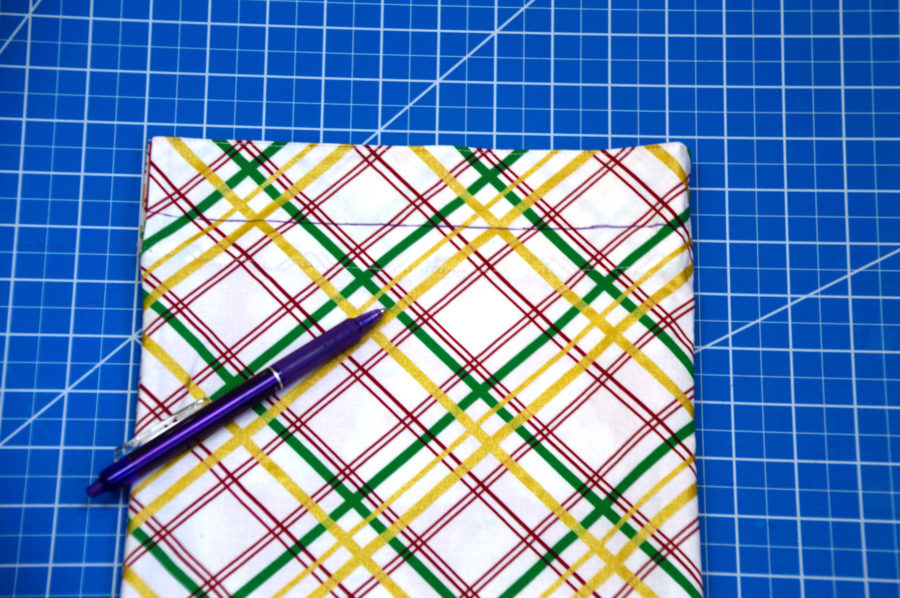
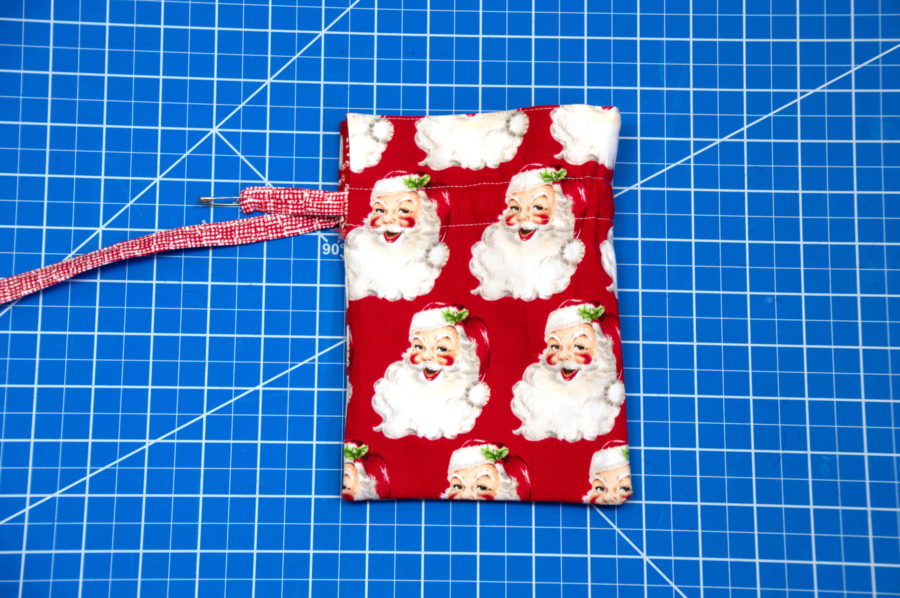
Step Three: Fold your fabric piece in half width-wise, right sides together and pin. Measure 5 inches from the raw edge on one side and mark with a Frixion pen.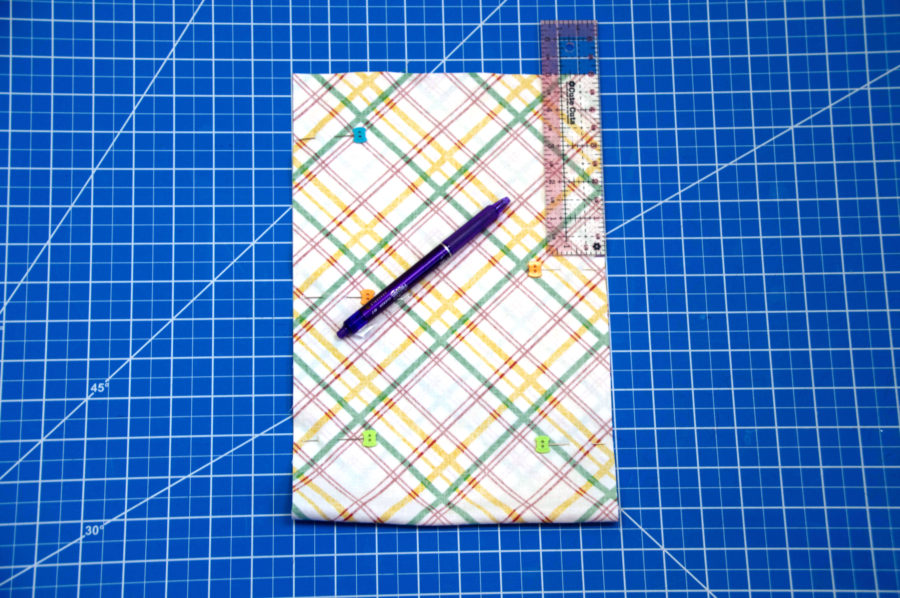
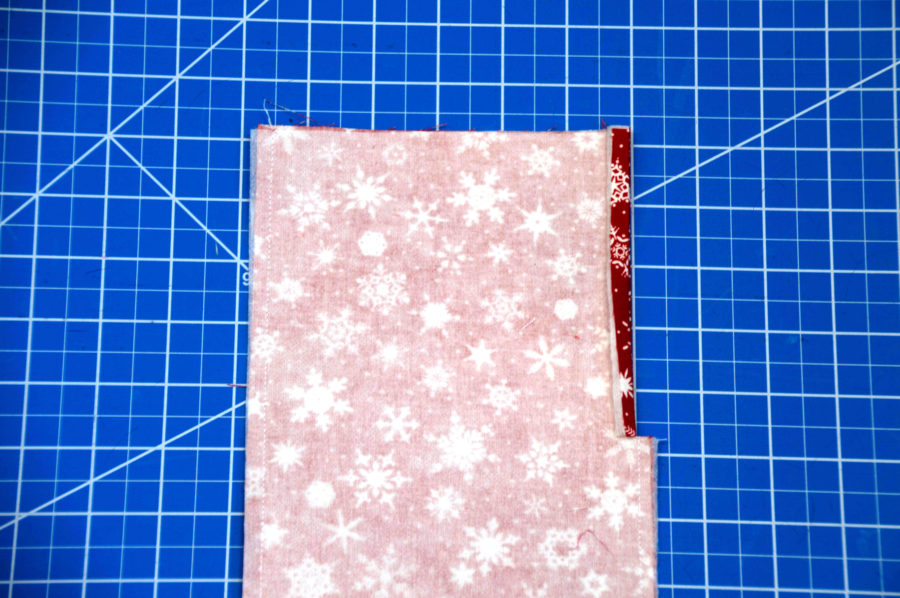
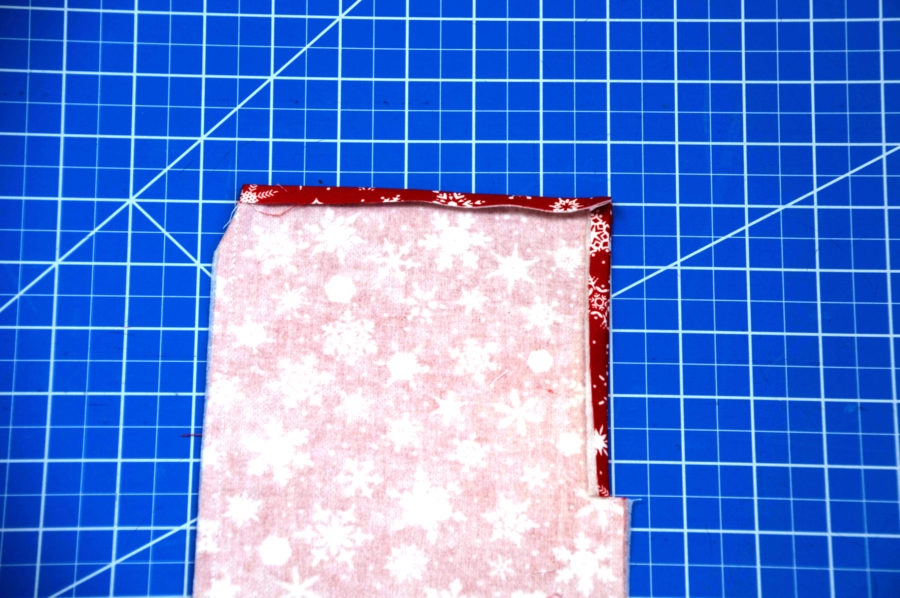
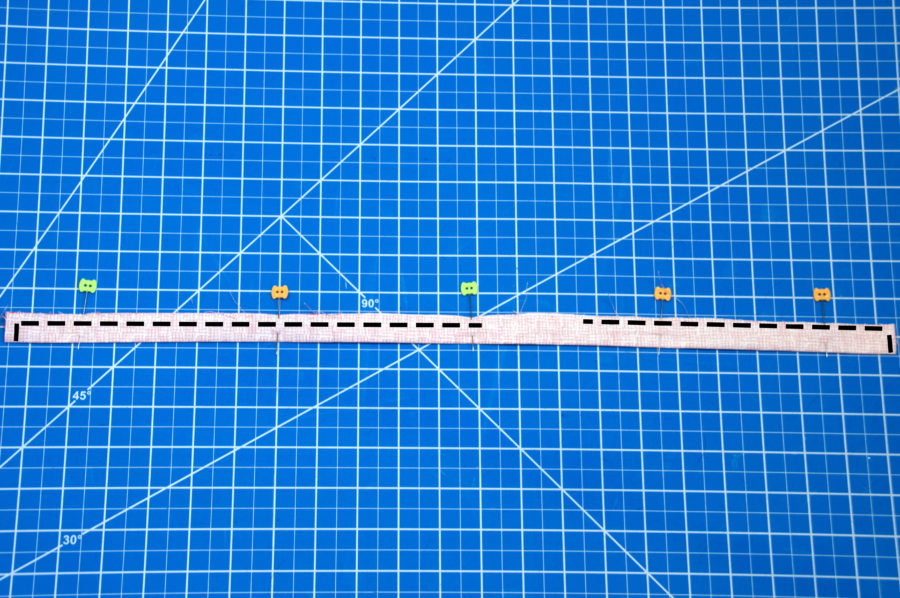
Step Four: Sew from the mark you made in the previous step down to the folded edge of the fabric piece. Sew along the entire length of the opposite long side.

Carla Hundley
October 18, 2019 at 11:27 pm (6 years ago)Thanks for the instructions
for these cute bags.
Carla from Utah