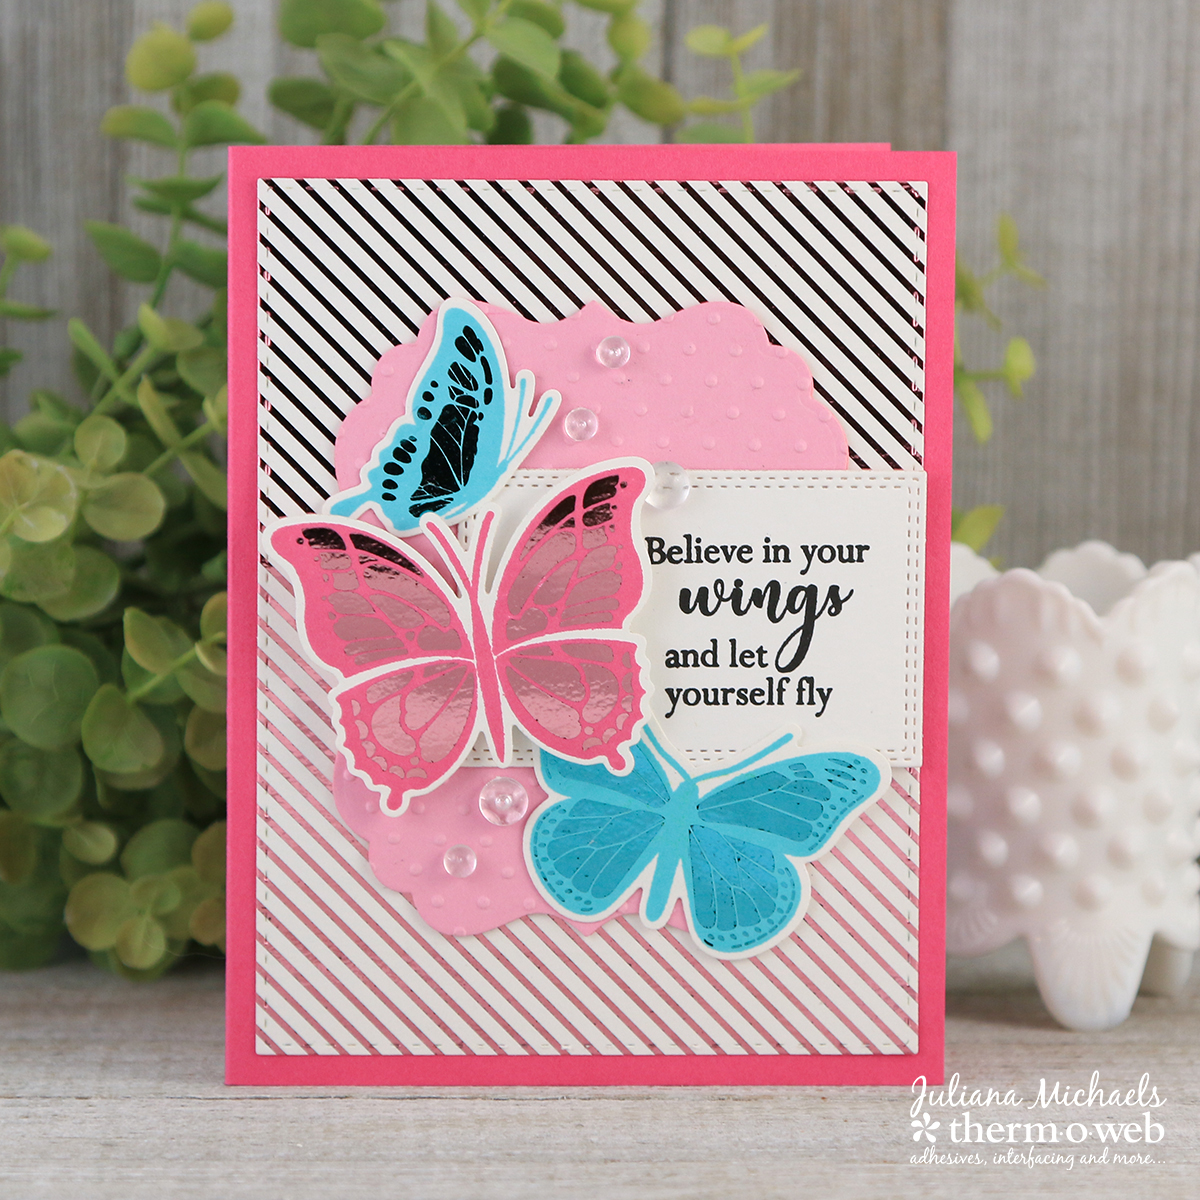
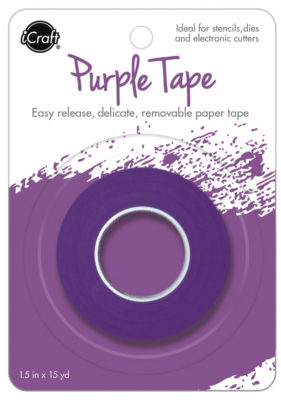
Hello friends! It’s Juliana with you here today to share a couple of cards I created using some of the brand new products from Therm O Web. One of these products is one of my new favorite adhesives…Purple Tape! Die Cutting with Purple Tape is a game changer when it comes to making sure your stamped and colored images die cut perfectly! Along with the Purple Tape, I’m also showcasing the new Gina K Designs Stamp N Foil, Foil Mates™ and Fancy Foils™.
Die Cutting with iCraft Purple Tape is a Game Changer
Die Cutting with Purple Tape
First, begin by selecting some butterfly images from the StampnFoil Butterfly Kisses Clear Stamp Set and Butterfly Kisses Foil-Mates™. Stamp over the StampnFoil images using Gina K Designs Premium Dye Ink in Passionate Pink and Turquoise Sea.
Now it’s time to use the Purple Tape! Position the coordinating Butterfly Kisses Craft Dies over the stamped image. Tear off a piece of the Purple Tape and use it to hold the die in position. Run this through your manual die cutting machine.
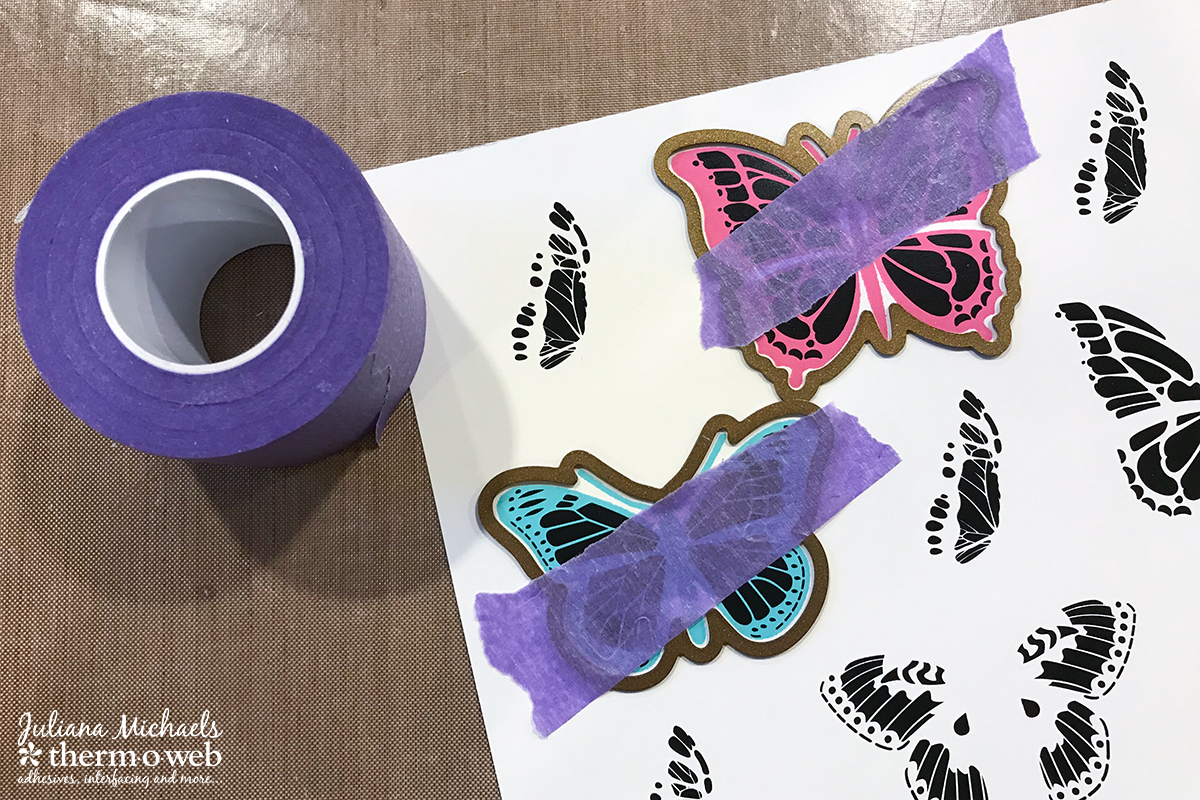
Look at how perfectly die cut these images are! You will never again have to worry about the dies sliding around when you are die cutting. Another wonderful thing about the Purple Tape is that it doesn’t tear your paper. Now, if it does leave any residue, it easily rubs off using an Adhesive Pick-Up Square. In my experience, I have only had this happen when I reused the tape for multiple die cuts.
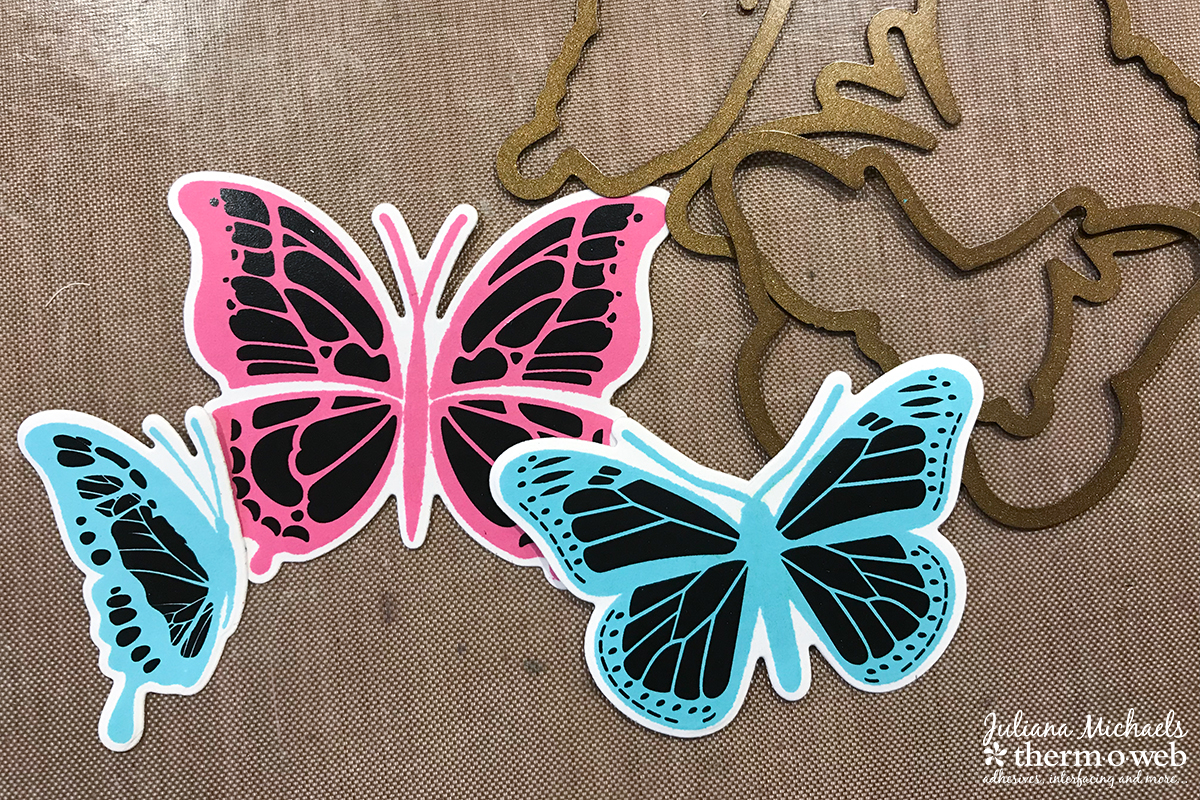
Foiling with StampnFoil
After the die cutting is complete, place a piece of Fancy Foil on top of your image. For this card I used Fancy Foils in Bubblegum and Turquoise Sea. Place the foil-covered image inside a piece of folded parchment paper, along with a piece of cardstock, and run it through a pre-heated laminator. The cardstock adds stability and prevents the small die cuts from jamming in the laminator.
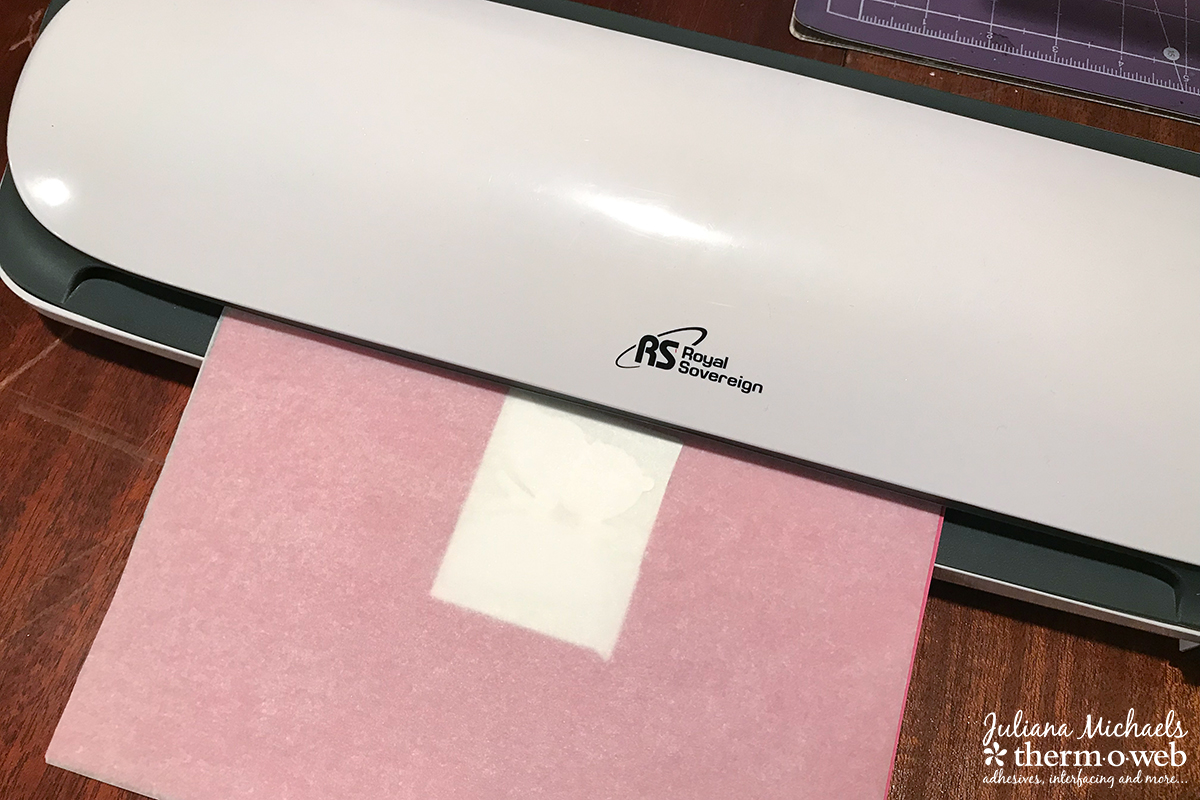
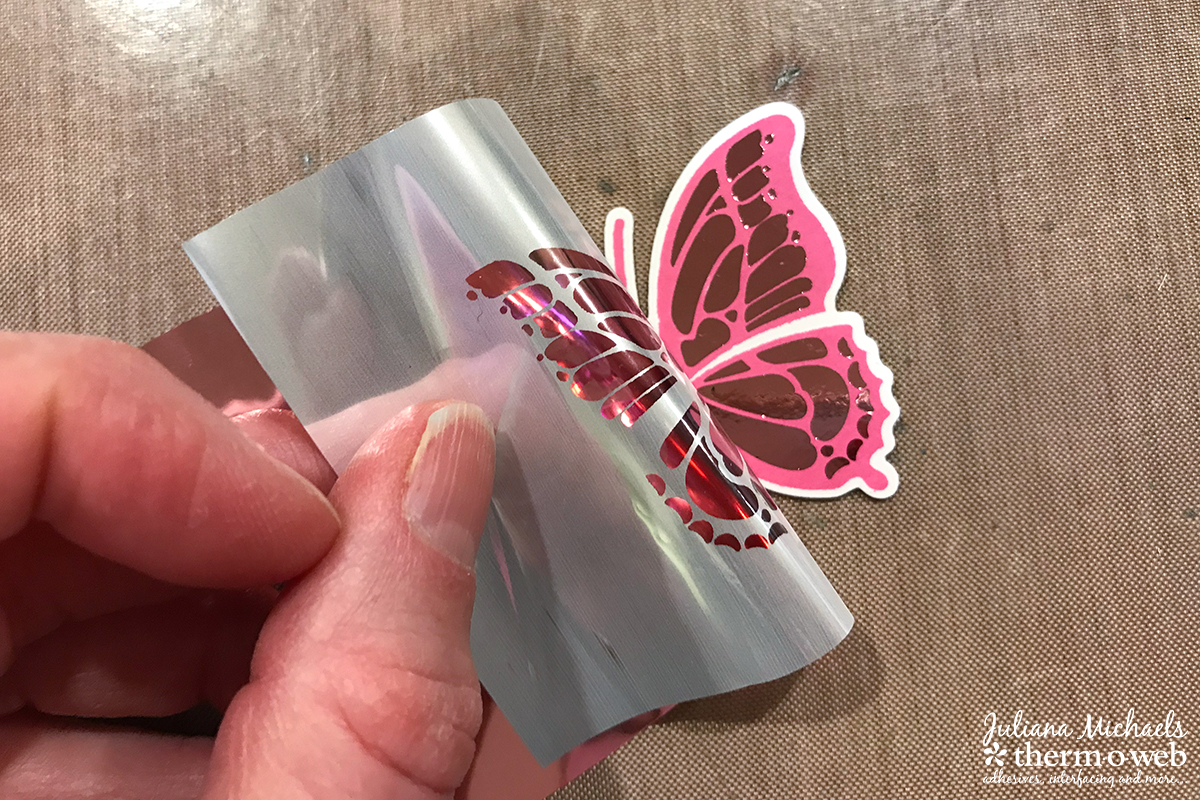
After it comes through the laminator, peel back the transfer sheet to reveal the beautifully foiled image! Isn’t it gorgeous?!
To create the background of the card, use the Pinstripes from the new Bold Backdrops Foil-Mates™ Background. Foil this using Bubblegum Pink Fancy Foils™.
Stamp the sentiment using black ink onto a piece of White Premium Cardstock die cut using one of the dies from the Gina K Designs Nested Double Stitched Rectangles.
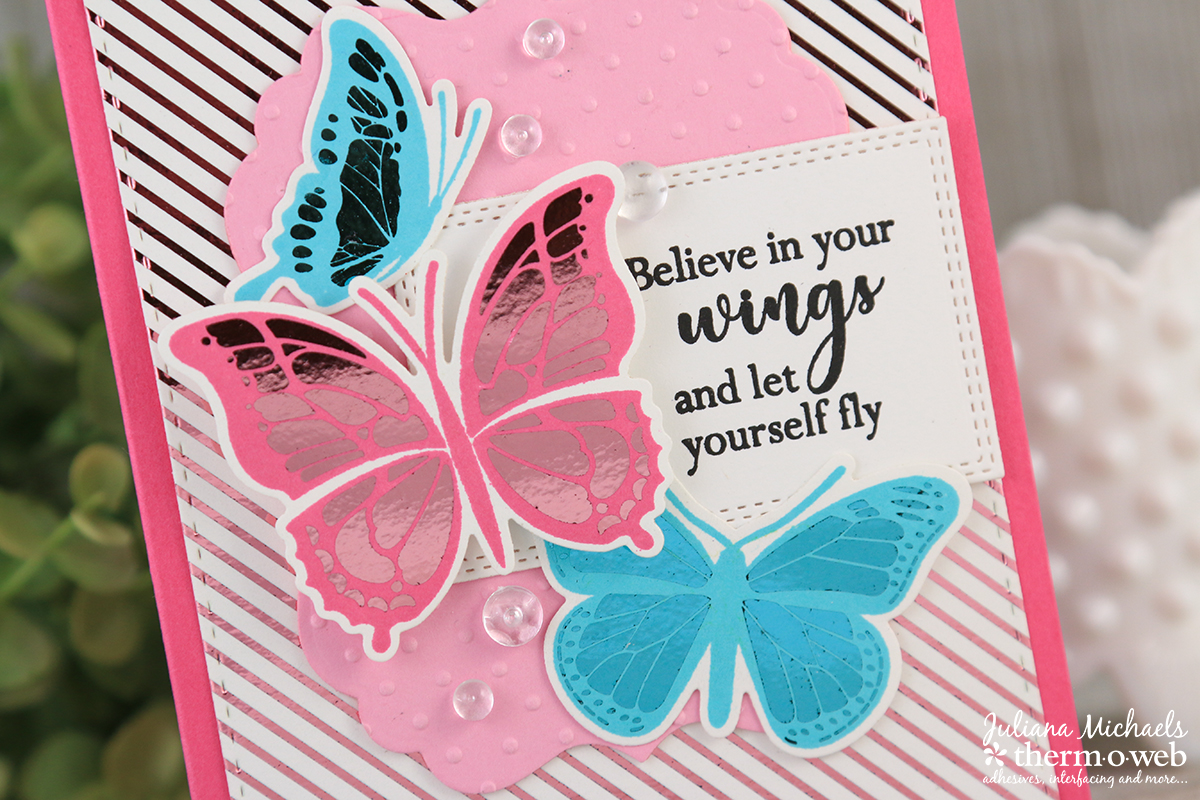
Die cut a piece of light pink cardstock using the large label die from the Gina K Designs Nested Label Dies. Dry emboss this with a small polka dot embossing folder.
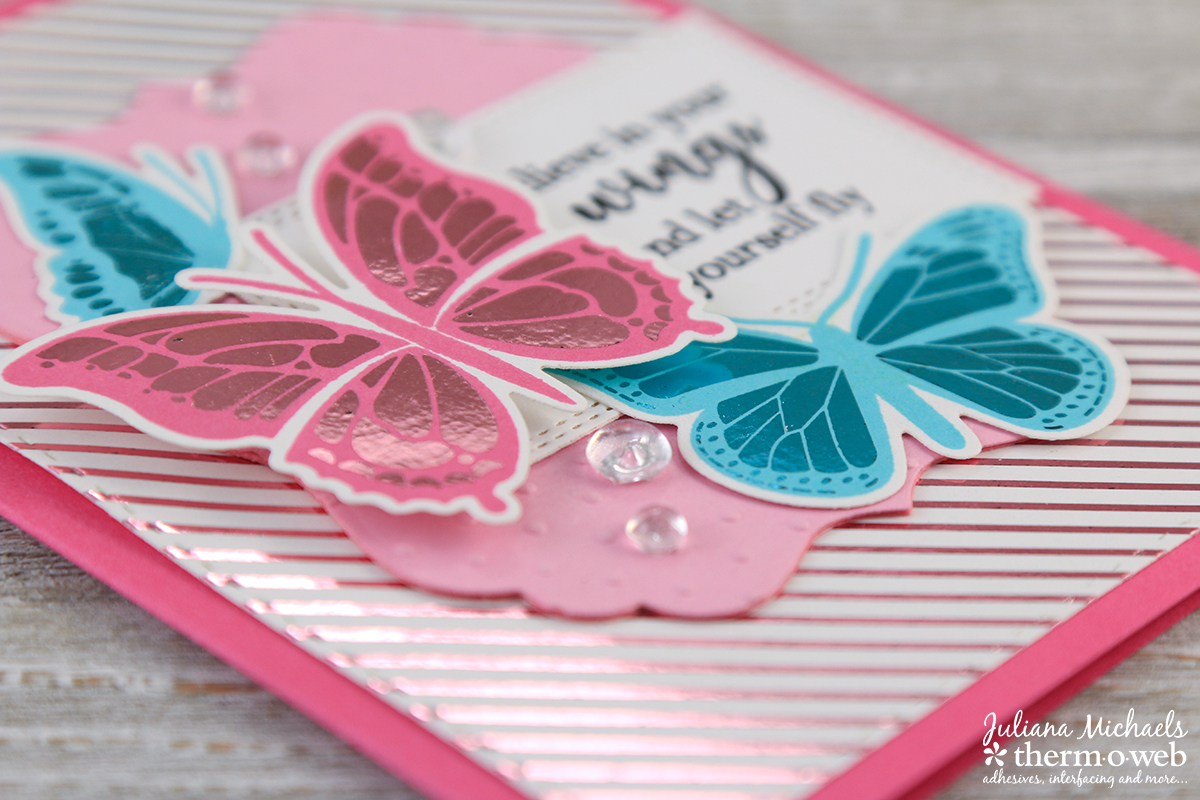
Use the Memory Tape Runner XL to adhere all your layers to the card base. Adhere two of the stamped and foiled butterflies using the Memory Tape Runner XL. Give the main butterfly some dimension by adhering it with a 3D Foam Square.
Finally, adhere a few clear gems using Zots Adhesive Dots.
More Die Cutting with Purple Tape and Foiling
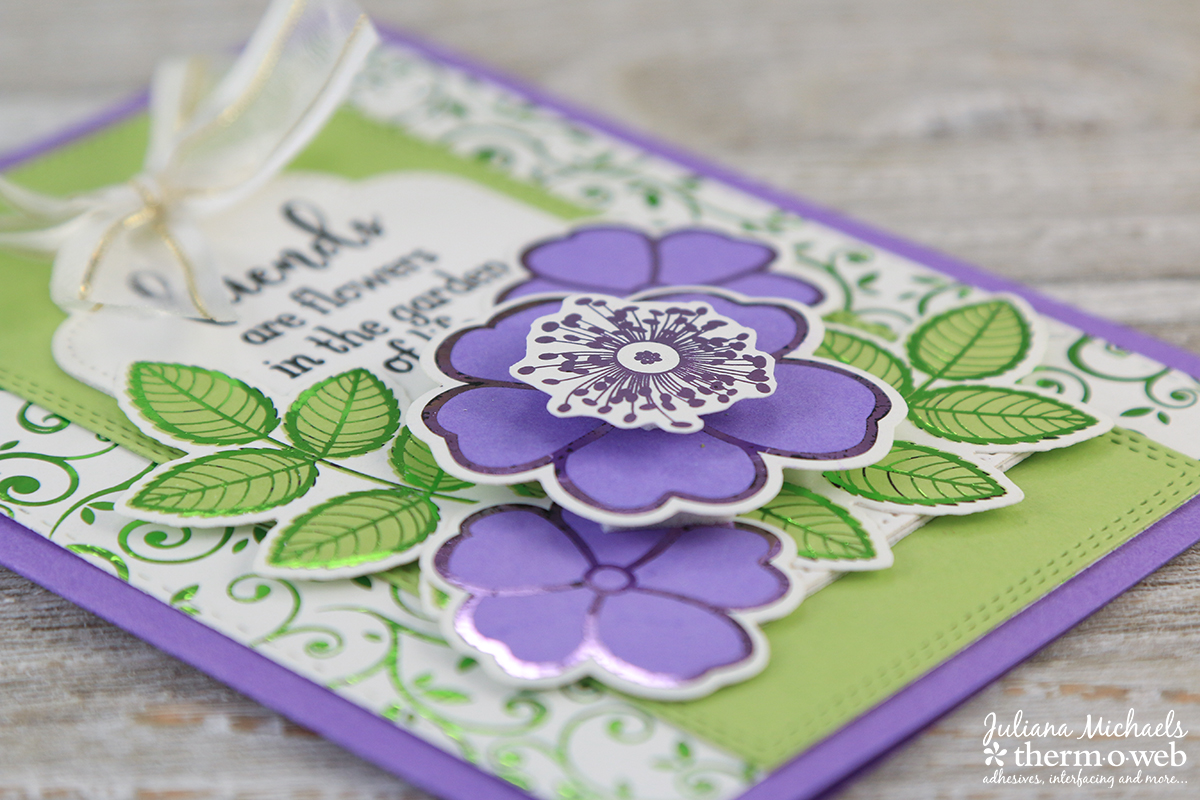
Here is a second card example using the new StampnFoil Where Flowers Bloom Clear Stamp Set, Foil-Mates™ and coordinating Die Set. *Don’t forget to use the Purple Tape when it comes time for the die cutting!
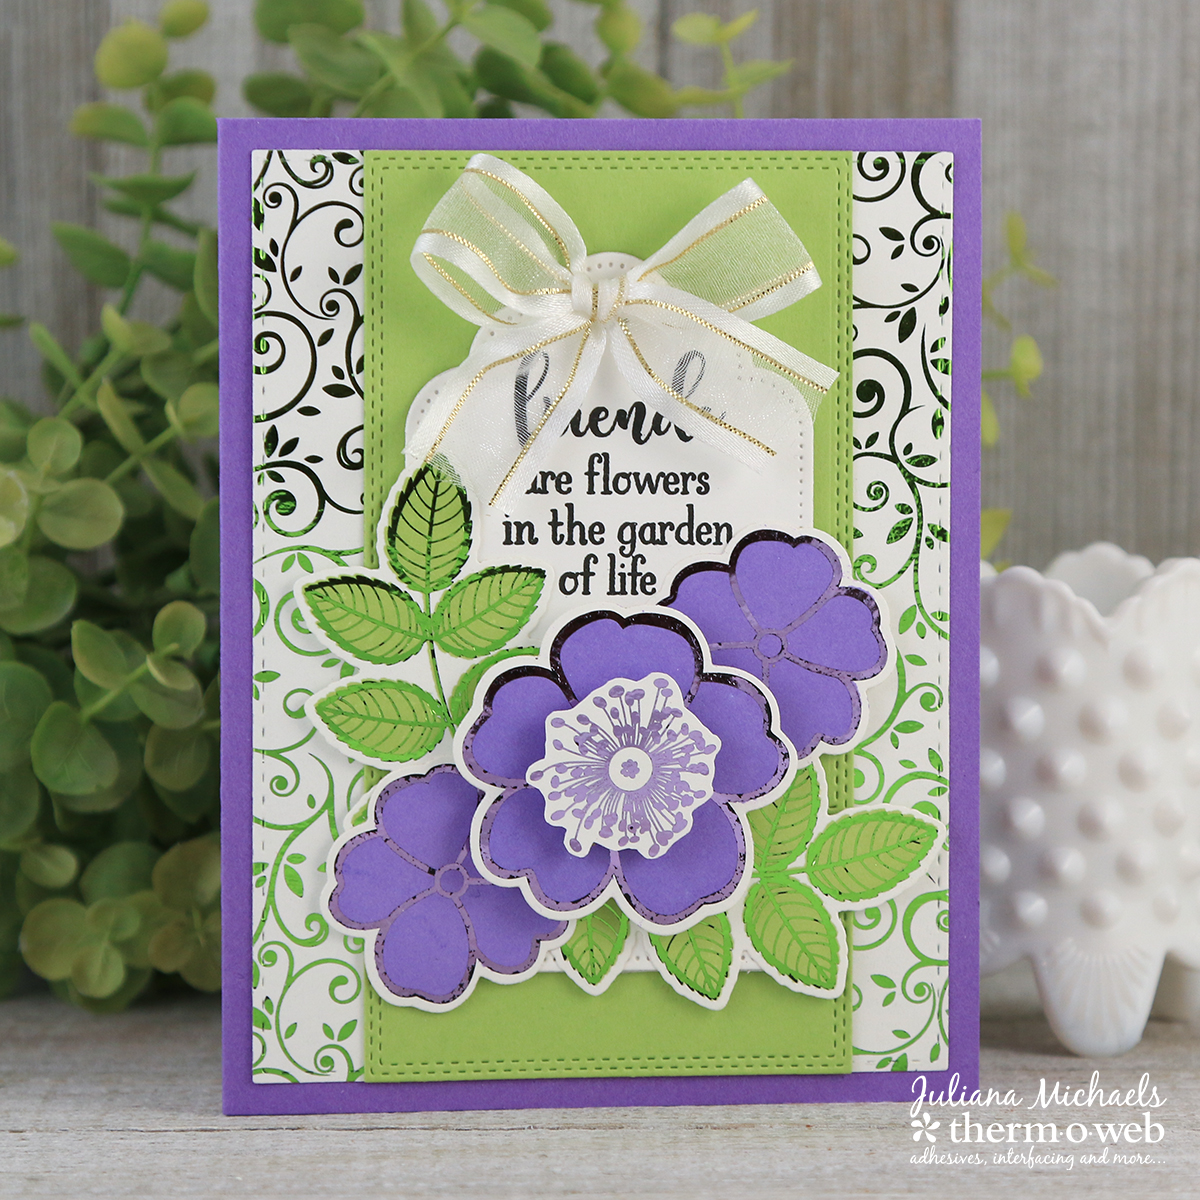
To create the background for this card, foil Branching Out from the Vibrant Vines Foil-Mates™ Background with Grass Green. Foil the leaves with the same color foil and foil the flowers with Wild Lilac.
Stamp the sentiment onto a tag die cut using the Gina K Designs Nested Tag Dies. Attach a bow made from Gina K Designs Sheer Satin Fancy Ribbon in White Gold and adhere it with a Zot.
I hope you enjoyed learning more about some of the new products from Therm O Web and about die cutting with Purple Tape!

Marjorie DUMONTIER
January 31, 2018 at 3:00 pm (7 years ago)That’s a really helpful product ! And this card is lovely !
[margessw(at)icloud(dot)com]
Ivory
January 31, 2018 at 3:28 pm (7 years ago)Fabulous, and I love it
Sharon Perehudoff
March 7, 2018 at 5:44 am (7 years ago)Have to say, really love this product can’t wait to get started making beautiful cards. Thank you so very much for sharing your ideas and your cards are Amazing and Gorgeous!