Hello, Therm O Web friends! Shemaine here today with three ways to creatively use Deco Foil Transfer Sheets: with Easy-Cut Adhesive Sheets; with laser-printed vellum; and with Gina K. Designs Poly-Glaze Foiling Sheets. Plus, we’re adding Deco Foil Plush Paper for texture.
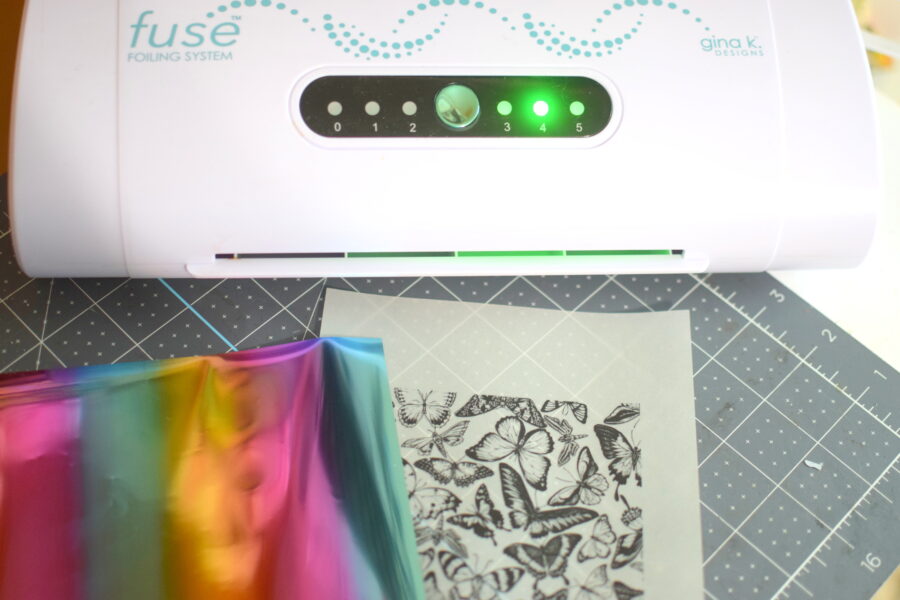
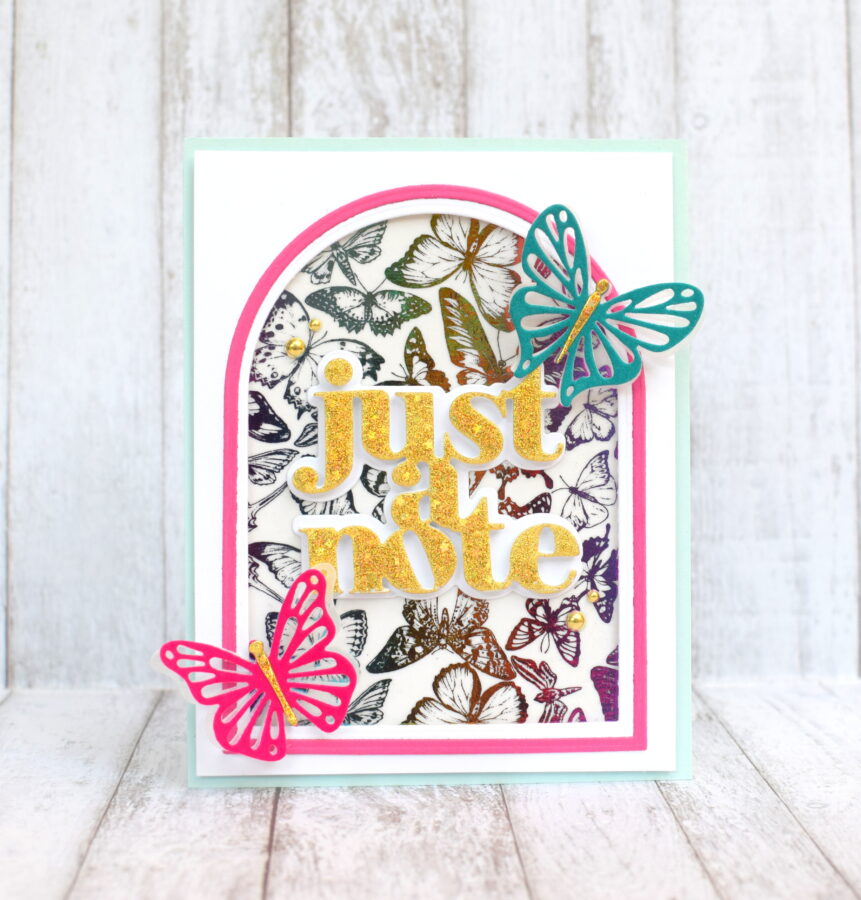
For today’s cards, I started by laser printing a butterfly background onto 100lb vellum paper. For my tutorial on how to laser print with stamped images, click HERE. Next, I foiled the background with a Deco Foil Mystic Rainbow Transfer Sheet and my Gina K. Designs Fuse Foiling System.
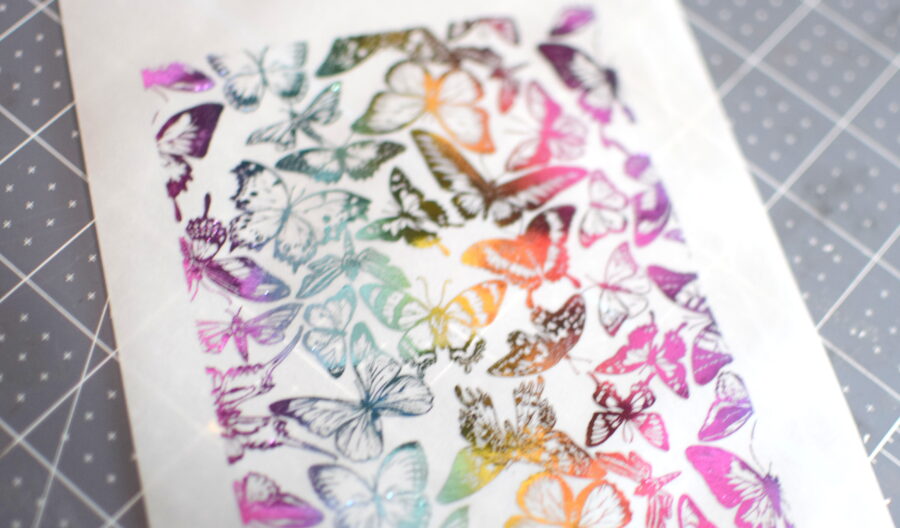
The result is so pretty!
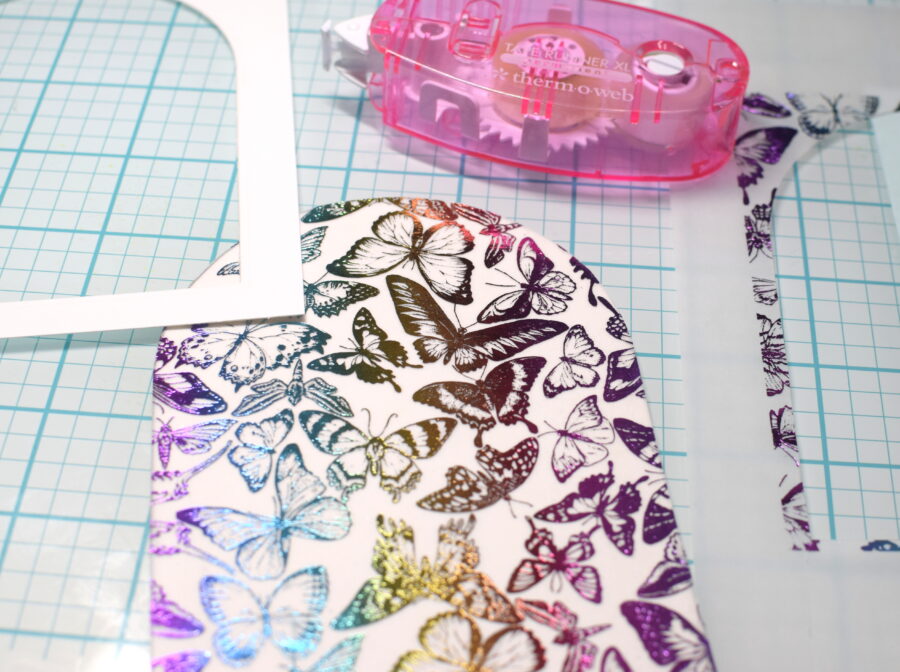
Next, I die cut the vellum and a piece of white cardstock with a large arch die and adhered them together with my XL Tape Runner.
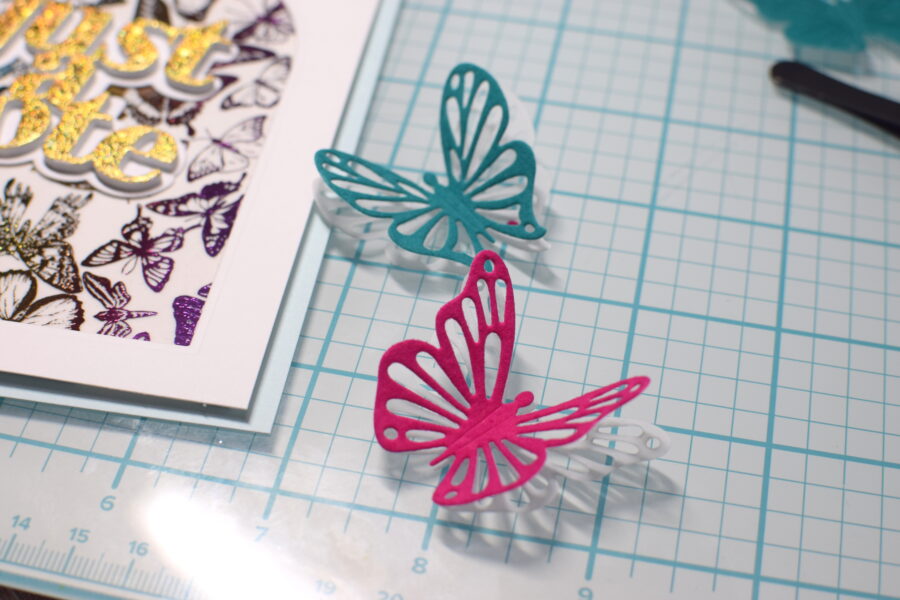
Next, I cut a white cardstock panel slightly smaller than my card front and used a smaller arch die to die cut a window opening. I adhered the butterfly arch behind the window opening with the XL Runner. I added a panel of pale aqua cardstock to the card front and then I adhered the butterfly layer to the card front with Gina K. Designs Foam Squares for dimension. I die cut some butterfly embellishments from our Plush Paper in Teal Waters and Think Pink.
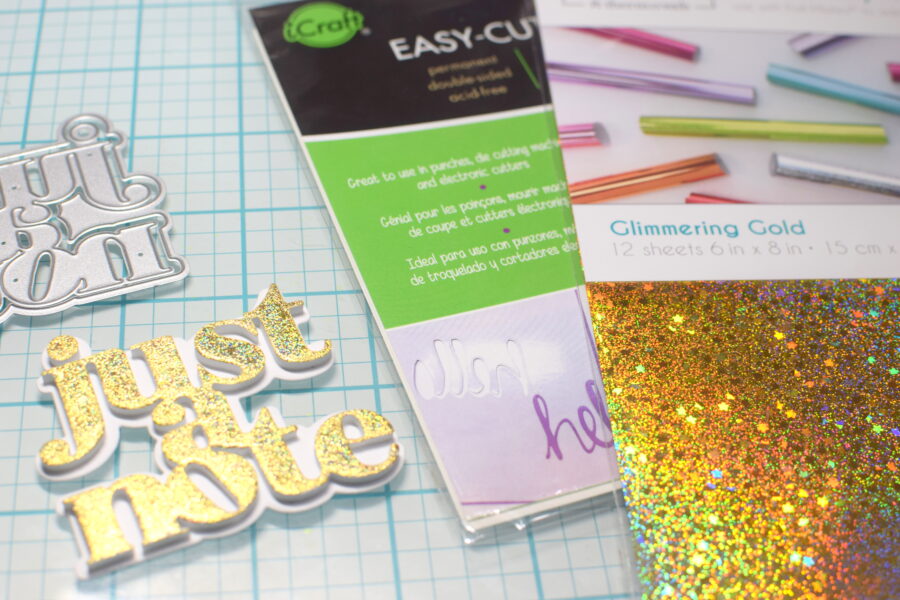
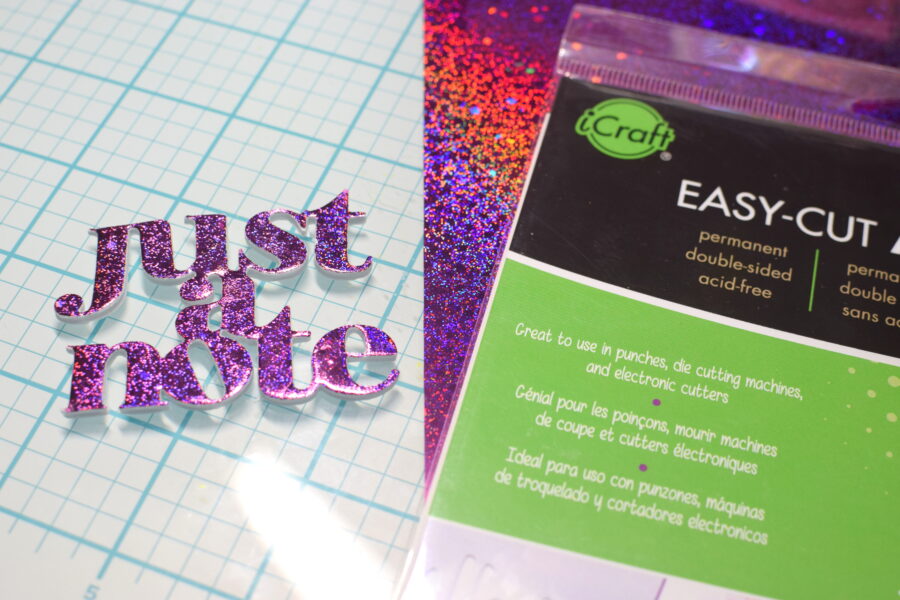
One of my favorite things to do with my die-cut sentiments is use some Easy-Cut Adhesive to foil them. I start by layering the adhesive sheets over the top and bottom of a sheet of white craft foam. I peel away the top liner from the adhesive and place the Glimmering Gold Fancy Foil over it and smooth it all over. Then I die cut my sentiment with the foiled side facing up.
Next, I die cut the shadow layer from white cardstock. Finally, I peel off the bottom Easy-Cut liner and stick the foiled foam sentiment to the shadow layer to make it pop. Putting Easy-Cut Adhesive on the back of anything you die cut essentially turns it into a sticker. So easy!
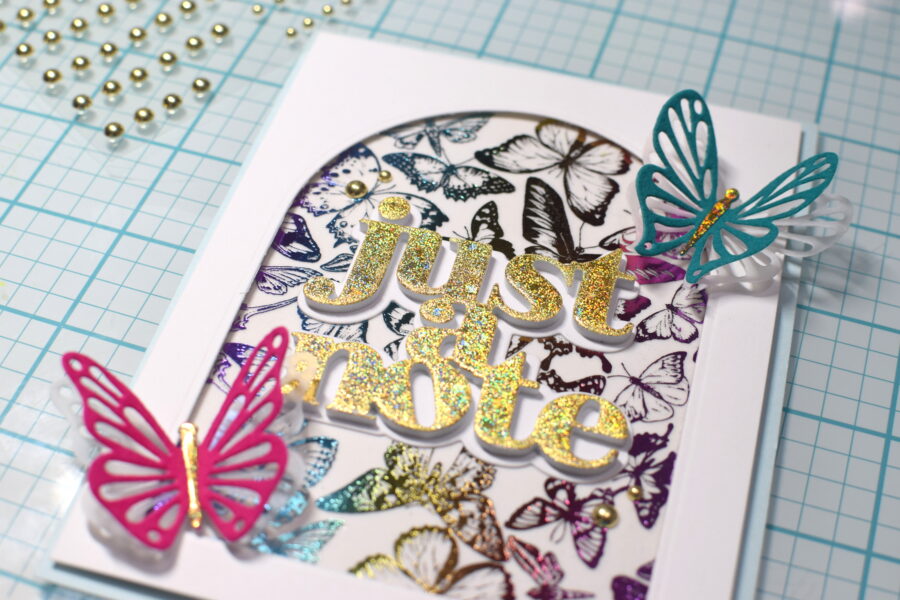
Then I adhere the sentiment in the center of the card, add my butterfly embellishments, and cut the bodies out of the same Glimmering Gold foiled foam. I also layer the same die cut with vellum paper to add dimension. I finished the center with a few gold pearls.
I felt that the white base looked too plain, so I cut another arch into a thin strip and layered.
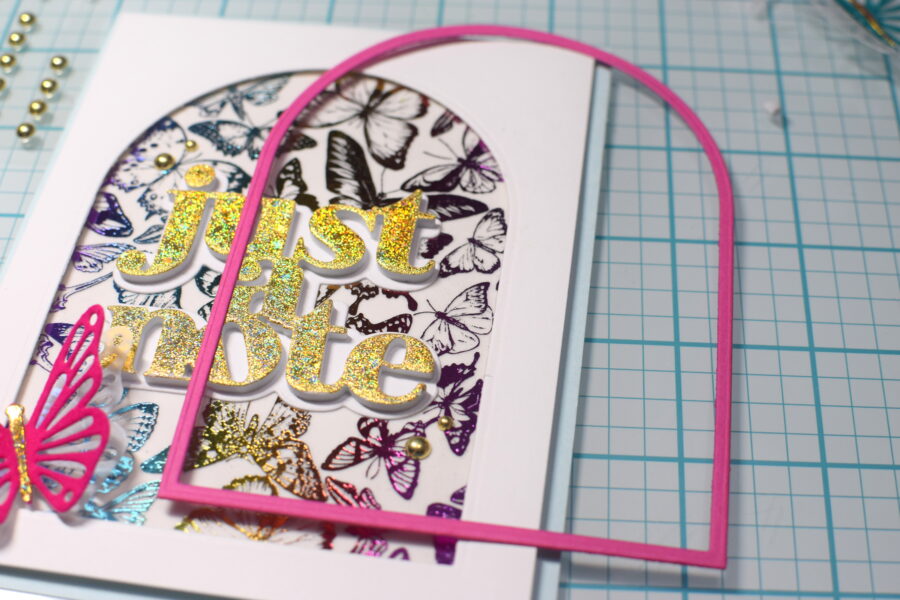
I think the pink die-cut arch finishes the card nicely.
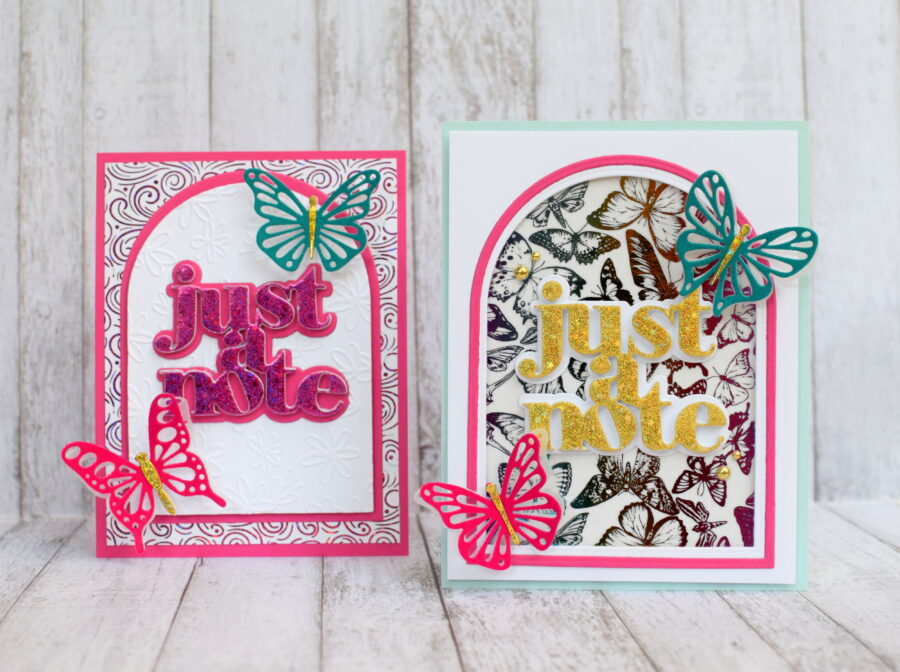
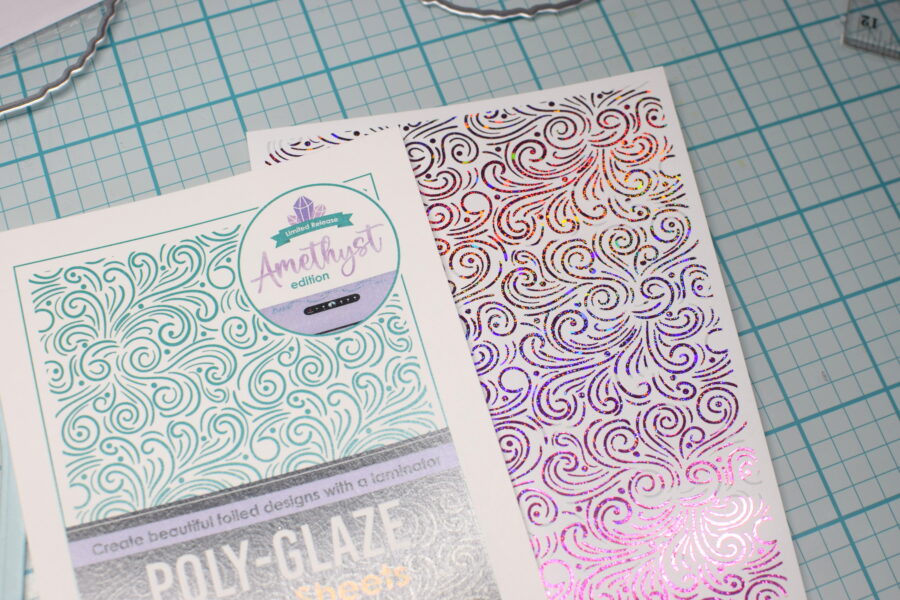
For the second card, I used the Gina K. Designs Poly-Glaze Amethyst Edition Starter Pack that came with the Fuse Foiling System and the Twinkling Pink Fancy Foil.
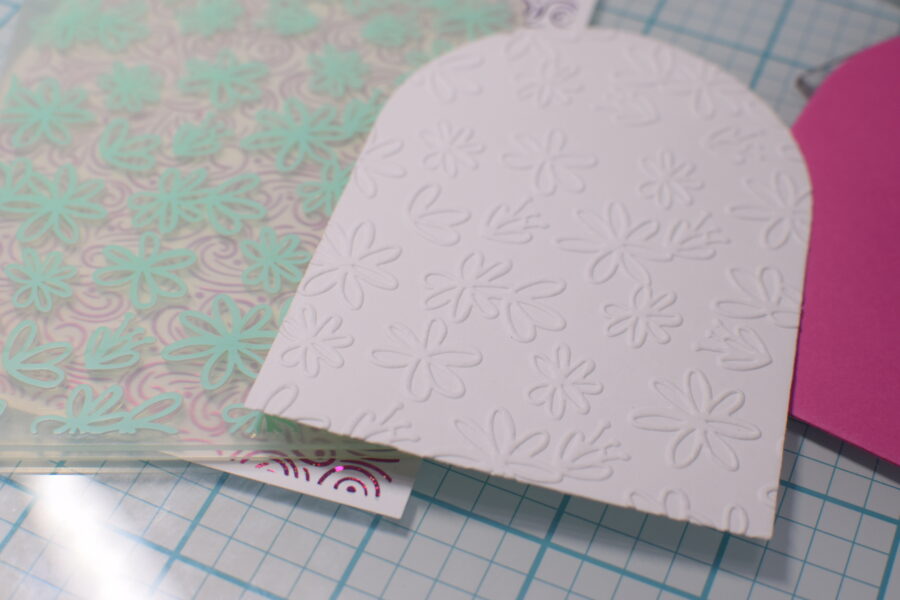
Then I used the negative die-cut pieces from my first card and embossed the white arch die cut. I layered the Poly-Glaze panel and pink cardstock arch onto my card base with my XL Tape Runner. I adhered the embossed white arch with Gina K. Designs Foam Squares.
I foiled the same sentiment with the Easy-Cut Adhesive in the Twinkling Pink Fancy Foil.
I die cut the sentiment shadow layer from pink cardstock and adhered the foam sentiment to it before adhering to the embossed arch.
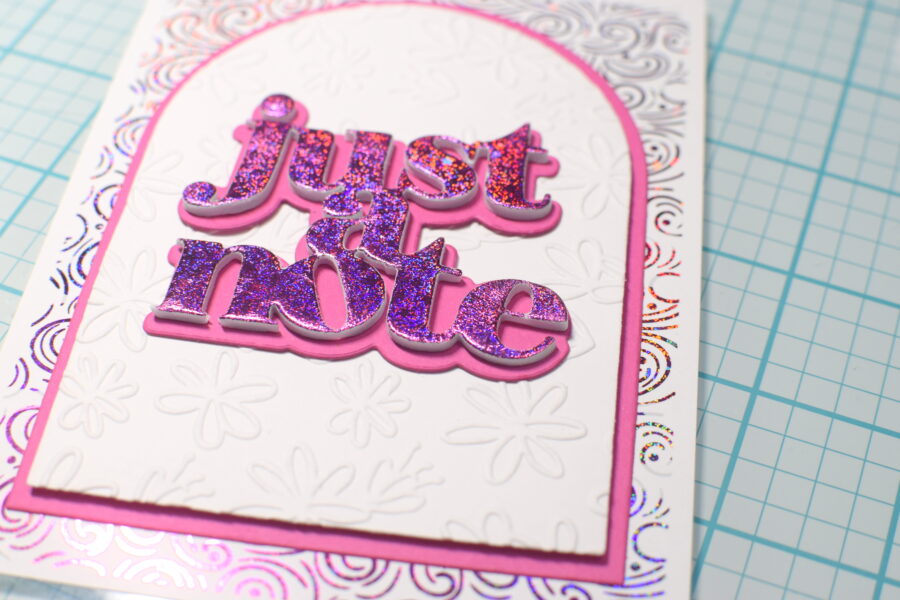
I finished the card with more die-cut butterfly embellishments, which makes my 80’s hot-pink-loving heart happy!
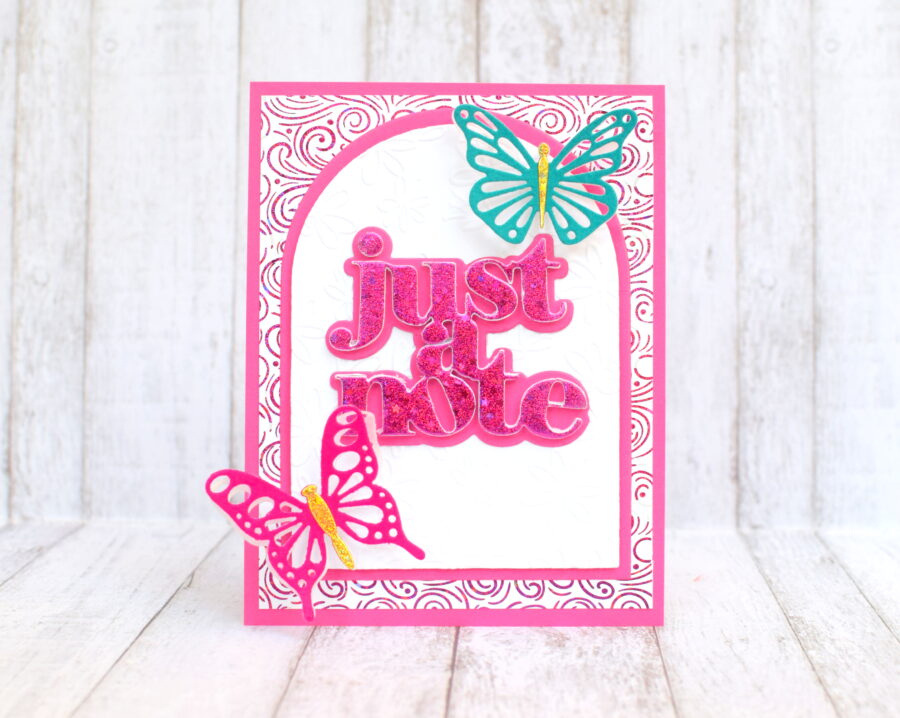
Now, I have two fun cards to mail to my husband’s stepmother who is now in an assisted living center. I have been making a point to mail her a card a week after her daughter told me how much she looks forward to checking her mail.

We’d love to see what you are making with our products so be sure to tag us on socials with #thermoweb #decofoil #plushpapers
Have a Creative Day!
{S}
Therm-O-Web Supply List:
Deco Foil Transfer Sheets, Mystic Rainbow
Deco Foil Plush Paper, Think Pink
Deco Foil Plush Paper, Teal Waters
iCraft Easy-Cut Adhesive Sheets 5.75 in x 5.75 in, 5 pack
Gina K. Designs Foam Squares, 1/2″
Gina K. Designs Fancy Transfer Foil, Glimmering Gold
Gina K. Designs Fancy Transfer Foil, Twinkling Pink
iCraft Memory Tape Runner XL (50ft)
Deco Foil Craft & Carrier Sheets
Other Supplies:
Unity Stamp Co. Fiesta Flutters Background of the Month 7/24
Gina K. Designs Fuse Foiling System with Starter Pack
Cardstock: White, Bright Pink, Pale Aqua
White Craft Foam Sheet
Spellbinders Fashion Gold Embellishments
Dies: Nested Arches, Butterflies, Just Saying Dies (Concord & 9th)
