Thermoweb Father’s Day Frame
Father’s Day is just around the corner (EEK I almost forgot!!!) and I knew I wanted to make something handmade for my sweetie. He isn’t a huge fan of diy things so I had to get a little creative.
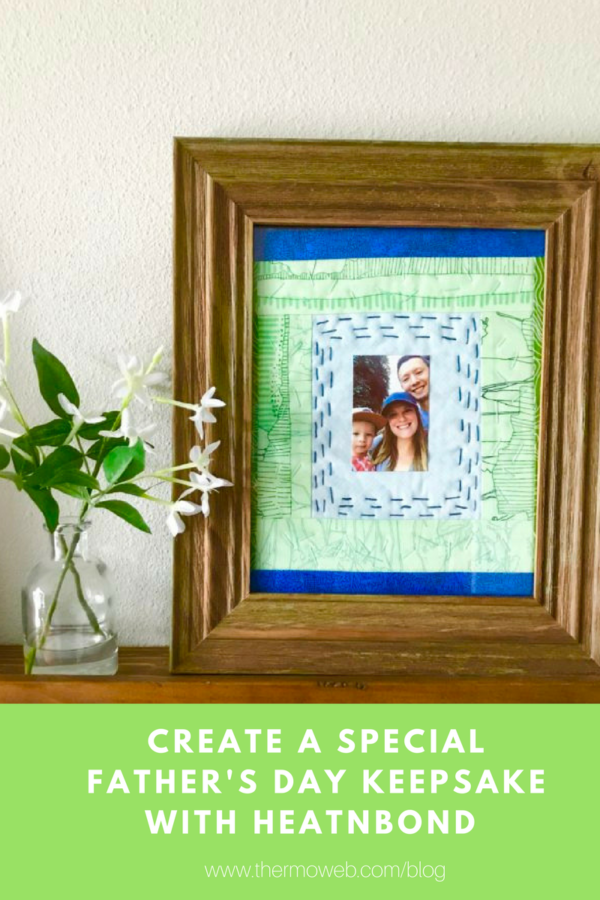
Create a Father’s Day Frame with HeatnBond®
Thanks to an ever inspiring social media and my recent Aurifil thread the wheels started turning! I got a mini photo printer and thought how fun it would be to create a framed quilt photo for him! I love that it can be changed out over time depending on what new photos we have!
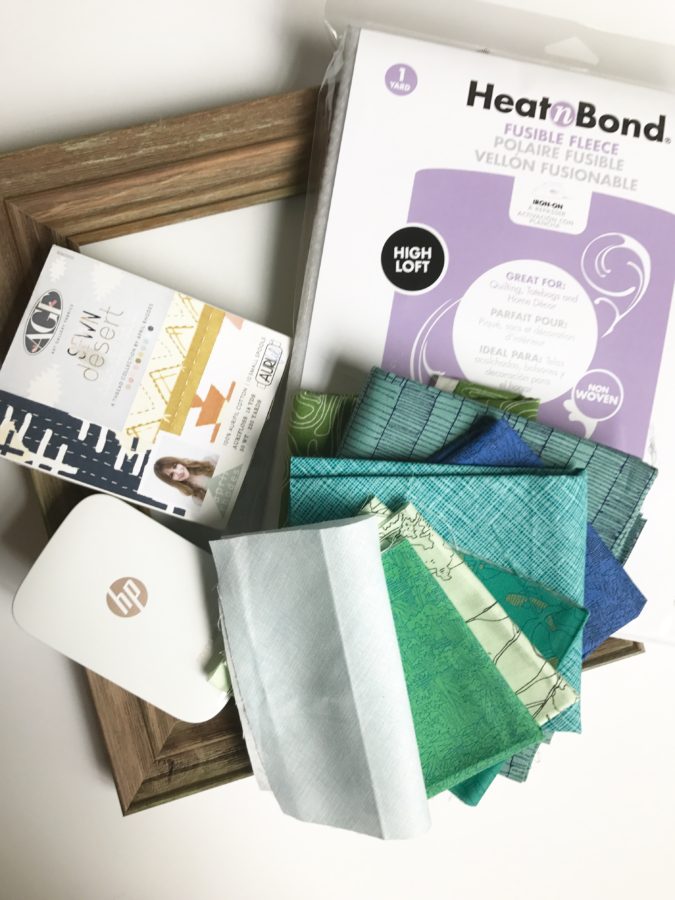
Father’s Day Frame Supplies:
Thermoweb HeatnBond® Fusible Fleece
Four Fabric Scraps for Framed Quilt
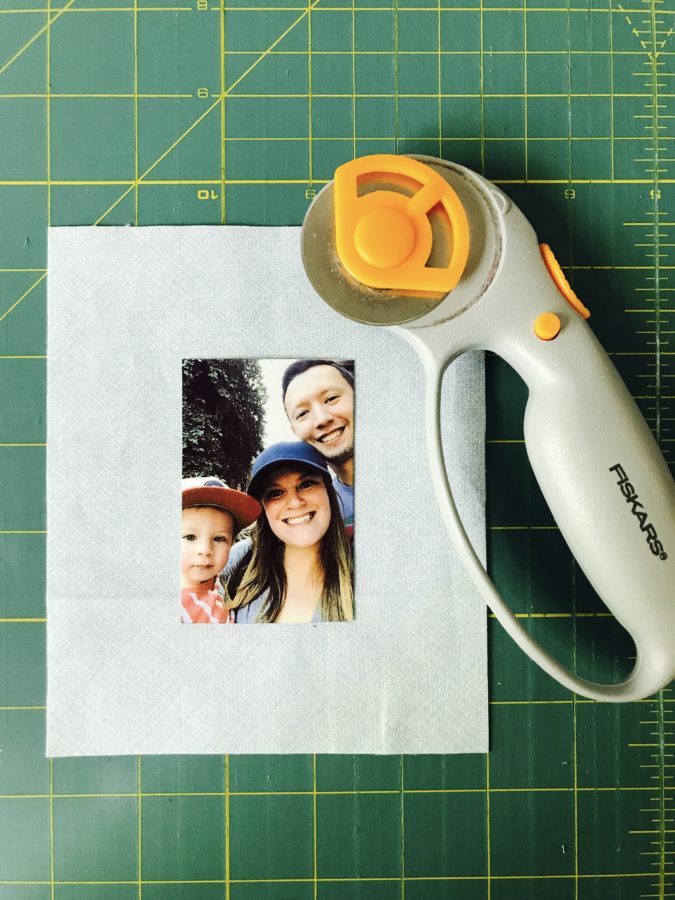
Family Photo (mine was a 2×3 printed from my sprocket hp portable printer)
Aurifil floss
Oliso Smart Touch Iron
8×10 Frame
Sewing Supplies: Machine, Pins, Thread, Scissors, Rotary Cutter, Rulers, Water Soluble Marker
Instructions for Father’s Day Frame:
*all seam allowances are 1/4” unless noted
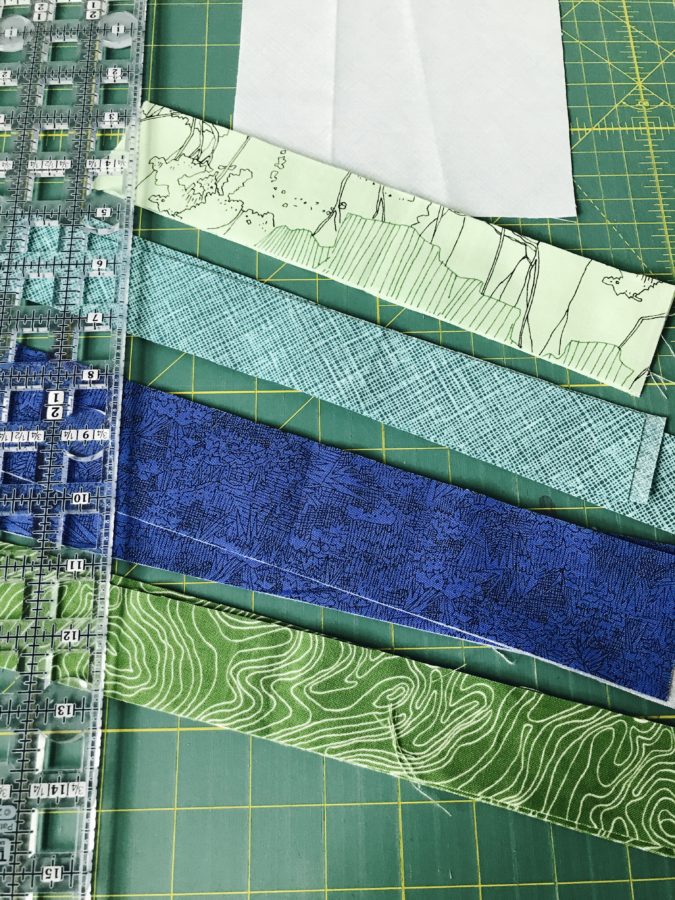
Measure your photo and cut one scrap to be 3 inches longer and 3 inches wider than the photo itself. (ex: my photo was 2×3 so I cut my fabric scrap to be 5×6) Now take 3-5 remaining scrap pieces and cut them into varied 1 1/2-2 1/2 inch strips.
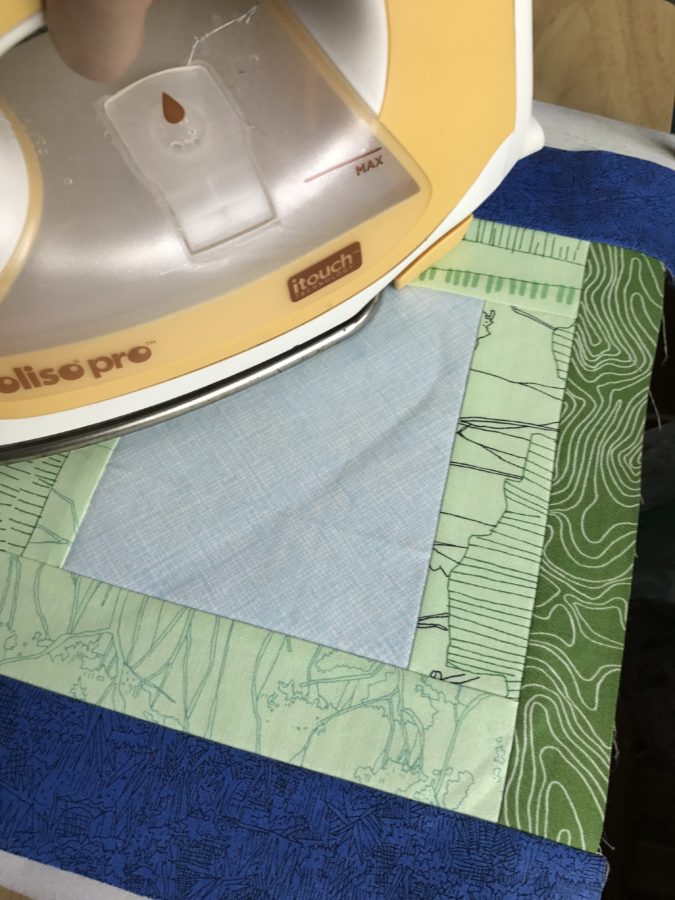
Sew the strips around your fabric frame square. Sew to two sides, iron. Sew to the other two sides, iron and continue until you have a pieced fabric square that is the size of your photo window.
Take you photo insert and cut a piece of fusible fleece the same size as it. Iron your fusible fleece to your pieced fabric square and cut any extra fabric off.
Here comes the fun part! Using your thread or floss create decorative rows and designs around each of the striped rows. I used a basic embroidery stitch but this is a place where you could add a decorative machine or embroidery stitch.
Lay your photo down on top of your glass and then lay on your quilted piece. Replace toe frame backing and wrap it up for the perfect handmade Father’s Day gift!!!
Can’t wait to see your new frames!!! Happy Sewing!
Kristen Wright of Two Blondes and a Sewing Machine

