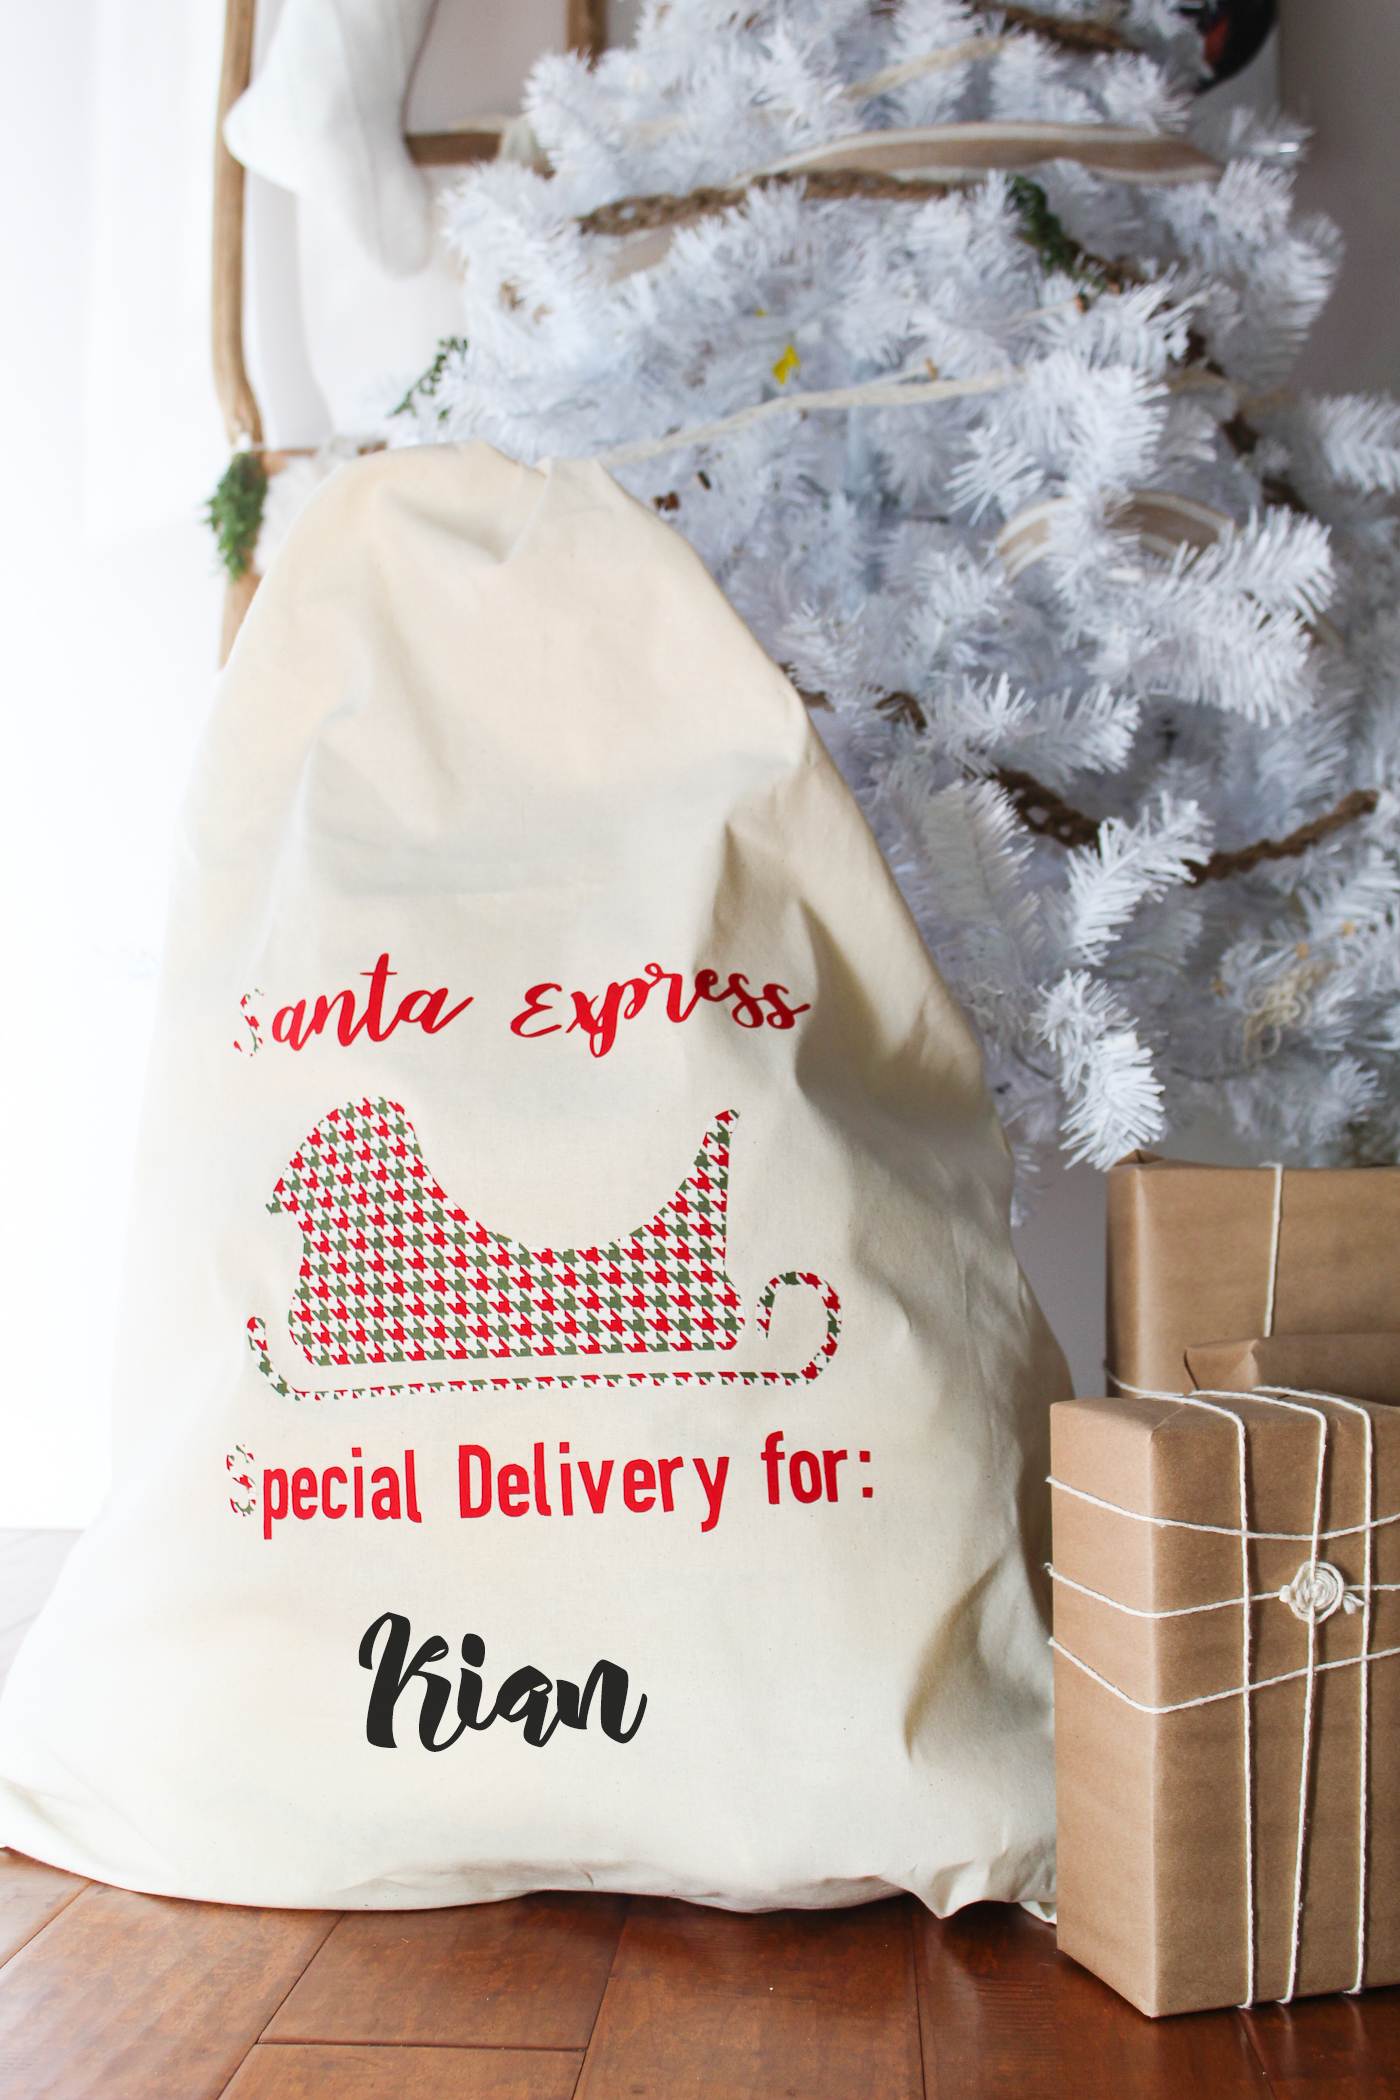
HeatnBond Santa Sack
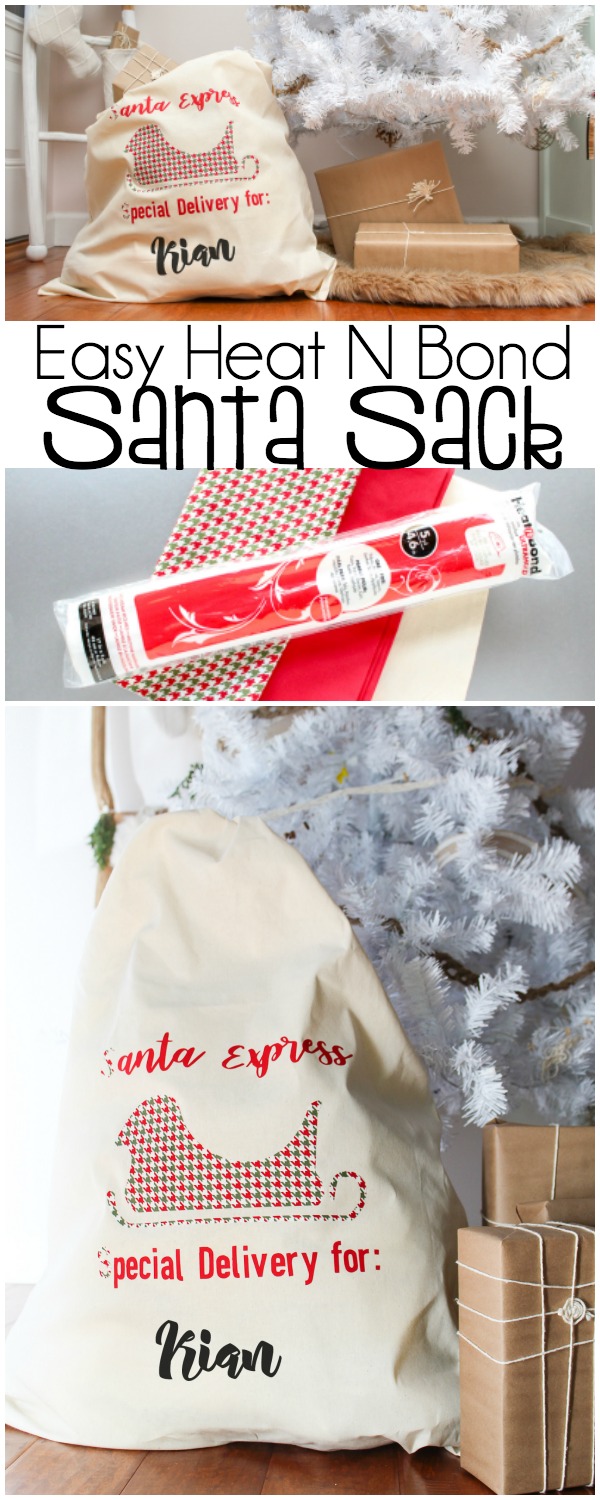
Alicia here again from Sew What Alicia. Christmas is one of my favorite holidays and this year I have done SO much sewing! I wanted to pop in with this quick and easy customized Santa sack that is sure to bring joy this holiday season!
Quick to Make HeatNBond Santa Sack
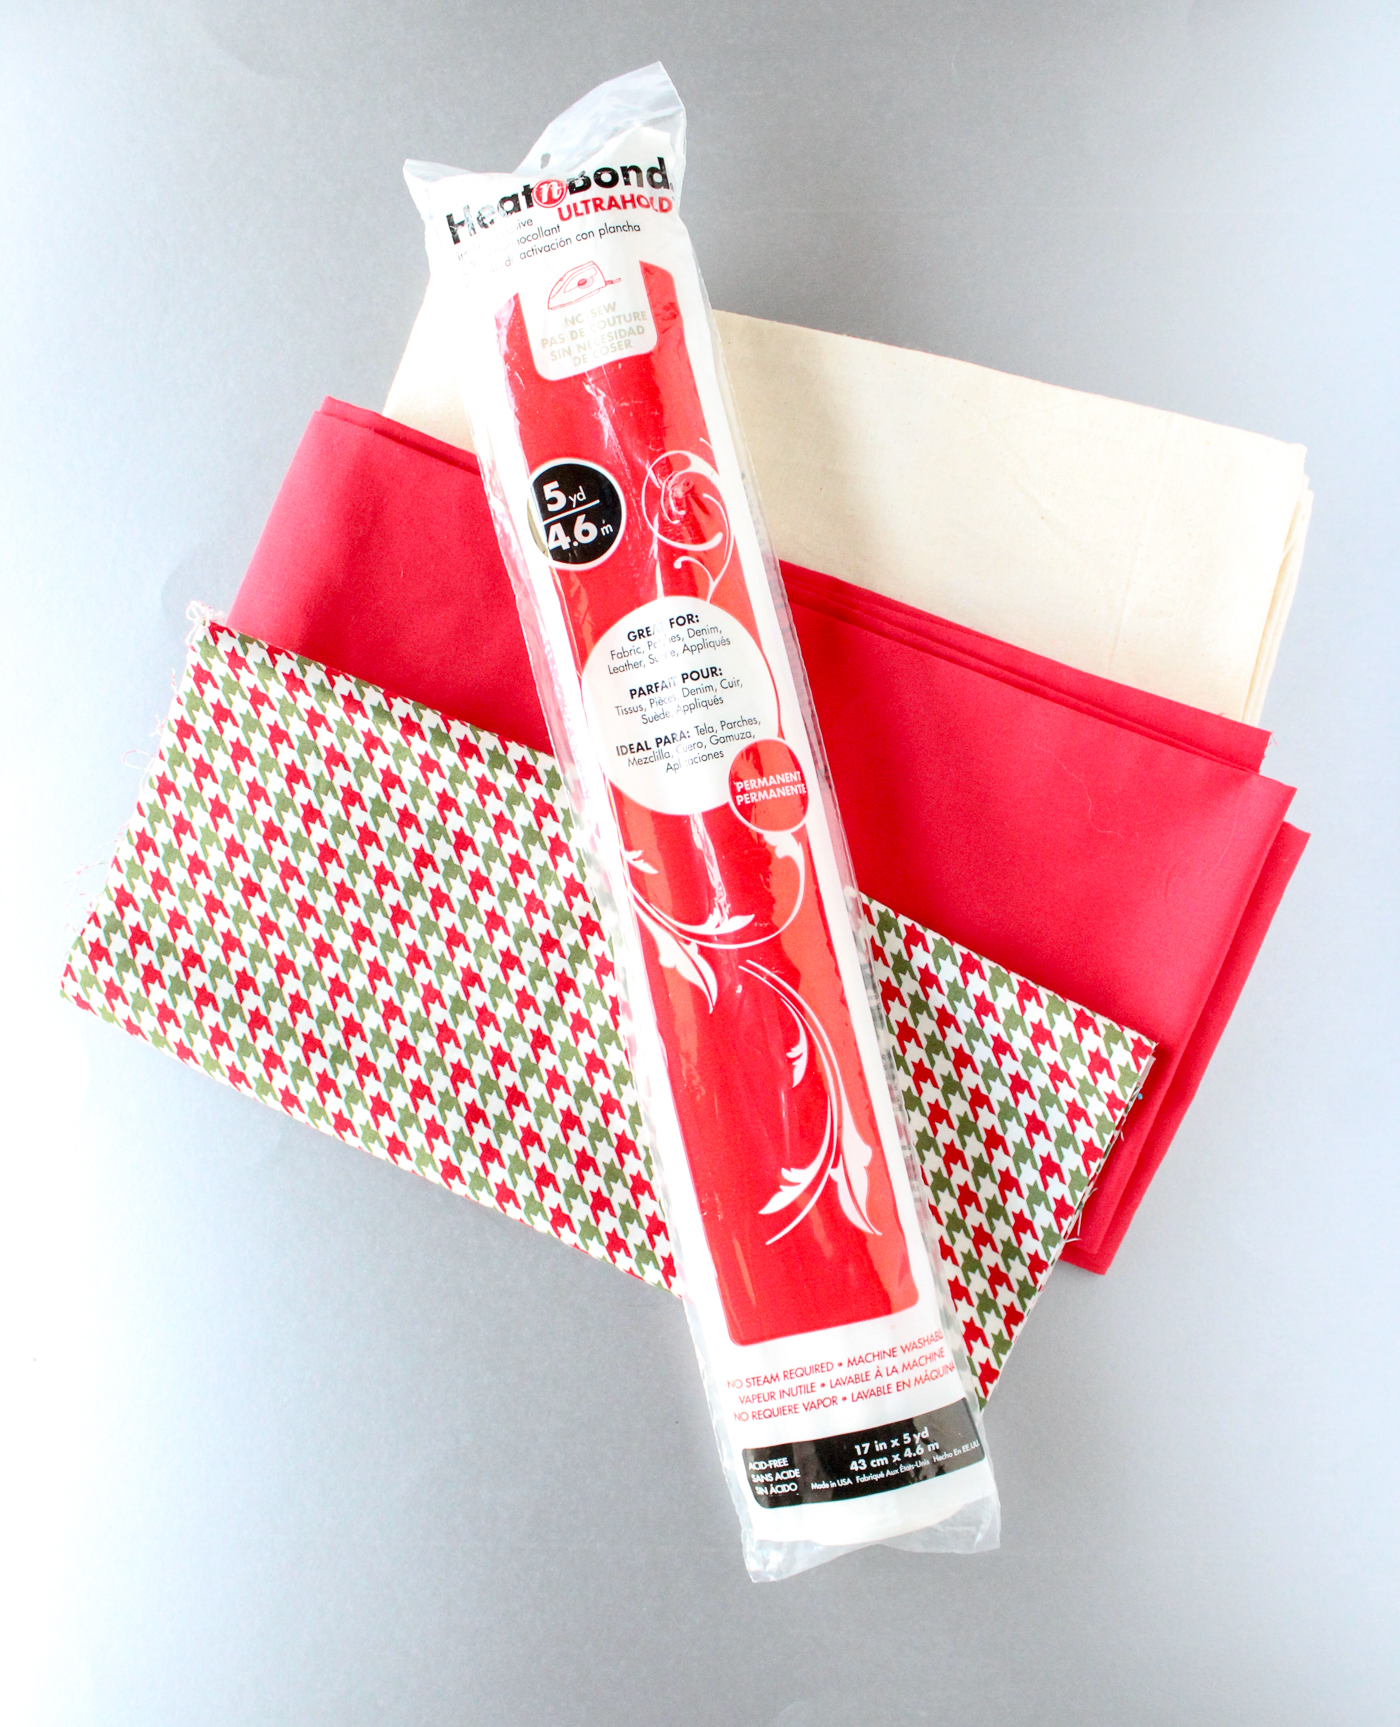
Supplies:
HeatNBond Ultrahold Fusible Adhesive
Canvas Laundry Bag
Fabric
Iron or EasyPress
Quick to Make Santa Sack Instructions:
Grab a plain canvas laundry bag, they are cheap and readily available online. You could make your own from canvas fabric but this is really one of those things that is so much cheaper to buy pre-made.
Use your iron to press the bag making sure that there are no wrinkles to interfere with the HeatNBond adhering.
Grab the Santa Express template.
SVG or PNG (for cutting machines such as the Cricut or Silhouette)
PDF (for cutting by hand)
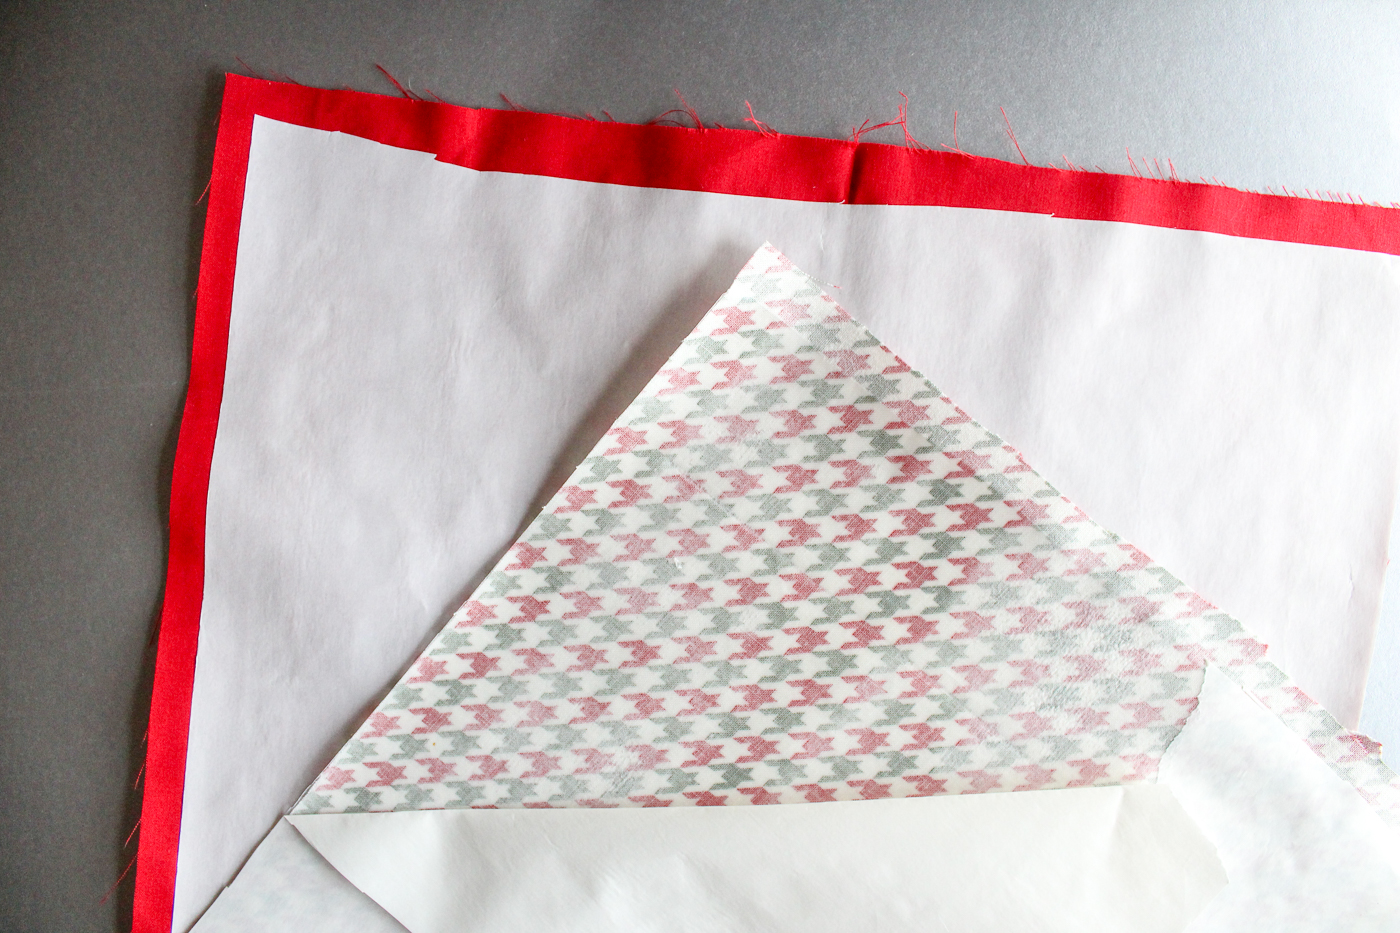
Cut a piece of fabric that measures 12″ x 12″. Iron a 12″ x 12″ piece of HeatNBond Ultra to the back of the fabric.
Use your cutting machine to cut the image (remove the paper before cutting with the machine) or trace the image onto the paper of the Heat N Bond and cut by hand.
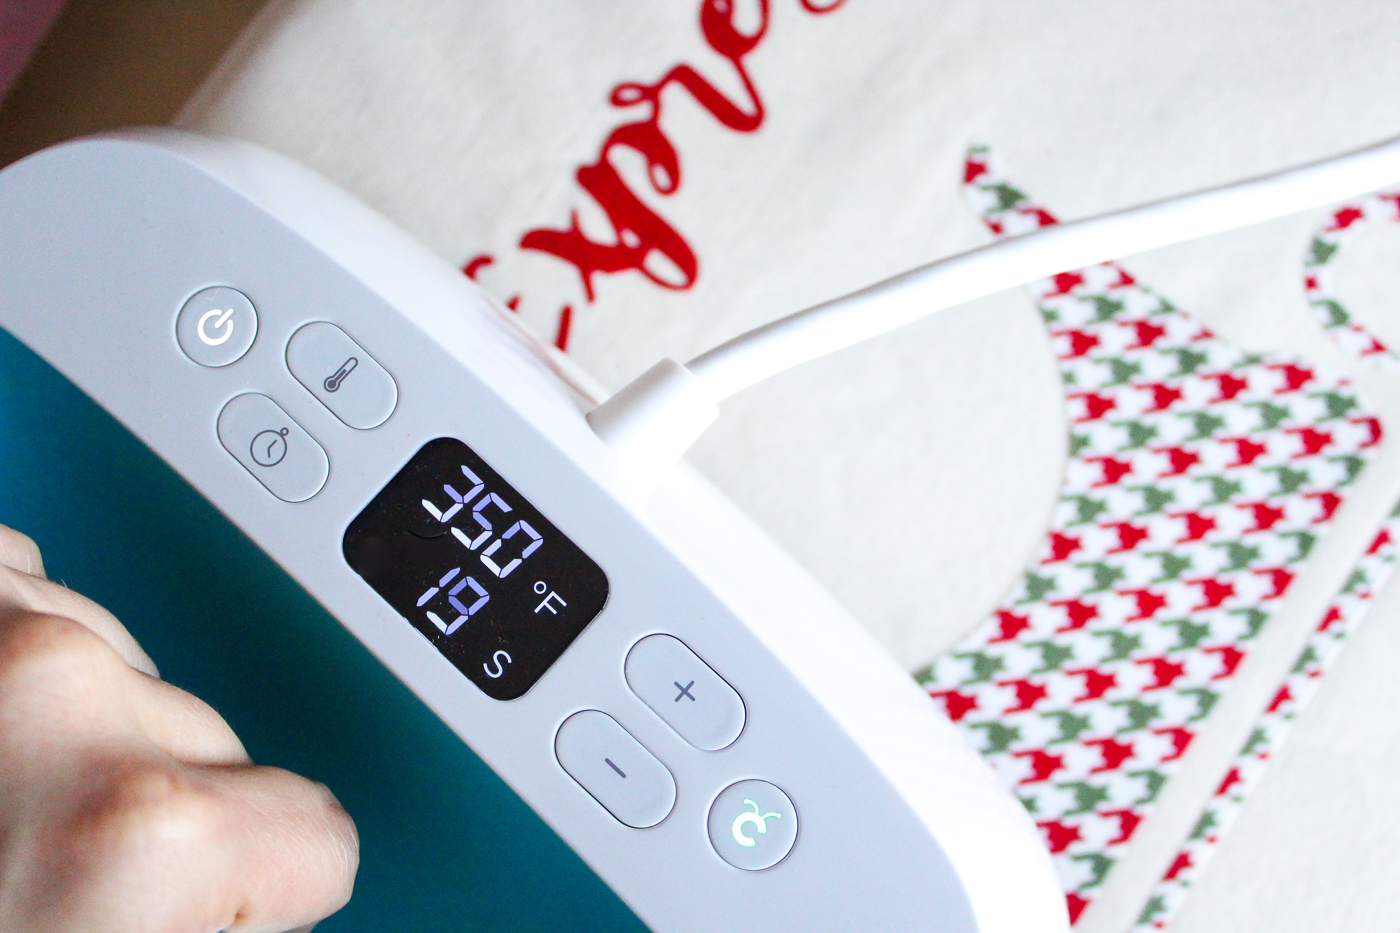
My new favorite tool for attaching the HeatNBond is the Cricut EasyPress. It holds a constant temperature and really sets the Heat N Bond.
**TIP – Wait for the fabric to cool before testing the adherence of the HeatnBond. When it is warm it is still malleable and will move around.TooltipText
Set the images and then using your cutting machine or again cutting by hand cut out the name of the child you are customizing the Santa sack for. If you don’t have a cutting machine just print a script font and trace as you did in the first step (or just trace it directly off your computer screen!)
Thanks for letting me share this fun project with you! Check out these posts for more Christmas sewing!
Faux Fur Stockings // Faux Fur Tree Skirt // Faux Cross Stitch Gift Tags

Connect with Sew What Alicia
Facebook // Pinterest // Instagram // Twitter

