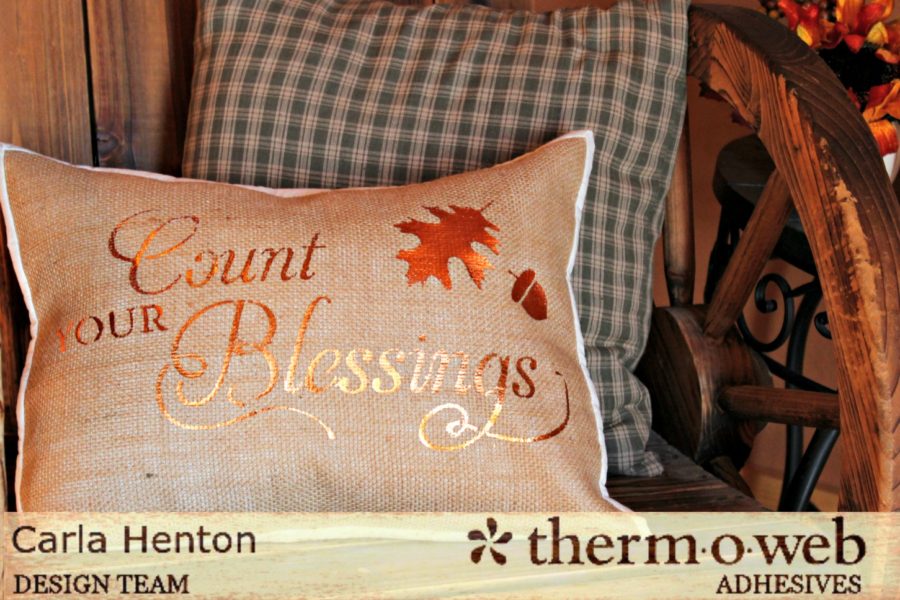
Create a Fall Pillow with Deco Foil Spray Adhesive and Transfer Sheets
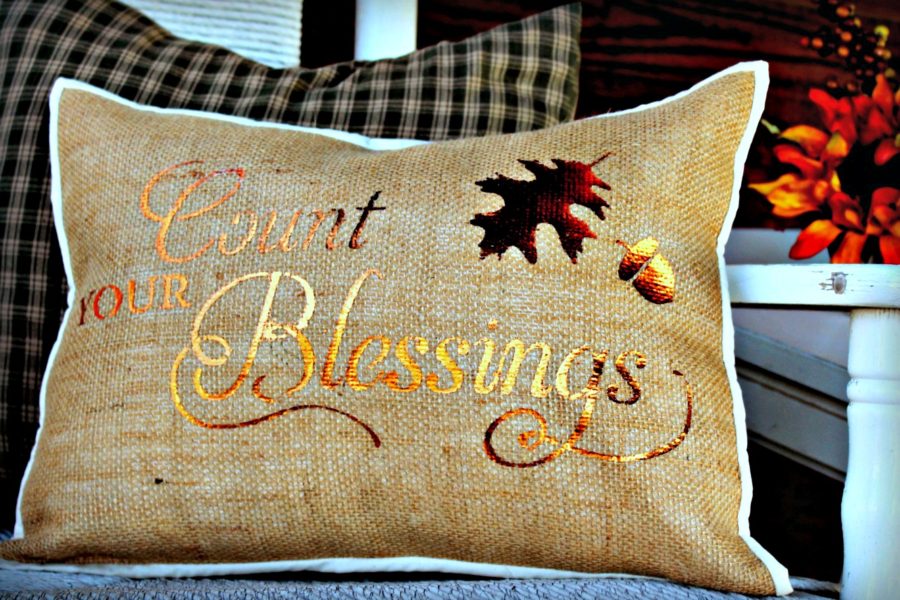
Fall is near and it is time to start thinking about fall décor. Deco Foil™ in beautiful fall colors teams perfectly with the natural color of burlap to capture the warmth of fall decorating.
Hi! Carla from Creatin’ in the Sticks here to show a quick way to make a fall pillow cover that looks like it came straight from a high end department store. SpraynBond® Basting Adhesive makes sewing with burlap a breeze and iCraft® Deco Foil™ Fusible Spray Adhesive gives burlap a smooth foundation for a Deco Foil™ motif.
Supplies:
iCraft® Deco Foil™ Fusible Spray Adhesive
Deco Foil™ transfer sheets in colors of pumpkin and copper
Fabric:
Muslin: 1 piece – 12 ½” x 16 ½”
2 pieces- 12 ½” x 10”
Binding-2 pieces 2” x WOF (width of fabric)
Burlap: 12 ½” x 16 ½”
Other Supplies:
Basic sewing supplies – scissors, thread, needles, pins, etc.
1 pillow form 12” x 16”
Stencils of your choice
Parchment Paper
Painter’s tape
Freezer paper or newspaper to keep your workspace clean
Instructions:
Step 1 – Putting foiled design on burlap.
Spray back of stencil with a light coat of SpraynBond® Basting Adhesive.
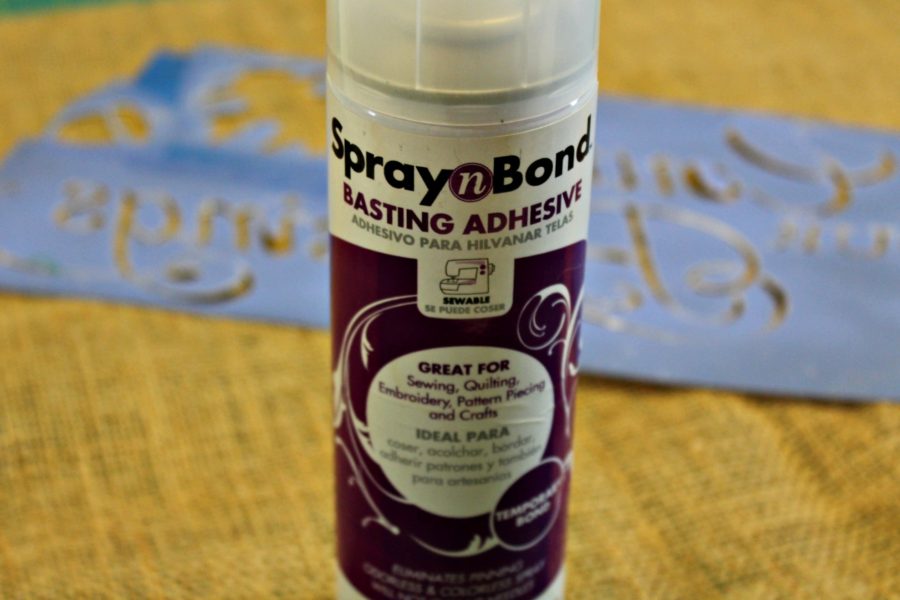
After placing burlap on freezer paper to protect workspace surface, center the stencil on the burlap and press all the edges down firmly to prevent overspray. Use the painter’s tape to mask the remaining burlap.
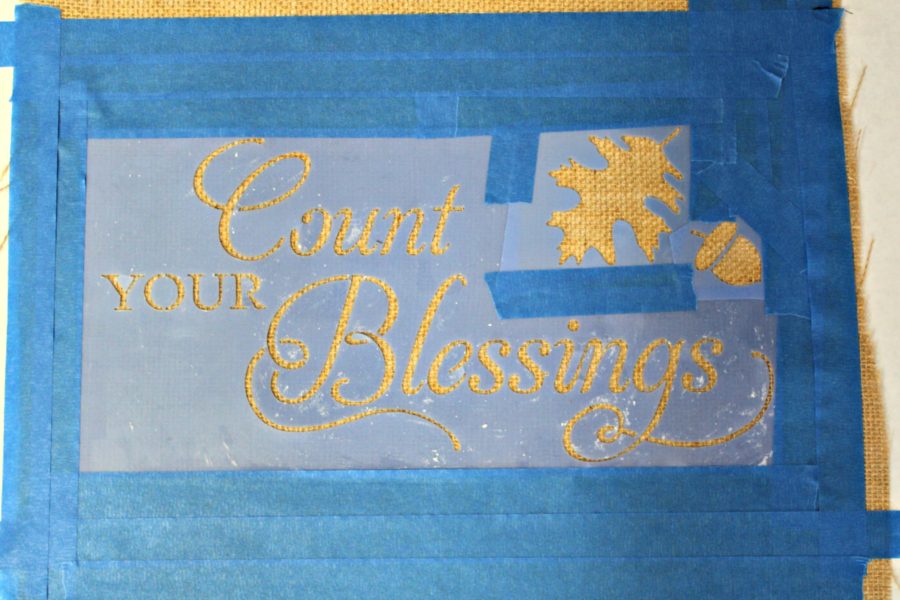
About 10” from the stencil, spray the entire stencil with iCraft® Deco Foil™ Fusible Spray Adhesive in short bursts in a sweeping motion. Evenly coat the surface making sure every opening in the stencil is covered with a slightly thick coating. Remove stencil and allow project to dry.

Cut foil to fit the stencil.
important: Gently press the foil down with your fingers, shiny side up, to make sure it is in place. The project will be turned over to fuse it with an iron, so you want to make sure it sticks.
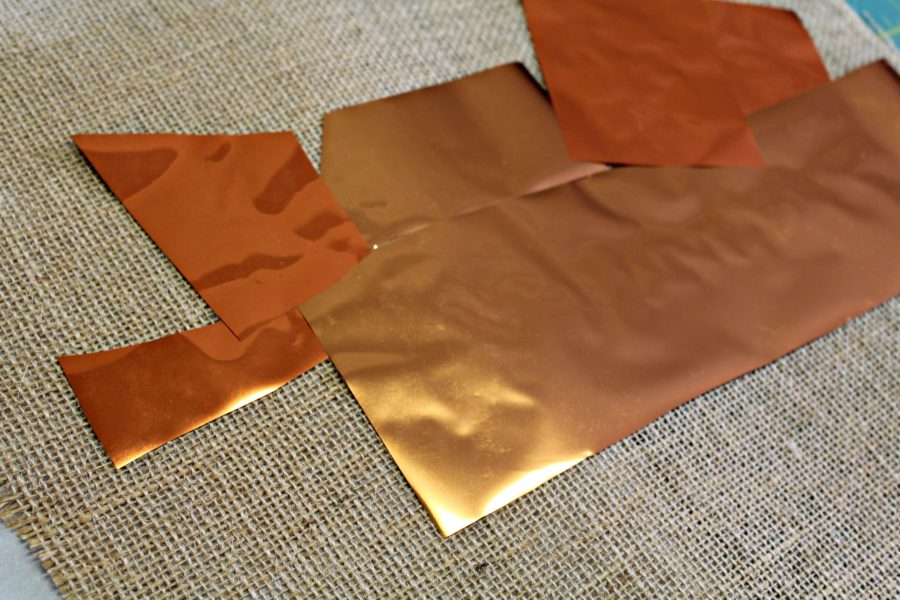
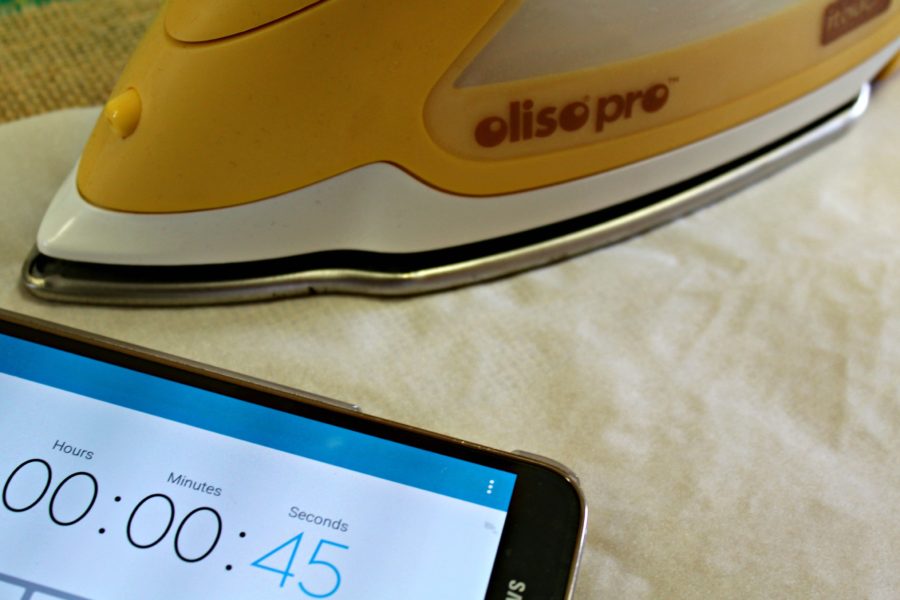
Pre-heat iron to high setting. Cover ironing surface with parchment paper. Turn foil covered burlap over onto parchment covered ironing surface. To protect your iron, cover the back of the burlap with parchment paper. Iron using firm pressure in a small circular motion for 45 seconds on each section until the entire surface is bonded.
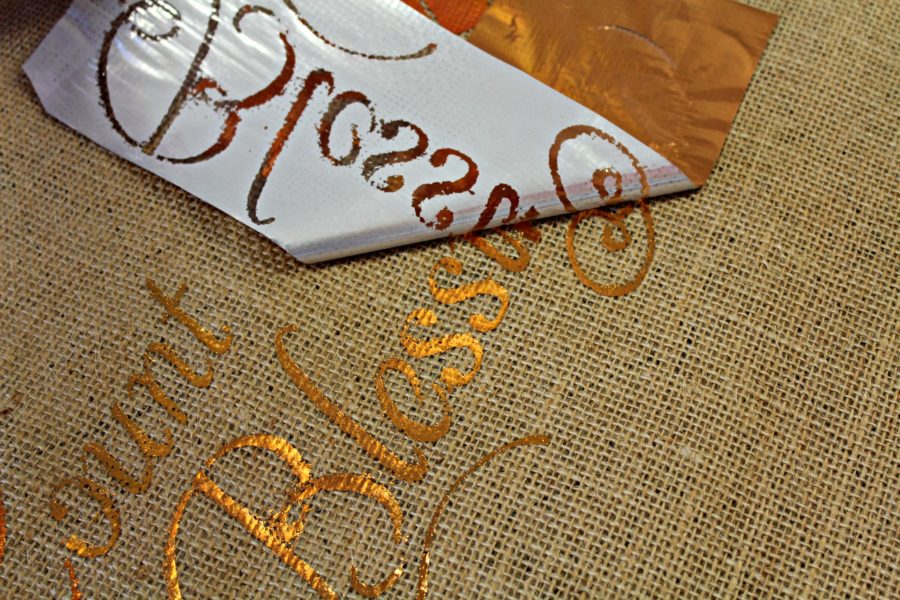
Remove parchment paper and allow to completely cool. Now for the magic moment! Gently peel the foil film away from the design.
Step 2 – backing the burlap
Spray the back of the burlap with SpraynBond® Basting Adhesive. Following the manufacturers instructions, apply the burlap to the 12 ½” x 16 ½” piece of muslin. Giving the burlap a fabric foundation makes it easier to sew and really adds to the design.
Step 3 – finish the pillow cover.
Hem the 10” x 12 ½” pieces of muslin on one of the 12 ½” sides on each piece by folding down ½” to the wrong side, folding down again, and stitching. These pieces form the back of the pillow cover.
Turn burlap top side down on a table. Lay one hemmed back piece right side up on top of the backside of the burlap, matching corners with the hem in the middle of the project. Now lay the other piece at the other end with the right side up and the hem overlapping the other hem in the middle and corners matching.
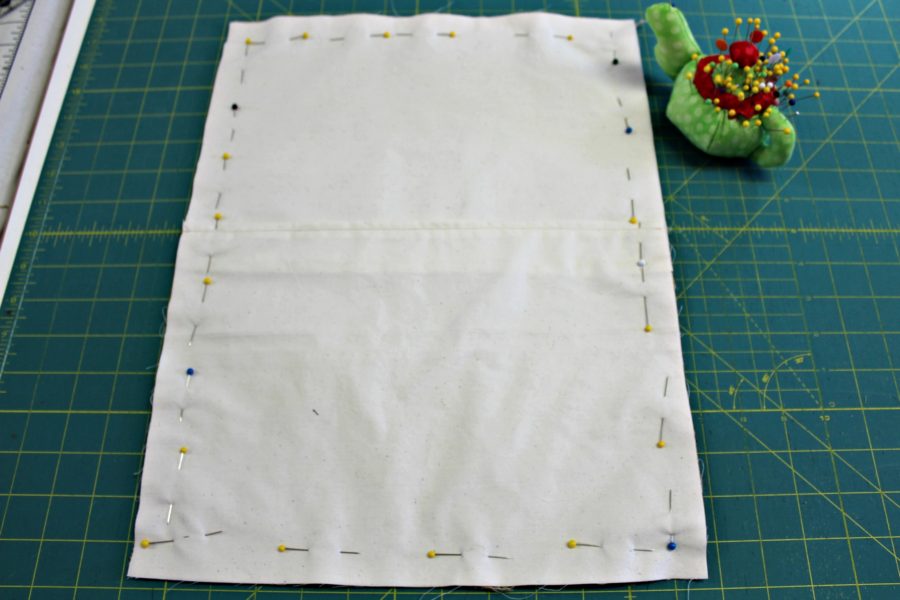
Pin and stitch 1/8” from the edge all around the pillow. Sew the 2” binding strips together and fold and press in half lengthwise. Add binding to edges using a 1/4″ seam with your favorite method. Stuff with the pillow form.

Susan Berry
August 31, 2016 at 8:15 am (9 years ago)Beautiful idea!! Love it!!
QuiltShop Gal
August 31, 2016 at 10:00 am (9 years ago)Great project and tutorial. Total #CreativeGoodness.
QuiltShopGal
http://www.quiltshopgal.com
Mary
August 31, 2016 at 12:56 pm (9 years ago)That is beautiful and would make such a great holiday decoration. Thanks for the tutorial.