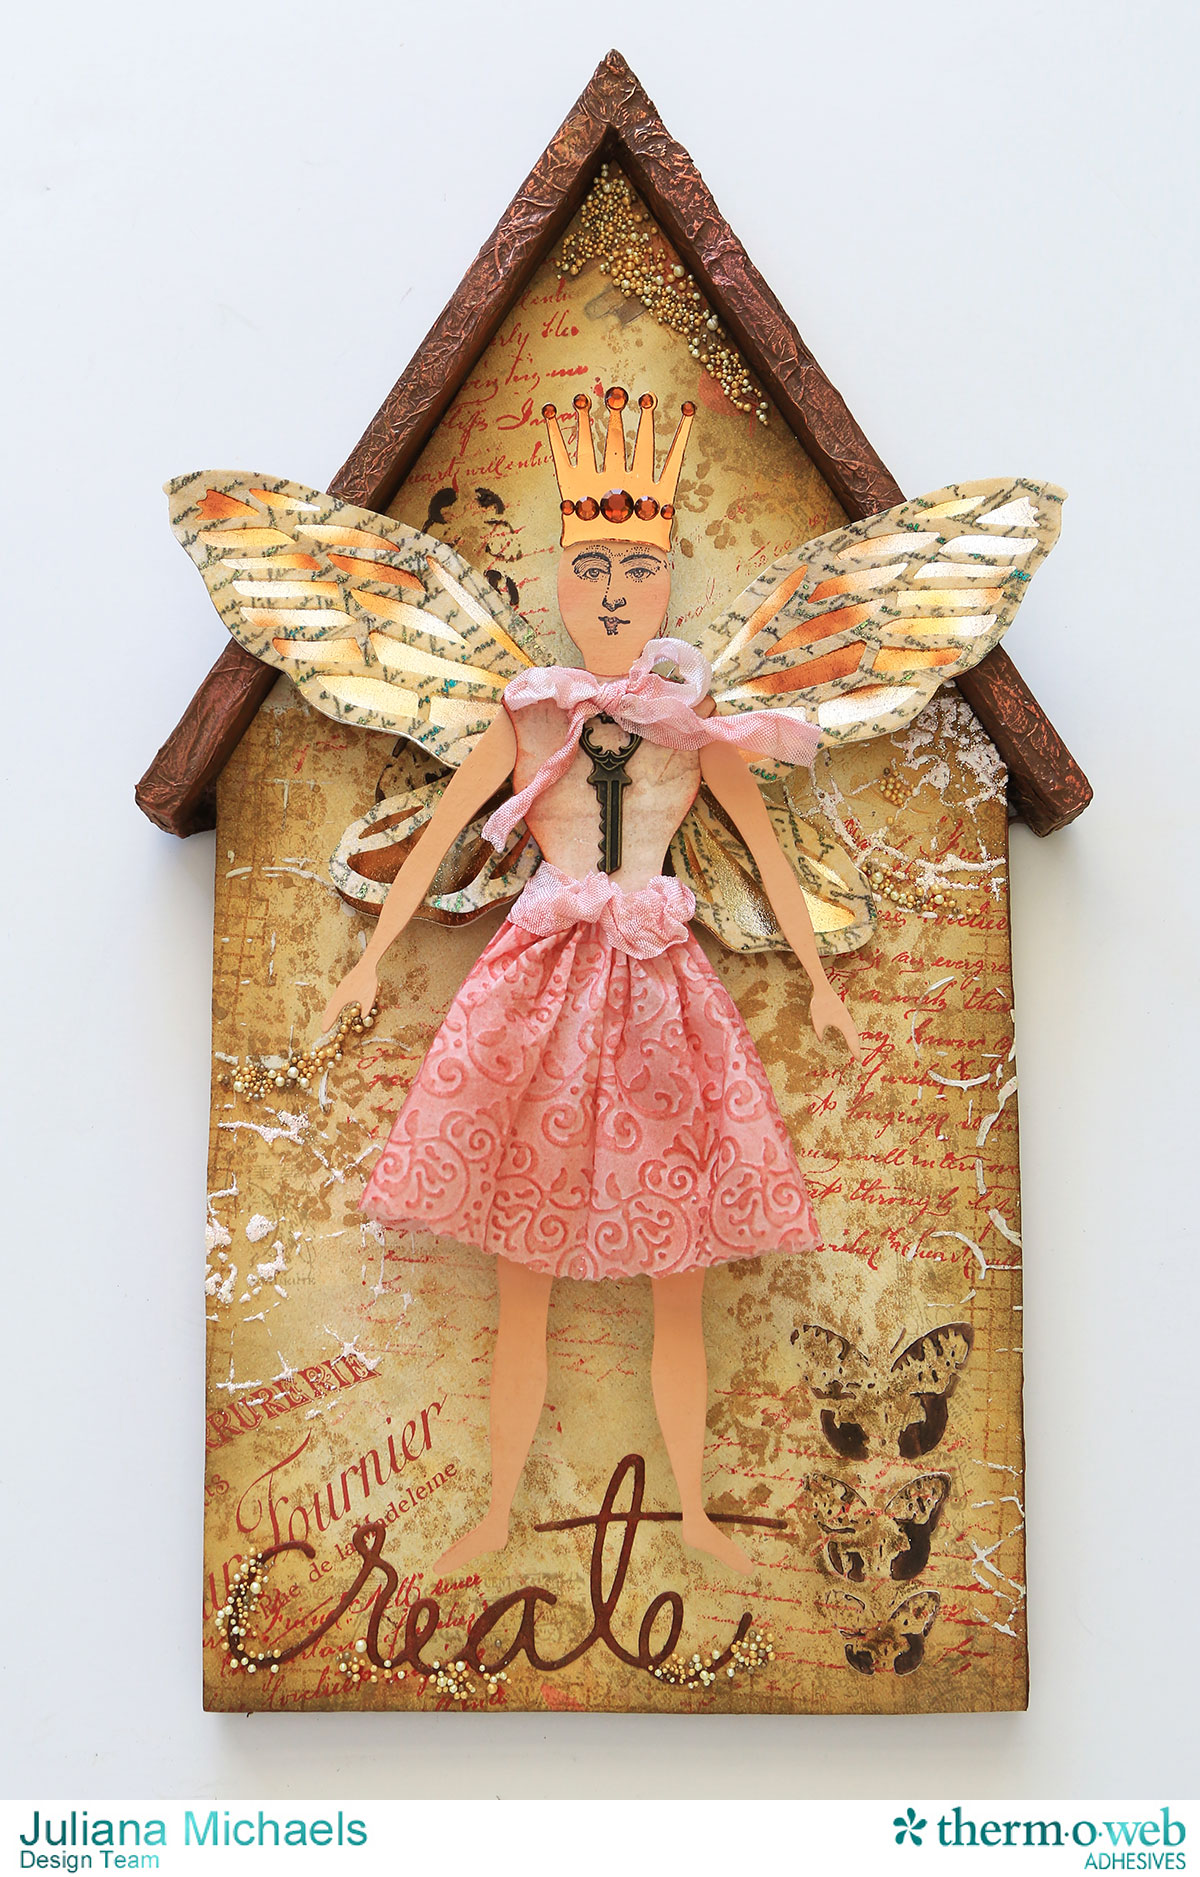
Hello everyone! Juliana here with you today, to share a mixed media project that has become known as the Fairy House. I created this mixed media fairy canvas for Therm O Web to display in their booth at the recent Sierra Pacific Crafts Convention. This project uses their new Mixed Media Sheets, along with their new Deco Foil colors and Mixed Media Liquid Adhesive.
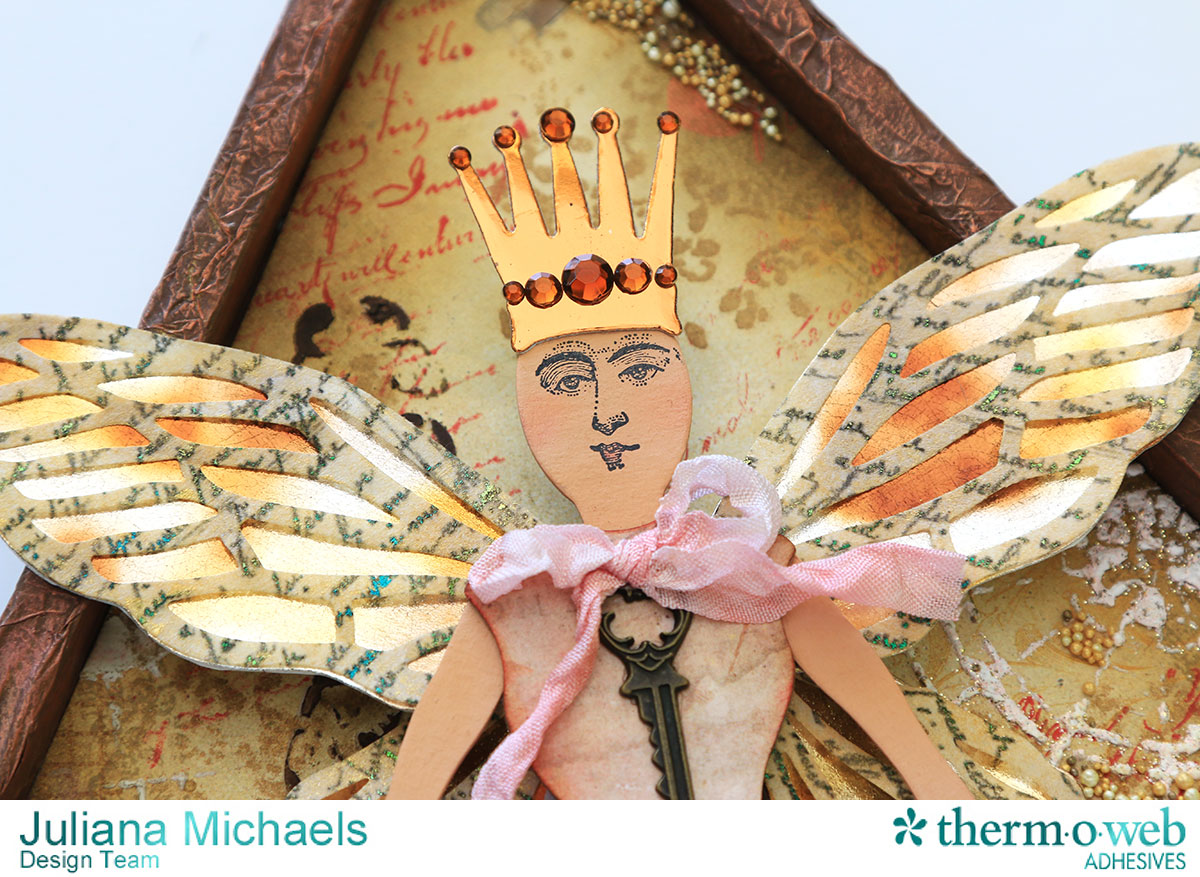
Today, I’m going to share with you how I created the fairy’s wings using the iCraft® Mixed Media Sheets. The main thing to remember about the sheets is they can be treated like paper. Seriously, anything you can do to paper, you can do to these sheets!
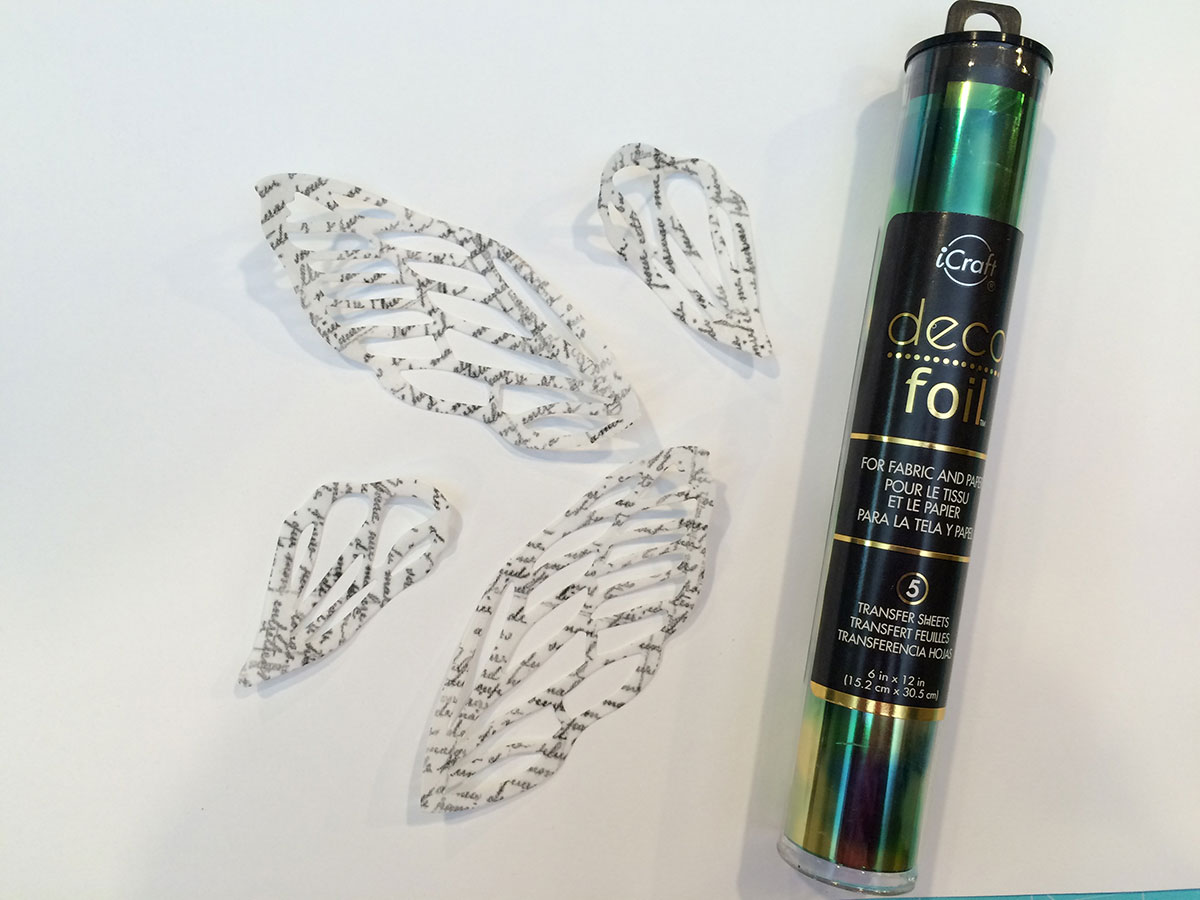
To create the fairy wings, gather your supplies:
iCraft® Mixed Media Sheets – Light Weight
Deco Foil™ in Emerald Watercolor
Laser Printer
Foil Laminator
Dies – Shapeabilities Donna Salazar Designs Art Doll Accessories A
Manual Die Cutting Machine
Other Therm O Web Products used in this project:
Foil™ in Amber Watercolor, Emerald Watercolor and Gold
iCraft® White Foam Adhesive
Deco Foil™ Peel N Stick Toner Sheets
iCraft® Mixed Media Liquid Adhesive
Zots™ Adhesive Dots – Bling and Small
3D White Foam Squares
Project Instructions:
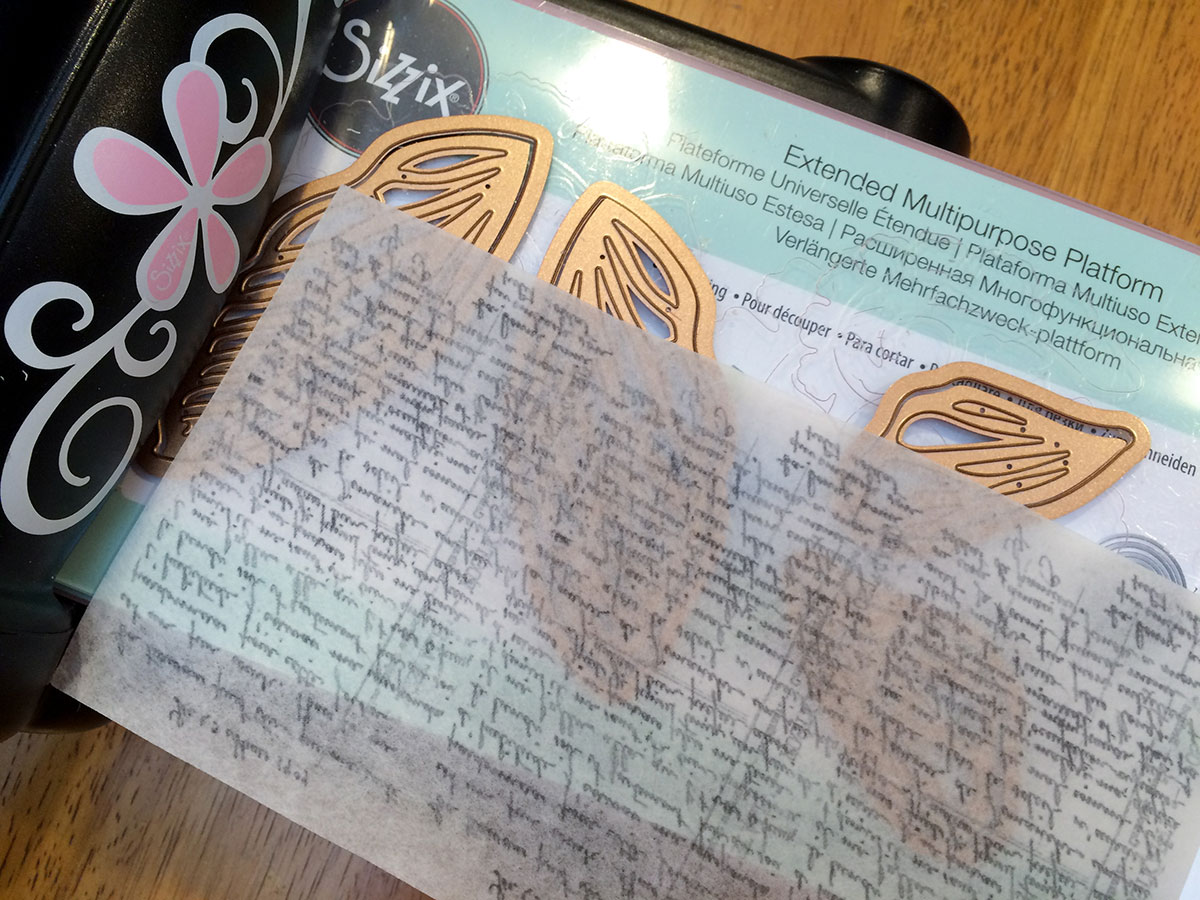
1. Print an image onto the sheets using a laser printer. I used a vintage script image I downloaded from the internet.
2. Place the Mixed Media Sheet print side down onto the fairy wing dies.
3. Run it through your die cutting machine. I’ve found that adding a piece of printer paper helps achieve a more clean cut when using more detailed dies, such as these wings.
Now it is time to add Deco Foil to your wings.
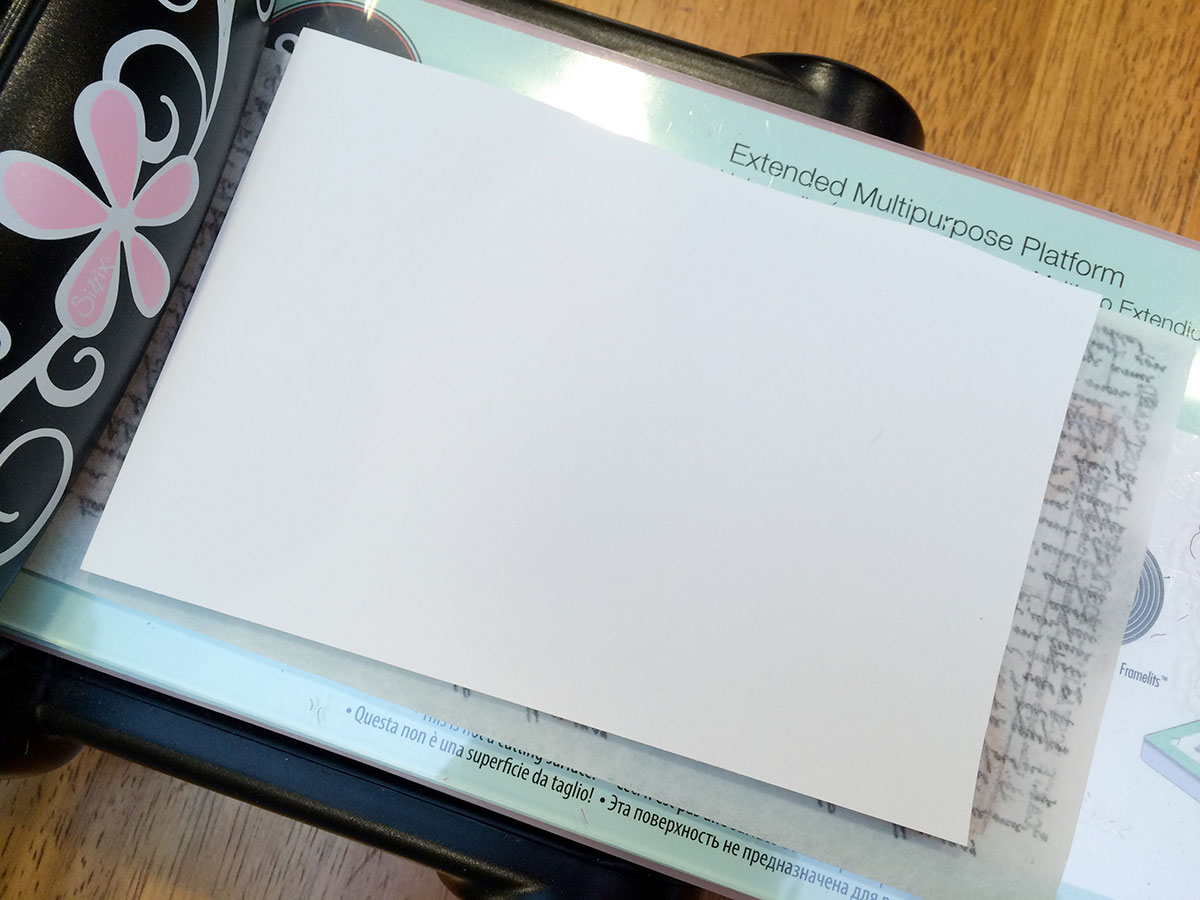
4. Place the wings onto a piece of cardstock and then place this inside a piece of folded parchment paper. The cardstock lends some stability to the paper and will prevent it from getting stuck as you run it through the laminator.
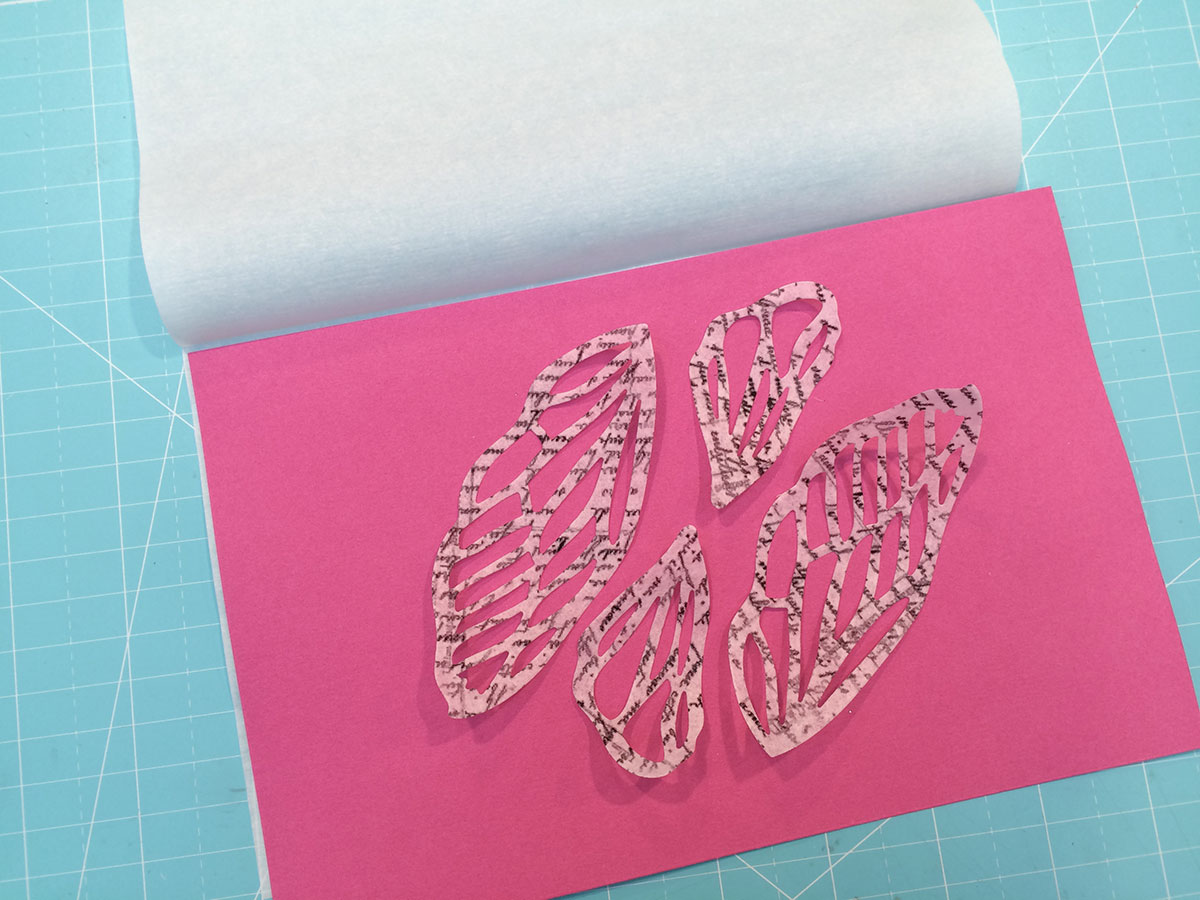
5. Place a piece of Deco Foil onto the die cut wings with the silver shiny side facing down onto the printed side. Fold the parchment paper over the top and run the entire piece through a laminator.
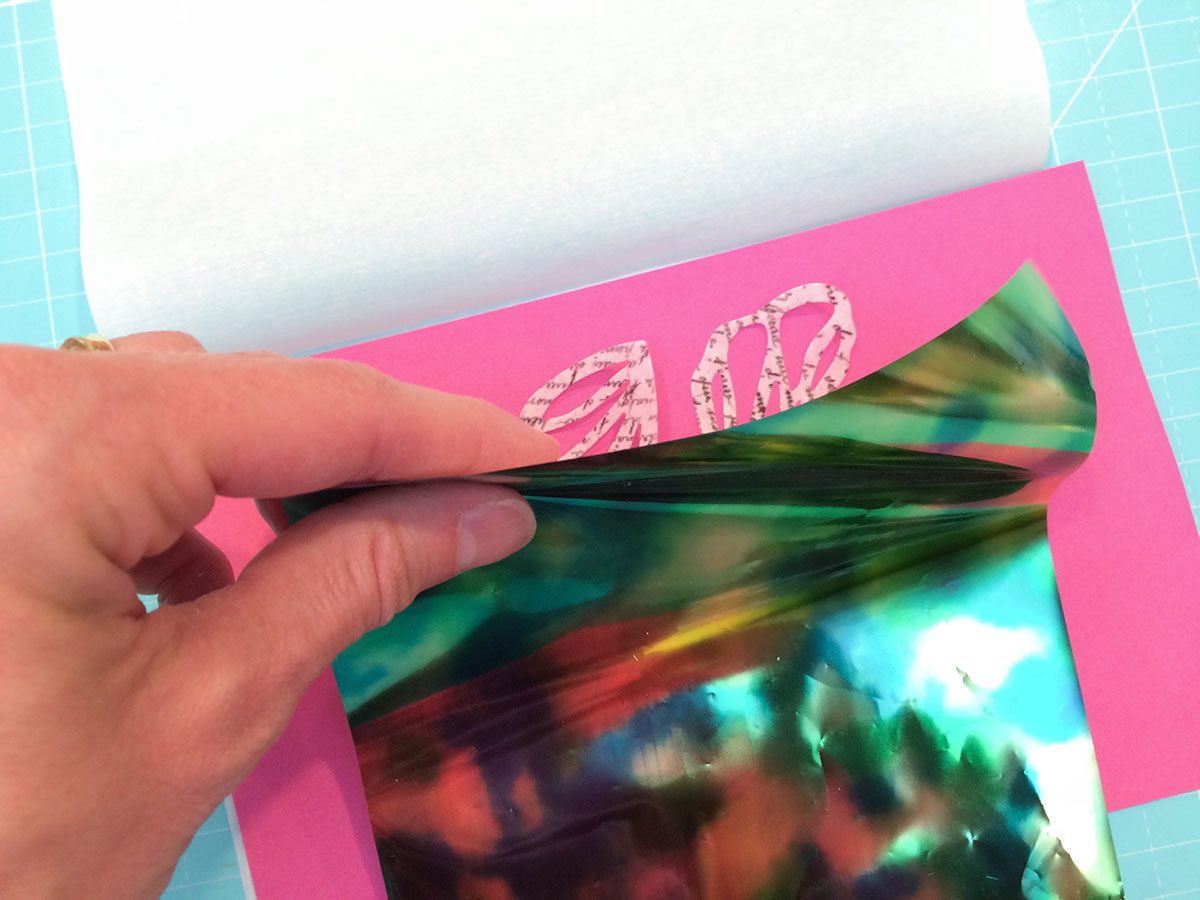
6. Once it has gone through the laminator, peel off the Deco Foil to admire your beautifully foiled wings.
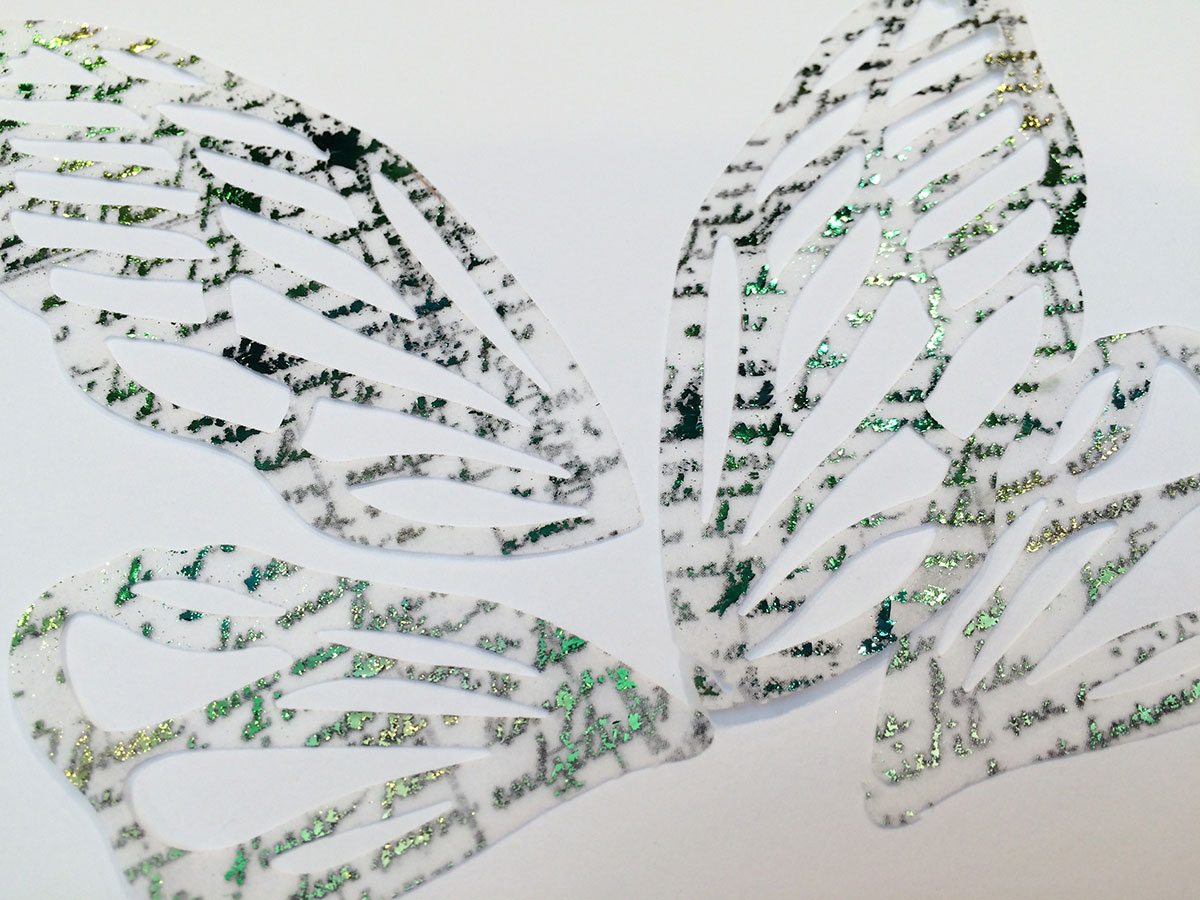
When I created my fairy, I also added some color to the wings with some spray ink. As I mentioned earlier, you can treat these sheets just like you would paper. To finish the wings, I backed them with wings die cut from Foam Adhesive. I then adhered the new Amber Watercolor Deco Foil™ to them.
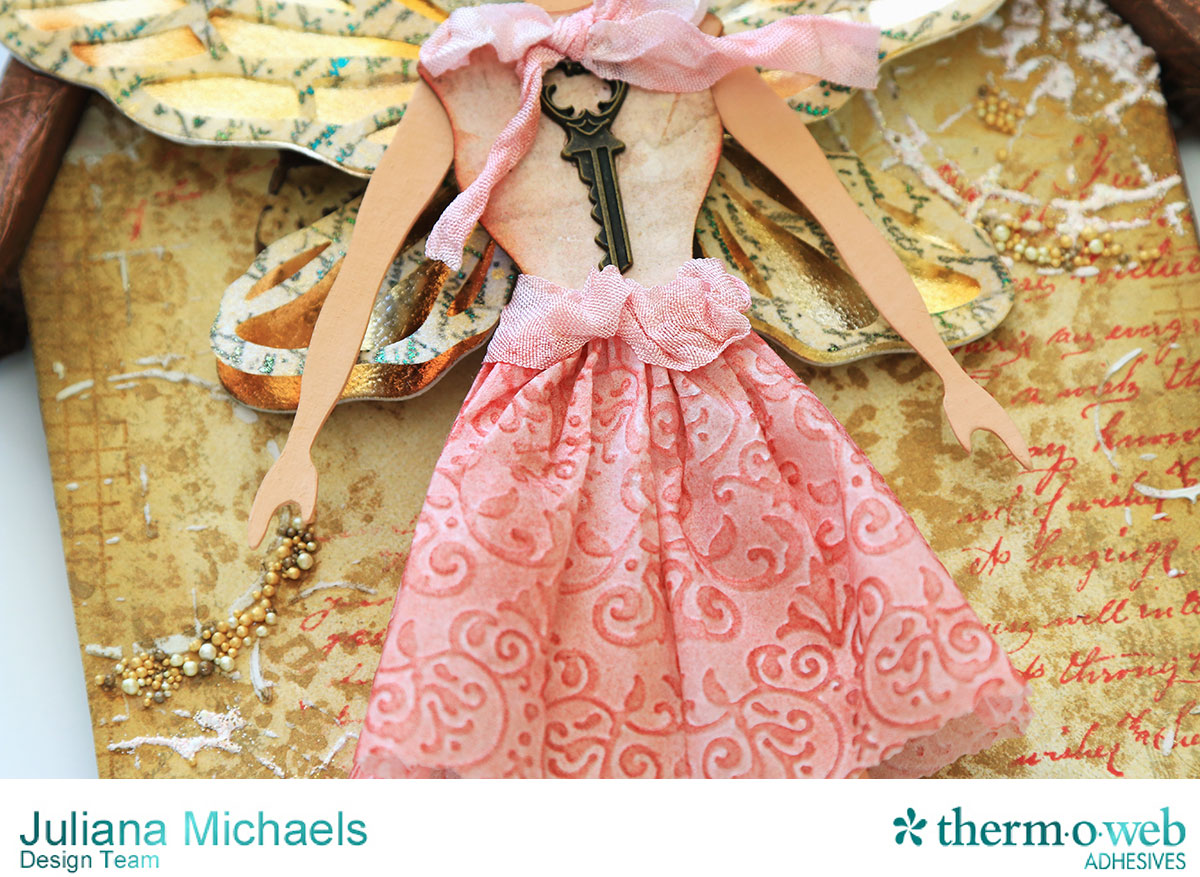
Besides the wings, I also used the Mixed Media Sheets to create the fairy’s skirt. I embossed the sheet using an embossing folder and manual die cutting machine. To add the color, I used ink and a foam blending tool.
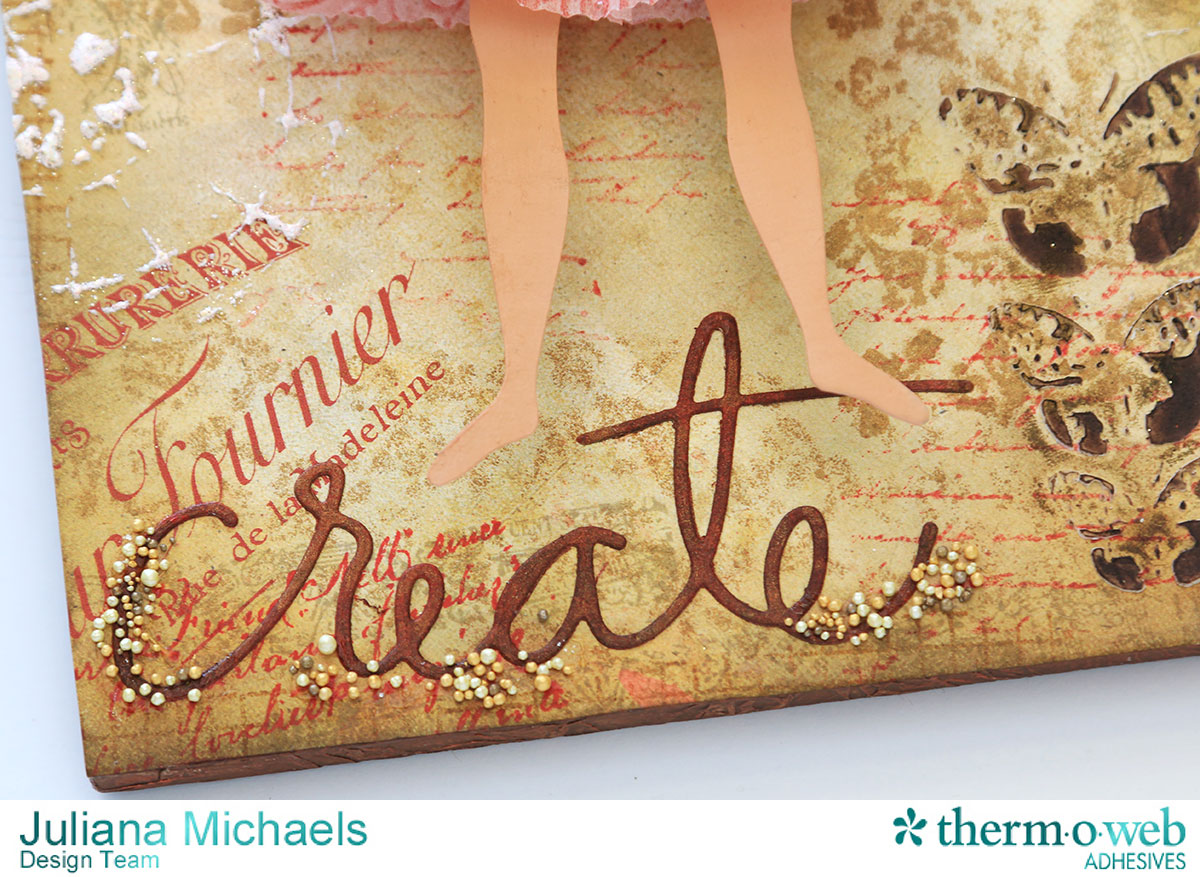
Another new product I used is the Mixed Media Liquid Adhesive. It worked wonderfully to glue the chipboard fairy pieces together and to adhere the paper to the wood base. This glue dries clear, so it also worked perfectly to adhere the tiny looking beads called Prillz.
Thanks so much for stopping by today and learning more about the Therm O Web Mixed Media Sheets. How will you be using these in your next project?
HUGS!
Juliana
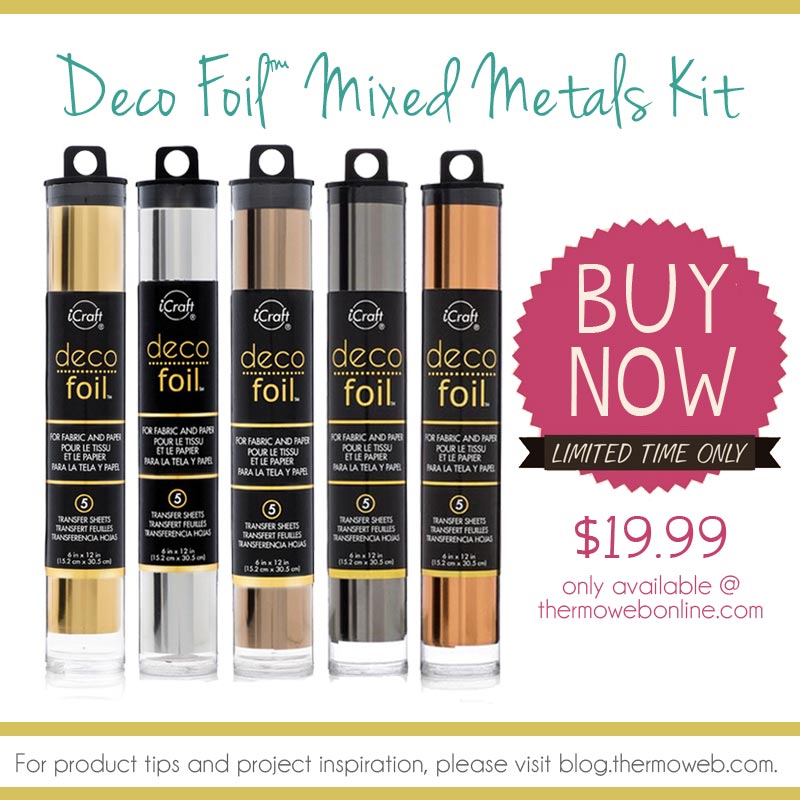
Just a reminder! You can pick up our hot metal Deco Foils at a great price! Grab our gold, silver, rose gold, pewter and copper at a price so good it’s like getting one FREE!

