I have been so excited for this project to get started! Over the next several months I will be sharing tutorials for different covers for your supplies!

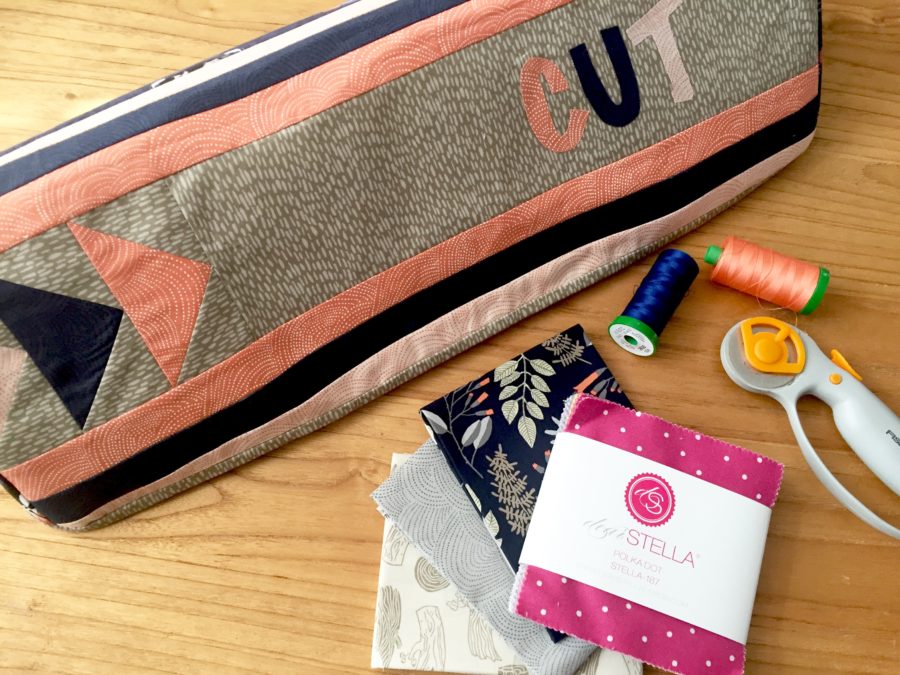
First up, we have the cutting machine cover! I use my cutting machine for lots of projects using thermoweb deco foil hot melt and iron on adhesive. It just made sense to make a cute cover to keep all the dust away! Because every machine is different, this is a step by step guide to create a cover for any machine.
Cover Series Create a Diecut Machine Cover
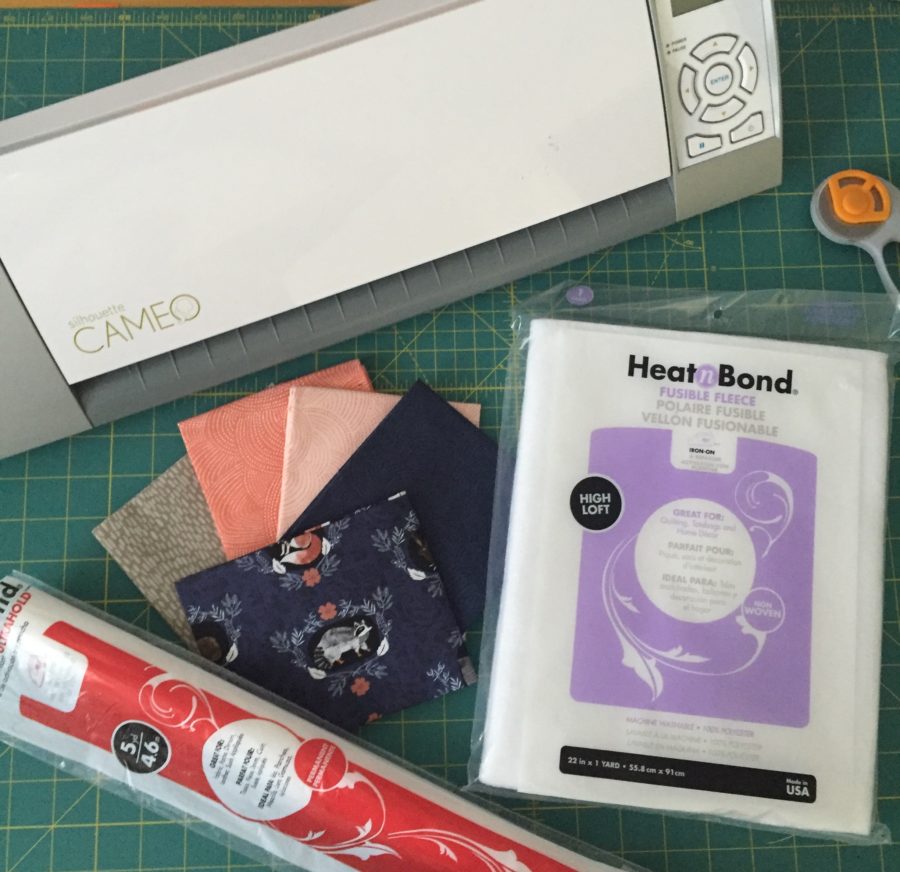
Project Supplies:
-6 Fat Quarters of Coordinating Fabric (Dear Stella Foxtail Forest)
–Thermoweb HeatnBond® Fusible Fleece
–Thermoweb Iron-on Adhesive
-Copy Paper and Pen
-Optional: Thermoweb HeatnBond® Craft Weight Fusible Interfacing
–Oliso Iron
-Cutting Mat, Rotary Cutter, Sewing Machine, Thread, Scissors
Step One: Side Template/Cutting
Project Instructions:
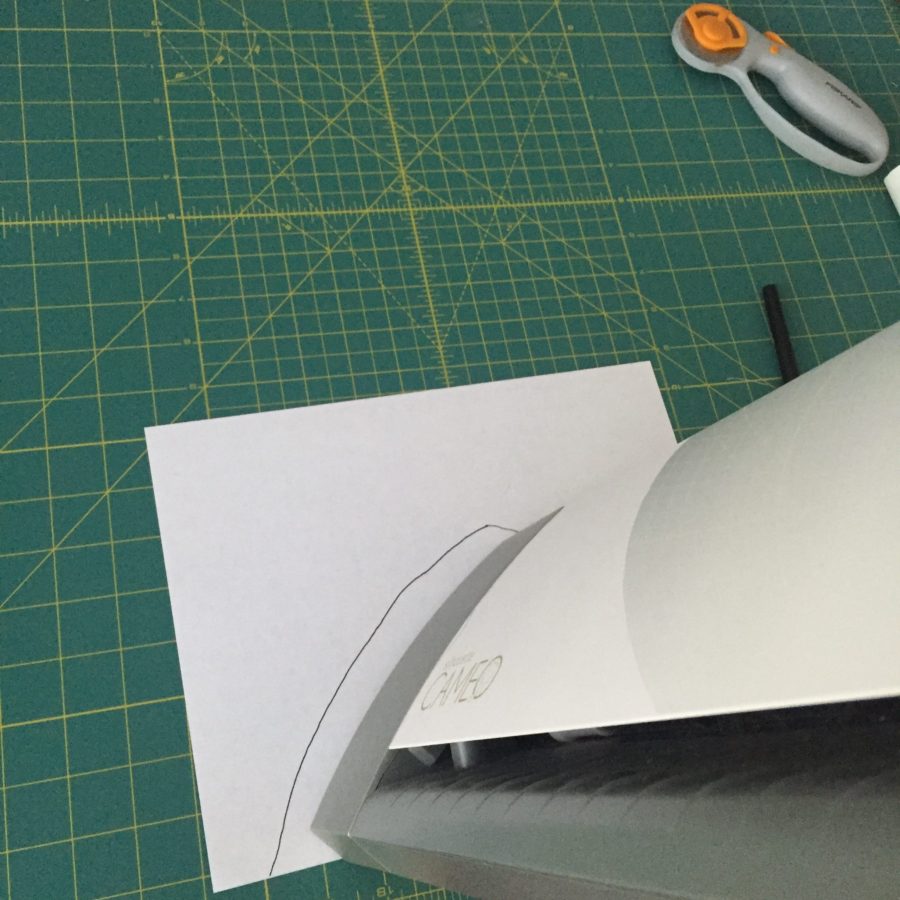
-In order to create your pattern for the machine, you will need to do three things first. First, Measure the front angle of your machine, mine was 7”x20”. Measure the back angle of your machine, mine was 5”x20”. The hard part is measuring your side. Have a friend hold your machine up for you and then trace a line around the side (see photo). Cut it out about a 1/2”-1” around that traced place.TooltipText
-Cut your pieces:
*Lining: 15”x21” (Add your two angle lengths to get this-7+5+3 additional inches, then add 1 inch to your width), also trace 2 side pieces using your template
*3 FQ Color Pieces for Flying Geese: Cut 1- 4 1/2” x 2 1/2” each, 2- 1 1/2” by WOF each
*1 FQ Background: 1- 4 1/2” x 16 1/2”, 6- 2 1/2” x 2 1/2”
*1 FQ Back Panel: 5” x 21”, trace 2 side panels
*Binding: 3-2” by WOF (choose one of the flying geese color)
*Fusible Fleece: 15”x21”, trace 2 side panels
*Optional: Fusible Interfacing: 15”x21”, trace 2 side panels
Step Two: Front Panel
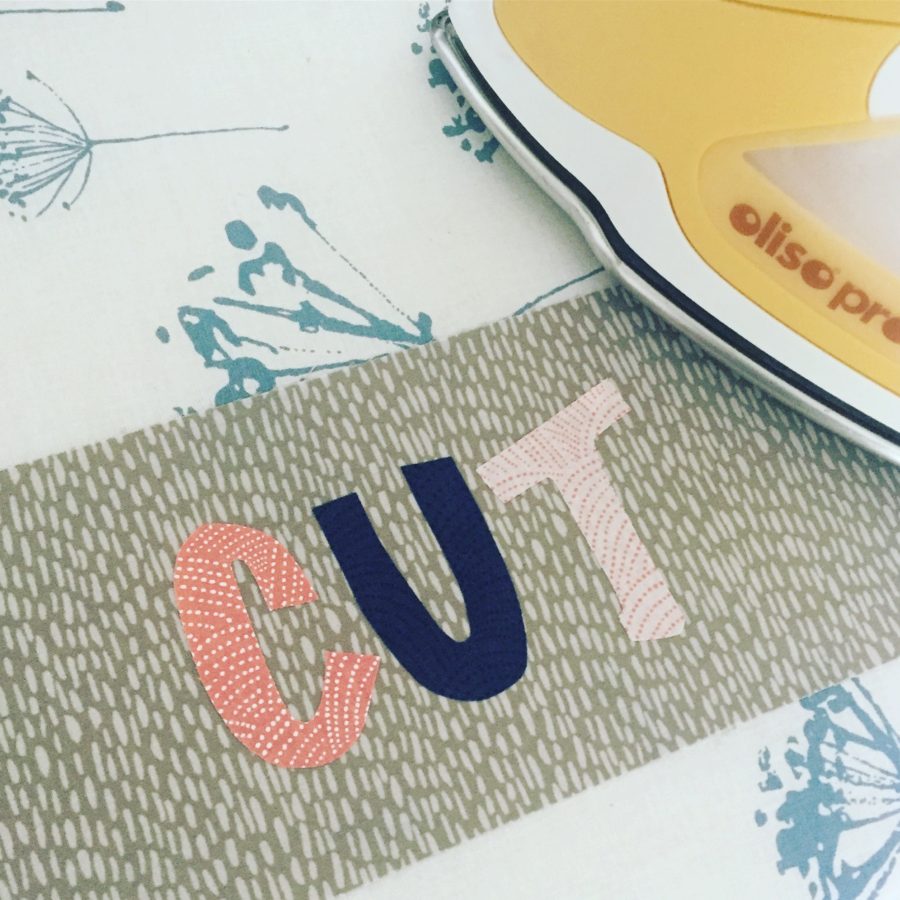
-The front panel is a fun way to make your cover unique to you! I decided I wanted flying geese and to use iron-on adhesive to add “cut” to the front.
-Create your flying geese- Take one of your 4 1/2” x 2 1/2” pieces and place a background 2 1/2” x 2 1/2” pieces. Align the square to one side of your colored piece. Sew diagonally from one corner of your background square to the opposite corner. Cut the excess corner at 1/4” from the stitch line and iron. Repeat for other corner creating your flying geese. Repeat with second two colored pieces.

-Attach your flying geese together, then attach the 4 1/2” x 16 1/2” background piece to your flying geese row. Now attach your colored rows to the top and bottom of your flying geese row, adding one of each color to the top and bottom. Sew on your back panel to the top of your flying geese panel. Using the iron on adhesive create the word “cut”. You can do this by printing the word out and tracing it on the adhesive before ironing it on to the fabric or you can iron on to the fabric and use your cutting machine to cut it out. My letters are 3” tall and I used the Marker Felt font. Once your letters are cut out, adhere them onto your flying geese panel.

-Option Step: Iron on the Craft Weight Interfacing to your panel and traced sides.
-Iron on the fusible fleece to your panel and traced sides.
Step Three: Creating Top and Bottom
-Take one fused side piece and your front panel. You will pin your 15” side of your panel to your side panel RST (Right Sides Together). I pin close together around the curve. Sew it together using a 1/4” seam allowance. Go slow and work the corners to make sure it doesn’t pucker. Repeat with second fused side and the other side of your panel. Turn right side out and iron the seams.
-Repeat this process with the lining panel and lining sides. Turn right side out.
Step Four: Finishing Up
-Place the lining inside the top WST (Wrong Sides together). Pin the two together and baste stitch around the edge.
-Create your binding by attaching all 3 binding pieces together and ironing in half WST. Attach your binding to your front edge with a 1/4” stitch. Then turn the binding and hand stitch it to your lining.
-Iron one last time and your project is finished!!!
I hope you enjoyed making your cutting machine cover!! I sure love mine! And might just have to make it for a few friends.
Thank you Dear Stella for the fabric used in this project!!
Up Next September: Computer Cover
Thanks for sewing along!
~Kristen Wright of Two Blondes and a Sewing Machine

