


Hello All! Jennifer Davey here today with a new project for you. This summer I had the pleasure of planning crafts for 130 Young Ladies age 12-17 who were camping just outside of Yosemite National Park. Since we were limited on space and some resources I had to get a little creative with the project they would make. As you read the instruction keep in mind there are other methods of creating the silhouette including using a digital cutter but that seemed a little impractical and less hands on for these girls. I do have plans to make a family projects with these silhouette that involves sewing so stay tuned!
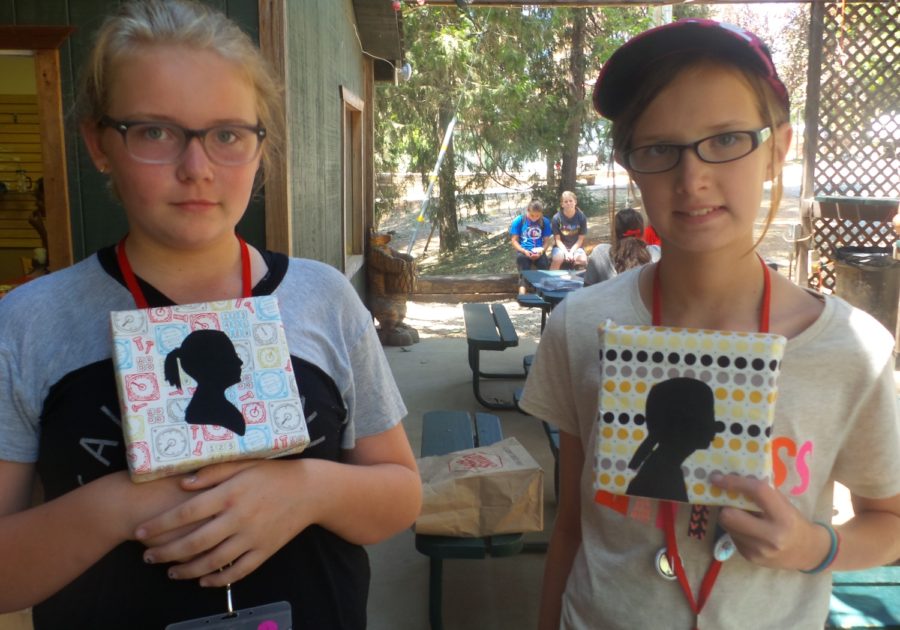
Each young lady was able to choose the fabric to place their silhouette on so each project reflected the crafters personality. These lovelies are a couple of my favs on the left is my daughter and the right is one of my best sewing students.
Project Supplies:
Heat n Bond® UltraHold (cut to 4 x 5 inch)
HeatnBond® Non-Woven Fusible Medium Weight (cut to 10 x 10inch)
Cotton Print Fabric (cut to 12 x 12 inch)
Black Cotton Fabric (cut to 4 x 5 inch)
Felt (cute just under 6 x 6 inches)
Wood frame (6 x 6 inch on the outside edges…a pre-made canvas would also work)
Carbon Paper
pencil
silhouette photo of subject printed on inkjet printer grey scale works..save your color ink!
Scissors
This is what we did…
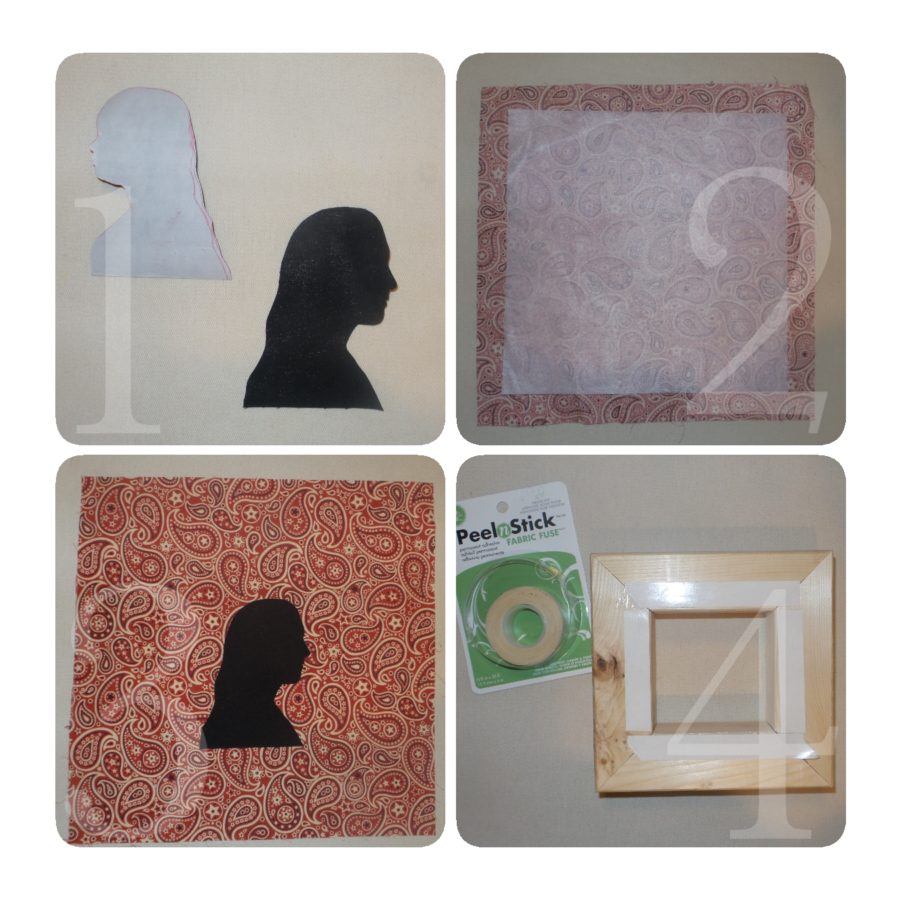
- Press black fabric to Ultra Heat n’ Bond®. Using carbon paper transfer silhouette by tracing around printed picture of face onto the paper backing of Heat n’ Bond. Cut traced silhouette out using scissors.
- Press HeatnBond® Non-Woven Fusible Medium Weight to center of wrong side of fabric. (this will keep your fabric from over stretching or ripping when wrapping it around your frame.)
- Peel paper backing from silhouette and place on right side of fabric. Center on fabric and place it 3 inches from bottom. Press in place.
- Apply Fabric Fuse™ Tape at center of frame.
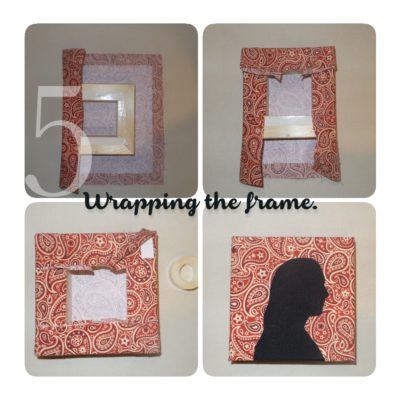
5. Place frame centered on wrong side of fabric with Fabric Fuse™ Tape facing up. Peel paper backing from tape on opposite sides of frame. Pull fabric around frame on opposite sides of frame and press to secure on Fabric Fuse Tape. Fold corners and pull fabric to frame and press to Tape in same manner as sides. Add pieces of Tape at corners to secure loose edges. To finish apply felt to back of frame with Fabric Fuse tape.
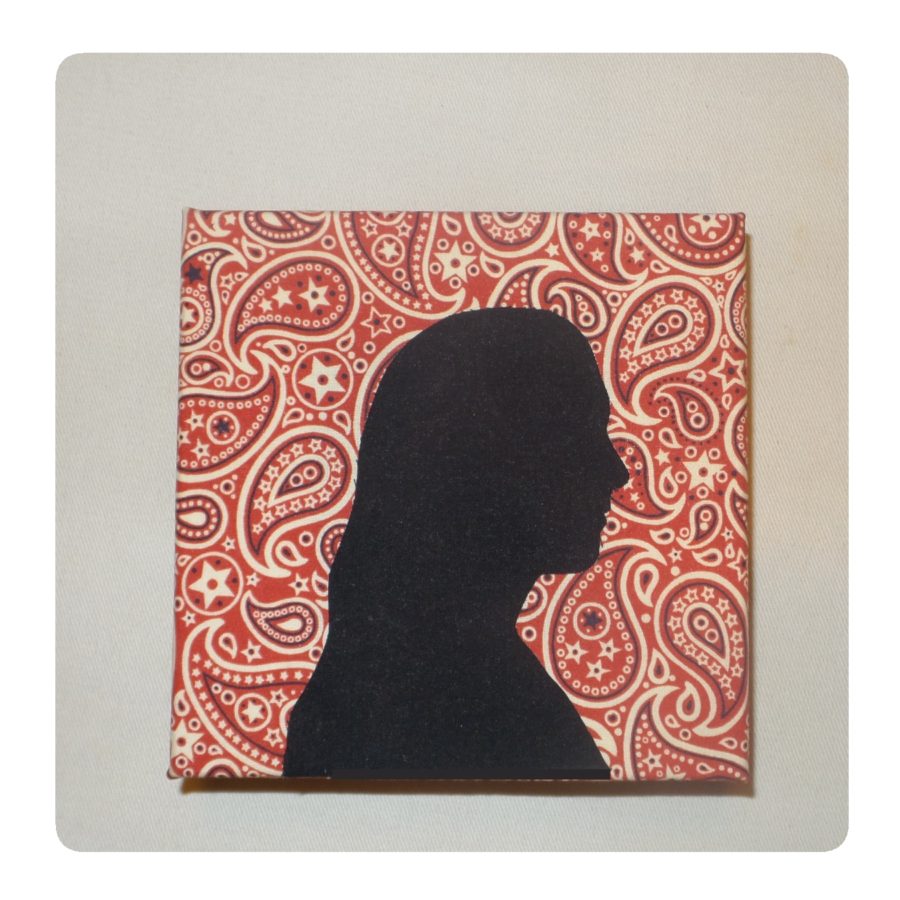
This a fun project makes a great gift or addition to your home decor.
Happy Crafting!
Save