


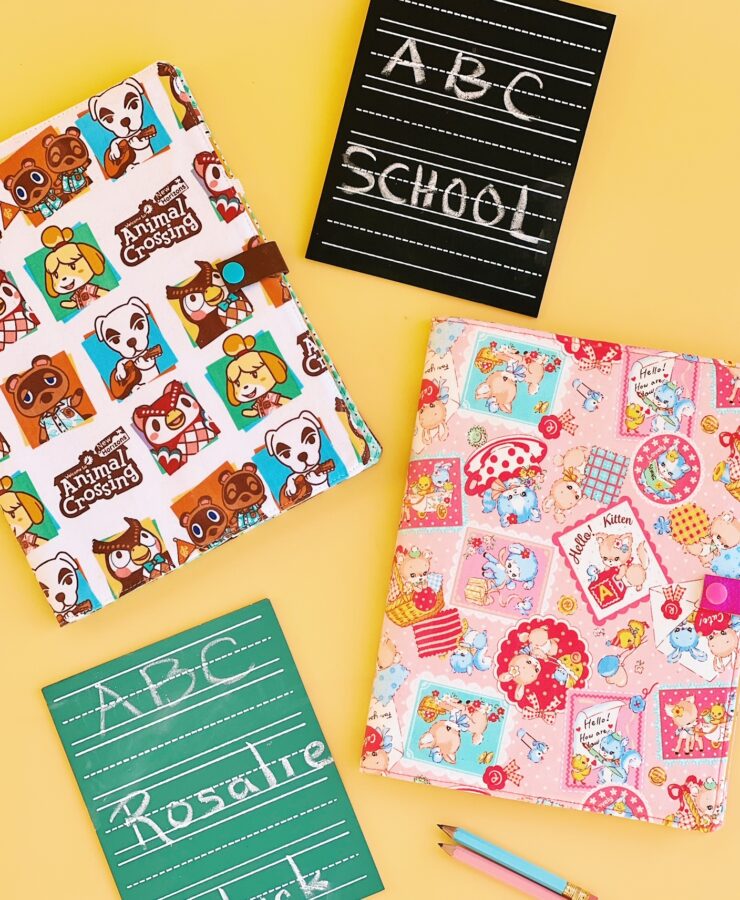
 Hello! It’s finally Back to School in my household and I’m busy prepping, organizing, and getting back into the school mindset! My twins are in second grade and to keep them engaged, I try to make things fun for them! They write in their journals everyday since first grade, but they eventually became bored of the same, dismal looking journal. So, Mama promised them a fun new journal cover for this year.
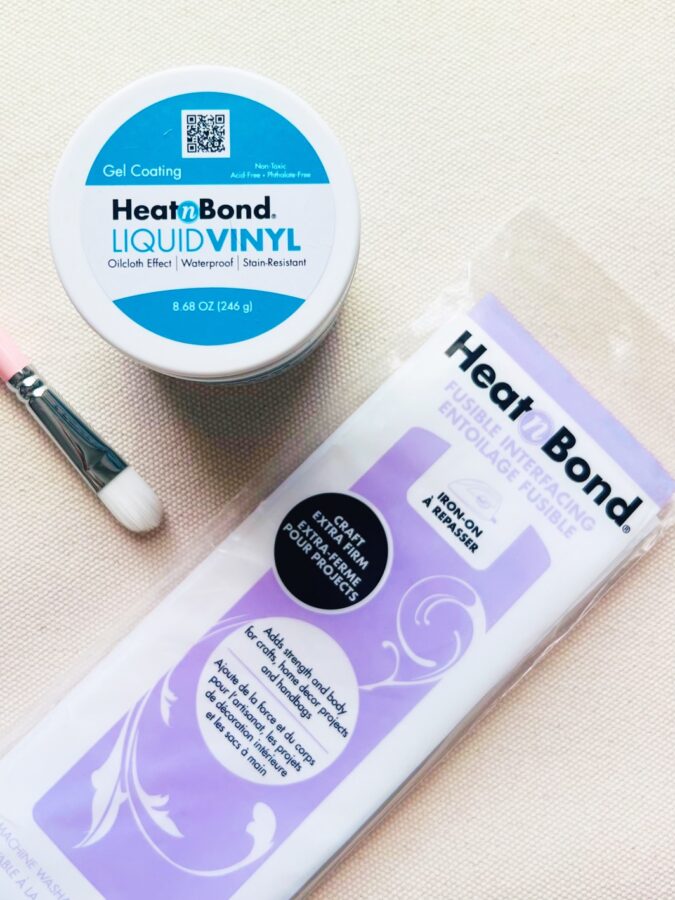
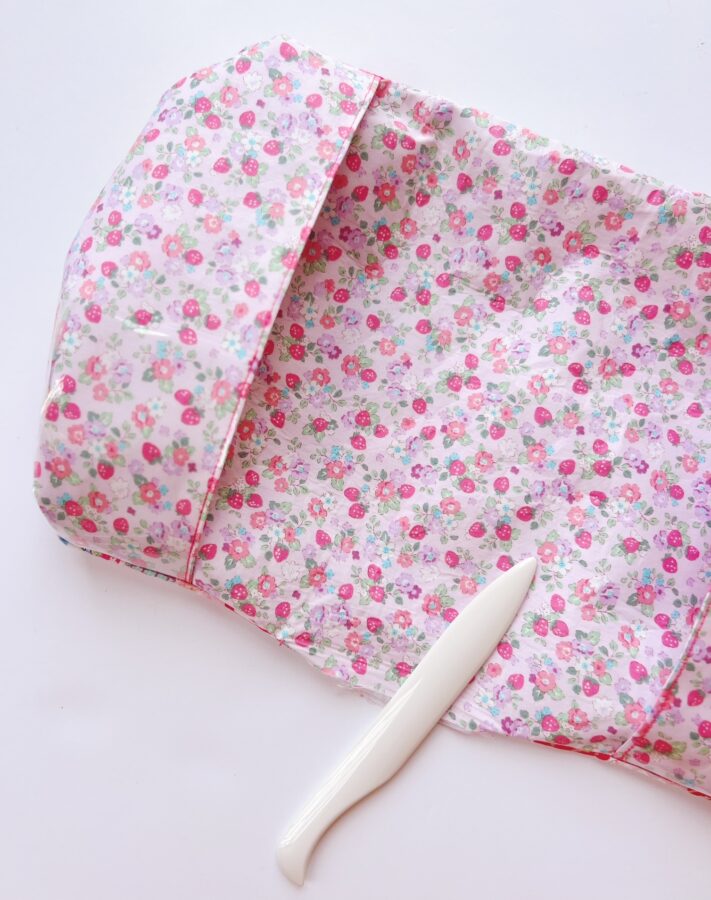
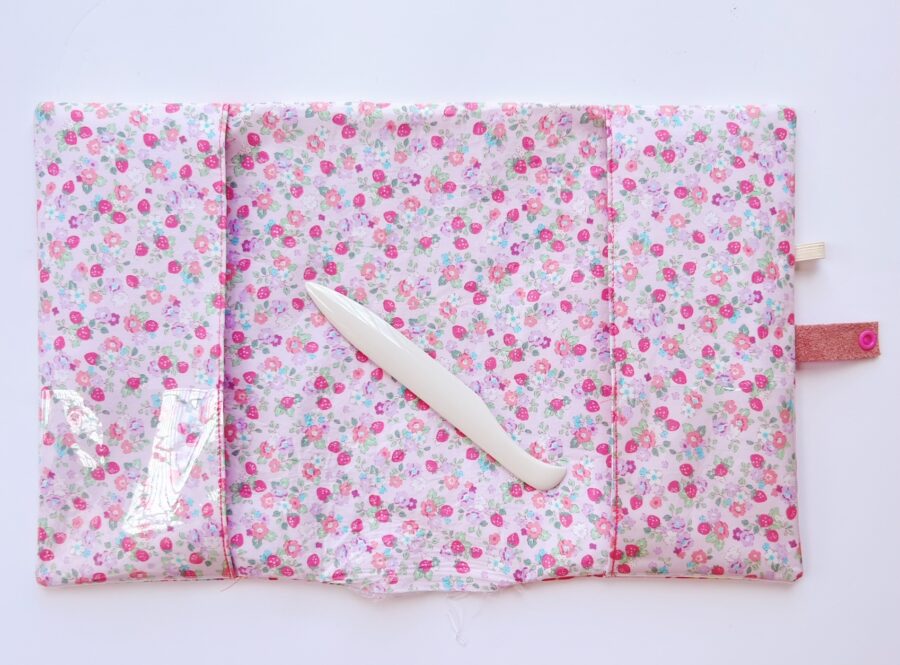
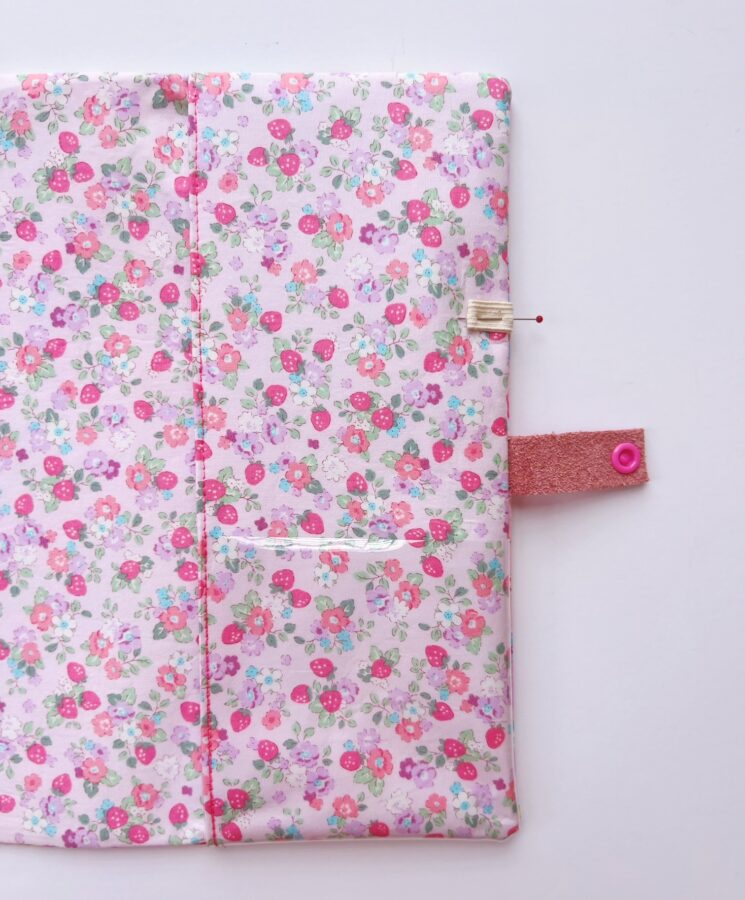
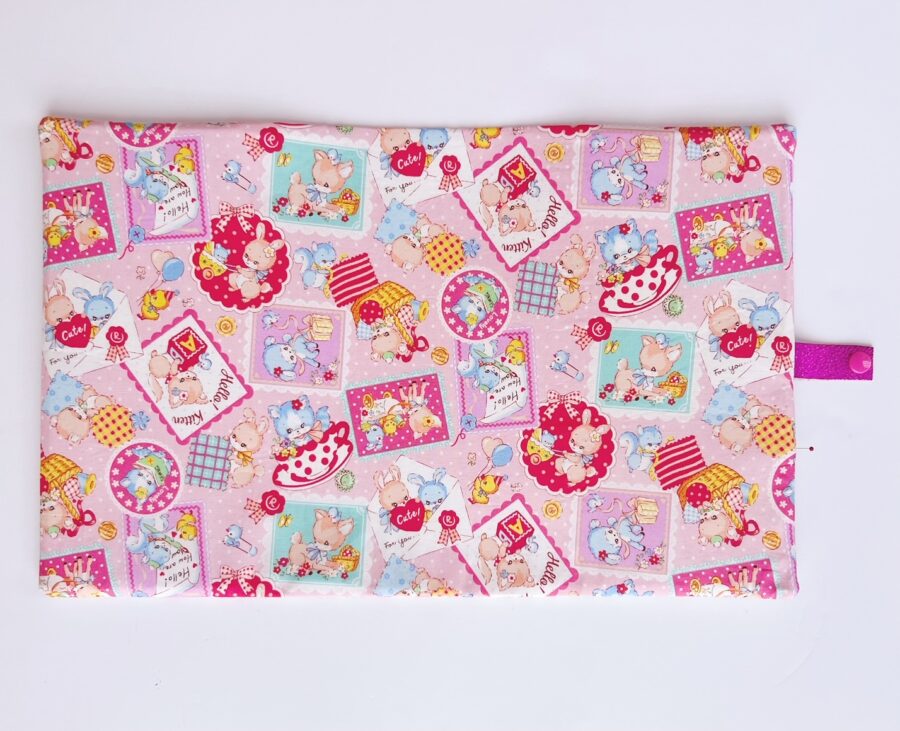
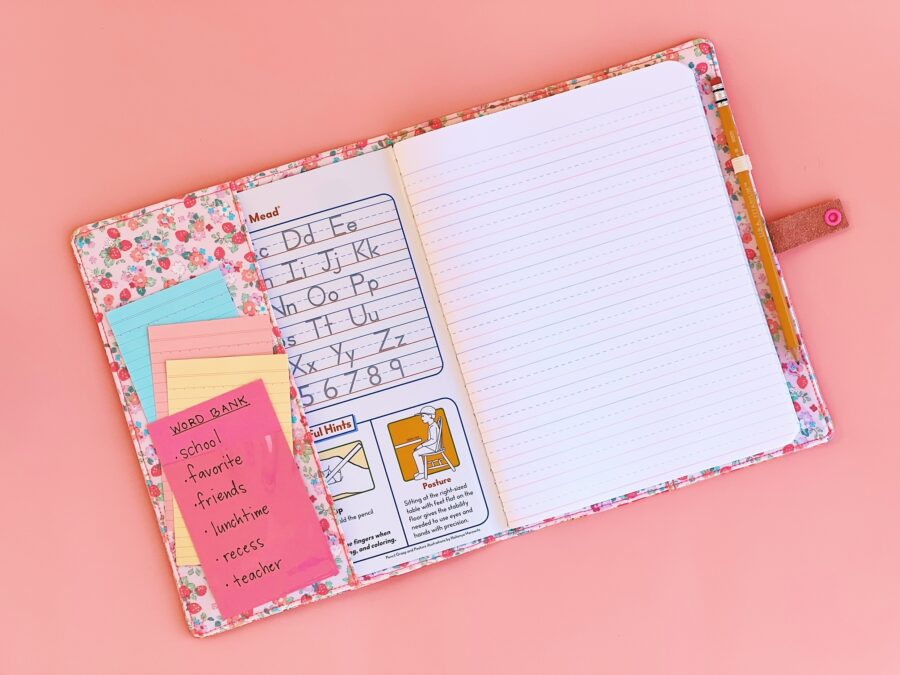
This Composition Journal Cover is made using some of my fave products from ThermOWeb – HeatNBond Fusible Interfacing in Craft Extra Firm to give the cover stability and HeatNBond Liquid Vinyl to keep the cover from getting dirty and for durability. This journal cover will fit standard composition sized journals, including Primary Composition Journals (grades K-2). There are inner sleeves to place the journal into and I added clear vinyl pockets (to place index cards or notes), pencil tab holder, and a button closure to keep it all together. Let’s make this cover!

Composition Journal Cover Instructions
MATERIALS
- HeatNBond Fusible Interfacing – Craft Extra Firm
- HeatNBond Liquid Vinyl
- HeatNBond Pressing Paper
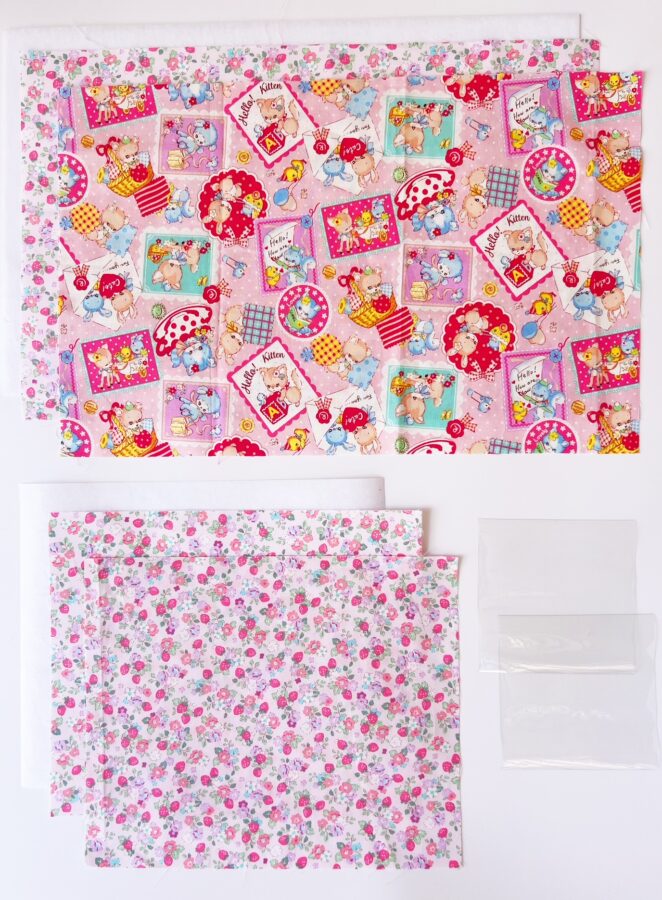
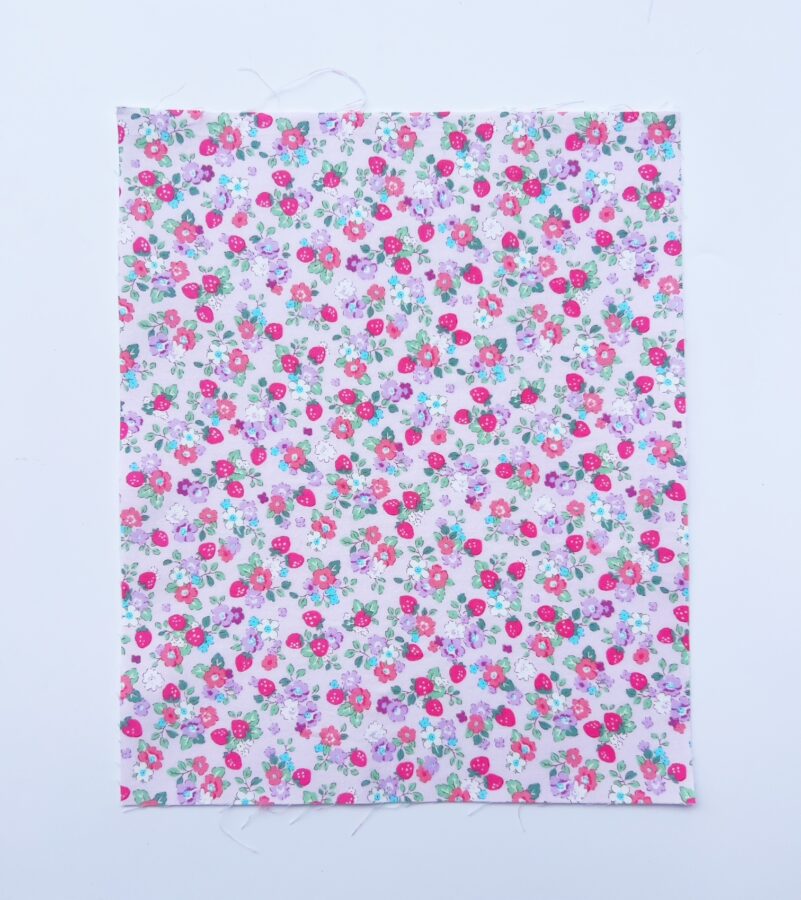
- One fat quarter of cotton fabric – for front of cover
- 1/2 yard cotton fabric (contrasting print) – for inner cover and pockets
- Clear Vinyl – for inner pocket
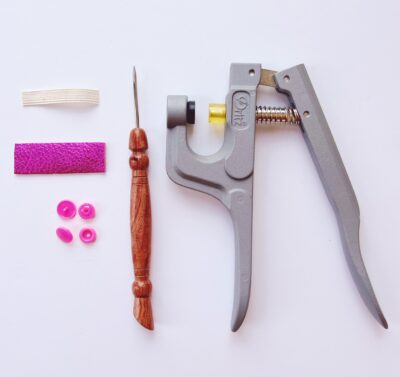
- Semi-Wide Elastic – you will need 2″ – for pencil loop
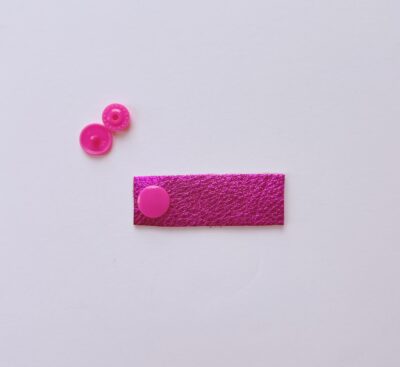
- Piece of leather – you will need a 2″ x 3/4″ piece – for the button closure (you can also make your own tab from fabric, just make sure the finished size is 2″ x 3/4″
- Plastic snap buttons – for the button tab closure – you can use button of choice, but for this project I use Cam Snap Buttons
SUPPLIES USED
- Snap Button Pliers – I use the Dritz brand
- Turning tool – to turn cover right side out and pop edges and corners
- Water Soluble Pen – to mark button and elastic loop placement
- Awl – to poke hole for snap button
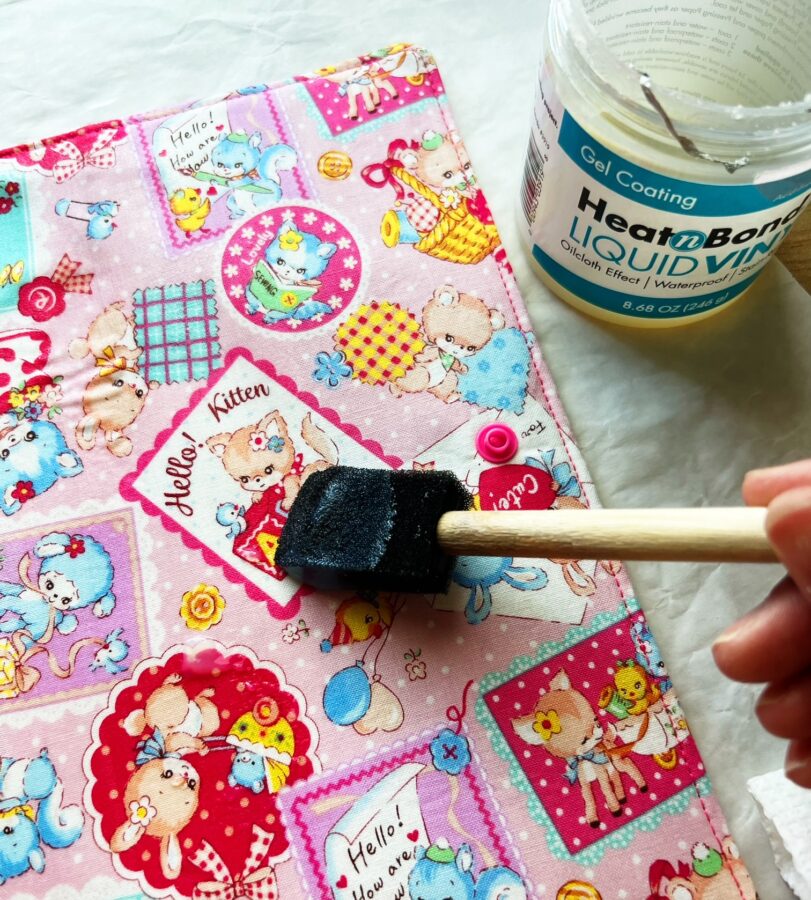
- Paint brush – for application of the Liquid Vinyl
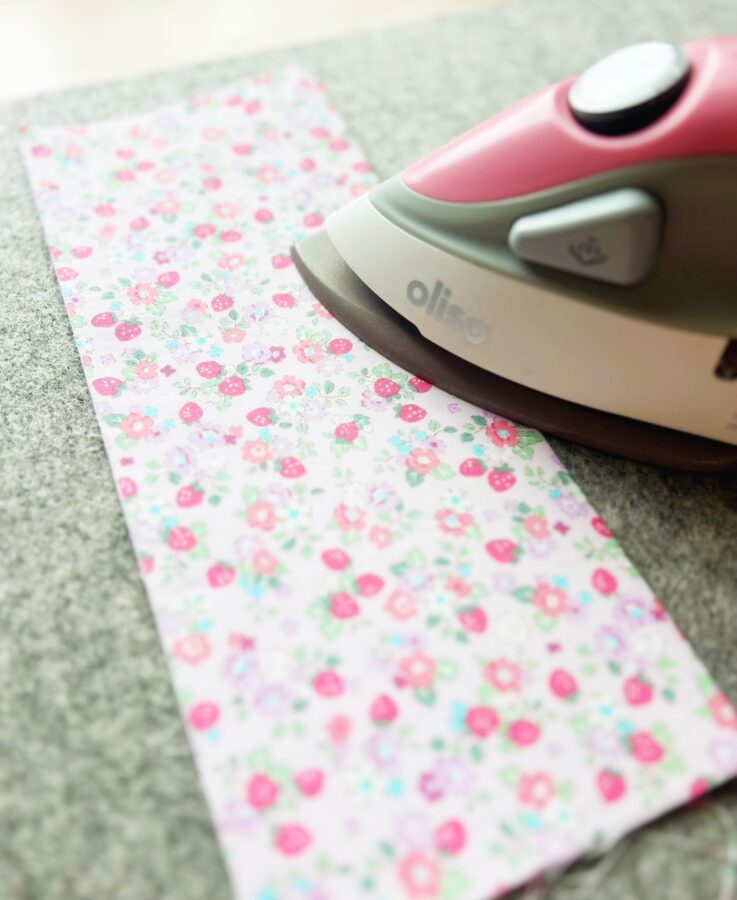
- Iron – I love Oliso Irons!
CUTTING
- Cut two 11″ x 17″ cotton pieces – for the outer and inner body
- Cut two 11″ x 17″ HeatNBond Fusible Interfacings – for the outer and inner body
- Cut two 9″ x 11″ cotton pieces – for the inner sleeve pockets
- Cut two 9″ x 11″ HeatNBond Fusible Interfacing – for the inner sleeve pockets
- Cut two 4 1/2″ x 4 1/2″ clear vinyl pieces – for the inner pockets
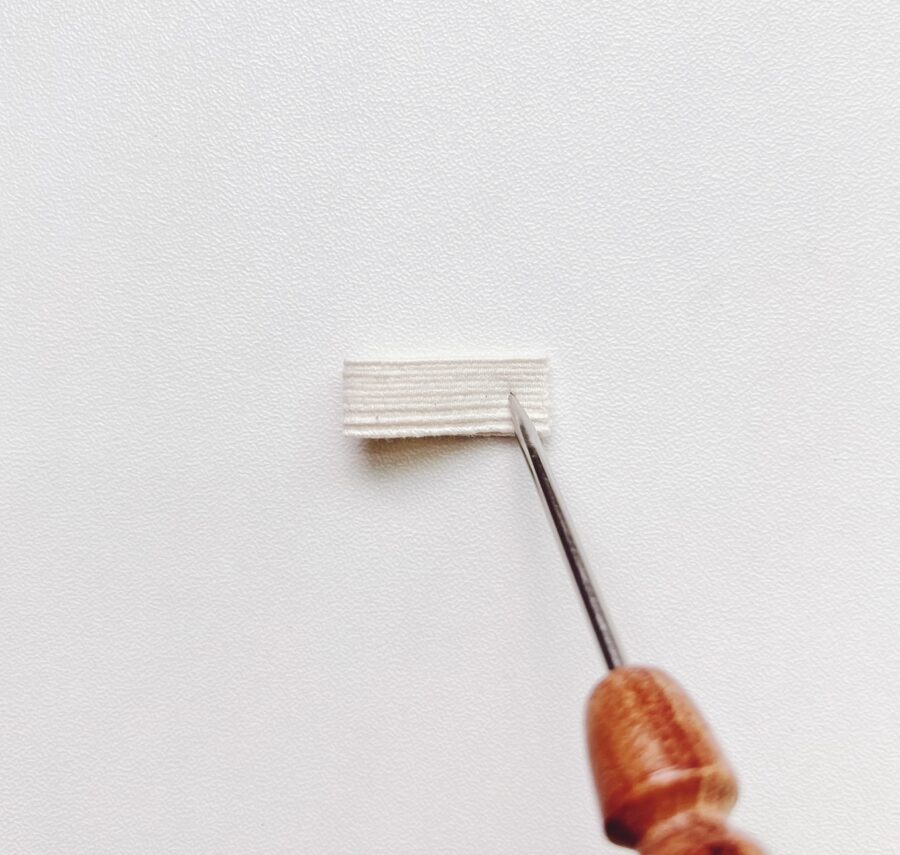
- Cut one 2″ elastic piece
- Cut one 2″ x 3/4″ leather piece – for the button closure
TIPS
- Use directions as indicated for the HeatNBond Liquid Vinyl application
- Use pressing paper when ironing such as HeatNBond Pressing Paper
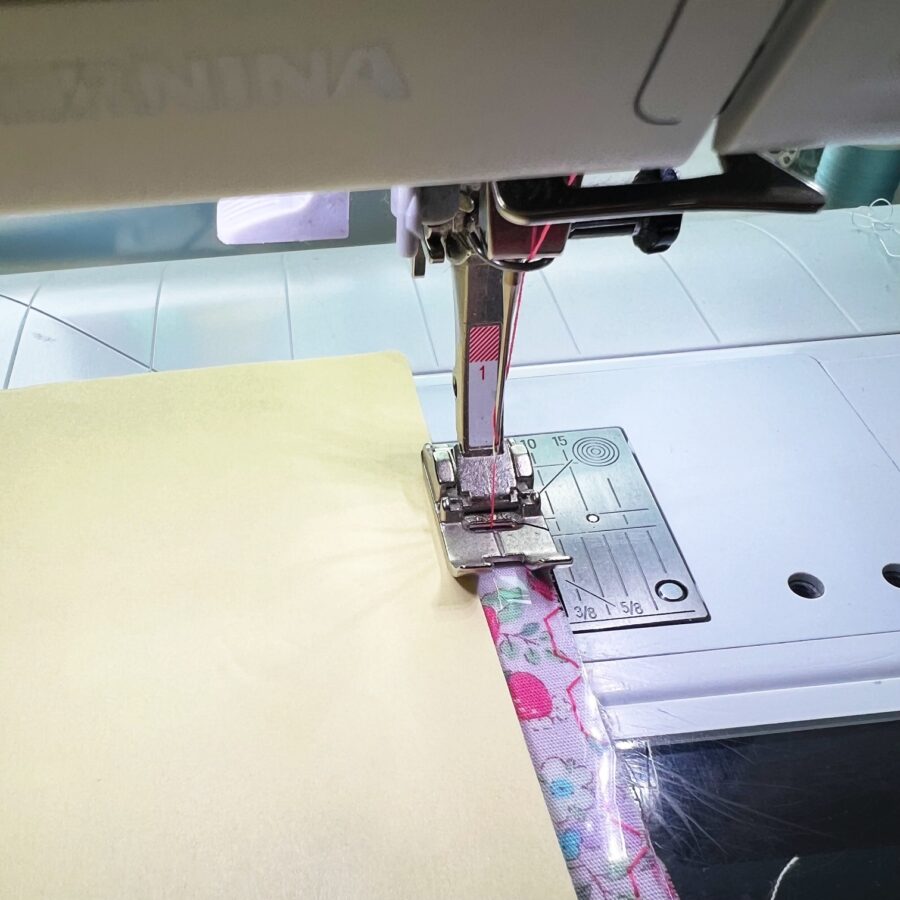
- When sewing with vinyl, place a paper underneath the presser foot as close the needle but not directly under, to prevent sticking. You can also use a presser foot specifically for vinyl if you have that as well.
- When ironing the pieces, make sure not to iron the vinyl! It will melt!
- Use a ¼” seam allowance unless otherwise noted
- Baste stitch uses a 3/16” seam allowance or the farthest stitch to the right on your sewing machine
LET’S BEGIN!
PREP THE COTTON PIECES
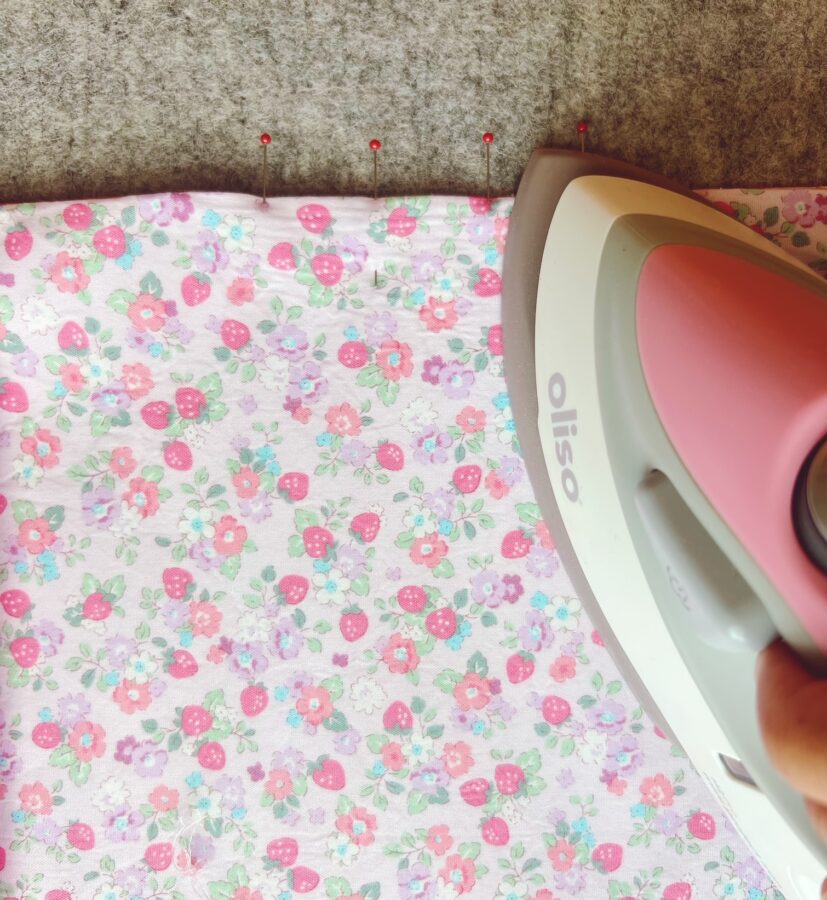
- Attach all interfacings to the front and inner fabric pieces. Attach the interfacings to the pocket fabric pieces as well.
CREATE THE INNER POCKETS
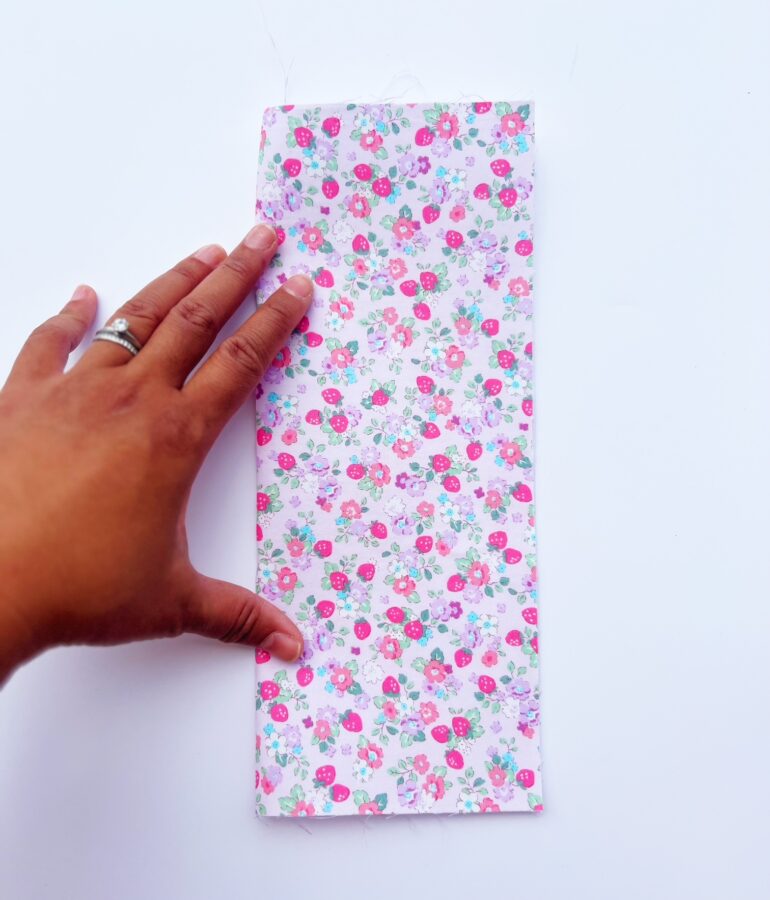
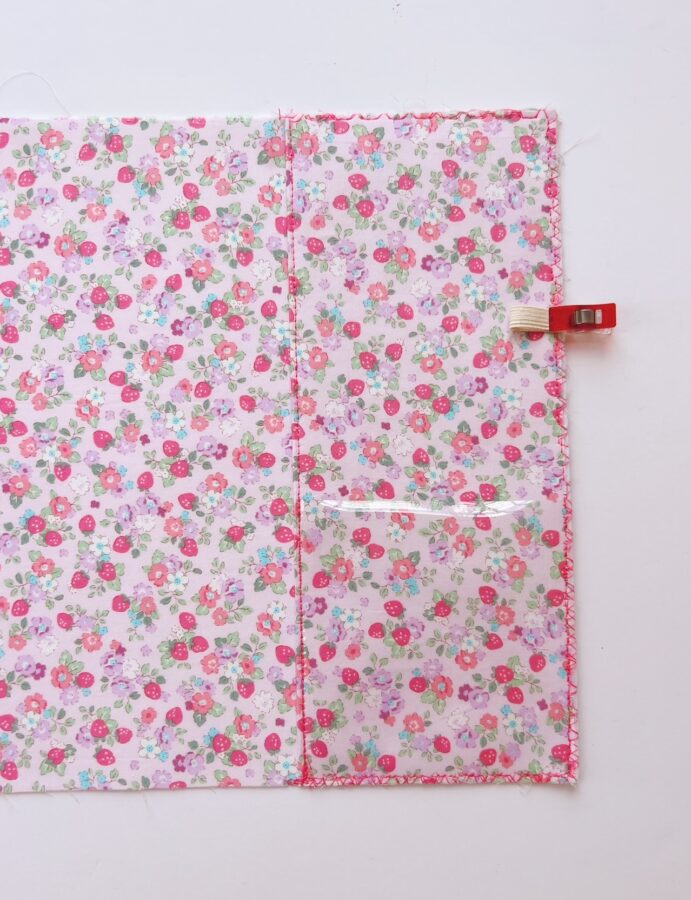
- Take the 9″ x 11″ cotton piece and fold in half height wise (along the 11″ side) and press with an iron. Sew a seam close to the folded edge and baste around the raw edges of the pocket. Once folded and sewn, the pocket should measure 4 1/2″ x 11″.
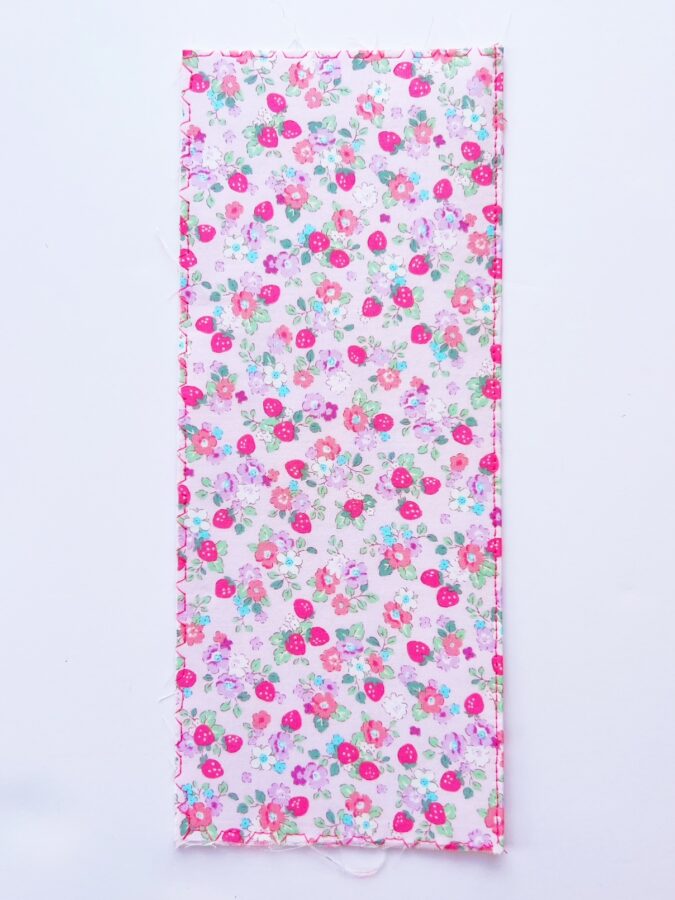
- To attach the clear vinyl piece, take the 4 1/2″ x 4 1/2″ vinyl piece and place it towards the bottom of the folded pocket piece. Line up the edges and clip into place. Sew a seam close to the folded edge first than baste around the edges of the clear vinyl, leaving the top edge open for the pocket opening. TIP: place a piece of paper underneath the presser foot, but not where the needle is, to prevent sticking and bunching. Repeat steps 1 and 2 for the second pocket piece.
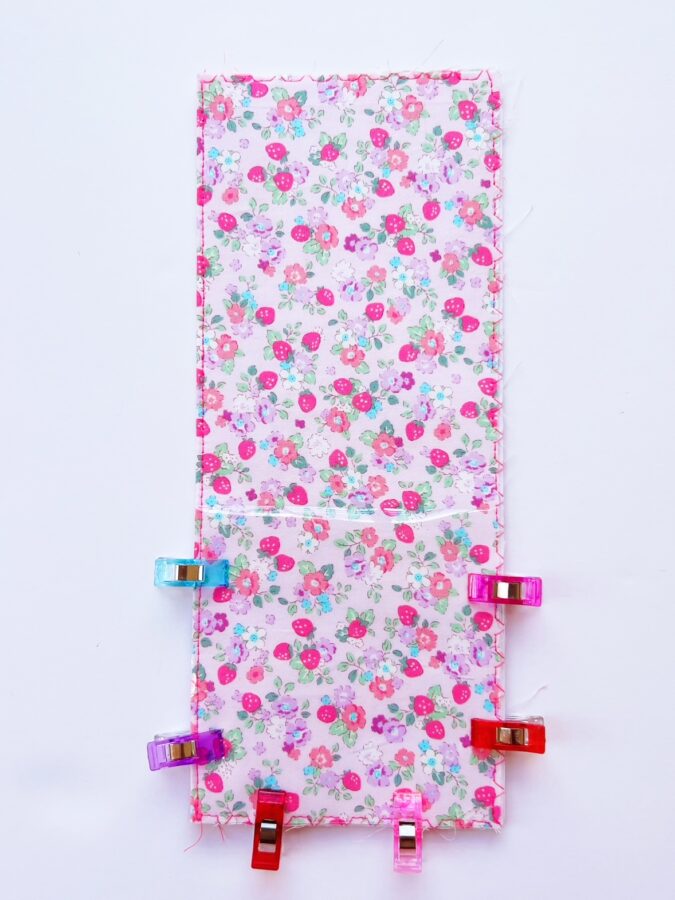
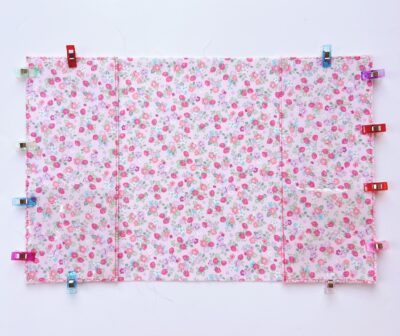
- Line up each pocket to the front of the inner cover. There will be a right and left side as determined by the folded seam. The left side pocket should have the folded seam facing inwards, as for the right side pocket the folded seam should also be facing inwards. Baste each pocket to the correct side of the inner cover.
ATTACH THE ELASTIC PENCIL LOOP AND LEATHER TAB BUTTON CLOSURE
- To attach the elastic, take the 2″ elastic piece and fold in half to create a loop. Baste the raw edges in place to make the loop. Attach the loops raw edge onto the inner covers right hand side. From the top right hand corner, measure down 3 1/2″ and mark with a marking pen. Pin in place and baste the elastic loop in place. Set the inner cover aside.
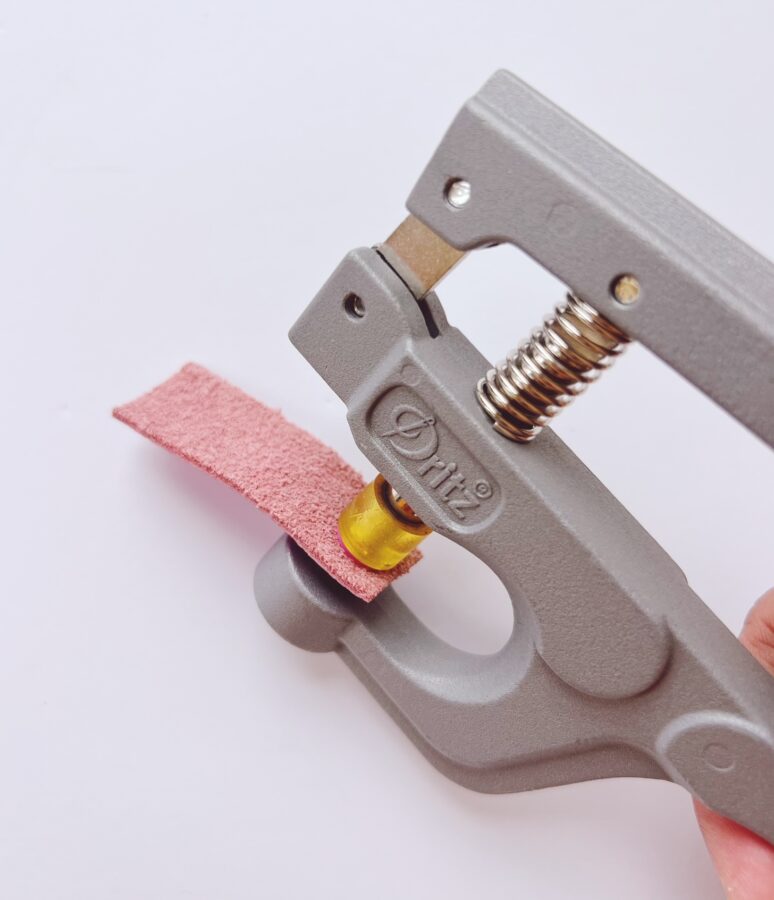
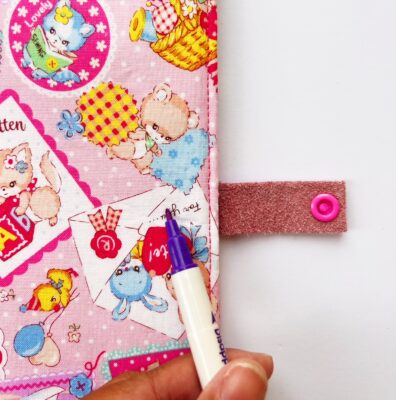
- Attach one side of the snap button to the leather tab. Determine placement of the button and attach to the left side of the leather piece. Attach the button using the snap tool (making sure that the cover of the button is on the right side of the leather piece).
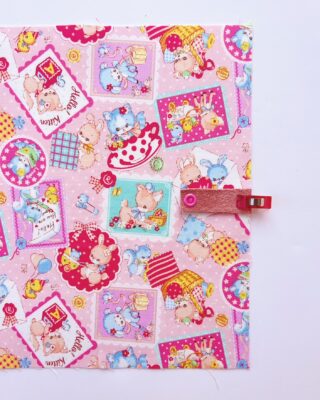
- To attach the button tab onto the cover, take the 9″ x 11″ front cover and on the right side, locate the middle. Mark the middle with a marking pen and place the wrong side of the tab onto the marked area (buttons wrong side will be facing out). Clip in place and baste back and forth a few times to give it more stability.
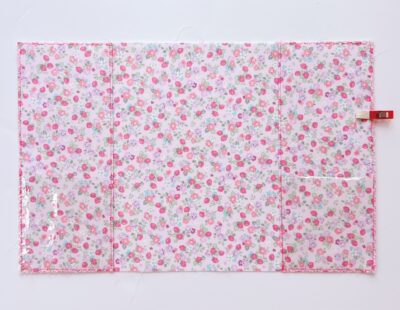
ASSEMBLE THE JOURNAL COVER
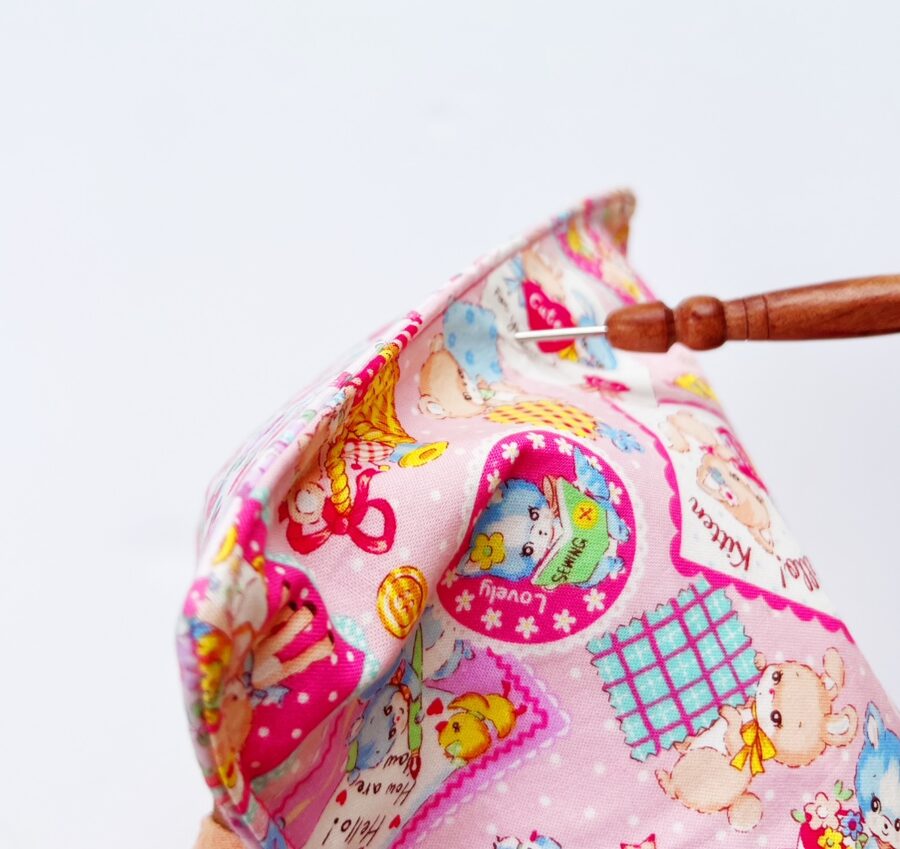
- Place the front and inner covers together with right sides facing in, wrong sides facing out. the elastic loop and the leather button tab should be on the same side (right side). Clip in place and leave a 4″ opening on the bottom middle. Starting at the beginning of the 4″ opening (making sure to backstitch), sew a 1/4″ seam around the entire piece and stop once you get to the end of the 4″ opening (also make sure to backstitch here as well).
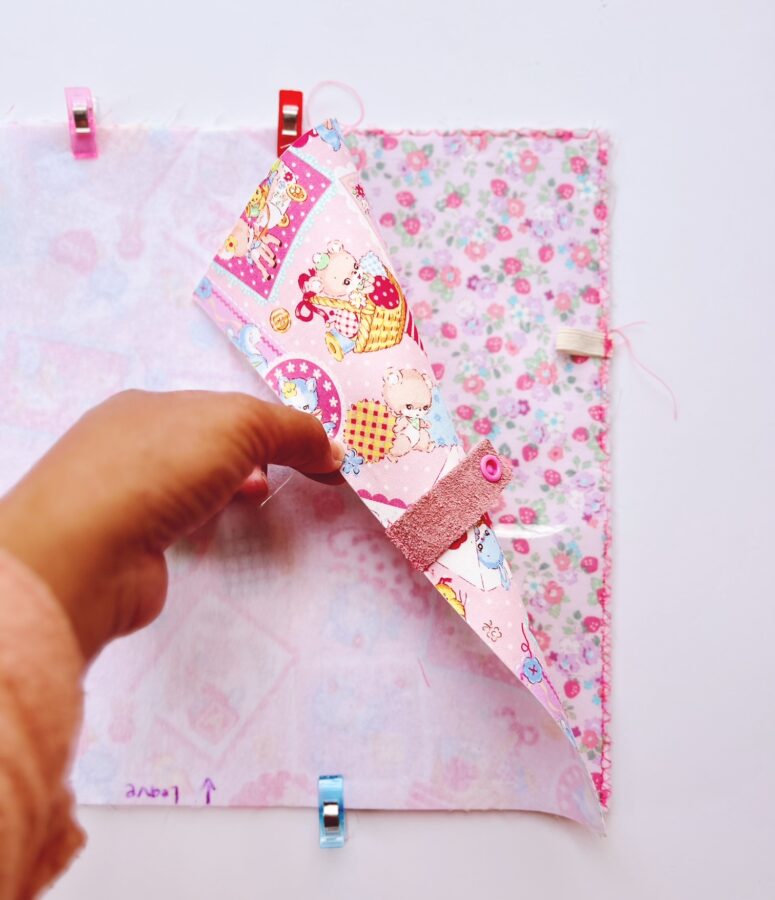
- Carefully, clip the corners. From the 4″ opening, turn the piece right side out. Use your point turn tool to pop out the corners and smooth out the edges. Smooth out the cover using an iron (making sure not to iron the vinyl!).
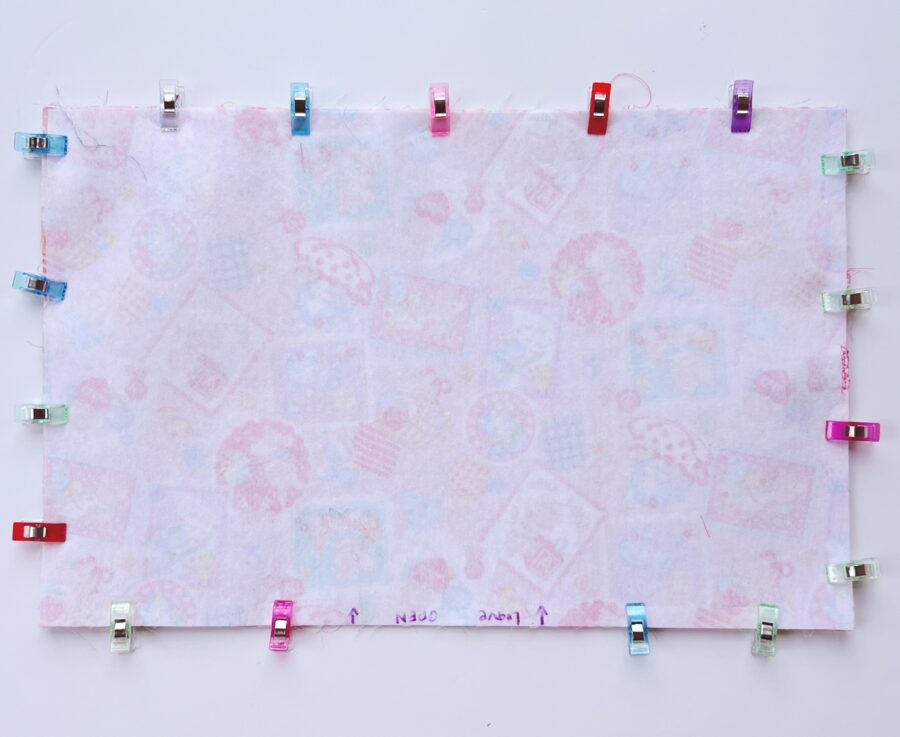
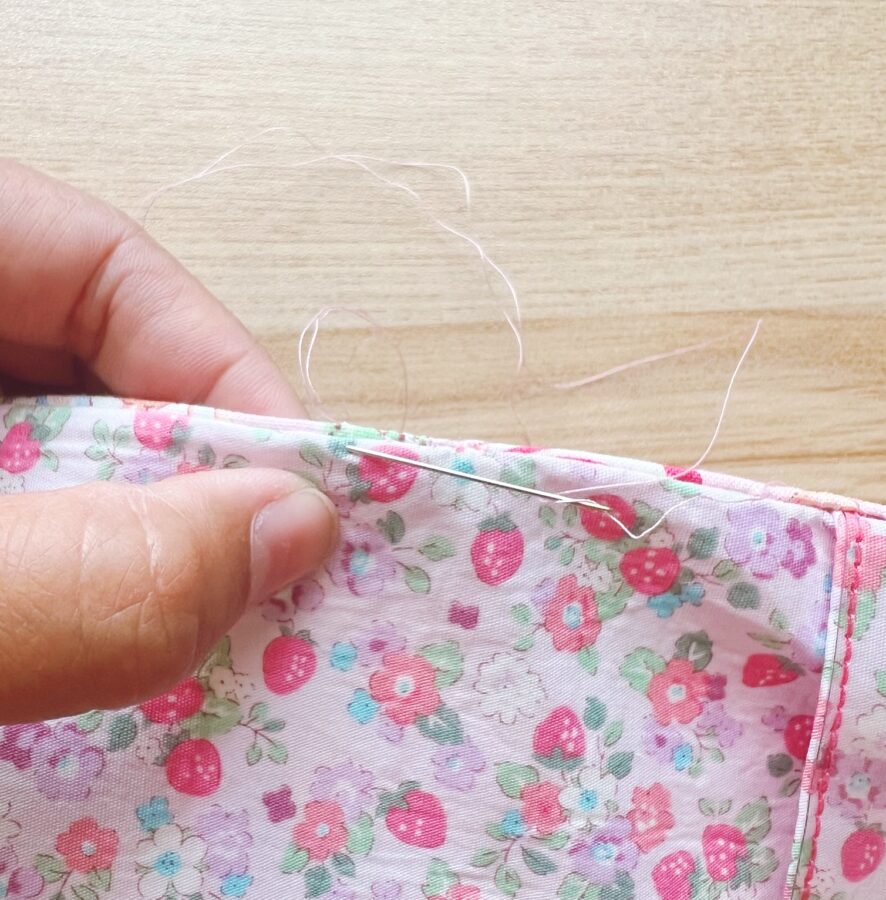
- Close the 4″ opening. Take the raw edges of the opening and fold inwards. Press with an iron to create a nice edge seam and hand sew it closed.
- Take the elastic loop on fold it inwards towards the inner cover (doing this insures the pencil loop is inside of the cover and not sticking out). Pin in place. Now, sew a nice and neat, straight seam around the edges of the entire body, going carefully around the corners.

ADD THE OTHER SIDE OF THE BUTTON
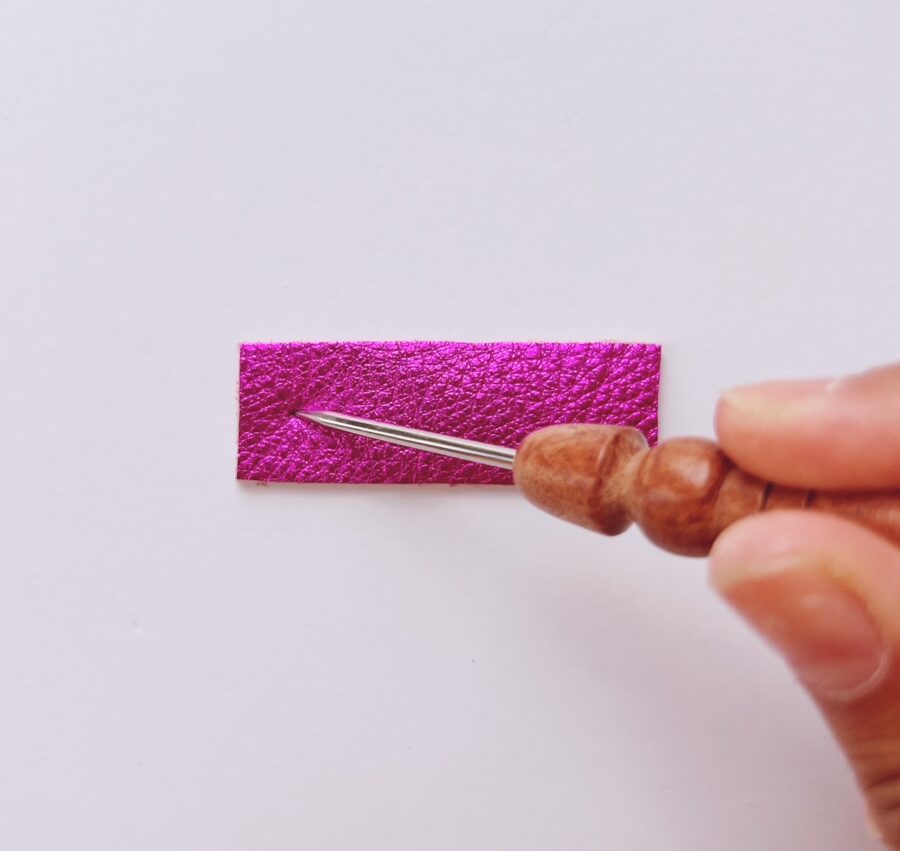
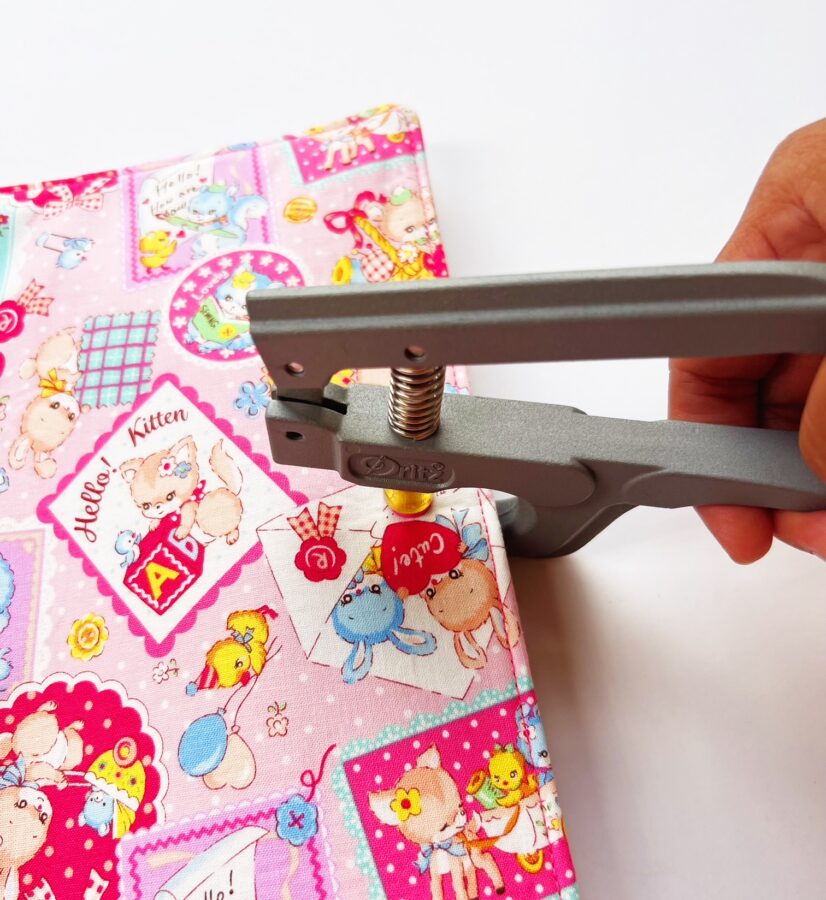
- To add the other side of the button, on the outer cover, locate the middle on the right hand side. You can use the button tab to locate the middle as well, by placing it into place. Mark with a marking pin and use an awl to create the hole for the snap button. Make sure not to go through the pocket.
Open the inner pocket and guide the awl only into the front cover away from the inner pocket. Attach the snap button using the snap button pliers.
APPLY THE HEATNBOND LIQUID VINYL TO THE COVER
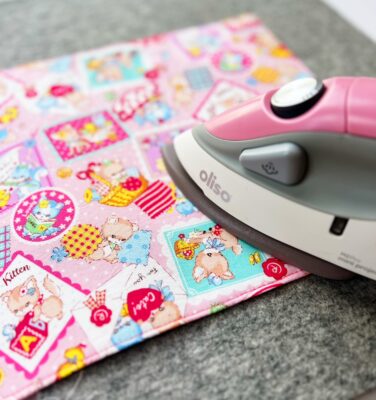
- Iron out the front cover before applying the liquid vinyl to smooth out any wrinkles. Apply the liquid vinyl to the front cover as indicated per the directions on the package. I use two coats. Once it has dried you are now done!
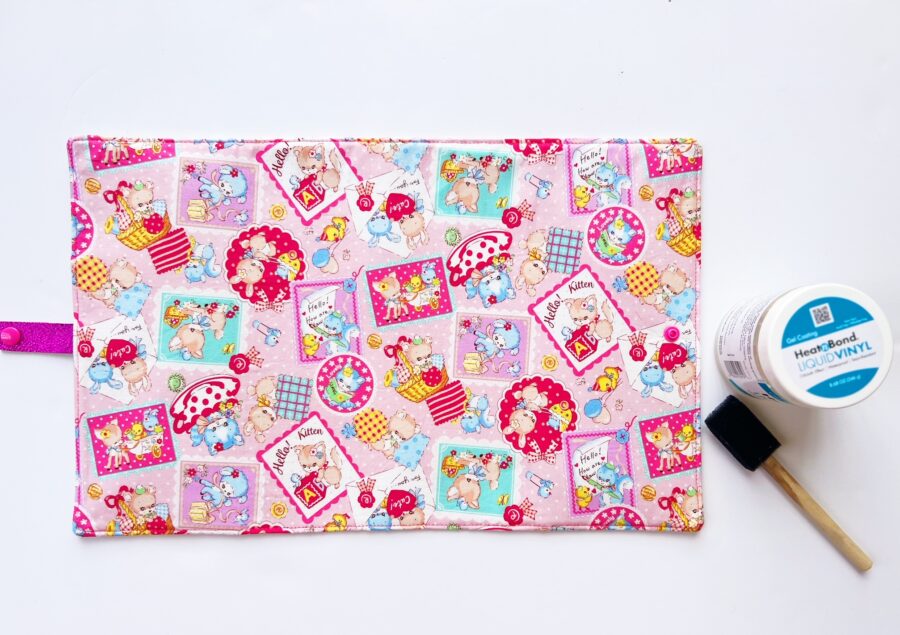
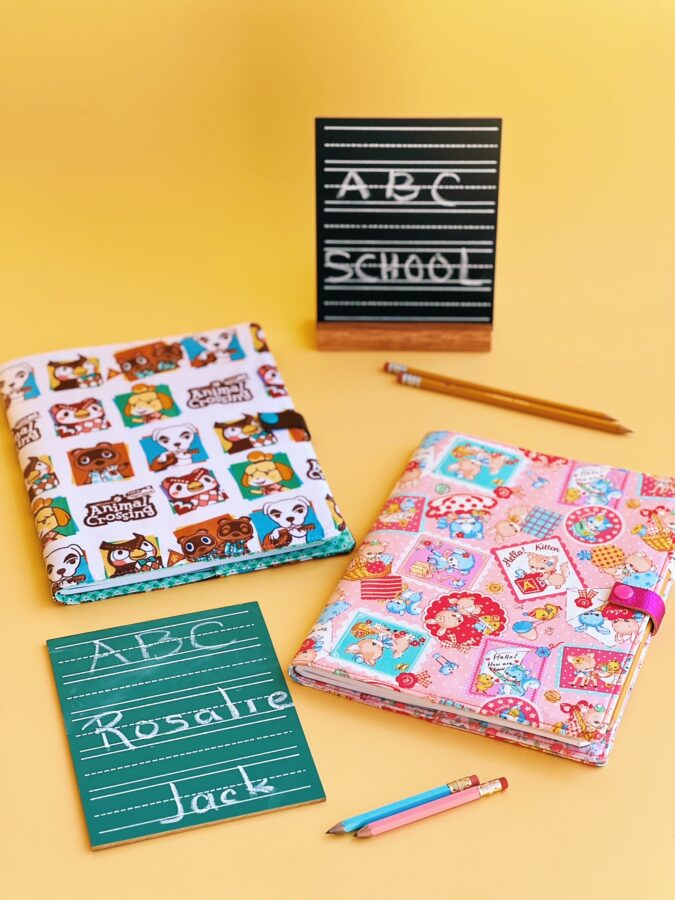
Here’s the finished journal:
I hope you enjoyed this project and follow me over on Instagram @creamcraftgoods for more inspiration! Thanks!