
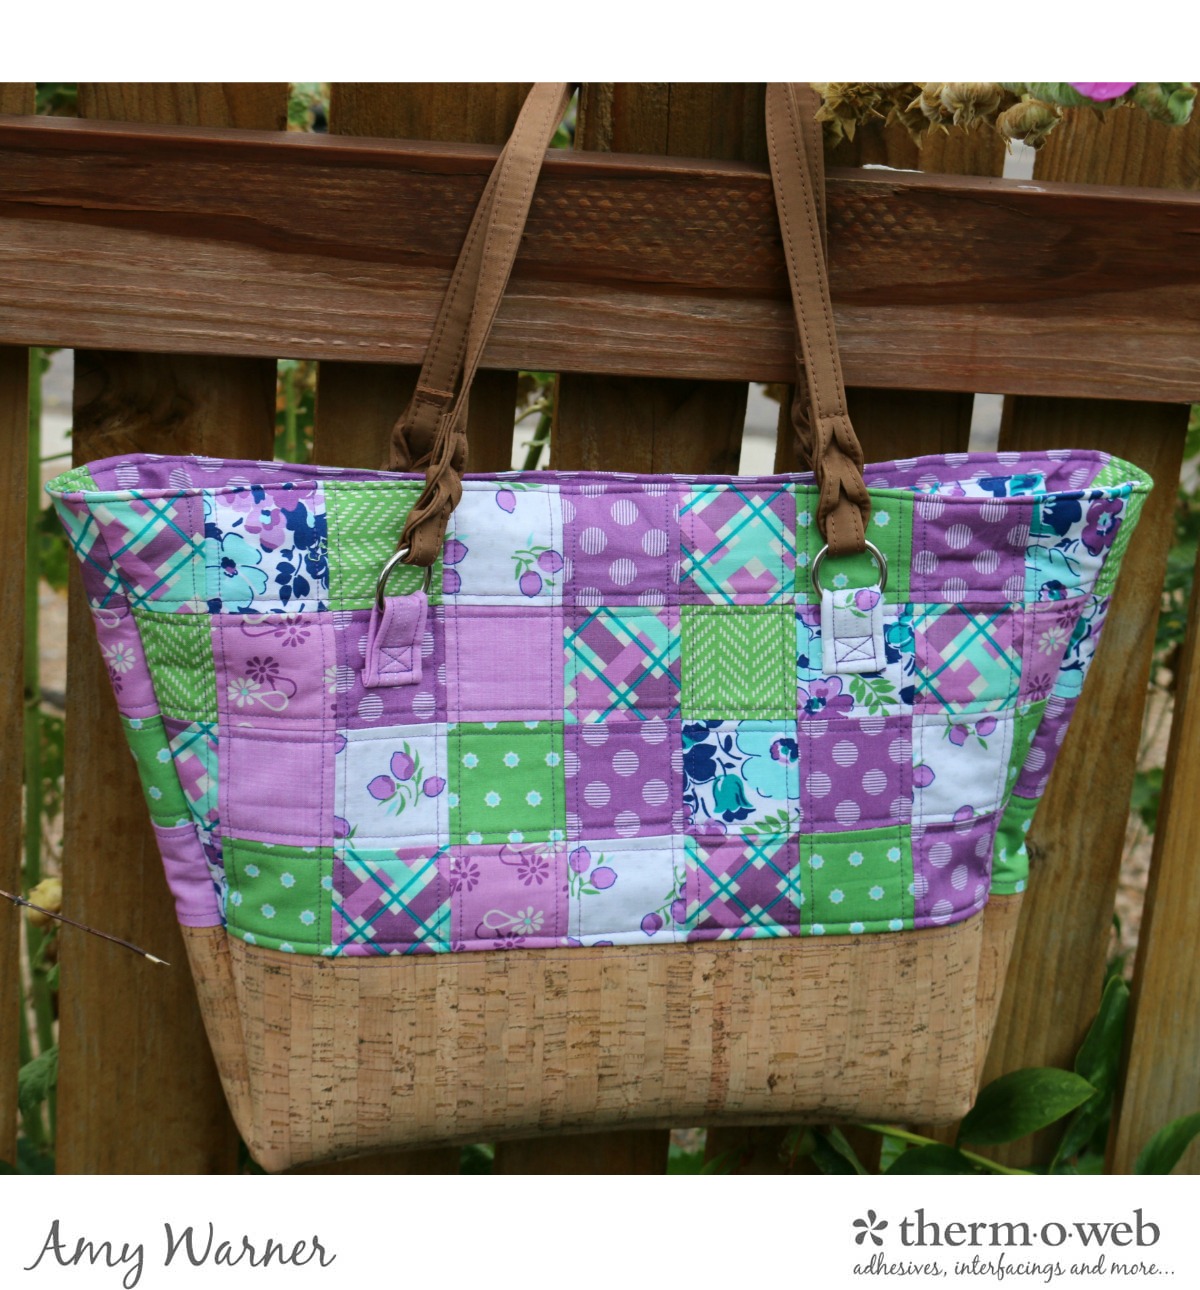
Is it really that time again!! Back to School! There are so many adorable projects for students as they soon head off Back to School, but what about all those teacher that put in so many hours with the students. Wouldn’t it be nice for them to start out school with a new tote bag as well?
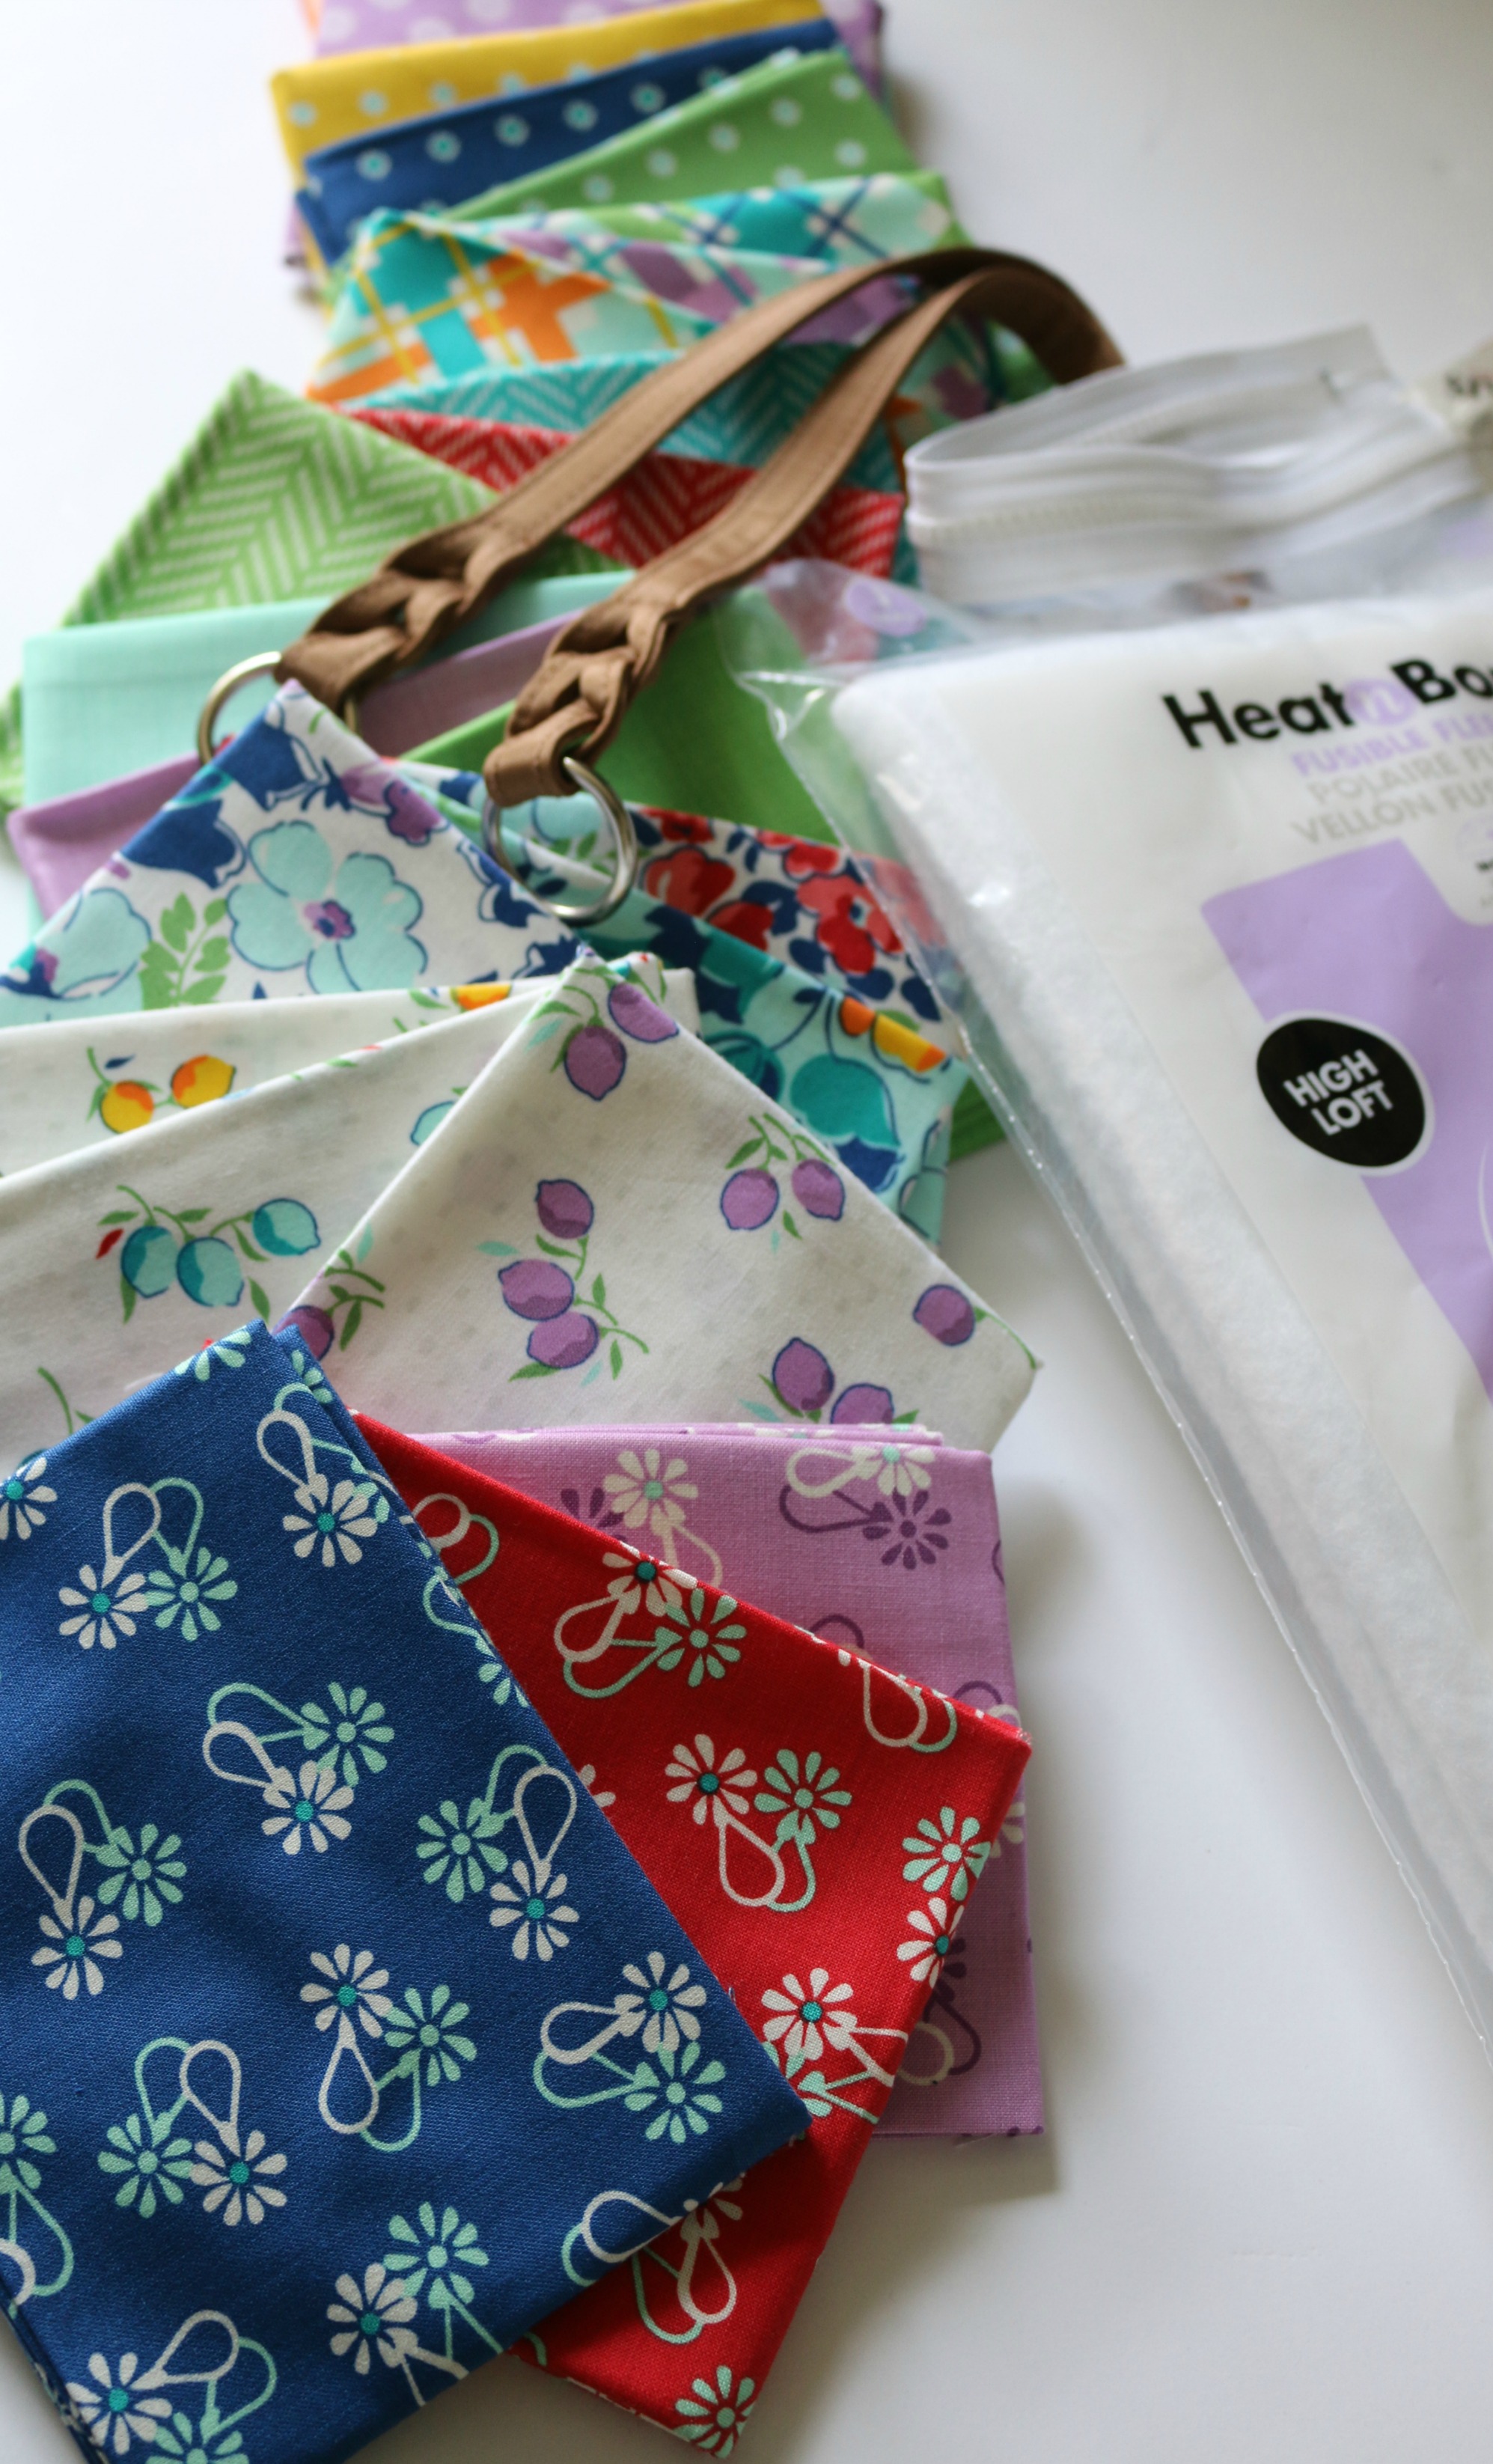
Supplies needed to make the tote:
HeatnBond® Fusible Fleece Interfacing
A fun variety of different fat quarters – Windham Fabrics Hello Jane
Aurifil Thread Color #1243
Premade Purse Handles
Cork – Ask your local quilt shop if they carry it by the yard. For this project, 7″ x width is needed
Patchwork Teacher Tote Instructions:
Step 1: Cut your fabrics in 2 1/2″ squares. Needed 152 for both sides. Sew them into two rectangles 4 high and 9 wide. Press.
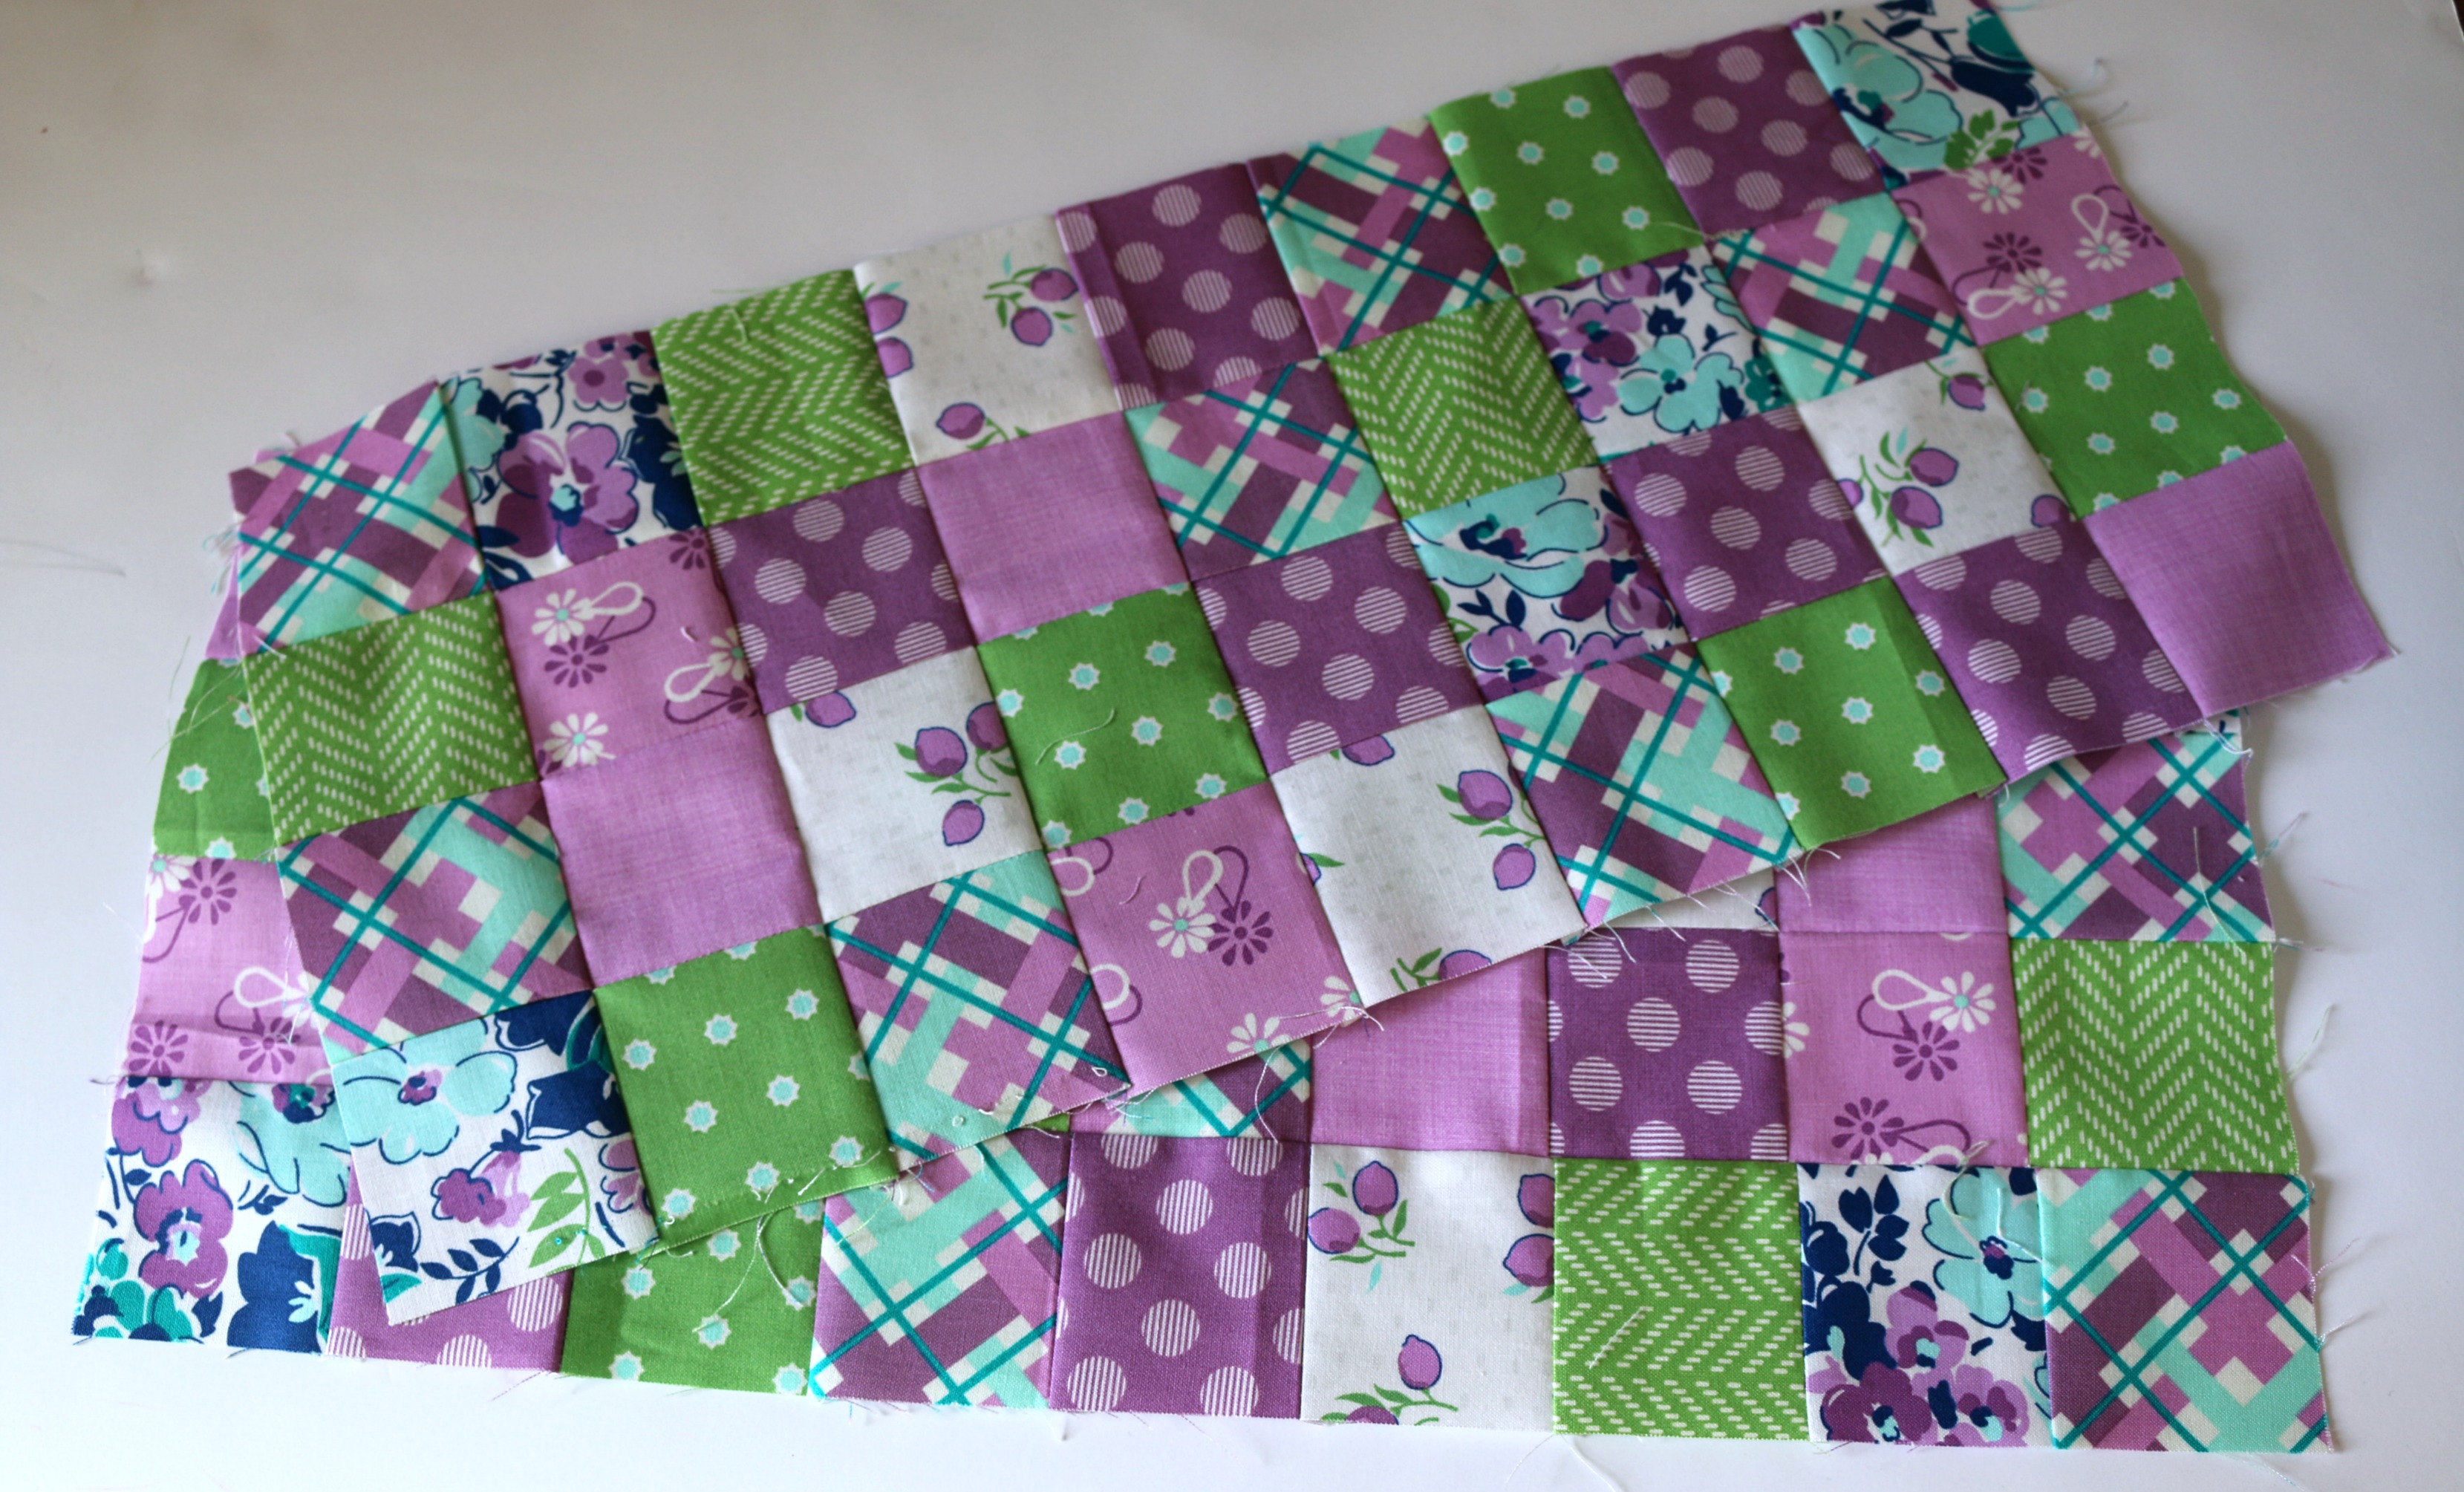
Step 2: Cut two pieces of HeatnBond Fusible Fleece 19″ x 14″. Fuse the panels to the top edge of the fleece. Quilt as desired.
Step 3: Trim your fleece to 18 1/2″x 13″. There should be 4 inches of fleece below the quilted panels to add the cork. Find the center bottom of the rectangle. Measure over 6 1/4″ for the center on both sides. Mark on both sides of the fleece.
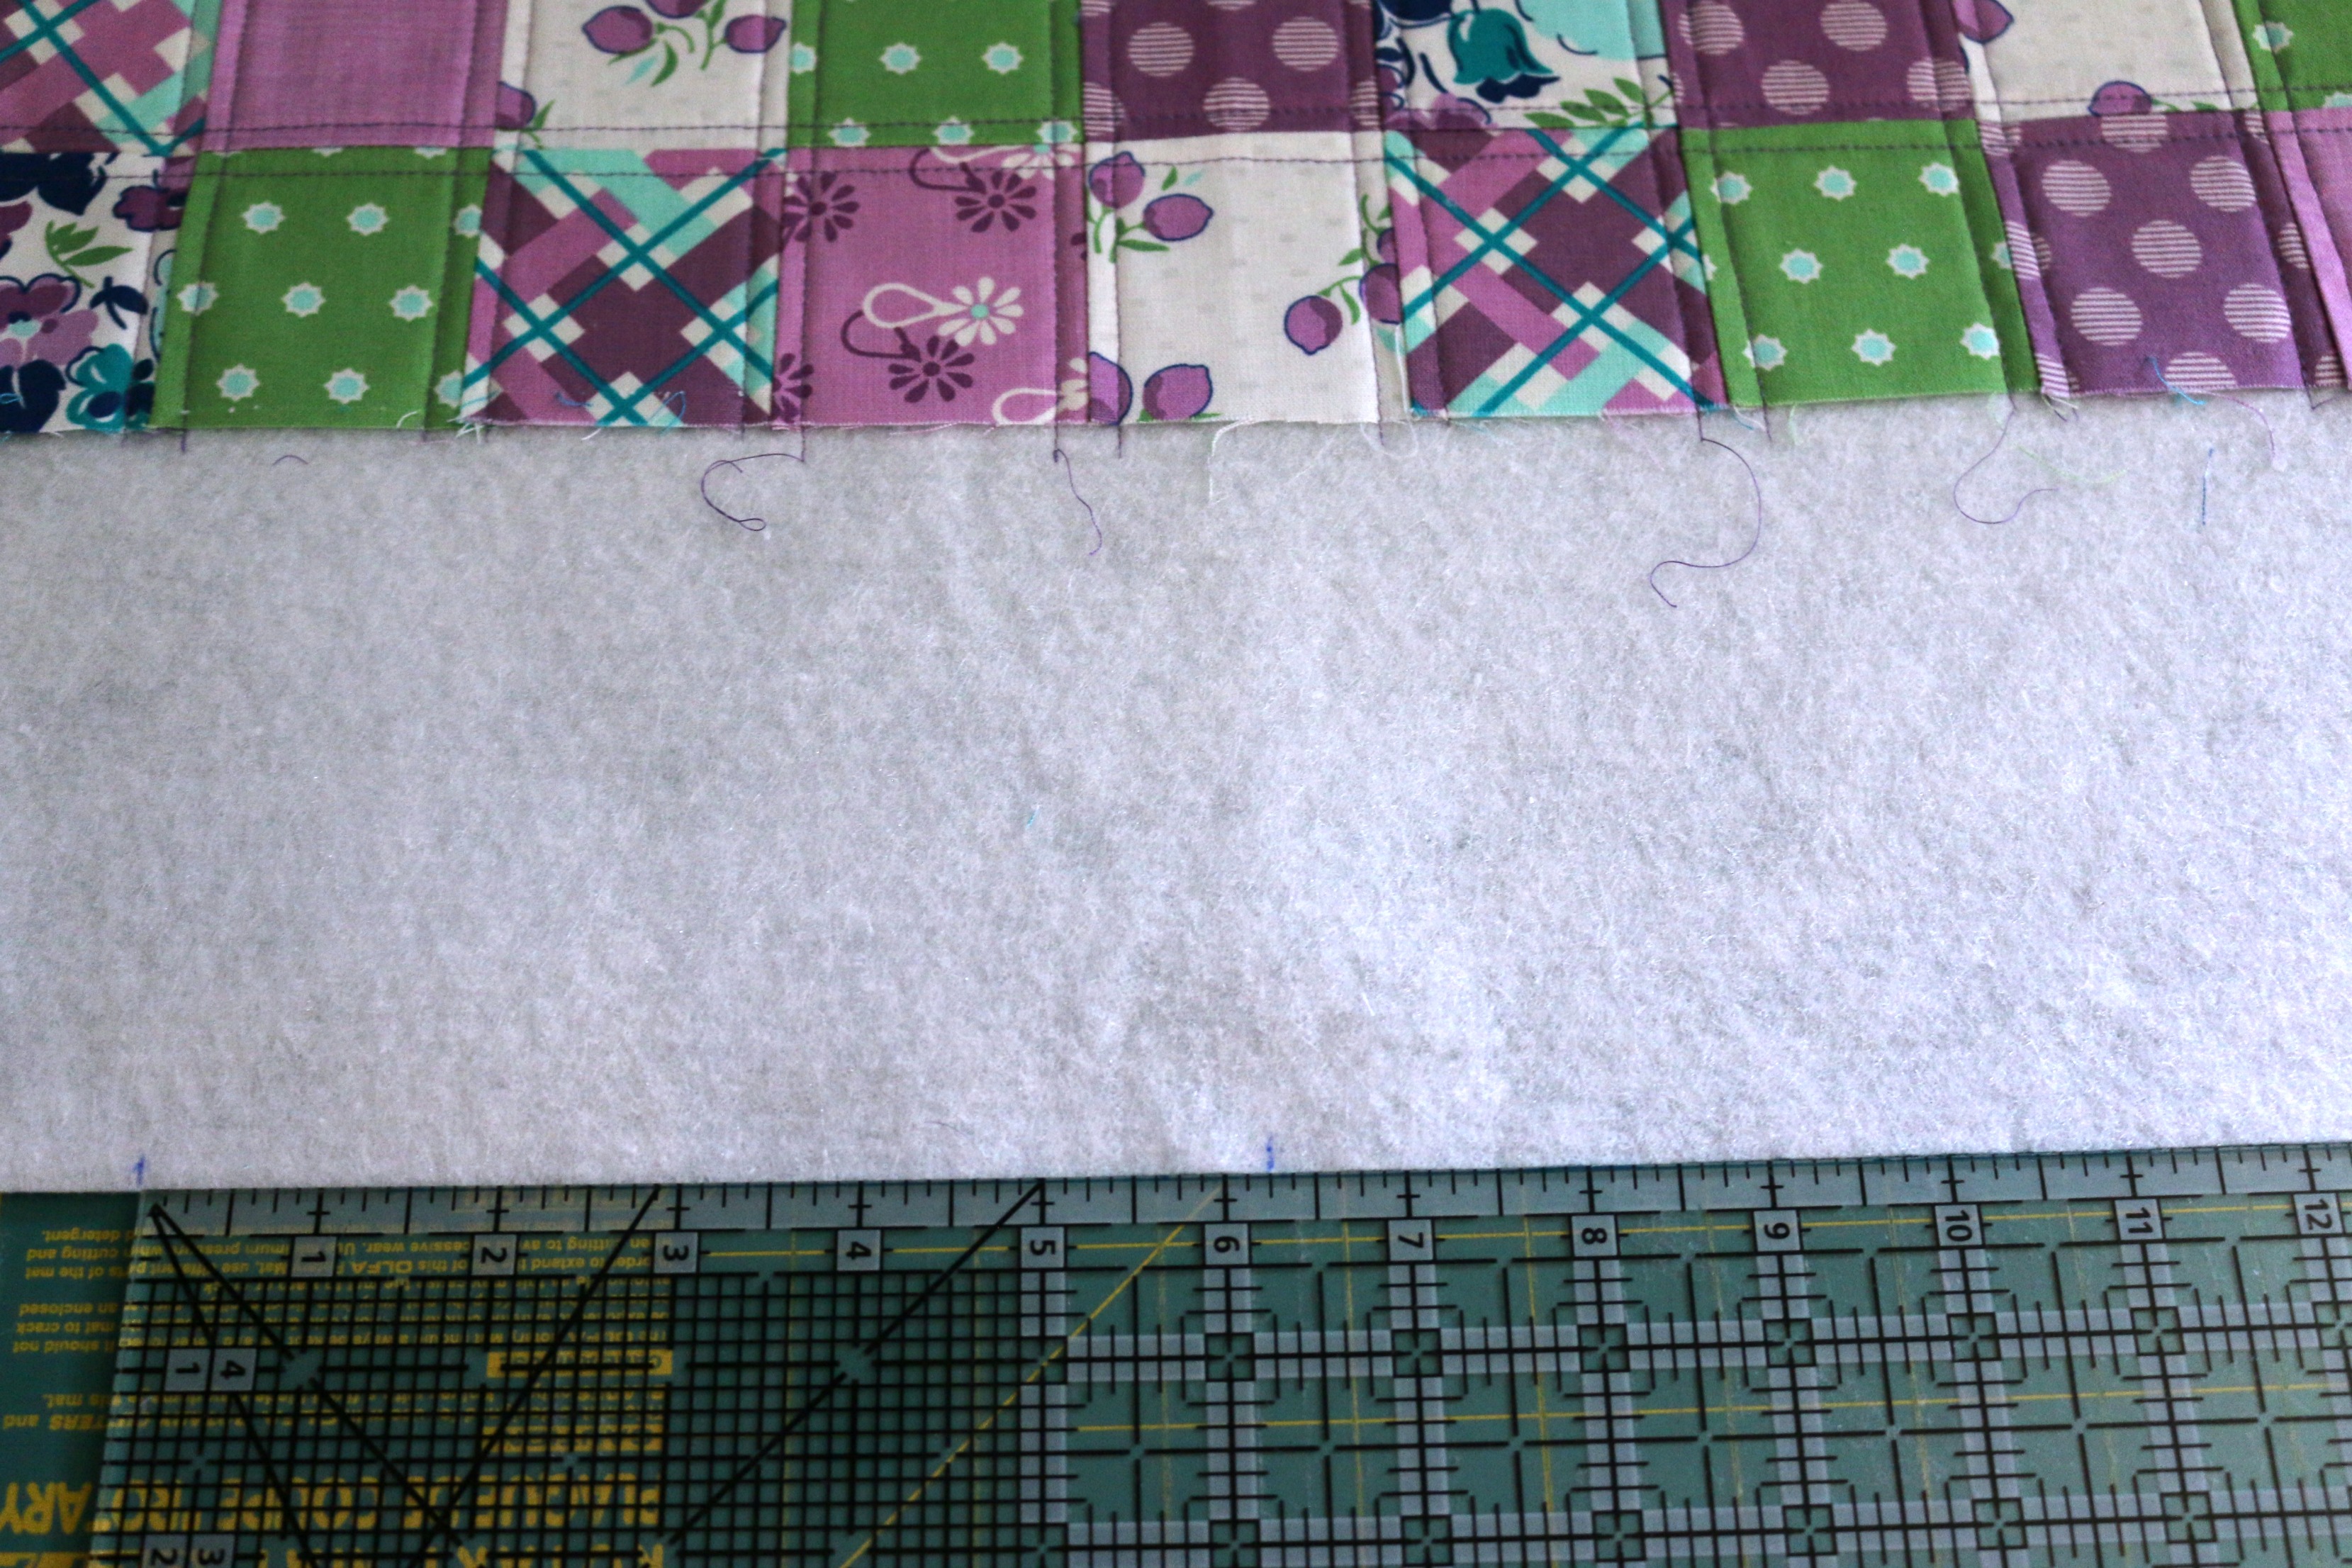
Step 4: Cut the cork to fit the bottom of the fleece part. It will be cut at an angle. So use the cork wisely. This was made with 4 1/4″ by the cork width for both sides of the tote. The tote will be trimmed across the side like shown below, from the bottom corner to the mark made at the bottom.
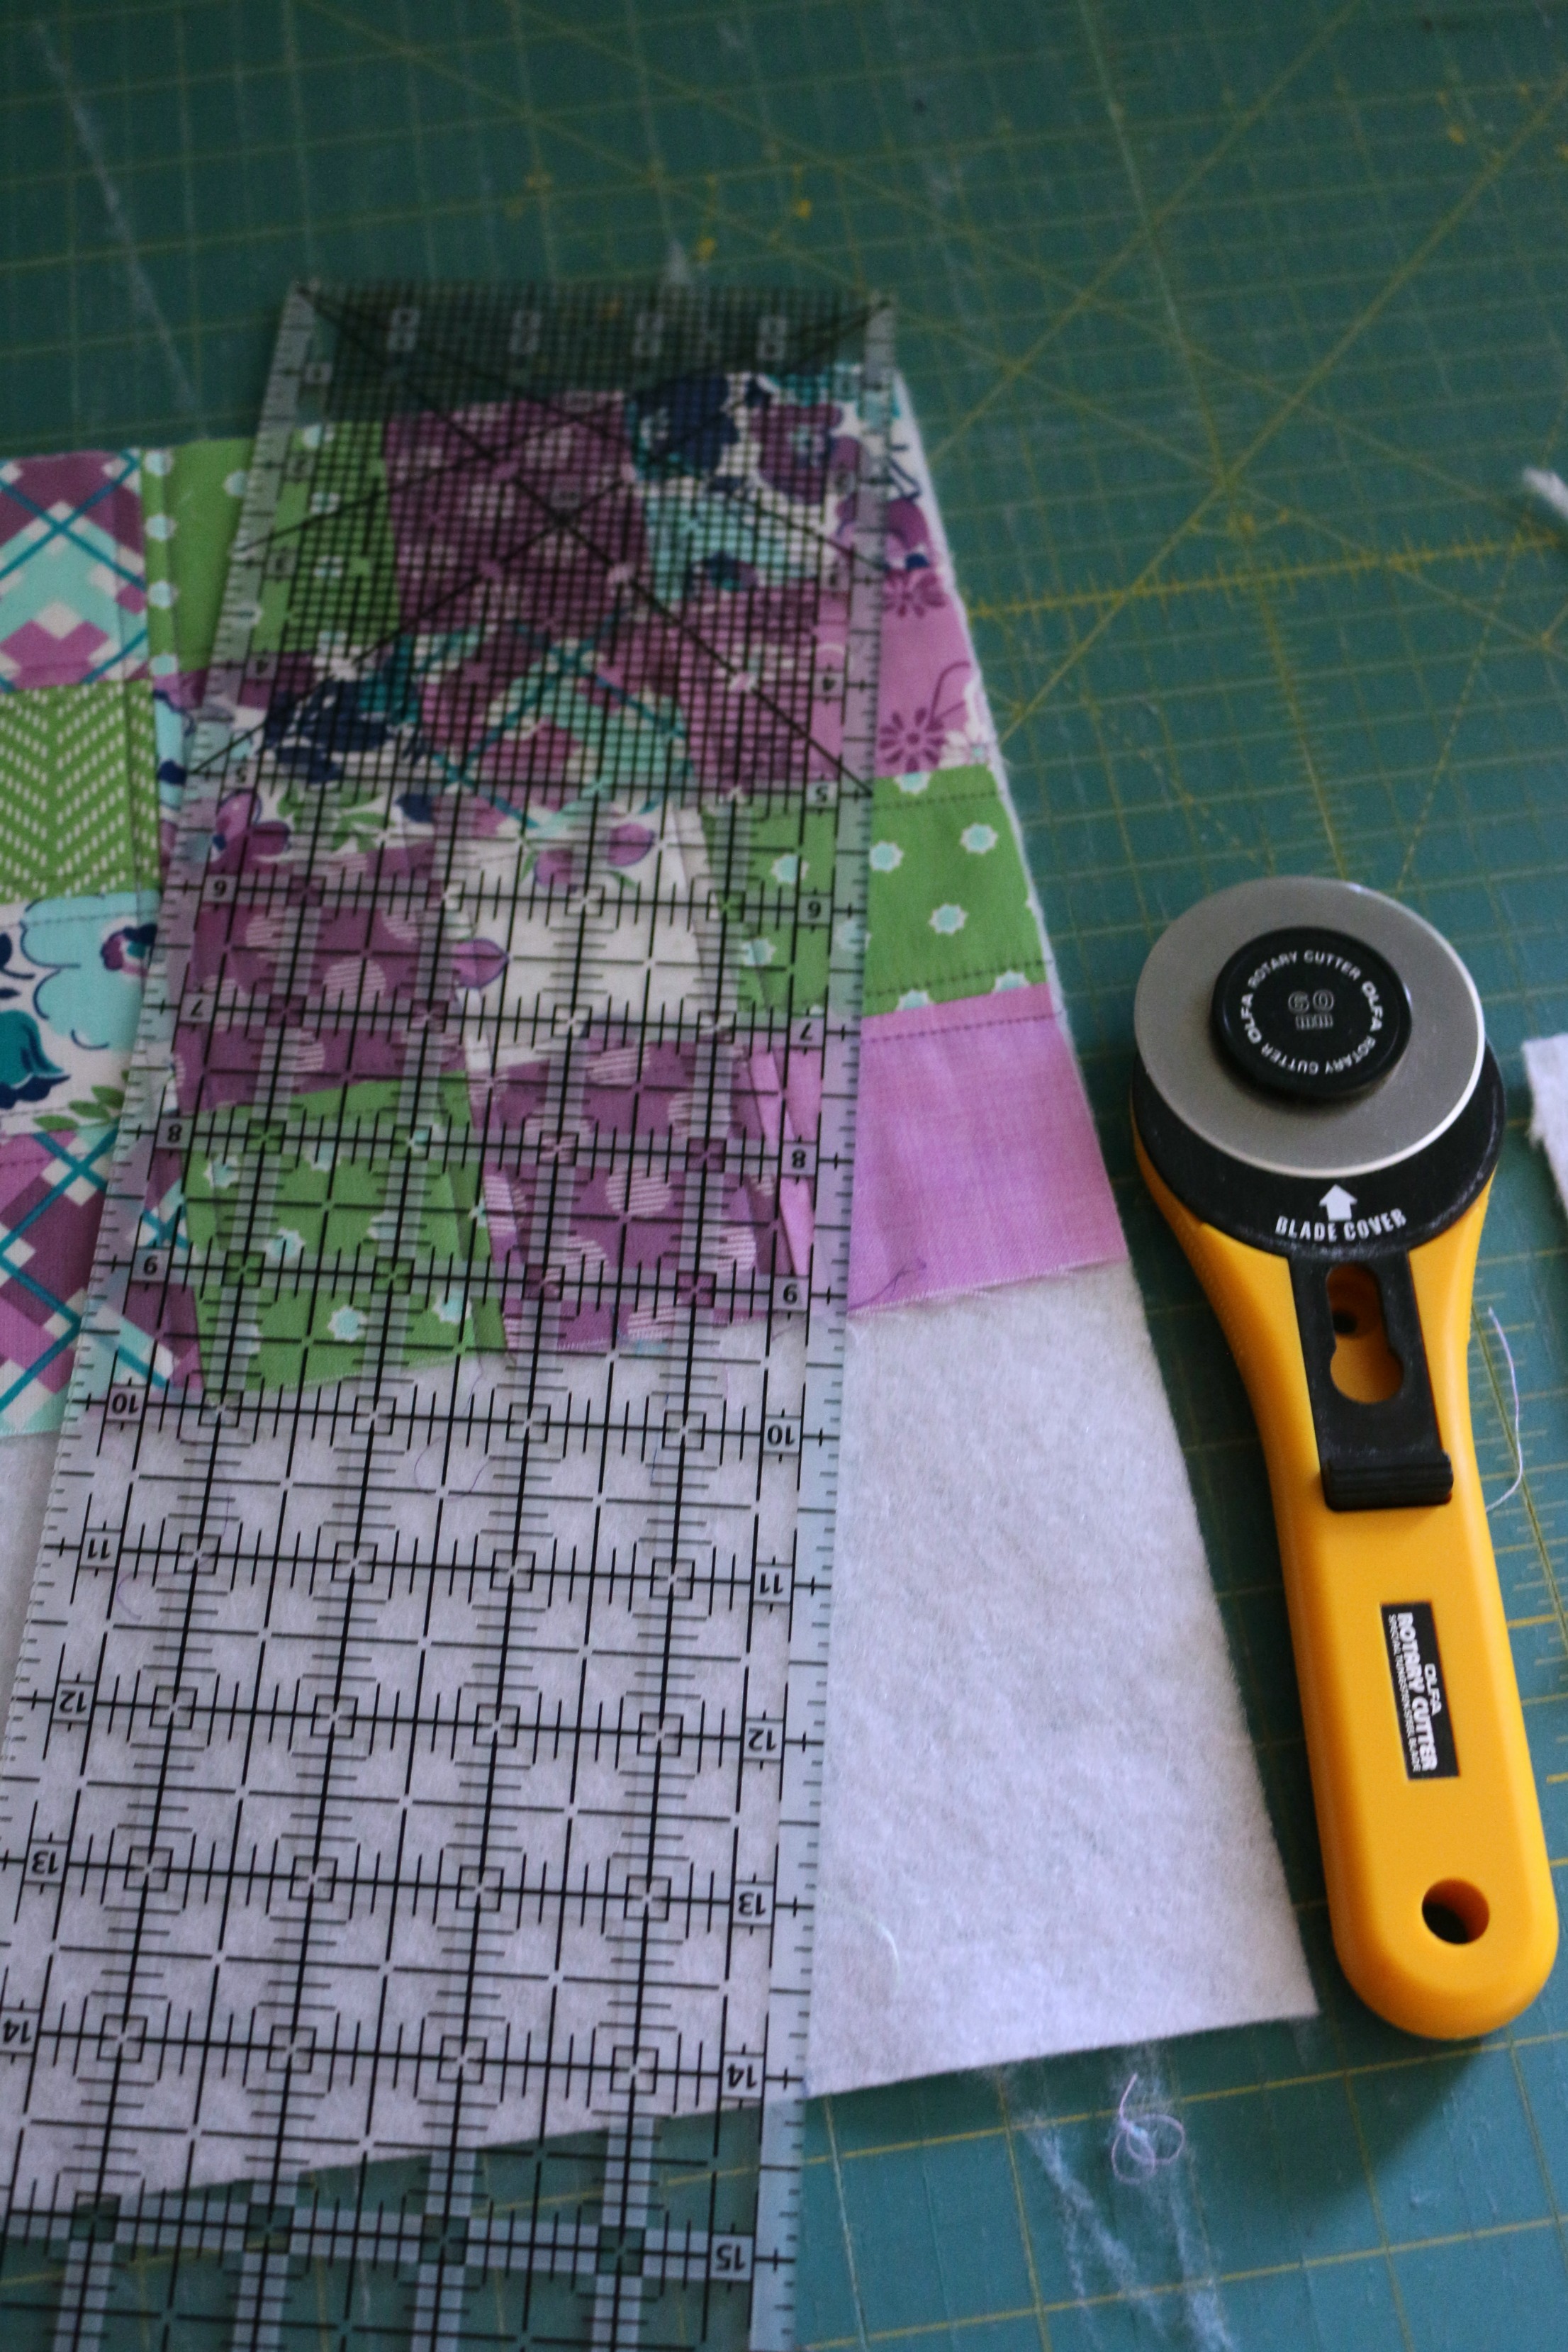
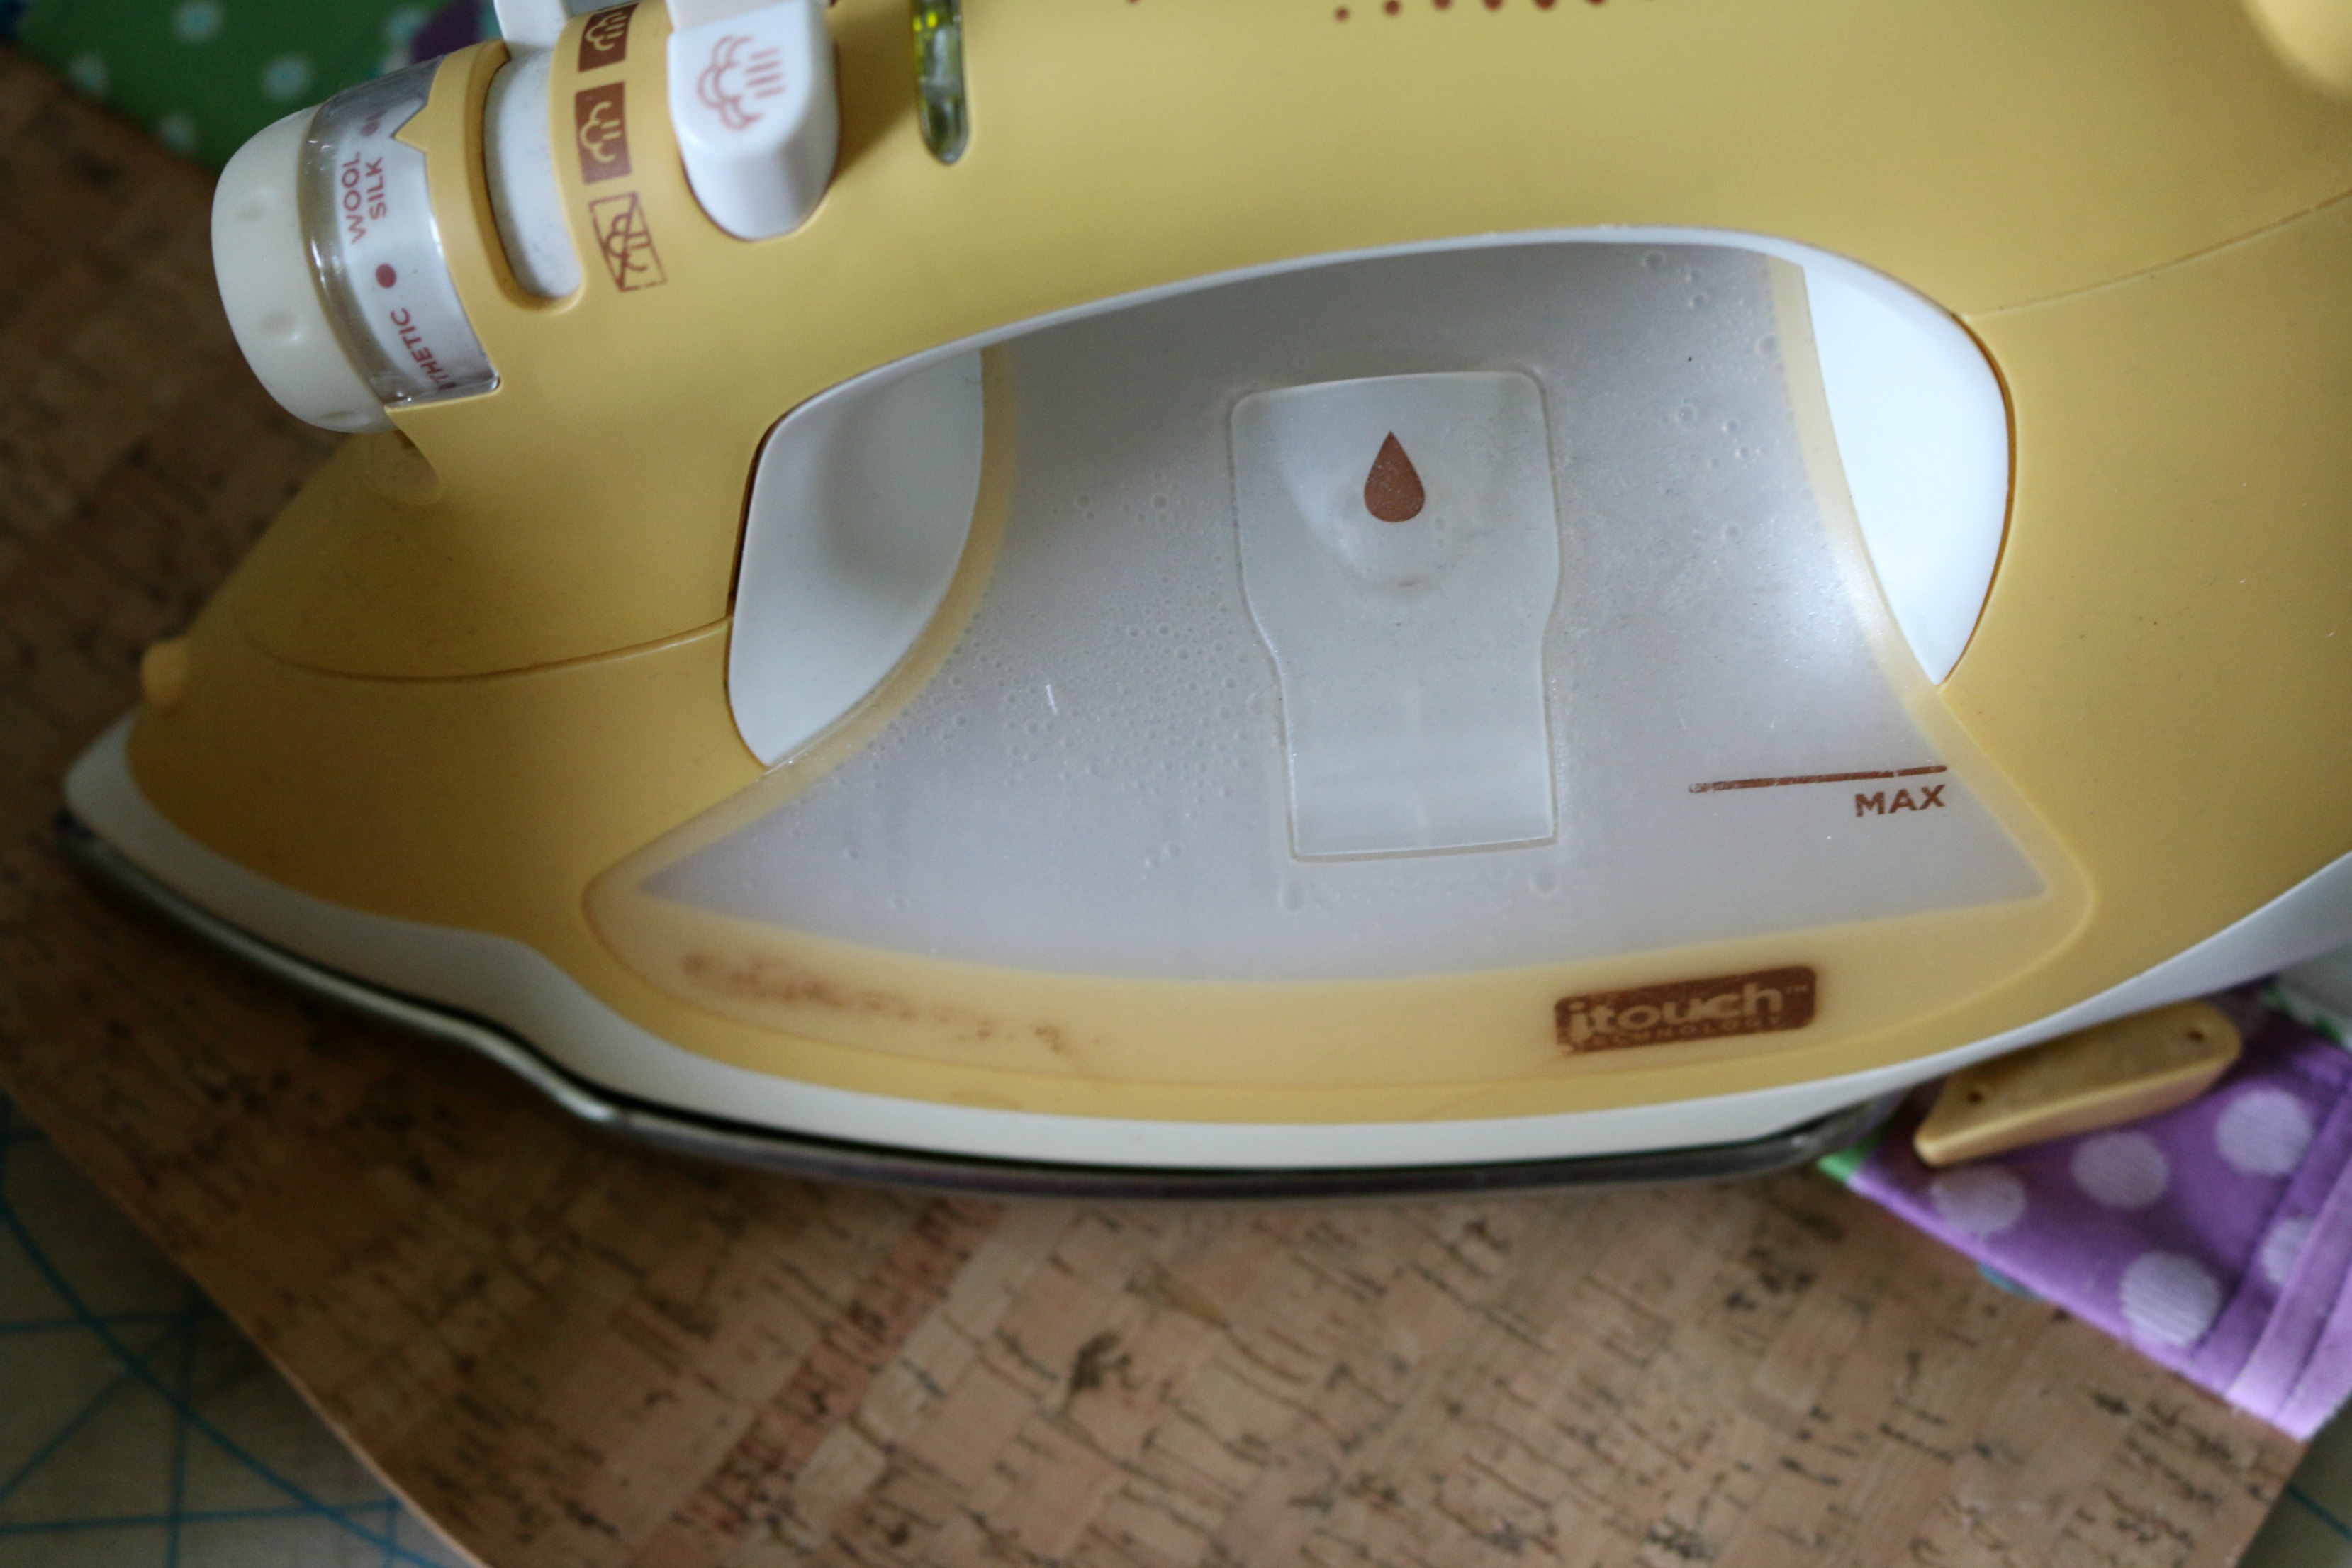
Step 5: Sew the cork to the bottom of the patchwork panel. The cork can be ironed and the fleece will adhere to the cork. Make sure that when purchasing the cork, ask if it can be ironed. After adhering the cork to the fleece, cut on the diagonal for your bag.
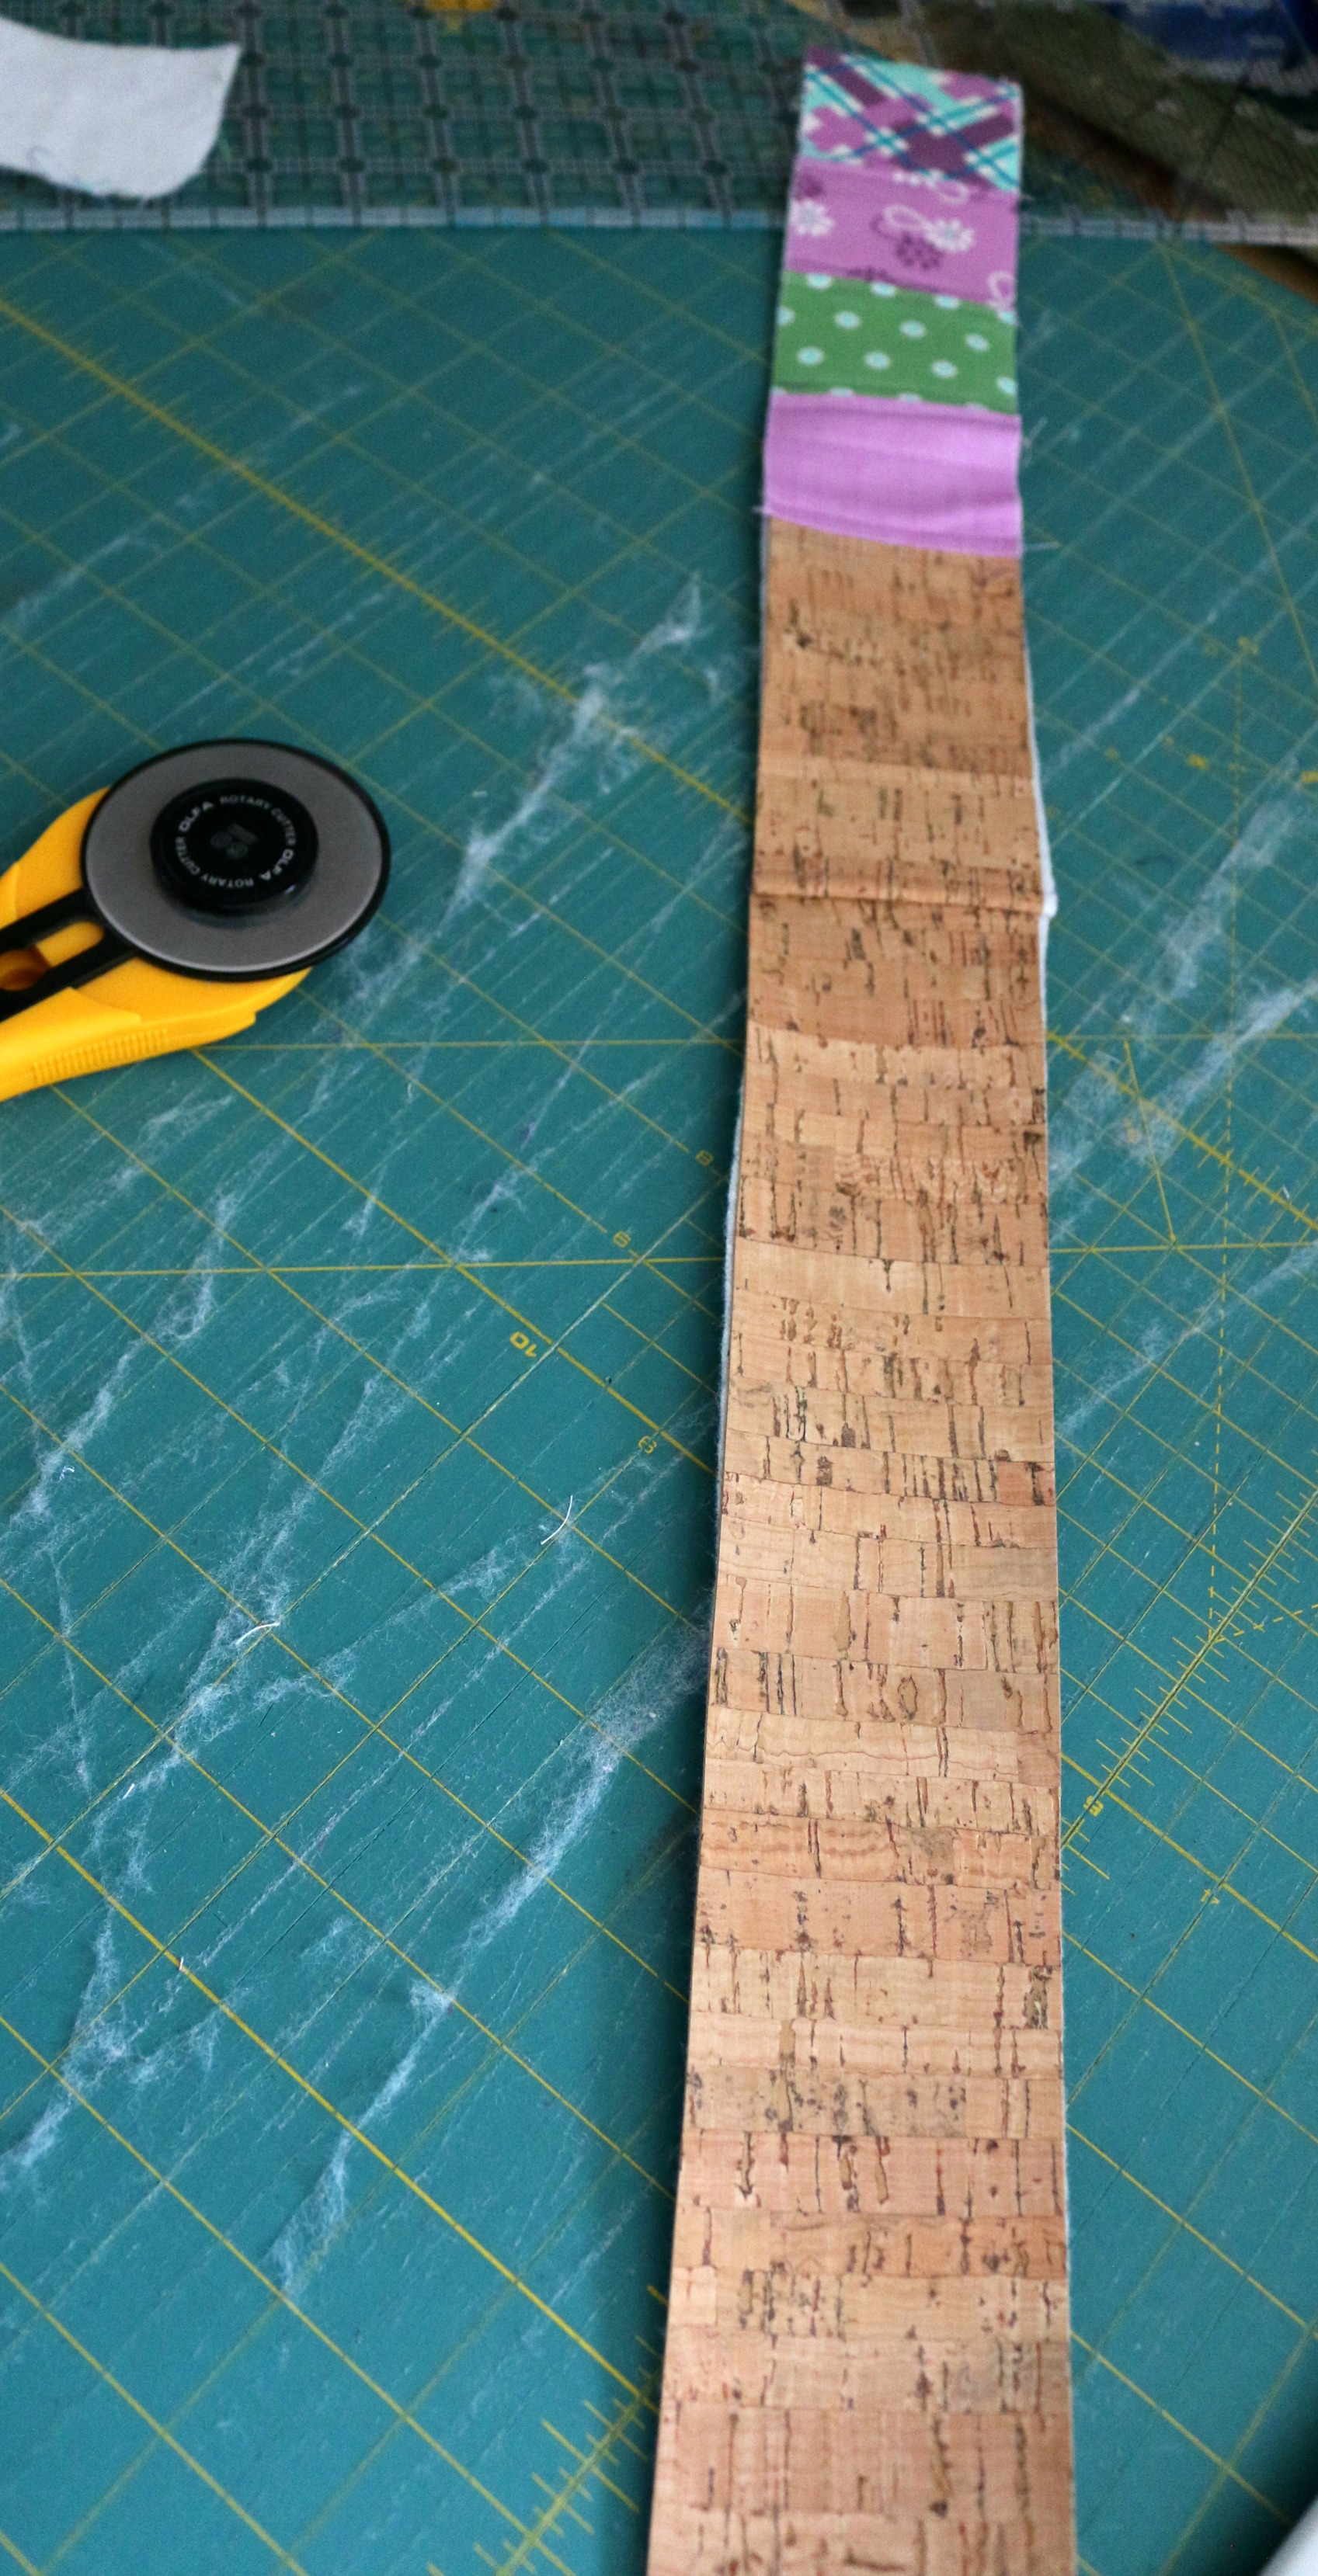
Step 6: Cut 12 more fabric 2 1/2″ squares. Sew two sets of four together. Cut the rest of the cork in a 2 1/2″ strip. Sub-cut the cork into 13″, and 2 – 5″ pieces. Sew them in a strip to go around the edge of your bag.
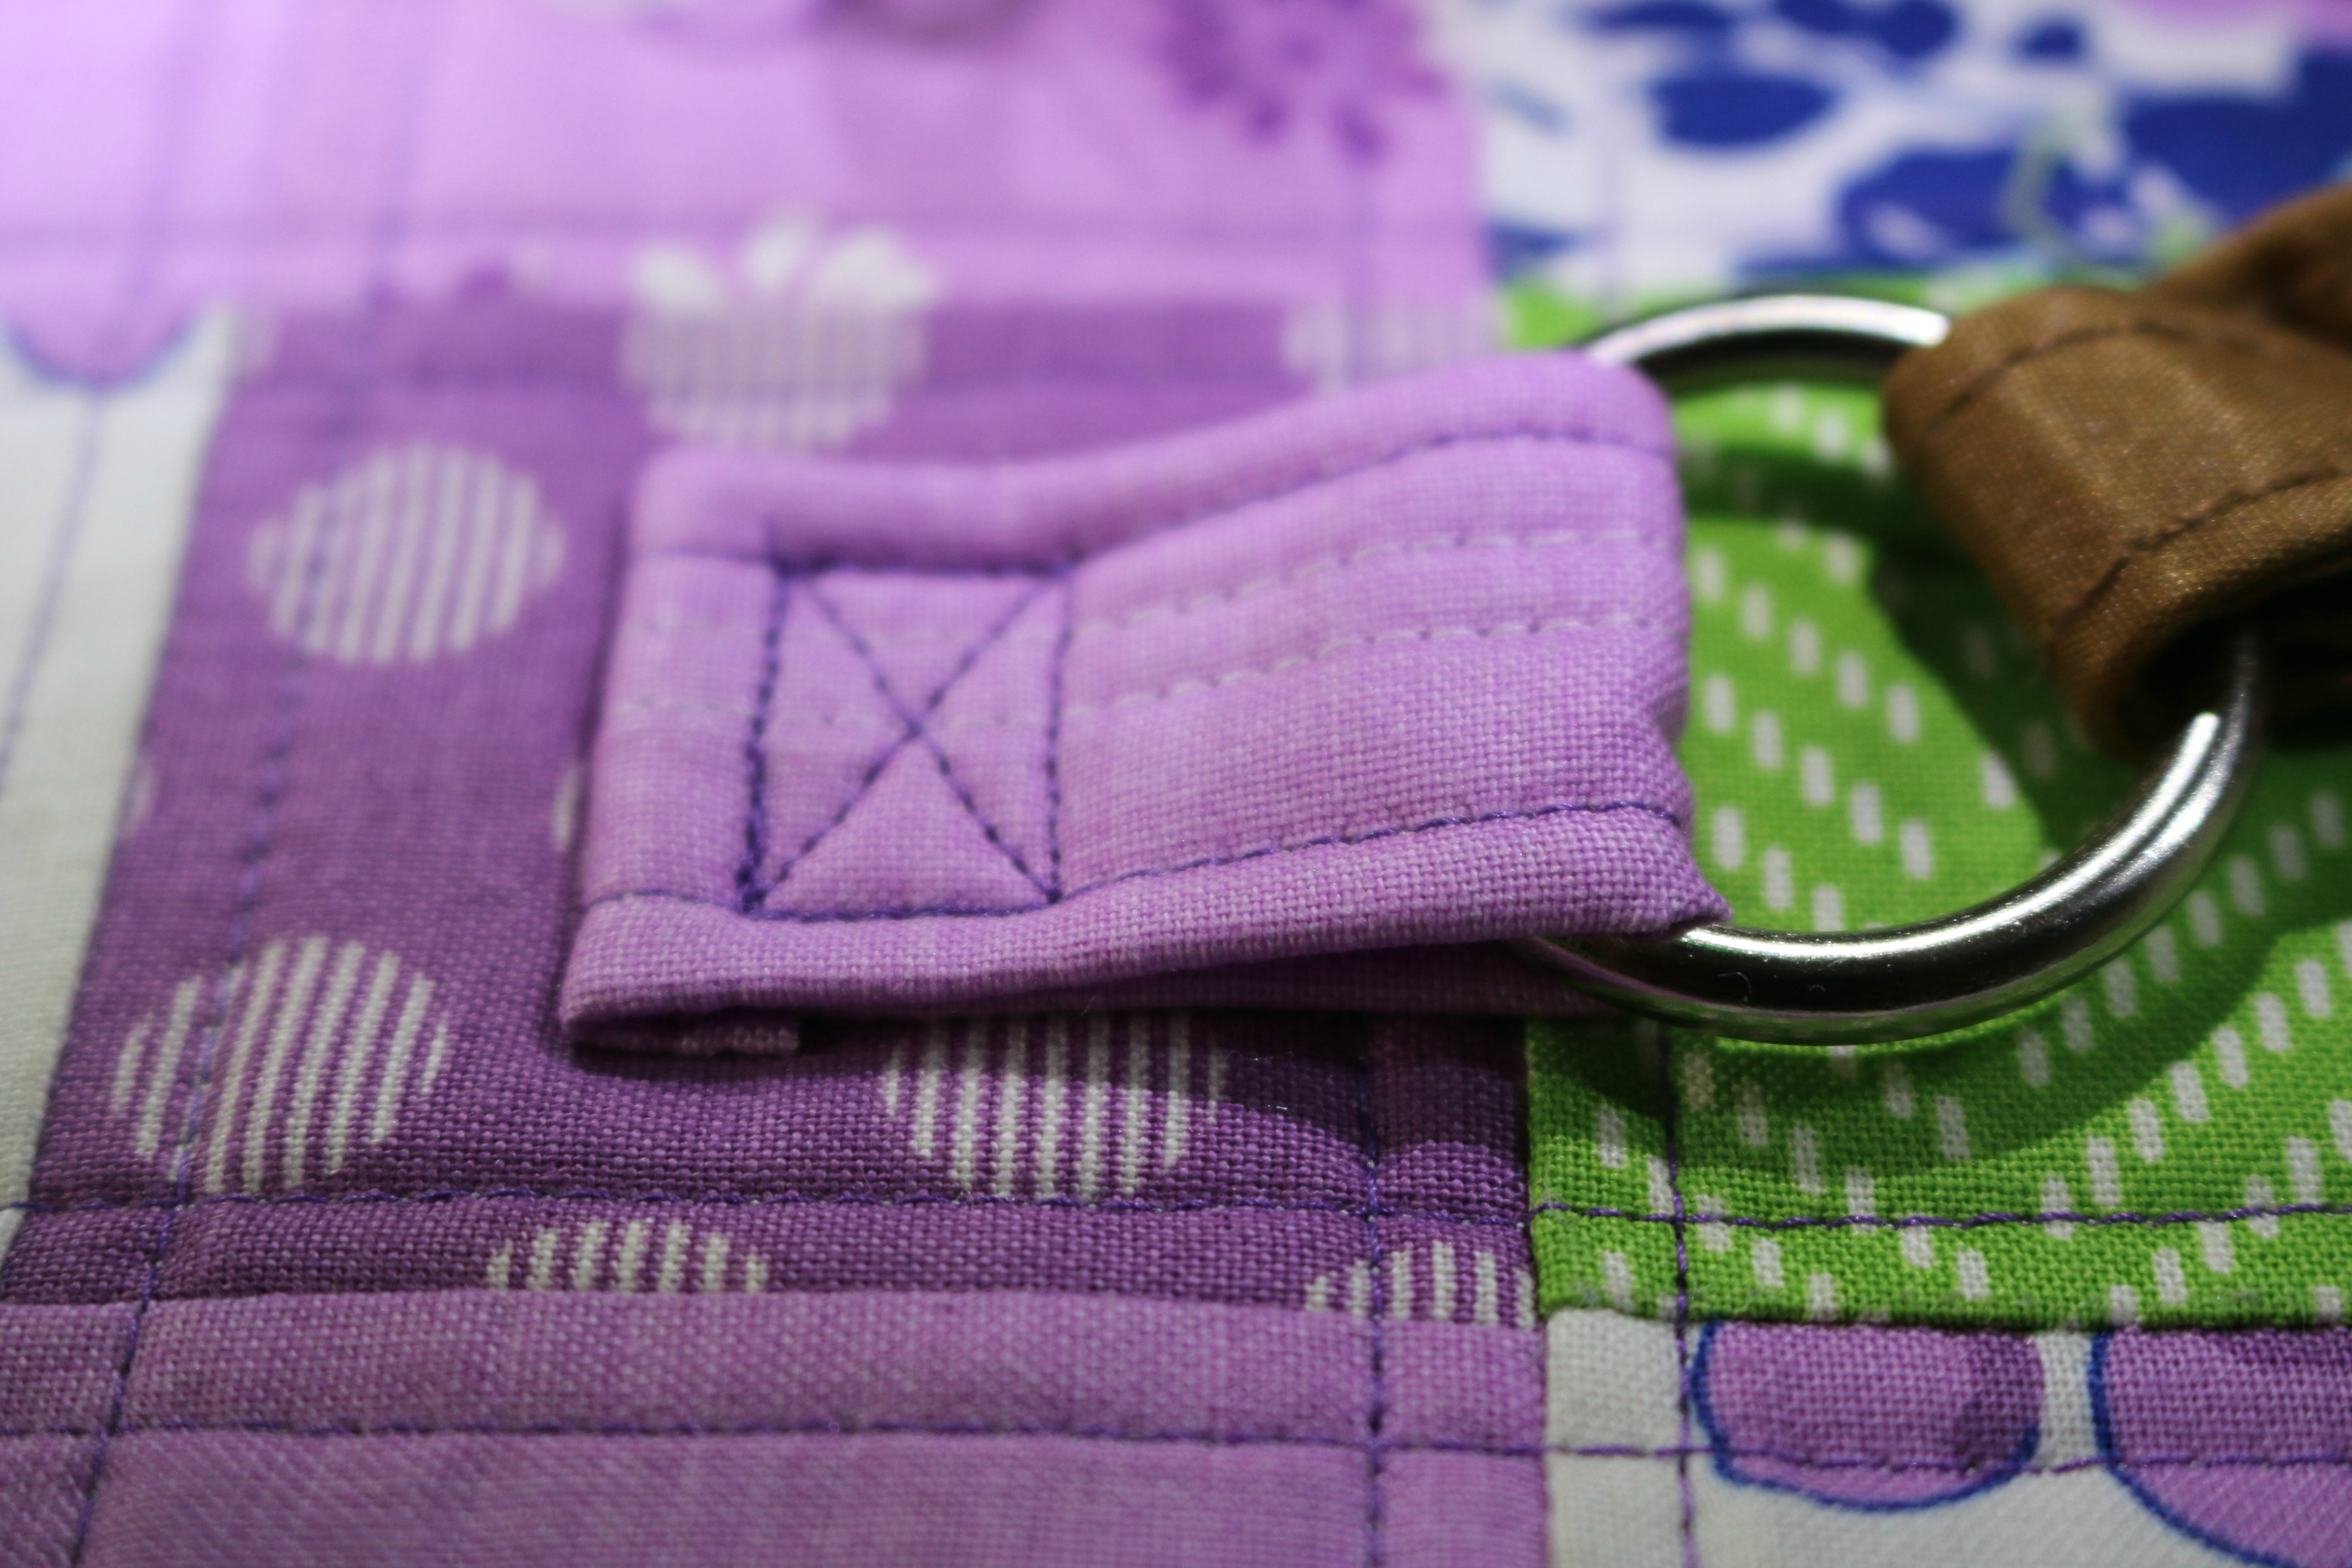
Step 7: Cut 4 – 2 1/2″ x 5″ fabric pieces, fold all edges over 1/4″. (For extra strength, cut a 1″ x 4 1/2″ piece of fusible fleece and adhere it before folding in the seam allowance.) Sew around the perimeter. Making the pieces to hold the handles in place. Find where the location of the handles will be placed, with the handle ring inside the loop, sew it down with the ring and handle pulled towards the cork side.
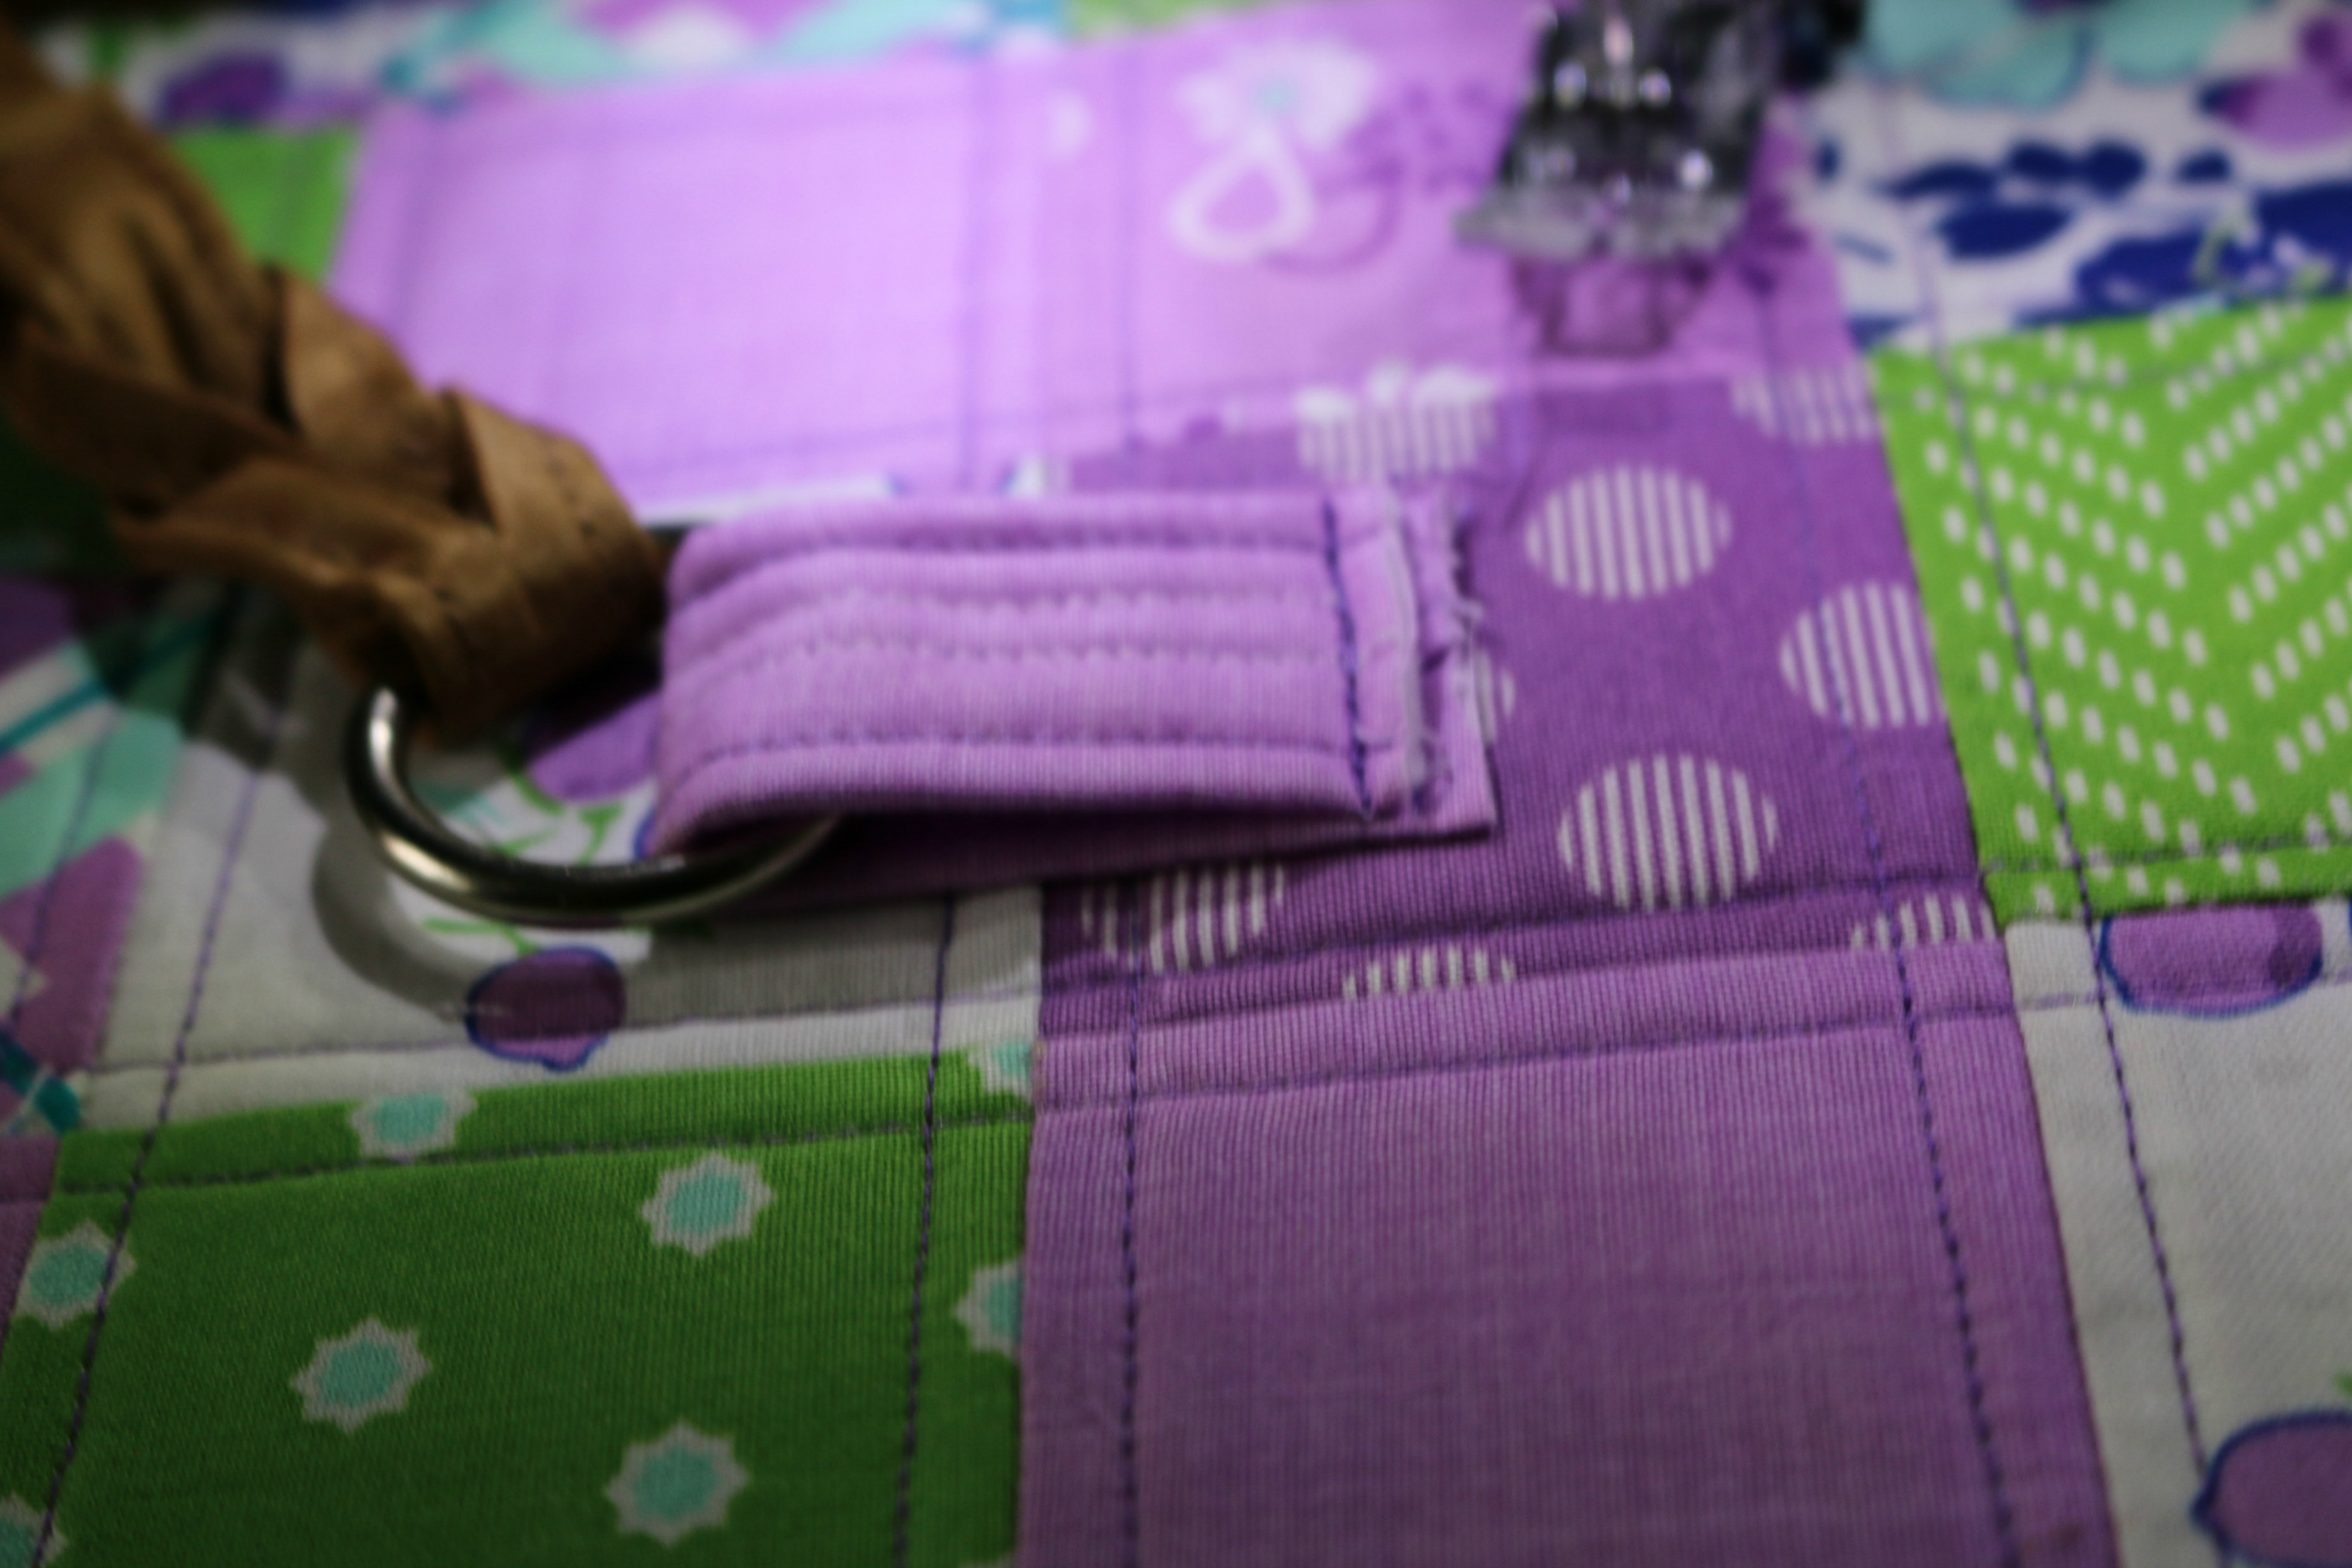
Step 8: Flip the loop upon itself and sew the strap down. Do this with a square and then add an x in the center. It adds a special little touch to the exterior of the tote.
Step 9: Sew the long side piece to the side of the tote with right sides together. Repeat and sew the opposite side of the tote and the side piece with other tote side attached.
Step 10: Make the bag interior with solid pieces the same size as the front and back. Make a side piece, sew all the pieces together like the bag exterior. Leave an opening in the bottom unsewn to turn the bag right side out.
Step 11: With right sides together, match the seams and pin. Sew around the top perimeter of the tote. Flip the tote right side out.
Step 12. Top stitch around the top edge of the tote and lining. Stitch the interior seam used to turn closed.
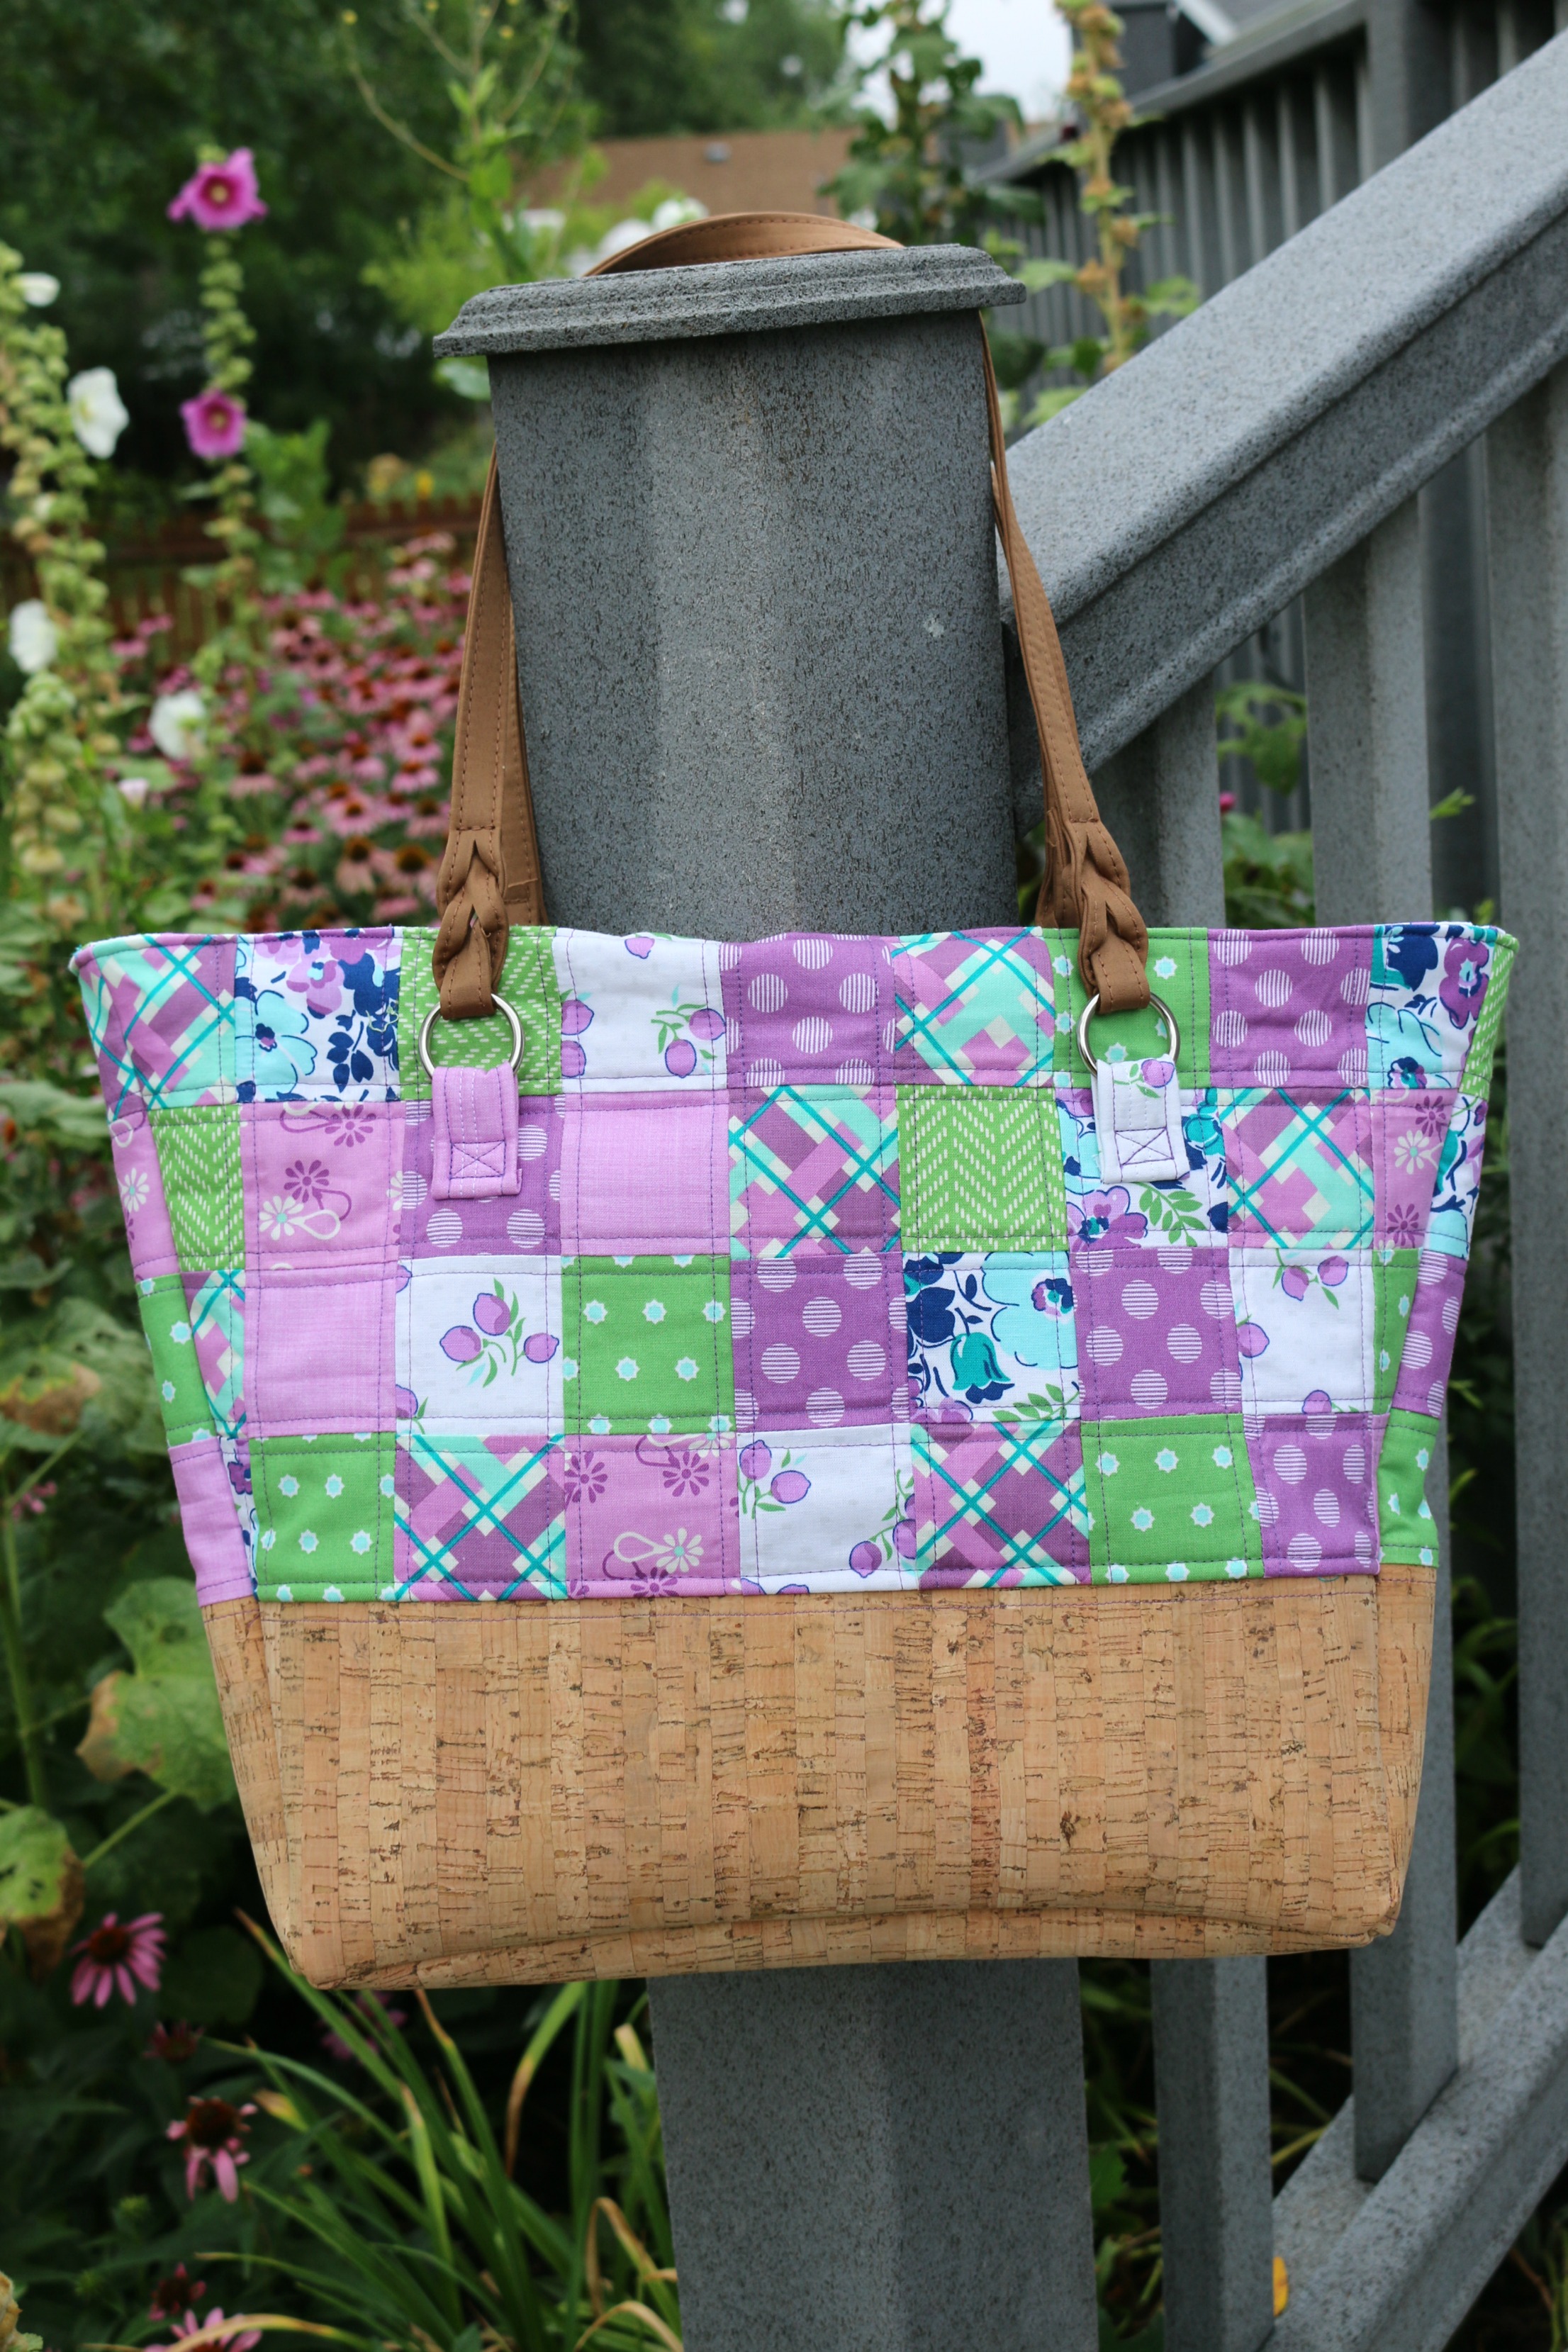
And ENJOY taking this to class!!
If you are new to bag making, I suggest grabbing a copy of The Bag Making Bible by Lisa Lam. There is a lot of information and how-tos with pictures that allow you to make a bag your very own style. I hope that you will stop by my blog for some other fun tutorials and patterns: Sew Incredibly Crazy
4 Comments on Colorful Patchwork Teacher Tote Bag with Windham Fabrics
1Pingbacks & Trackbacks on Colorful Patchwork Teacher Tote Bag with Windham Fabrics
-
[…] Colorful Patchwork Teacher Tote with Windham Fabrics, by Sew Incredibly Crazy] […]

laurelei
August 15, 2017 at 7:16 am (8 years ago)What size seam allowances?
admin
August 15, 2017 at 9:45 am (8 years ago)Thanks for your question..you’ll see in Step 7 Amy mentioned it is a 1/4 inch seam allowance. Enjoy the project!! Julia
Super Mom - No Cape!
August 22, 2017 at 9:16 pm (8 years ago)What a pretty tote bag! Thanks for the tutorial.