
Hello and welcome!
It’s Julia from Inflorescence Designs! I can heartly wait to share with you this amazing tutorial and pattern during Thermoweb’s “Love is in the Air” week.
Circle of Love Quilt
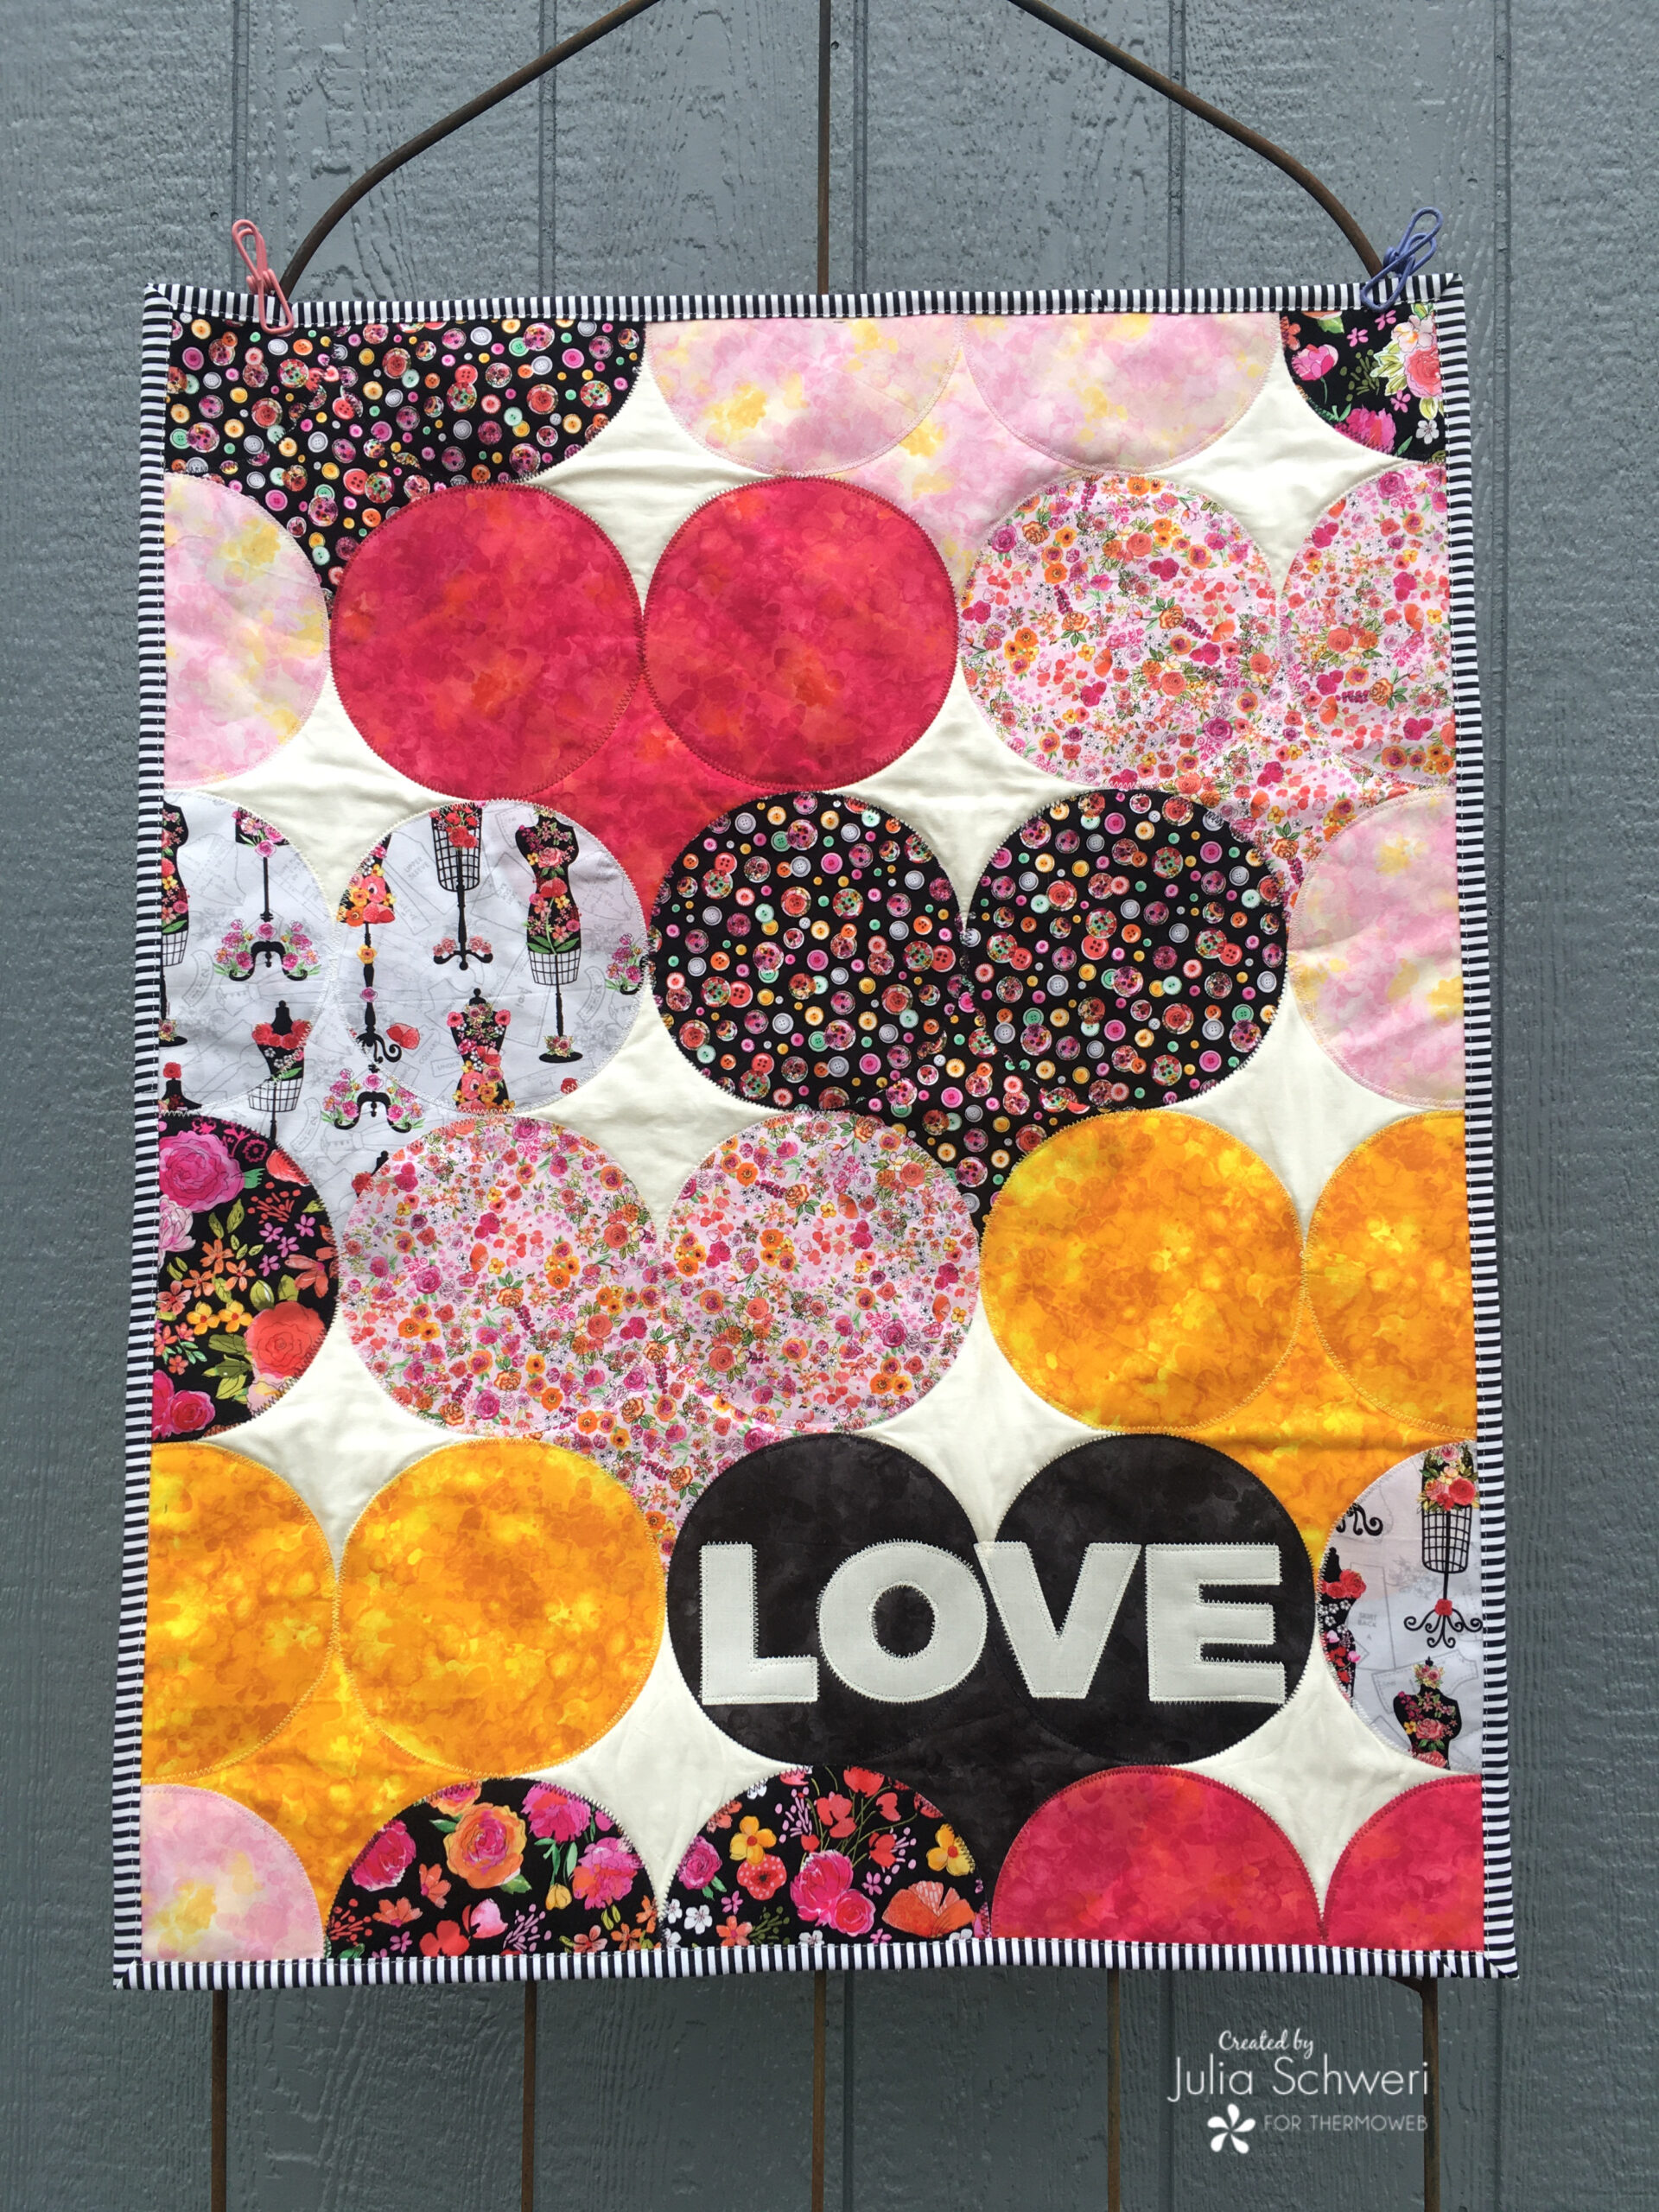
Beginner Sewing Pattern: Quilt as you go!
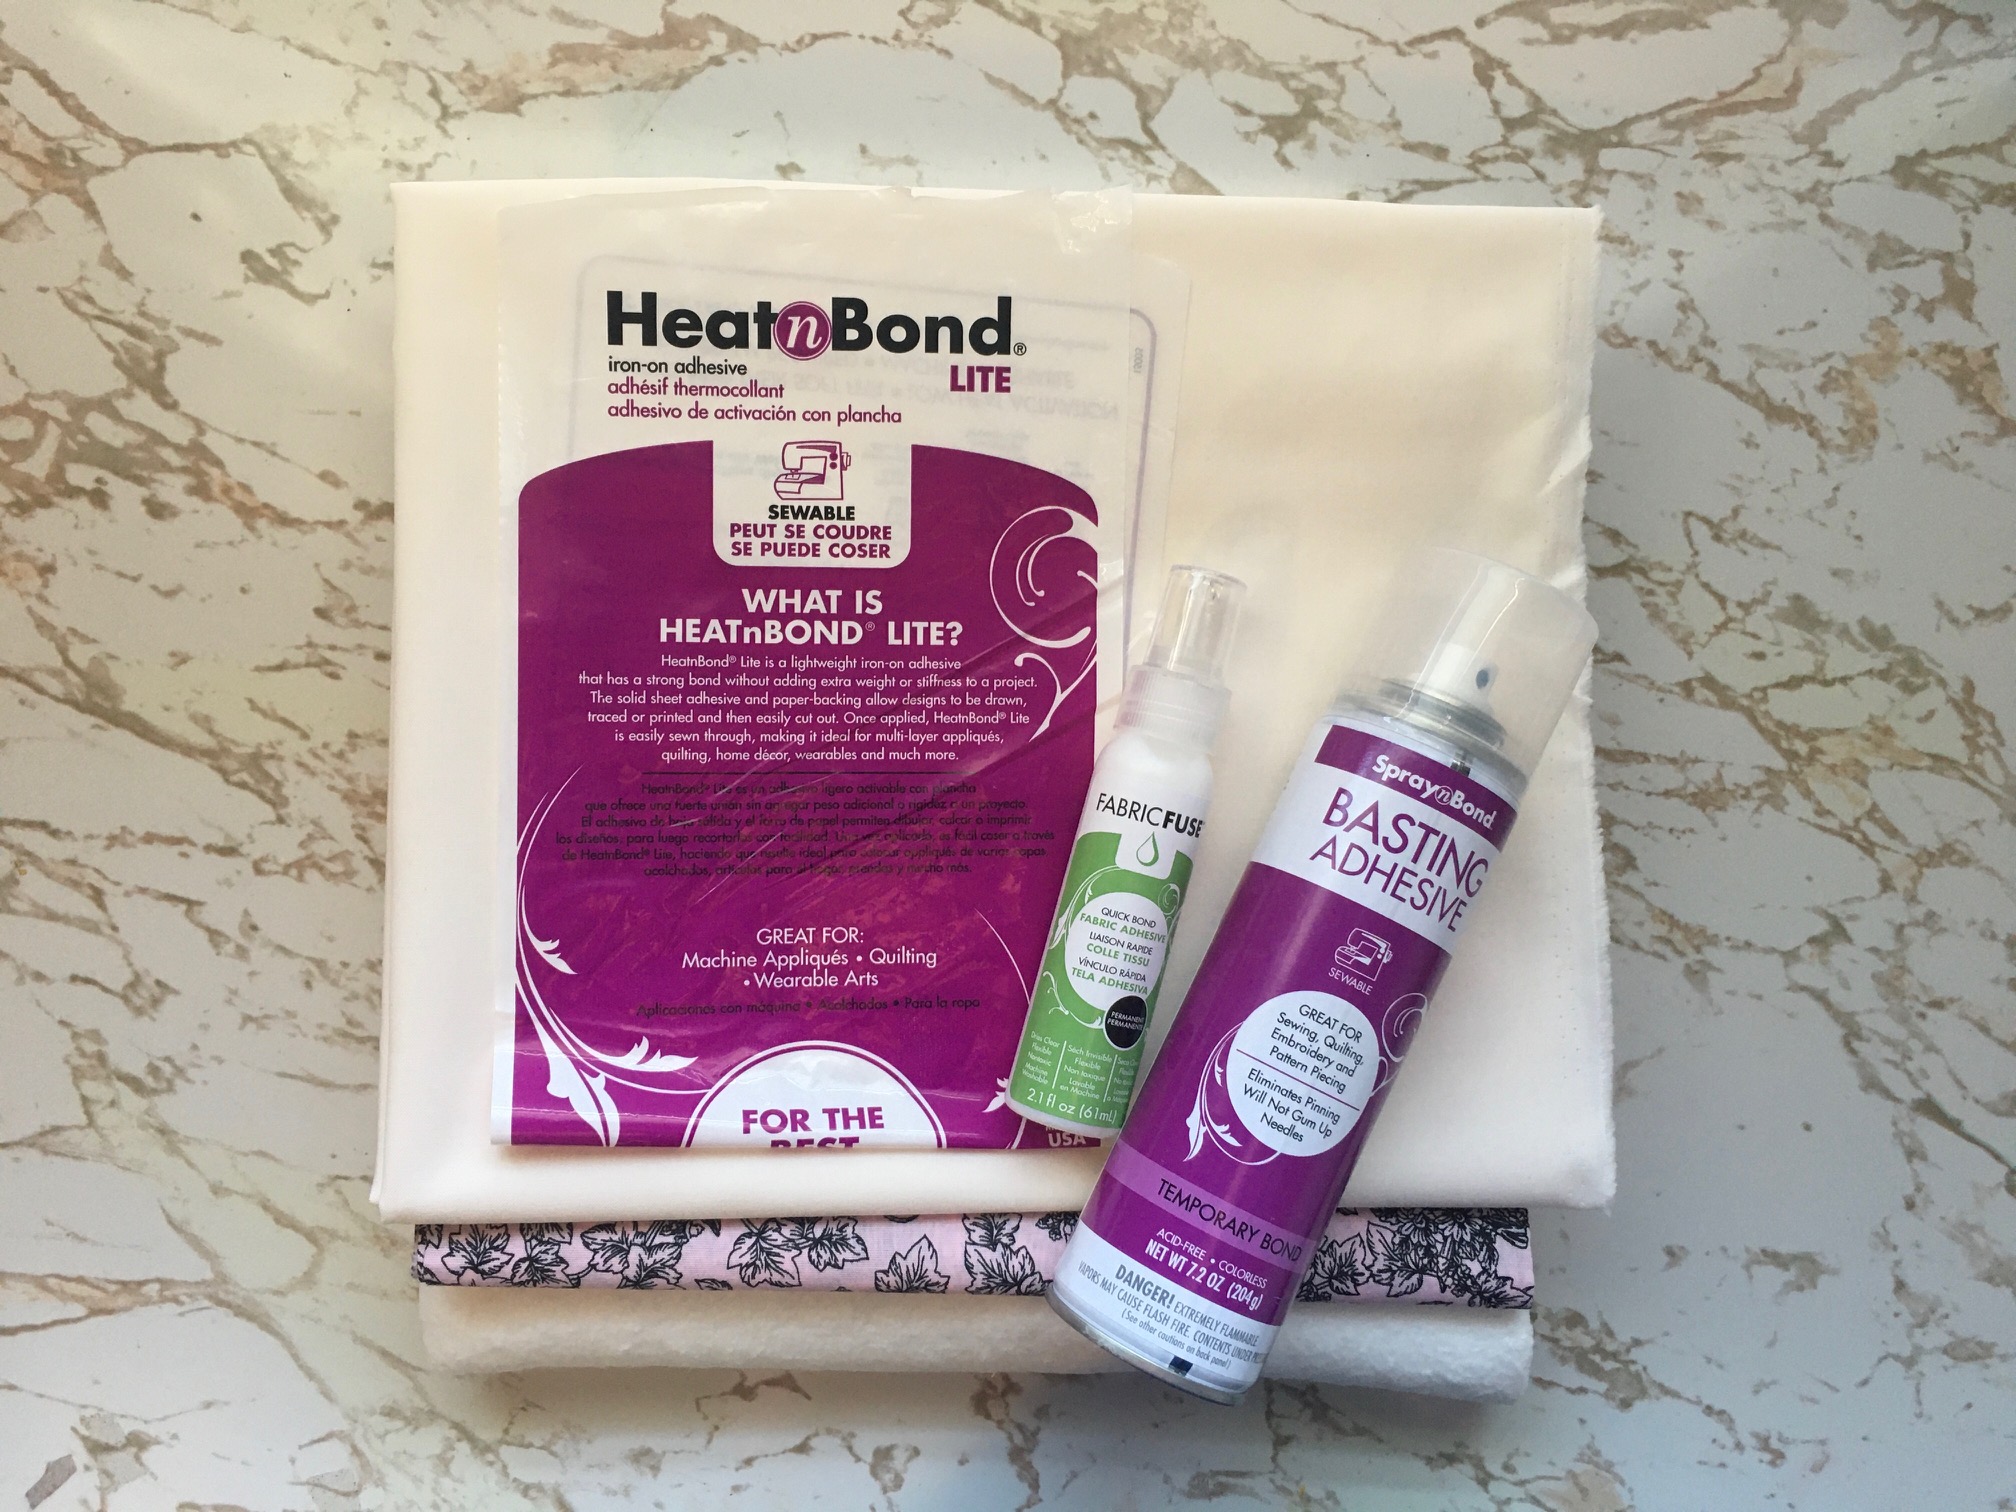
Supplies:
-
START BY DOWNLOADING THE FREE PDF PATTERN HERE!
- iCraft Fabric Fuse Liquid Adhesive
- SpraynBond Basting Adhesive Fabric Spray
- HeatnBond Lite Iron-On Iron-on Adhesive ***
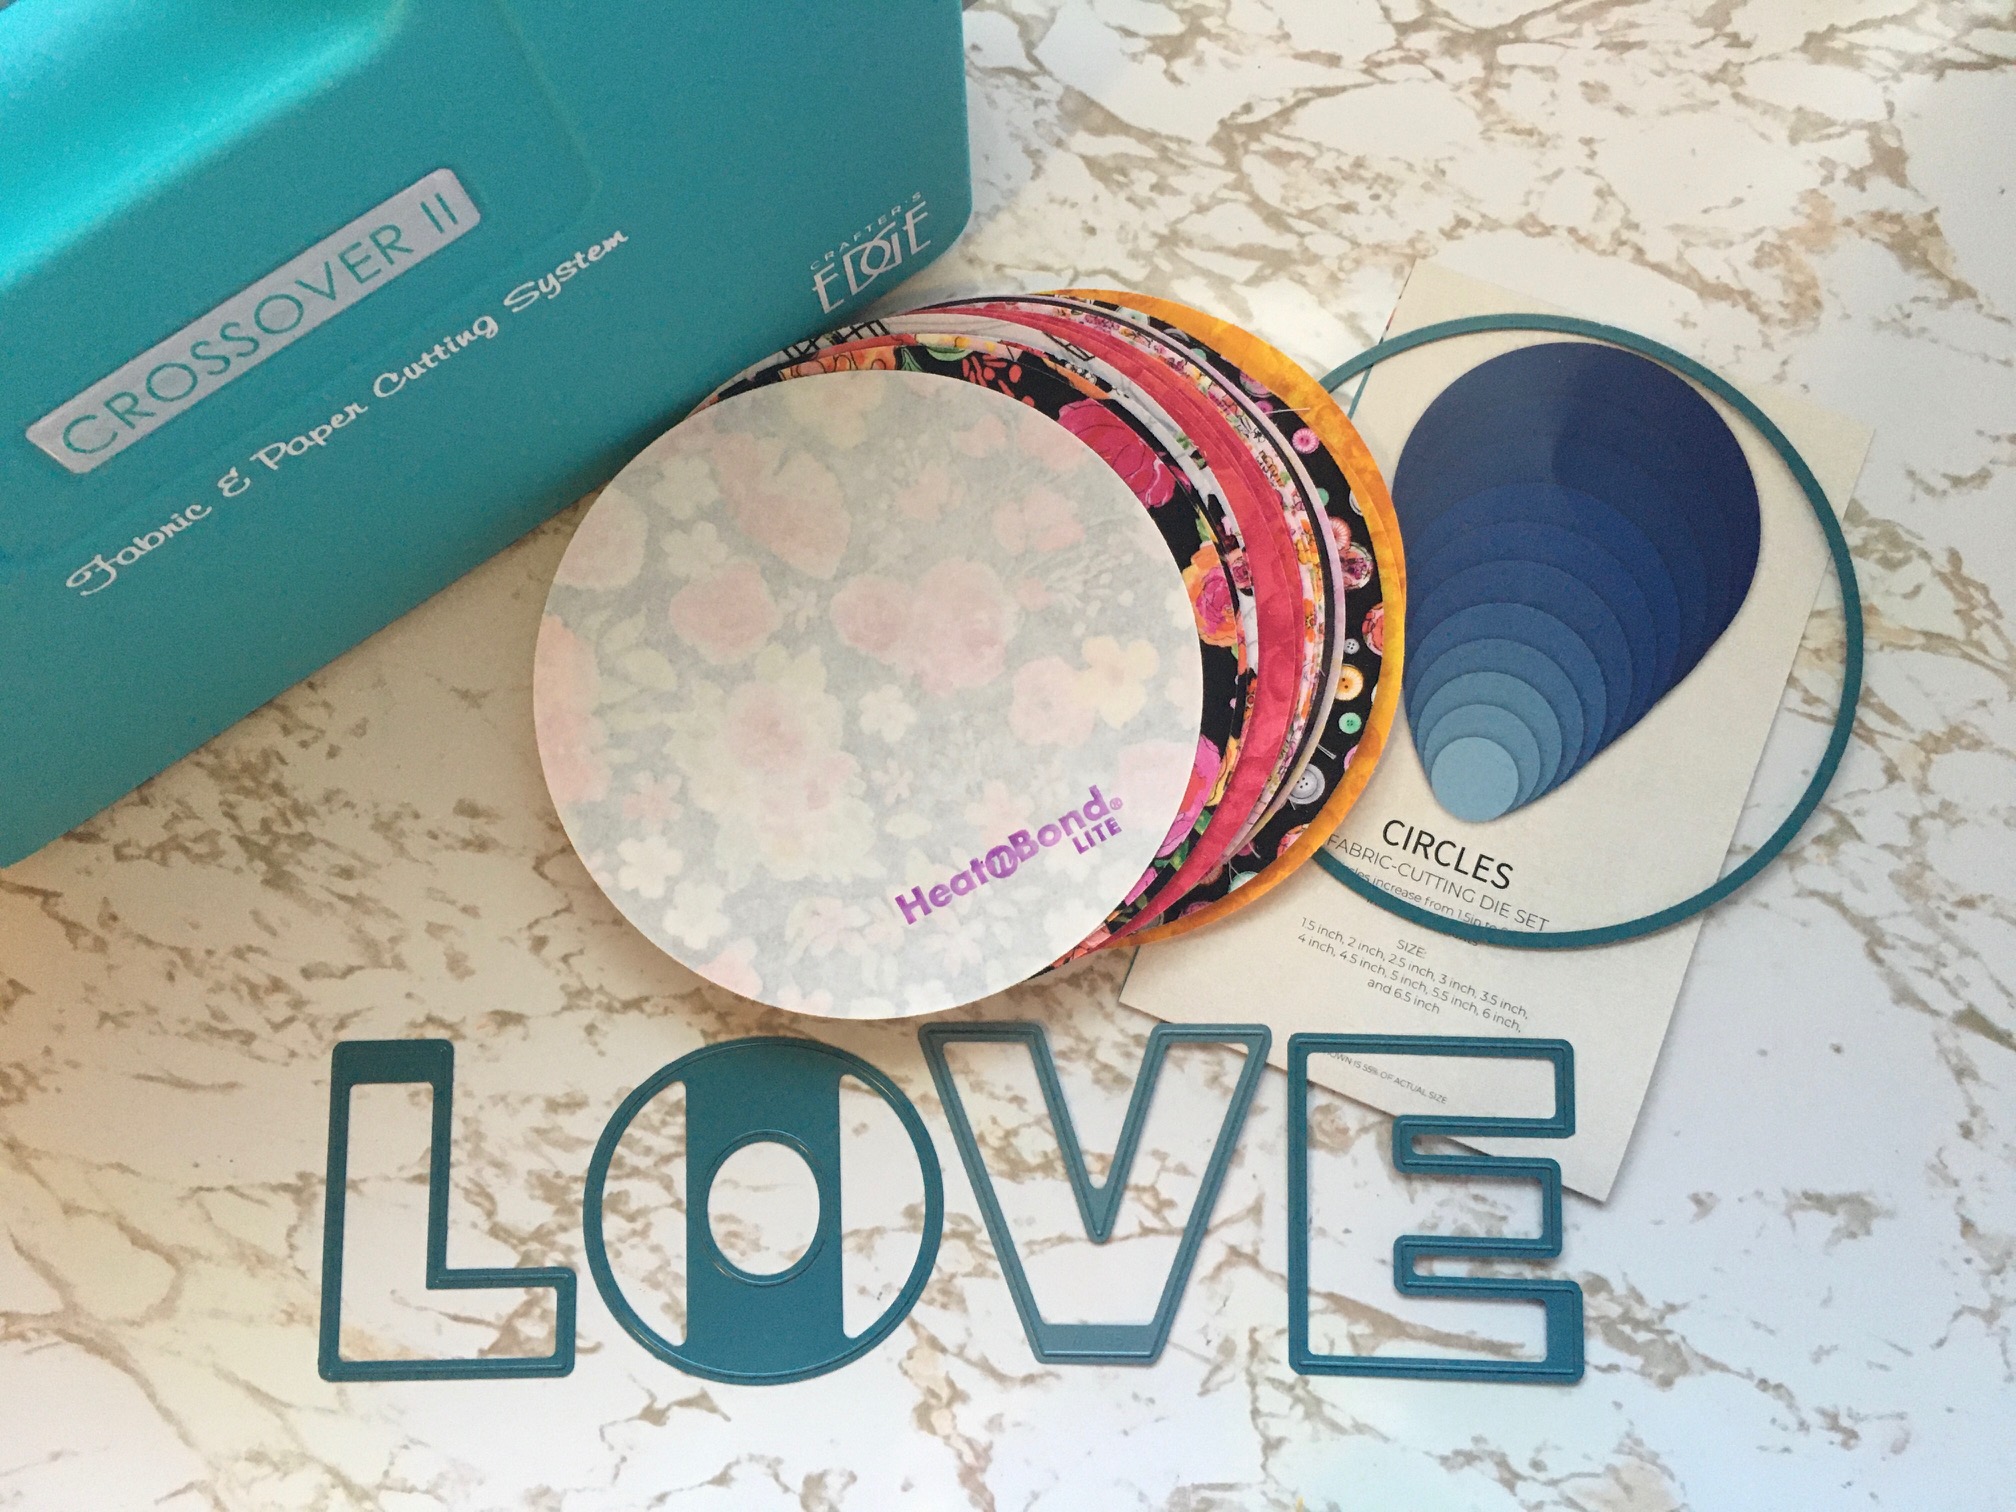
- Crafter’s Edge Crossover II
- 6 1/2″ circle die
- L O V E Crafter’s Edge dies
- OR Print your own with HeatnBond Lite EZ-Print Iron-On Adhesive Sheet 10 pk, 8.5 in x 11 (letters provided in pattern)
- LETTERS LOVE if not using Crafter’s Edge
- Fabric for Circles: 7 coordinating fat quarters- Fabrics in the quilt pictured on the cover are “Sew Floral” by Timeless Treasures.
- Black Fabric: 1 fat eighth OR 1 black fat quarter from “Sew Floral” bundle
- LOVE Fabric: 1 fat eighth
- Front Background fabric (white): 34″ x 42″
- Backing fabric: 34″ x 42″
- Binding Fabric: 10″ by wof (2 1/2″ binding)
- Batting: 34″ x 42″
- 2- 5 1/2″ corner pockets of coordinating fabric for hanging quilt
- Basic sewing notions
- 90/16 sewing machine needle for topstitching
 *** I used about 5 yards of HeatnBond Lite for this project. However, I covered each of my 7 fat quarters with HeatnBond Lite and half of my black fat quarter that I used for the black heart. You will not use all the fabric you bond with the adhesive if you do it this way. One fat quarter will create 6 circles, so if you do not want the adhesive on all your fabric plan accordingly and refer to your coloring sheet.
Sewing Instructions:
Begin by…
Printing off your FREE “Circle of Love” pattern located in the supplies list above. Use the coloring sheet provided or follow along with the pattern to determine how many circles of each color you will need to cut.
Using HeatnBond Lite, follow the manufactures instructions and bond the fusible adhesive to your fabric.
Cut out your circles.
Next…
Make your quilt sandwich using your backing fabric, batting and front background fabric. I used SpraynBond Basting Adhesive to baste my quilt sandwich together. This is really important so your fabric doesn’t shift and pins would get in the way when you are applying your circles. Then, follow the instructions included in the pattern for layering your circles.

Layering Your Circles…

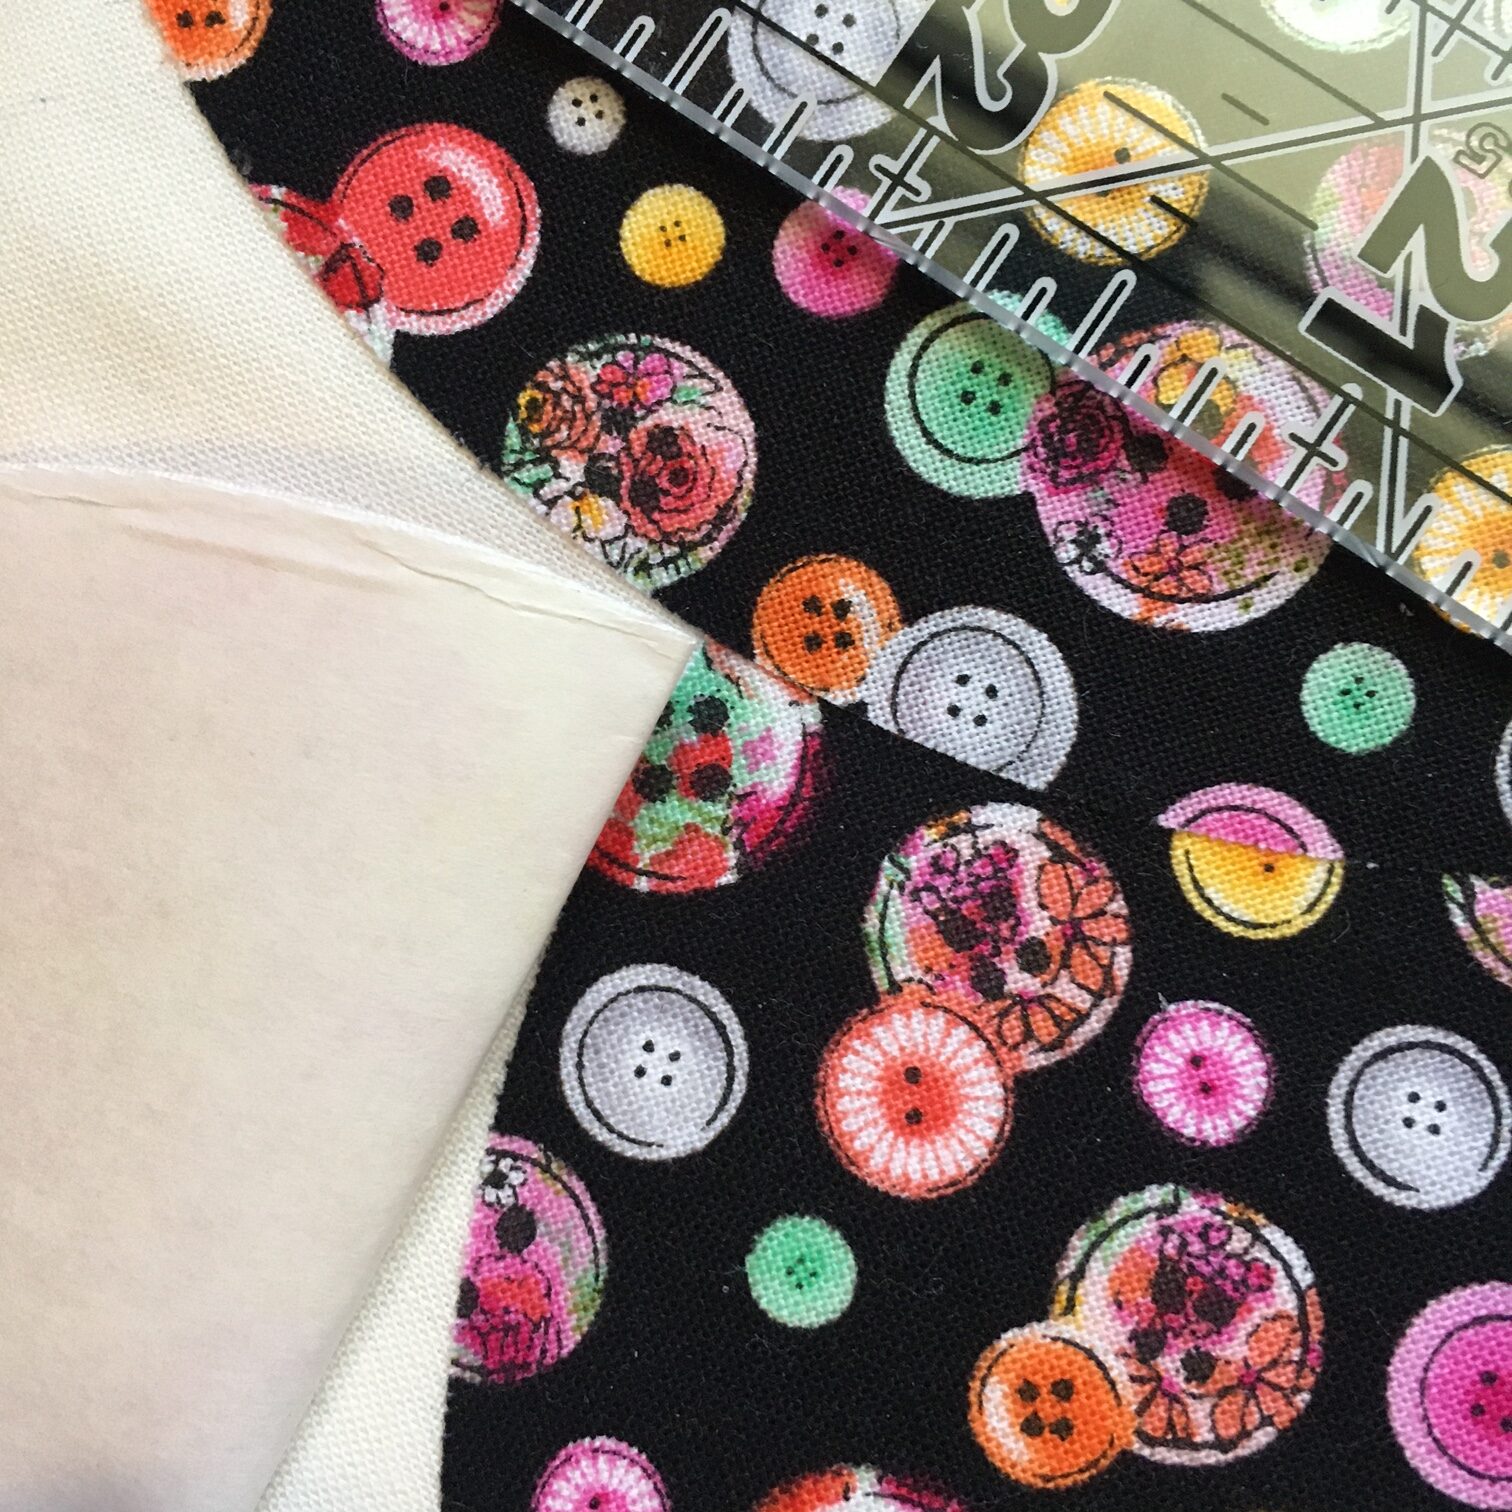
Getting the top row of circles is the most critical. If this row isn’t straight on your background, it will throw off the entire quit. I suggest using a long ruler and placing it along the top edge of your quilt when arranging the first row.
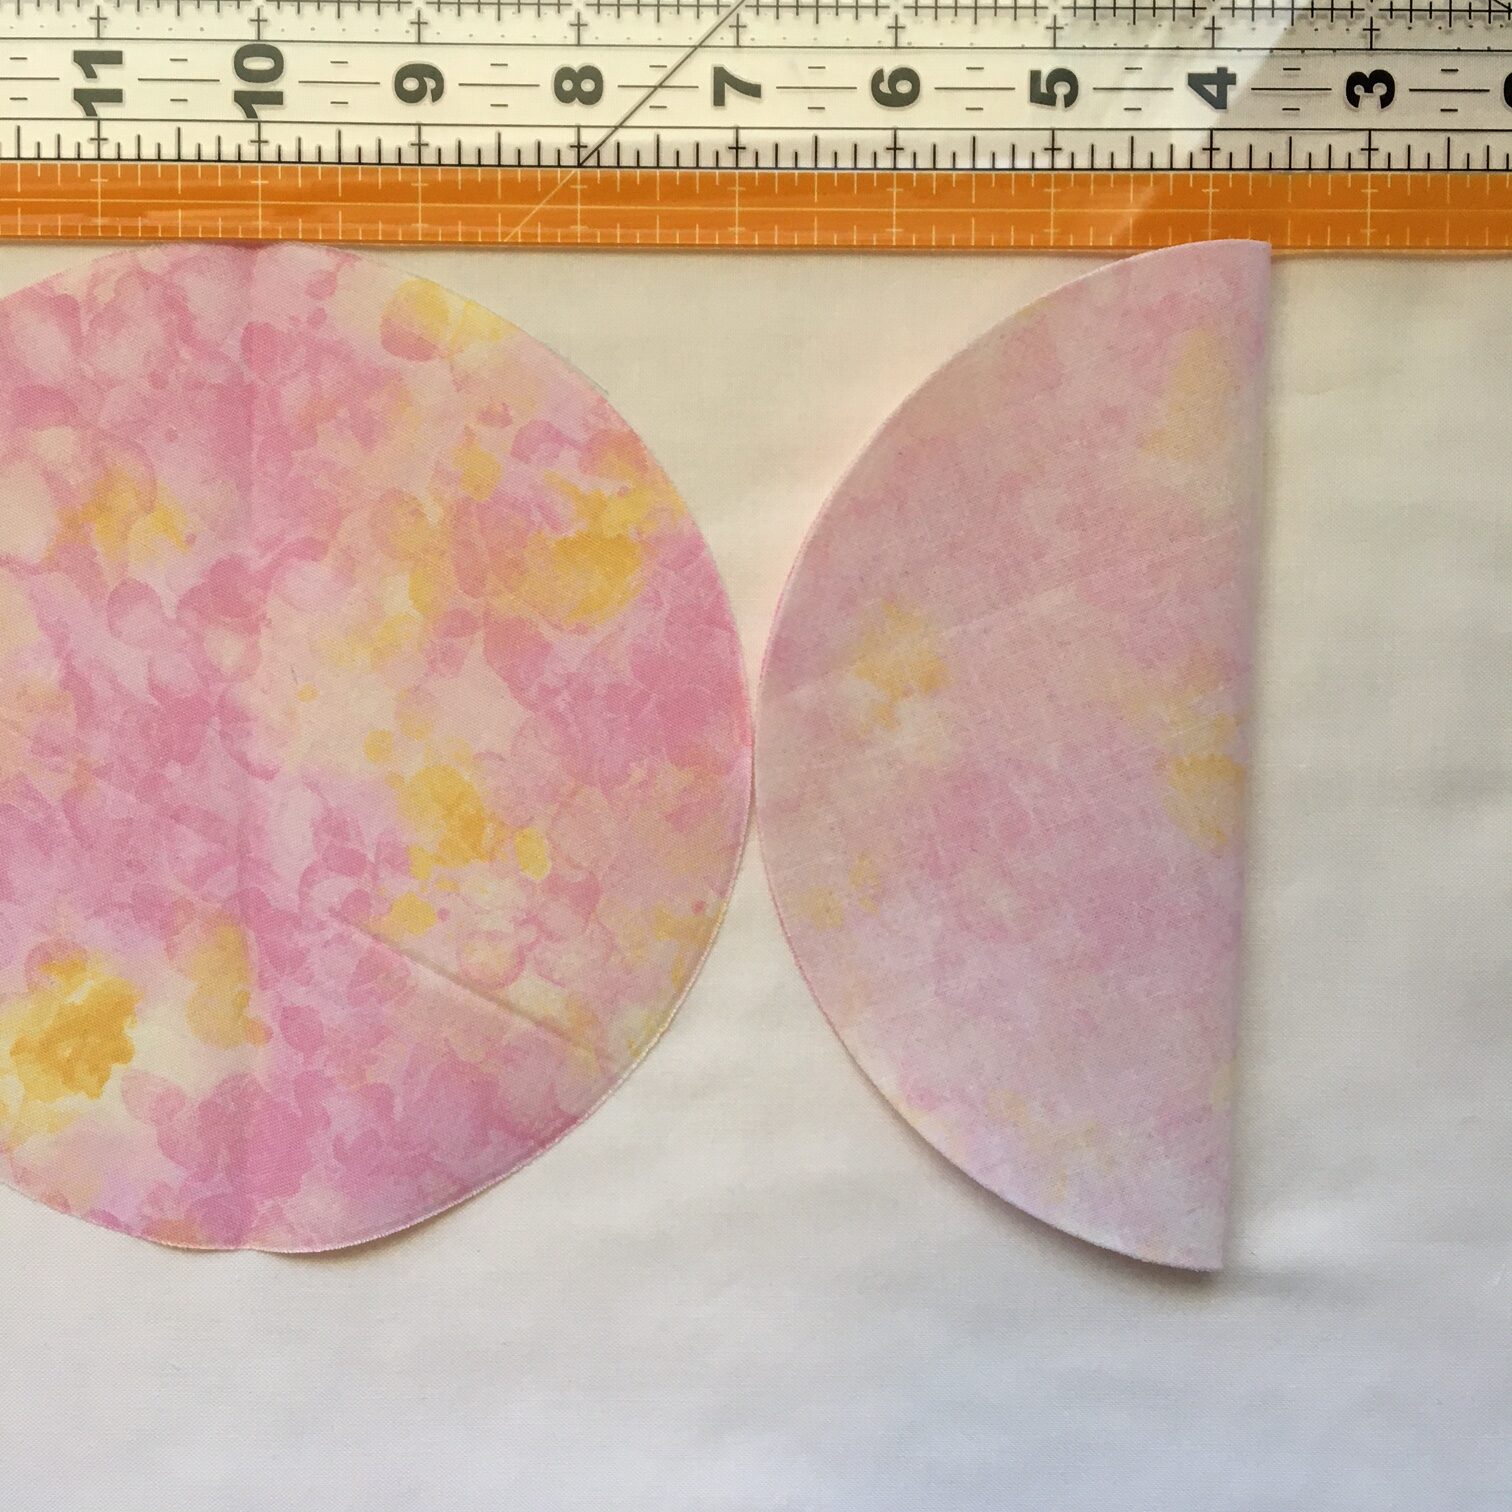
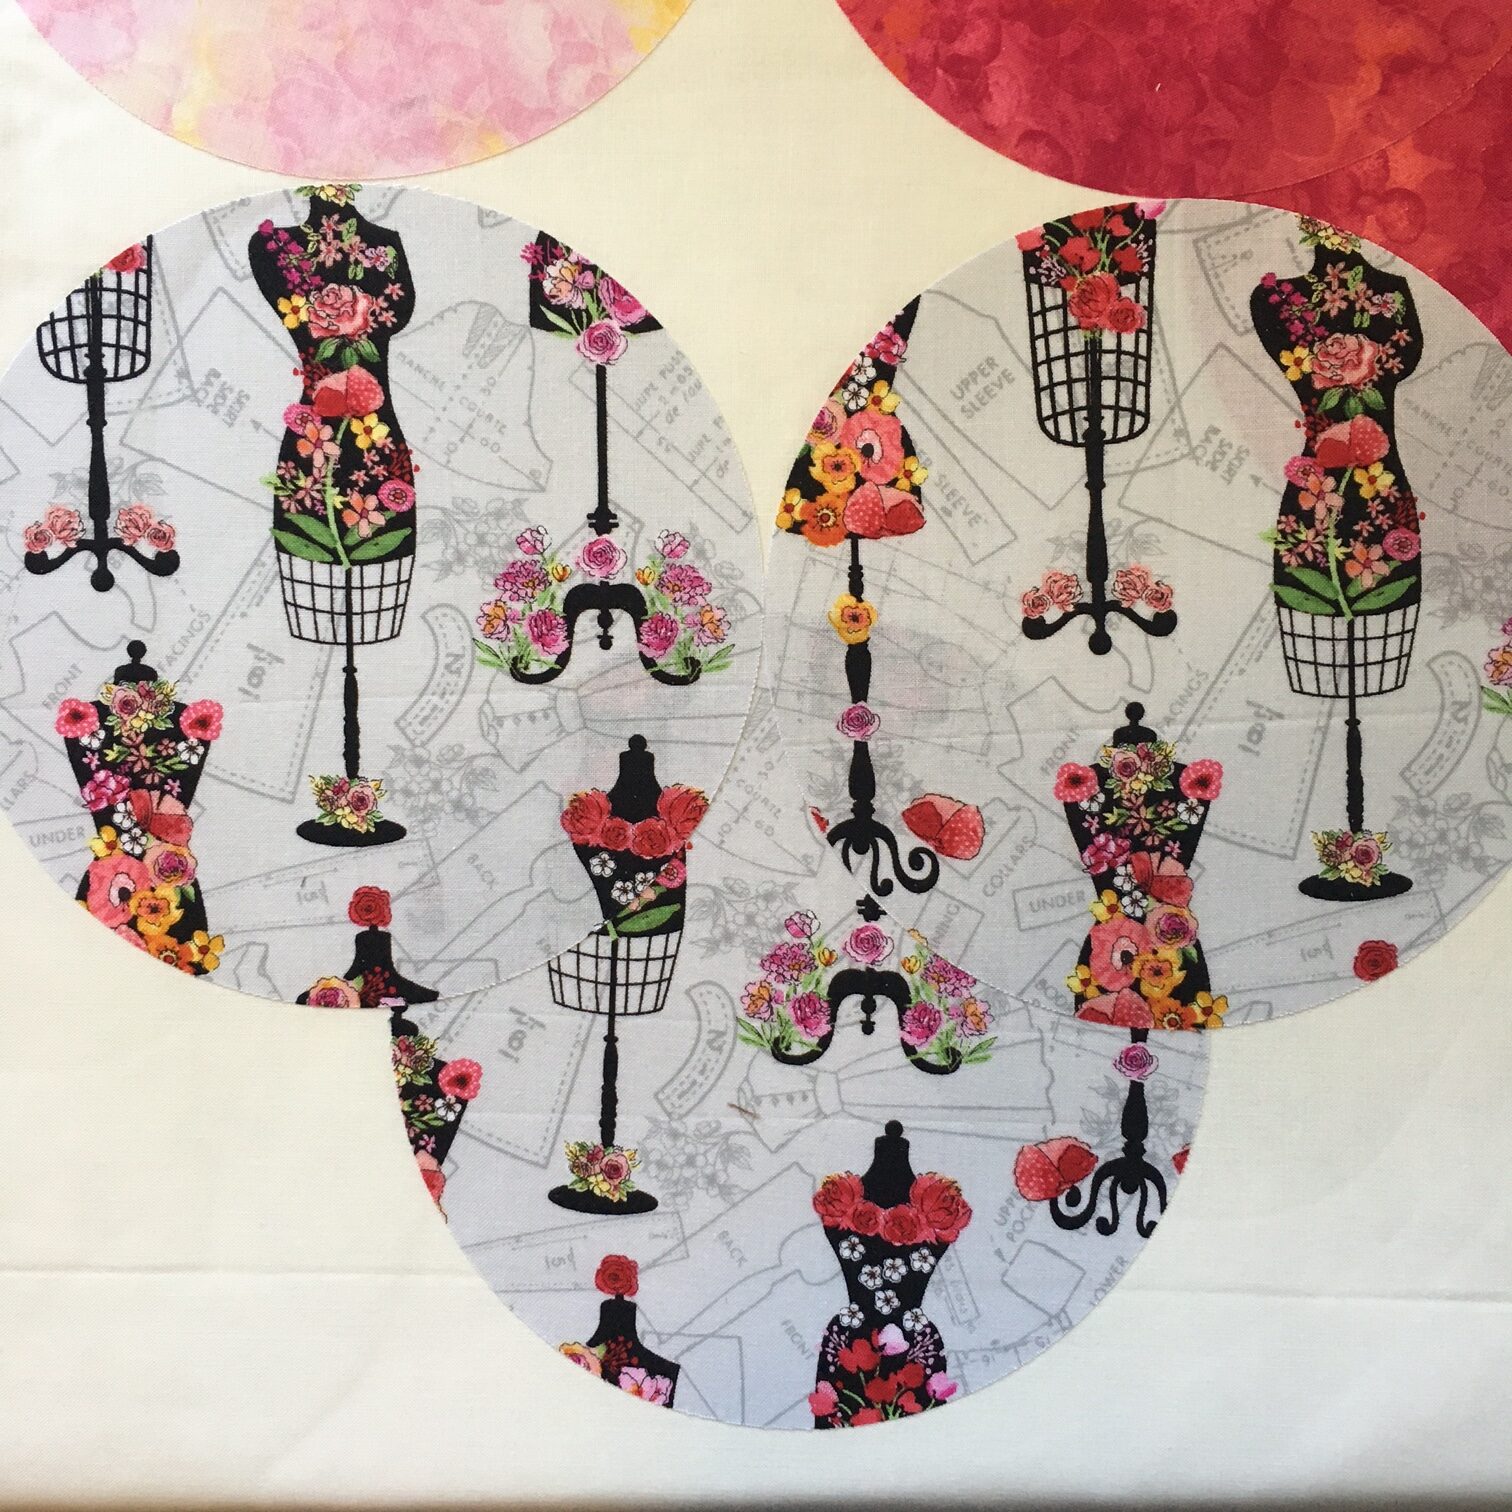
IMPORTANT TIP: Fold each circle in half and crease with your finger. Doing this helps to find the center and gives your eye something to look for and helps with the circles’ placement. With darker fabrics mark the center crease with a heat erasing pen.
Check out the progression of photos below to see how folding the circles makes placement a breeze.
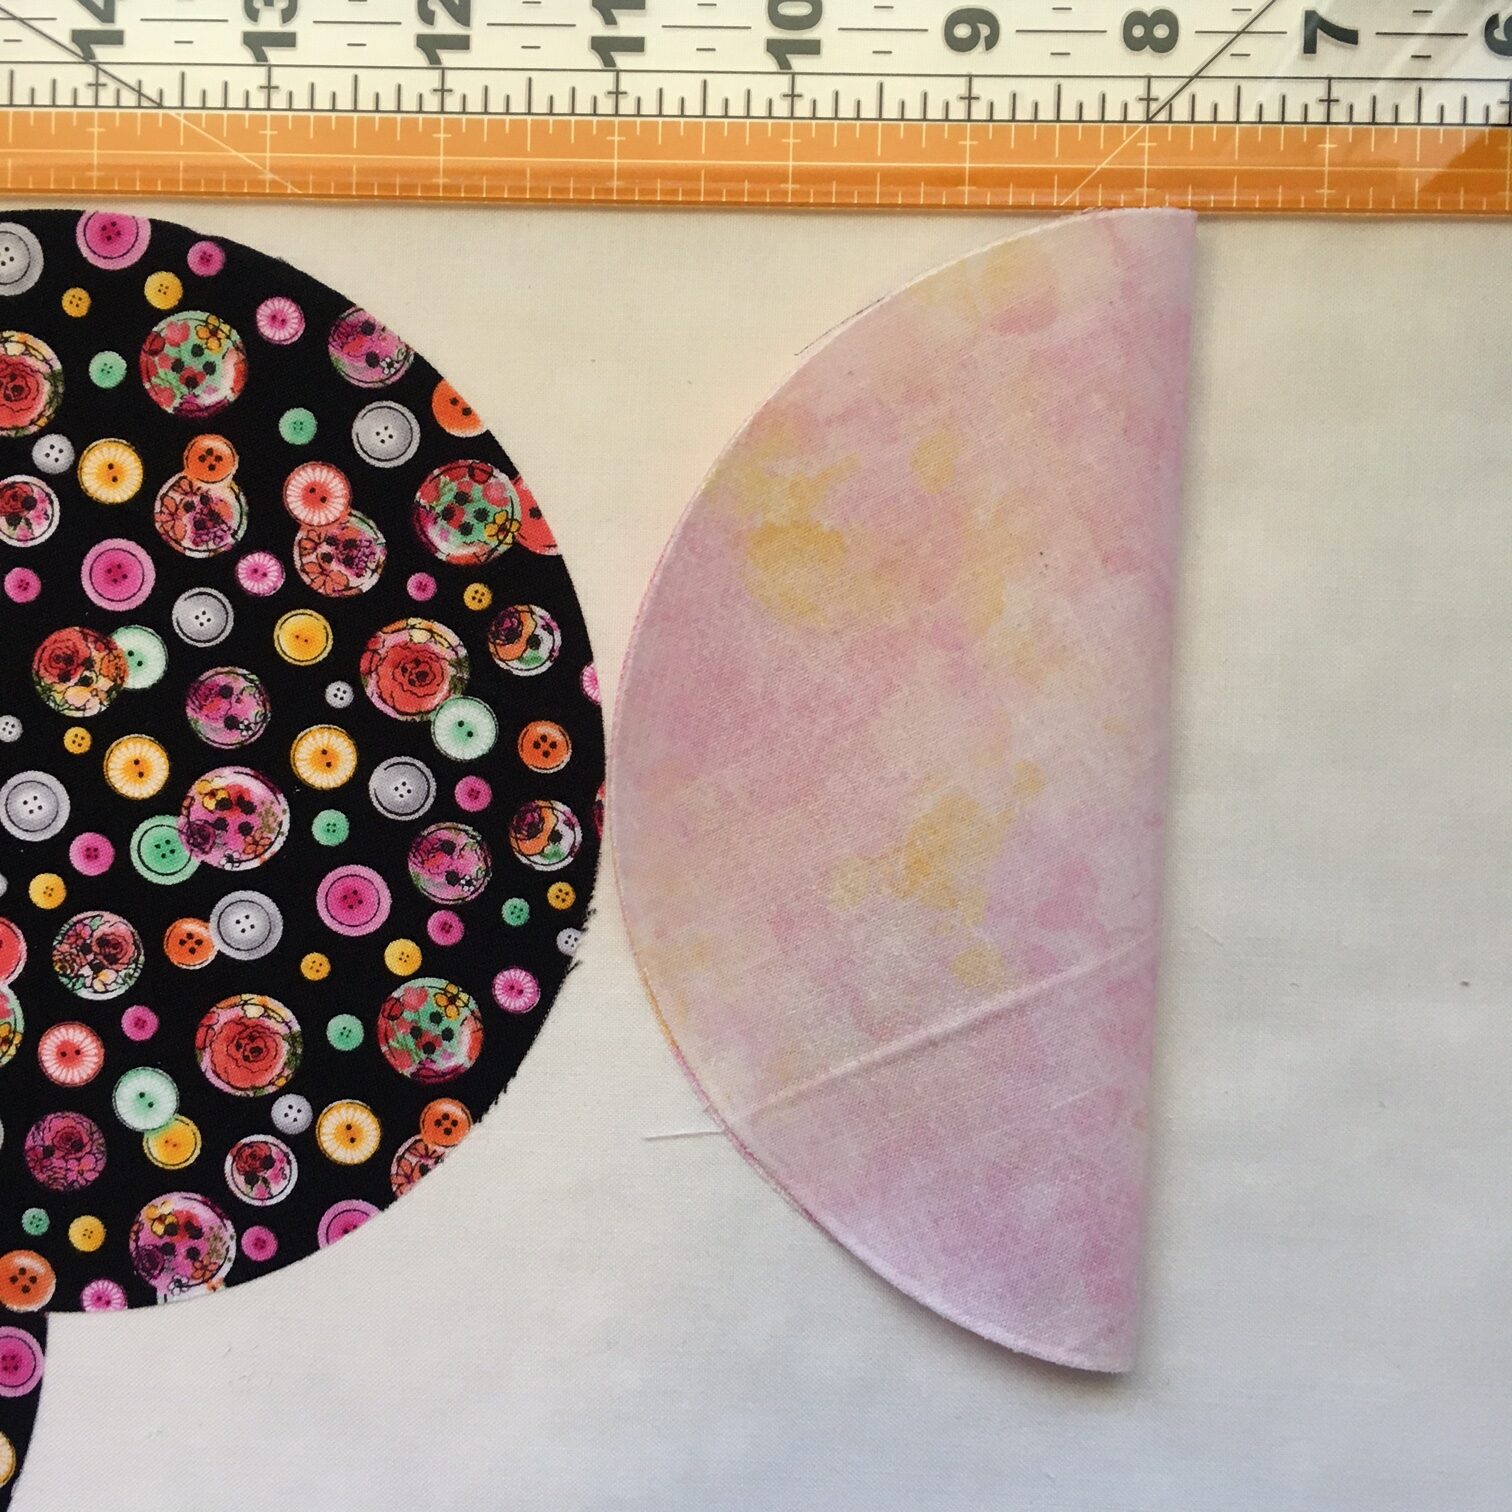
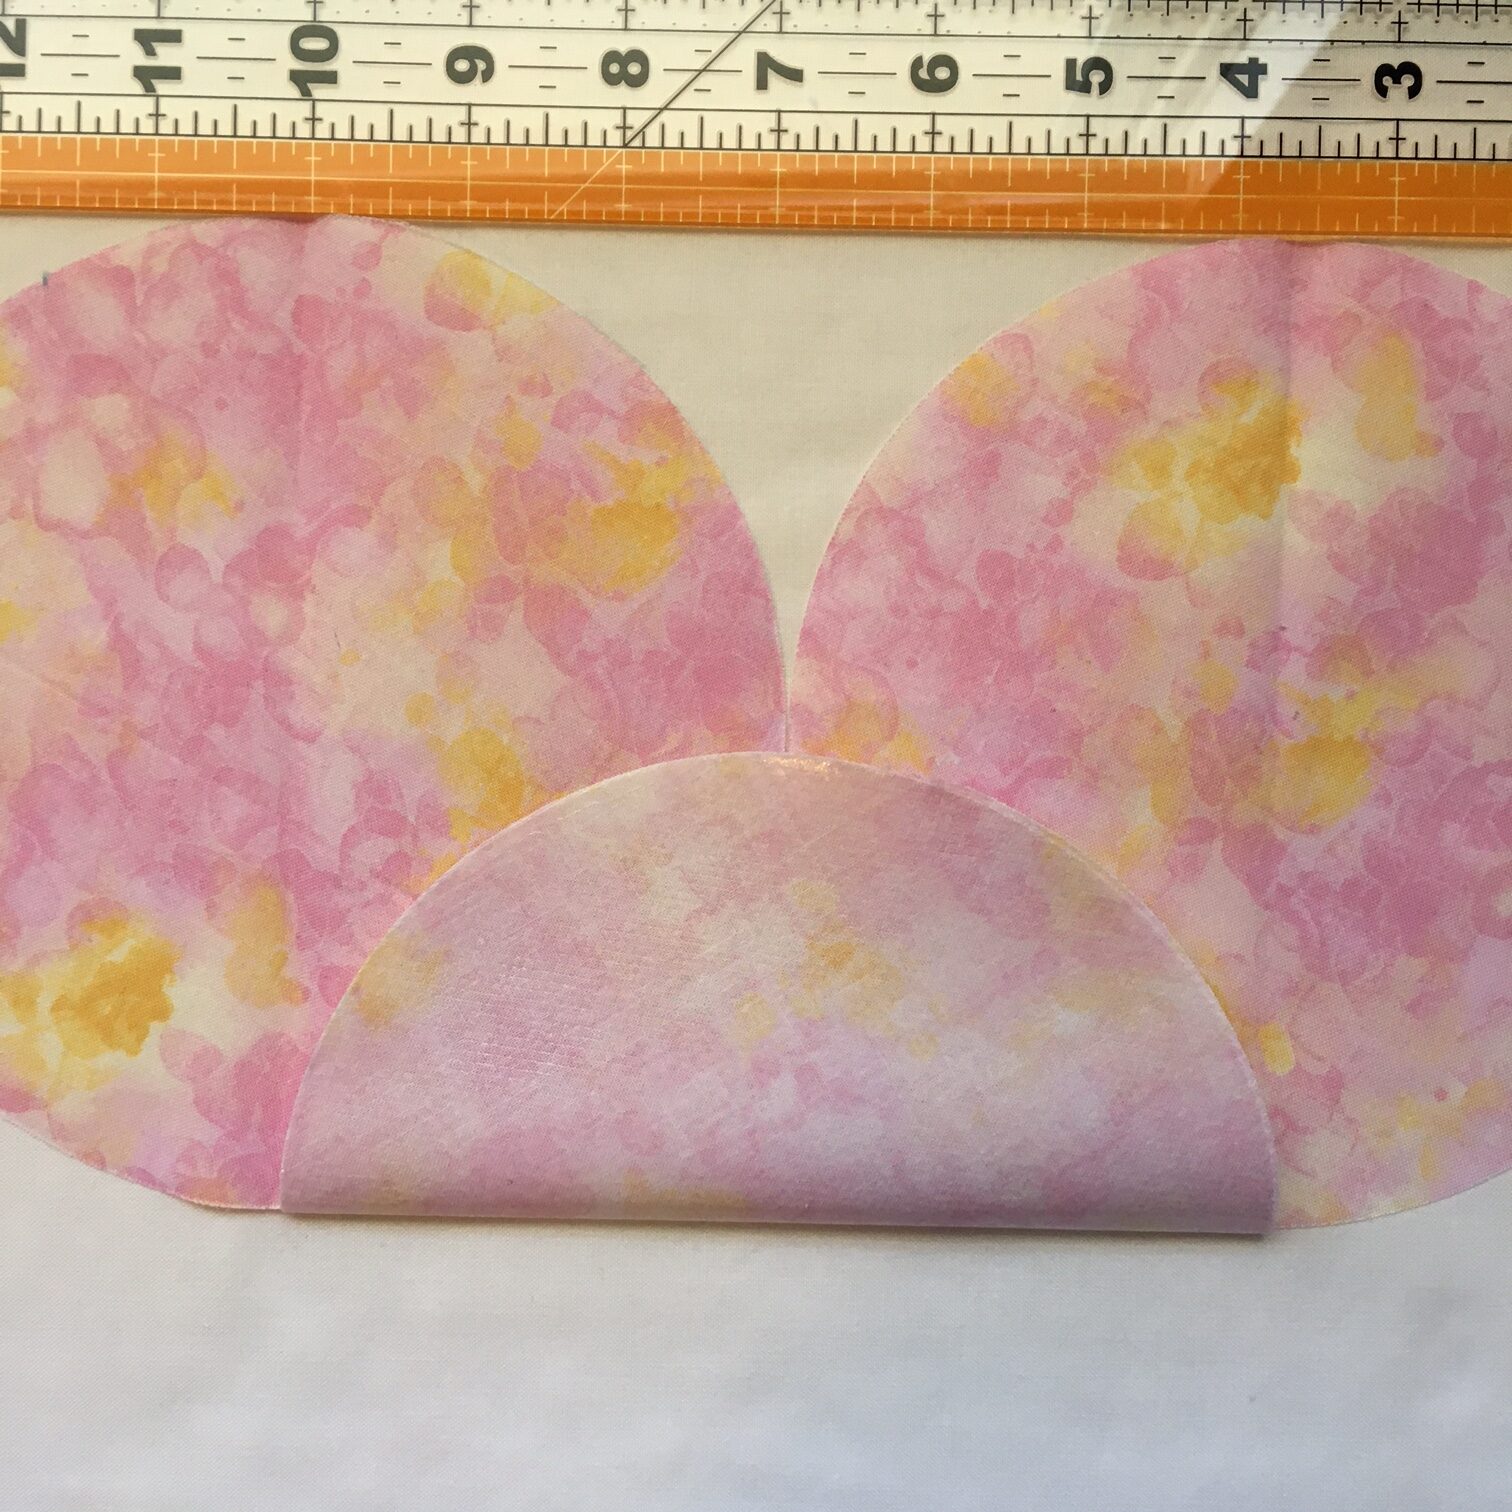
Look at the photo above, see how the crease matches up with the crease lines of the other two circles?
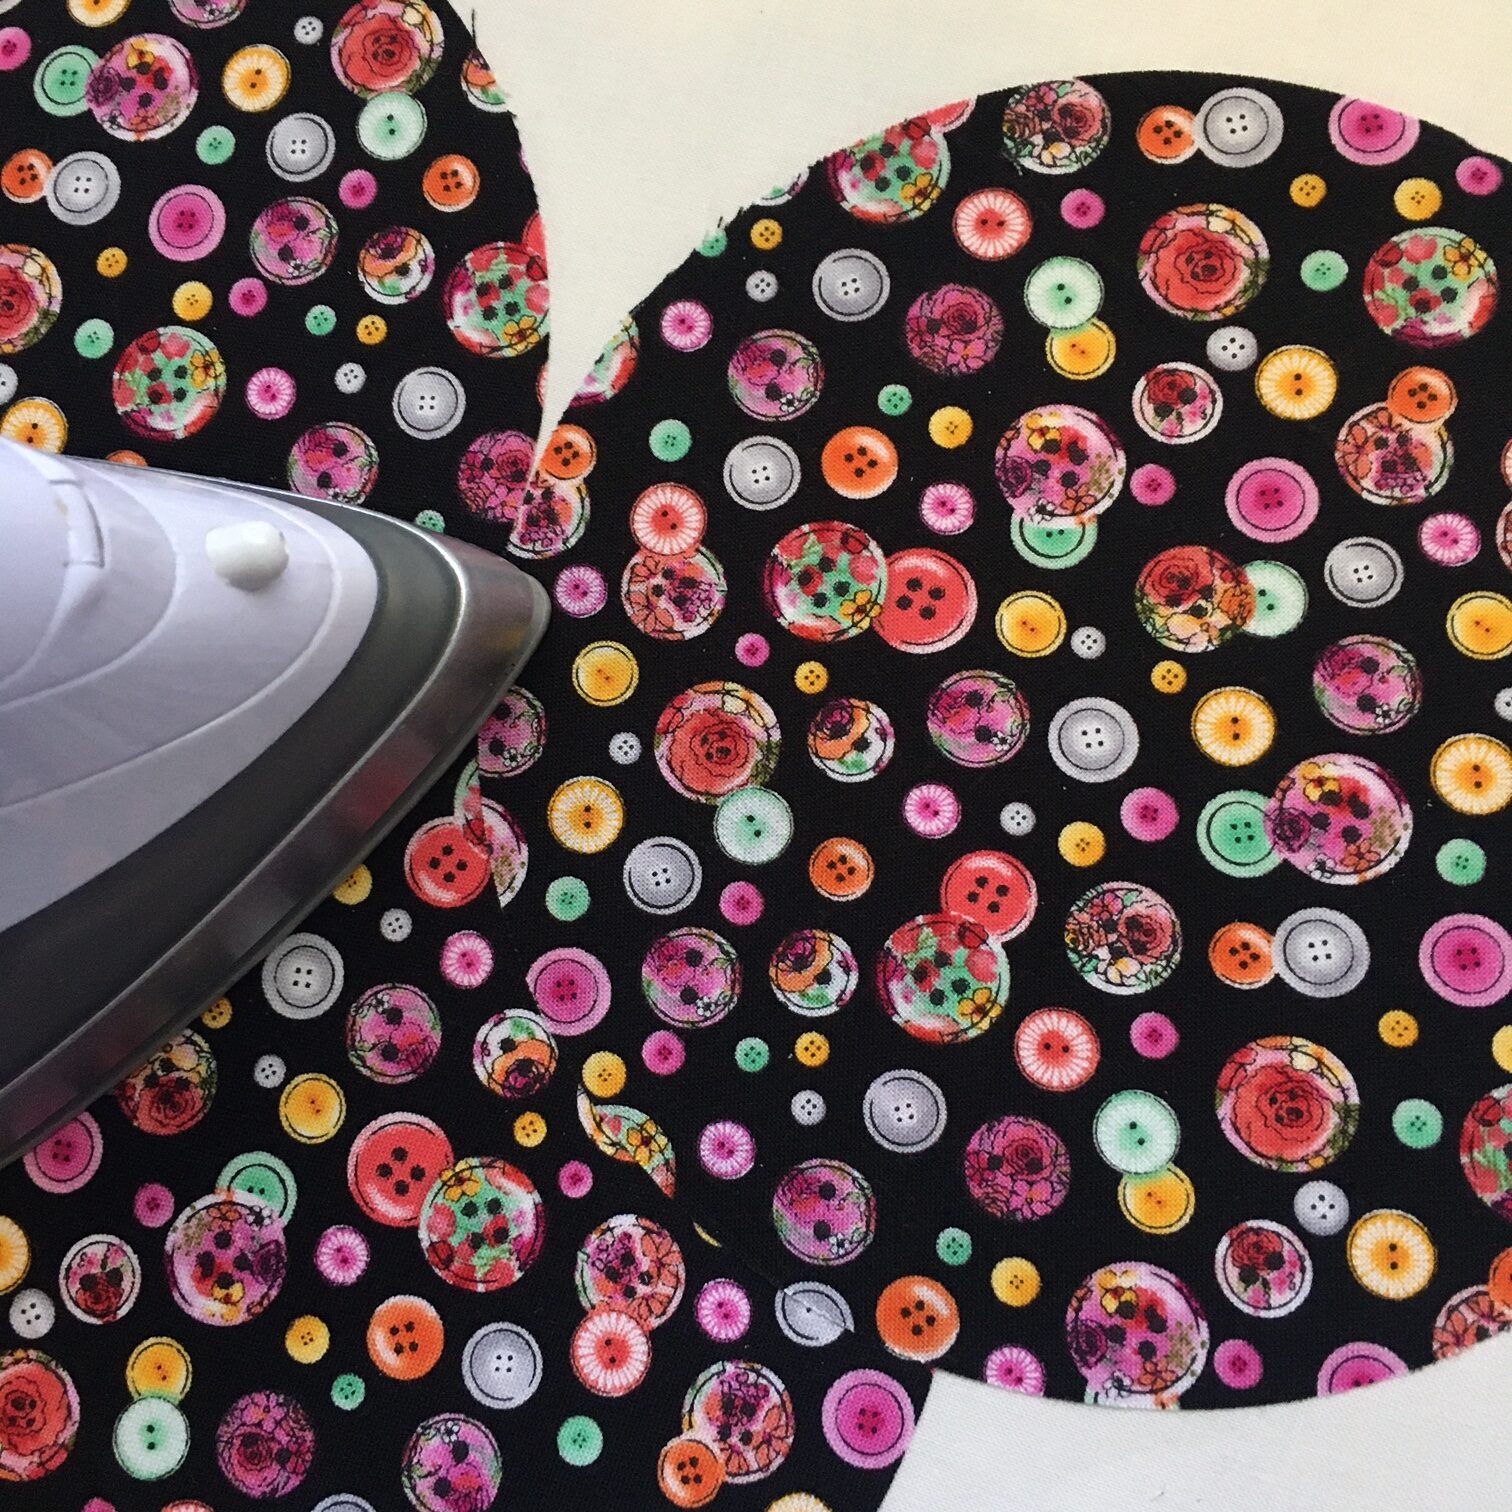
As you place your circles, press them in place.
IMPORTANT TIP: The crease really helps with alignment. See in the photo above how the fold lines up right next to the adjacent circle? In addition, if you are using directional fabric, make sure you fold your circles and make the crease so that the fabric is in the correct direction.
Continue…
Layering your circles according to your coloring sheet and topstitch them in place. You can either topstitch each row as you add them or bond every circle to your quilt top first, then topstitch at the end. If you do not want to topstitch your quilt, you will need to use HeatnBond ULTRA hold (the red packaging).
IMPORTANT TIP: I suggest using a 90/16 needle when topstitching. The HeatnBond Lite gives your fabric a stiffer almost canvas feel and is slightly thicker than your usual quilting.
Next…
Using HeatnBond Lite, follow the manufactures instructions and bond the fusible adhesive to your LOVE fabric. Using the Crafter’s Edge Crossover II machine and dies, cut out your letters. If you are not using Crafter’s Edge, either freehand your letters or print out your letters using HeatnBond E-Z Print sheets.
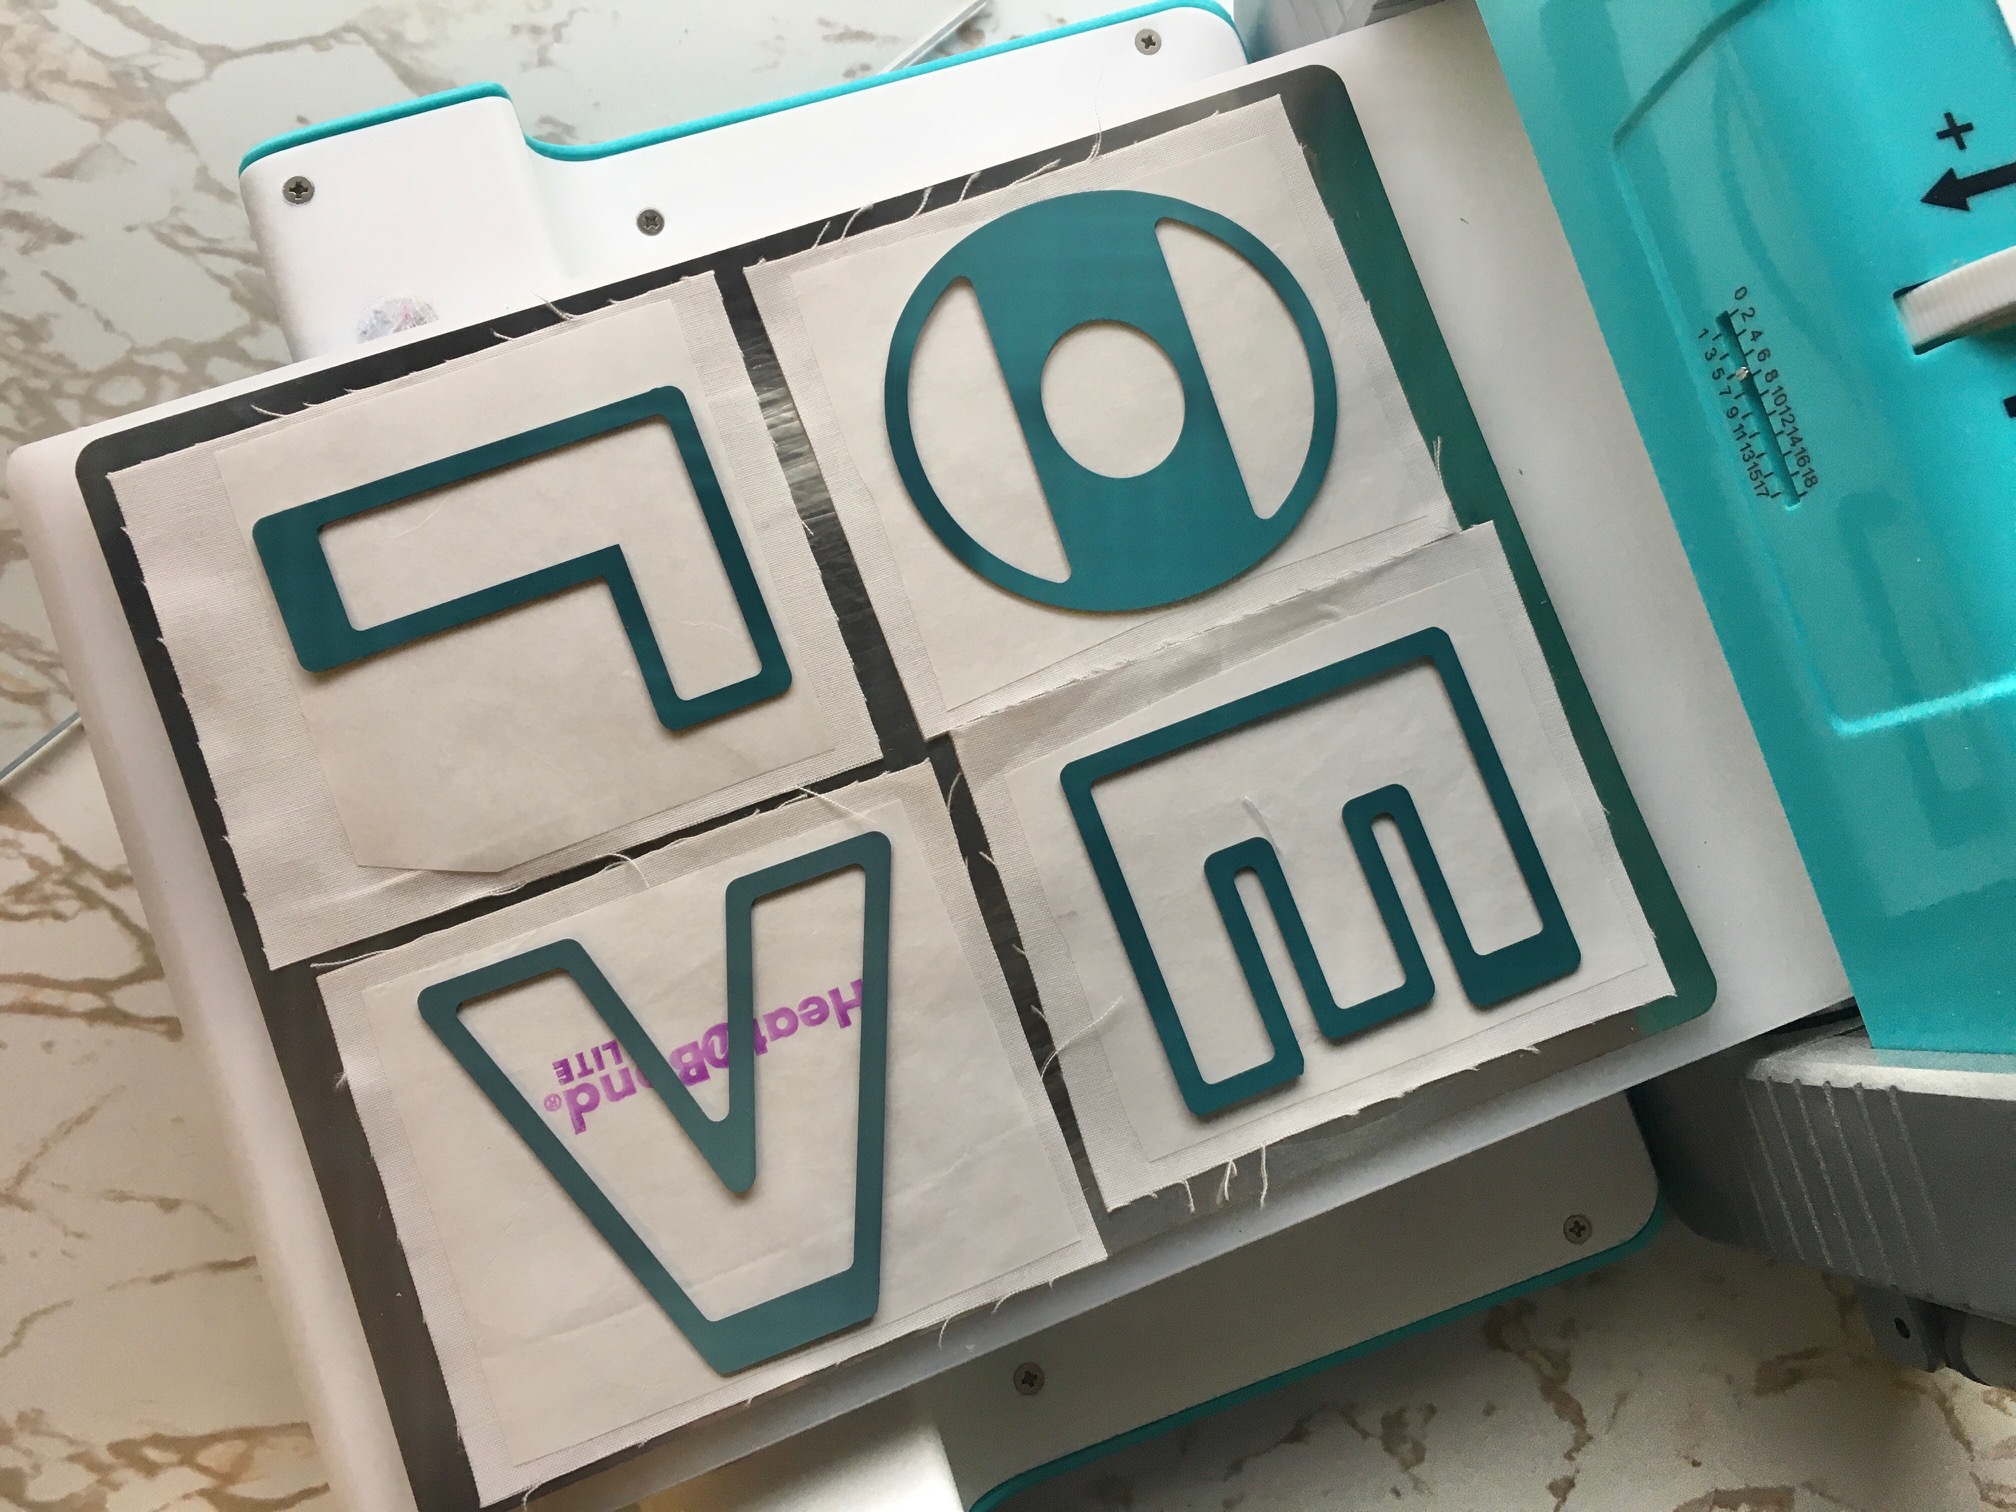
IMPORTANT TIP: If drawing or printing your letters, make sure they are in reverse. Otherwise, your letters will be backward. If using the letters provided in the pattern, they are already in reverse for you.
Then…
Place your L O V E letters in the black heart. Bond the adhesive with your iron and topstitch the letters in place.
Finish your quilt…
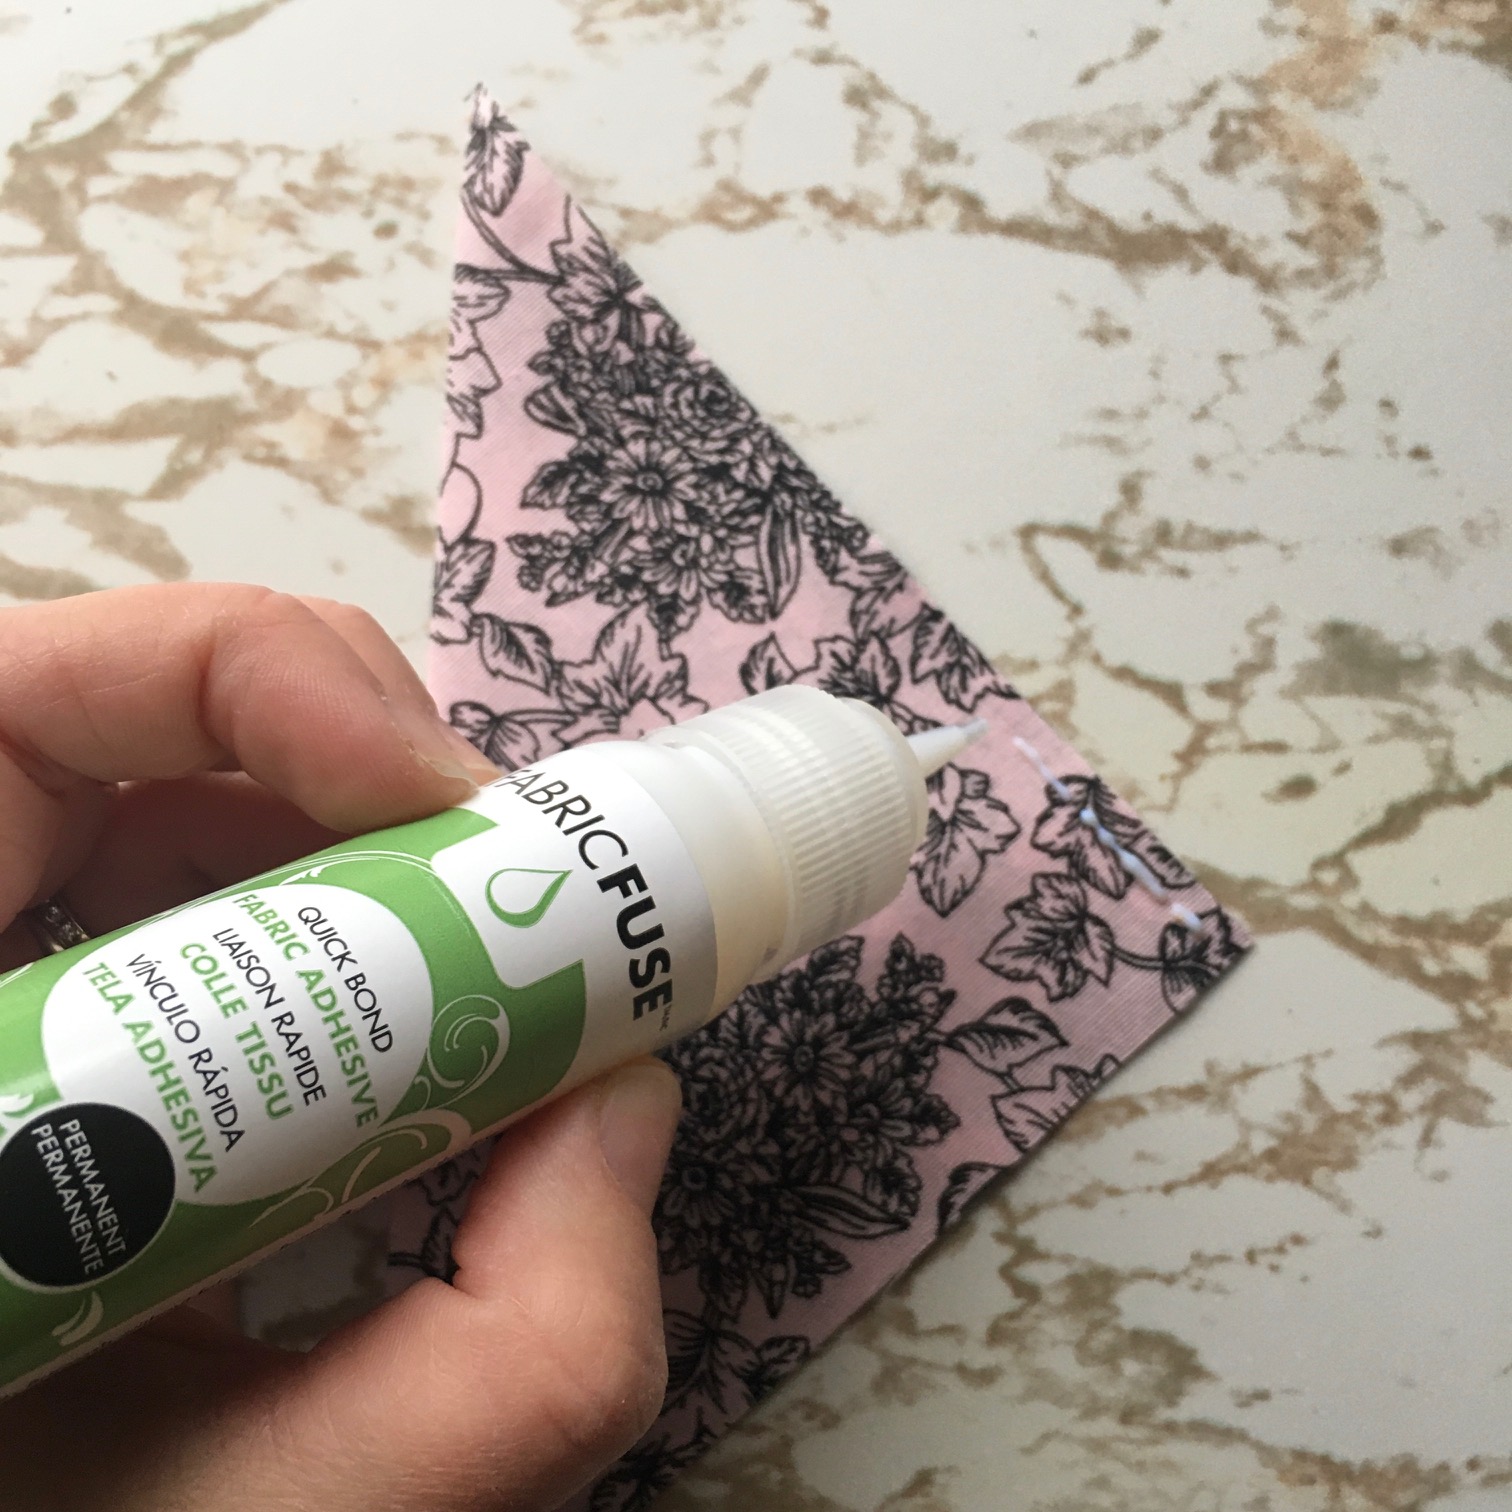
By basting your corner hanging pockets. To do this take your 5 1/2″ corner pocket squares and fold them on the diagonal. Next, press with your iron to create a nice crisp triangle. Place the raw edges of your triangle on the raw edges of your top two quilt corners. Use iCraft Fabric Fuse Liquid Adhesive to baste.
Finally…
Add your binding using your preferred method.
FINISHED!
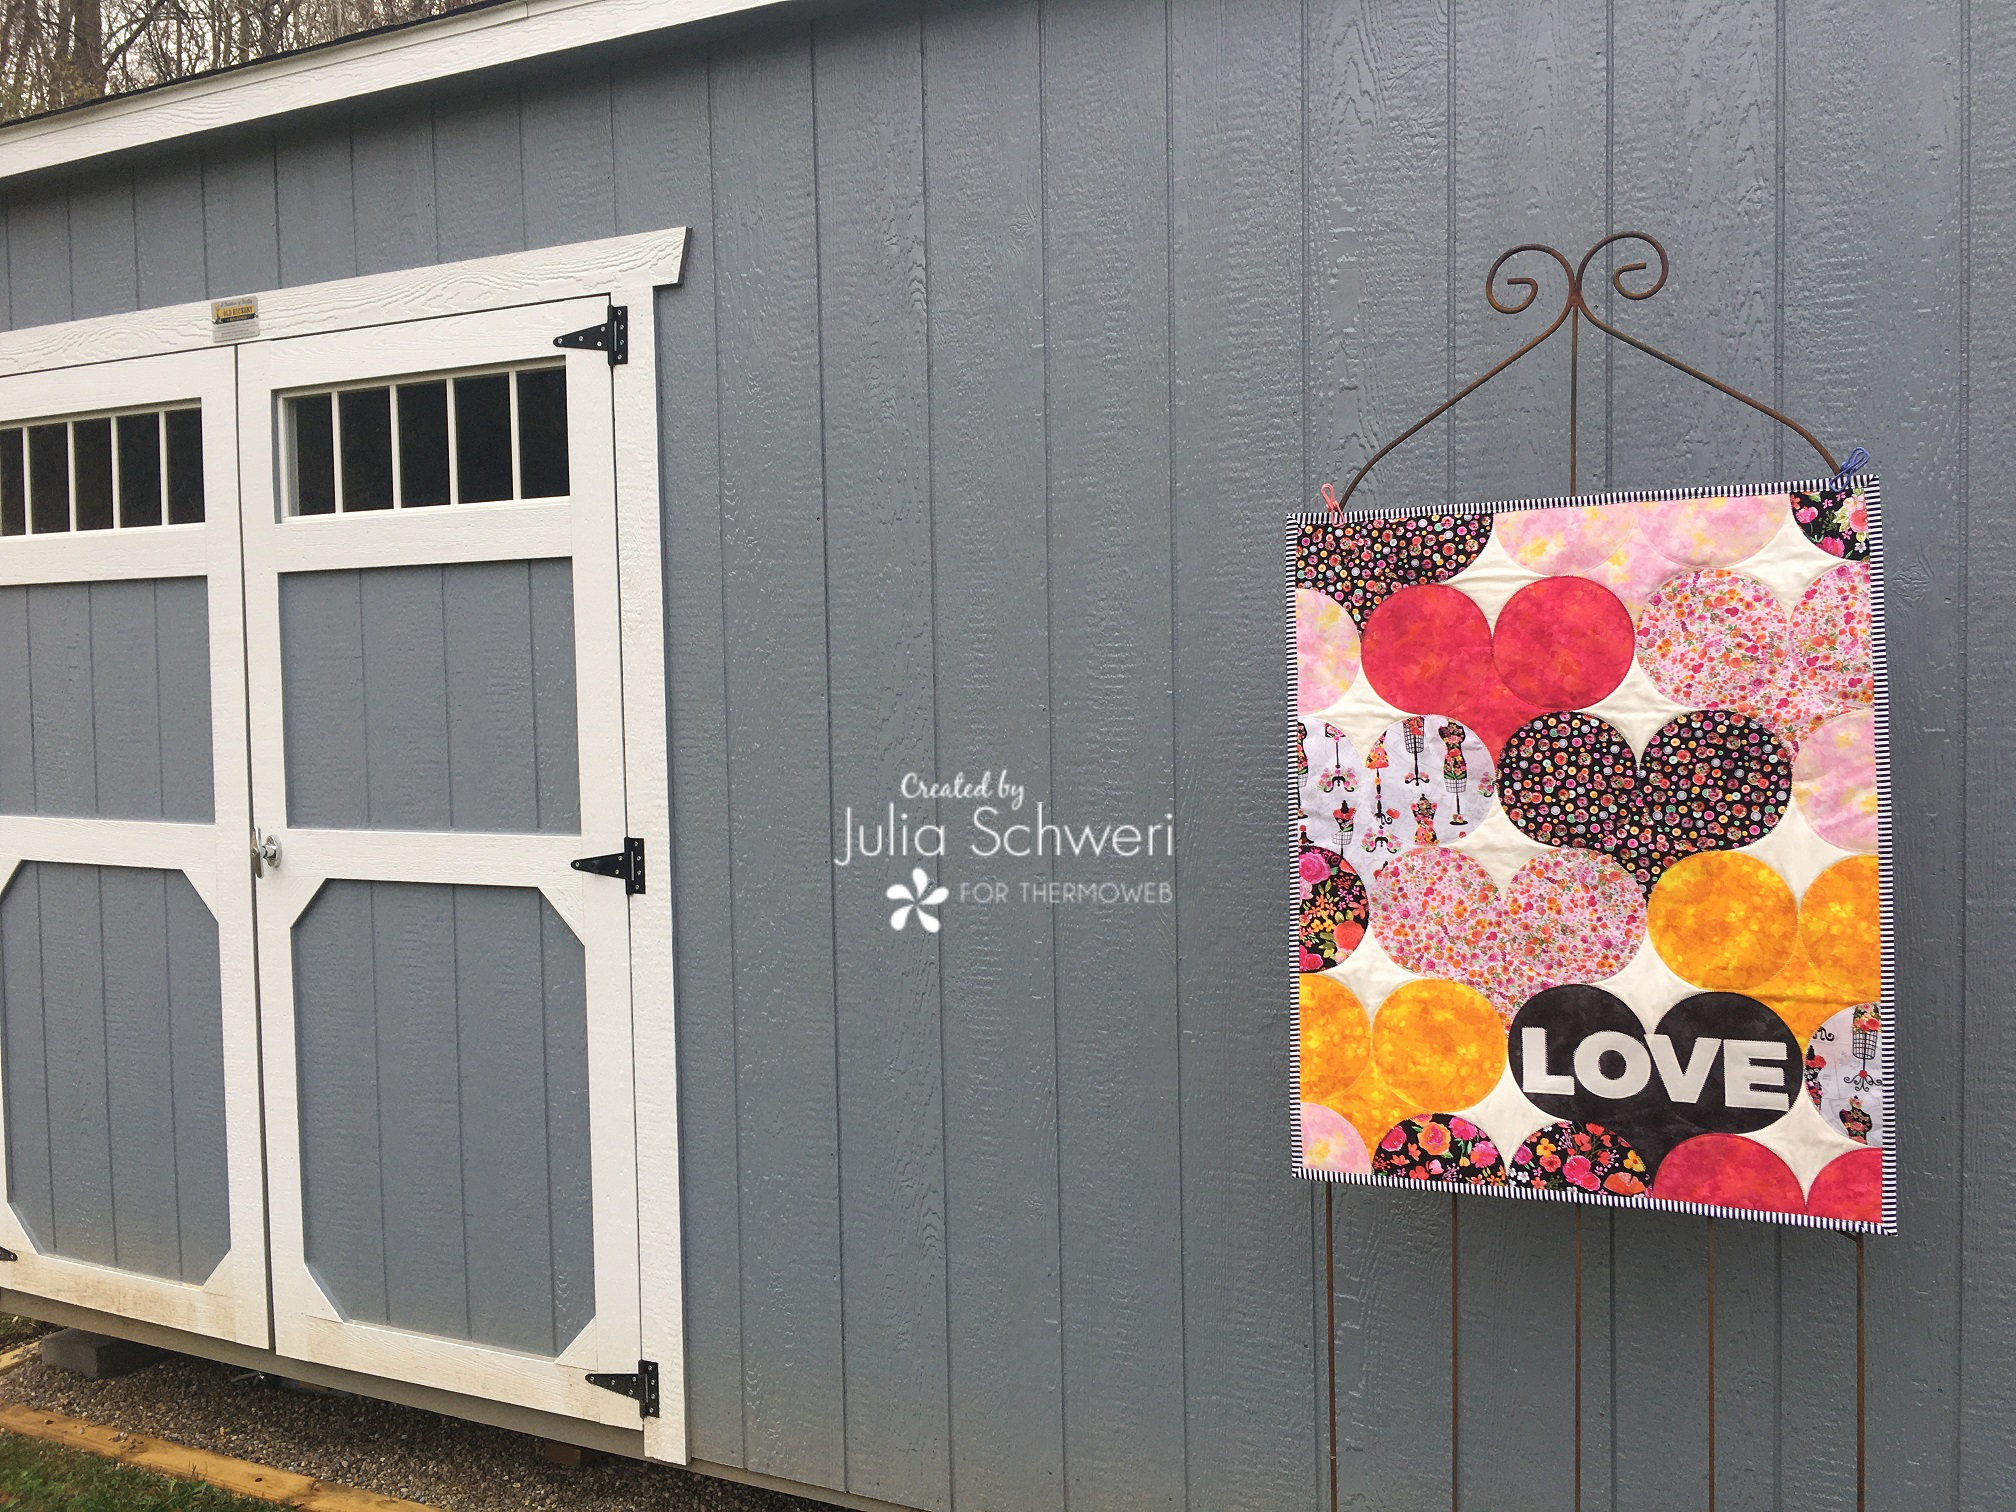
Thank you for following along with me today! I hope you enjoyed my “Circle of Love” hanging quilt tutorial. Come back soon to see what else will be starting to bloom with Inflorescence Designs!
Starting to bloom by choosing JOY ~ Julia
[…] Get your favorite room ready for Valentine’s Day with this Circle of Love quilt. […]
[…] full pattern and tutorial for the “Circle of Love” wall hanging can be found HERE on Thermoweb’s blog. My pillow cover is a variation of the pattern. I made my matching pillow […]