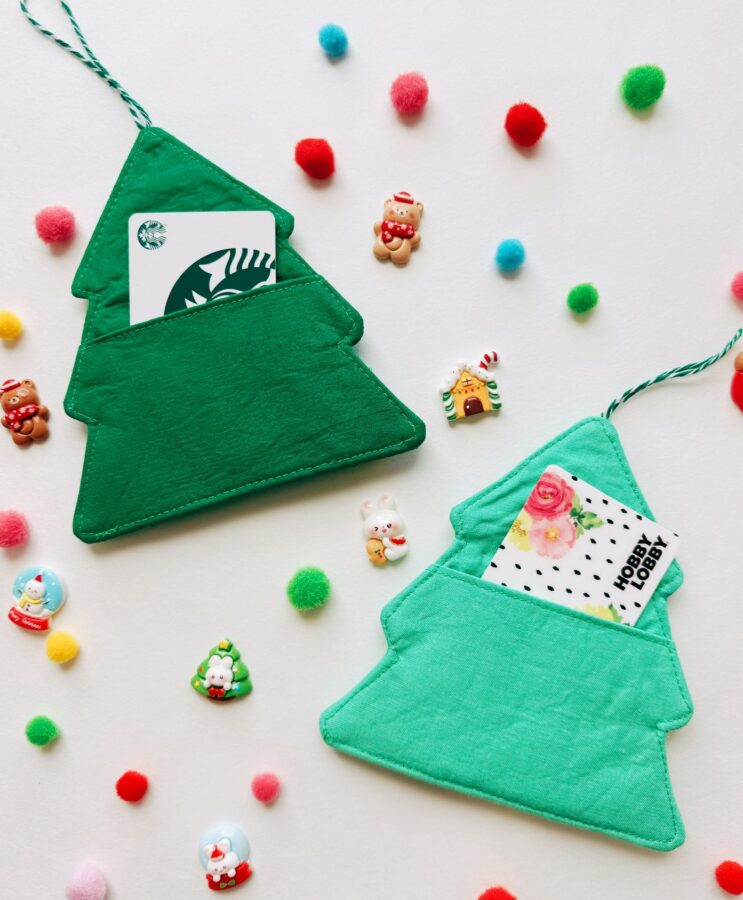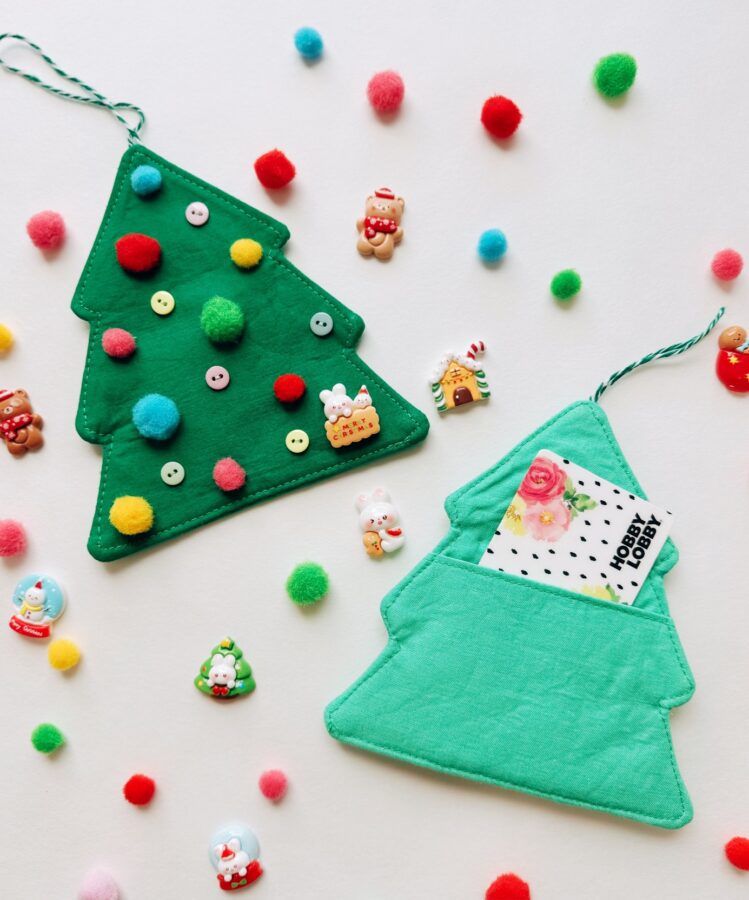
Hello! Oh golly Christmas is in a few more days! One thing I love making every Christmas are handmade gift card holders. They are easy to make and require little materials so scraps are perfect for this project. If you recall last Christmas on the Thermoweb blog, I made these cute Cottage Gift Card Holder Ornaments. Well, I’m keeping on with my tradition of gift card holders a – Christmas Tree Gift Card Holder Ornament. Let’s get started!
CHRISTMAS TREE GIFT CARD HOLDER ORNAMENT INSTRUCTIONS
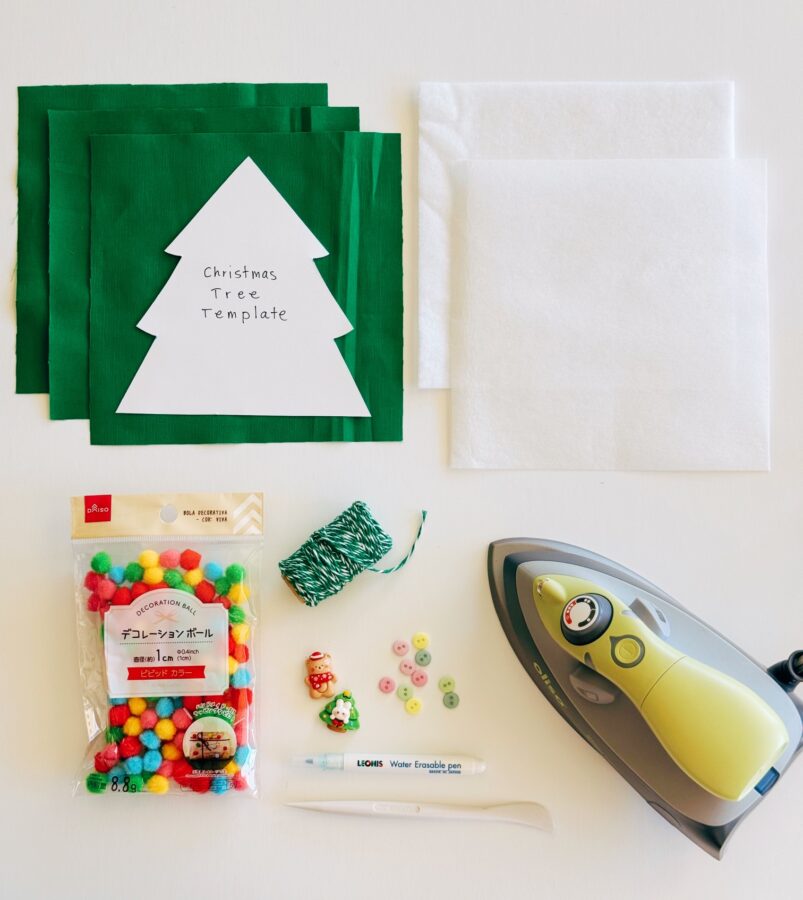
MATERIALS
- HeatnBond Fusible Interfacing – Heavyweight
- 1 green fat quarter or fabric scraps is great too (you can always chose different colors for your trees too!)
- Various Christmas embellishments (buttons, small felt decor, etc.)
- Ribbon or decorative twine
TOOLS USED
- Sewing machine
- Iron – I love OLISO!
- Scissors
- Water soluble pen
- Turning tool – such as a stiletto or chopstick
- CHRISTMAS TREE TEMPLATE – CLICK HERE
- Hot glue gun or needle and thread for adding embellishments
CUTTING
- Cut three 7″ x 7″ cotton squares in green fabric
- Cut three 7″ x 7″ HeatnBond Fusible Interfacing Heavyweight
- Use the provided template to cut all the shapes and fusible interfacings.
PREP
- Prep all the cut fabric pieces by attaching all fusible interfacings to each piece.

TIPS
- Use a 1/4″ seam allowance unless noted otherwise
- Follow the instructions for the HeatnBond Fusible Interfacing
LET’S BEGIN!
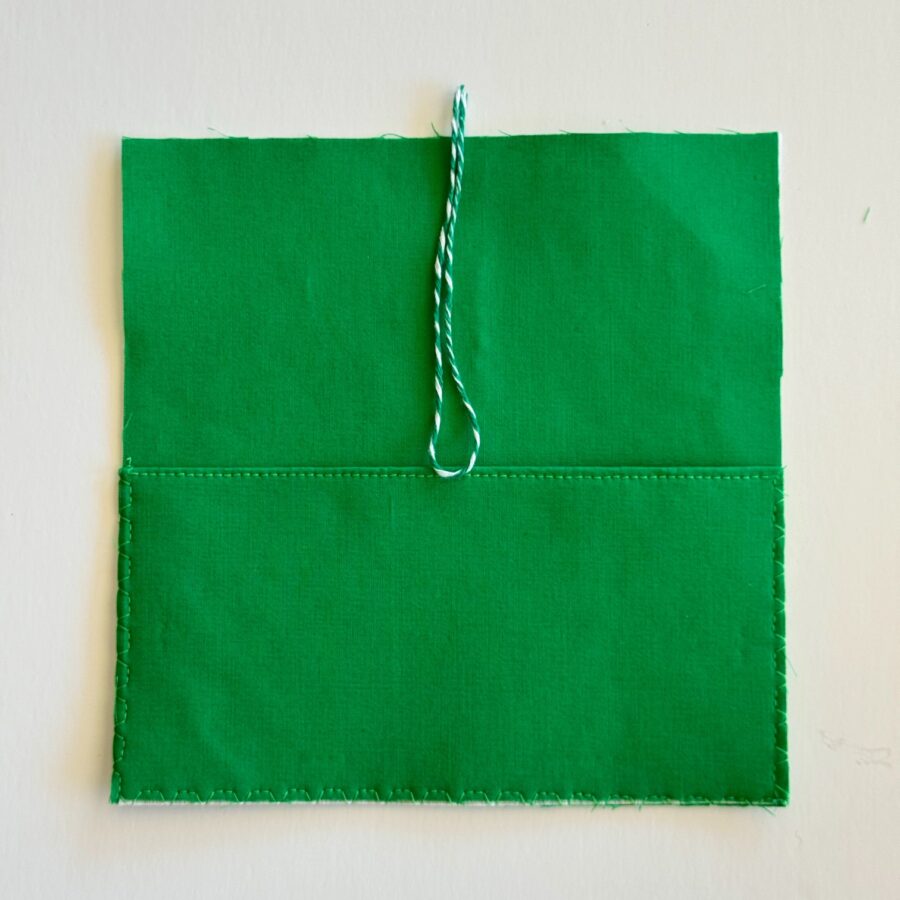
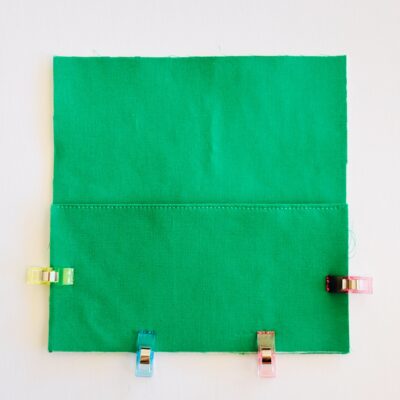
- After you have prepped all the square pieces by adding the HeatnBond Interfacings, make the back pocket. Take a 7″ x 7″ cotton square and fold the square from top to bottom. Press the folded seam with an iron and sew a seam close to the folded top edge.
 Place the folded pocket onto the front side of a second 7″ x 7″ cotton square, centering it towards the bottom. Clip in place and baste the pocket onto the square.
- Now take the Christmas Tree template and place it onto the wrong side of the pocket and trace the template using an erasable pen.

- Take a piece of ribbon or cording (cut to desired length) and make a loop. Take the raw edges of the loop and place onto the backside of where the top of the Christmas Tree is traced. Baste it onto the right side.
- Take the traced square and place it onto the third 7″ x 7″ cotton square with wrong sides facing out (right sides facing in). Clip in place.

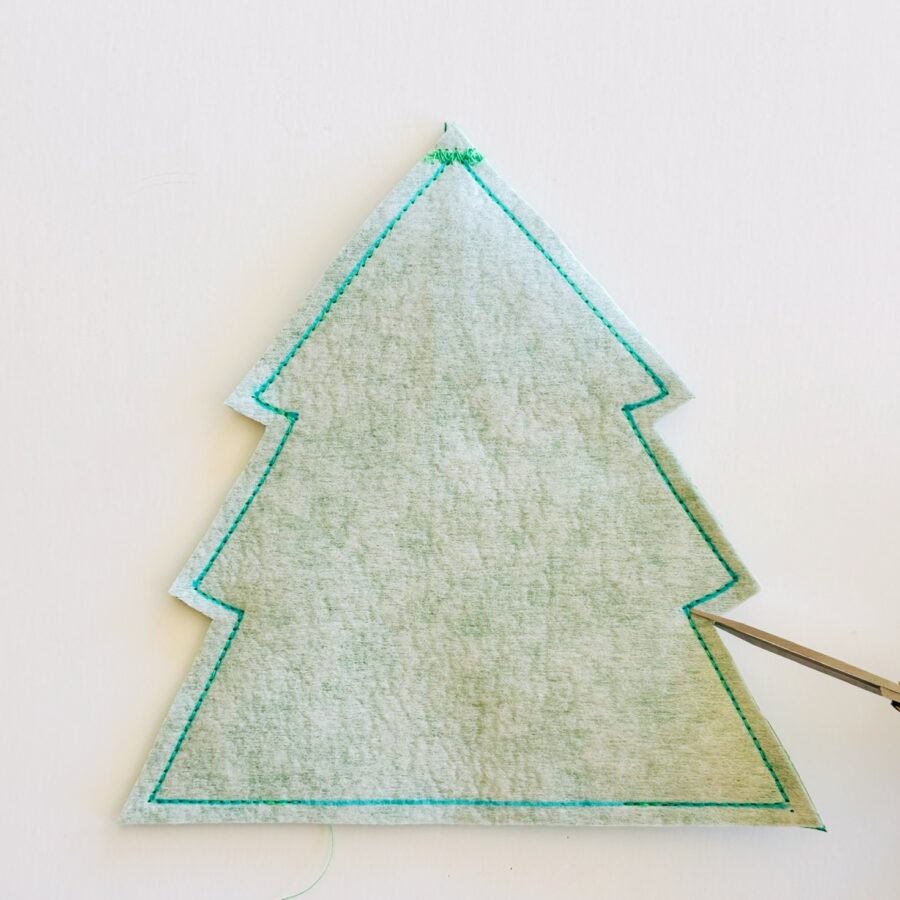
- Sew along the traced outline of the tree (make sure the string is not in the way of the outline), leaving a 2 1/2″ opening on the bottom (make sure to backstitch at the start and end, this will be where you turn the tree right side out).
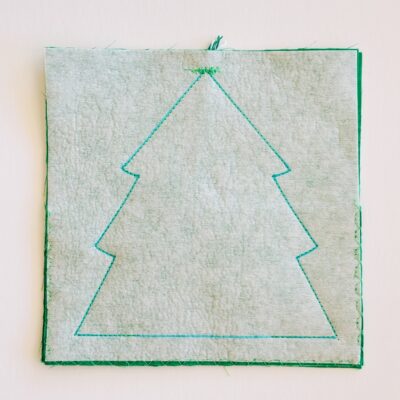
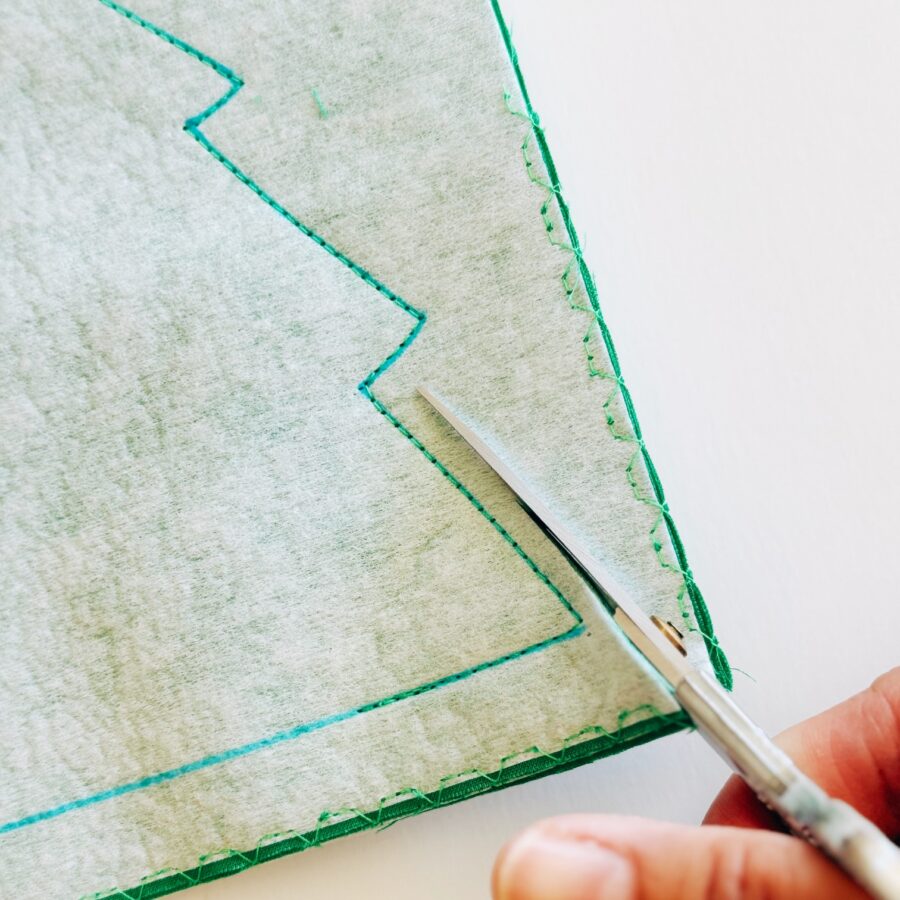
- Cut the tree out leaving a 1/4″ seam from the sew line. Cut notches on all tree indentations and the top of the tree.

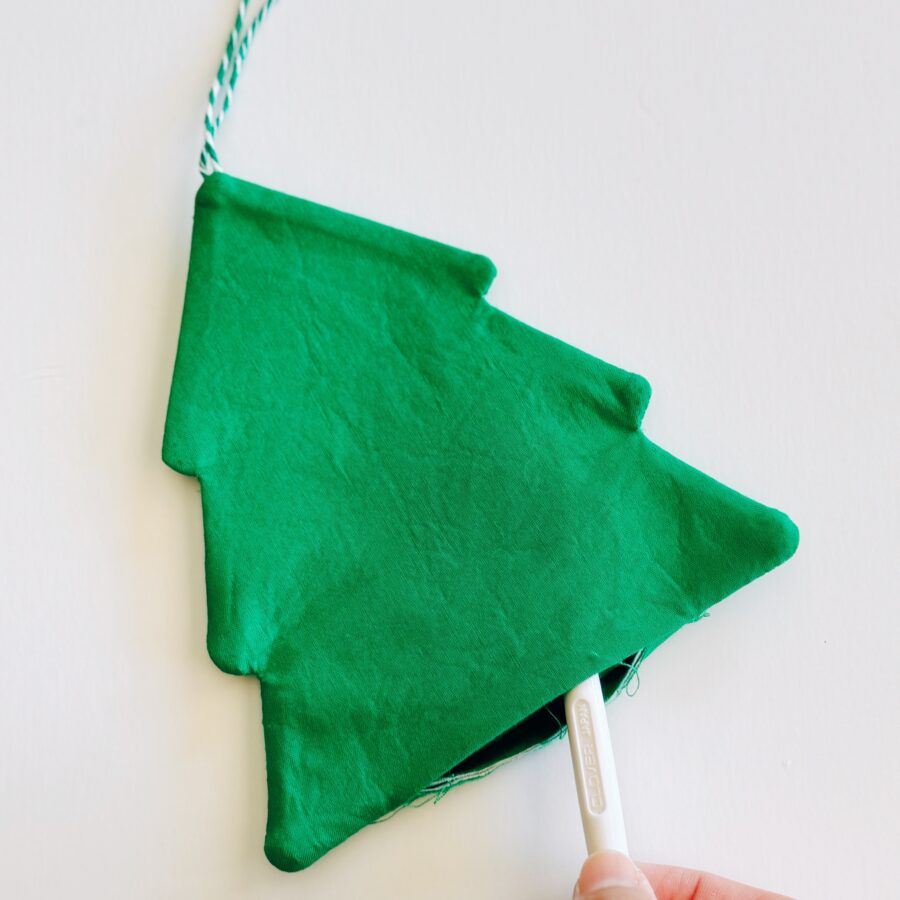
- Turn the tree right side out through the bottom opening. Using your stiletto or chopstick, turn out all the corners, indentations, and points of the tree.
- Fold in the opening and sew the bottom opening by hand stitching it closed.

- Sew a seam around the outer edges of the tree to give it a finished look. Add your embellishments by either hand stitching in place or you can use a hot glue gun too.
 You are now done! Put a gift card on the back pocket and hand it on the tree!

Merry Christmas!

