This is the time of year when lots of celebrations abound, with wedding season and graduation just around the corner. So today I am sharing a pair of celebratory cards with you featuring the fun new Stampnfoil collection for Therm O Web by Gina K. Designs. These cards will work great for all your spring and summer celebrations. And with lots of fabulous Fancy Foils colors and patterns to choose from, there’s one to suit any style or occasion.
Celebrate In Style with Gina K. Designs Card
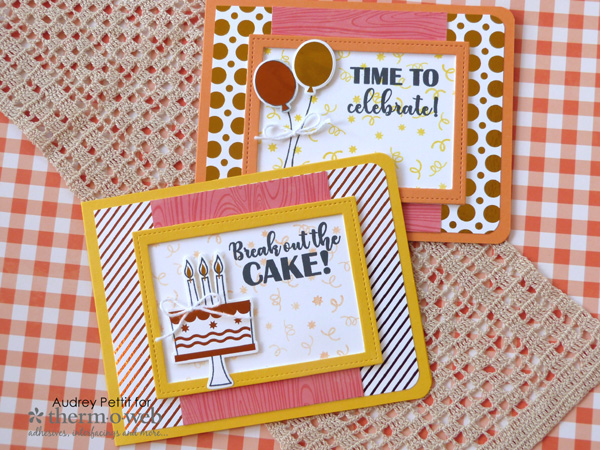
Celebrate Card Set by Designer Audrey Pettit
Supplies:
Therm O Web/Gina K Designs:
Premium Cardstock: Luxury White, Wild Dandelion, Sweet Mango
Stampnfoil Stamp Set: Time to Celebrate
Stampnfoil Foil-Mates Detail Sheet: Time to Celebrate
Stampnfoil Die Set: Time to Celebrate
Foil-Mates Backgrounds: Bold Backdrops
Fancy Foils: Wild Dandelion, Sweet Mango
Die Sets: Stitched Rectangles Large
Premium Dye Inkpad Set: Prime Time
ThermOWeb Products:
iCraft Purple Tape
3D Zots Clear Adhesive Dots
XL Memory Tape Runner
iCraft Mixed Media Adhesive
Other Supplies:
Royal Sovereign Laminator
Jillibean Soup Farmhouse Stew Paper
Memento Tuxedo Black Ink
EK Success Corner Rounder Punch
Stampin’Up Twine
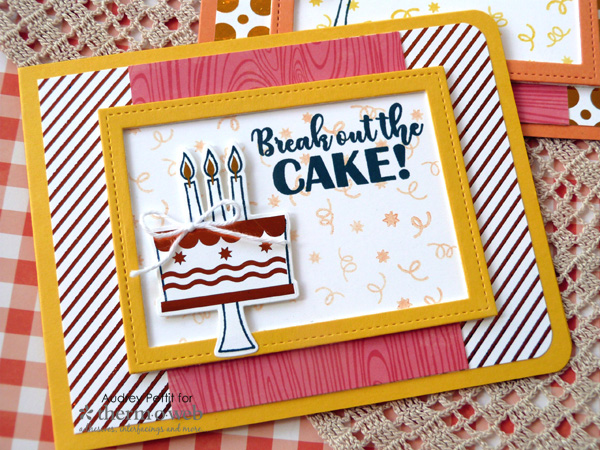
Celebrate In Style with Gina K. Designs Card
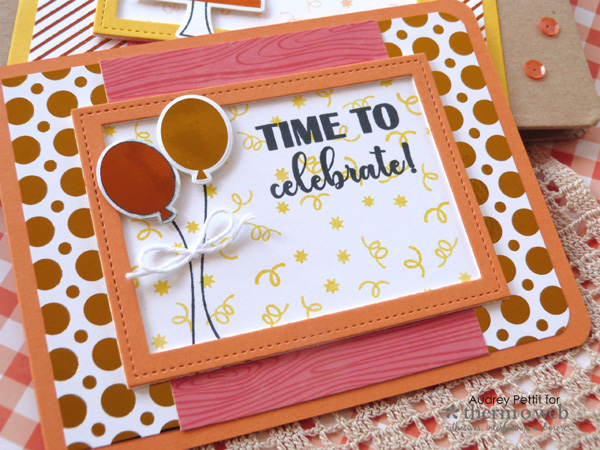
I absolutely adore this bright and happy color combo! I have put together Sweet Mango and Wild Dandelion Fancy Foils, papers, and inks from the GinaK line here, along with a bit of bright pink patterned paper from our recent match-up with our friends at Jillibean Soup. To me, this combo just screams spring!
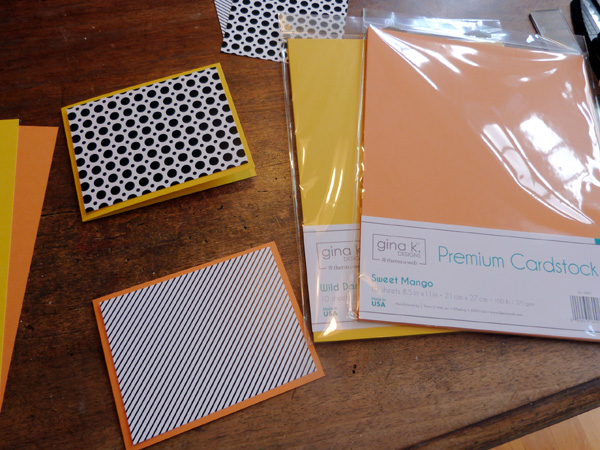
To begin, cut sheets of Gina K Premium Cardstock in half, lengthwise, and then score at the half-way mark to create side-folding A2-sized card bases. Trim some Foil-Mates Backgrounds Bold Backdrops panels slightly smaller than your card base. Turn on your laminator machine, and let it heat up while you work on the next step.
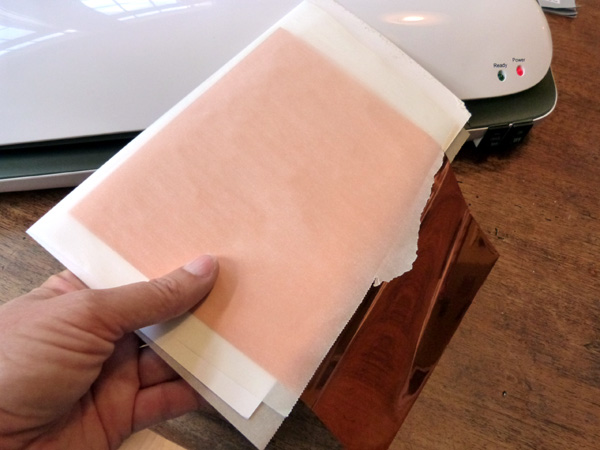
Place a piece of scrap cardstock between the sheets of a folded piece of parchment paper. Place the Foil-Mates panel on top of the cardstock, with the toner patterned side up. Place a piece of Fancy Foils on top of the Foil-Mate panel, with the silver side down and the colored side of the foil up. When your green ready light turns on, run this sandwich through your laminator machine.
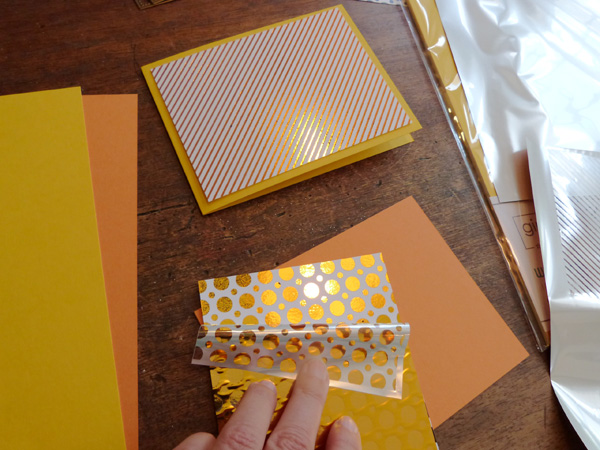 Allow your paper to cool for just a few seconds, and then pull off the Fancy Foil sheet to reveal your beautifully foiled design.
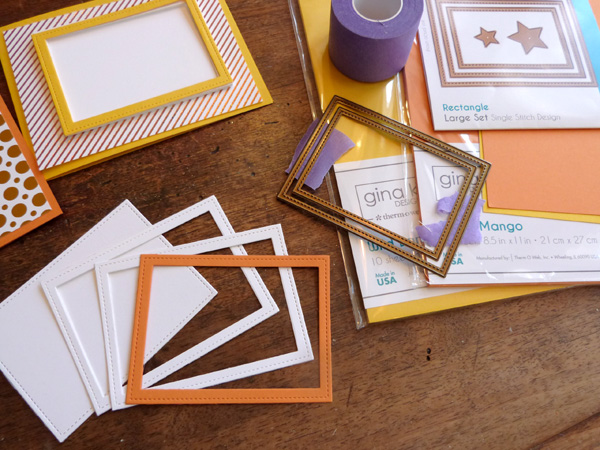
Select the two largest dies from the Gina K Designs Large Rectangle die set, and grab some Luxury White and colored cardstocks to create some frames. Die cut the largest rectangle from white cardstock, and then nestle the two die shapes together and hold them in place with Purple Tape. For each card design, die cut two frames from white cardstock, and one frame from your colored cardstock. Adhere all of the frame die cuts together in a stack, with the colored frame on top, using Mixed Media liquid adhesive.
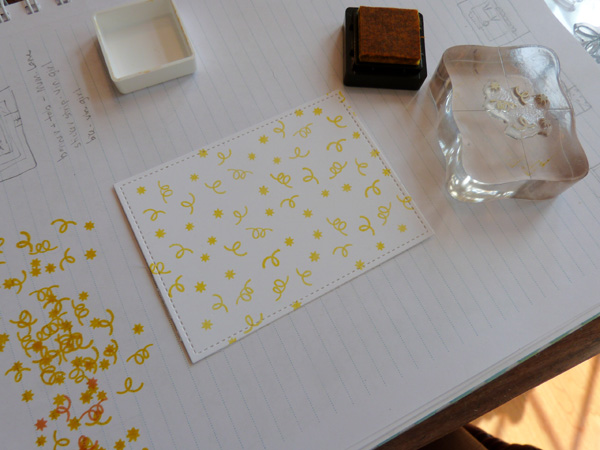
Before adhering the frame to the background, we’ll do some stamping first. Using the confetti image from the Let’s Celebrate Stampnfoil stamp set, do some second generation stamping in an all-over background design. To do this, ink up your stamp with Gina K Designs Premium Dye Ink cubes, and stamp the image once onto scrap paper before stamping on your finished project.
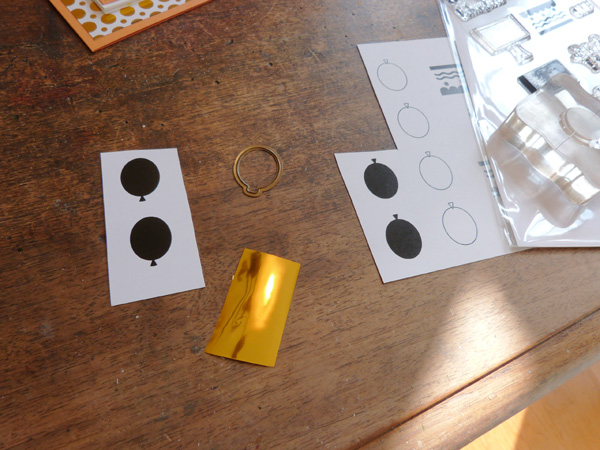
Trim out some images from the Let’s Celebrate Stampnfoil Toner Detail Sheet. For my cards, I used both the solid balloons and the cake, stand, and candle images. Trim small pieces of Fancy Foils that are slightly bigger than the toner images. Using the same sandwich as described above, run the toner detail pieces and foil through the laminator machine.
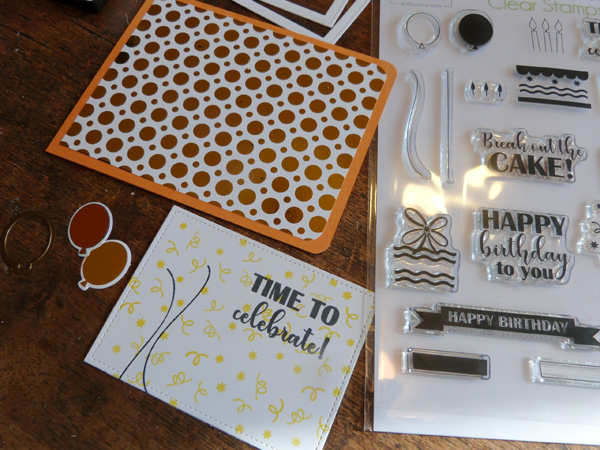
Stamp a sentiment in the upper right corner of the stitched rectangle die cut. Stamp balloon strings on the left side of the die cut. Die cut the foiled balloons with the matching Let’s Celebrate die.
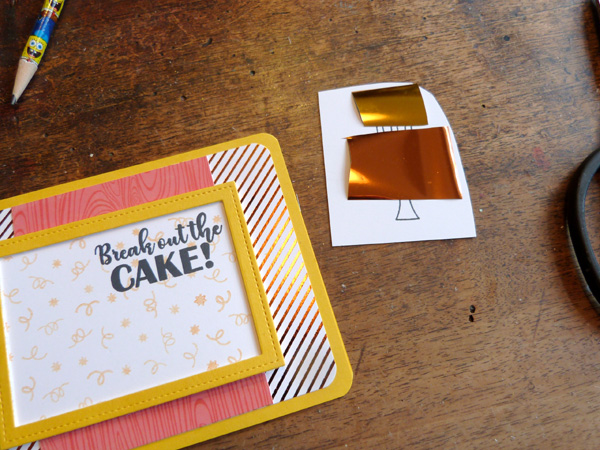
Repeat the foiling process with the cake image. Here you can see that I used two different colors of foil on the one image.
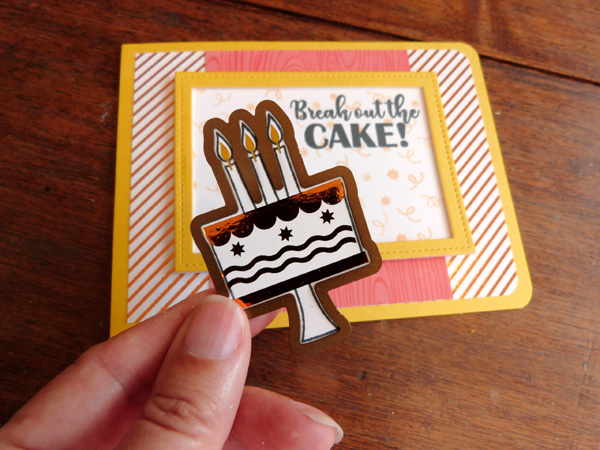
Die cut the cake with the matching die. Adhere the die cut cardstock frame to its background using the liquid adhesive. Adhere the cake and balloons to the card using Therm O Web 3D Zots dots. Round the two right card corners using a corner rounder punch. Tie small bows from white twine, and adhere them to the cake and balloon strings using Mixed Media adhesive.
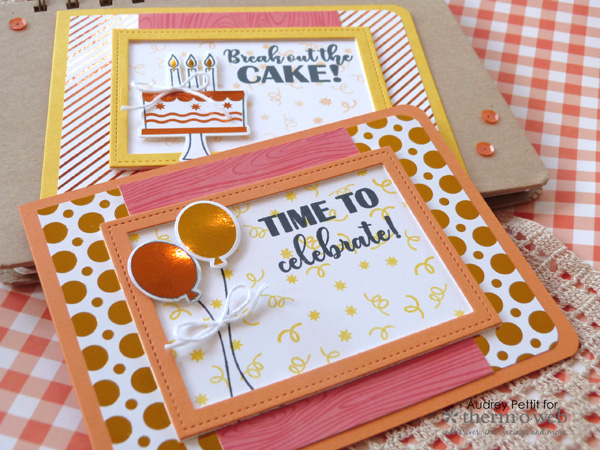
Now check out that amazing Fancy Foil shine!
Enjoy!
