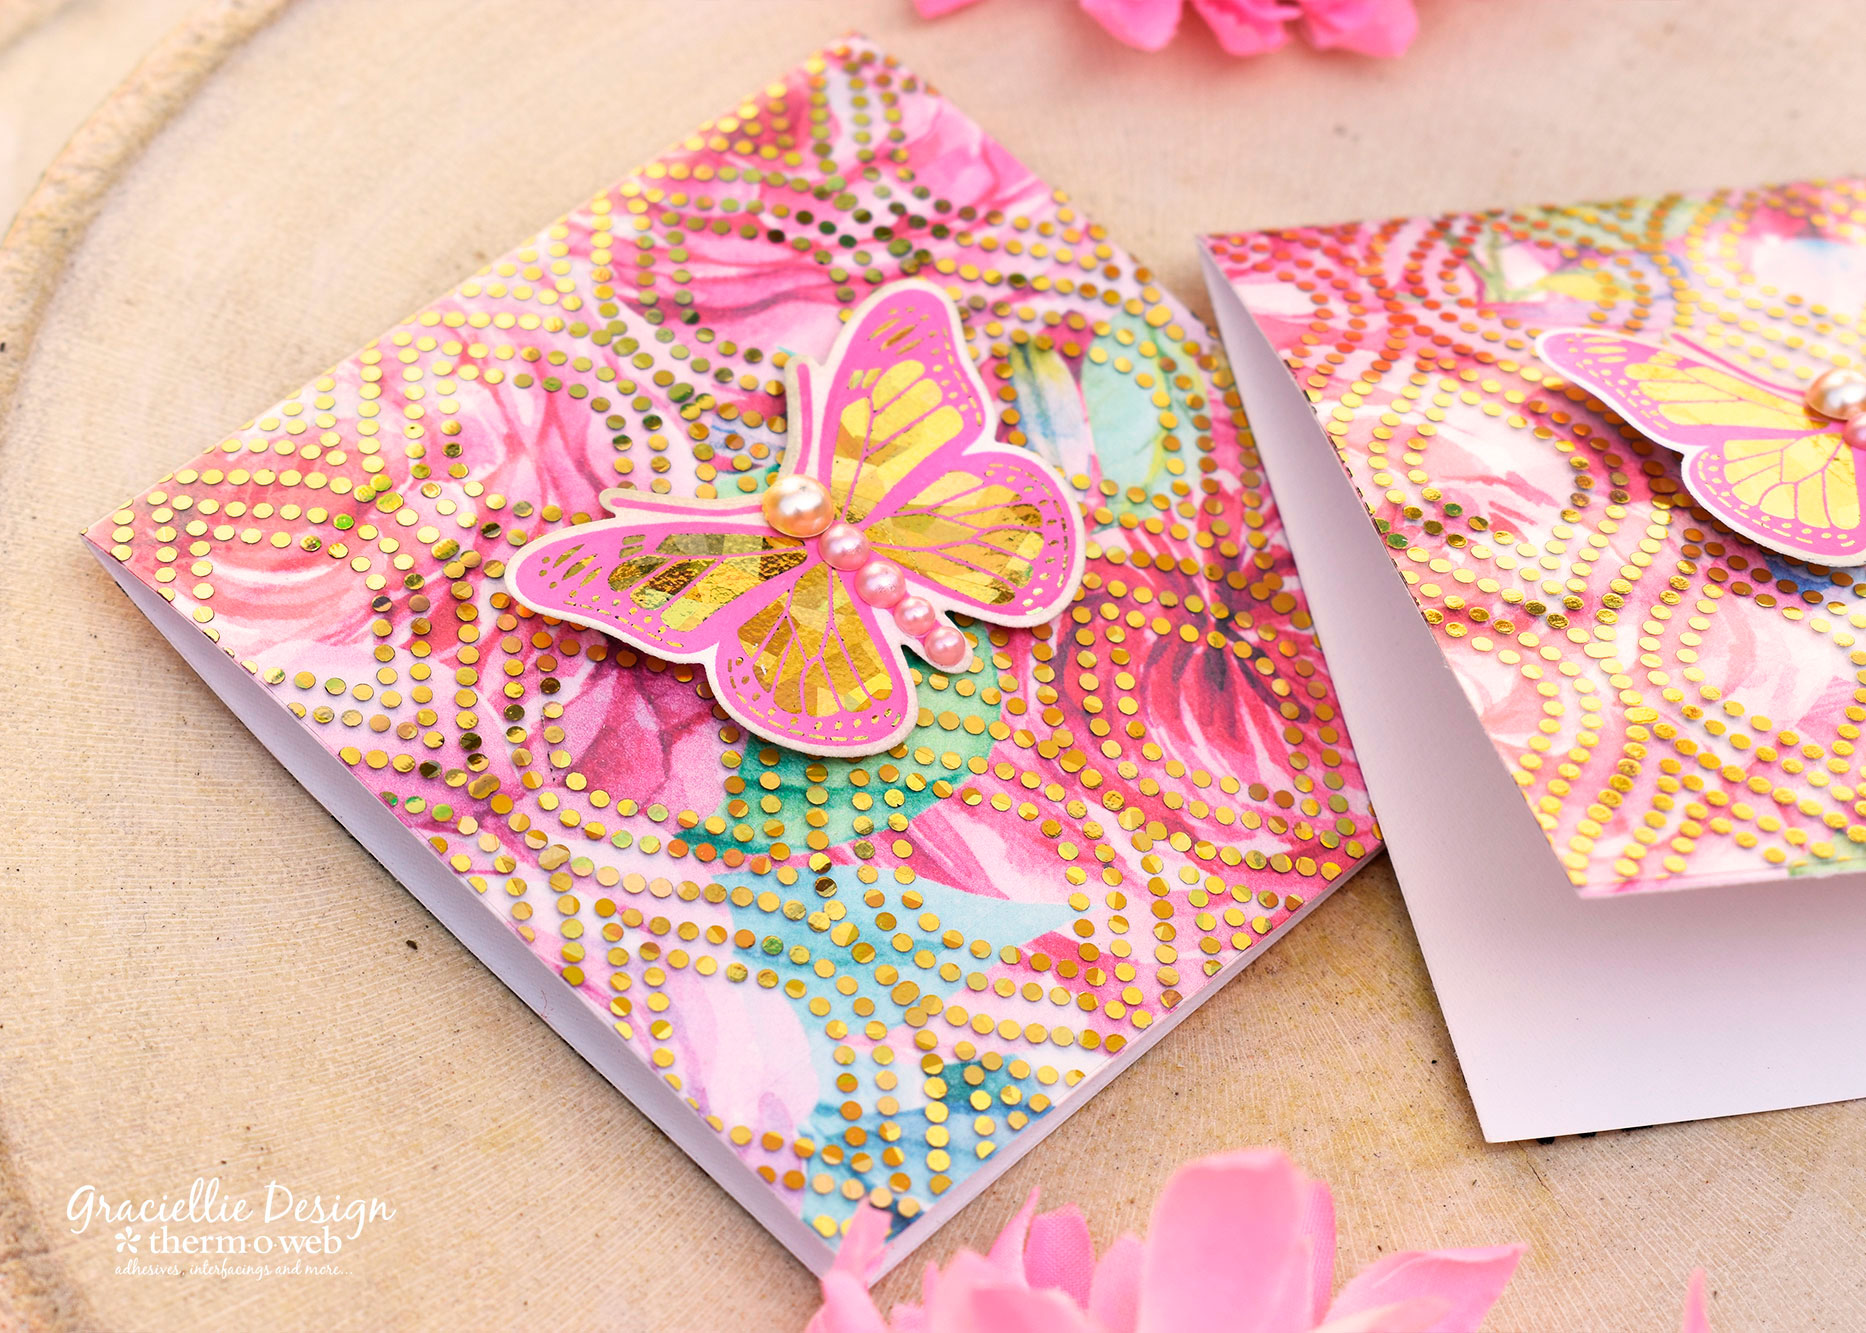
One of my favorite new releases by Therm O Web are the Deco Foil Clear Toner Sheets… I think they are so very versatile and I enjoy mixing and layering them with patterned papers. Today I’m sharing a quick and easy idea using these new sheets, to help you create beautiful notecards for every occasion.
Quick and Easy Notecards with Deco Foil Clear Toner Sheets

Therm O Web Supplies:
Deco Foil™ Clear Toner Sheets • Groovy
Deco Foil™ Transfer Sheets • Gold Shattered Glass
Sticky Dot Mini Runner
Gina K. Designs StampnFoil™ Stamp Set • Butterfly Kisses
Gina K. Designs StampnFoil™ Foil-Mates Detail Sheet • Butterfly Kisses
Gina K. Designs StampnFoil™ Die Set • Butterfly Kisses
Foil Laminator • 12 inch
Other Supplies:
Pink & Blue Watercolored Digital Papers
InkJet printer
Paper Trimmer
Bone Folder
Distress Oxide ink in Picked Raspberry
Quick & Easy Notecards with Deco Foil Clear Toner Sheets Instructions:
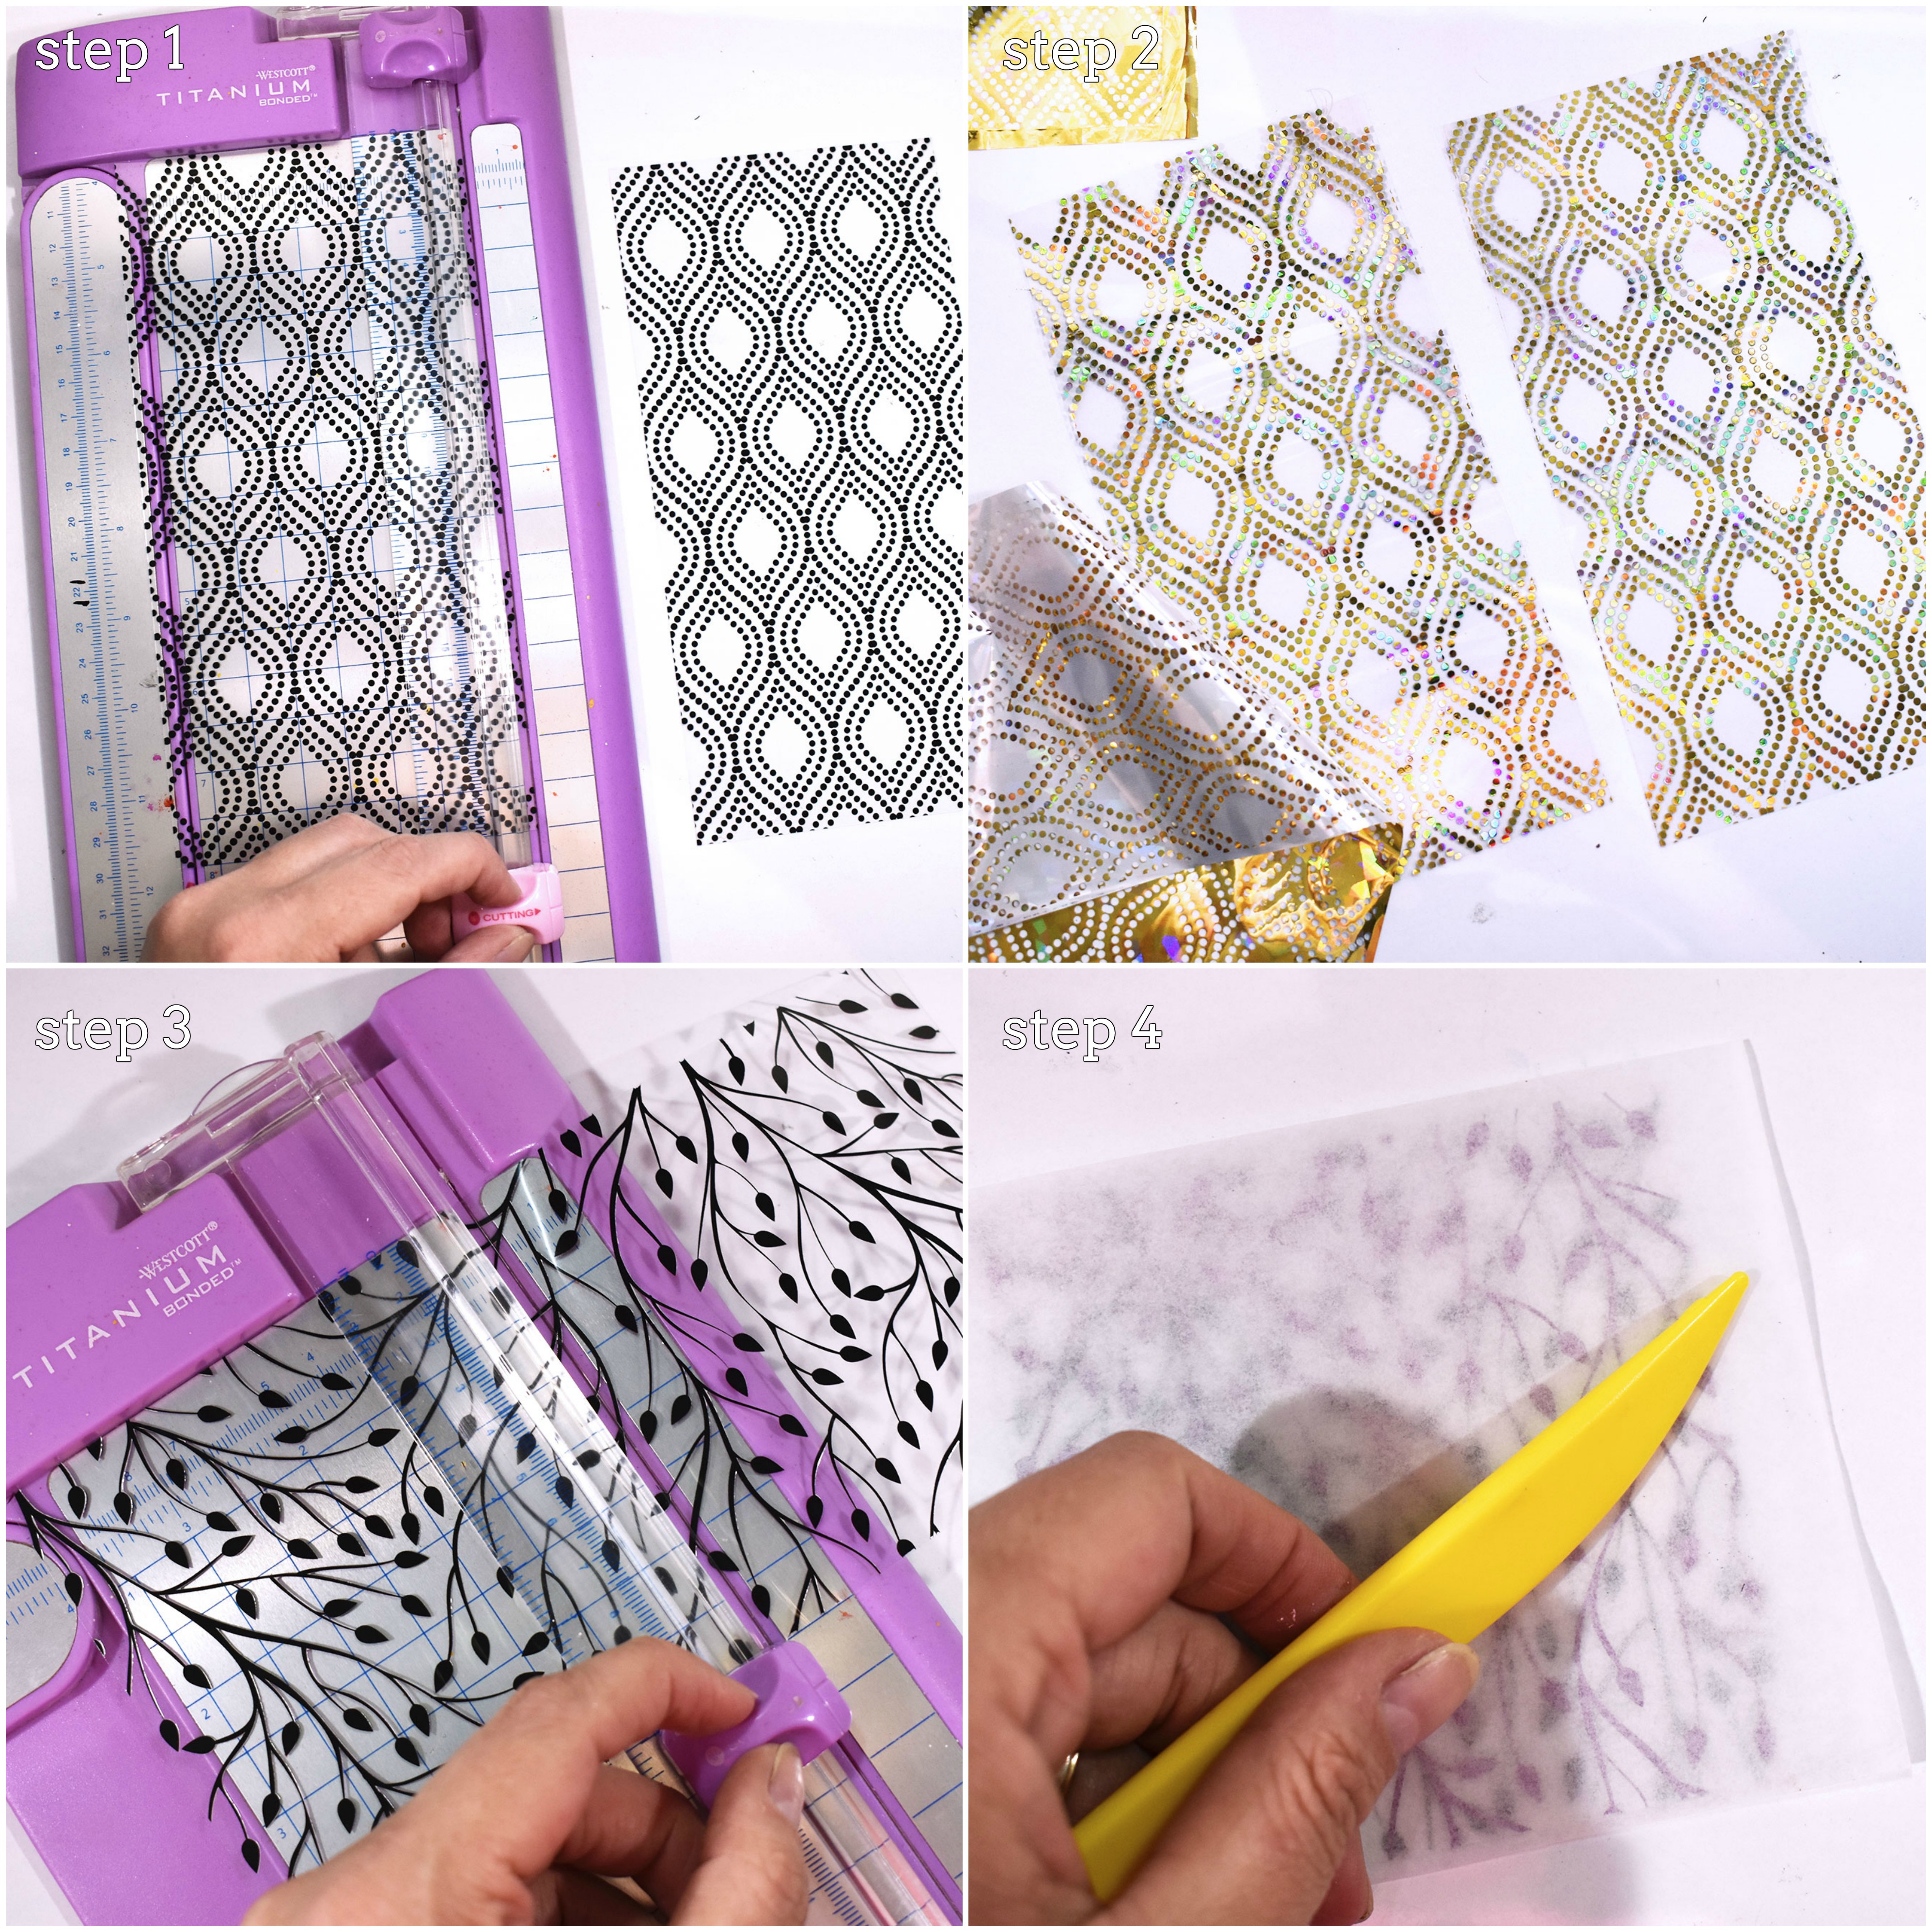
You will be able to create these notecards in a few easy steps:
1. Cut your favorite Deco Foil Clear Toner Sheet to 4″ by 8″ pieces.
2. Cover the pieces with your favorite Deco Foil Transfer Sheet, cover it with a Deco Foil Parchment Paper sheet folded in half and run through a Foil Laminator.
3. Once your Clear Toner piece is foiled, turn it around and score it at 4″ (right on the center of the piece).
4. To fold the Clear Toner piece, carefully cover it with Deco Foil Parchment Paper and run a bone folder across the scored area. This will prevent any scratches on the foiled Clear Toner Sheets.
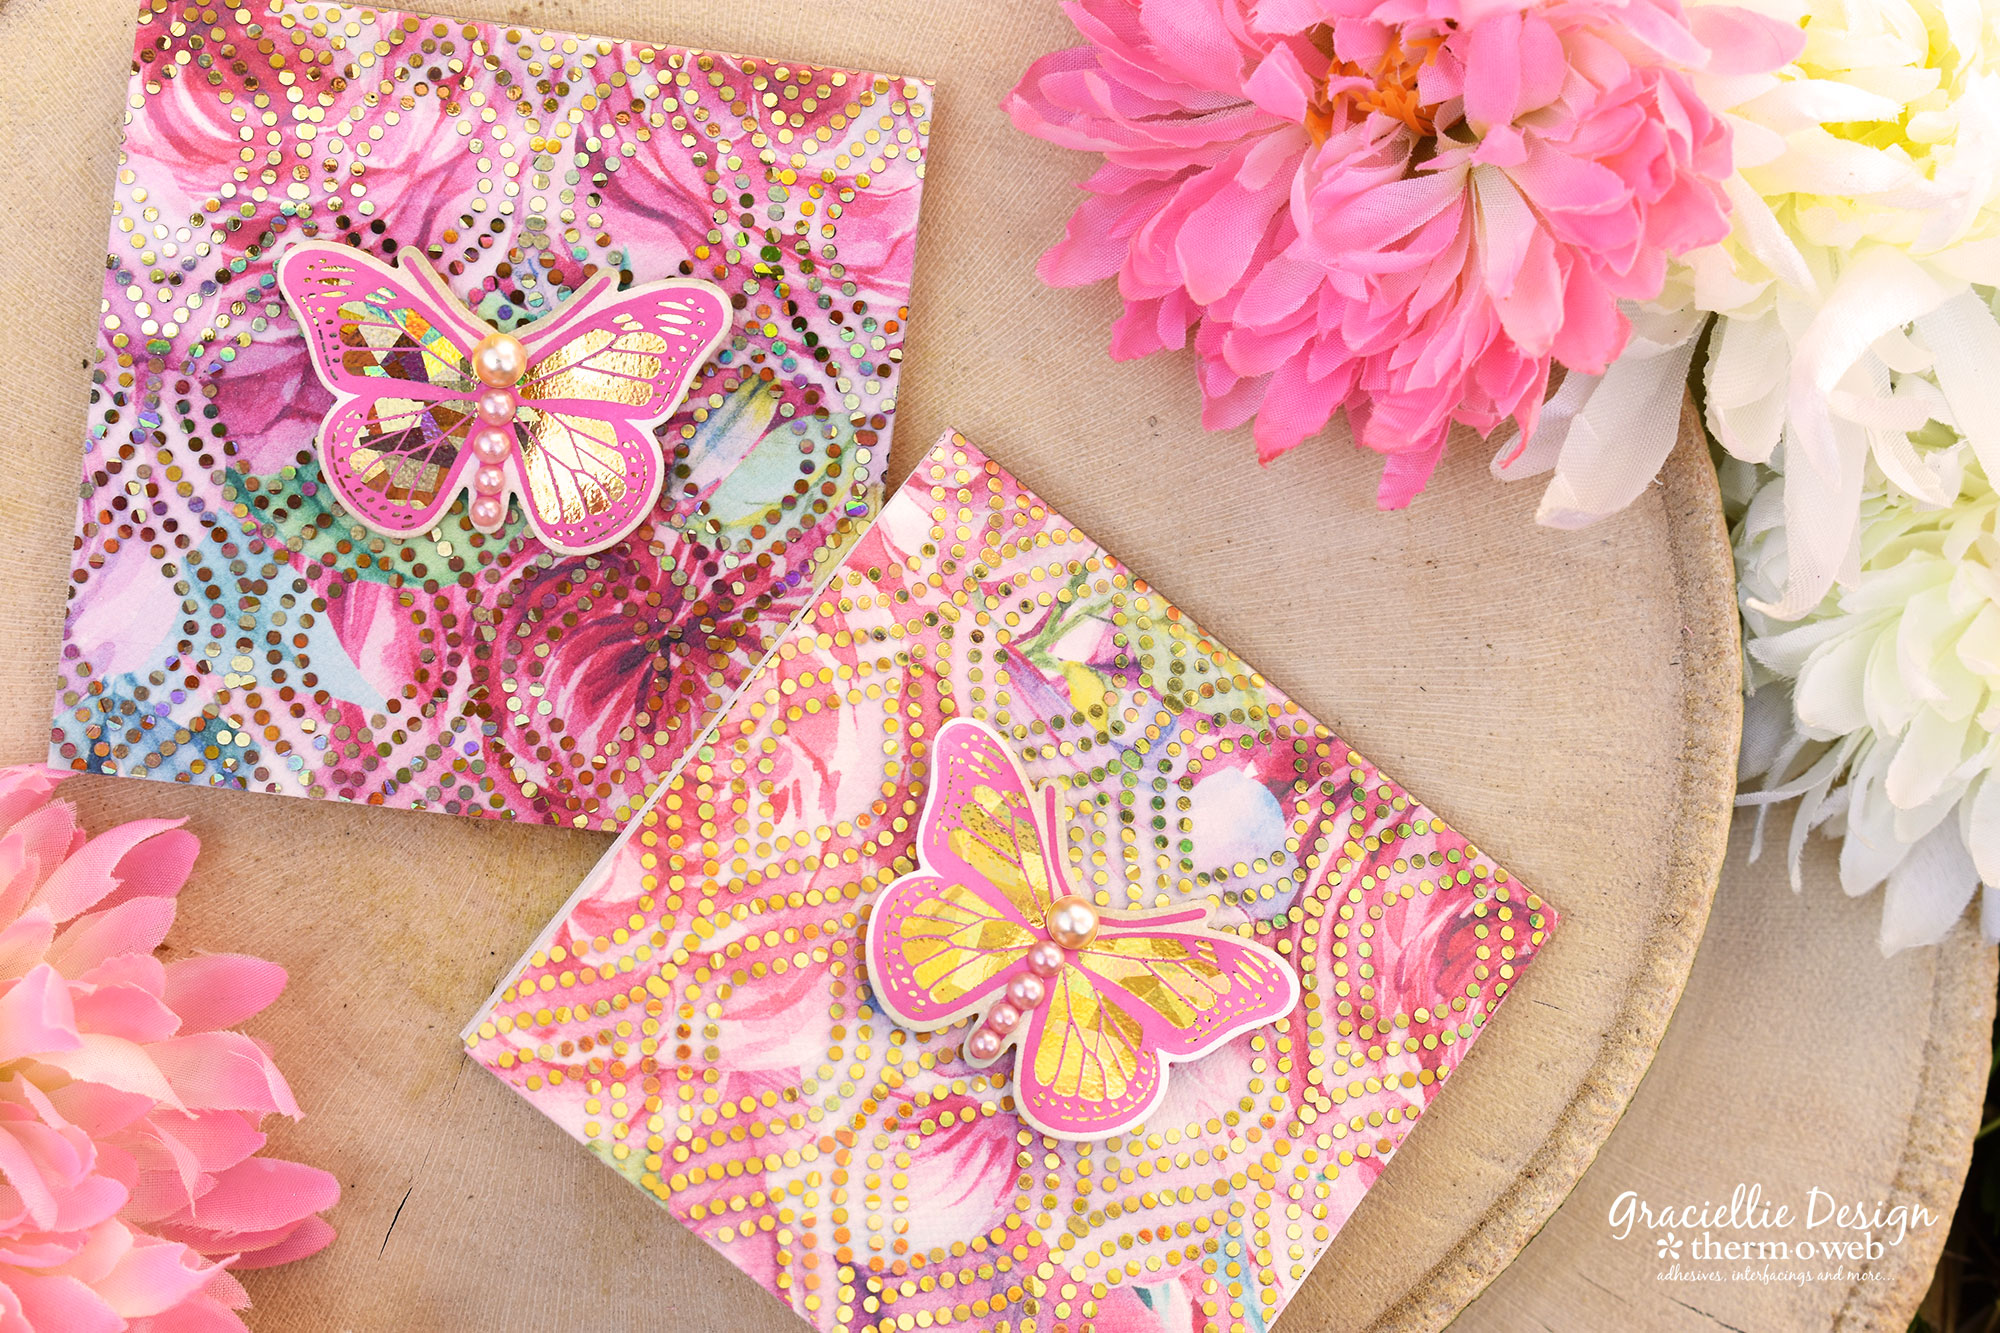
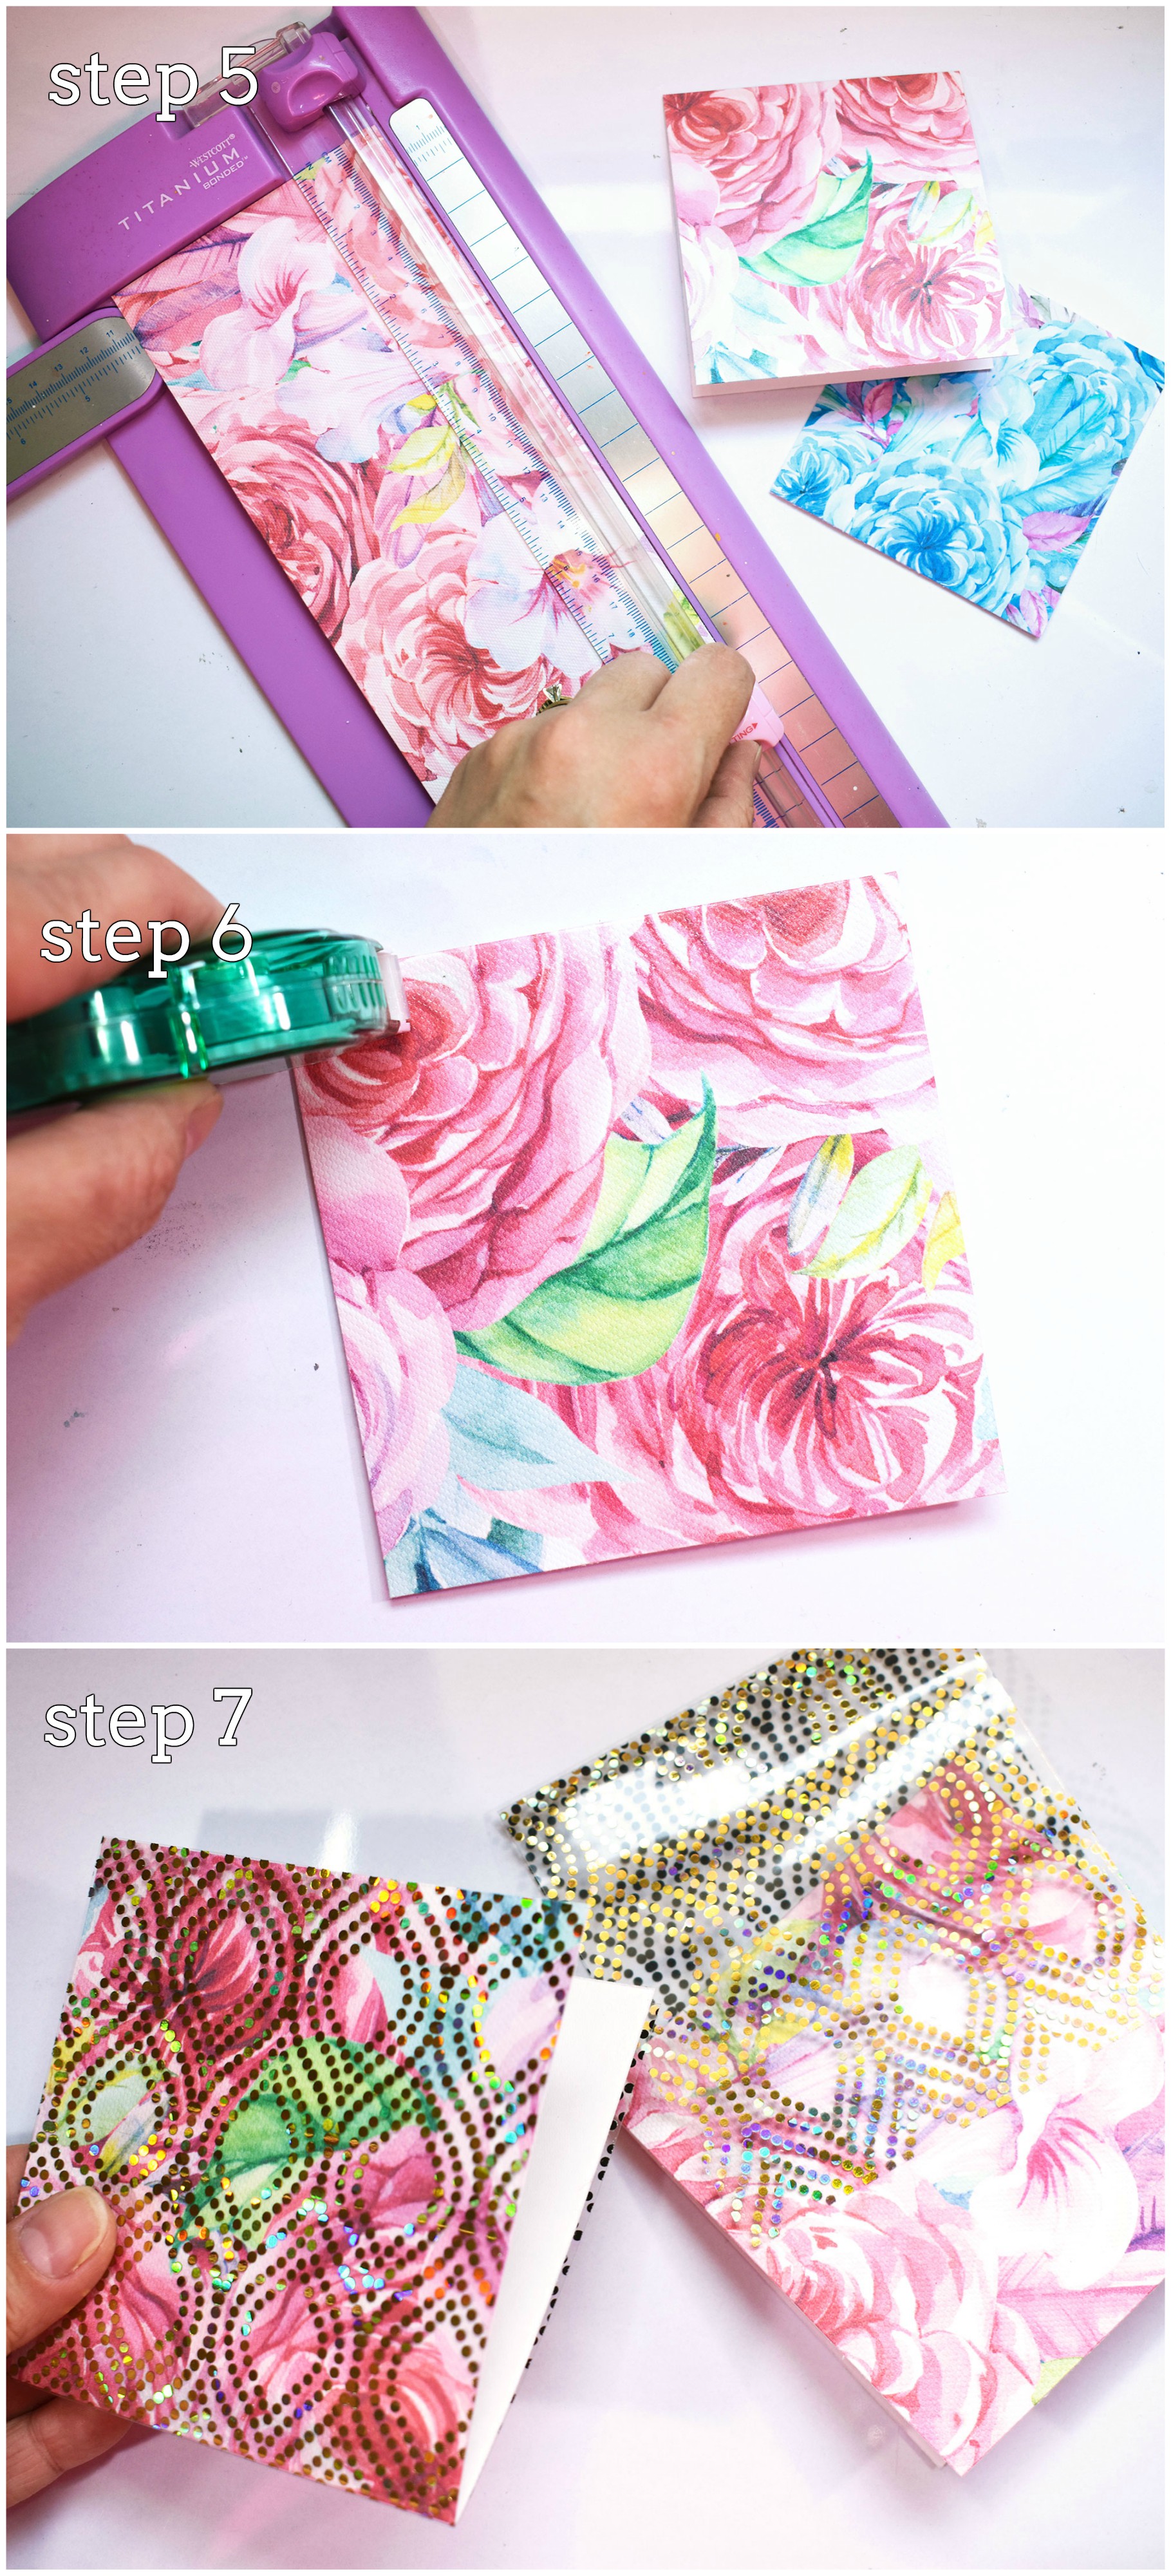
5. Go ahead and cut 4″ by 4″ notecards from your favorite patterned paper. Bold florals go well with detailed patterns and that is why I combined this paper with the Groovy Clear Toner Sheets.
6. Use the Sticky Dot Tape Runner to apply adhesive to the top of the notecard.
7. Carefully slide the Clear Toner Sheet notecard over the patterned paper notecard and attach both pieces making sure to align them perfectly.*
* Repeat steps 6 and 7 on the other side of the notecard.
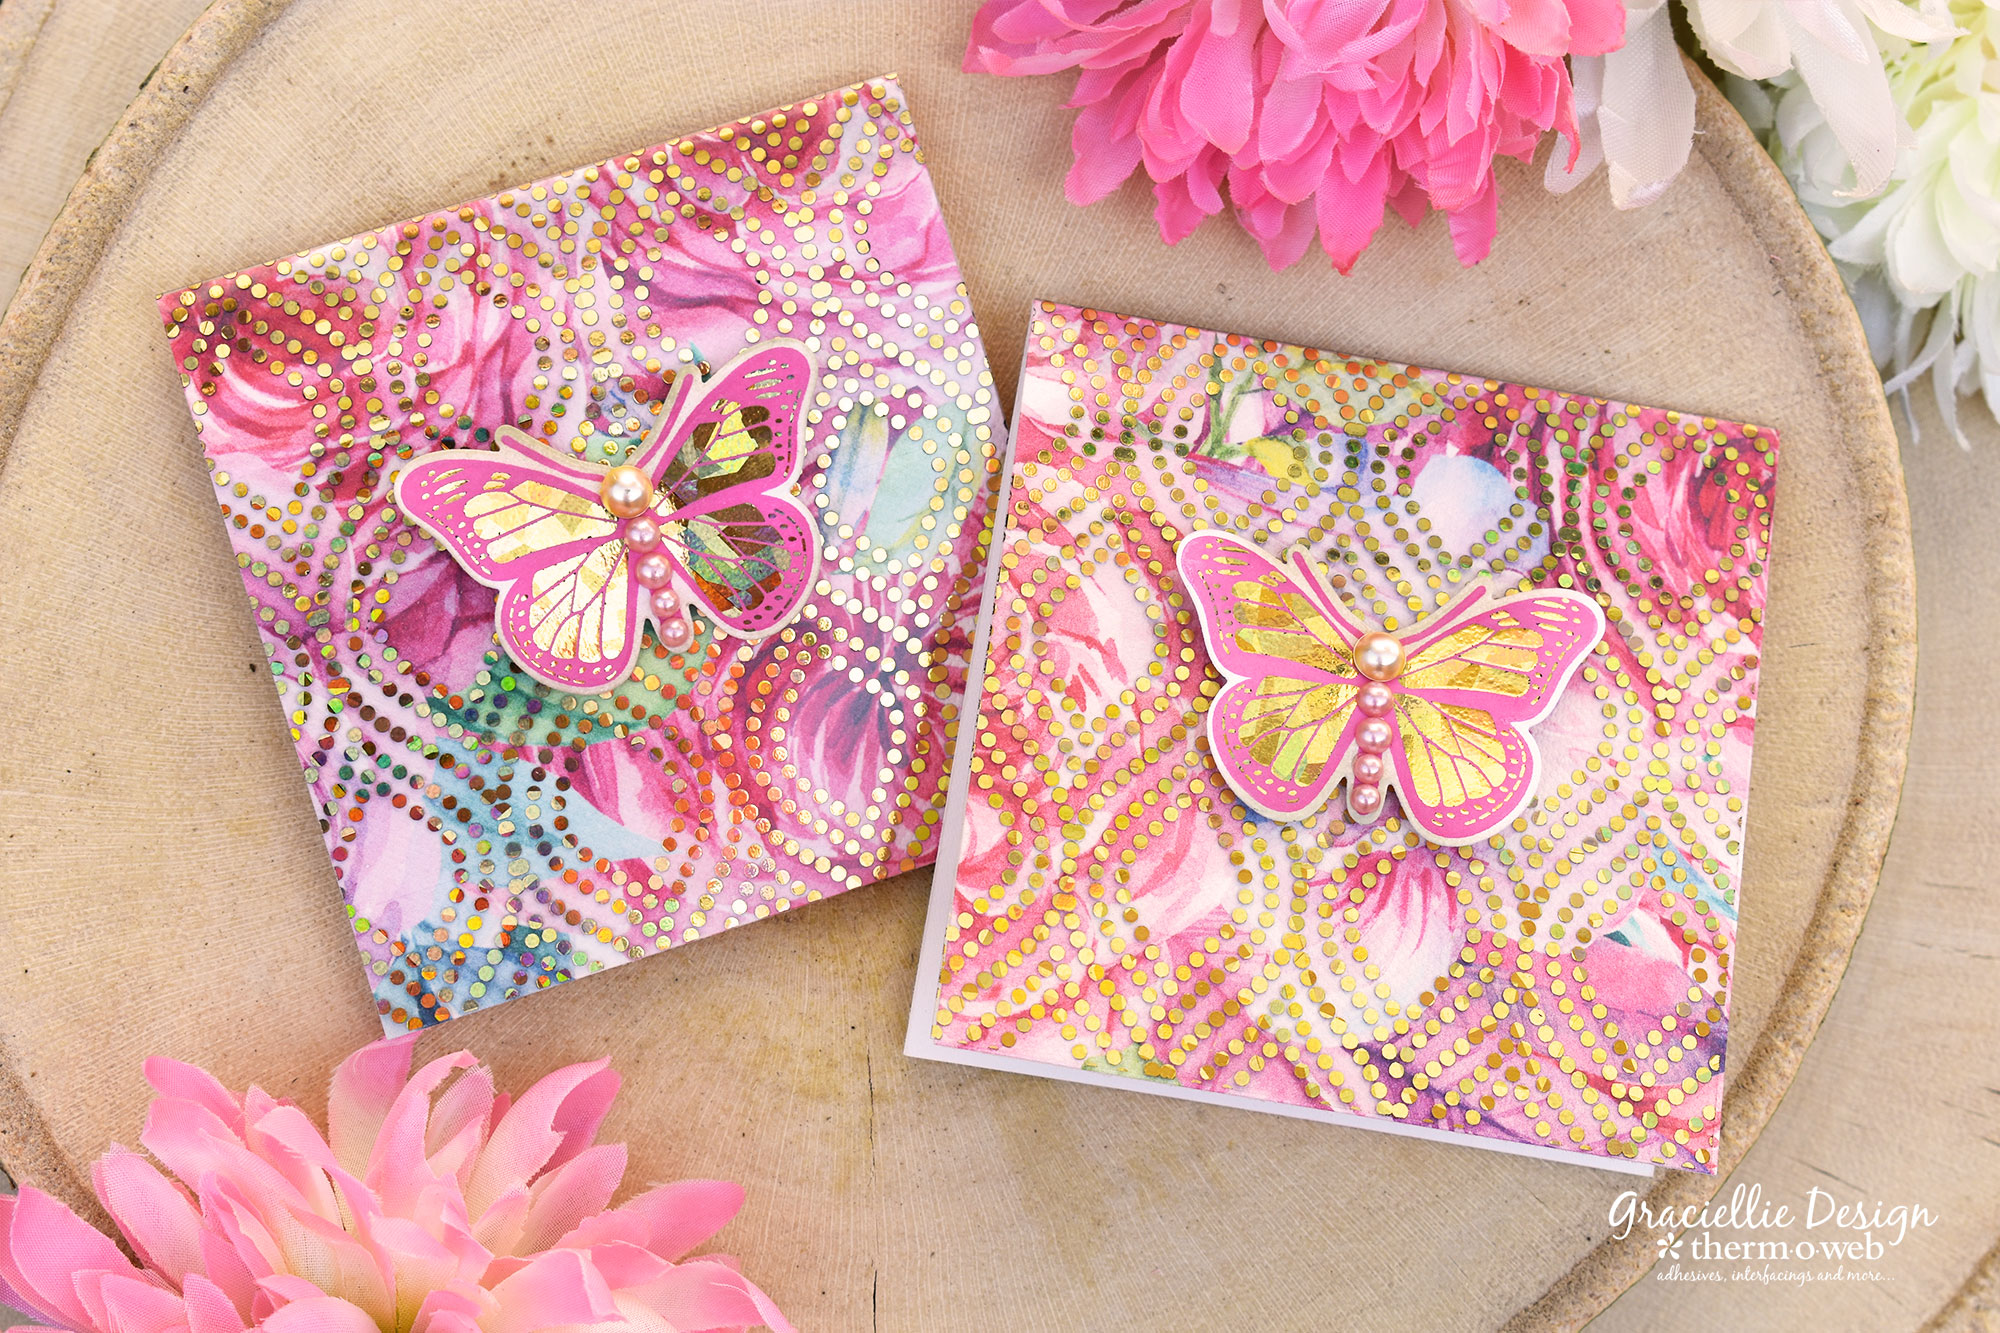
You can keep a bunch of these notecards in different pattern and foil combinations on your desk for those late minute situations, or you could do a couple steps more to personalize them.
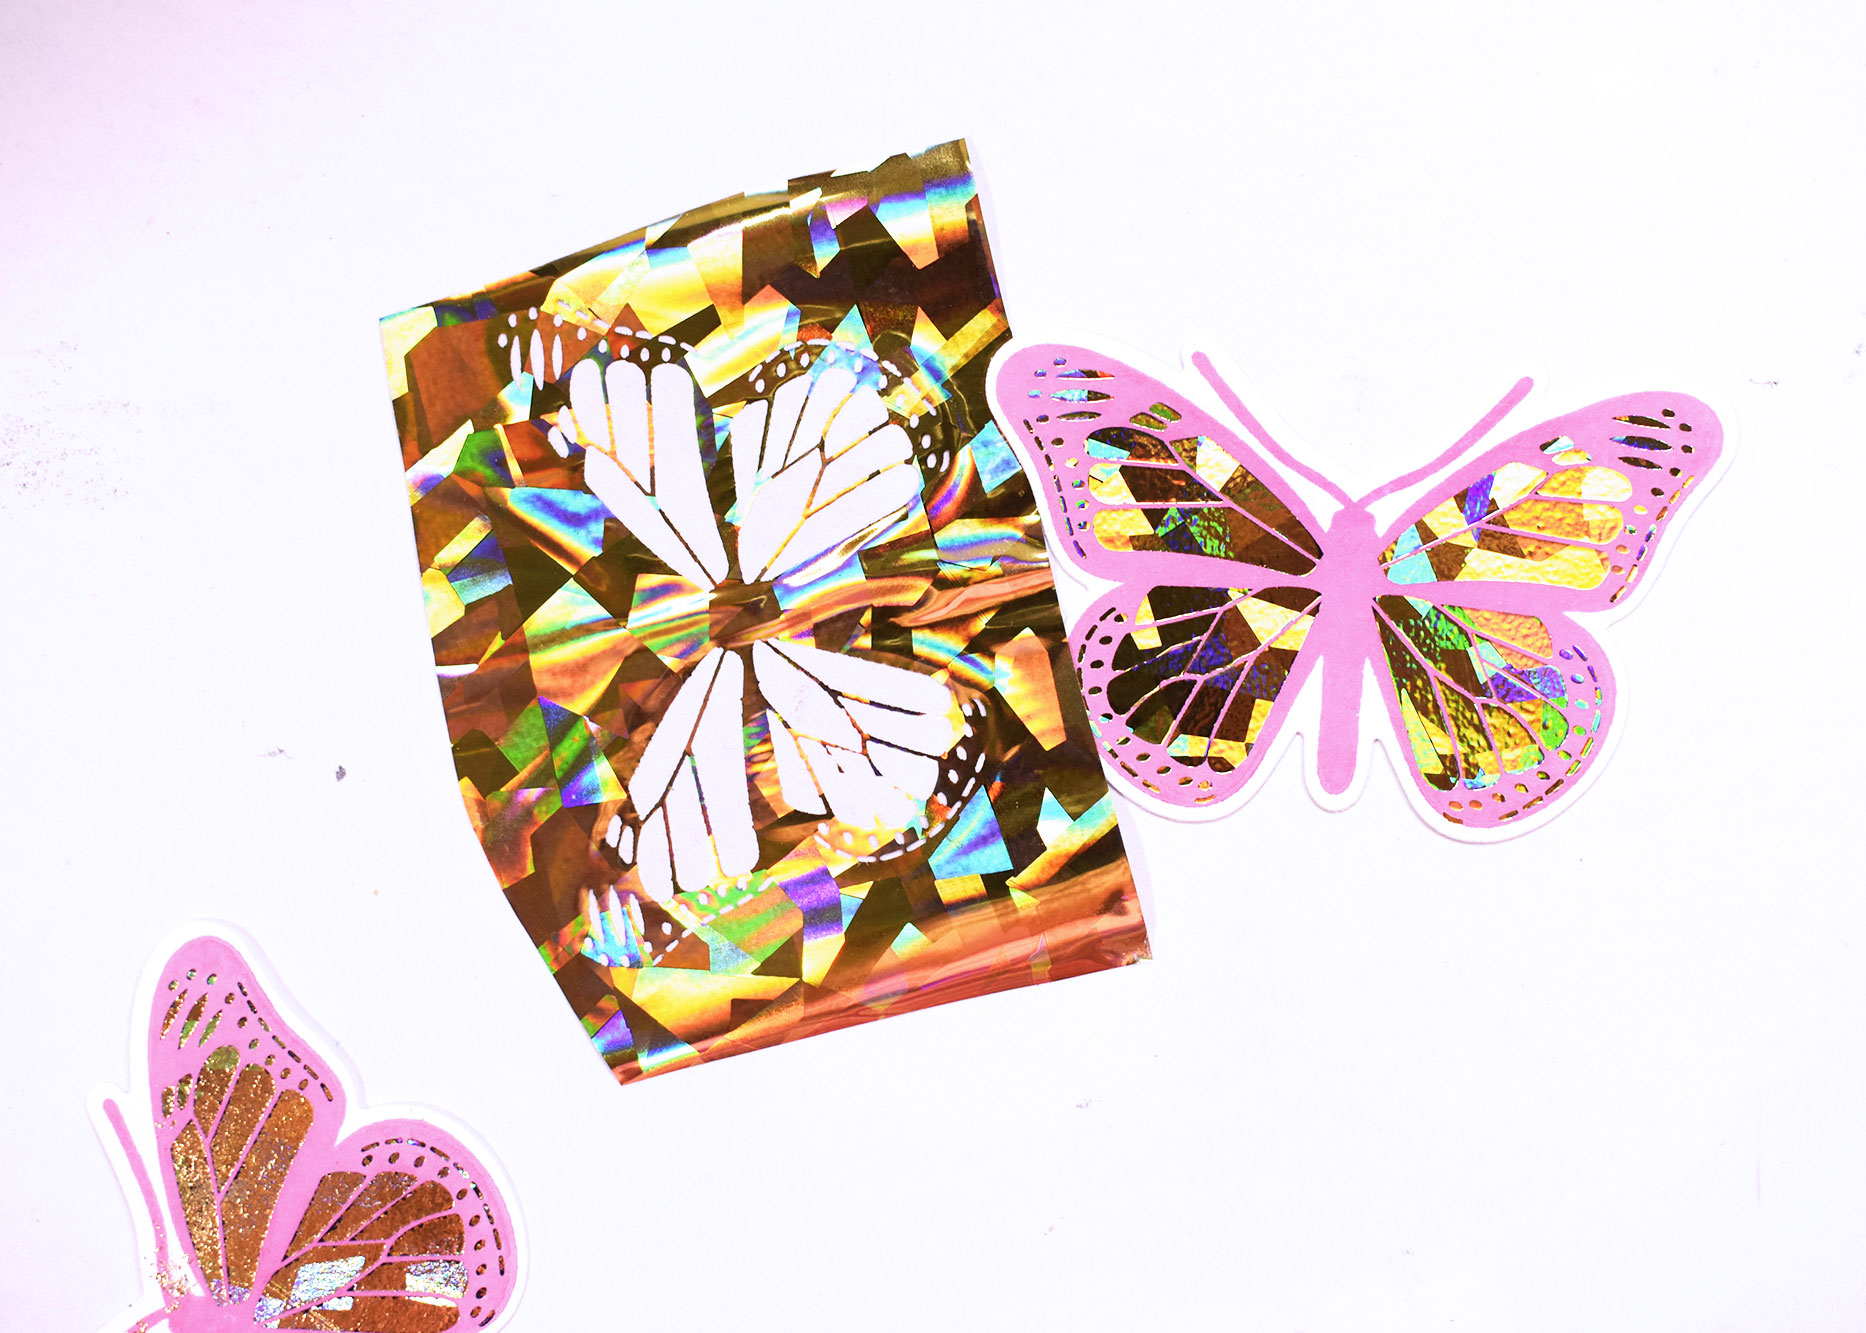
To finish my notecards I decided to add a StampnFoil Butterfly as an embellishment, using the same Gold Shattered Glass Deco Foil used for the Deco Foil Clear Toner Sheets and a Distress Oxide Ink in Picked Raspberry.
TIP: When using hybrid or pigment inks make sure to clean the toner print details on your image with a soft cloth before you run it through your laminator. This extra step will assure you that the toner will react as usual to the laminator’s heat and that the ink won’t interfere with the foiling process.TooltipText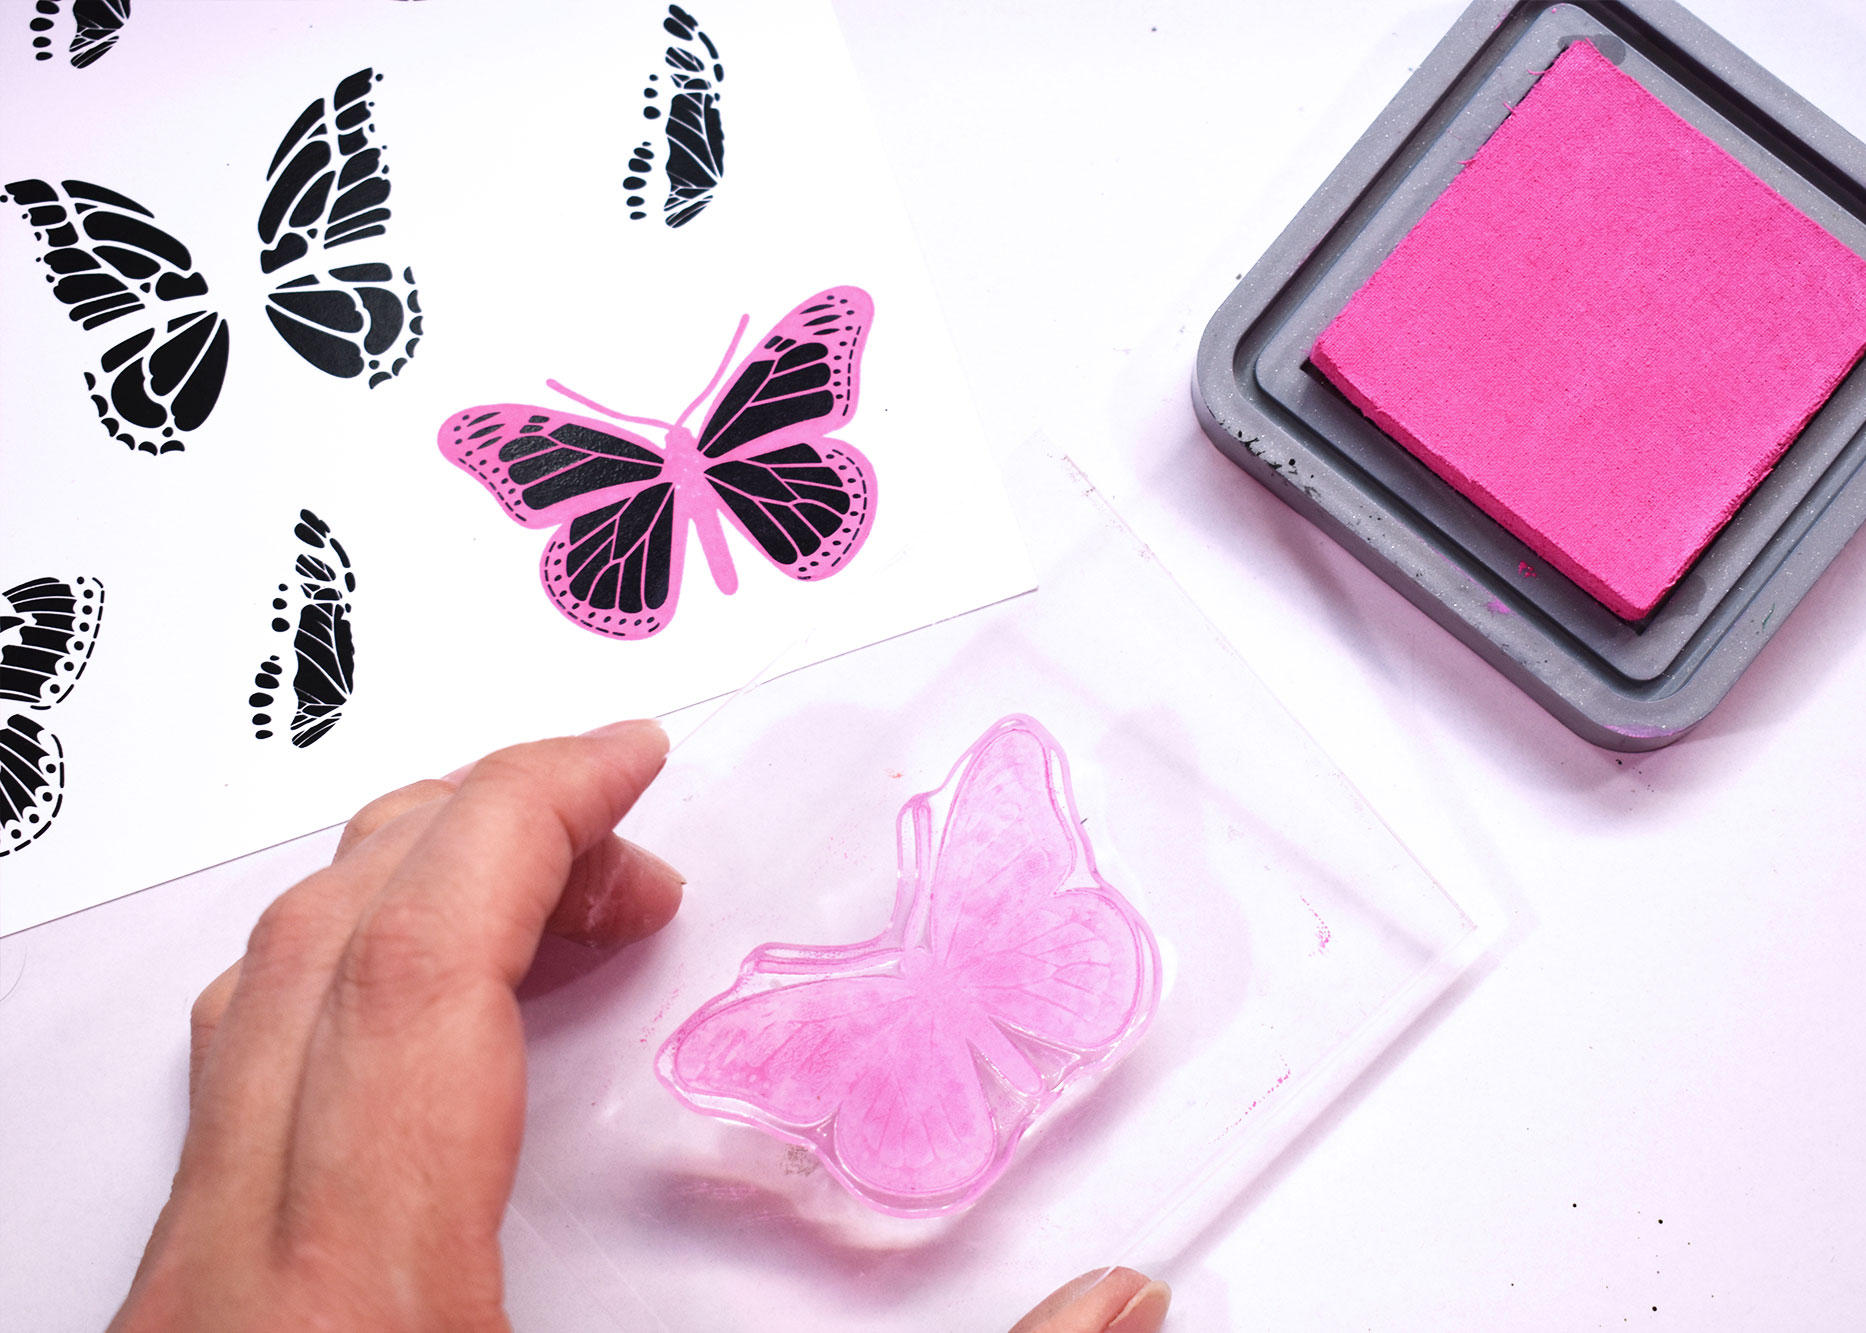
That’s it for today! I hope you find this project idea useful! I know I’ll be making a bunch of these for those last minute cards I’m always in the need of! Thanks so much for reading. For more creative ideas and inspiration using new Deco Foil products make sure to subscribe to Therm O Web’s blog and YouTube channel. Until next time!