 Hello friends, it’s Julia from Bayhill Studio. I’m back with a fun and seriously “sweet” project for you!
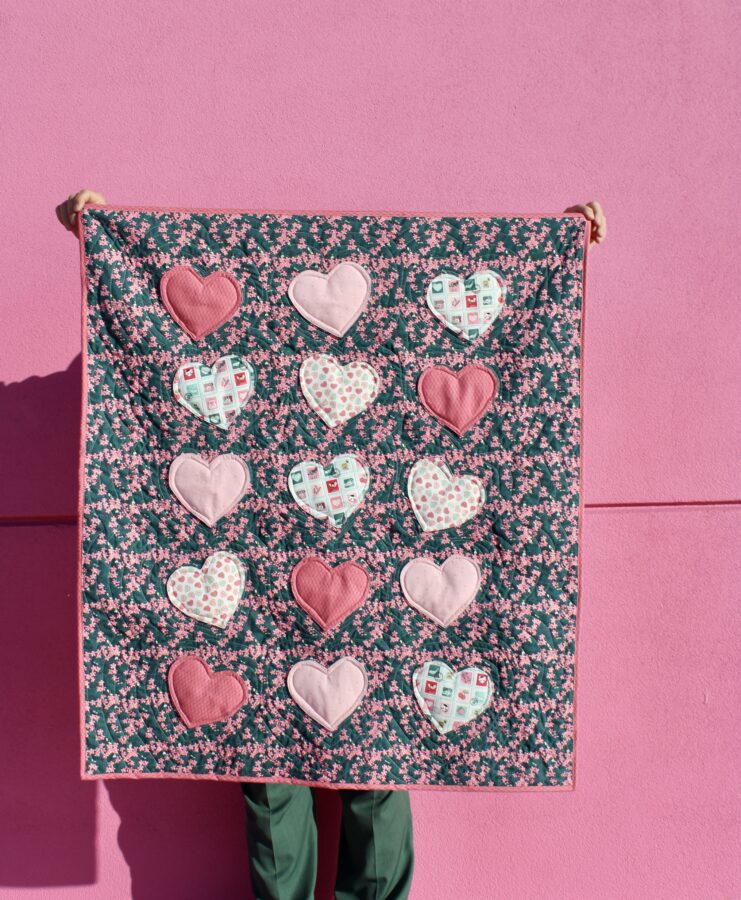
I’m calling this the Candy Hearts 3D Baby Quilt. These adorable puffy hearts remind me of the candy Valentine hearts we see everywhere around this time of year.
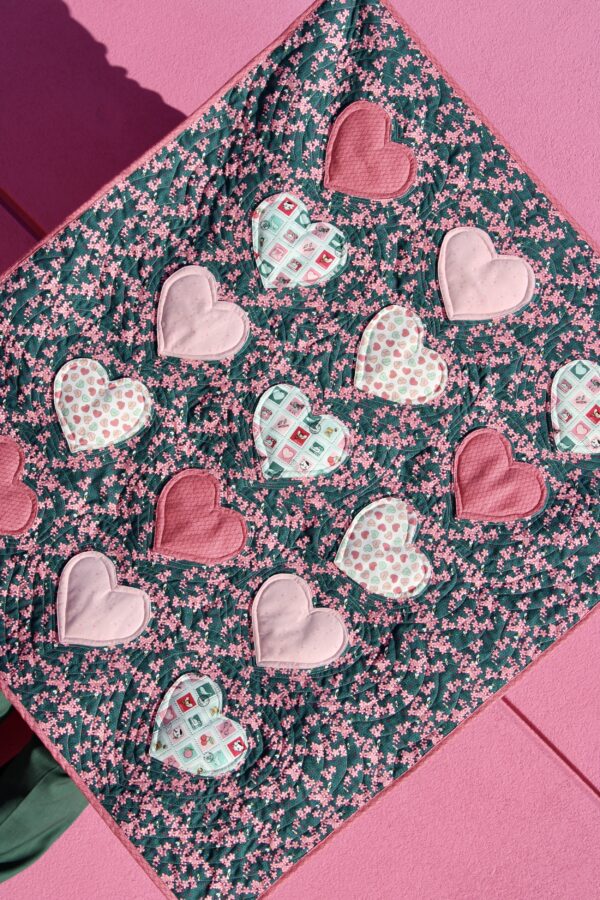
The best thing about this project is that is super fast and easy to make! I love the three-dimensional puffiness of the hearts.
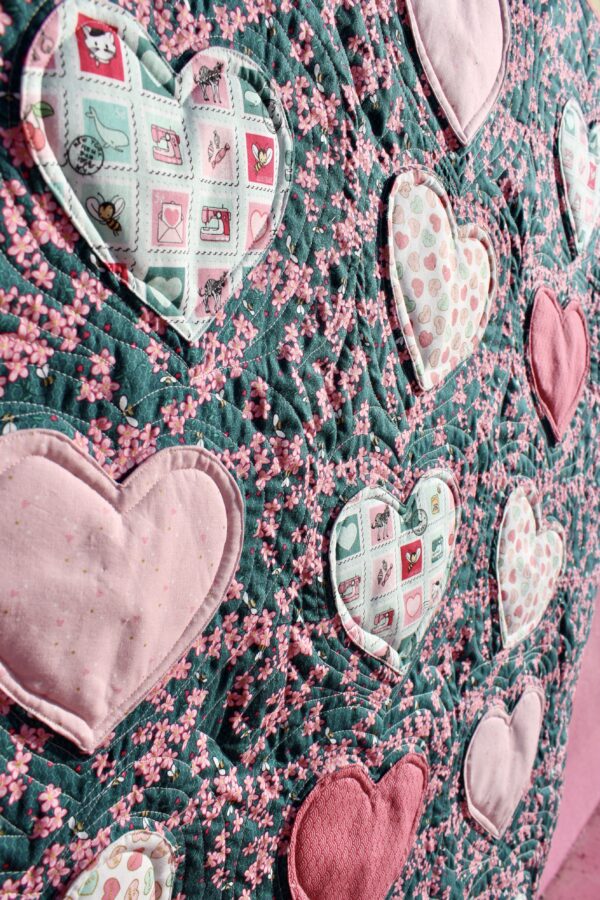
This would make a fabulous floor quilt for baby’s tummy time as the hearts would provide great tactile stimuli.
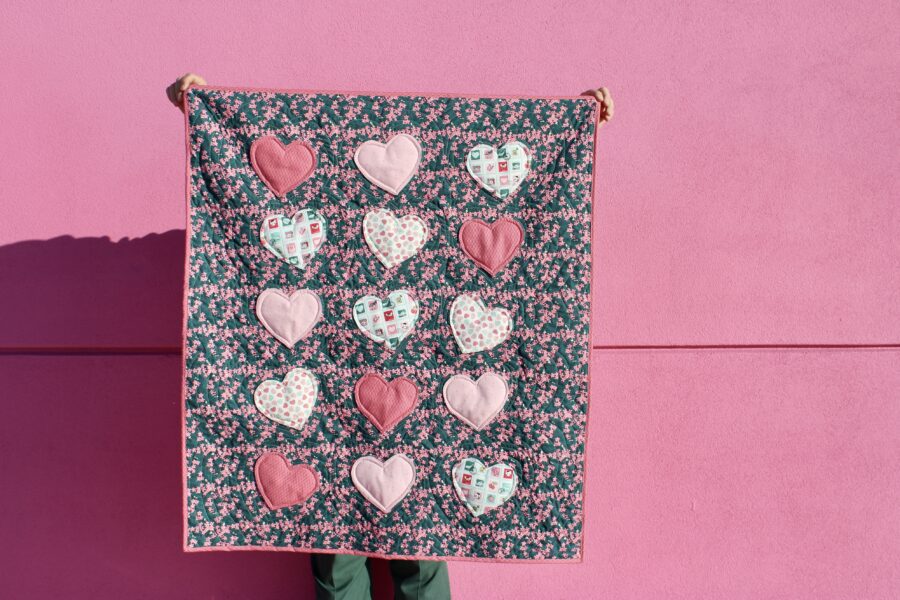
You can use the same appliqué technique I used in this quilt to make pillows, bags, table runners, and so much more.
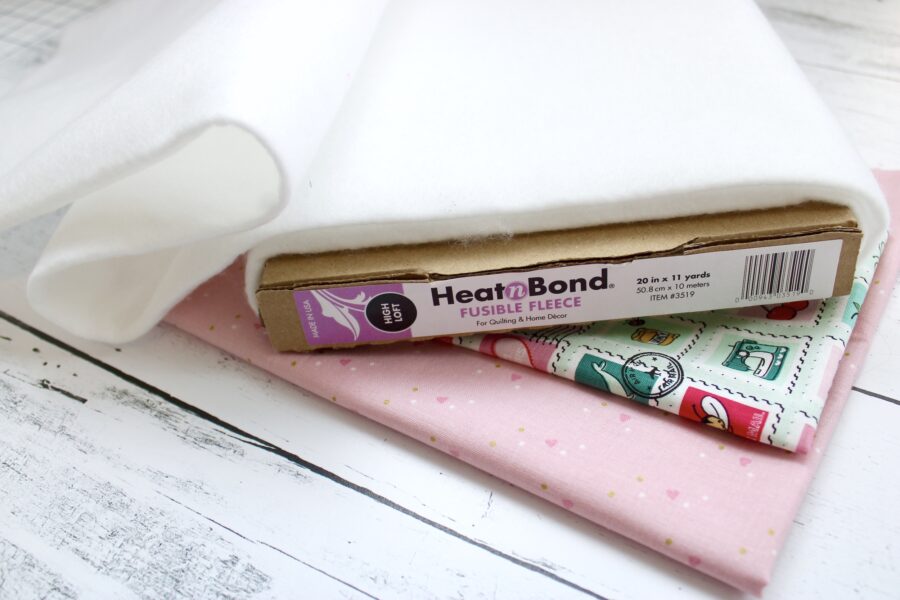
To make this quilt you will need HeatnBond Fusible Fleece.
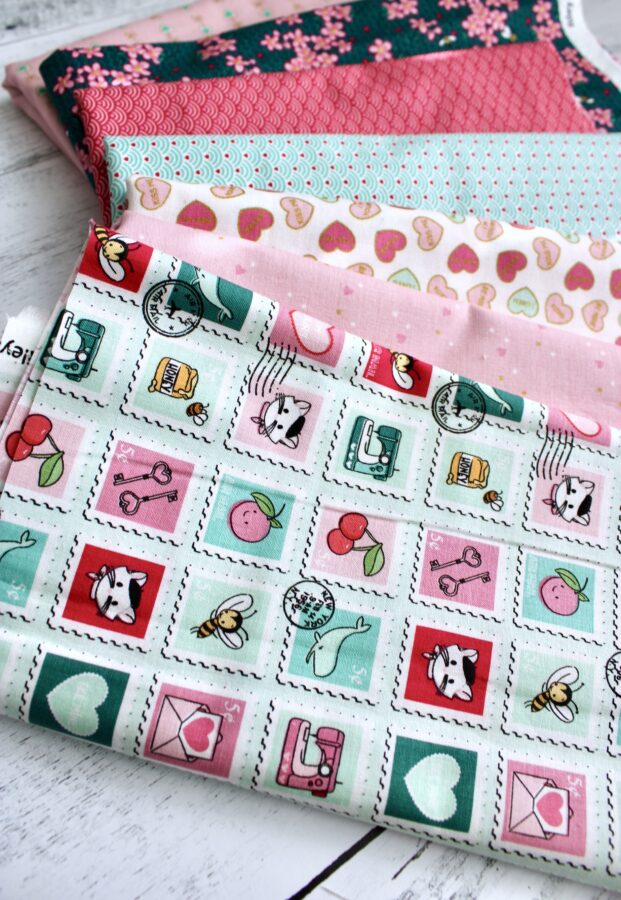
You’ll also need a variety of fabrics. I used 1/4 yard cuts of several prints from the Mint for You collection designed by Melissa Mortenson for Riley Blake Designs. For the quilt front and back, I used 1.5 yards each of the beautiful Teal Floral and the Blush Heartstrings prints.
You’ll also need the Candy Hearts Printable found HERE.
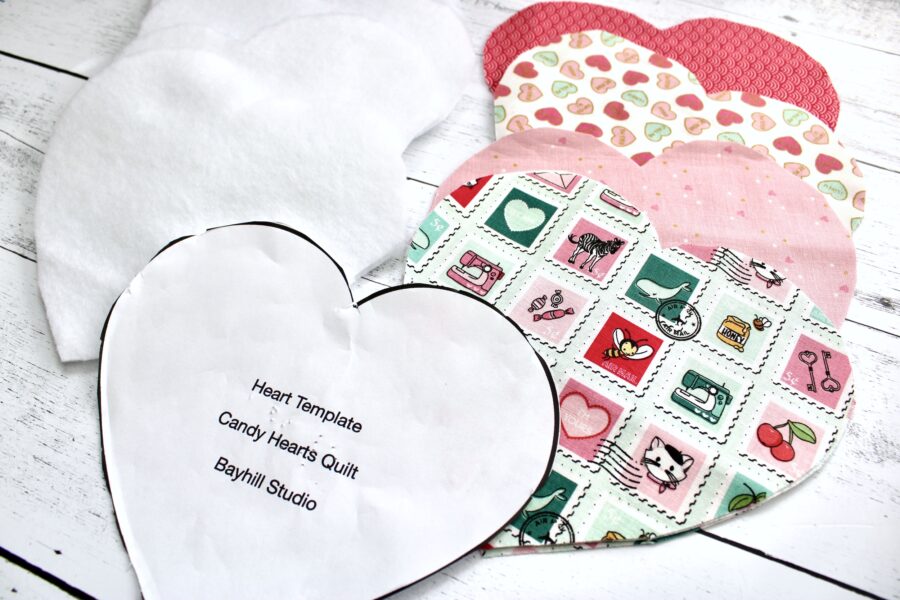
Using the heart template, cut out your hearts and HeatnBond Fusible Fleece. I decided I wanted a total of 15 hearts on my quilt, so I cut out 15 fabric hearts and 15 fusible fleece hearts. You can cut out more or less, depending on what you want for your project.
*Cut out the fusible fleece hearts slightly smaller than the fabric hearts. This creates a slight pull on the fabric, which will help it turn under just enough that the fleece won’t show through from the underside.
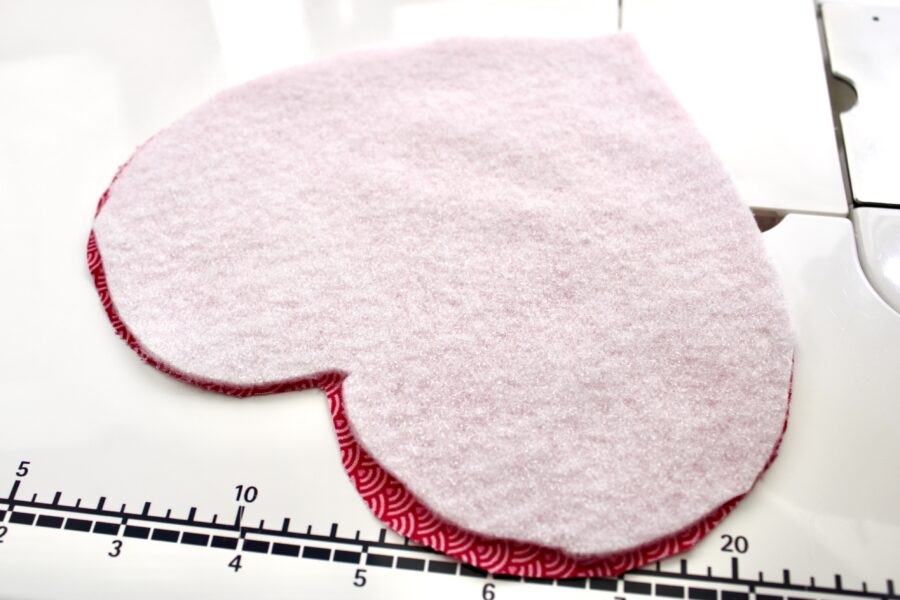
I like to start sewing by placing the fusible fleece on top of the fabric heart (fabric right side up) with the glue side of the fleece facing up. That way, when I turn it right side out, the glue will be facing the wrong side of the fabric and will give the heart a nice, crisp look when it is pressed.
Line up the pointy tips of both hearts. In the photo above, I have the points lined up, and you can see that my fleece heart is a little smaller than my fabric heart.
Begin sewing about an inch away from the tip going up toward the top of the heart. Ever so gently pull on the fleece so it lines up with the fabric heart as you sew.
When you have the two pieces sewn together, clip the tip of the heart near, but not over, the stitching. Clip around the curves, if necessary, and snip the downward point a the top of the heart close to the stitching without actually cutting through the stitching. (All of these clips will help the heart lay flat when it is turned right side out.
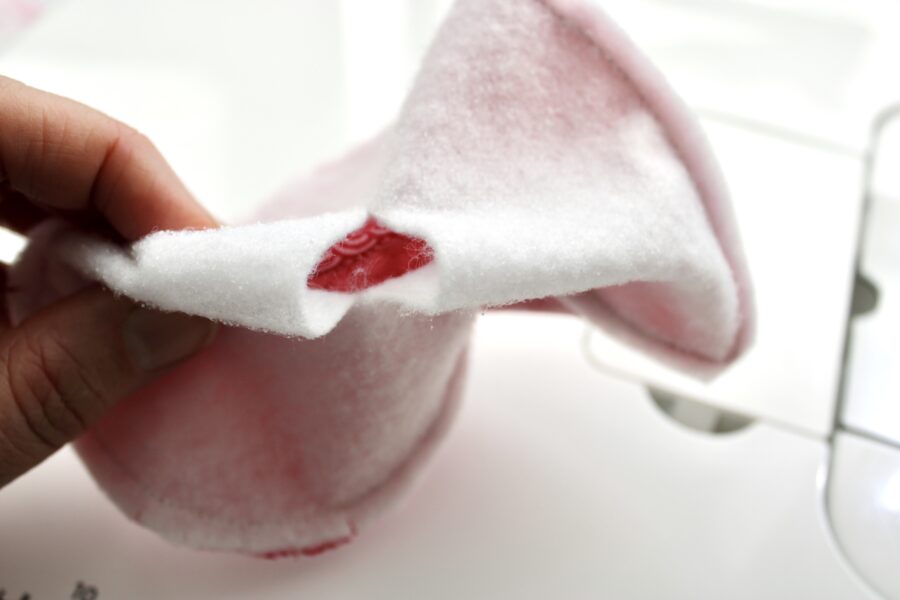
Now take a sharp pair of scissors and cut a slit through the center of the fleece (careful not to cut the fabric) about 2-3″ long.
Reach in the slit and pull the fabric through, turning the entire heart right side out.
Press.
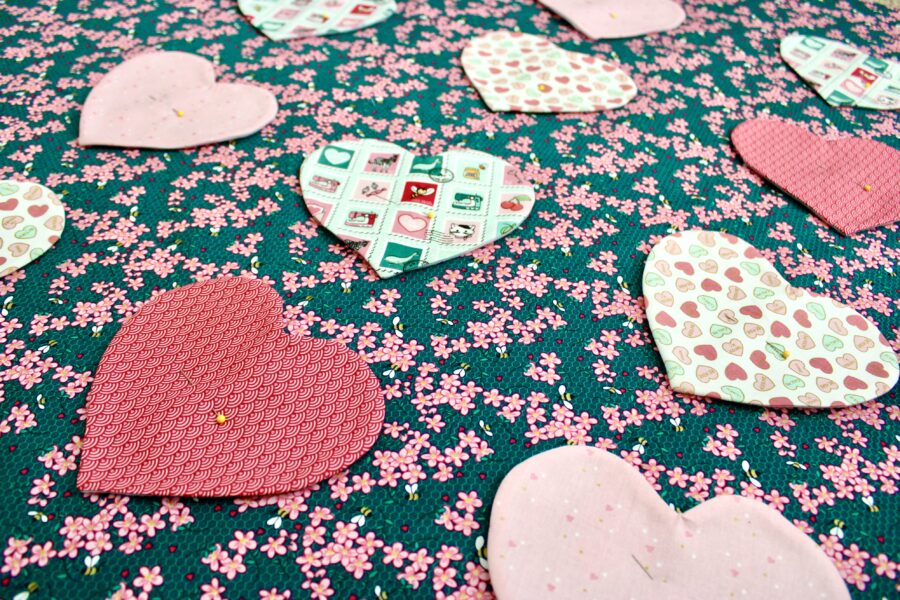
Repeat the steps above until all of your hearts are pressed and ready to arrange on the quilt top. Before I arranged my hearts, I pressed the Teal Floral quilt top fabric along the vertical and horizontal centers to create clear creases. These crease lines marking the centers helped me position my hearts on the fabric.
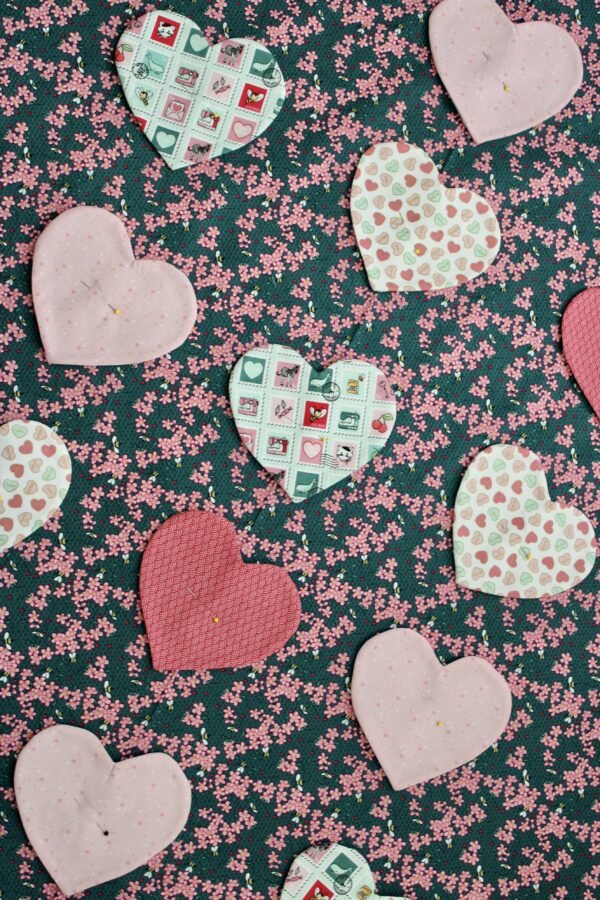
I arranged my hearts in three vertical rows of five hearts each. I decided to tilt them in different directions for a slightly whimsical look, but you could arrange them all perfectly straight, or you could even arrange them in little groups of overlapping hearts. Play around with them and see what makes you happy.
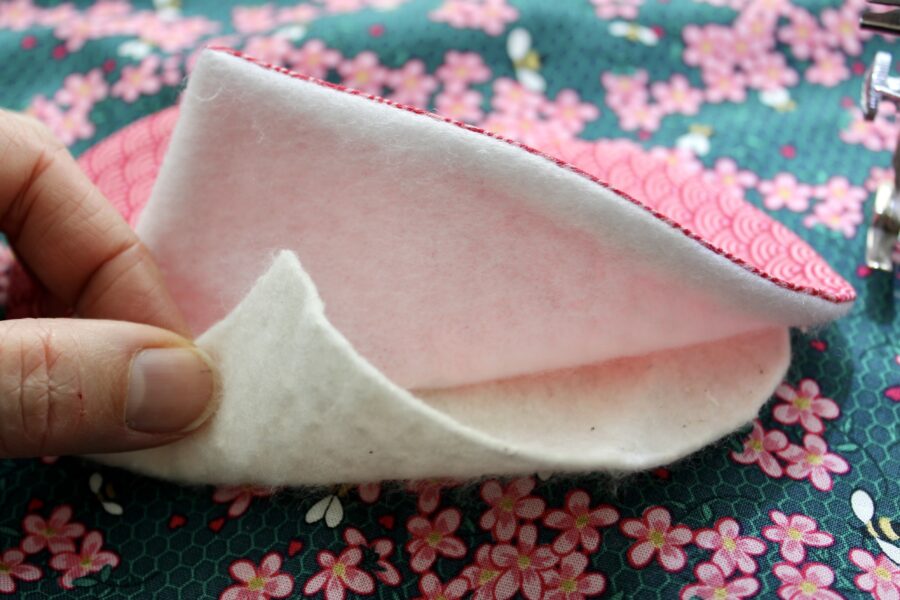
You can stitch the hearts down just as they are. I decided I wanted to give them even more of a 3D feel, so I ended up cutting fifteen more little hearts out of batting scraps. I made these hearts about 1/4″ smaller than the finished hearts so the batting didn’t creep out and show through the edges. This extra step of adding batting is completely optional.
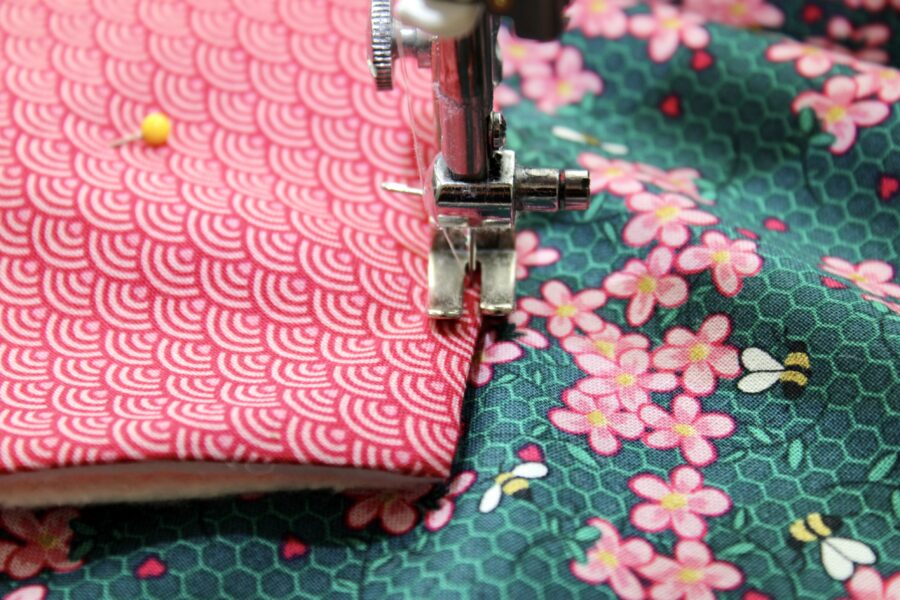
You can hand or machine-stitch the hearts to the quilt top fabric. I machine stitched as close to the edge of the heart as possible.
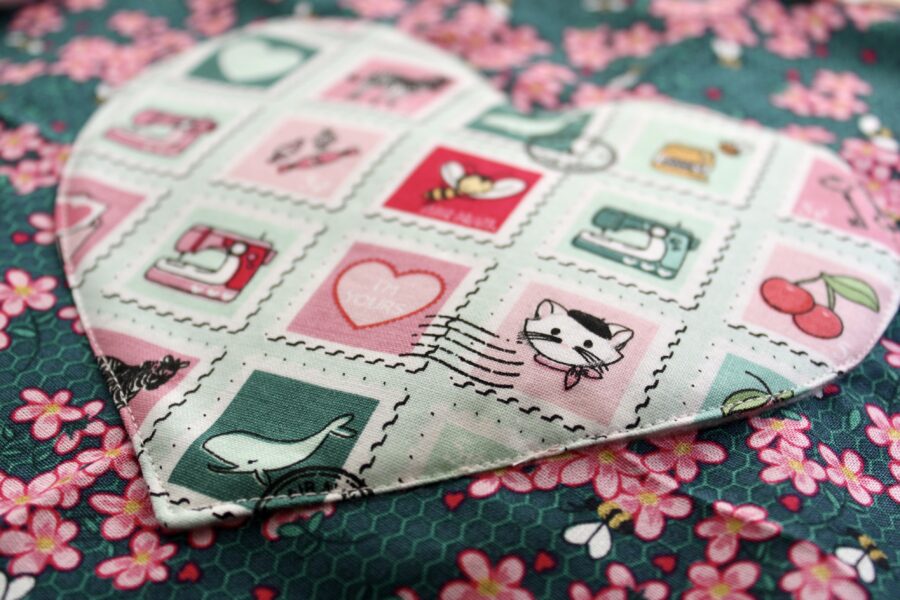
Here is a look at a finished heart. Repeat this process until all of your hearts are stitched down.
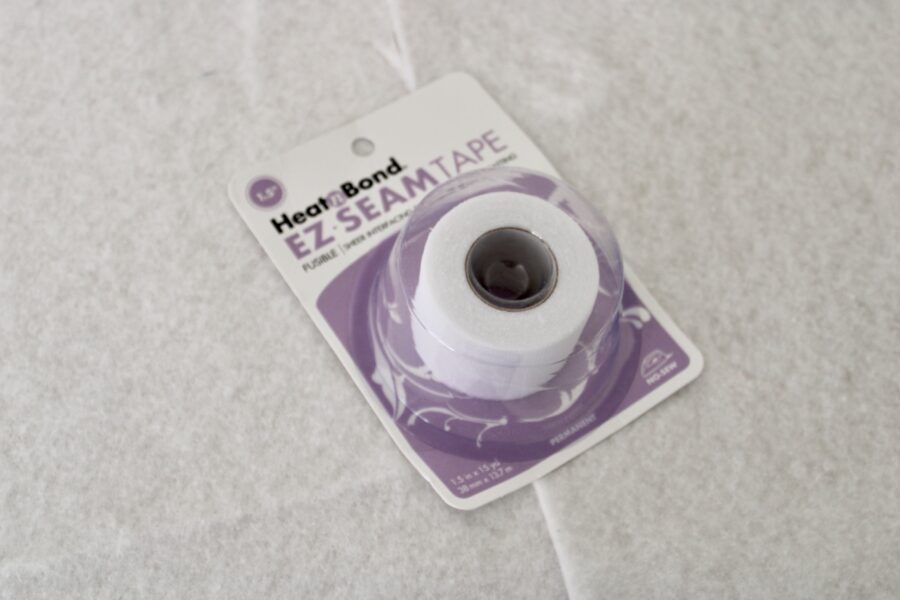
Once your quilt top is complete, it’s time to make your quilt sandwich (quilt top + batting + quilt back). I had large batting remnants I didn’t want to waste, and after lining them up, I realized they would be the perfect size for this baby quilt. I used HeatnBond EZ Seam Tape to piece the remnants together into one large piece of batting.
To do this, simply line up the straight sides of your quilt batting and place the EZ Seam Tape over the joint so the glue side is facing the batting. Press the EZ Seam Tape over the batting joints and voila! You have a nice, usable piece of batting! When it is sandwiched between the quilt top and bottom, and quilted, you’ll never know it had been pieced together.
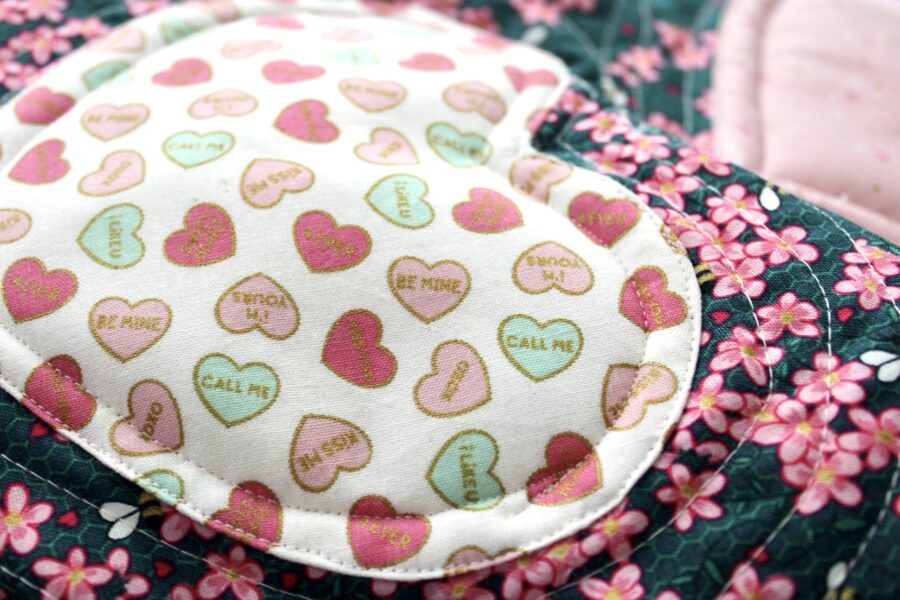
For the actual quilting design, I debated over what would really accentuate the cute little hearts. I decided to stitch on the hearts 1/4″ from the edge to give the hearts a little more “poof” factor. Then I did simple echo quilting around the hearts, just repeating the heart design over and over again.
After the entire quilt top has been quilted, you can go and trim the edges. I ended up trimming about 2″ off all of the edges in order to bring the overall quilt size down just a bit.
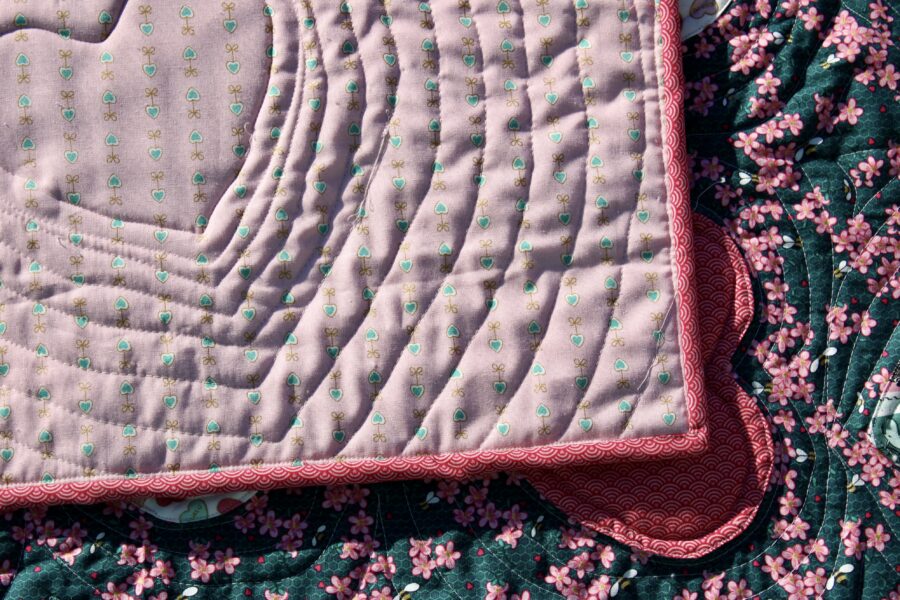
It’s a little easier to see the echo quilting design on the quilt back. I used the Cranberry Scallops print for the quilt binding, which nicely frames the whole design.
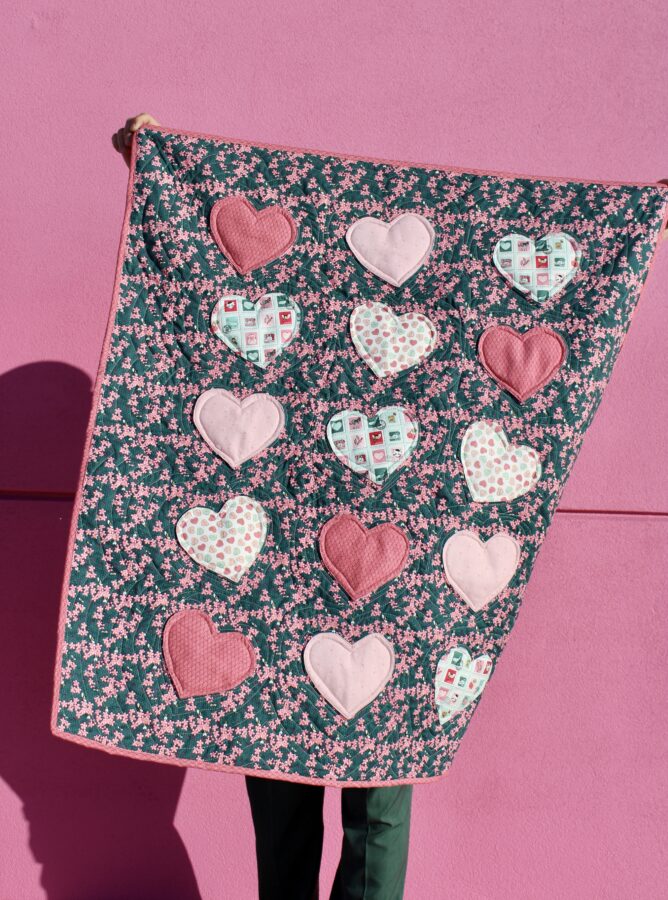
And that’s all there is to it! Such a “sweet” and easy quilt to make!
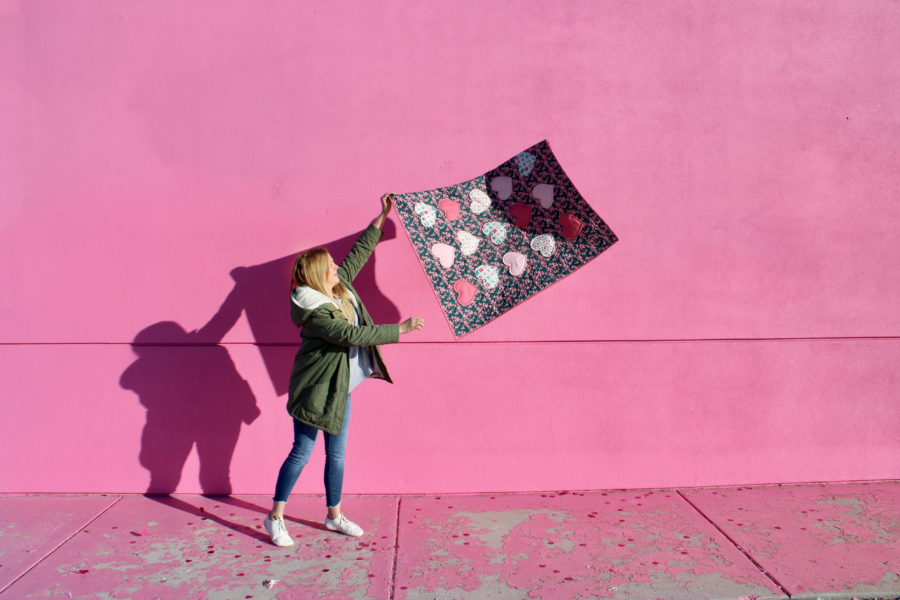 Thank you for joining me on the Thermoweb Blog! If you are looking for more project ideas and inspiration, follow me on Instagram @bayhillstudio. Have a blessed day!
