


 Hello friends, this is Jennifer Long from, Bee Sew Inspired, fabric designer with Riley Blake Designs and doll and quilt pattern designer. I am so excited today to be sharing with you this “Oh so sweet”, adorable and super simple project tutorial!
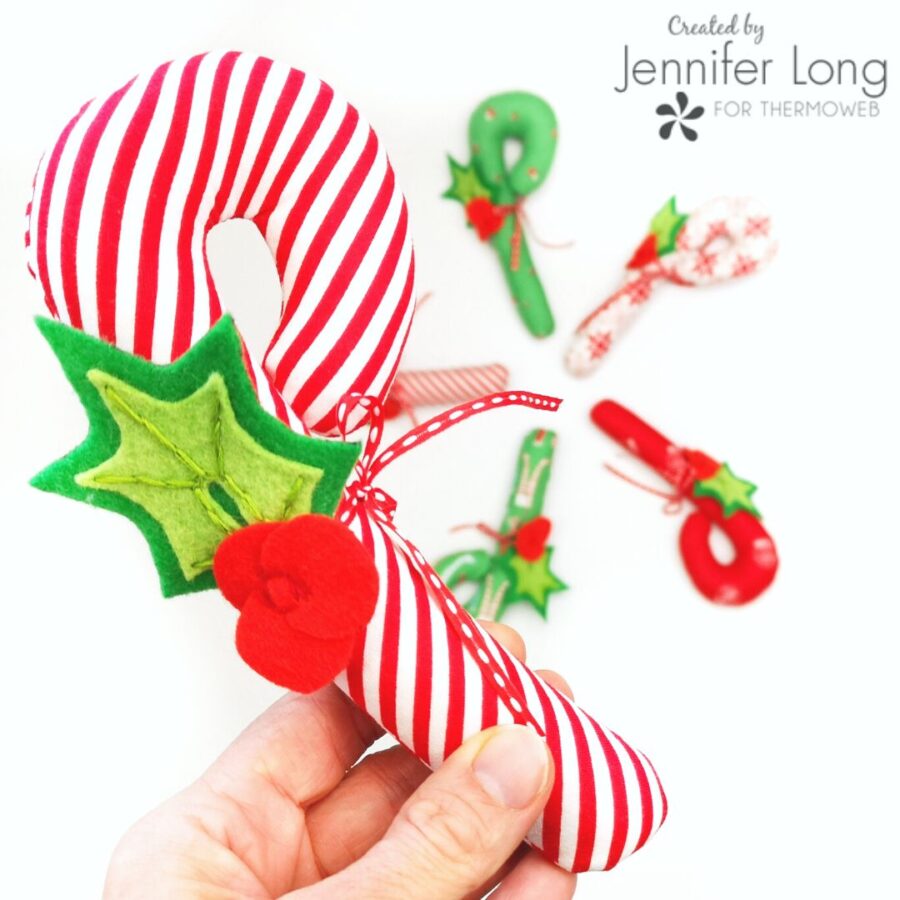
These stuffed Candy Canes are so addicting to make, we are SURE you won’t be able to stop at just one!
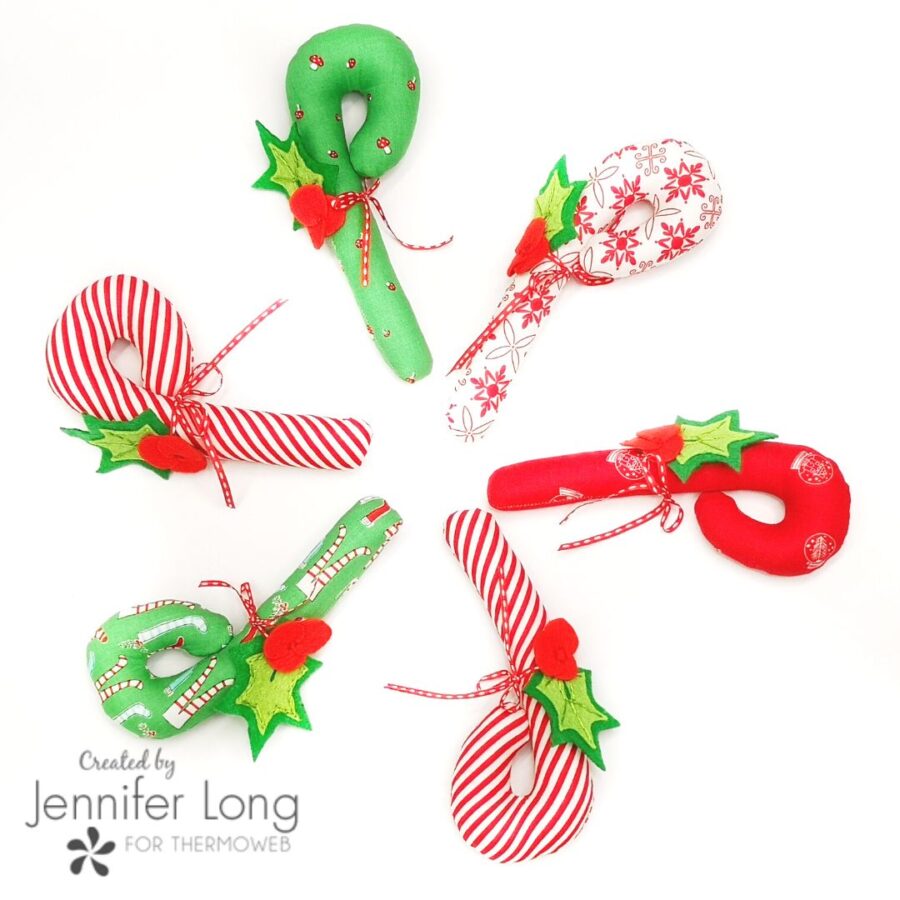
These joyously sweet, and calorie-free treats are perfect for present toppers, teacher’s gifts, garlands or tree decorations! Why not make one for every place setting at your next Holiday Dinner Party! Simply tie an adorable name tag to the holly ribbon.

Let’s get creative! Just gather the supplies below, then download the pattern. Don’t forget to share your project on social media using the hashtag #BSImakersclub and tag @beesewinspired.
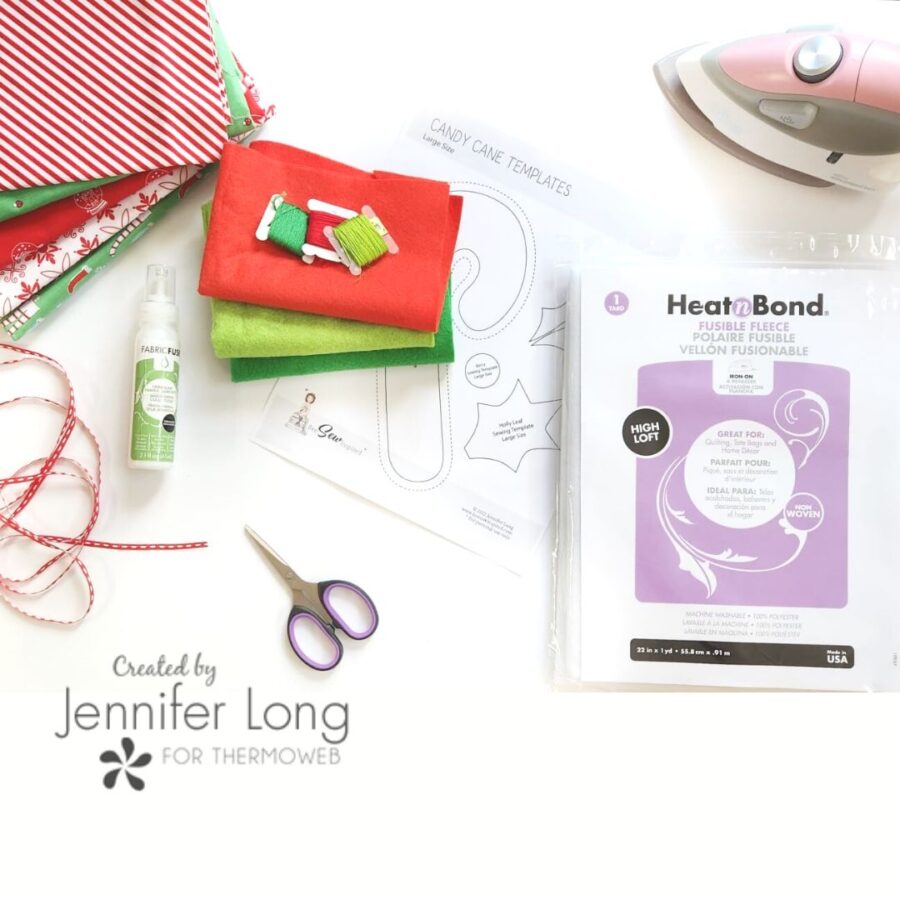
What You Need:
Tools
- Download the Candy Cane Pattern Template at http://www.beesewinspired.com/download-codes and use the code “CANDYCANEPDF”
- Download the Candy Cane SVG Cut Files at http://www.beesewinspired.com/download-codes and use the code “CANDYCANESVG”
-
Iron and Wool Mat
-
Scissors
-
Hand sewing needle
Materials
-
Green and red Benzie Wool Blend Felt
-
-
Embellishments (Ribbon)
-
Embroidery Thread in matching colors
-
Thread
-
Small amount of Polyester Fiber Fill
Instructions:

1. Download the whimsically shaped Candy Cane Pattern designed by Bee Sew Inspired. You can choose either the PDF Pattern to hand cut your shapes, or the SVG Cut File and follow the directions to have your Cricut Maker cut the felt shapes. Make sure to use your rotary blade and set the fabric to felt.
2. Fuse the Heat-N-Bond Fleece to the wrong side of your decorative fabrics BEFORE cutting the shape. This will help keep the fabric stable while cutting out the curved edges.
3. Use the template to cut out (2) candy cane shapes in total with your fabric right-sides together. This will give you a candy cane in both directions.
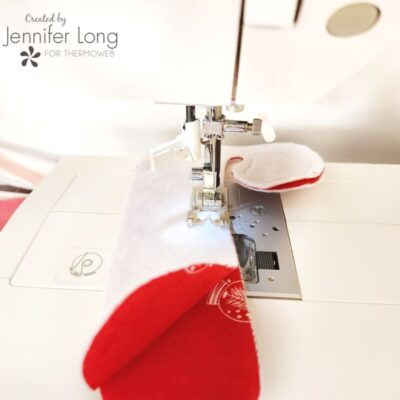
4. Take the two panels and place right sides together. Stitch down one edge using a 1/4″ seam allowance and don’t forget to leave a 2-inch space open on the side for turning and stuffing.
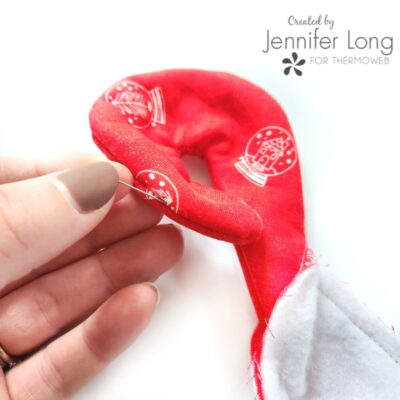
5. Turn your Candy Cane right side out and use a pin to pull out corners and make a neat edge.

6. Stuff your Candy Cane with fiber fill. Don’t underestimate how much toy filling you need! Keep pushing wisps in until it’s tightly packed.
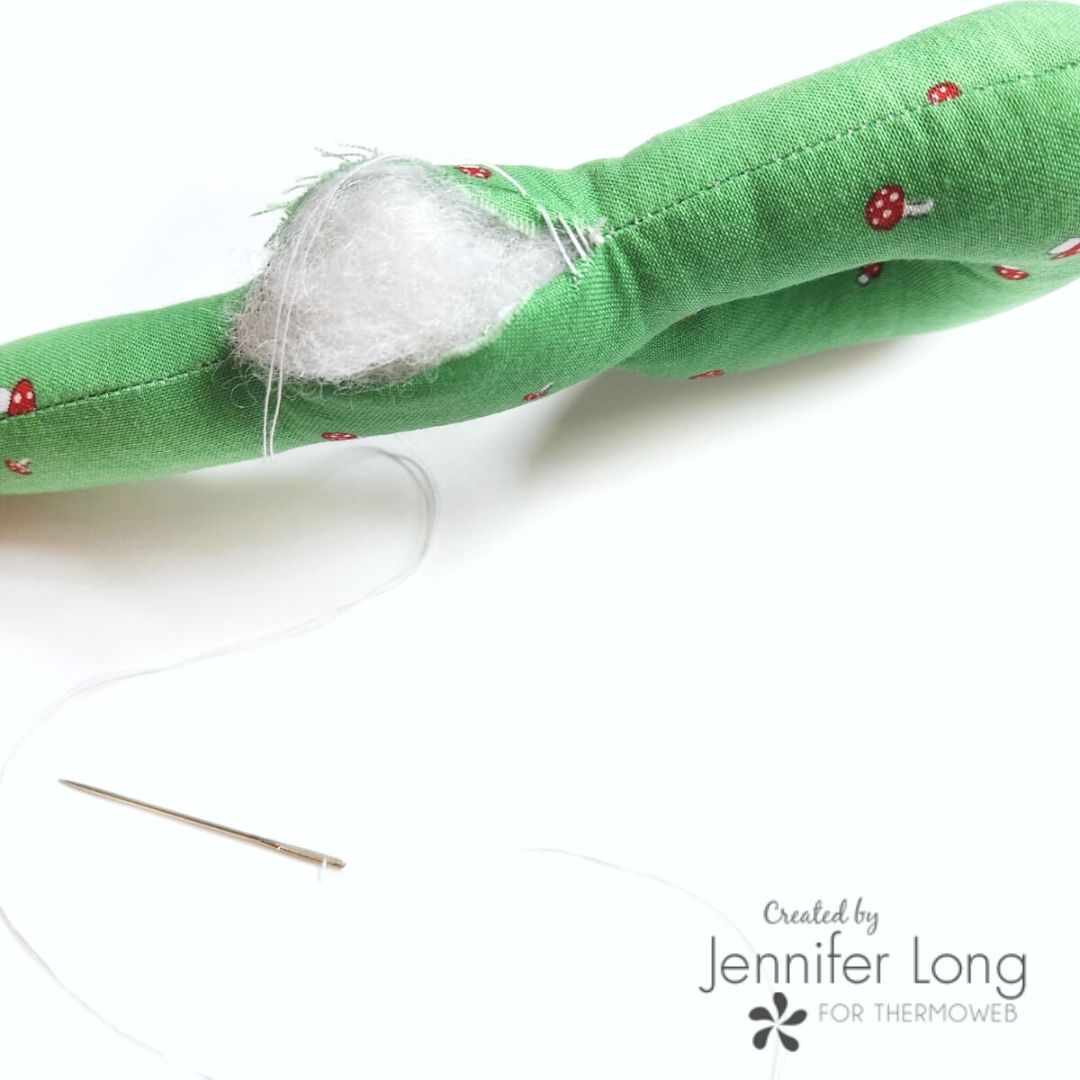
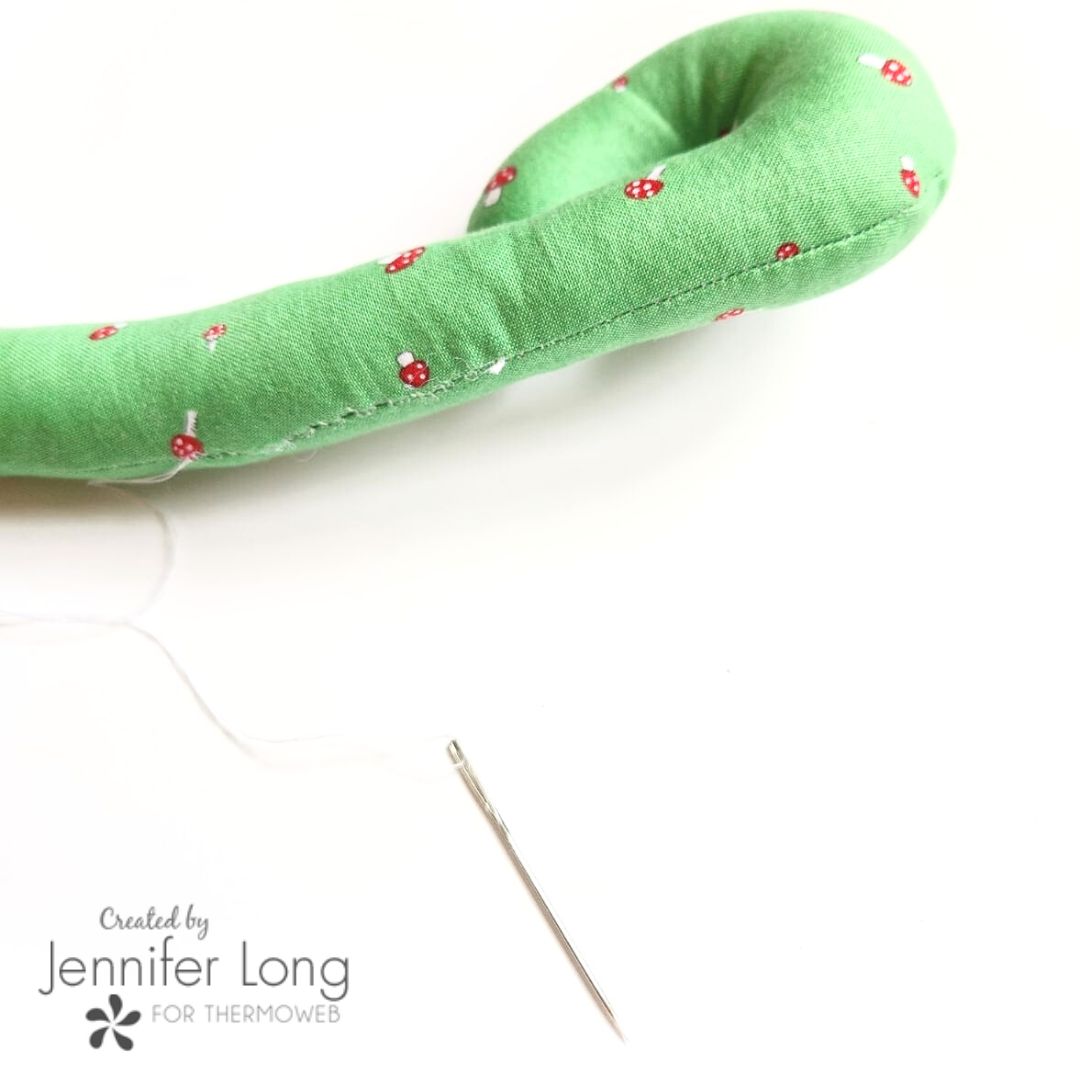
7. With a needle and thread, use a ladder stich to sew together the 2-inch space on the candy cane.

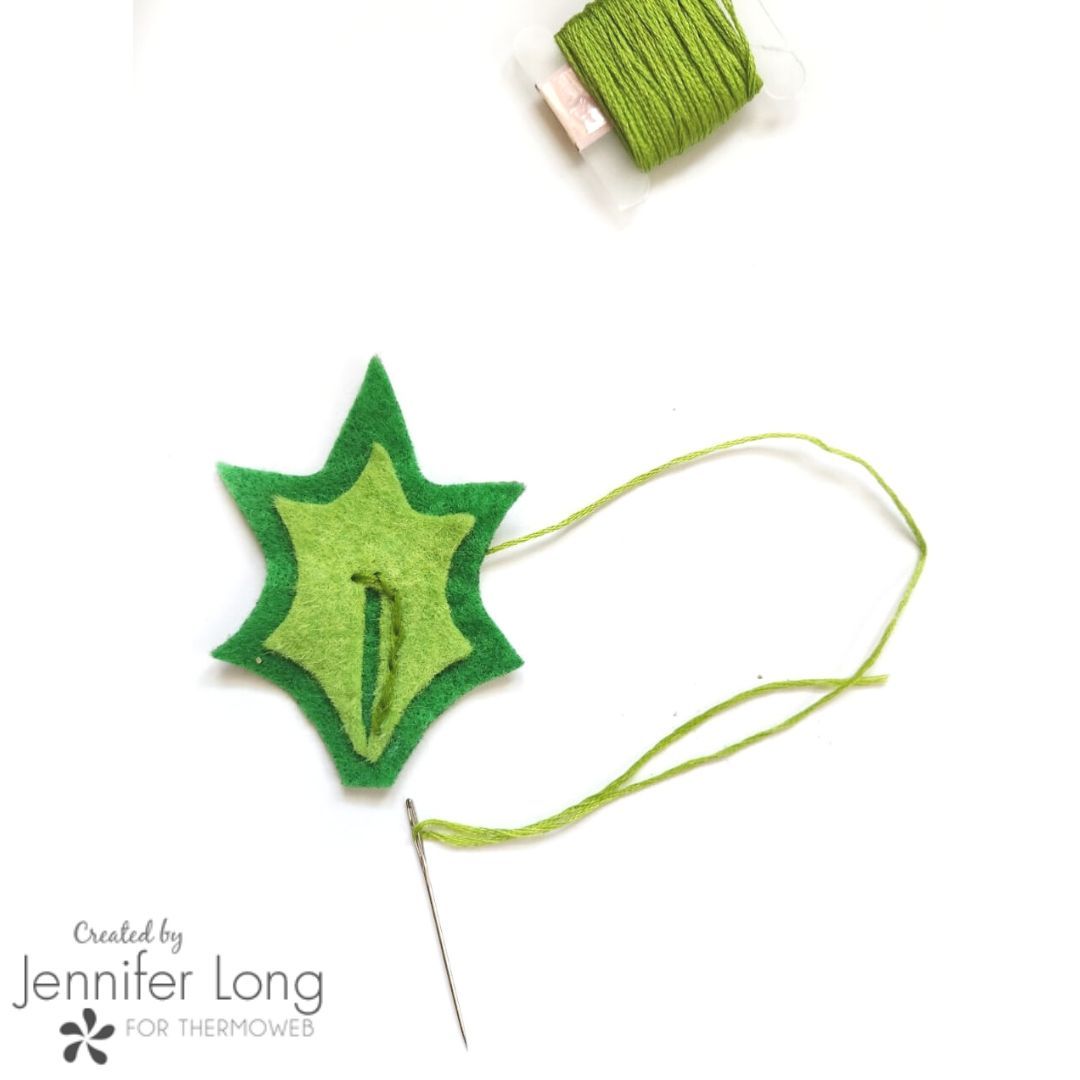
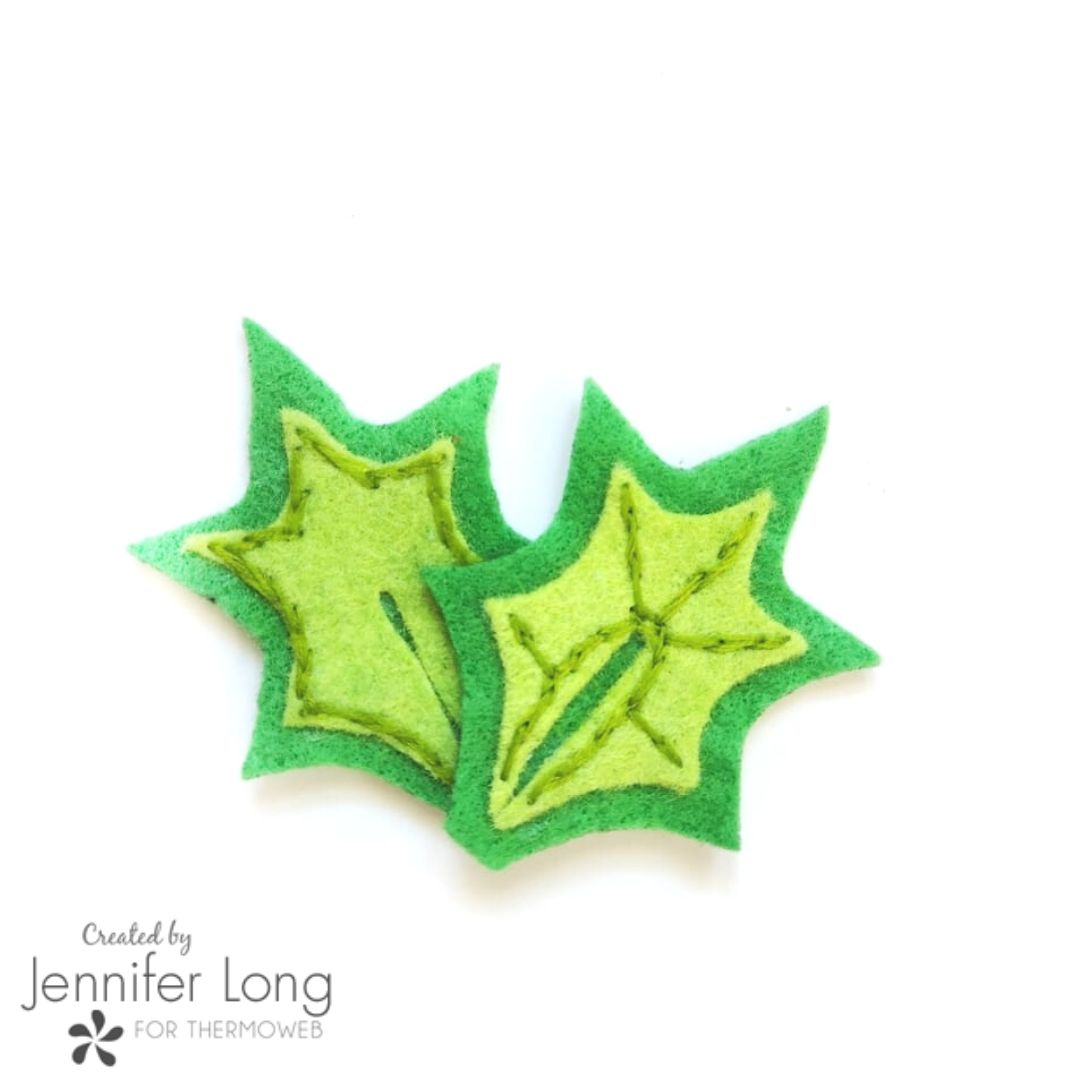
9. Hand embroider the leaf using 2 or 3 strands of floss. You can use a backstitch or stem stitch or another stitch if you like.

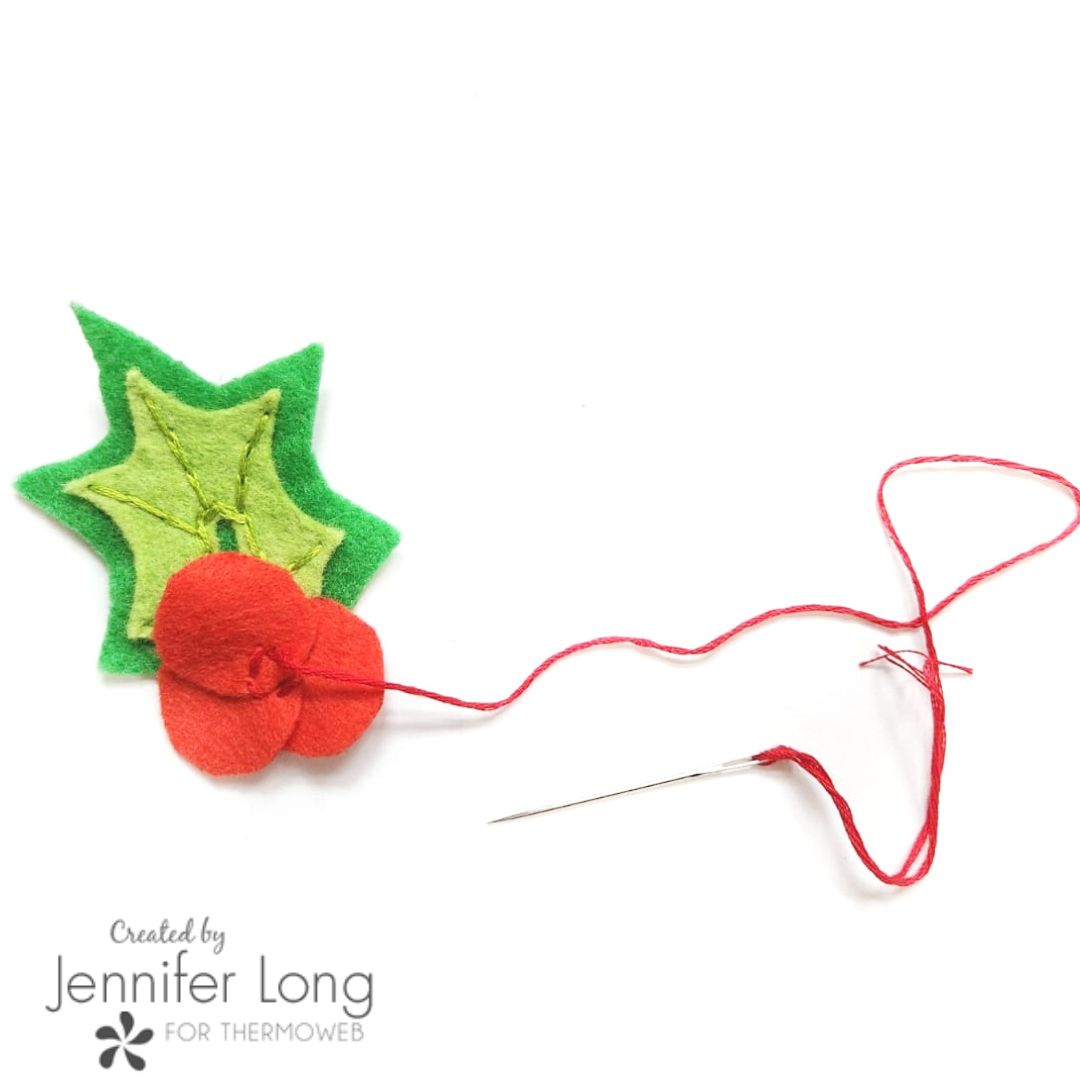
10. Hand sew together with matching floss (3) felt berries and (1) leaf.
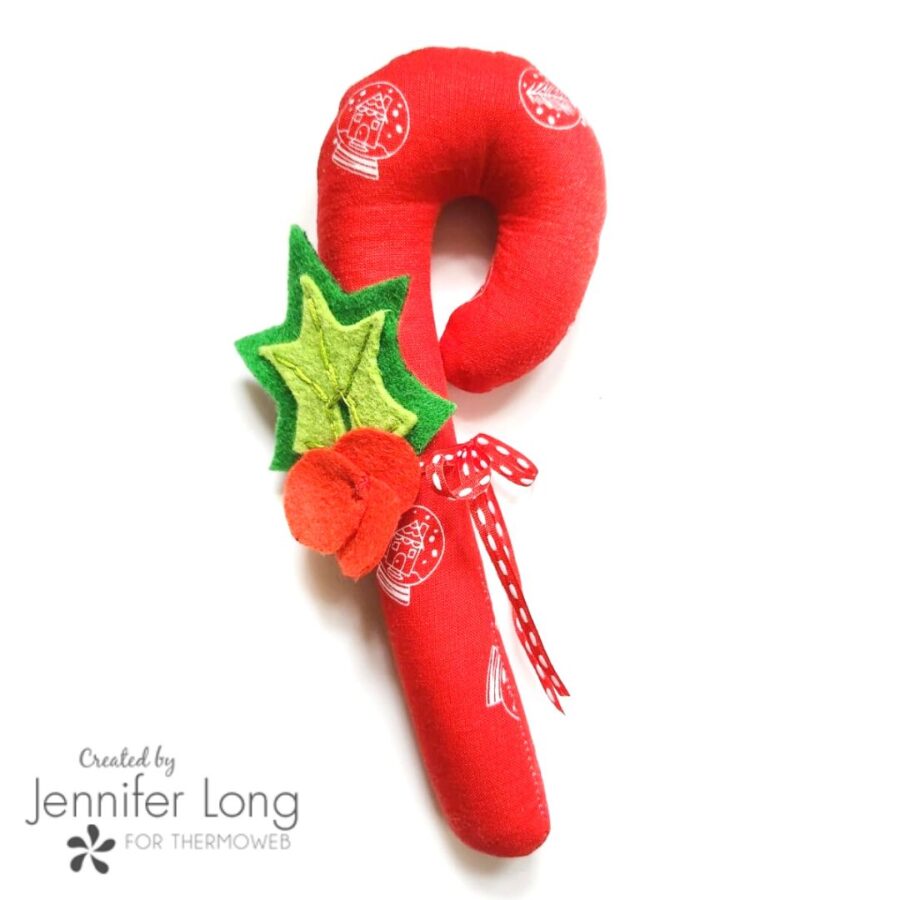
11. Use ribbon to tie berry and leaf clusters to the candy cane. And there you have it! The perfect little Candy Cane for a table centerpiece or home decor!

Thank you for joining me today on the Thermoweb Blog! I can’t wait to see all your sweet Stuffed Candy Canes! Until next time, Happy Sewing & Crafting!!!
Sign up for Jennifer’s weekly newsletter at http://www.beesewinspired.com/sign-up