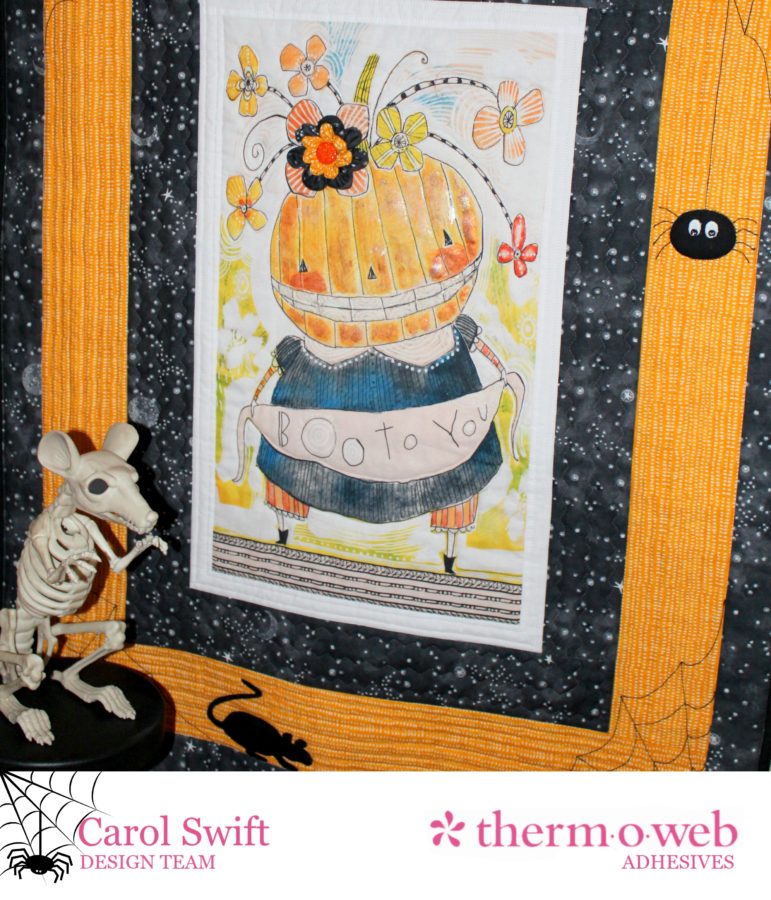
Halloween is one of my favorite holidays…I just love all the creepiness! There’s nothing creepy about using Blend Fabrics “Spooky Town” by Cori Dantini to make a Halloween quilt or wall hanging. It’s the perfect way to get in a spooky mood for the holiday. The panels are awesome and they become the center of attention in this easy quilt. Adding some iCraft® Deco Foil™ and a flower bow gives this quilt a little dressed up look for Halloween.
BOO TO YOU, TOO! By Carol Swift, Just Let Me Quilt, finished size: 33” x 42½”
 Therm O Web Heat n Bond® EZ Print Lite sheets, 8½” x 11”
Therm O Web Spray n Bond Basting Adhesive
Therm O Web Heat n Bond® Fusible Interfacing – Light Weight
Therm O Web Fabric Fuse Adhesive
Therm O Web Stitch n Sew™ Fleece Sew-In High Loft by the yard
iCraft® Deco Foil™ Liquid Adhesive
Iron, fabric, embroidery thread, button(s)
Boo To You Pattern and Instructions
Fabric yardage:
1/4 yard white
1-yard orange
1-yard black print
1/8 yard black
1 – 13½” x 23” Center Panel
1 yard for backing
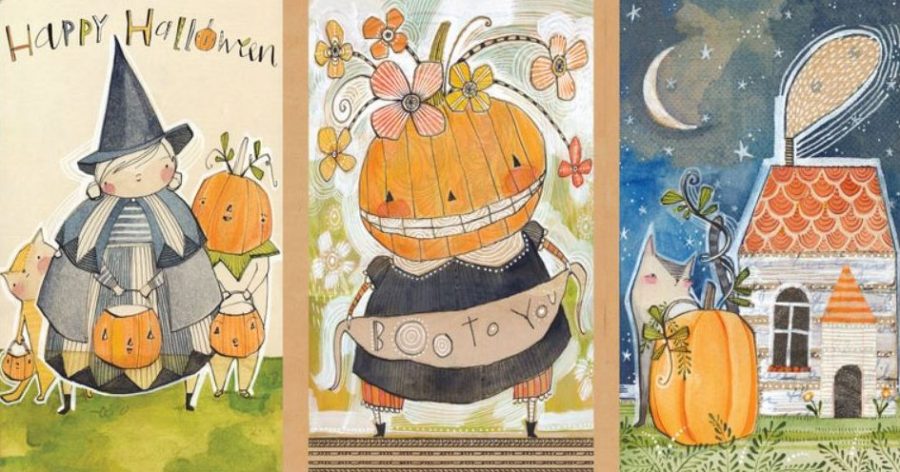
How cute are all these panels! It was so hard to pick just one for the quilt.
Cutting instructions:
Cut 1 – 13½” x 23” Center Panel
Cut 2 – 1½” x 23” Border A left and right sides
Cut 2 – 1½” x 15½” Border A top and bottom
Cut 2 – 3½” x 25” Border B left and right sides
Cut 2 – 3½” x 21½” Border B top and bottom
Cut 2 – 4½” x 31” Border C left and right sides
Cut 2 – 4½” x 29½” Border C top and bottom
Cut 2 – 2½” x 39” Border D left and right sides
Cut 2 – 2½” x 33½” Border D top and bottom
Cut 4 – 2½” x WOF (remove selvages) for binding
1-yard fabric for backing (you’ll have a little extra, but this allows for trimming)
Sewing instructions: Directions are given using fabrics from the quilt shown above. Replace pattern designs and colors with your choice of fabrics. All seams are sewn at 1/4” wide.

Step 1: Sew 1½” x 23” Border A left and right sides to panel. Next, sew 1½” x 15½” Border A to the top and bottom of the panel.
Step 2: Sew 3½” x 25” Border B left and right sides to Border A. Next, sew 3½” x 21½” Border B top and bottom to Border A.
Step 3: Sew 4½” x 31” Border C left and right sides to Border B. Next, sew 4½” x 29½” Border C top and bottom to Border B.
Step 4: Sew 2½” x 39” Border D left and right sides to Border C. Next, sew 2½” x 33½” Border D top and bottom to Border C.
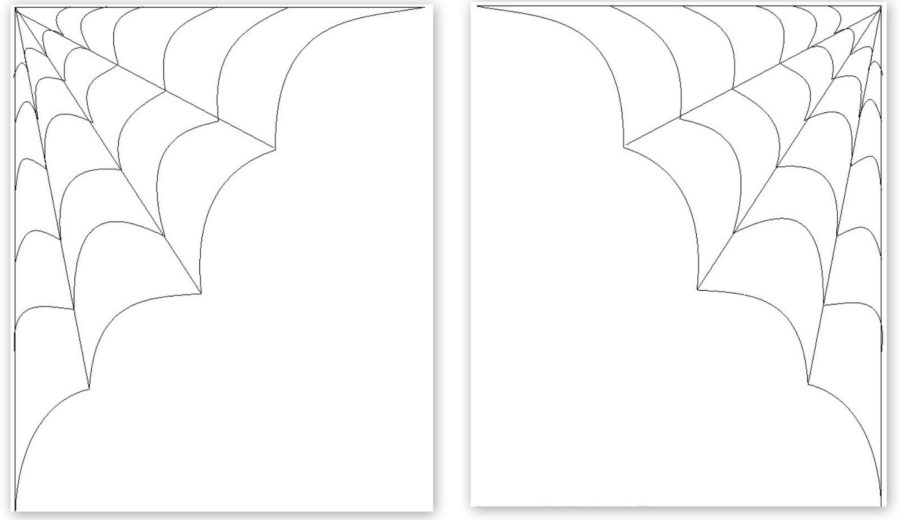
Step 5: Using the templates, trace spider webs in each corner of Border C. Embroider using your favorite stitch.
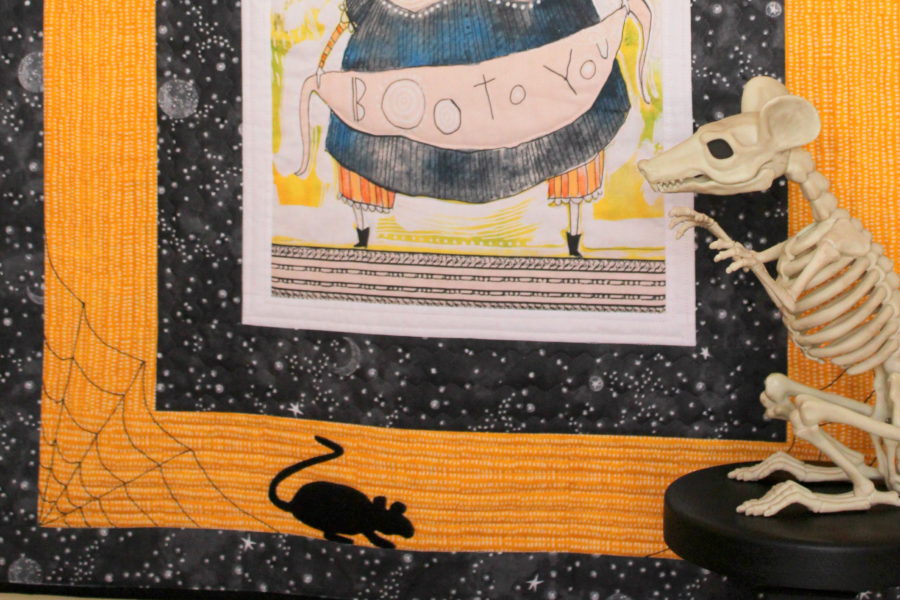
Step 6: Using the applique directions below, apply spider head with eyes and rat to quilt on Border C. Embroider line from the web to spider using your favorite stitch.
Using your inkjet printer, print out applique pattern pieces with Heat n Bond EZ Print Lite sheets or trace designs on Heat n Bond Lite iron-on adhesive.
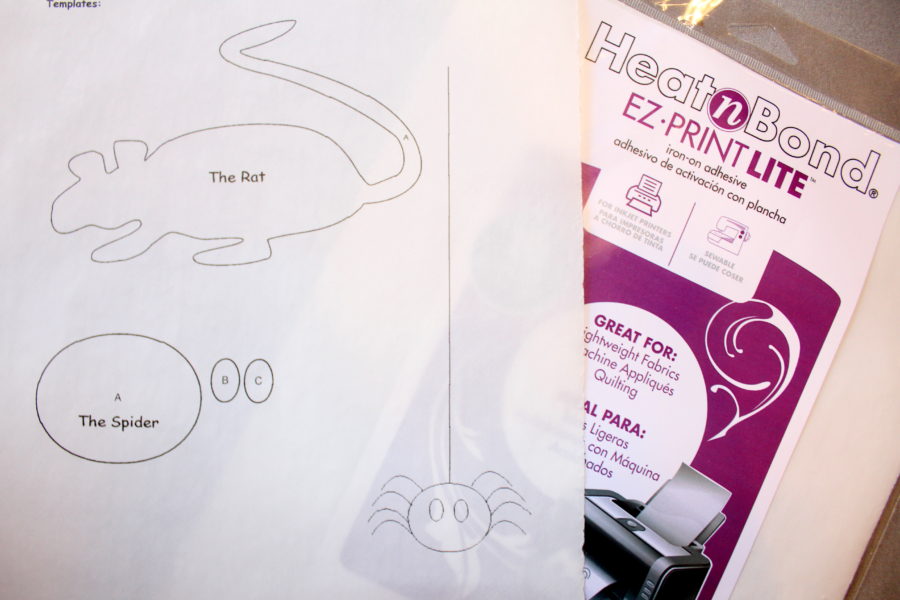
Follow the package directions to iron adhesive pieces to the wrong sides of desired fabrics. Let cool. Cut out applique pieces.
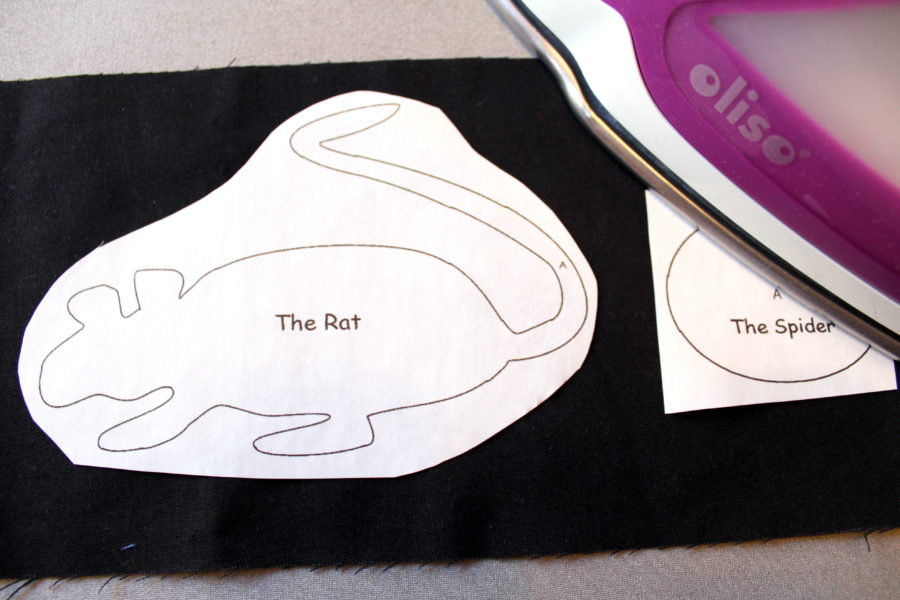
Iron applique pieces on the right side of the fabric block following package directions.
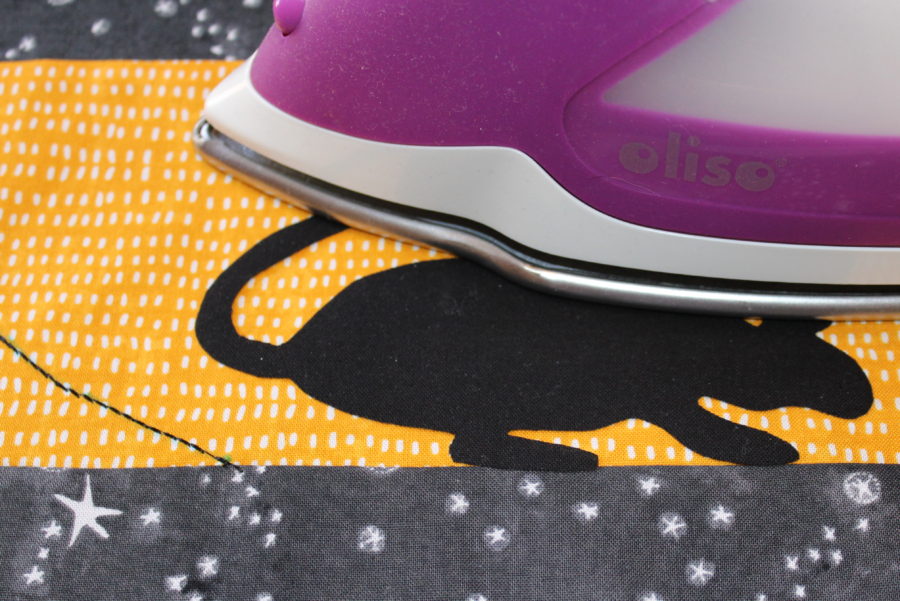
Blanket stitch, straight stitch, or zig-zag around all pieces.
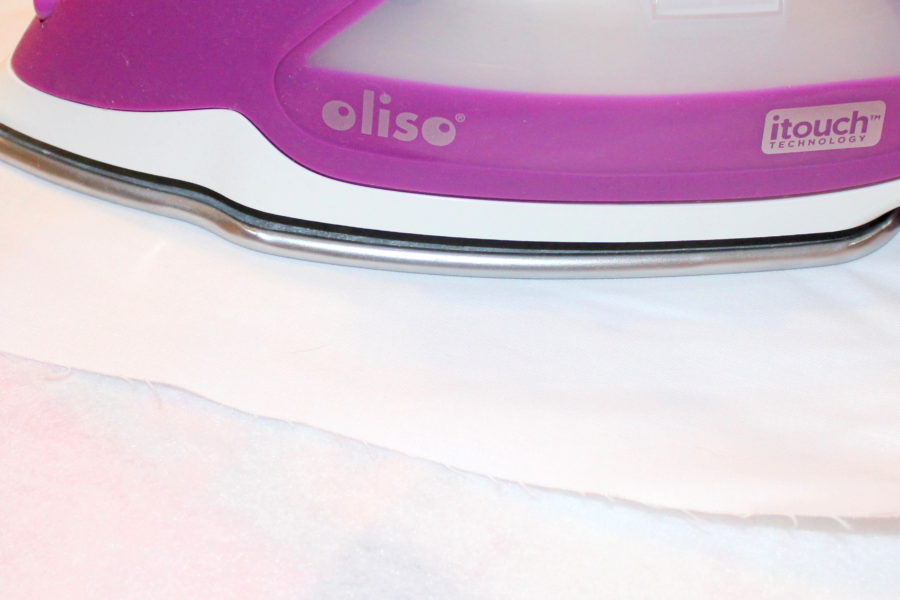
*Tip: Ironing Therm O Web Heat n Bond Fusible Interfacing – Light Weight to the wrong side of fabric block before adding applique can help stabilize the applique’s shape. Also, with light-colored applique pieces, ironing interfacing to the wrong side can help keep the design beneath them from showing through. Iron the adhesive right over the interfacing and apply appliques as you normally would.
Adding Deco Foil:
Thinly paint Deco Foil™ Liquid Adhesive onto desired areas. Let dry 30 minutes.
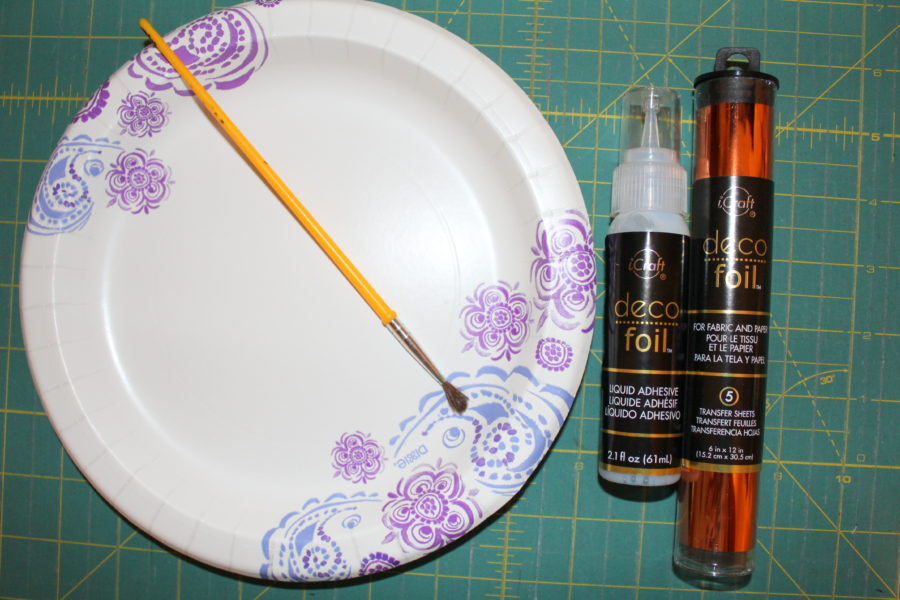
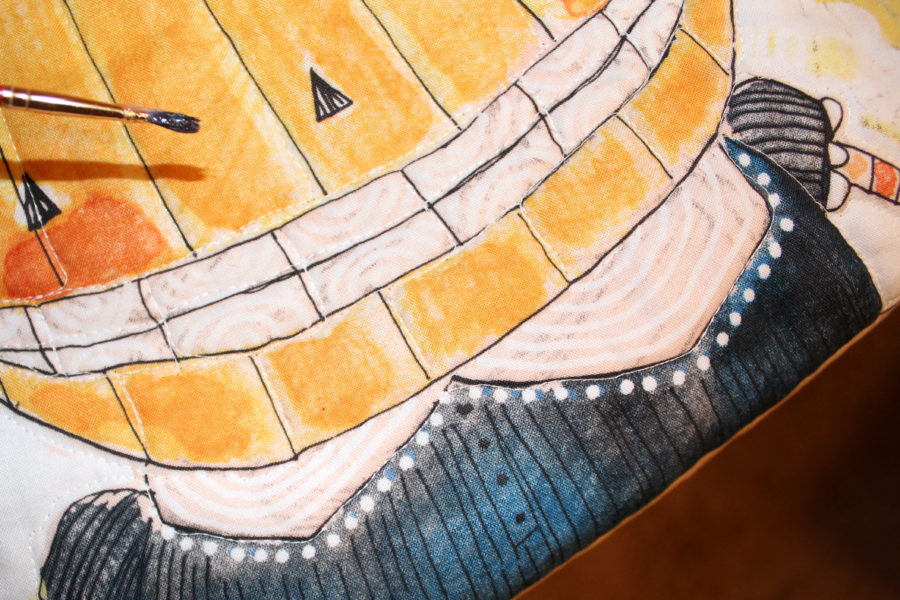
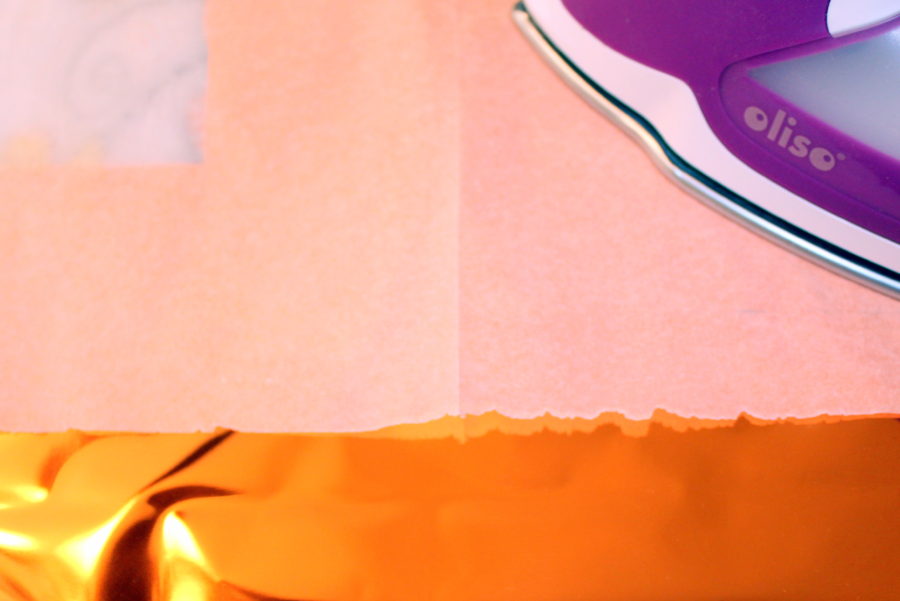
Place the desired color of Deco Foil™ over each adhesive area. Cover with parchment paper and press for 30 seconds on each area. Wait an hour and then rub the area with a soft cloth and remove the film from fabric.
Finishing the quilt:
Use your favorite method to finish a quilt or here’s an easy way to prep a quilt for either hand or machine quilting using Spray n Bond® and Stitch n Sew™ Fleece:
Protect the area you’ll be using the Therm O Web Spray n Bond® Basting Adhesive by placing an old sheet or paper under and around the area you’ll be spraying. Place the quilt back right side down on your working surface. Using the Spray n Bond Adhesive, spray about a 6” section across the top portion on the wrong side of the fabric.
Place Therm O Web Stitch n Sew™ Fleece Sew-In High Loft by the yard or batting on top of the wrong side of the quilt back over the sprayed surface. Smooth fleece/batting to ensure it adheres to the sprayed fabric. Reposition as necessary. Continue this method of spraying just 6” at a time until you reach the bottom of the quilt back. Place quilt top on the unsprayed side of the fleece with the right side of the quilt facing up, wrong side facing fleece.
Using the same method used for the quilt back, spray 6” sections to adhere to the quilt front to the fleece. Check both sides to make sure the quilt is smooth and there are no puckers or folds. This method works best with twin-sized or smaller quilts.
Now the quilt is ready to be hand or machine quilted. Add binding using your favorite method.
Making and adding a fabric flower:
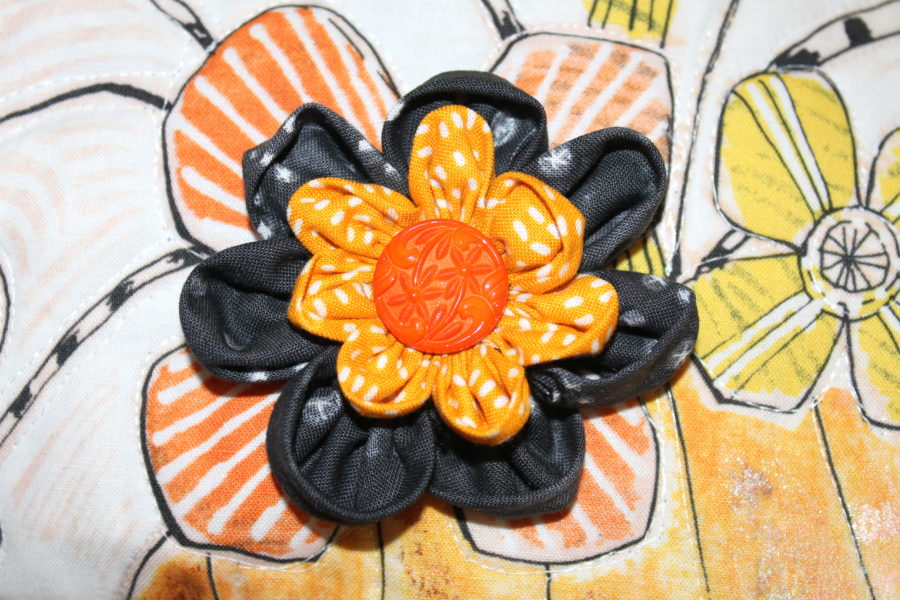
Cut five 2″ circles for the small flower and ten 3″ circles for the large flower. Fold circles in half. Run a basting stitch through the raw edges of the folded circle with one length of thread. I use embroidery thread to baste the halves—it’s stronger than regular thread.

Pull the thread to gather the halves. Tack the first and last half circle together with a small stitch. Repeat the same process with the 2″ halves. Baste the 2″ flower on top of the 3″ flower.
Spread a bit of Therm O Web Fabric Fuse Adhesive around the center opening on the wrong side of the fabric.
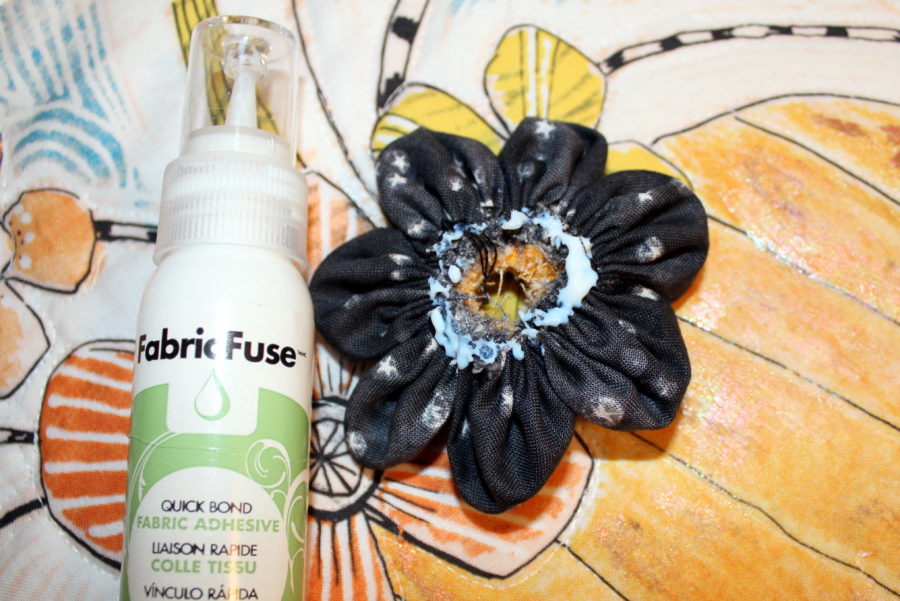
Set flower in place on quilt. Let dry for several hours.
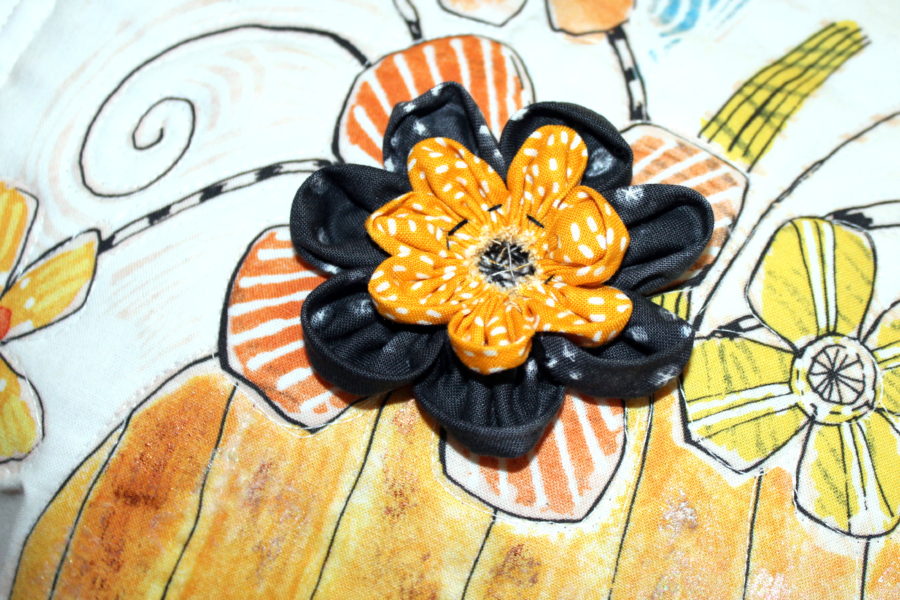
Sew on a button to finish the flower and hold it in place.
You can add some small buttons to the spider if desired.
Now it’s ready to give some spookiness to your Halloween festivities…BOO!

Sherry
October 14, 2016 at 3:32 pm (9 years ago)Carol you have made the most wonderful Halloween quilt. I love your simple easy to understand tutorial. Thank you very much for sharing your Creative Bliss.
sewlost
October 16, 2016 at 9:01 am (9 years ago)This is just darling. I’m going to try to make this. I could not find the appliqué templates. Are they listed someplace. Thank you for your wonderful inspiration
Amy
October 17, 2016 at 9:43 pm (9 years ago)Another adorable creation. Love all the added details to your quilt.