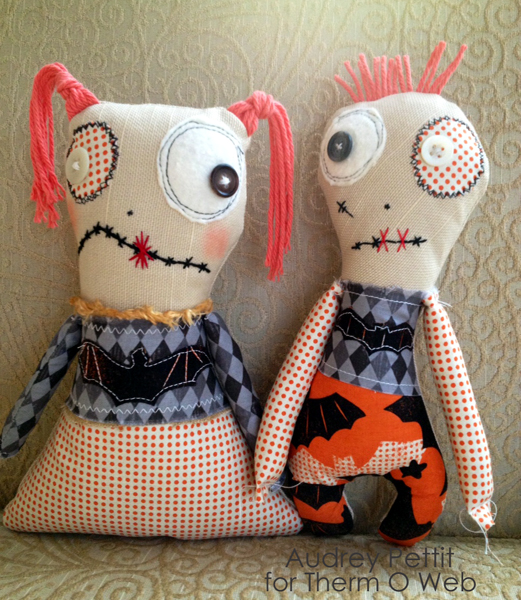
Supplies:
Therm O Web HeatnBond® Lite Sewable Iron-On Adhesive
Therm O Web StitchnSew™ Sew-In Fleece
Blend Fabric Spooktacular Halloween Collection
Floss: DMC
Muslin, Buttons, Yarn, Polyfill Fiber: Craft Supply
Chalk Pastels: Stampin’Up
Zombie Her Pattern
Zombie Him Pattern
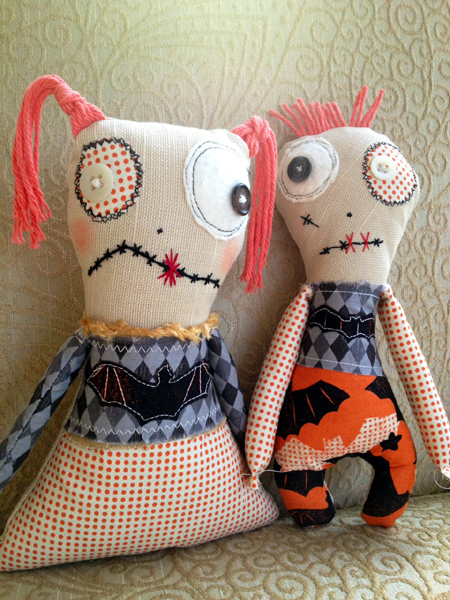
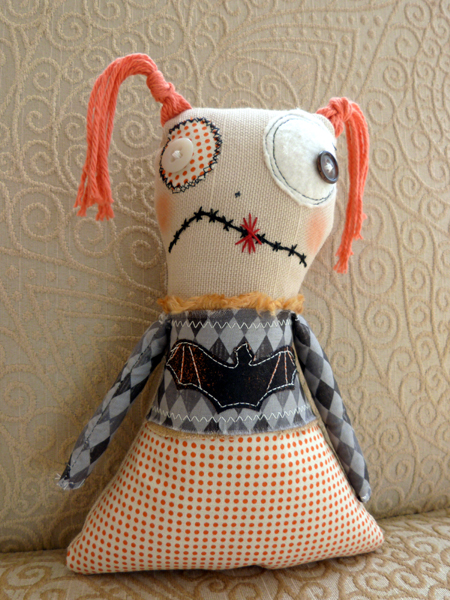
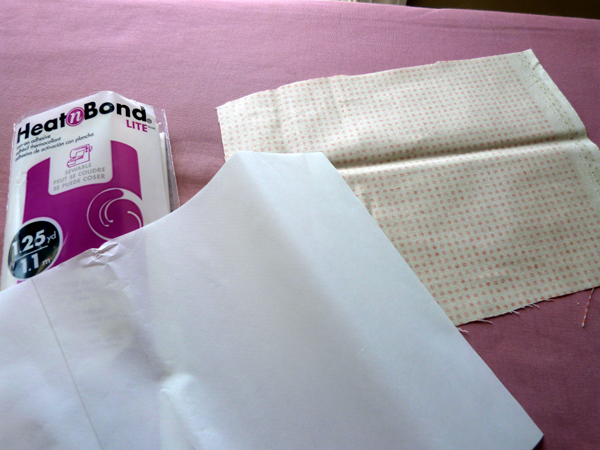
Cut a piece of Halloween fabric large enough to cover the body of the doll. Apply Heat n’ Bond Lite Sewable Iron-On Adhesive to the wrong side of the fabric, following manufacturer’s directions on the packaging. Repeat this process with a smaller piece of fabric to use for one eye, as well as a small piece of StitchnSew™ Fleece to use for the other eye.
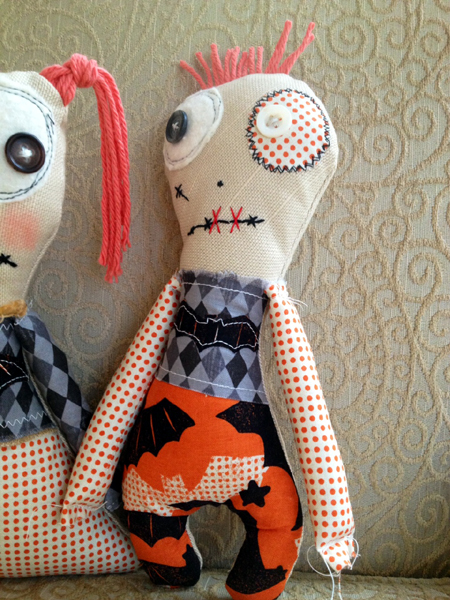
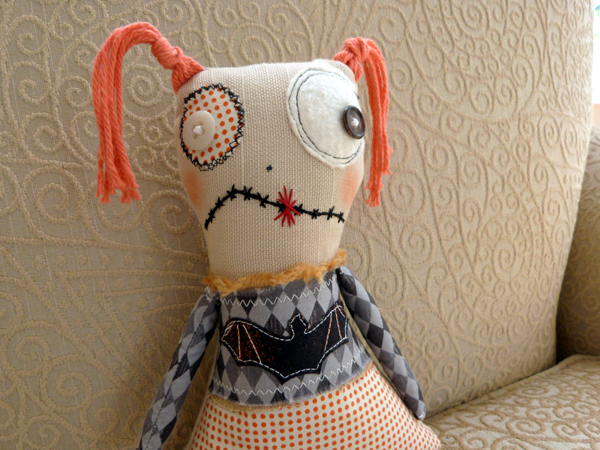
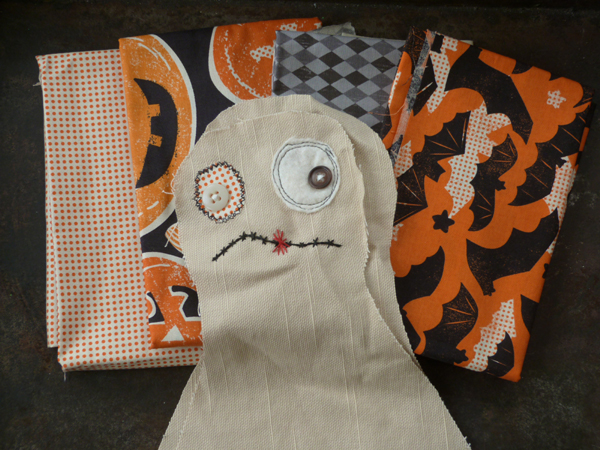
Cut circles out of the small fabric piece and fleece piece to use as eyes. Iron pieces onto the face of the doll to set. Randomly stitch around the eyes using straight or zig-zag stitches.
Hand stitch mouths using embroidery floss, and add buttons to the eyes.
When the face is finished, iron the Halloween fabric to the front body of the doll. Flip the fabric to the back side and trim off any excess Halloween fabric.
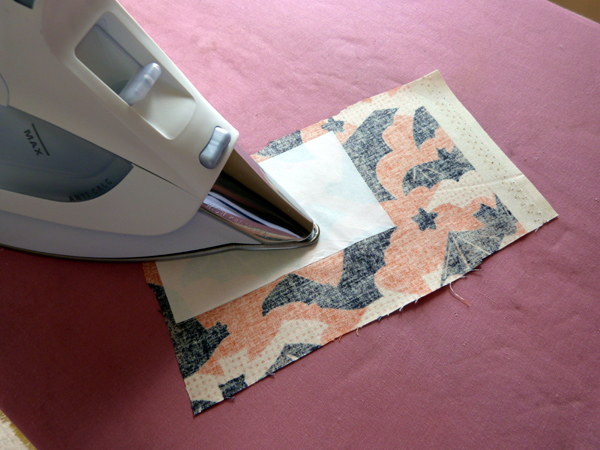
to create the shirt, apply the iron-on adhesive to the back of a small piece of bat fabric, centering the adhesive behind a bat you would like to use for an applique. Trim bat design out of the fabric.
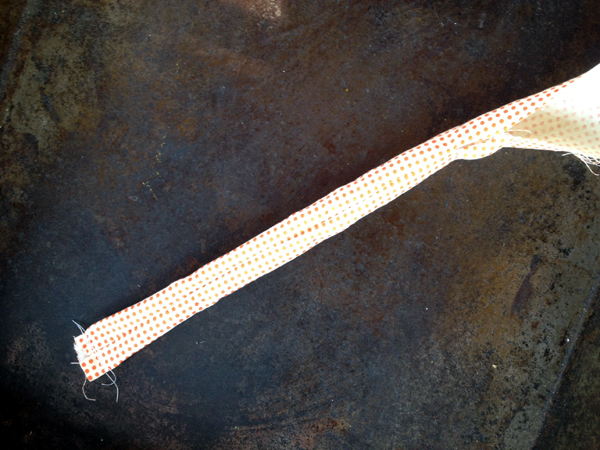
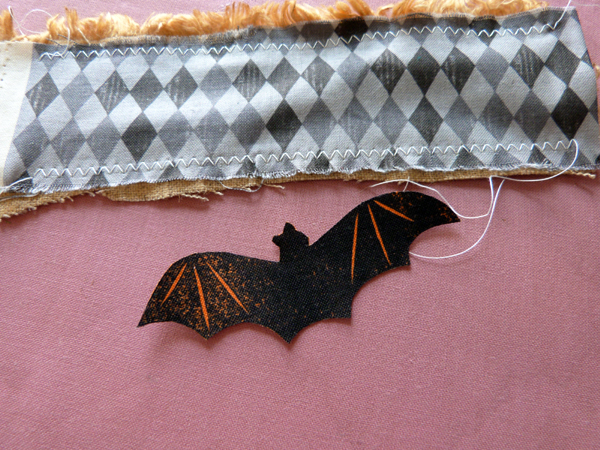 Cut a 2″ x 5″ strip of contrasting Halloween fabric for the main part of the shirt. For the Zombie Her doll, I stitched this strip onto a second piece of selvedge muslin fabric. I skipped this step for Him. Iron bat applique to the center of the fabric strip and add stitched detailing to the bat, then iron shirt strip onto the doll body. Flip fabric to the back side, and trim off any excess shirt.
Cut zombie hair from yarn. Pin hair to the front body with the hair ends going down the face towards the body and the other ends sticking above the top of the head. Pin the doll back to the doll front and machine stitch around the edges, leaving enough of an opening to turn the doll inside out. Stuff doll with polyfill fiber and slip stitch opening closed.
Click here for the link for the Modern Pumpkin Pillows
12 Comments on Blend His and Hers Halloween Zombie Dolls
5Pingbacks & Trackbacks on Blend His and Hers Halloween Zombie Dolls
-
[…] While we’re on the subject of zombies, I have another pair to share with you today. A pair of spooky, sweet His & Hers prim zombie dolls I made using some very adorable Halloween fabrics from Blend, our product partner this week on the Therm O Web blog. […]
-
[…] Audrey Pettit shares a free pattern over at Therm O Web for making a set of boy and girl zombie softie dolls. They are perfectly imperfect the way that zombies should be, with raw edges and threads showing. Their wonky eyes and yarn hair and coordinating outfits with bat appliques are super cute! Go to Therm O Web to get her pattern. […]
-
[…] Audrey Pettit shares a free pattern over at Therm O Web for making a set of boy and girl zombie softie dolls. They are perfectly imperfect the way that zombies should be, with raw edges and threads showing. Their wonky eyes and yarn hair and coordinating outfits with bat appliques are super cute! Go to Therm O Web to get her pattern… […]
-
[…] Audrey Pettit shares a free pattern over at Therm O Web for making a set of boy and girl zombie softie dolls. They are perfectly imperfect the way that zombies should be, with raw edges and threads showing. Their wonky eyes and yarn hair and coordinating outfits with bat appliques are super cute! Go to Therm O Web to get her pattern. […]
-
[…] (Thermoweb) […]

Sylvia/LittleTreasures
October 17, 2013 at 1:46 pm (12 years ago)Thank you for the pattern..I hope to make a few for my nursing home friends little Halloween baskets. Looks simple enough for something quick and just love the little expressions!!!! Adorable little Zoombies
Margaret
October 27, 2013 at 10:11 pm (12 years ago)I have only tried the adhesive tape, and I love it. Would love to try other products.
Deb G
October 28, 2013 at 10:47 am (12 years ago)These are just right!
Michele
October 30, 2013 at 1:02 pm (12 years ago)Adorable and fun! I made the her today. Thanks for the pattern!
admin
October 30, 2013 at 2:00 pm (12 years ago)You’re welcome Michele! We’d love to see yours as well! Please do share with us!
Mary on Lake Pulaski
October 31, 2013 at 2:06 pm (12 years ago)Thank you for the tutorial – they were great fun to make!
Clare C
September 1, 2014 at 9:01 am (11 years ago)These are so cute. I will have to make a pair for my shelf for Halloween. Thanks