Hi everyone! It’s Kim Lapacek from Persimon Dreams here to share with you a fun new project I just created.
Flock Art Quilts
Deco Foil Flock
I recently took on a “try it” challenge for the Island Batik Ambassador program. As soon as I saw the challenge I knew I was going to play around with Thermoweb’s new Deco Foil Flock Transfer Sheets. Before I gave it a go I first watched the YouTube video on 5 ways to use the Deco Foil Flock sheets.
I wanted to experiment a bit and see how the DecoFoil flock worked when added to fabric using Hot Melt Adhesive. Before I committed to using it on a project I had actually spent time piecing, I tried it on just a bit of fabric. I found a piece of yellow Island Batik fabric and quickly drew up a quilt design inspired by softball and my daughter’s number. I figured if it worked I could create a little bag or something out of it. 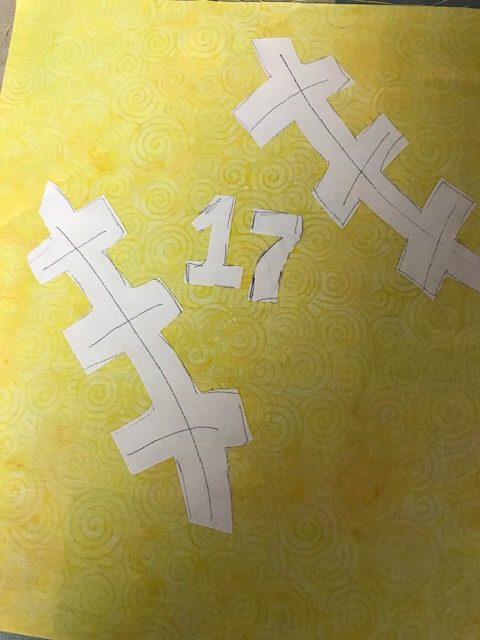
I applied the Deco Foil Hot Melt Adhesive, pressing it soundly and then letting it cool 120% before peeling the paper off. Then, I laid the black Deco Foil Flock Transfer Sheet on top, covered it with a Pressing Paper and pressed, and pressed, and pressed. I wanted to make sure I got it nice an hot and evenly pressed since the videos say to use a laminator – I was trying to mimic the effect of that. 
Once the flock cooled (if you think it’s cool enough – walk away and let it cool some more) I slowly peeled it off and it had worked!!!!
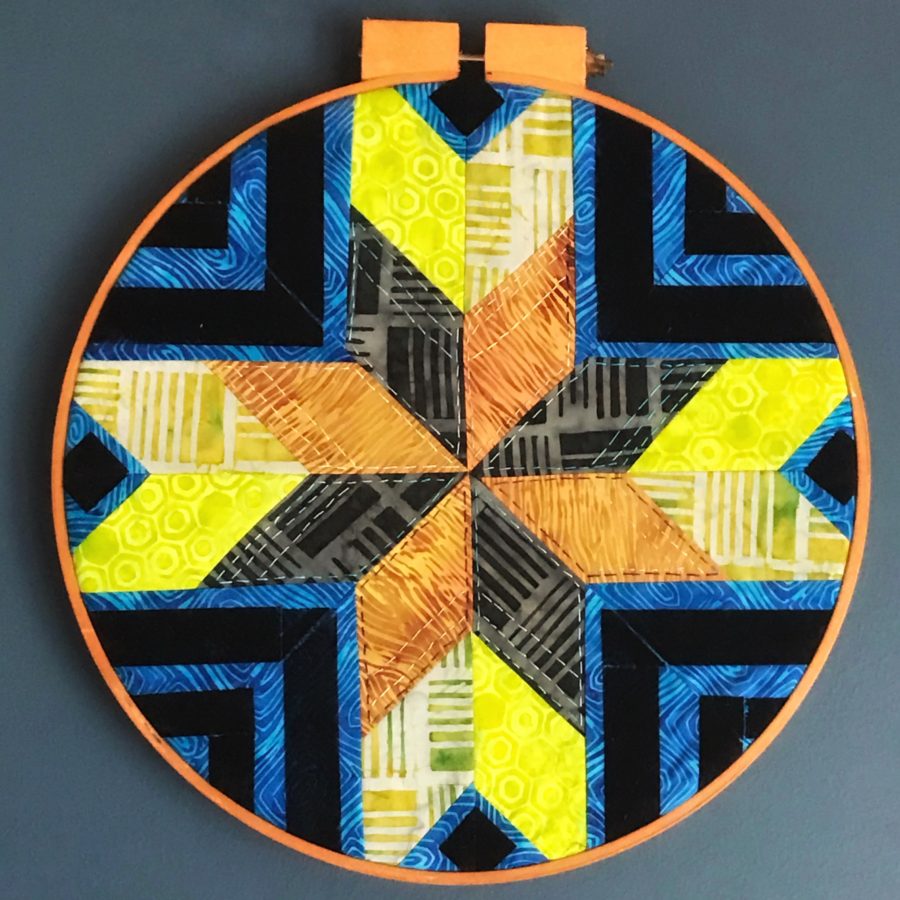
Now that I knew it would work, I decided to create a mini quilt that featured the DecoFoil Flock.
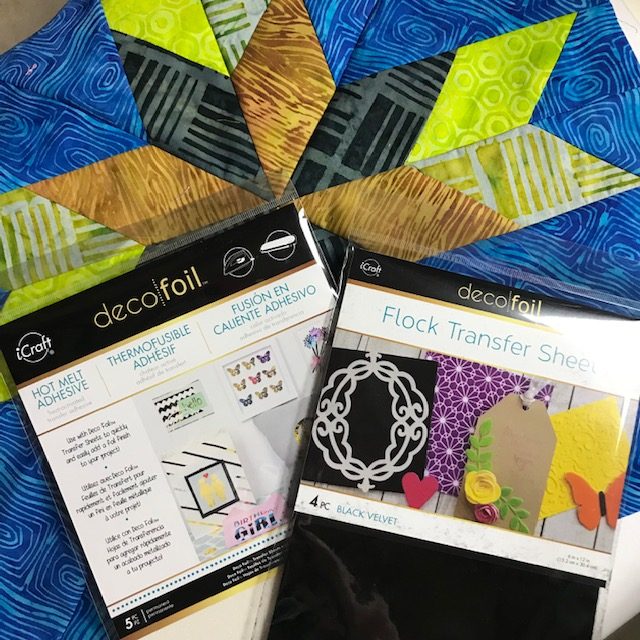
Supplies
- Mini Quilt to embellish
- Hot Melt Adhesive
- Deco Foil Flock Sheets (black)
- Pressing Paper
- Oliso Iron
- Patience
 Working with Flock
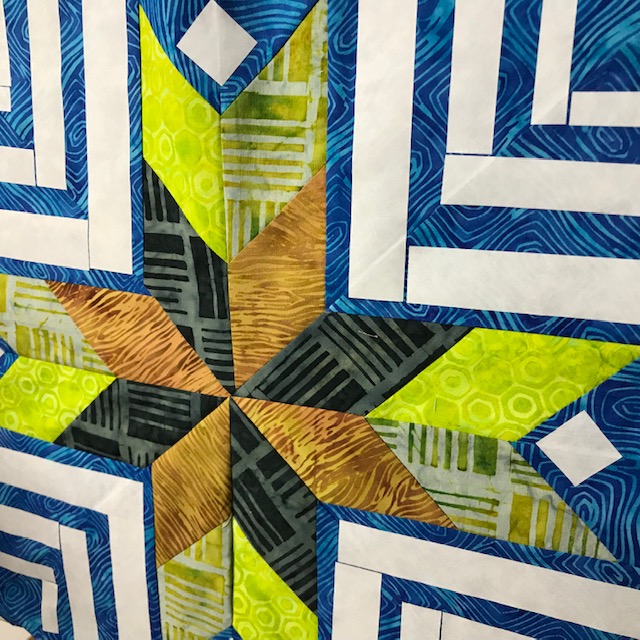
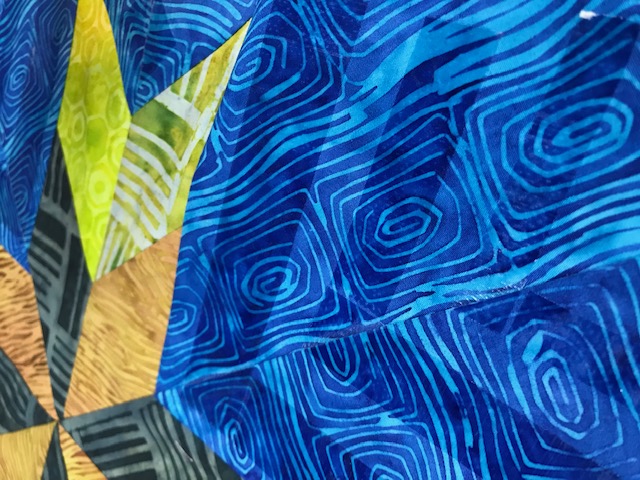
The first decision to make was where I wanted to add the Flock to the piece. I decided it would be nice to accent the background fabric and create more focus on the pieced star. I cut strips of Hot Melt Adhesive in 1-inch, 0.75-inch, and 0.5-inch strips. Once the strips were placed, I covered them with the pressing paper and pressed with my hot Oliso iron. Once they were securely pressed, I let everything cool COMPLETELY. The key to successful Deco Foil application is patience and really letting everything cool. Once cool, I peeled the paper off the hot melt adhesive.
 The shiny stripes are what your quilt should have on it when the paper is peeled off.
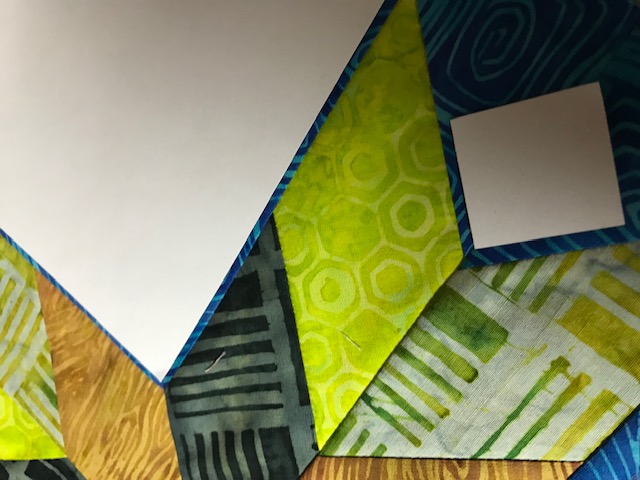 Next, cut the Deco Foil Flock in large enough pieces so all the hot melt adhesive is covered. Place the flock texture side down (paper side up) and cover with a pressing paper.

Press with a hot iron using heavy and even pressure. You want to make sure you get everything pressed down really well. Once you feel confident it’s pressed properly – LET IT COOL. Let it cool a bit more and then peel the flock off.
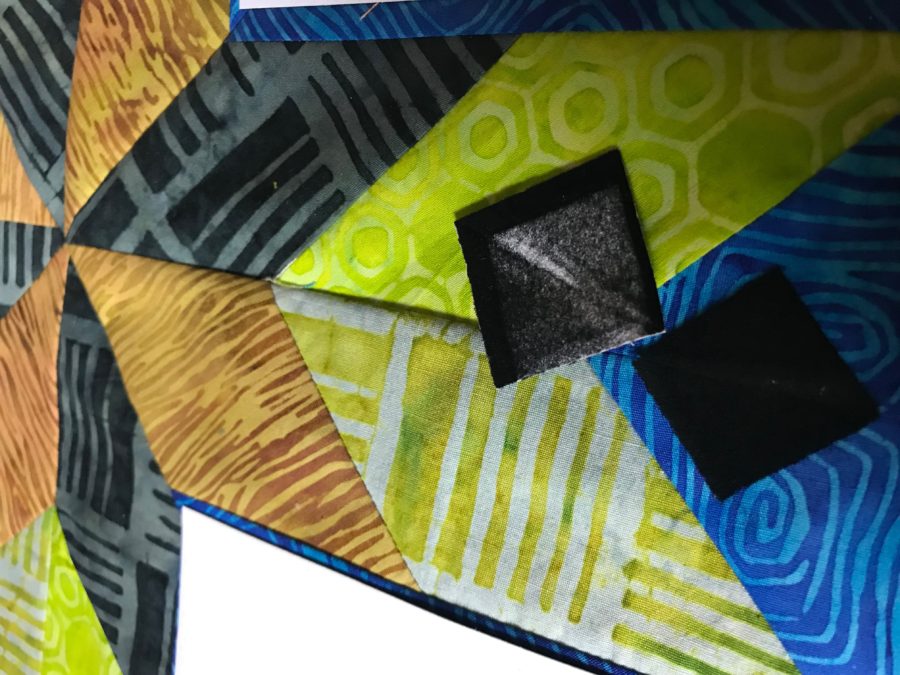
Here you can see how the flock looks after it’s peeled off. I have also put a little video on IGTV of me peeling the flock off if you want to check it out.
One thing that’s great though is if you haven’t pressed enough, you’ll see it right away when you start to peel and you can re-press. I had to do that on one quadrant and you’d never be able to guess which one that is!

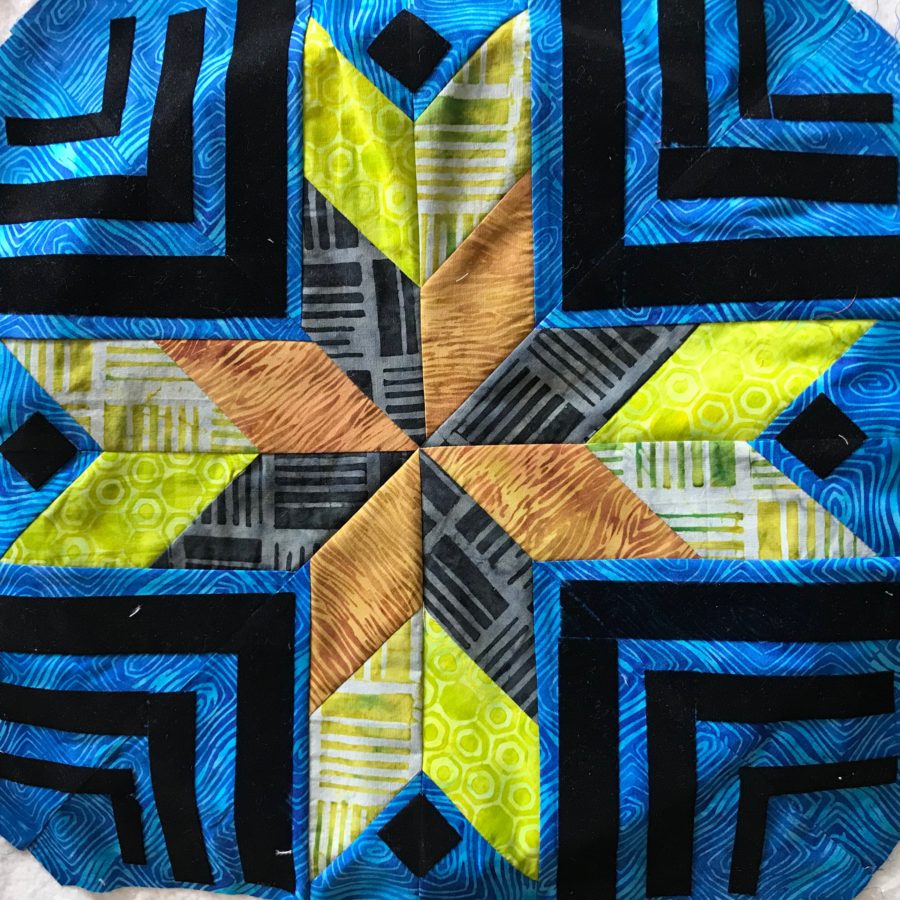
I’m thrilled with how the flock turned out! In some spots, you can see the pattern of the Island Batik fabric coming through. I love the texture that creates. The flock didn’t handle the seams of the pieced quilt well, but if that was something that mattered to me I can easily work around it and plan the cuts on my Hot Melt Adhesive more.
Once the whole process was over (read more about my thoughts on my blog HERE) – I had an adorable mini quilt and a new technique that I feel comfortable using in the future. I hope you have fun giving the new DecoFoil Flock a try on your quilts!