For the past few weeks, the Therm O Web Design Team has been sharing projects created with NEW Treasured Threadz™ Fabric Panels. Here’s some information about this fun new collection we know you’ll love . . .
Treasured Threadz Fabric Panels are designed especially for sewing, quilting and embellishing projects. Curated and designed by Amy Barickman using her collection of rare vintage art, textiles and quilts, Treasured Threadz Fabric Panels are a shortcut to creating your own unique style. Upcycle thrift-shop finds, refresh favorites from your closet or make entirely new clothing, accessories and home décor.
Panels are 100% cotton, measure 14”x44” and feature faux patchwork and original collaged art ideal for applique and small projects, plus embroidery, quilting, stitching and collage techniques. Every panel purchase includes exclusive QR Code Content: three original PDF patterns, video tutorials and a digital Look Book that features 25+ pages of project ideas and creative inspiration. Treasured Threadz Favorite Fusible Stabilizer, a low-loft fusible batting designed for hand quilting and embroidery projects, adds extra stability and dimension to projects; purchase includes PDF instructions and video tutorials for Amy’s signature applique techniques. Treasured Threadz products are distributed by Colonial Patterns.
To learn more about Amy and her story, check out her conversation with Brandy Maslowski of the Quilter on Fire Podcast, episode #155; search your favorite podcast app or listen here.
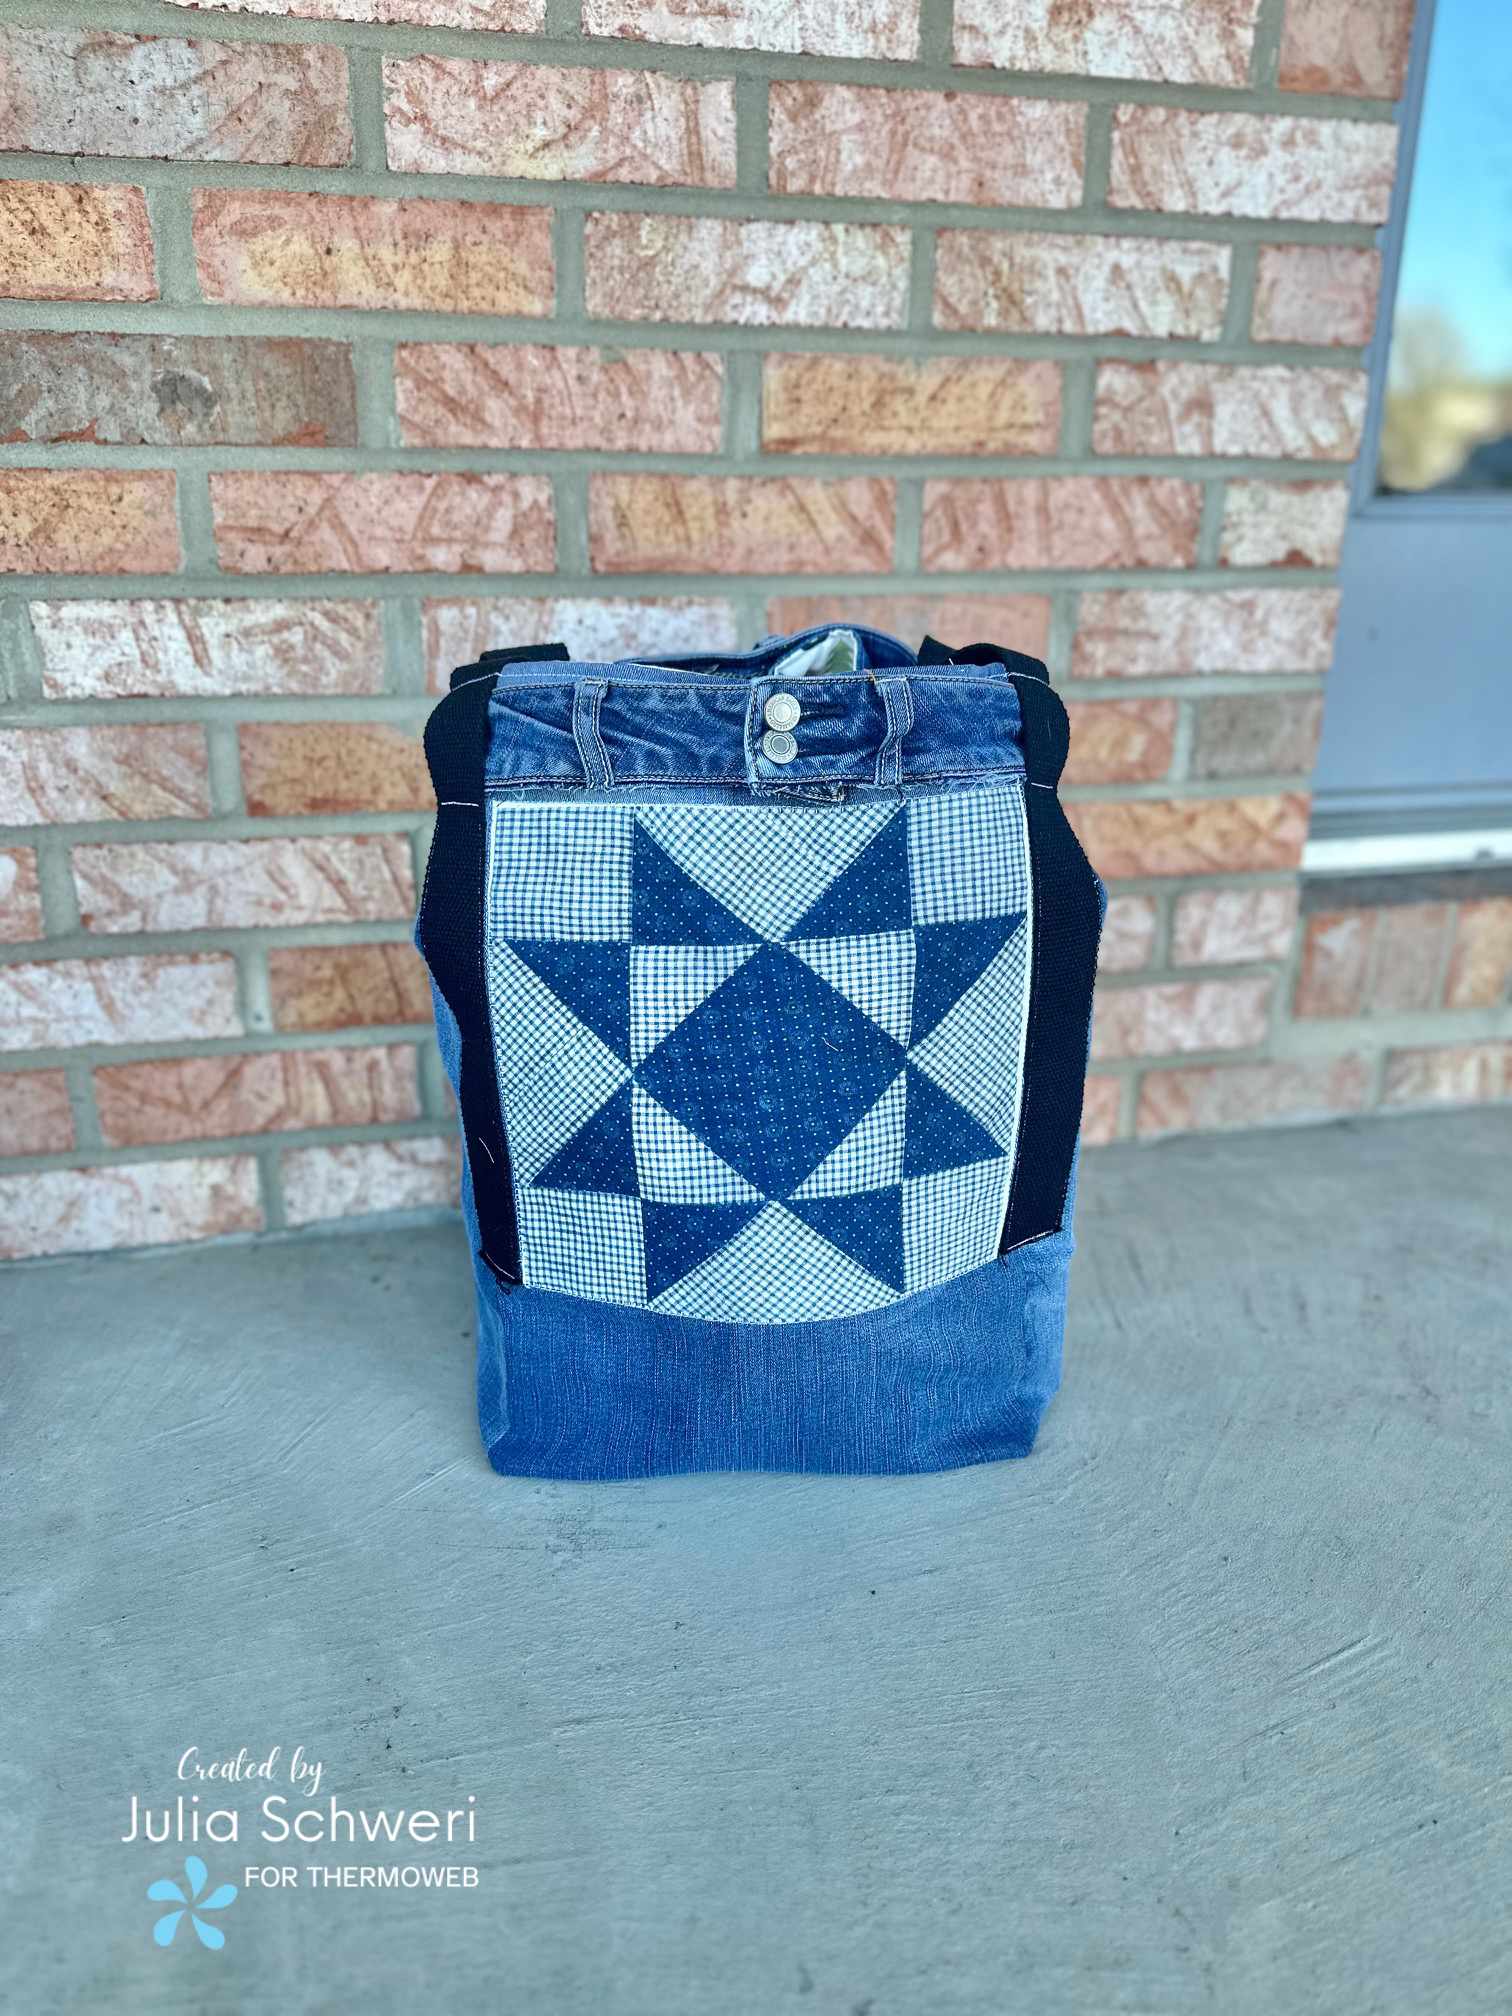
Now, on to today’s Treasured Threadz + Therm O Web Design Team Tour, featuring a roomy Recycled Jean Grocery Bag by Julia Schweri.
____________________________________________________________________
Happy Earth Day!
Hello and welcome! It’s Julia from Inflorescence Designs! I’m so joyful you are visiting today.
Today’s project is a collaboration between Therm O Web and Amy Barickman, the creator of NEW Treasured Threadz™ Fabric Panels. Amy enjoys recycling fabrics and turning them into something new. This joy led her to create Treasured Threadz™.
Earth Day is a great day to make something from recycled fabrics. Today on the blog, I am sharing how to make a Recycled Jean Grocery Bag! Find a FULL YOUTUBE VIDEO TUTORIAL over on our YouTube Channel (Link below).
Recycled Jean Grocery Bag
Supplies:
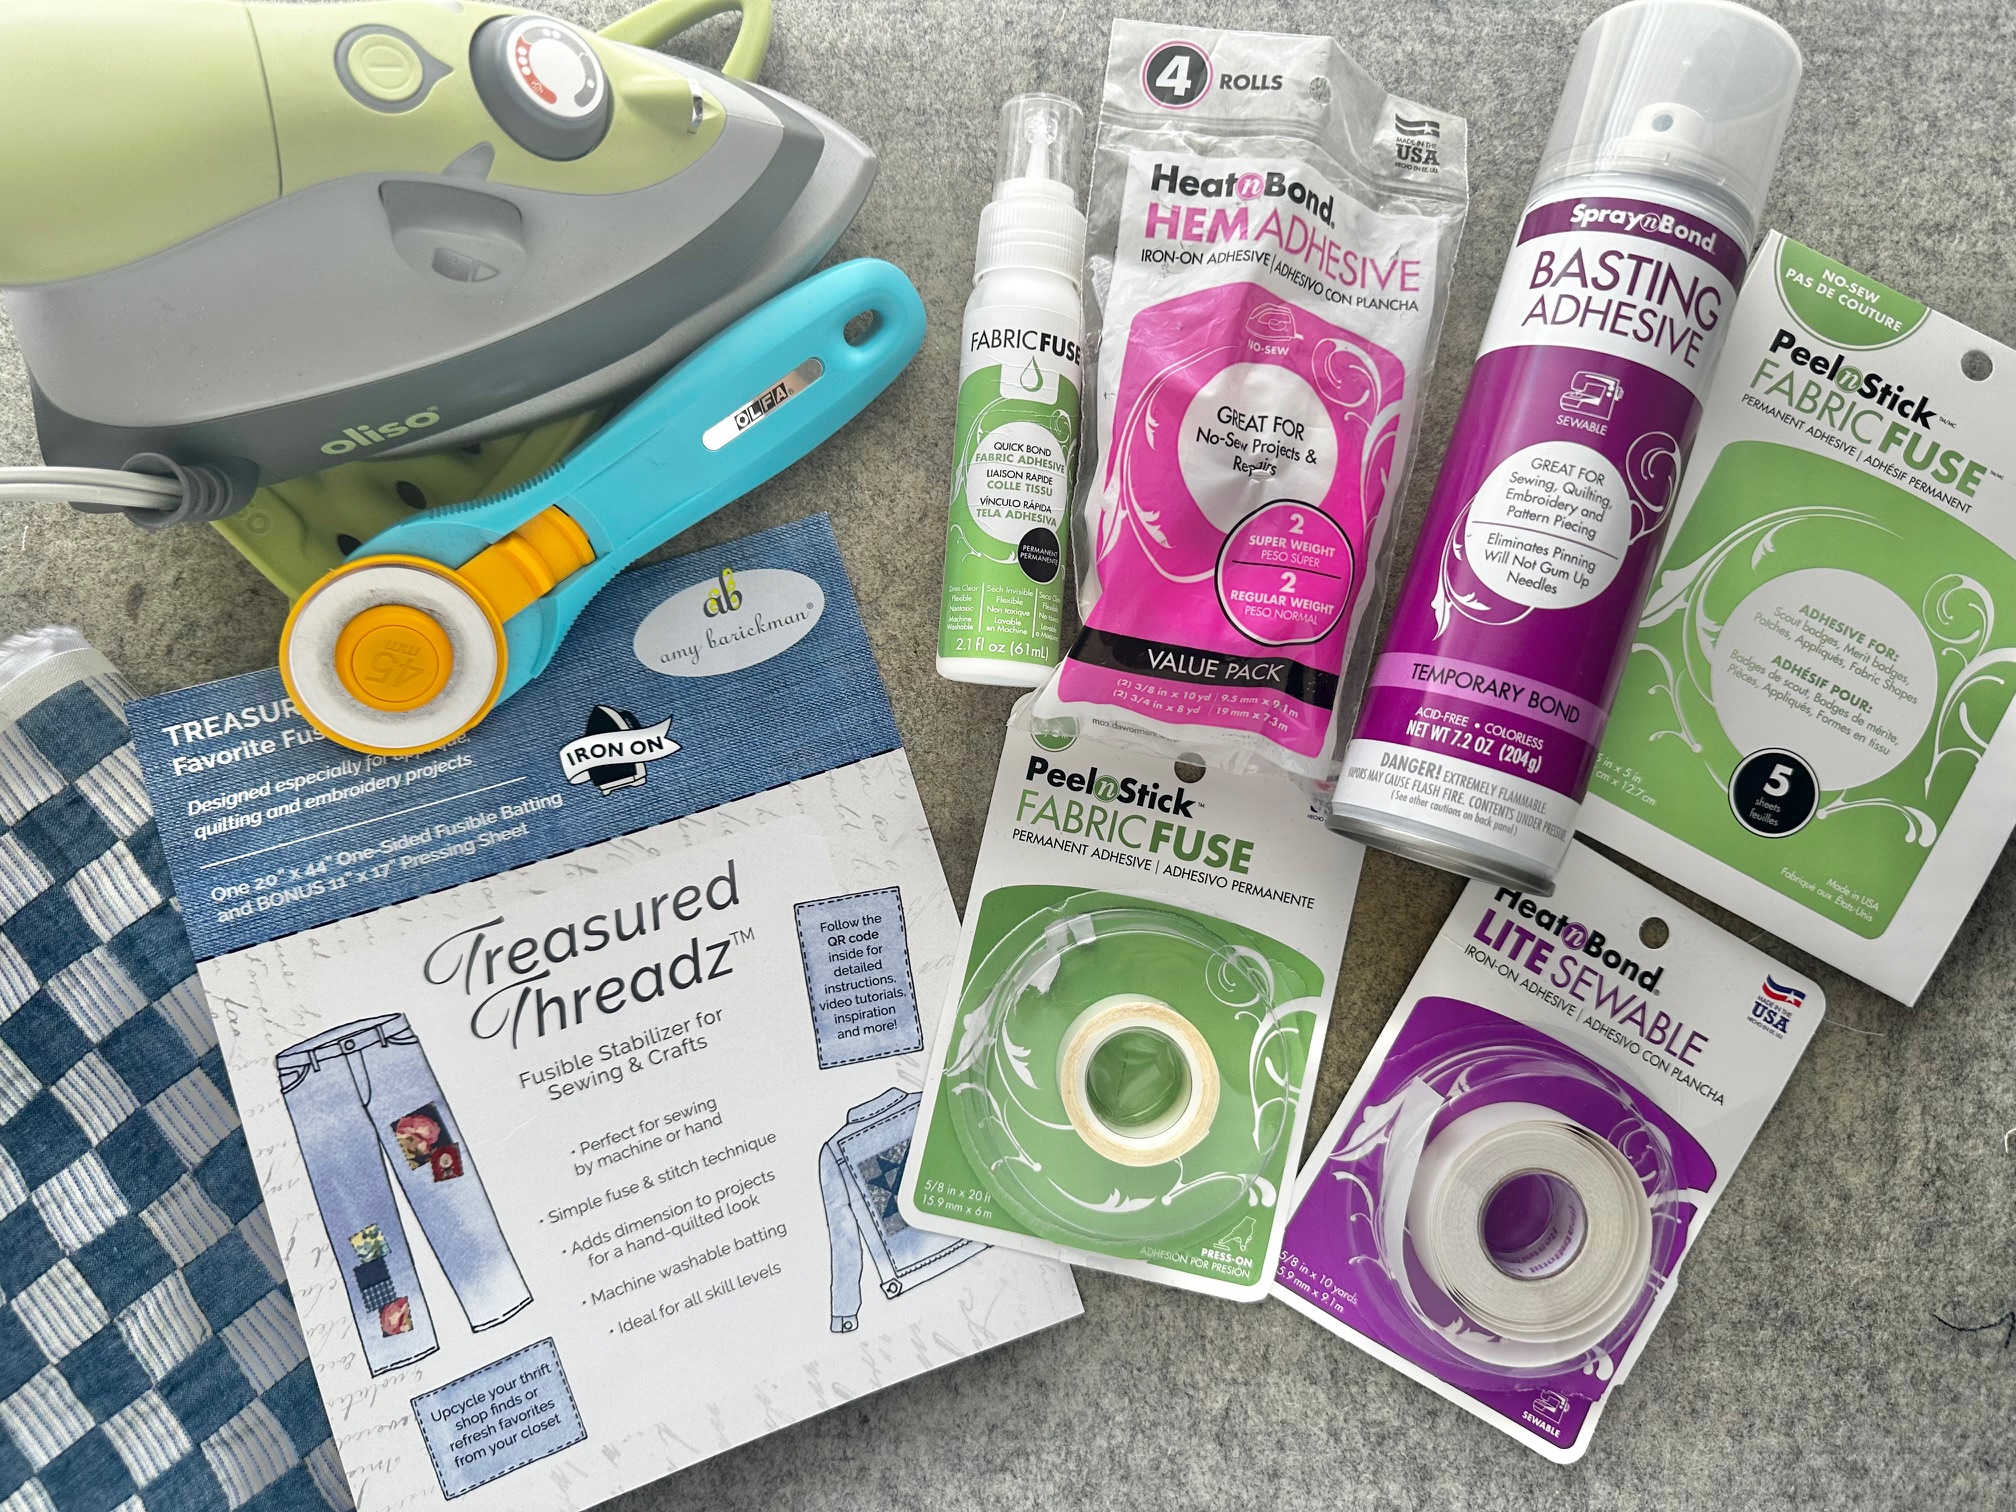
- SpraynBond Basting Spray
- HeatnBond Fabric Fuse Liquid Adhesive
- HeatnBond Fabric Fuse PeelnStick Fabric Adhesive Tape
- HeatnBond Fabric Fuse PeelnStick Fabric Adhesive Sheet
- HeatnBond Hem Iron-On Adhesive Tape
- HeatnBond Lite Sewable Adhesive Tape 5/8″
- Treasured Threadz Missouri Star Blue Panel
- Treasured Threadz Favorite Fusible Stablizer
- 2 pairs of old jeans (adult size)
- Lining Fabric: I used outdoor canvas I had in my stash (2) 21″ x 23″
- (2) 43″ Cotton Webbing 1-1/2″ wide
- (2) Plastic Canvas Sheets
- Oliso M3PRO
- Olfa Rotary Cutter and Mat
- Basic Sewing Notions
Instructions:
Outer Bag:
- Trim off the bottom hem of each pair of jeans. Then cut each pair of jeans into 4 rectangular panels measuring 24″ long. Make sure to trim off the thick inner and outer side seams of each leg.
- Using a 3/8″ seam allowance, sew 4 panels together and press the seams open. Make 2. Trim to 21″ across and 23″ down.
- Cut out the Treasured Threadz panel piece you want to use. Make sure to cut slightly larger to allow for a hem.
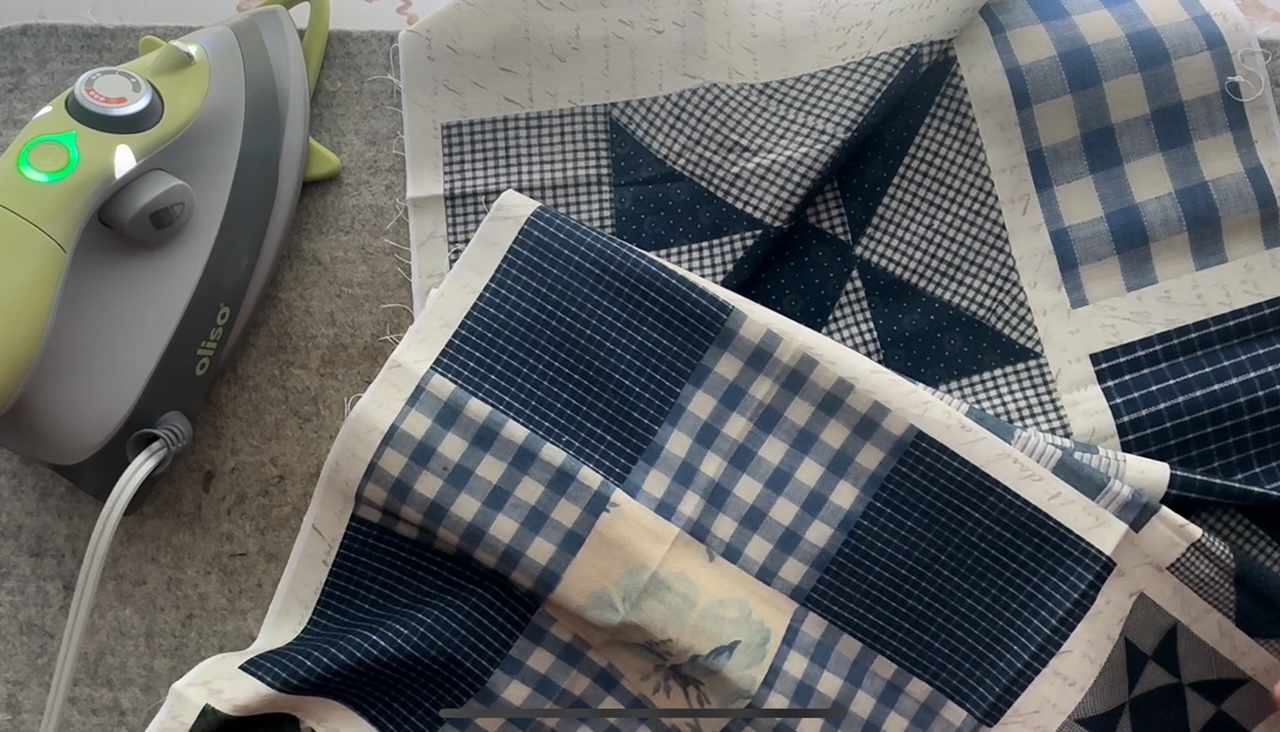
- Next, measure the design from the panel piece you just cut. Cut out the Treasured Threadz Favorite Fusible Stabilizer the same size or slightly smaller. Fuse the stabilizer to the wrong side of the panel covering just the image.
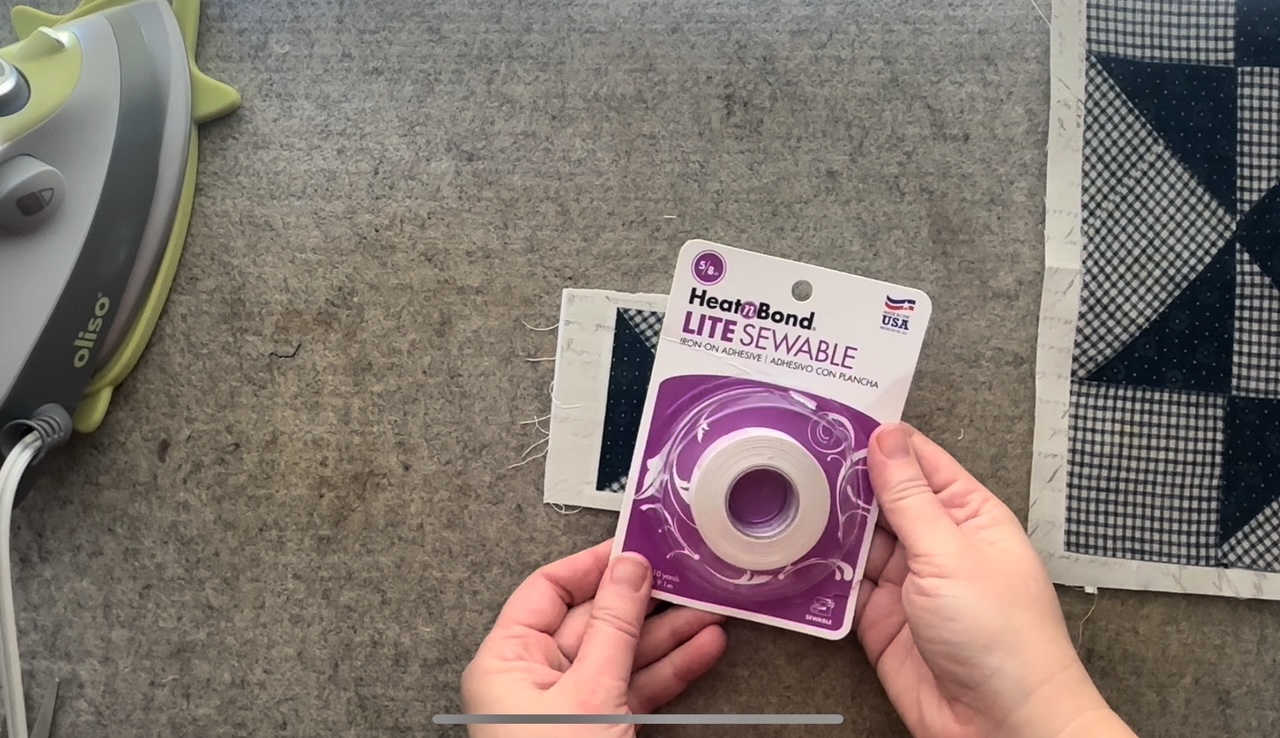
- Continue by applying HeatnBond Lite Sewable Tape to the back side of the panel over the fleece. Press to adhere. Then, peel off the paper backing and fold the raw edge over the Heatnbond Lite Tape and press again to secure. Repeat this process for all 4 sides.
- Next, apply SpraynBond Basting Spray to the back side of the panel and adhere to the center top of the front bag piece. Sew around the block to secure.
- Continue by adding the handles to the front and back bag pieces. Align the handle with the edge of the Treasured Threadz panel. Sew the handle the length of the panel and around. Sew the handle to the back bag piece using the front bag as a guide for placement.
- Once the handles are in place, place the front and back bag pieces right sides together and sew with a 3/8″ seam down both sides and across the bottom.
- Next, cut out 5″ squares from both bottom corners. Pull the fabric together and sew a 5/8″ seam across the opening to box the corners. Turn the outer bag right side out and set aside.
Lining:
- Place the lining pieces right sides together and sew with a 3/8″ seam down both sides and across the bottom. Leave a 5-6″ opening on one side.
- Next, cut out 5″ squares from both bottom corners. Pull the fabric together and sew a 5/8″ seam across the opening to box the corners.
- Using HeatnBond Hem Adhesive, secure the hem on both sides of the opening.
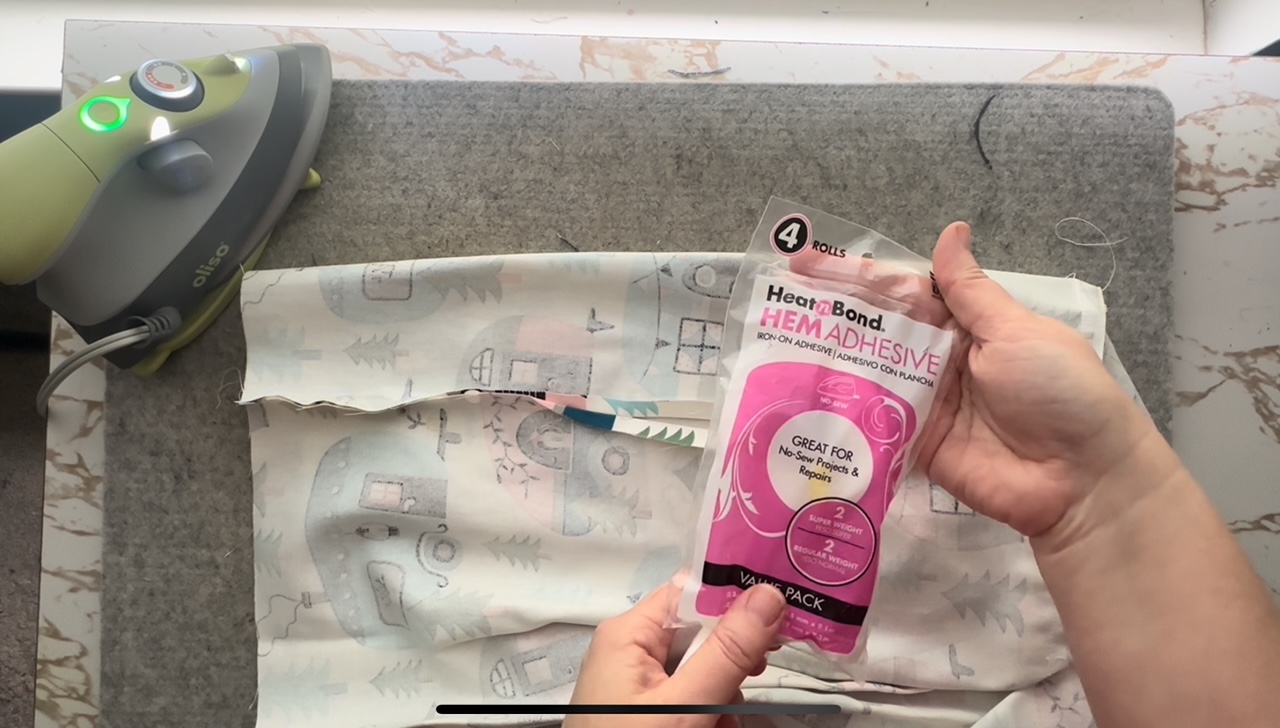
- Insert the outer bag into the lining right sides together. Align the side seams and pin the top all the way around. Make sure the handles are in the bag.
- Sew around the top of the bag with a 3/8″ seam.
- Turn the bag right side out by pulling the main bag through the lining opening. Stuff the lining into the bag and press the top.
- Topstitch around the top of the bag with a 1/4″ seam. Sew OVER the bag handles, securing them by backstitching.
- For added support, cut the plastic canvas to 10″ x 11″. Roll up and insert into the bottom of the bag through the opening in the lining. Remove before cleaning.
Embellishments:
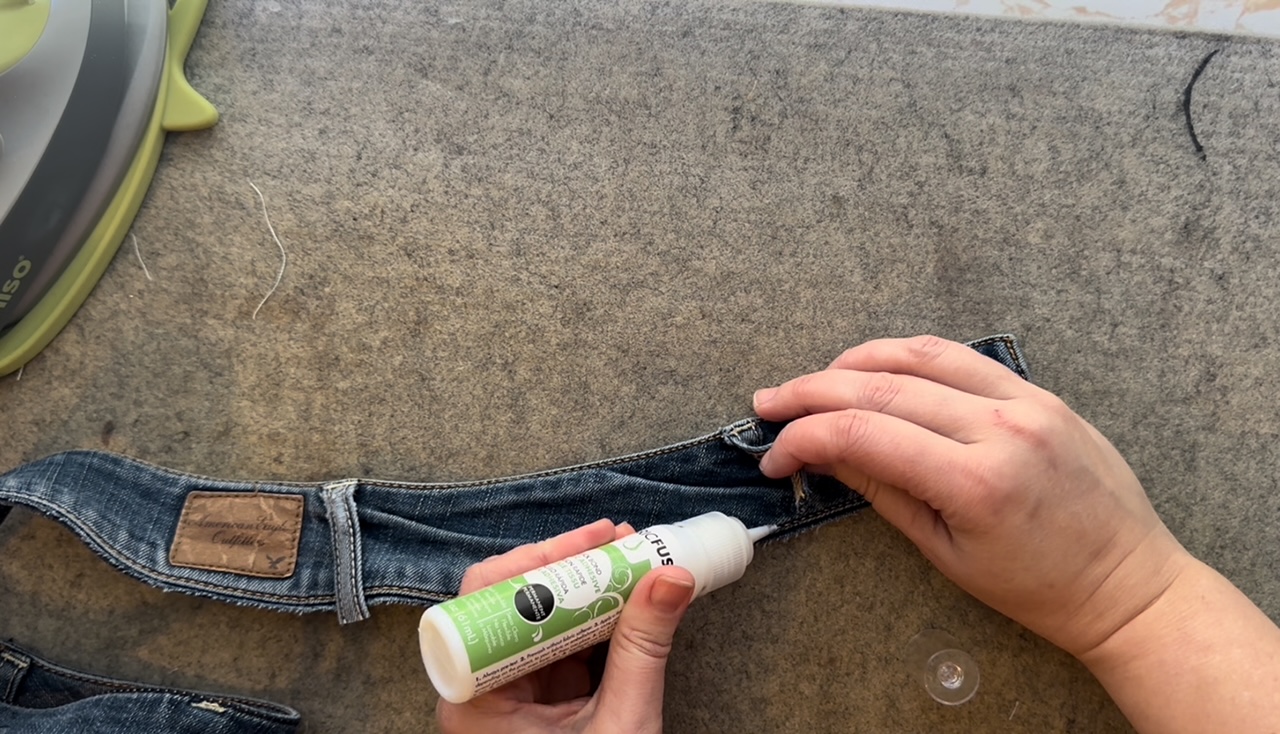
- Cut out the waistband from one pair of jeans. Using HeatnBond Fabric Fuse Liquid Adhesive, glue the belt loops. Use a clip to hold until dry.
- Weave the waistband through the loops created by the handles.
- Cut out one jean pocket, cutting through both fabric layers. Leave additional fabric on the top for hemming.
- Turn the pocket over and press the additional fabric over. Insert a strip of HeatnBond Hem Adhesive and press to secure.
- Using a small panel from Treasured Threadz, repeat the process above to adhere the Favorite Fusible Stabilizer. Instead of HeatnBond Lite Sewable Tape, use HeatnBond Fabric Fuse Liquid Adhesive to hem around the four sides. Pressing the hem will secure the glue almost instantly.
- Next, trace the shape of the small panel onto PeelnStick Fabric Fuse Adhesive Sheets. Cut out the shape slightly smaller. Peel the paper off and stick to the wrong side of the panel. Then peel the other paper backing off and stick to the front of the pocket.
- Turn the pocket over. Apply PeelnStick Adhesive strips to the edge of the pocket.
- Peel the paper backing off as you go.
- Finally, apply the pocket to the lining of the bag and press firmly to secure.
Finished!
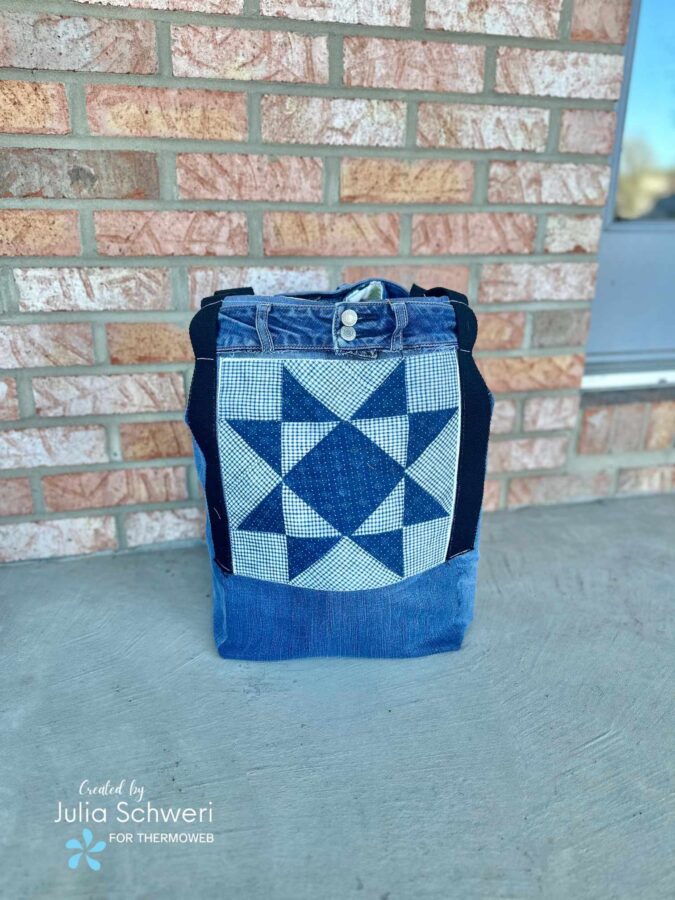
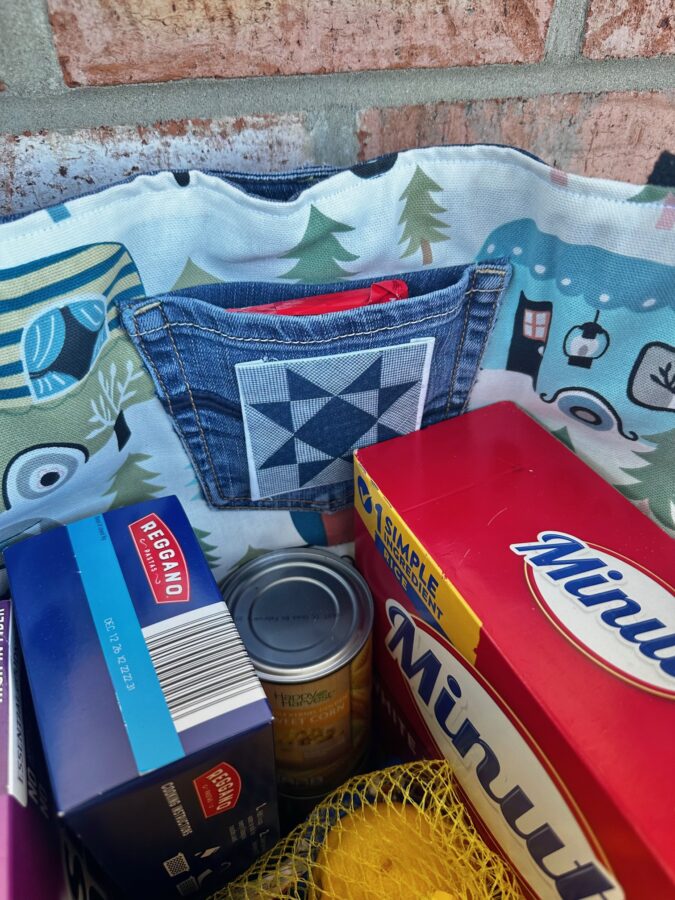
Check out our YouTube Channel for a FULL video tutorial!
Thank you for visiting today! Come back soon to see what else will be starting to bloom with Inflorescence Designs!
Starting to bloom by choosing JOY ~ Julia
