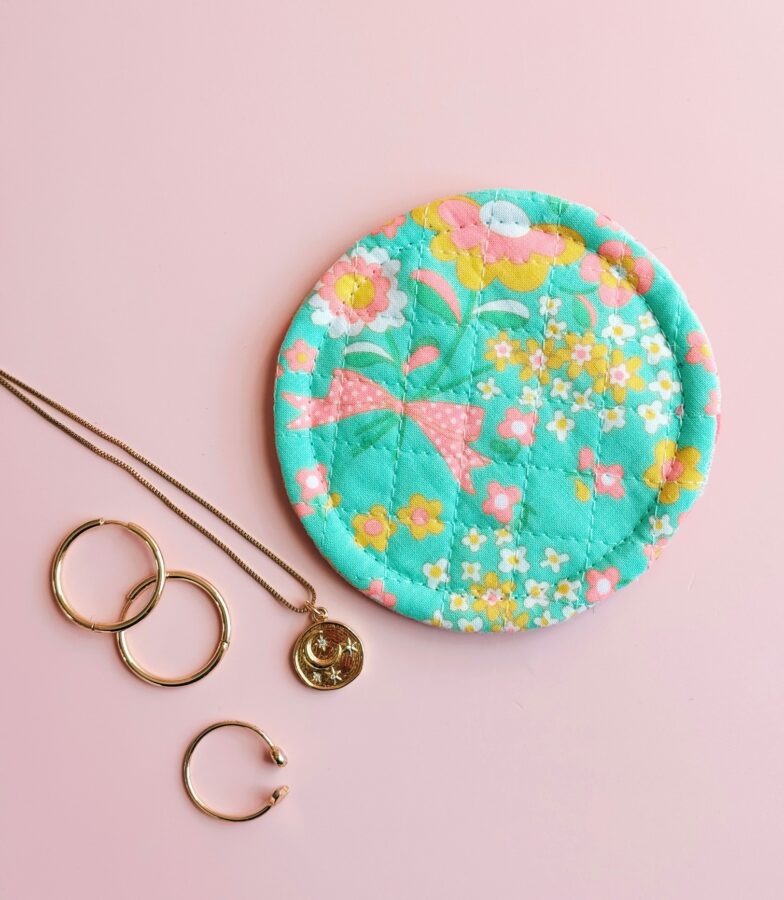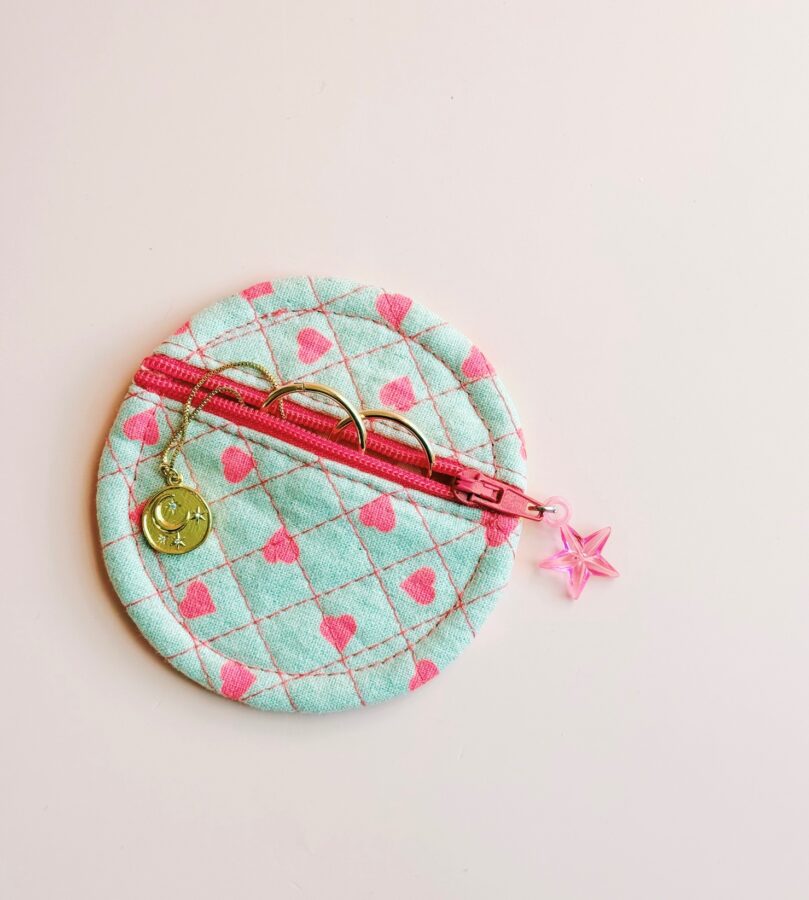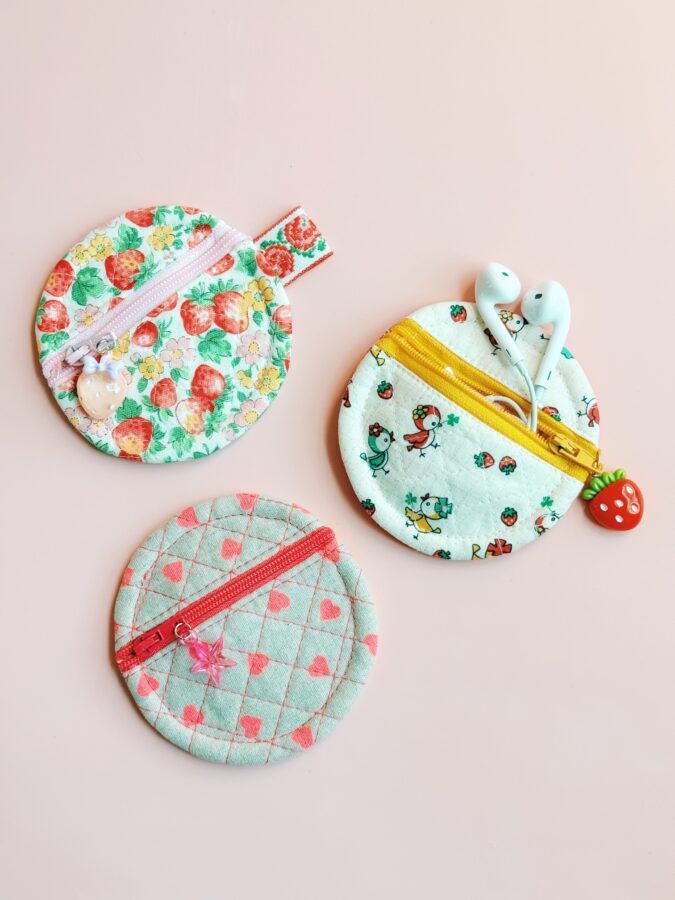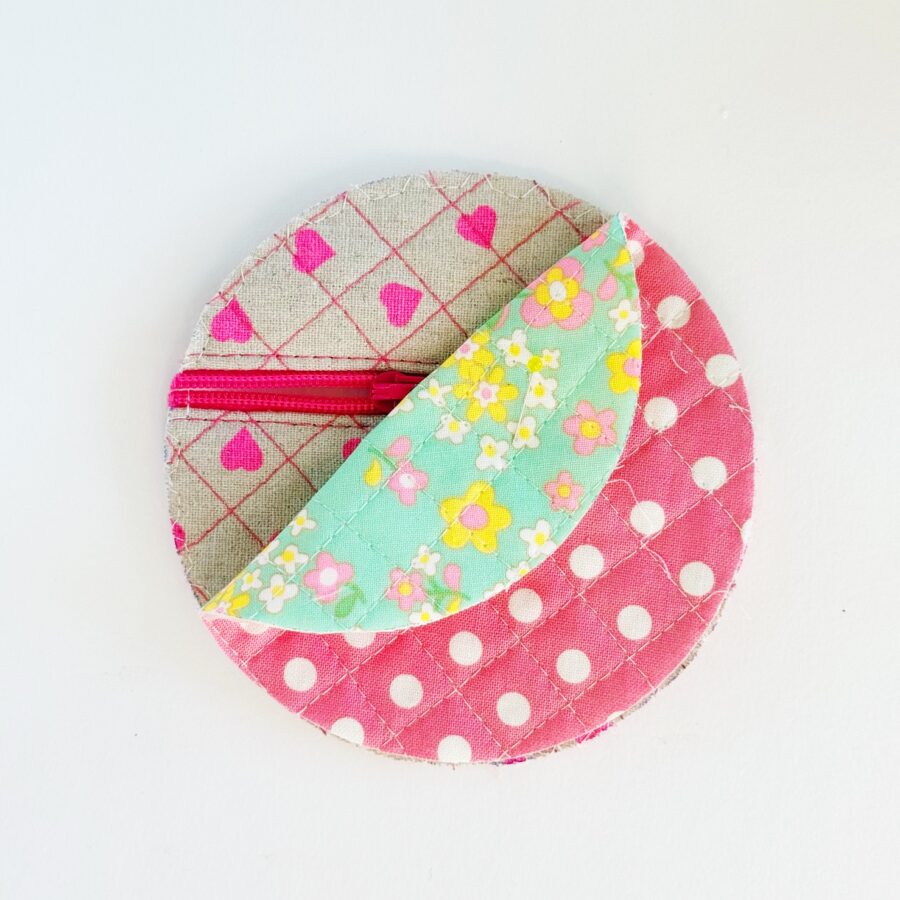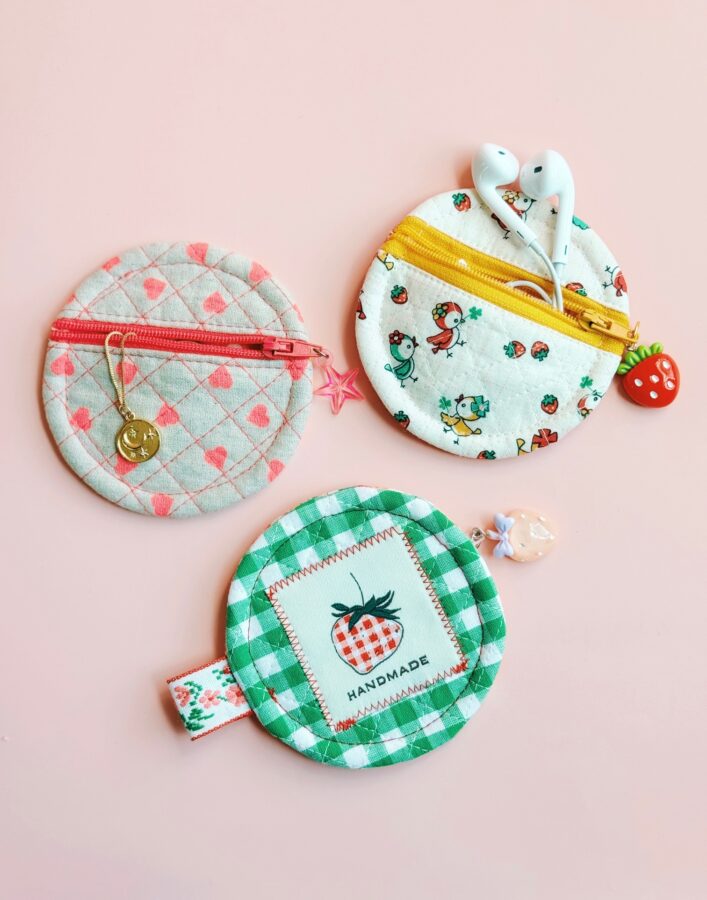
Hello! My goal this year was to stay organized, even if it’s little things. Little things need a home too right? Are you always losing small things such as earphones, earbuds, earrings, etc.? Me too! Well, I created a cute, small project just for that! Making these pouches has become a little addicting. It’s a fairly easy and a fast project in which you can surely make a handful in a day! This is a great project to use with scraps or even a charm packs!
MINI CIRCLE POUCH INSTRUCTIONS
Materials Needed:
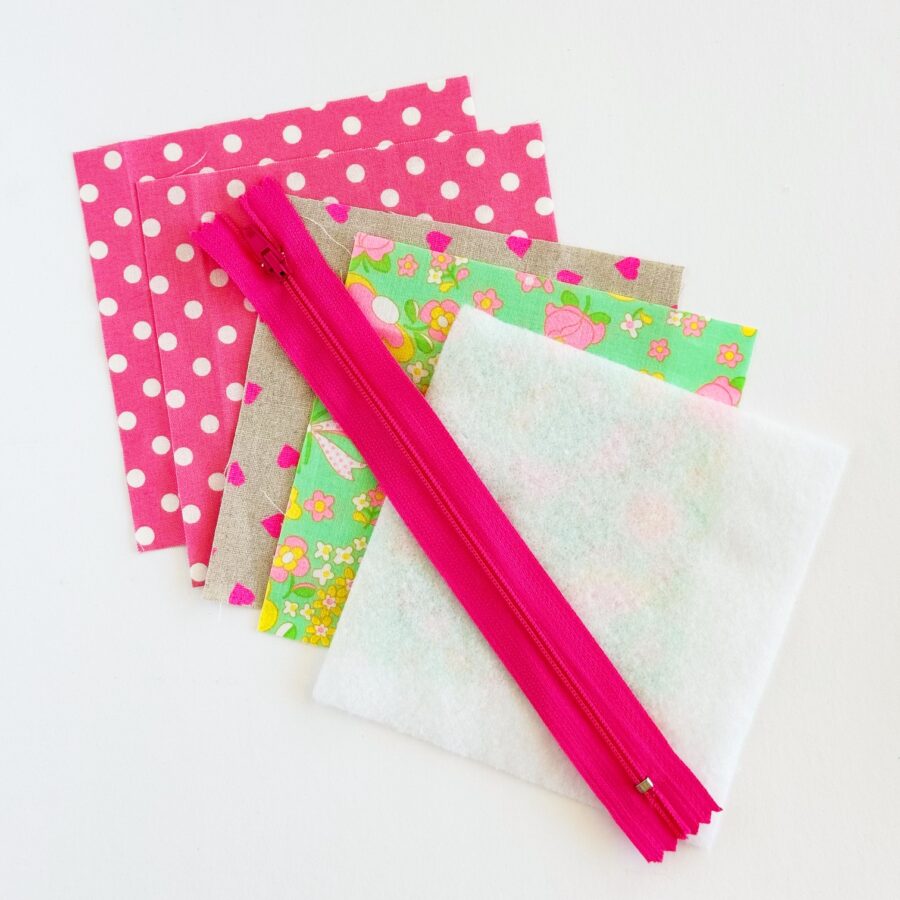
- Four cotton pieces – scraps or charm pack pieces work great!
- HeatnBond Fusible Fleece
- SpraynBond Basting Adhesive Fabric Spray
- 1 Nylon zipper – At least 6″ or more. I used 9″ for this project (they will be cut to size so I prefer nylon zippers which are easy to cut and less bulky).
- Optional decorative ribbon and/or tags
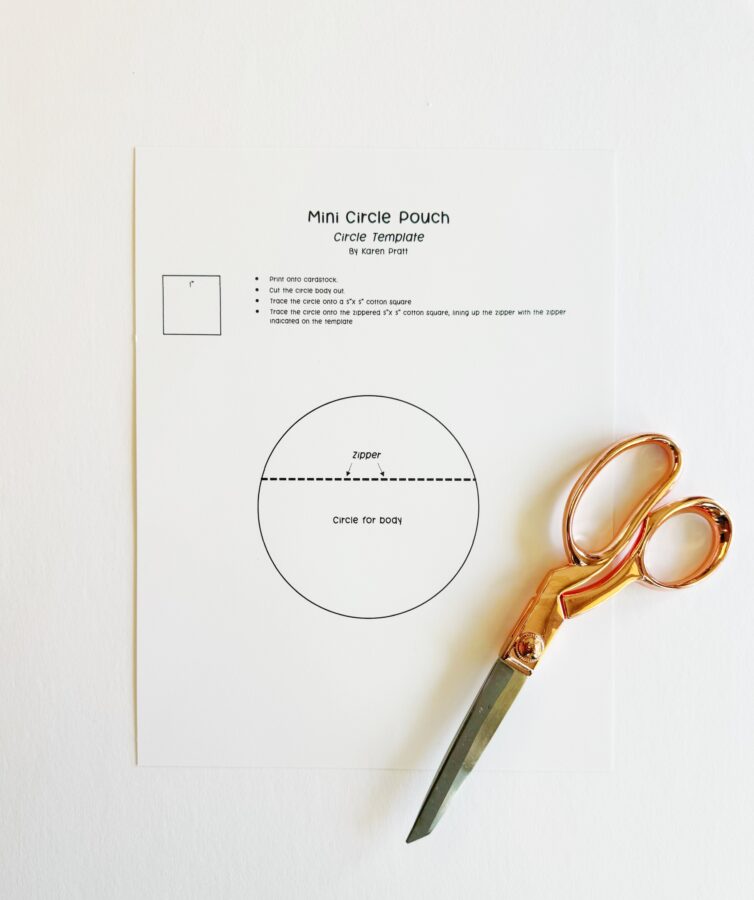
- One Mini Circle Pouch Template – Print onto cardstock and cut out – CLICK HERE FOR TEMPLATE
Tools Needed:
- Sewing Machine
- Rotary Cutter and Mat
- Ruler
- Iron – I love Oliso!
- Stiletto or chopstick – to turn out project and smooth edges
- Erasable Marking Pen
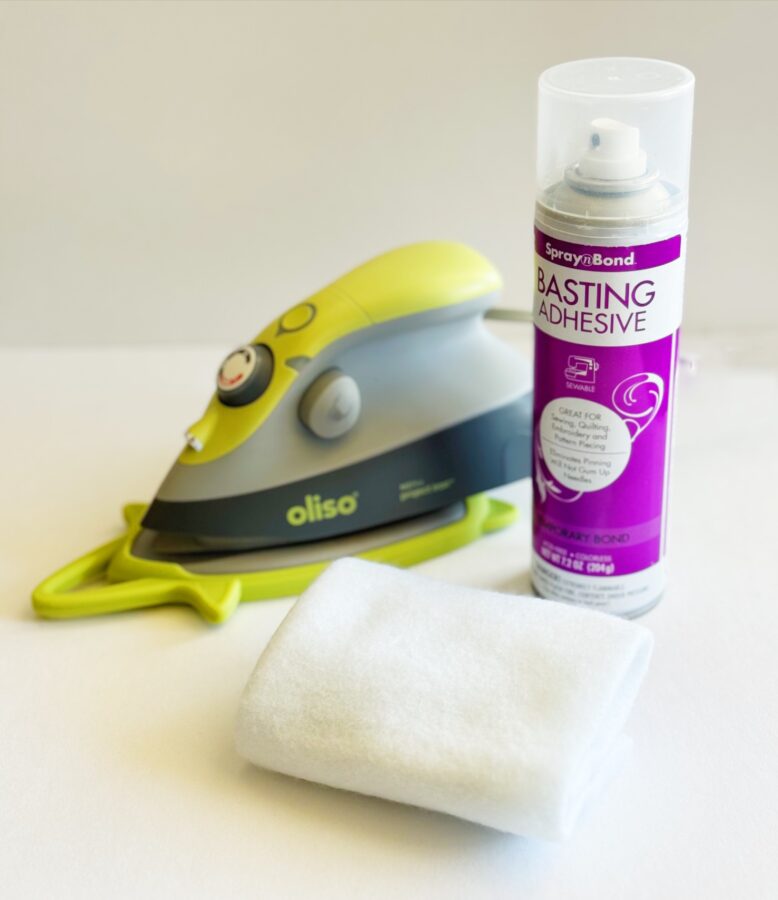
Cutting
- Cut two 5″ x 5″ cotton squares – for the outer pouch
- Cut two 5″ x 5″ cotton squares – for the inner pouch
- Cut two 5″ x 5″ HeatnBond Fusible Fleece squares
Tips
- Use a 1/4″ seam allowance unless noted otherwise
- Follow the instructions for HeatnBond Fusible Fleece as directed
- Follow the instructions forSpraynBond Fusible Adhesive Fabric Spray as directed
- Use a scrap piece of paper under your fabrics when spraying
Let’s Begin!
Make the Outer Zipper Body and Front Body
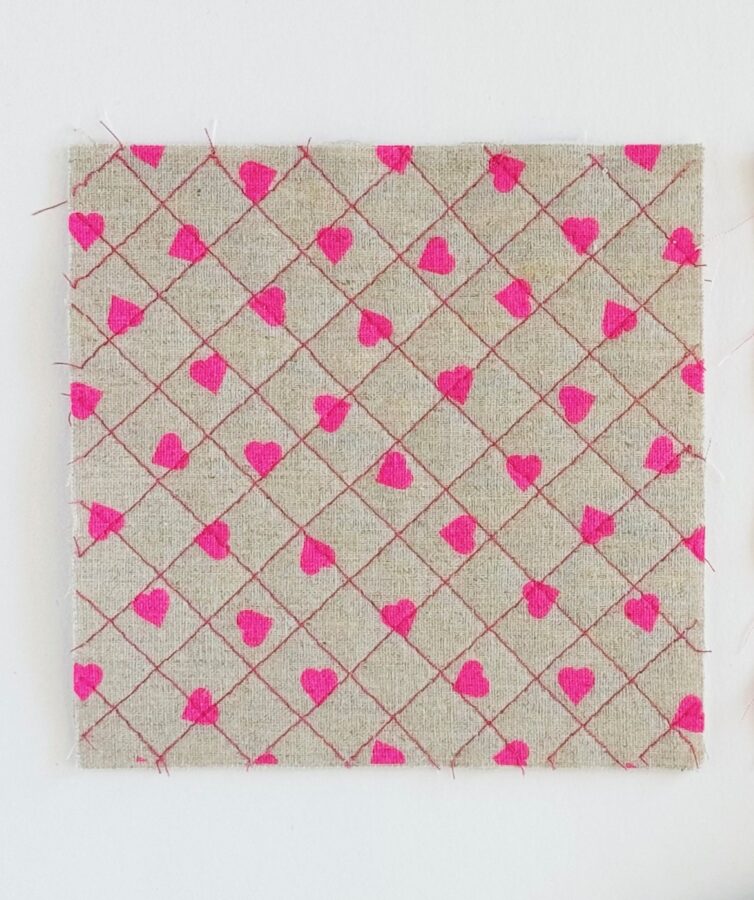
- To make the outer zipper body, first attach one 5″ x 5″ HeatnBond Fusible Fleece square to the wrong side of one 5″ x 5″ cotton square (using the instructions provided on packaging). Quilt the piece as desired.
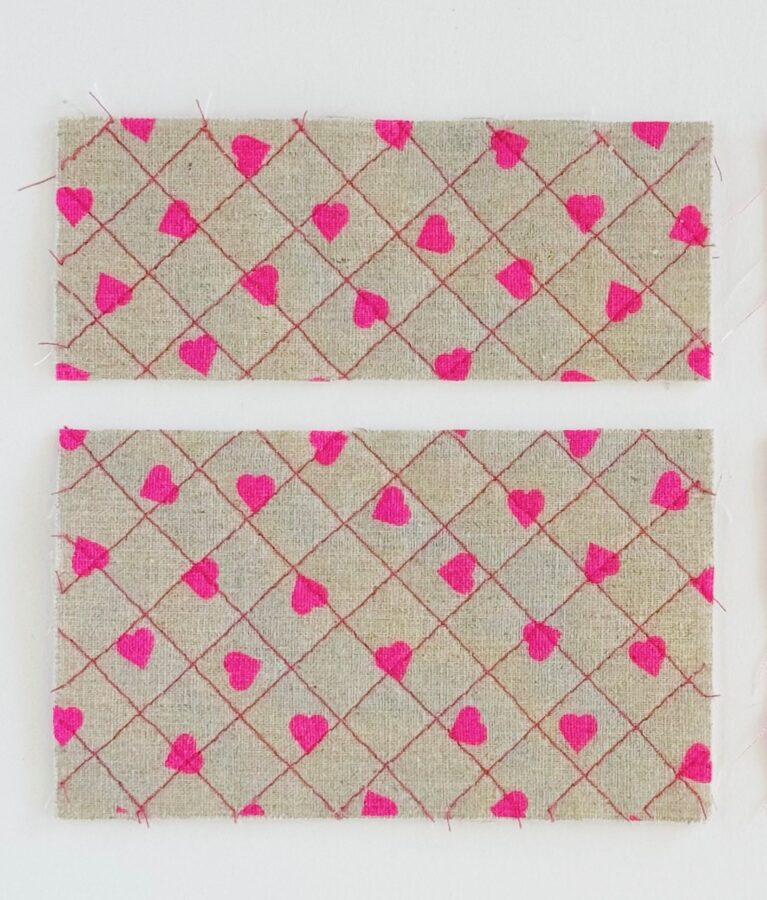
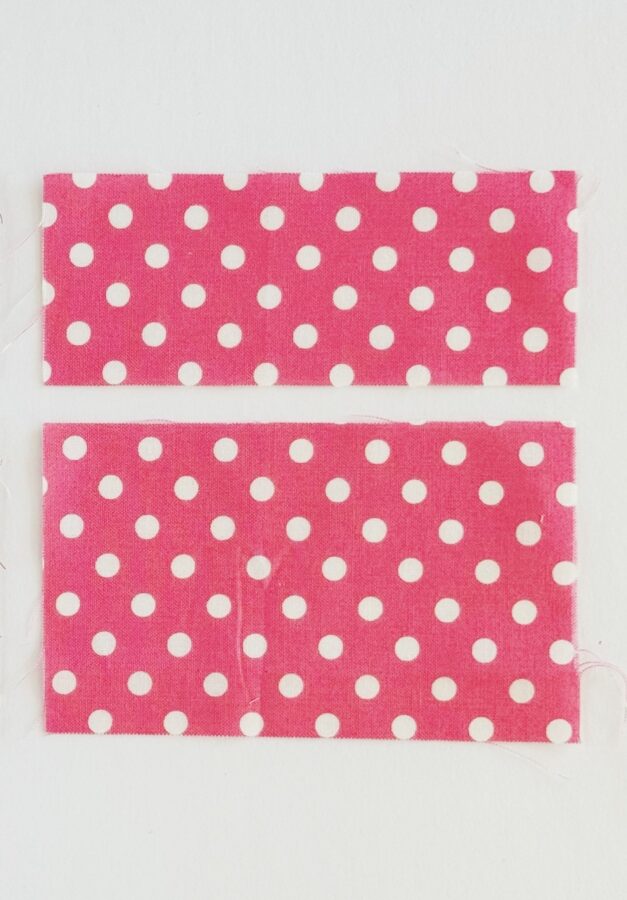
- Once quilted, measure 2″ down from the top, mark with an erasable pen and draw a line across. Cut along the line. You should now have two pieces measuring 2″ x 5″ and 3″ x 5″. Repeat for one 5″ x 5″ inner cotton square (but don’t quilt, just cut).
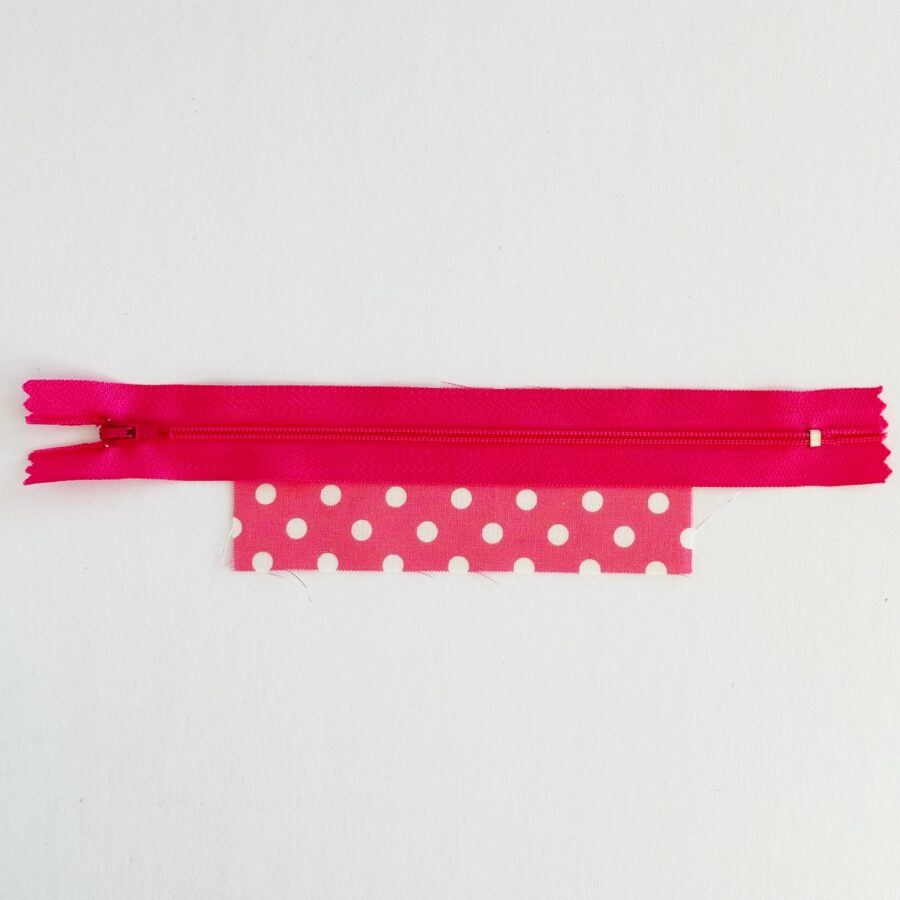
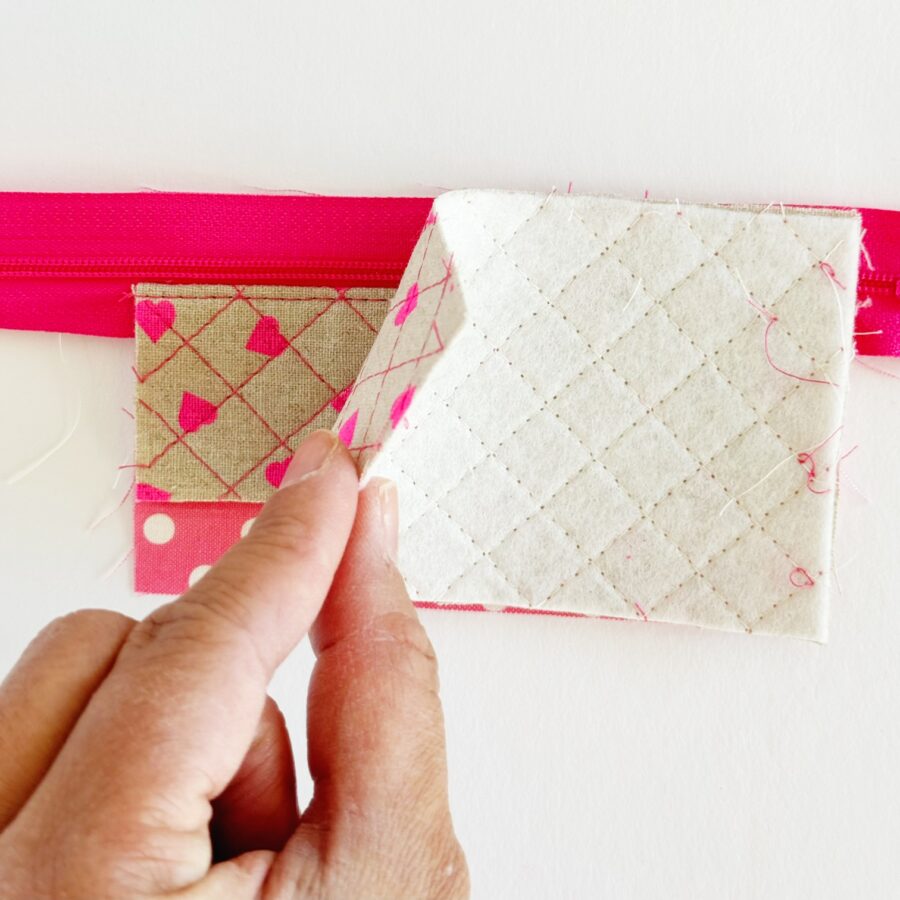
- To attach the zipper, you will essentially, sandwich it in between the cut pieces. Starting with the inner 2″ x 5″ cotton piece, lay the zipper edge (zipper pull should be to the left facing out) onto the top edge.
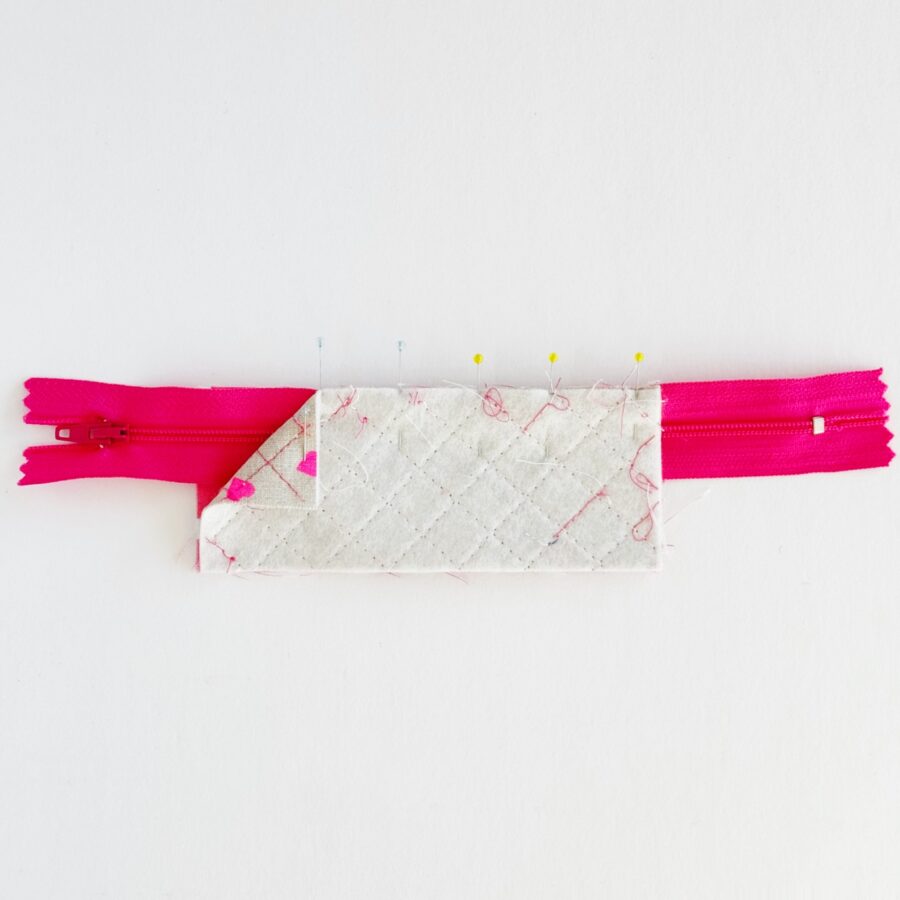
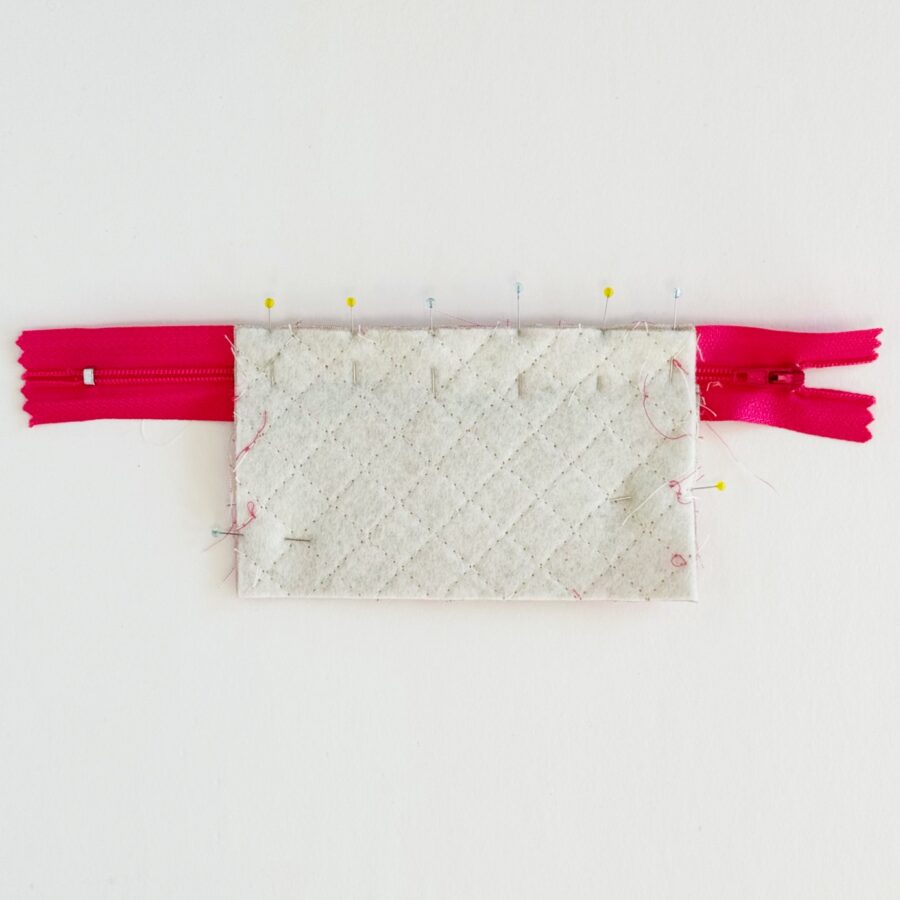
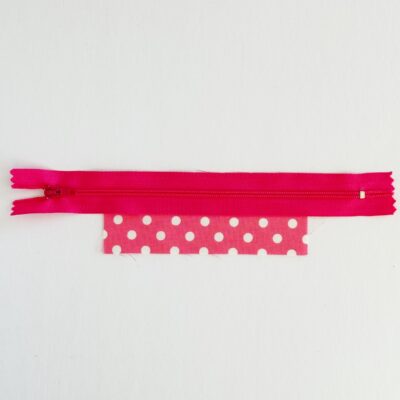 Now, take the outer 2″ x 5″ cotton piece (wrong side facing out) and lay it on the top of the zipper edge, aligning with the bottom piece. Pin in place and sew using a 1/4″ seam allowance.
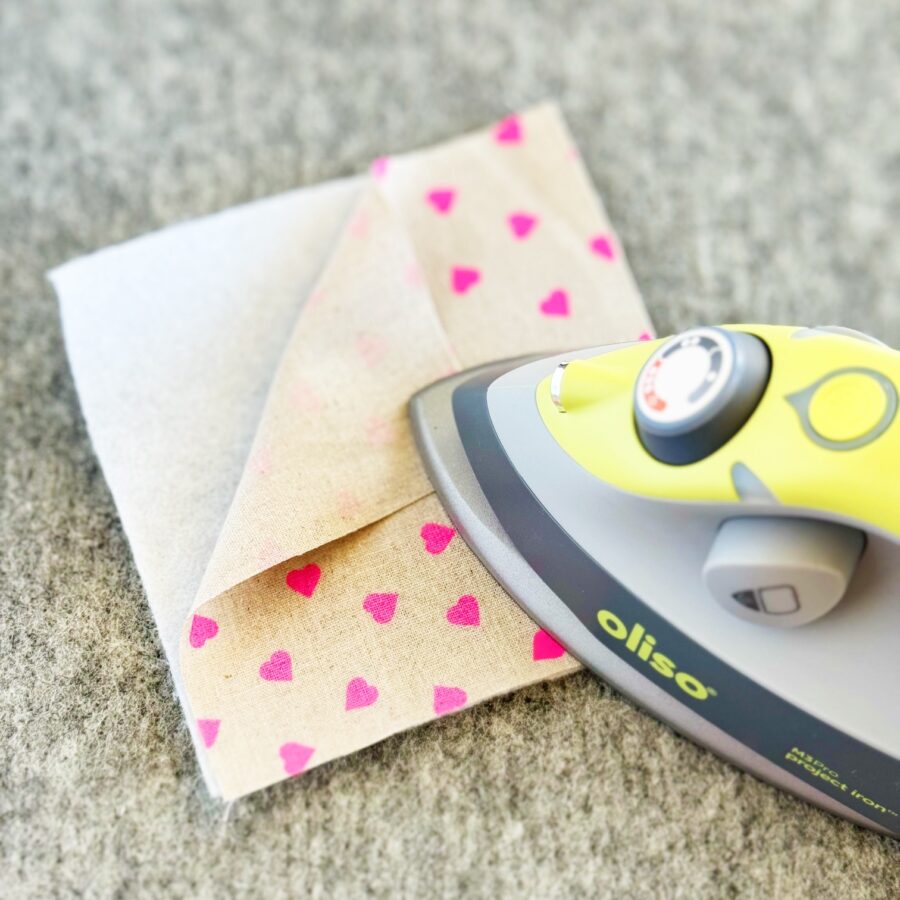
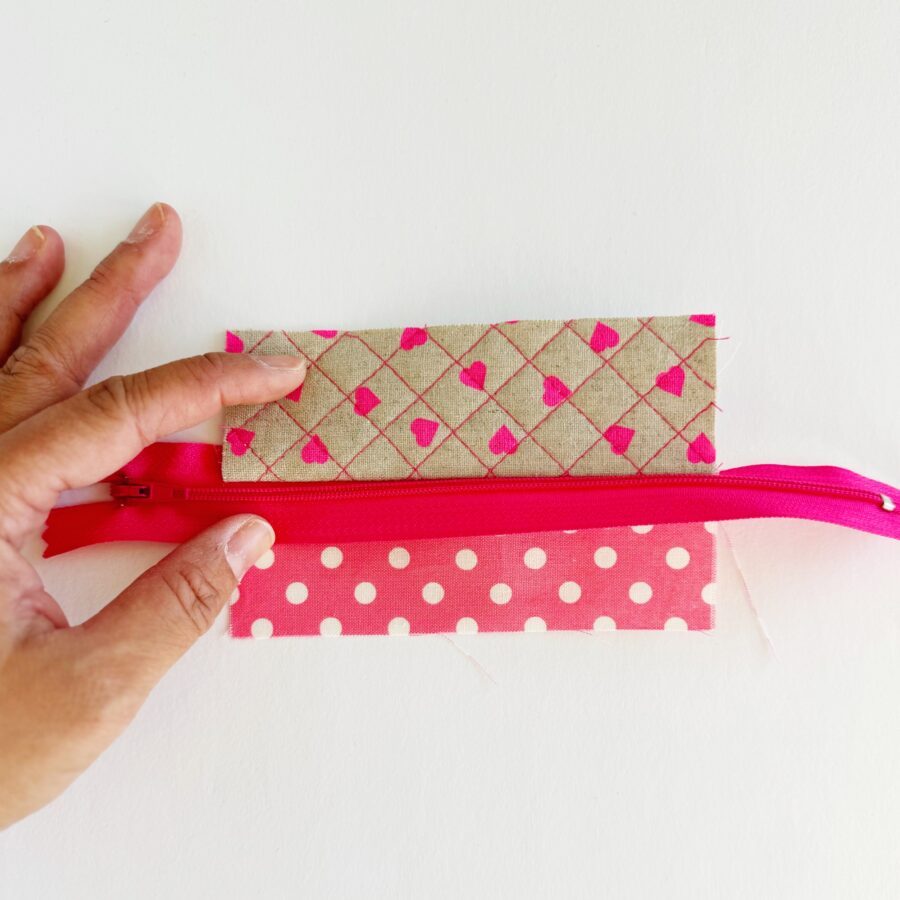
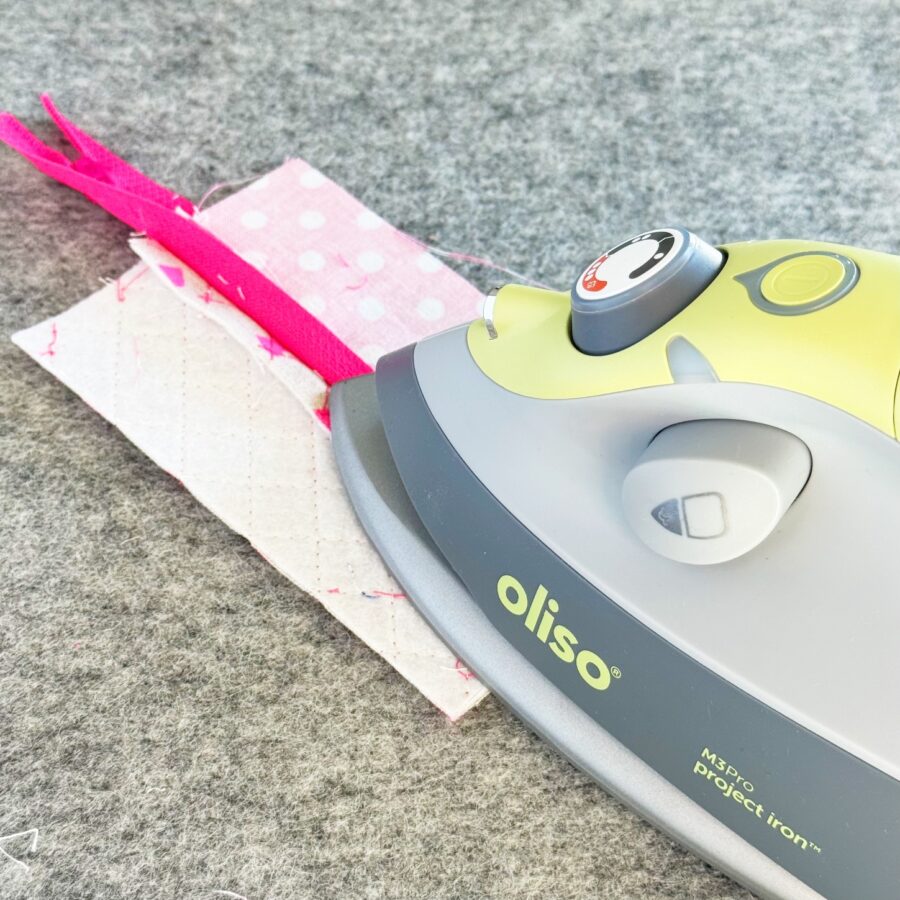
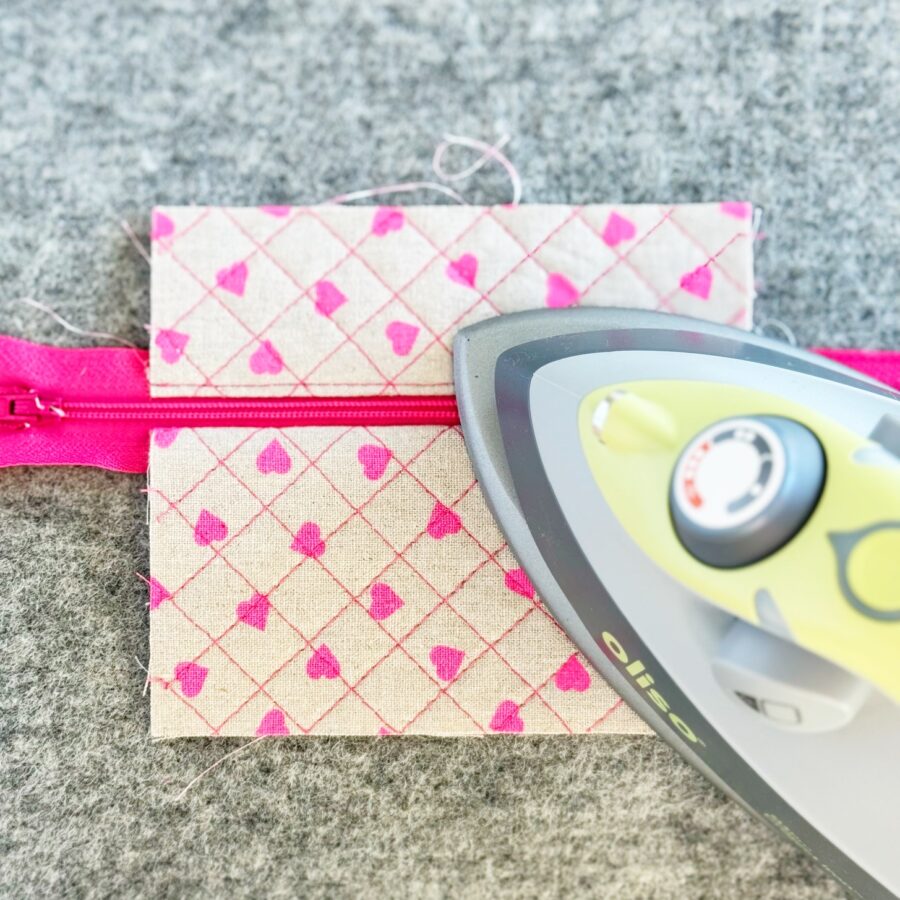
Open the seam and press with an iron. Fold over the pieces until they meet. Sew a seam close to the folded edge (near the zipper).
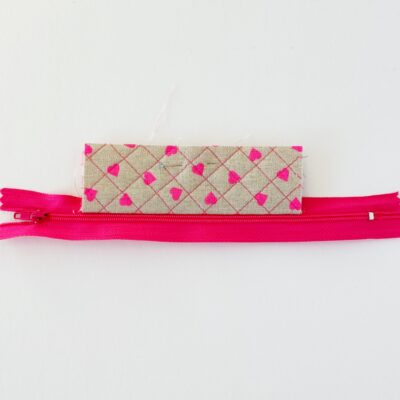
To attach the bottom half, take the 3″ x 5″ inner cotton piece and lay the zippered piece ( inner fabric should be facing in, outer fabric facing out, zipper tab also should be facing in) onto the top edge, lining the all the fabric pieces together (there should be be excess zipper pieces sticking out).
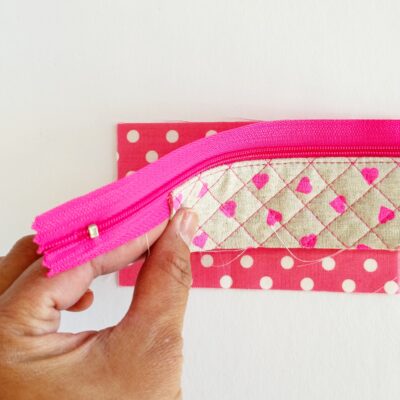 Now, take the 3″ x 5″ outer cotton piece and lay it on the top of the zipper edge, aligning with the top piece. Pin in place and sew using a 1/4″ seam allowance.
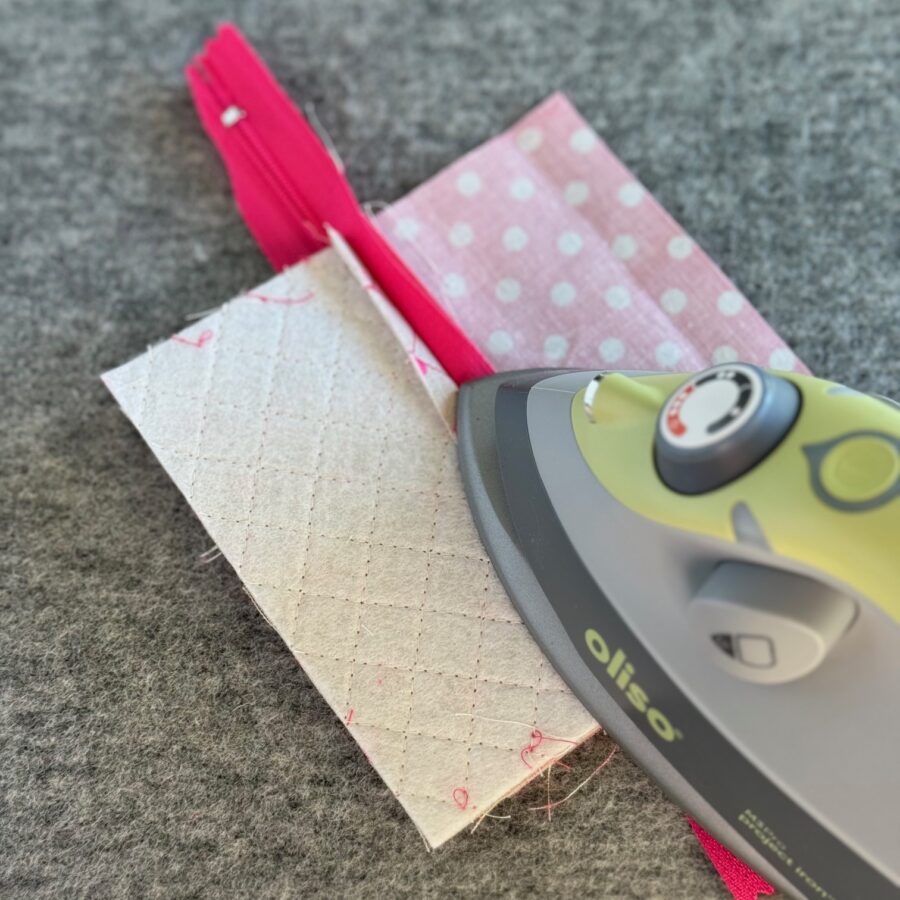
Open the seam and press with an iron. Fold over the pieces until they meet. Pin in place and sew a seam close to the folded edge (near the zipper).
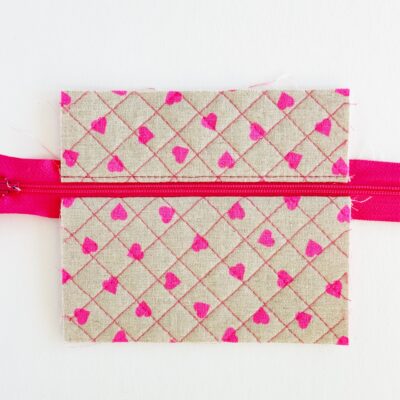
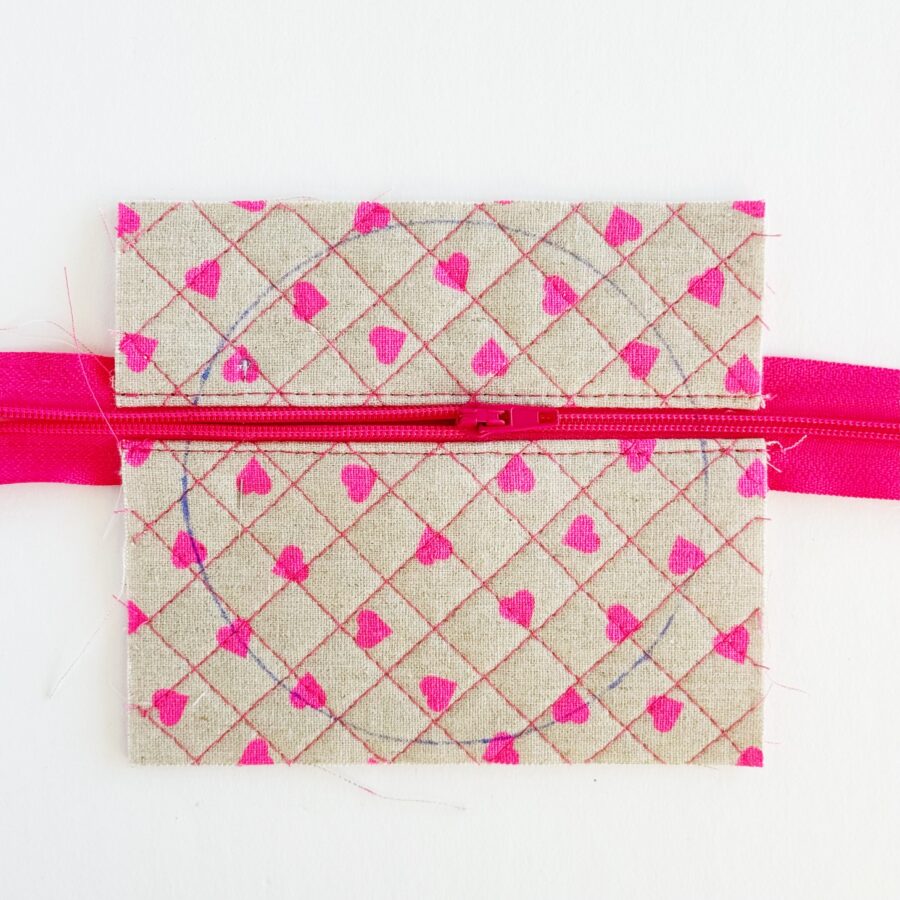
- To make the circle shape, take the circle template and line up the zipper area with template and outer zippered body, centering in the middle. Trace the circle using an erasable pen.
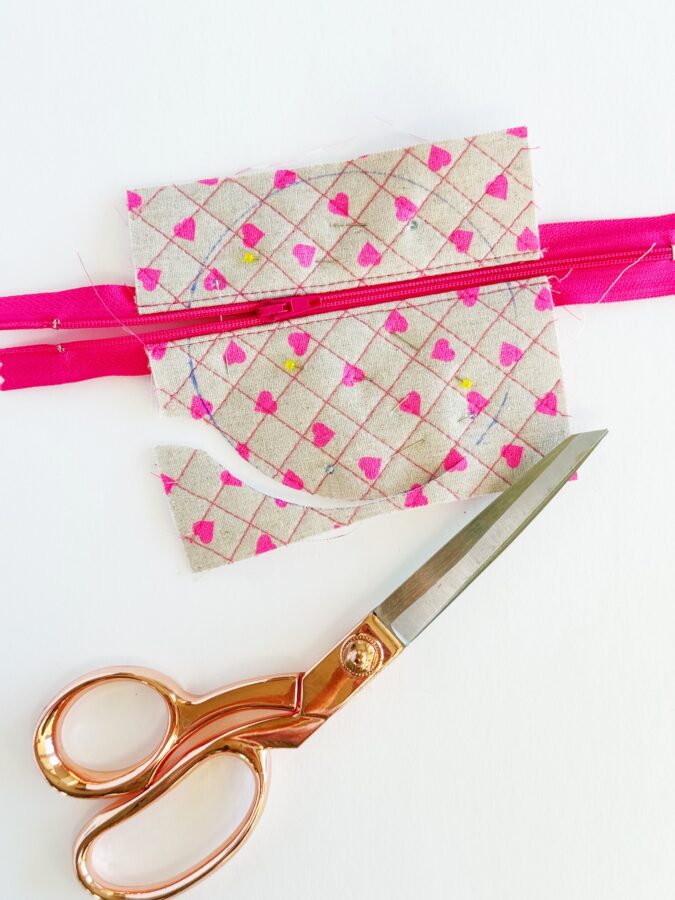
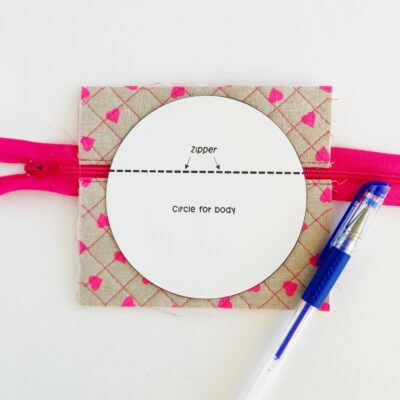 IMPORTANT – To cut the shape out, make sure to move the zipper to middle area first before cutting (or you will lose your zipper pull!!). Once you have moved the zipper to the middle, cut the traced area out. Once you have the circle cut, I like to baste both zippered edges closed (just in case you move the zipper you will not end up losing the zipper pull). Set the piece aside and prep the other outer circle body.
Make the Outer Body
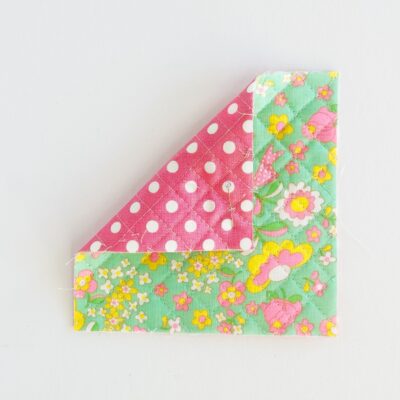
- To make the outer body, first attach one 5″ x 5″ HeatnBond Fusible Fleece square to the wrong side of one 5″ x 5″ cotton square (using the instructions provided).
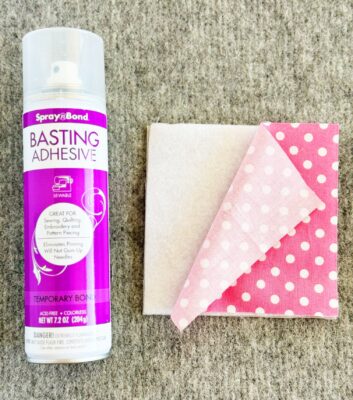
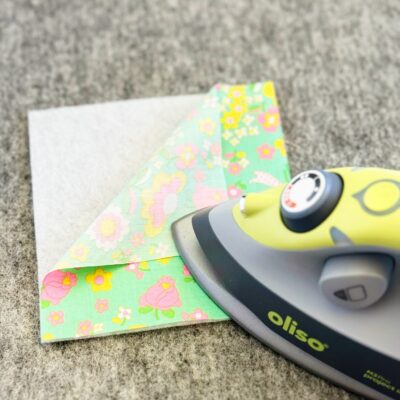 Spray the other side (this will be the fleece side) with SpraynBond Fusible Adhesive Fabric Spray and lay one 5″ x 5″ cotton square (right side facing up) onto the sprayed fleece side. Quilt as desired.
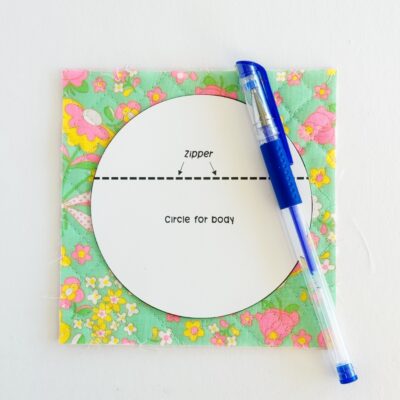
- Take the circle template and center it onto the quilted piece. Trace the circle onto the piece using an erasable pen and cut the shape out.
Assemble the Pouch
- Optional – Attach any embellishments such as tags or tabs to the front of either pieces at this point. For this particular one, I did not attach anything.
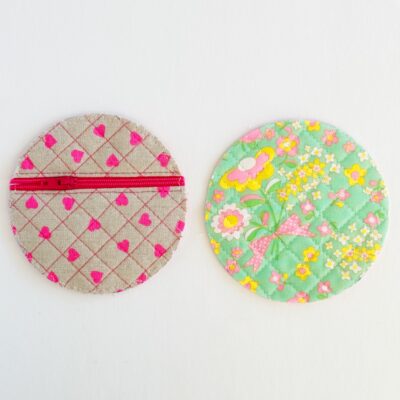
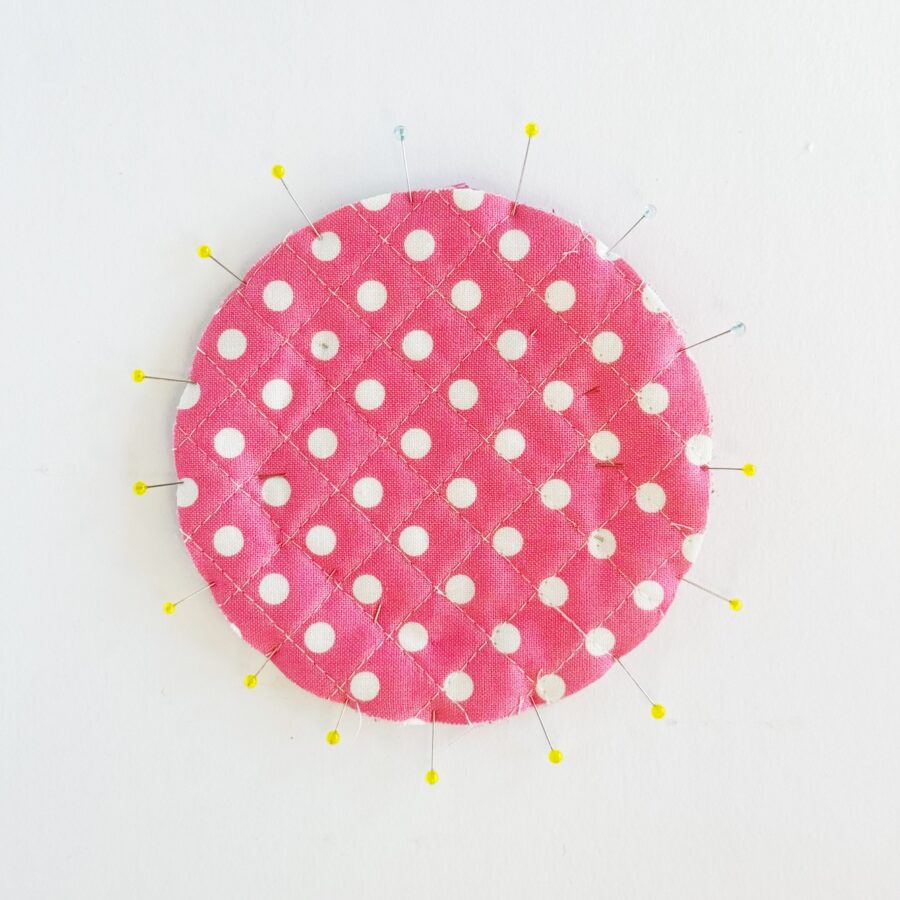
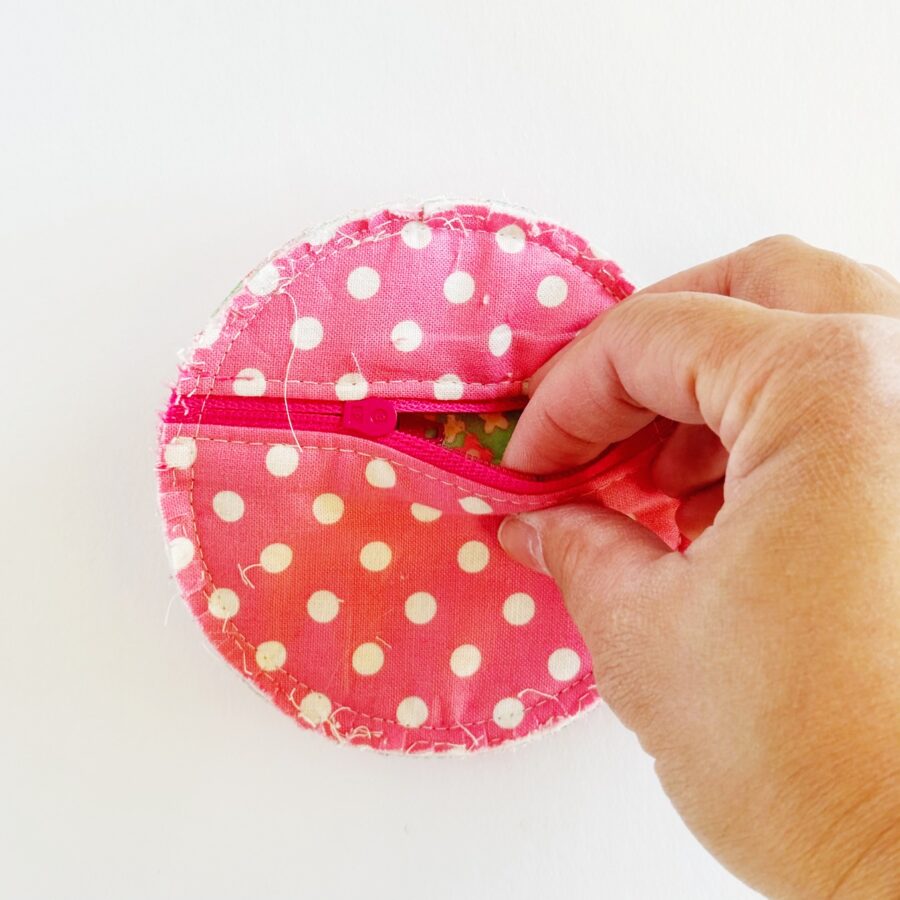
- IMPORTANT – Move the zipper about 3/4″ open before sewing the bodies together. Take the outer zipper body and inner body and lay on top of one another (outer bodies should be facing in, inner bodies facing out). Pin in place and sew around the circle edges using a 1/4″ seam allowance.
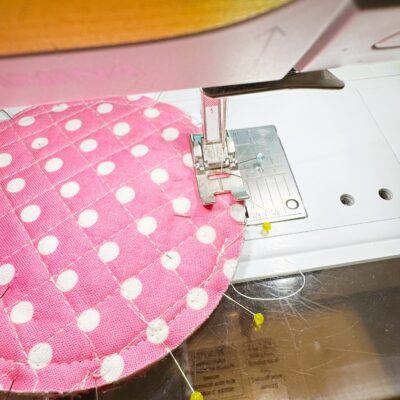
- Once the you have sewn the body together, clip the seam edges around the entire circle, making sure not to cut the sewn area.
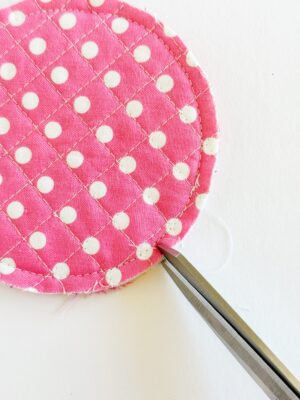
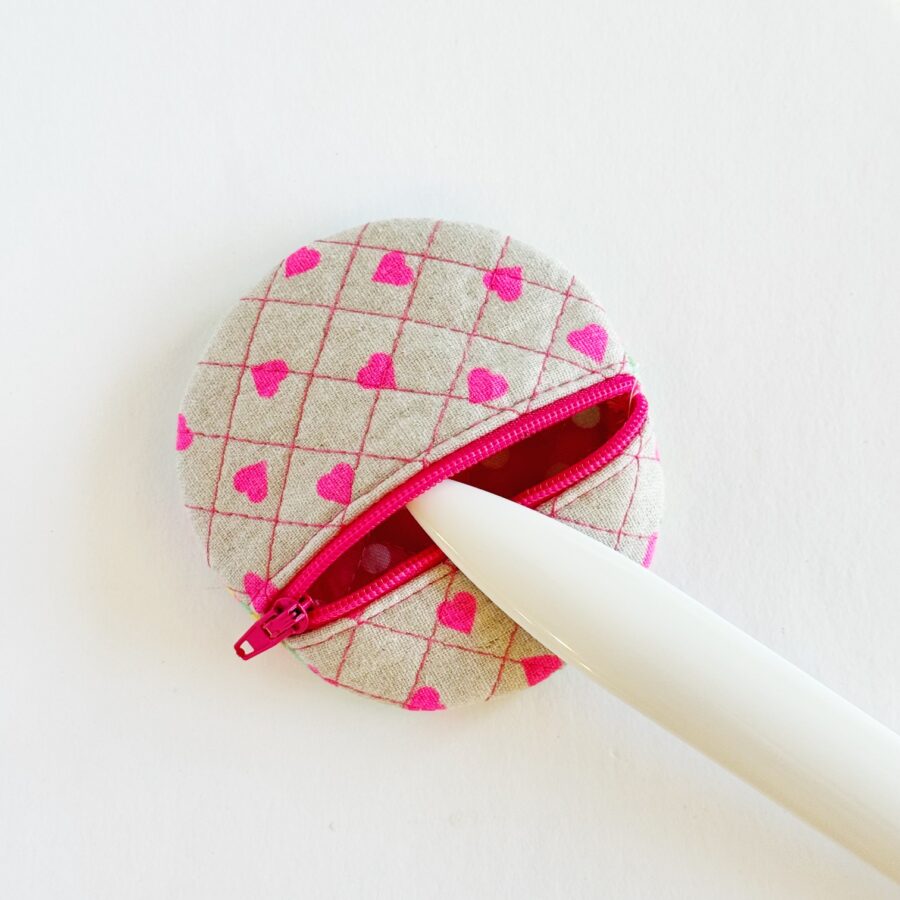
- Turn the piece right side out through the zippered opening. Use your chopstick or stiletto to smooth out the curved edges. Press the piece with an iron.
- Once the piece is turned right side out, you will sew close the inner raw edges from the outer area. Sew around the circle edges using a 3/8″ seam allowance. This essentially incases the raw edges/seam allowances.
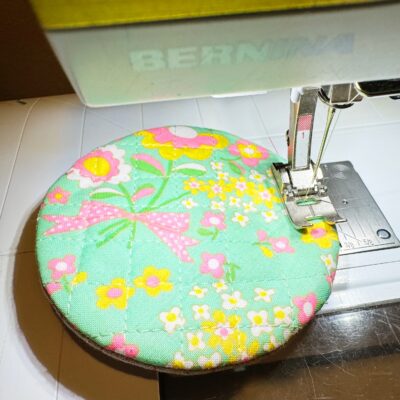 You are now done! You can make another one now! I hope you enjoyed this project. Follow me for more inspiration on my Instagram page via Creamcraft Goods!
