 Berry’s just don’t get any better, than in the summer. Why not make up a few berry baskets to serve your fabulous fruits in, for added fun?
Sweet Fabric Berry Baskets
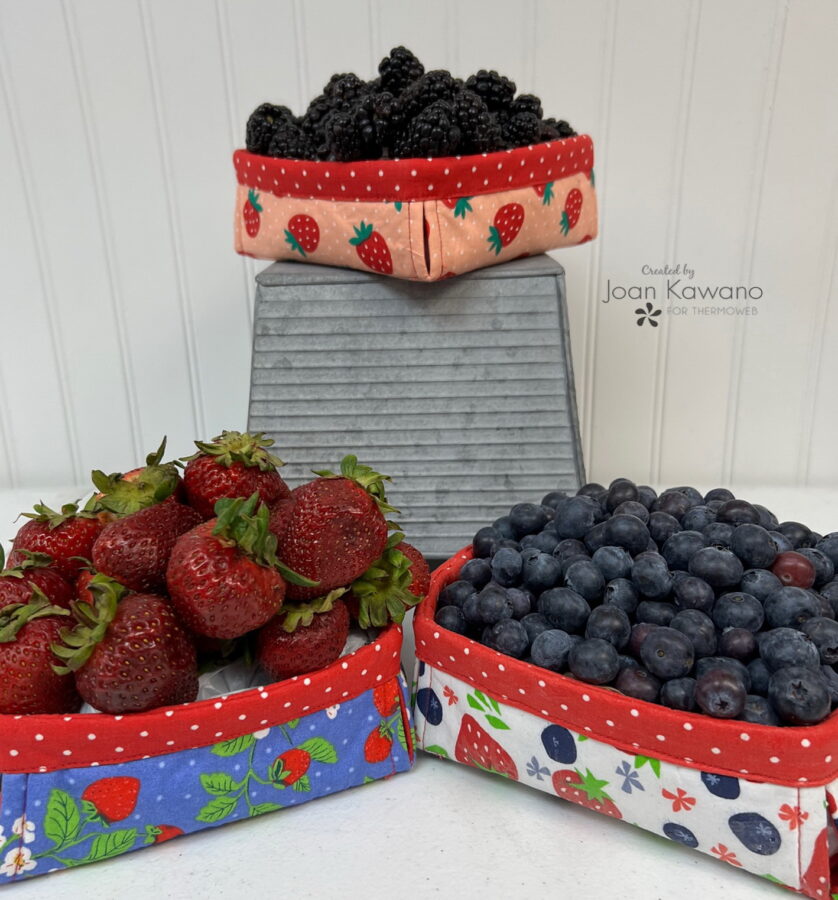
It only takes 2 – 11 1/2″ squares of fabric and 1 – 2″ x 26″ long strip of binding fabric
Thread to match or co-ordinate
Marking pencil or chalk marker
Teflon foot for your sewing machine
Oliso Iron
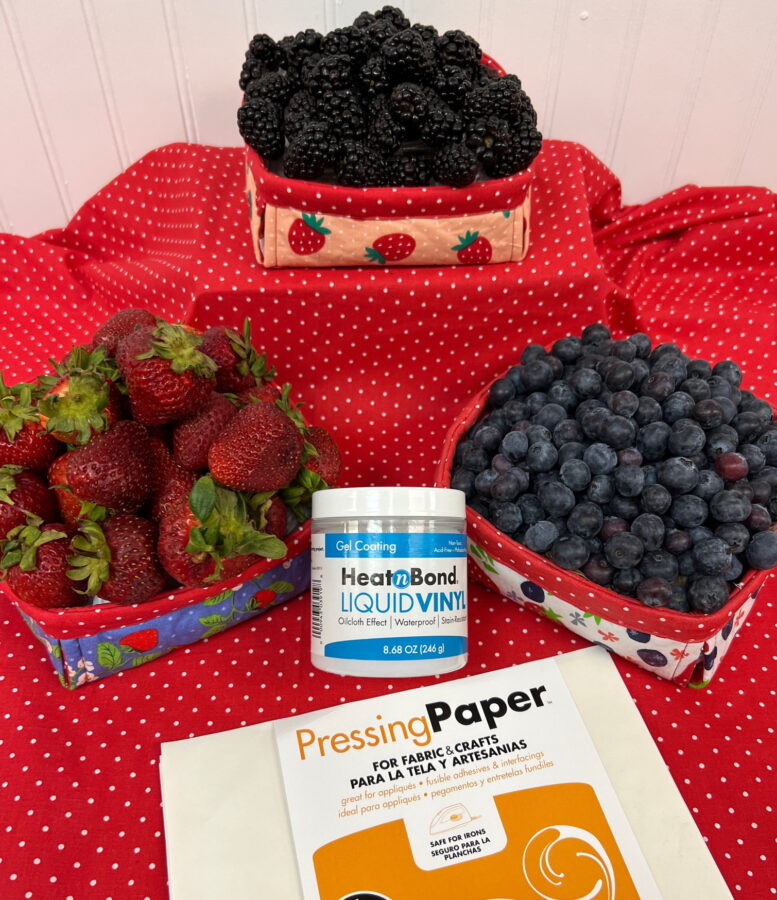
HeatNBond Non-Woven Craft Fusible X-Firm
 Start by downloading the free pattern “Berry Baskets”
Cut your main fabric and your lining fabric into 11 1/2″ squares. Cut 2 – 11 1/2″ pieces of HeatNBond®Fusible Fleece, and fuse to the back side of both the outer fabric and the lining fabric, using the manufacturer’s instructions. Cut a 2″ X 26″ strip of HeatNBond Non-Woven Craft Fusible X-Firm and fuse to the reverse side of the binding fabric.
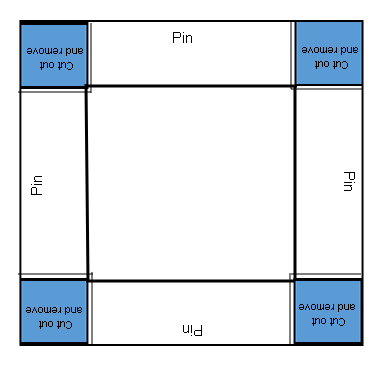
Layer basket pieces with right sides together, pin in the centers on all sides. Mark a 2 1/4″ square in each corner and cut it out, as the diagram below shows.
Stitch the 4 corners using a 1/4″ seam allowance. Make a small clip in the corners, being careful not to cut through the stitching line.
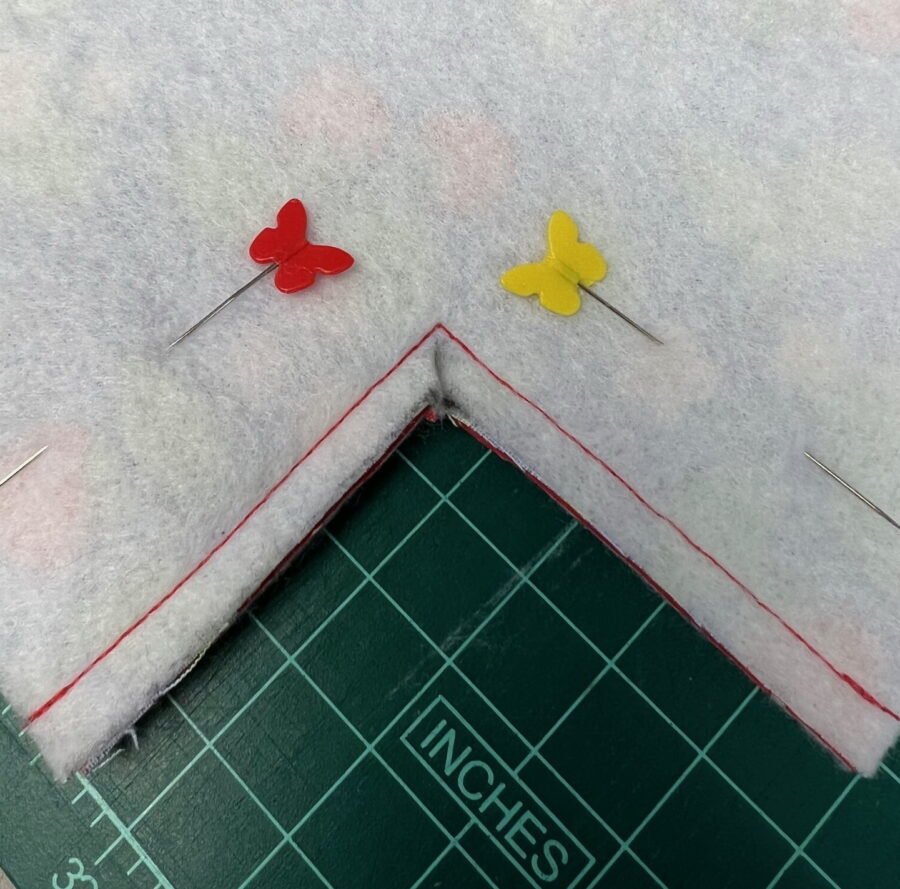
Turn right side out and press. Top stitch each corner. Using a ruler, make lines from inside corners (bold lines on diagram) and stitch. This allows the sides to fold up nicely.
You can now waterproof and stainproof your basket and binding strip, using HeatNBond Liquid Vinyl. Paint 1 side of your basket and the 2” binding strip. Allow it to dry completely. Turn the basket over and paint the other side. When that is dry, using ThermOWeb Pressing Paper, on both the underside and the top, press according to the manufacturer’s instructions. Never allow the iron to come in direct contact with the vinyl. When cool, remove the paper, turn over the basket and press that side, as well.
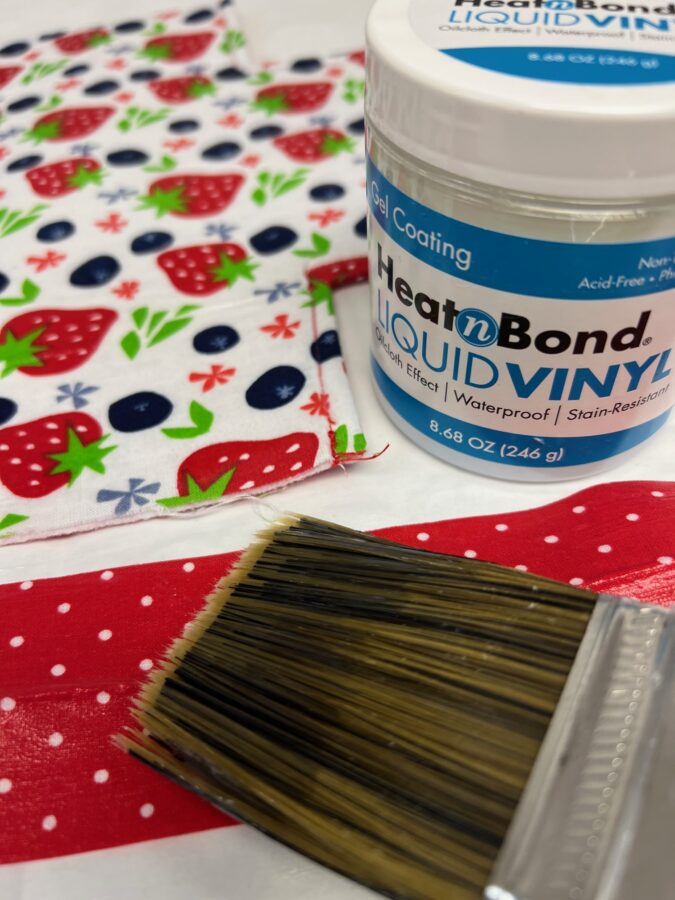
Fold the 2” x 26” binding in half with the wrong sides together and press. Make sure you are using ThermOWeb Pressing Paper to protect your pressing surface and the iron.
Instructions are included in the pattern on attaching the binding to the basket.
These shallow containers are perfect for serving those delicate fruits. But did you know you can create any size and depth of basket you like?
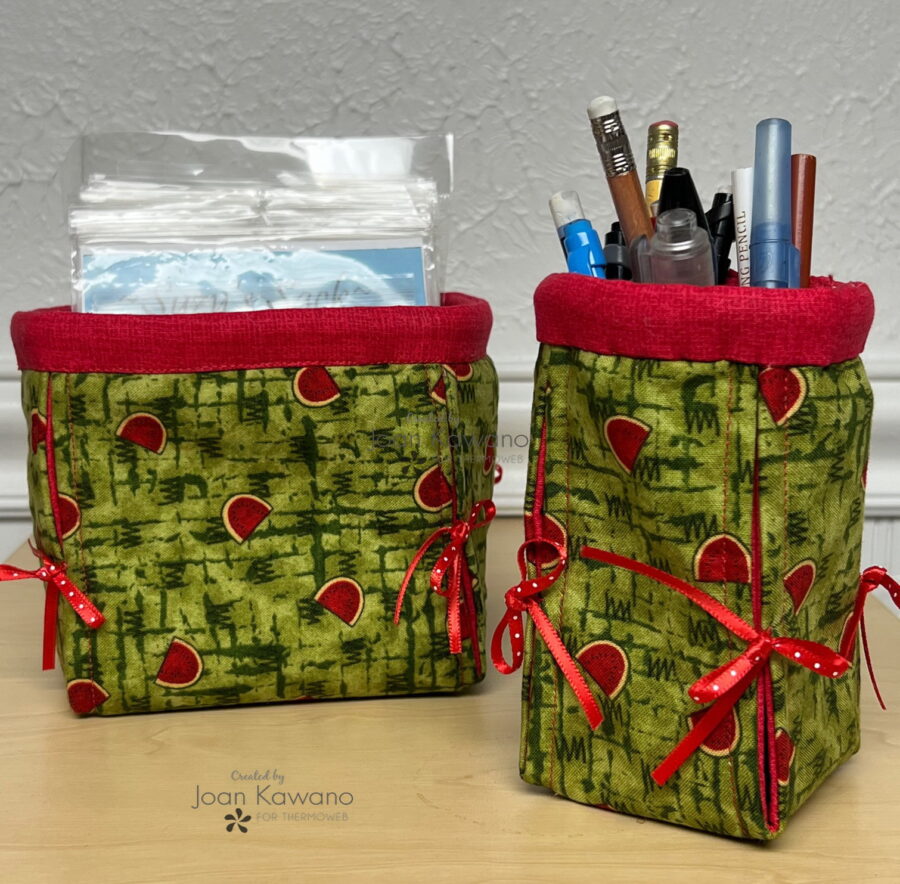
This mini basket keeps my little patterns from getting lost. What about a tall, skinny box for pencils? Just add a little bow or a button to close the sides. Or drop a bud vase in it, for that special gift. The ideas are endless when you “think outside the box“.
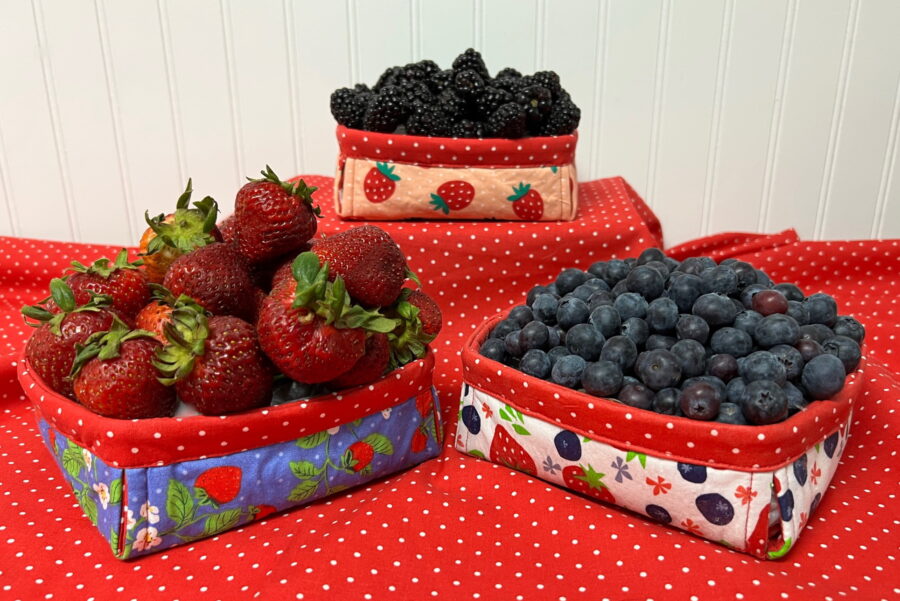
May your days be “berry” and bright and your summer be nothing short, of a delight.
Enjoy!
