


 Hello everyone! I’m so happy to be here sharing this fun graduation-themed card today. It’s a really fun design and super easy to customize for your graduate or other occasions too. I chose these colors because this card was for my sister-in-law graduating college and her school colors are red and black. How simple to swap out the colors for your graduate and make them perfect for them!?!
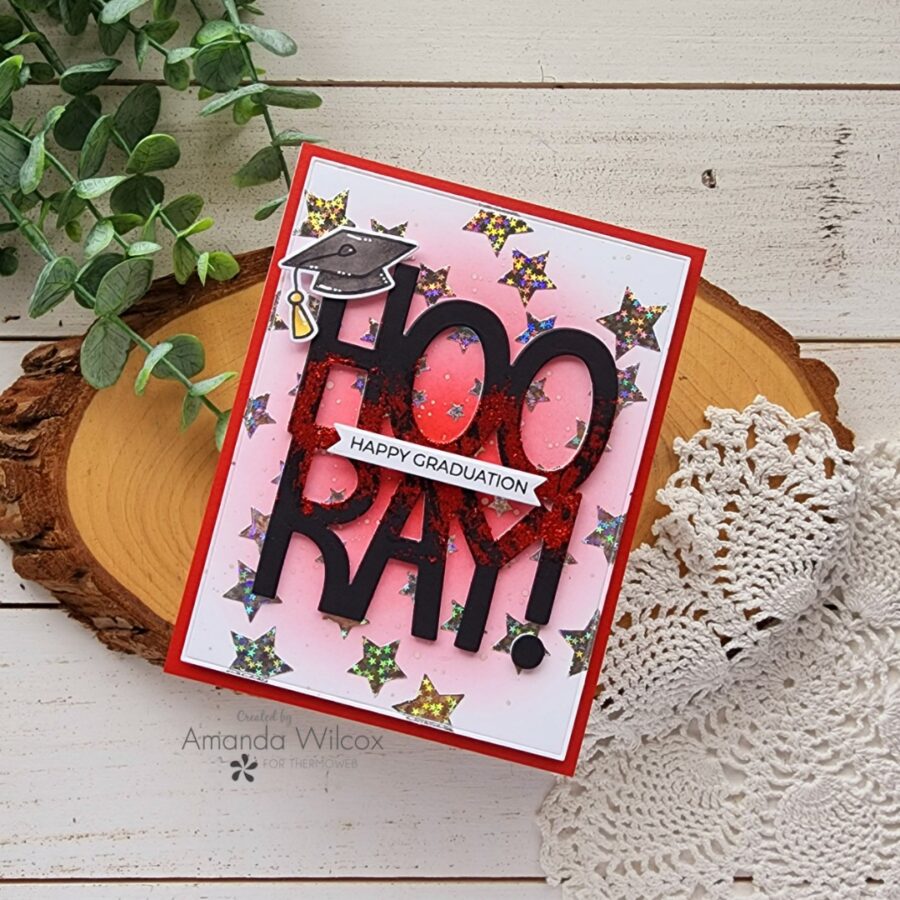
Hooray Graduation Card
Products used today:
Deco Foil Transfer Gel Blanco
Deco Foil transfer sheets – silver stars
Foam Adhesive sheets
Foam squares
3D foam tape
Craft & Carrier sheet
Glitz Glitter Gel – Red Velvet
UltraBond liquid glue pen
Lawn Fawn Giant Hooray die
Lawn Fawn Hats Off To You stamps and dies
Lawn Fawn Chili Pepper ink
Trinity Stamps 4-Bar Card dies
Trinity Stamps Starstruck stencil
Trinity Stamps Embossed Edge Rectangle Stack dies
Trinity Stamps A Sentiment for (almost) Everything stamps
Glossy accents
Hooray Graduation Card Tutorial
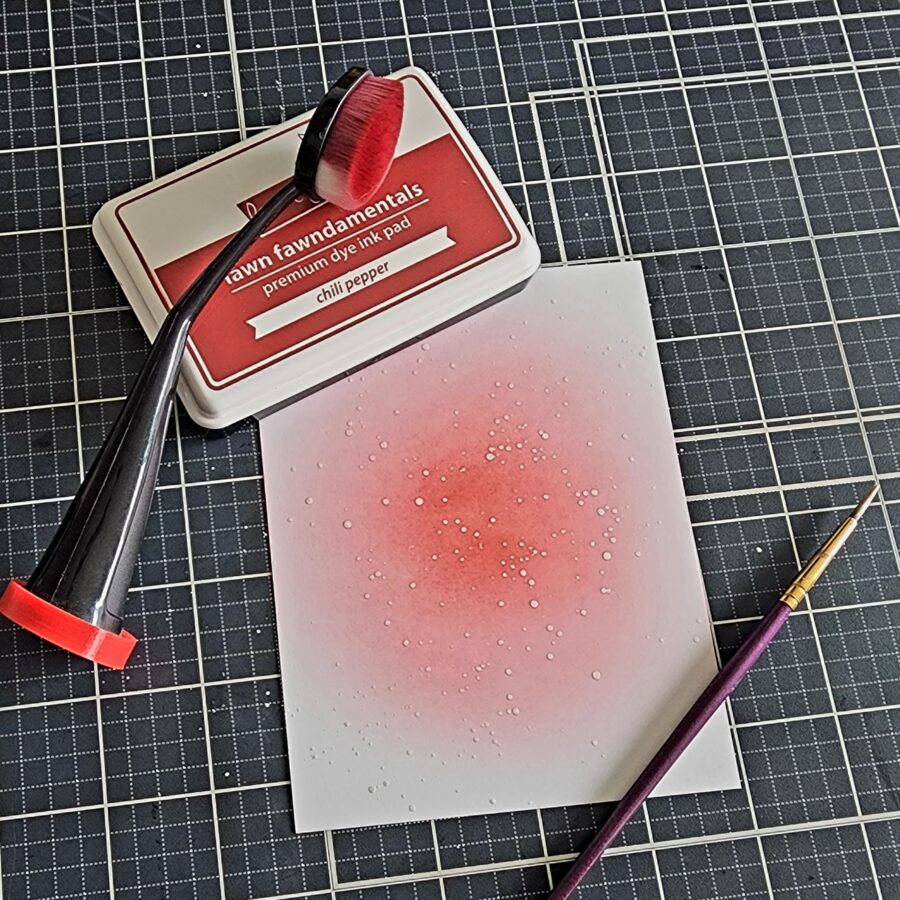
I started with an A2 white cardstock panel and inked from the center out with chili pepper ink. Once I had the coverage how I wanted, I splattered the panel with pearl watercolor and let it dry.
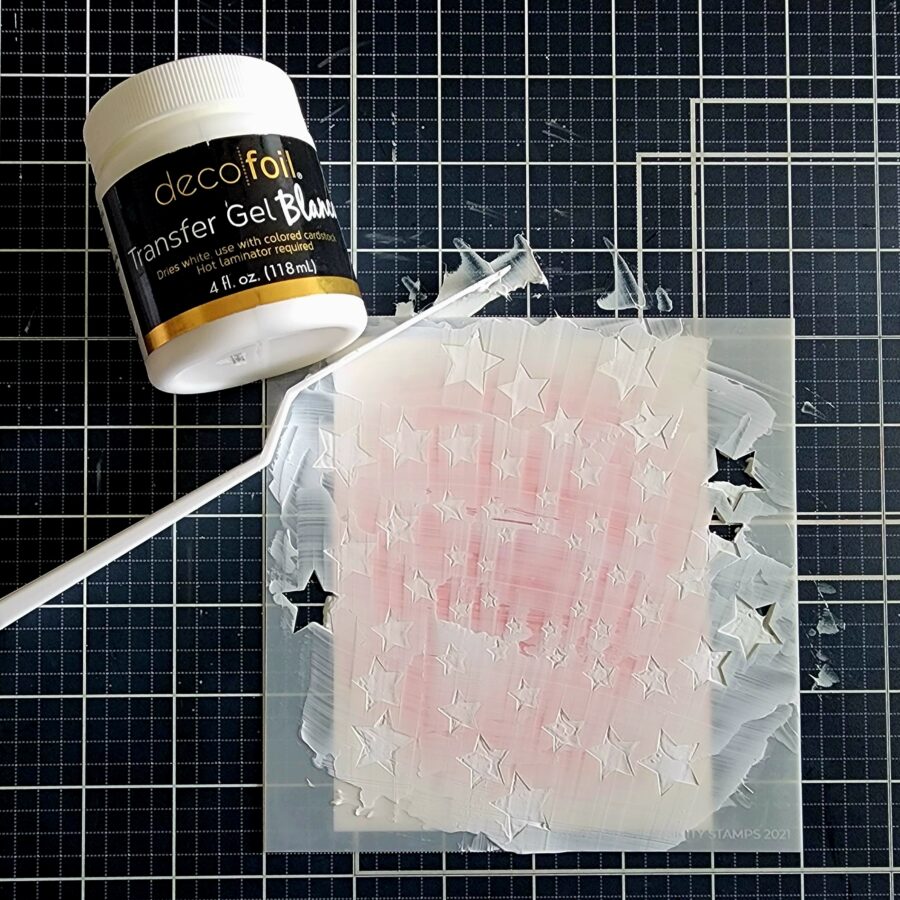
Next, I adhered my starstruck stencil to the panel and spread Deco Foil Transfer Gel Blanco through it with a palette knife. I peeled the stencil away, let the panel dry completely, and cleaned up my work area and stencil.
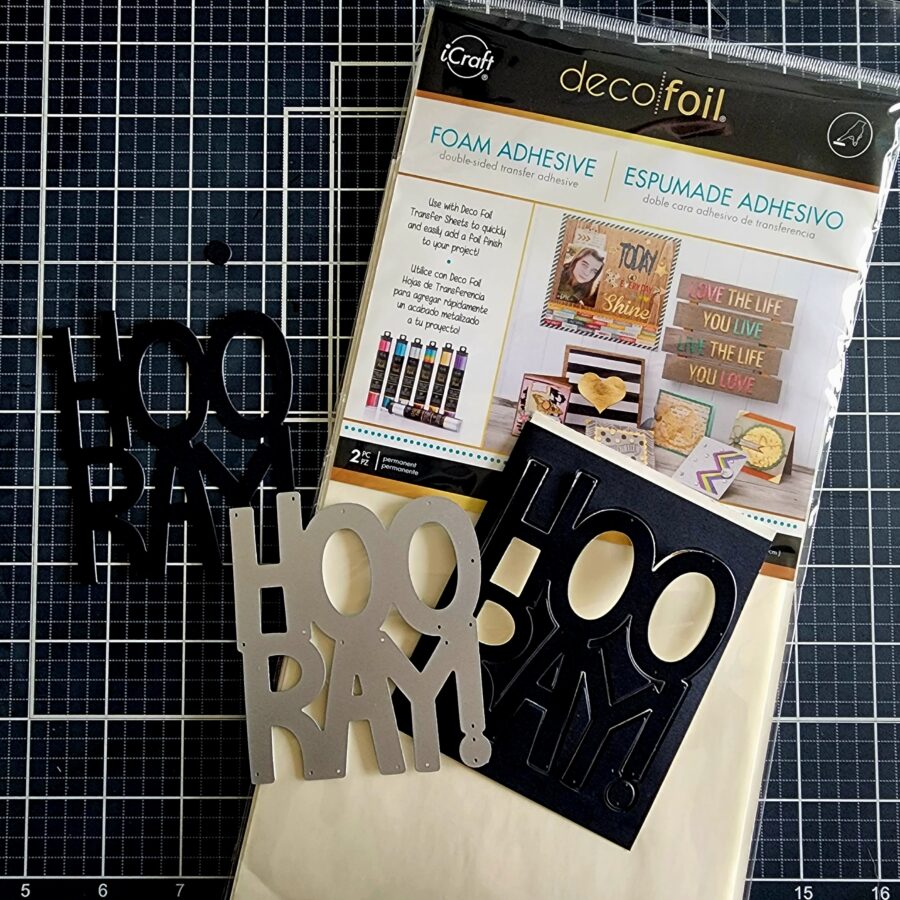
Next, I took a piece of black cardstock and adhered it to one side of a piece of foam adhesive sheet, and cut out the giant hooray. As soon as I did this, I remembered I wanted to glitz the word. Easy fix! I cut another layer to the Glitz and will just glue them together later.

In the past I have shown adding glitz to a panel, letting it dry and then die cutting. This works just fine. But remember, we don’t always plan accordingly or ideas pop up in the process, so it’s okay to glitz your die cuts after they are cut out too! This time I used the palette knife to spread from the center up and the center down to fade out on both sets of letters.
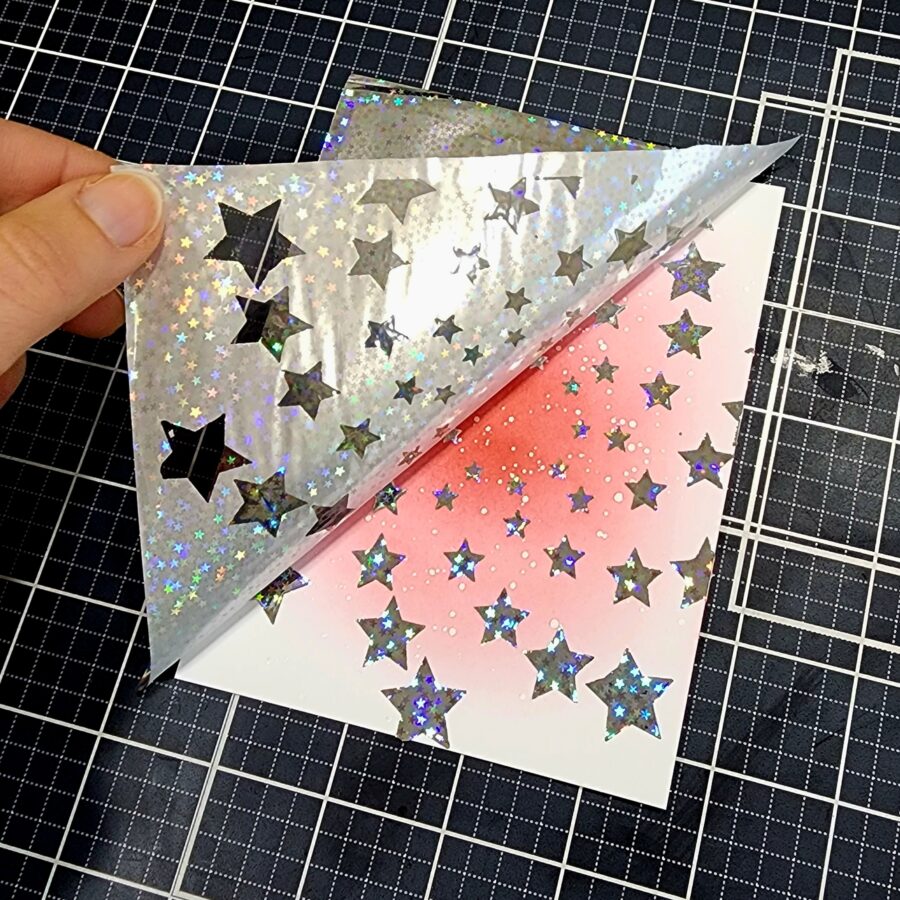
Then, with my panel finally dry and my laminator all heated up, I ran the starstruck panel through with silver stars deco foil in a craft & carrier sheet. Isn’t it magical!?! So fun to move around in the light!
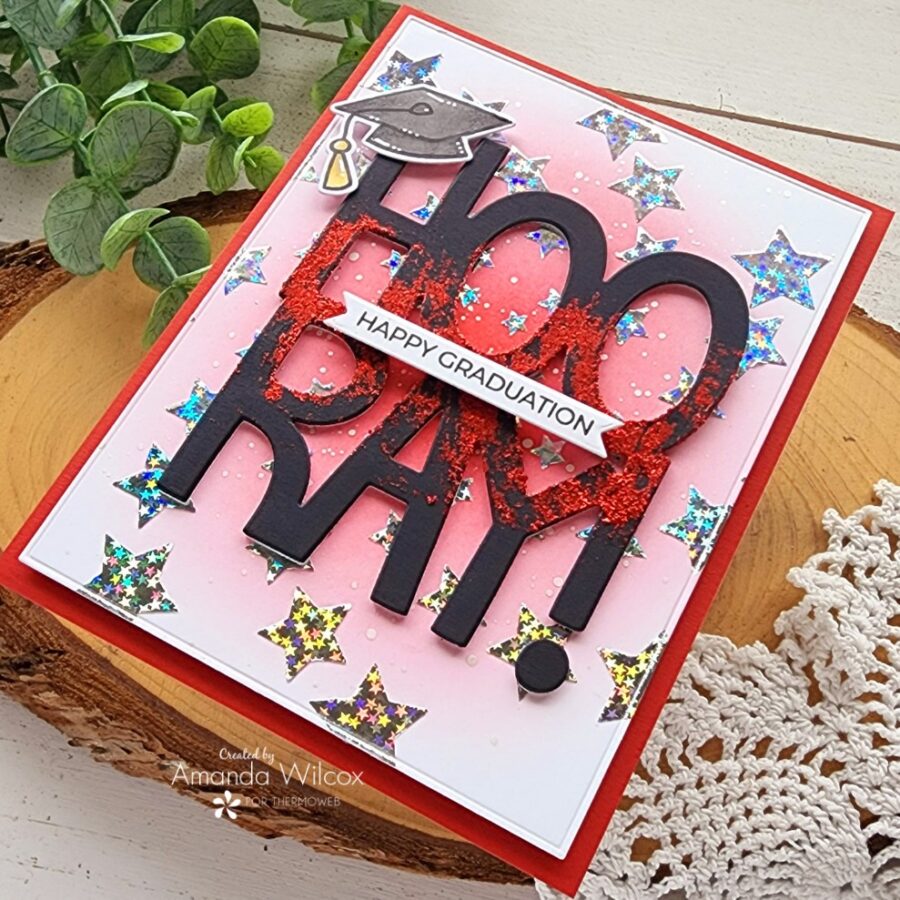
Now, we have all our messy pieces created and everything is foiled and dry. Let’s put this fun card together! From the bottom up, I chose a piece of red cardstock and trimmed it to A2 size, gluing it to a white card base with UltraBond liquid glue. Then I used the next-to-largest embossed edge rectangle die to trim my foiled panel down and adhered it with foam tape.
Remember, the hooray is already on the foam so it’s like a giant puffy sticker already, so remove the release paper and pop that in place! Then, to add a little something. I stamped a mini sentiment from Trinity Stamps A Sentiment For (almost) Everything and cut it with a banner in the 4-Bar Card die set. I added it with foam too. Then I pulled out this older Lawn Fawn set – Hats Off To You – and stamped and colored the graduation cap. I cut it out and adhered it with a combo of a foam square and liquid glue.
Last, of all, I came in with a little white gel pen highlight on the hat and some glossy accents on the tassel for some shine there too.
I hope you enjoyed today’s project and it inspires you to create something fun!
I appreciate you sharing your time with me. Have a fabulous day!
This post contains affiliate links. For more information, see our disclosure HERE.