 Hi Hi!!! It’s Katrina from Paper, Scissors, Glue and Hybrid Too here on the blog today. I am using one of the NEW DecoFoil Toner Sheets-Get Tropical on my layout today and I cannot wait to share with you!
AND the Rina K Designs Sending Sunshine Stamps and Dies that I used are 30 percent off in the Therm O Web store! I have done so many projects with this set! It’s so versatile and easy to adapt to your project!!
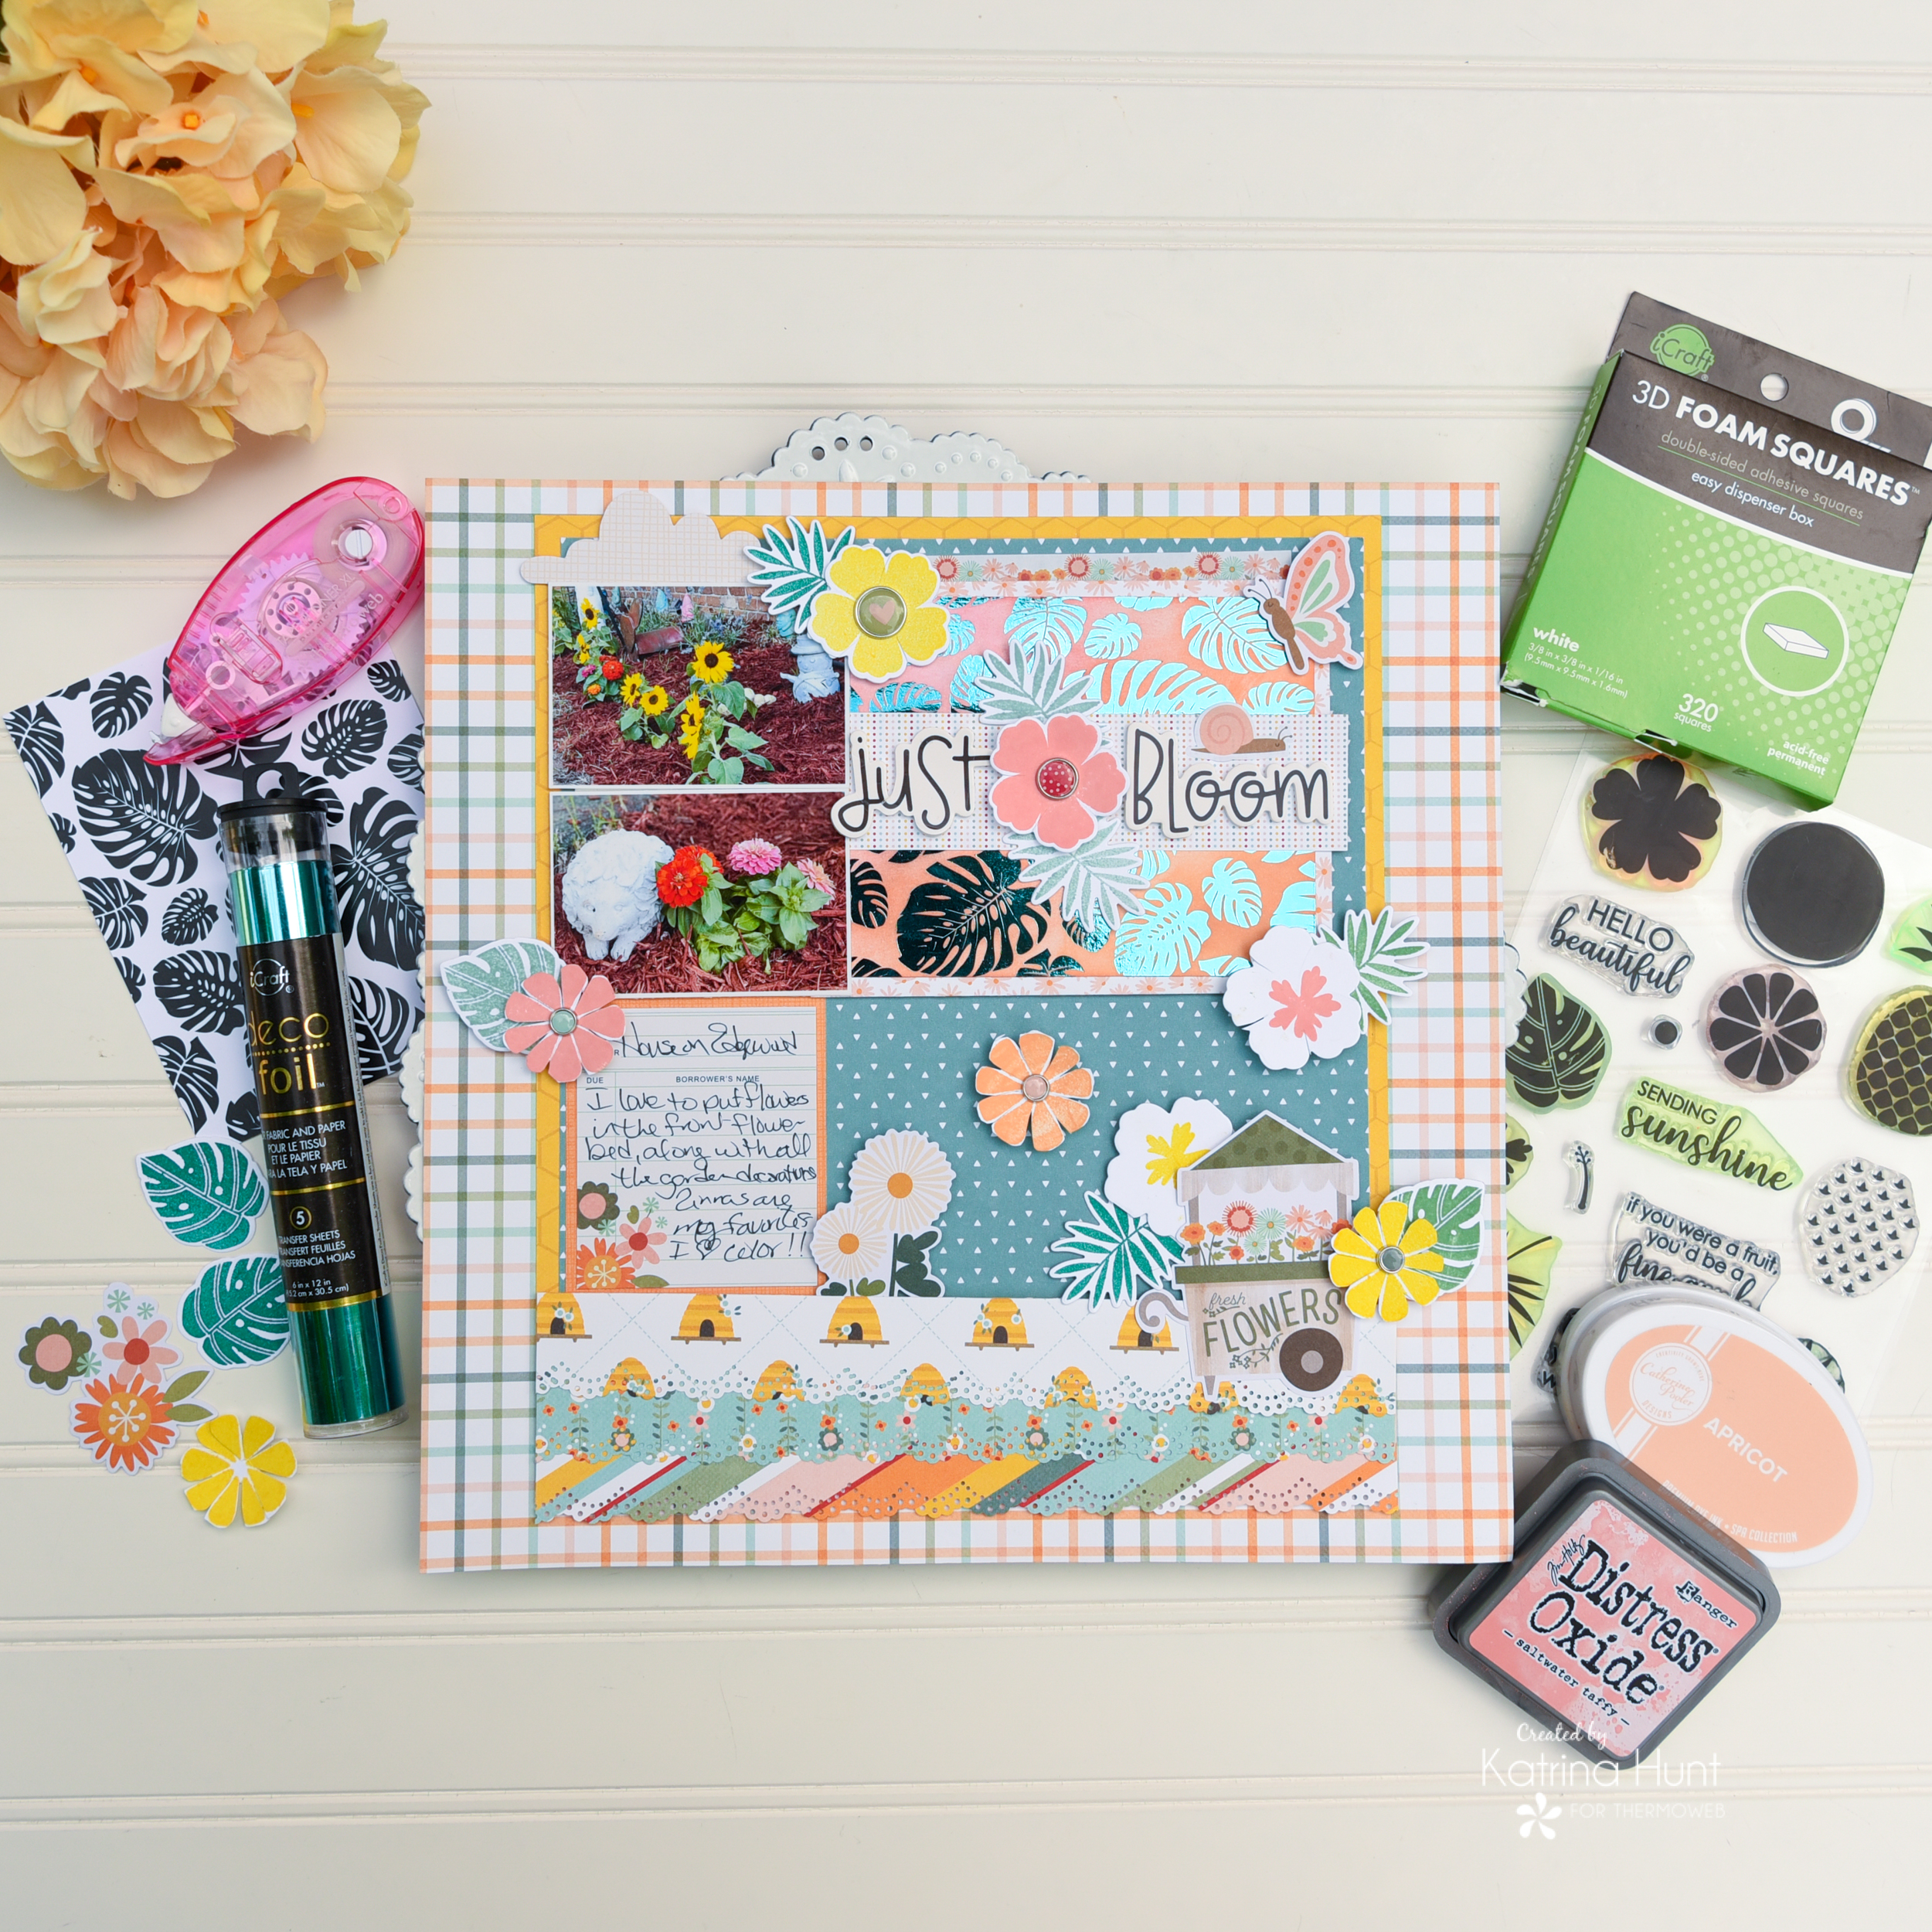
Therm O Web Supplies Used
Deco Foil Transfer Sheets-Aqua
Deco Foil A2 Card Front Toner Sheets-Get Tropical
Memory Runner XL
Memory Runner XL Refill
iCraft Easy Tear Tape 1/2 inch
3D Foam Squares – Combo Pack
3D FOAM SQUARES BOX
NEW 3D FOAM TAPE ROLL 1/16
NEW 3D FOAM TAPE ROLL 1/8
Deco Foil Craft Carrier Sheets-NEW
Ultra Bond Liquid Adhesive
Pixie Tape
NEW Pixie Dots
Rina K Designs Sending Sunshine Stamp Set
Rina K Designs Sending Sunshine Die Set
Other Supplies Used
Simple Stories-Full Bloom Collection (Paper Issues Use Code Katrina for 20% off)
White Cardstock
Catherine Pooler Inks In Bellini, It’s a Girl, Apricot
Distress Ink Oxide-Saltwater Taffy (Paper Issues-Use Code Katrina for 20% off)
Border Punch
Sketch from PageMaps
Just Bloom Layout Details
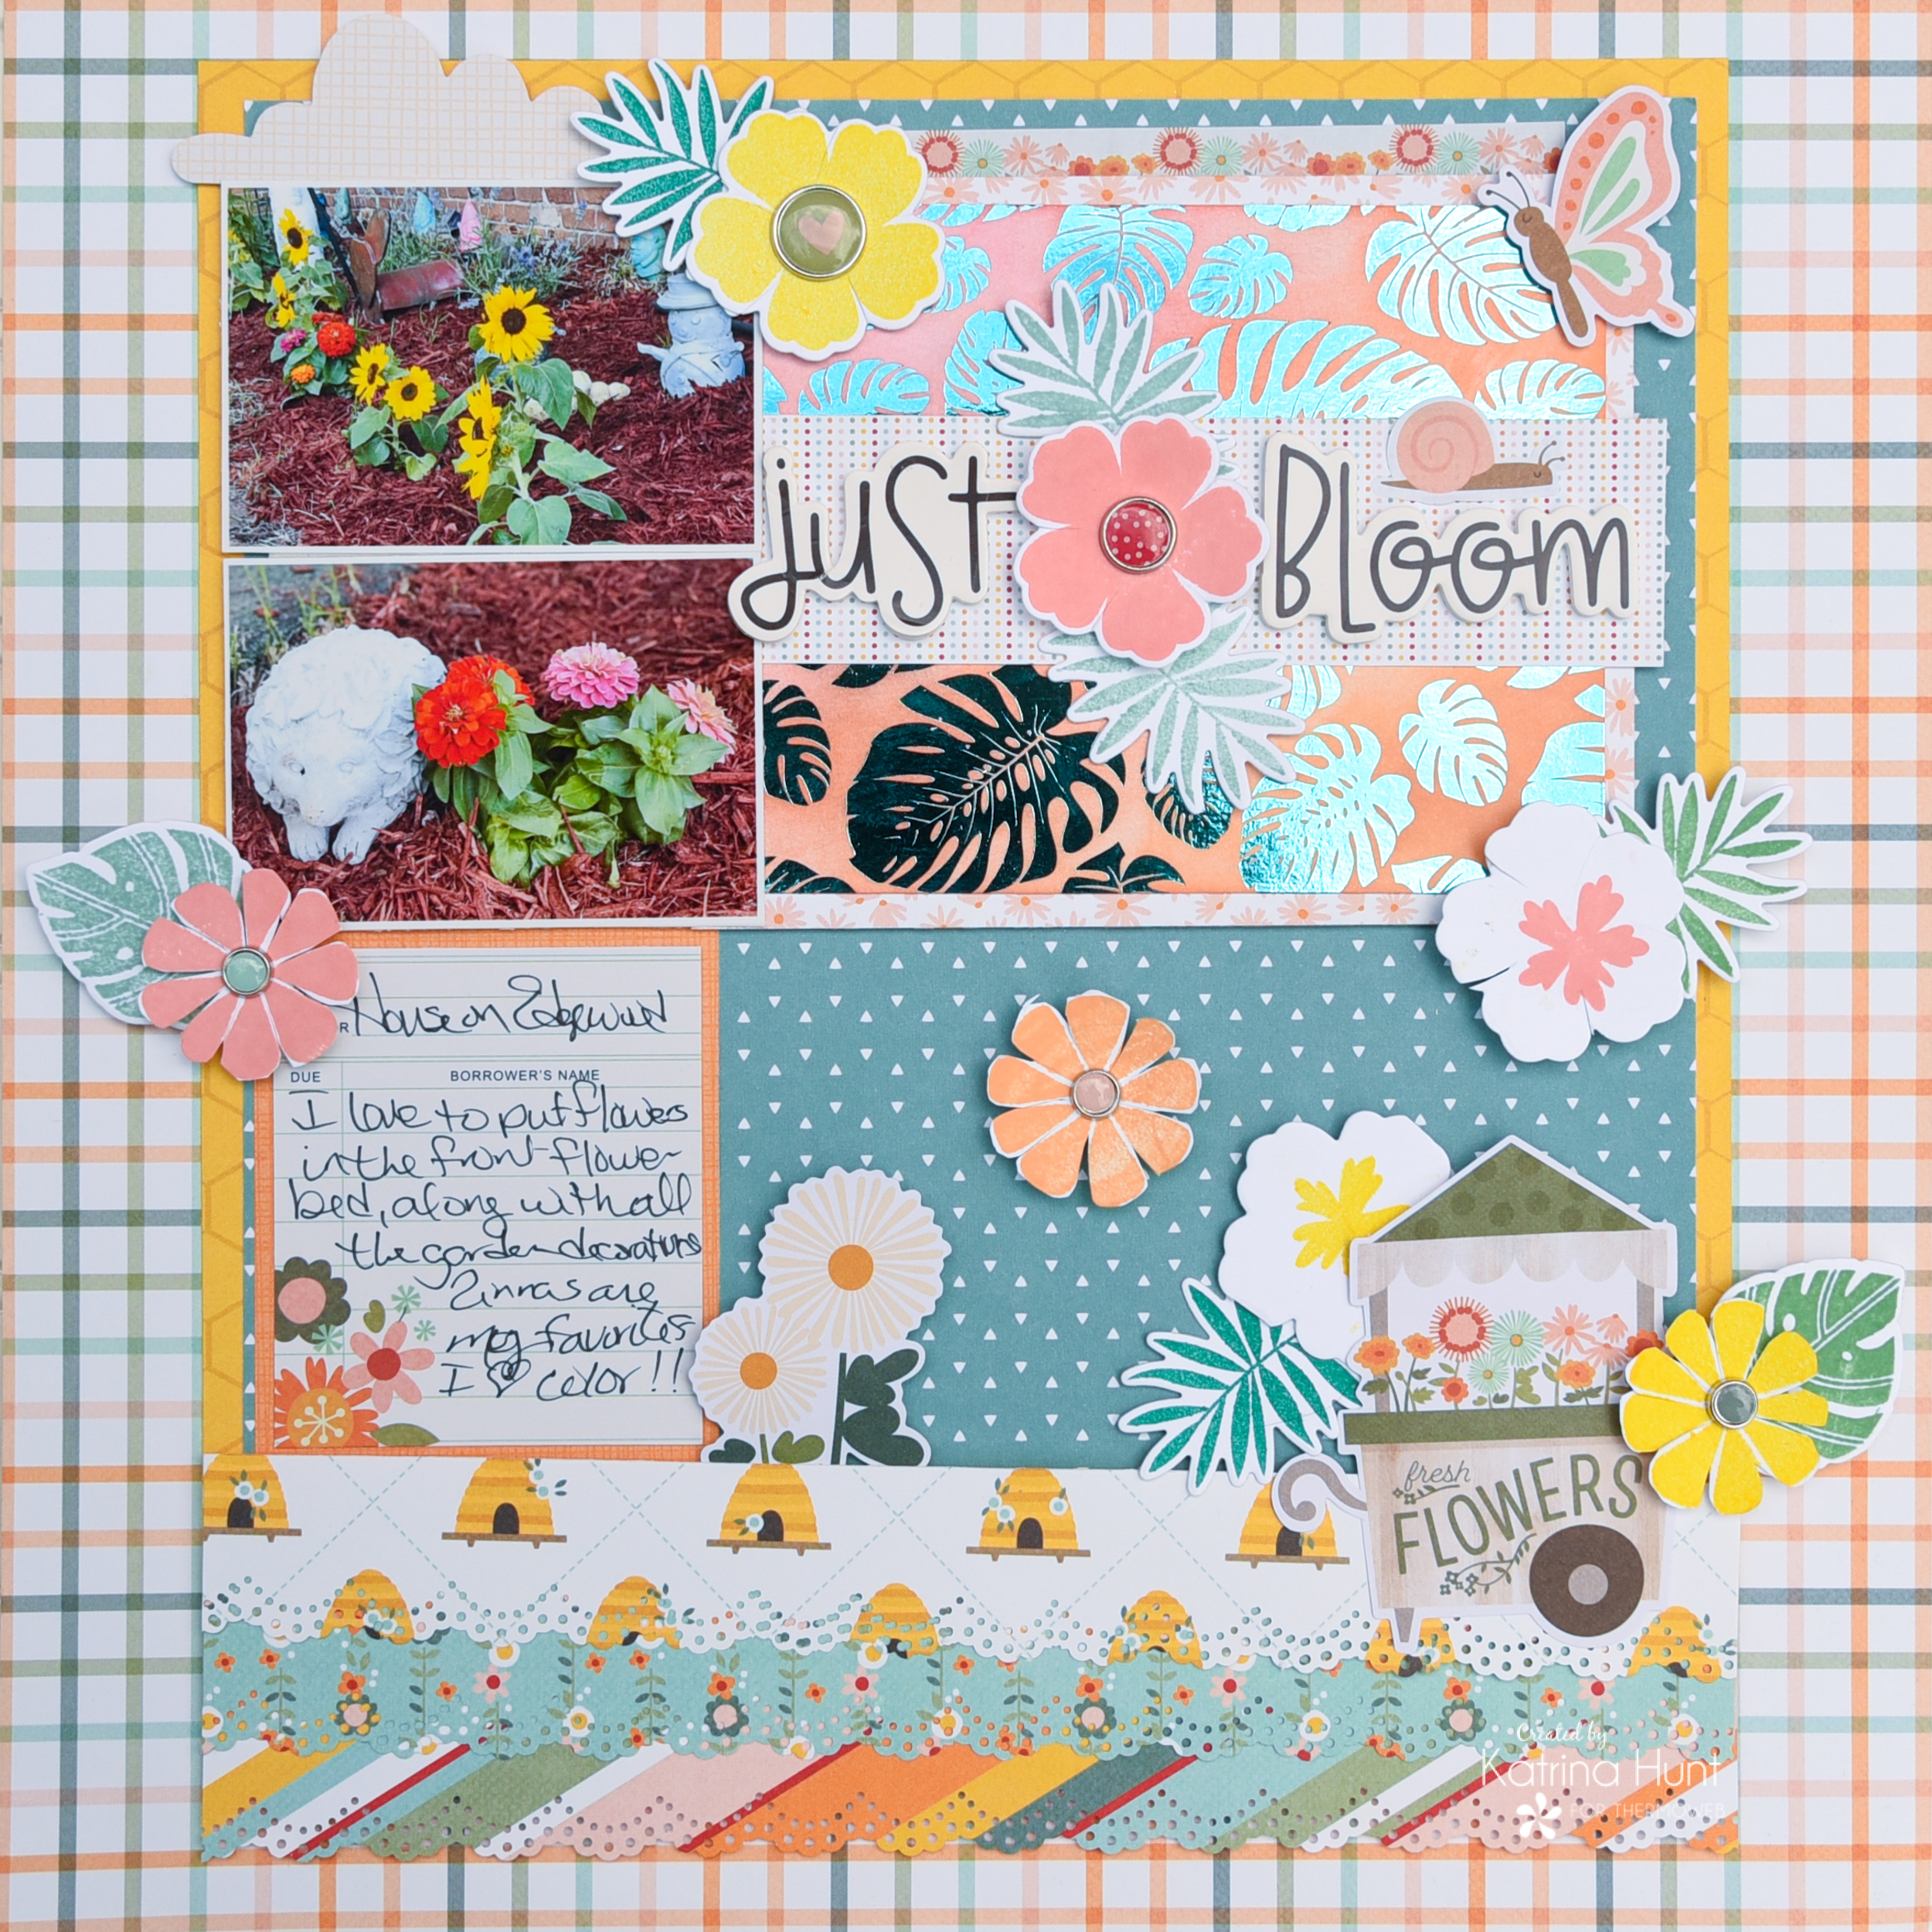
So let’s start with how this layout came together! I knew the Get Tropical Toner Sheet set was the one I wanted to use with the Sending Sunshine stamps and dies. I have also been lacking mojo, so I wanted to use a sketch to jump-start my layout. Well, the sketch I found over at PageMaps was perfect. It had a spot right for the toner sheet I wanted to use! I also knew I wanted to ink it in a blend. So out came my inks!
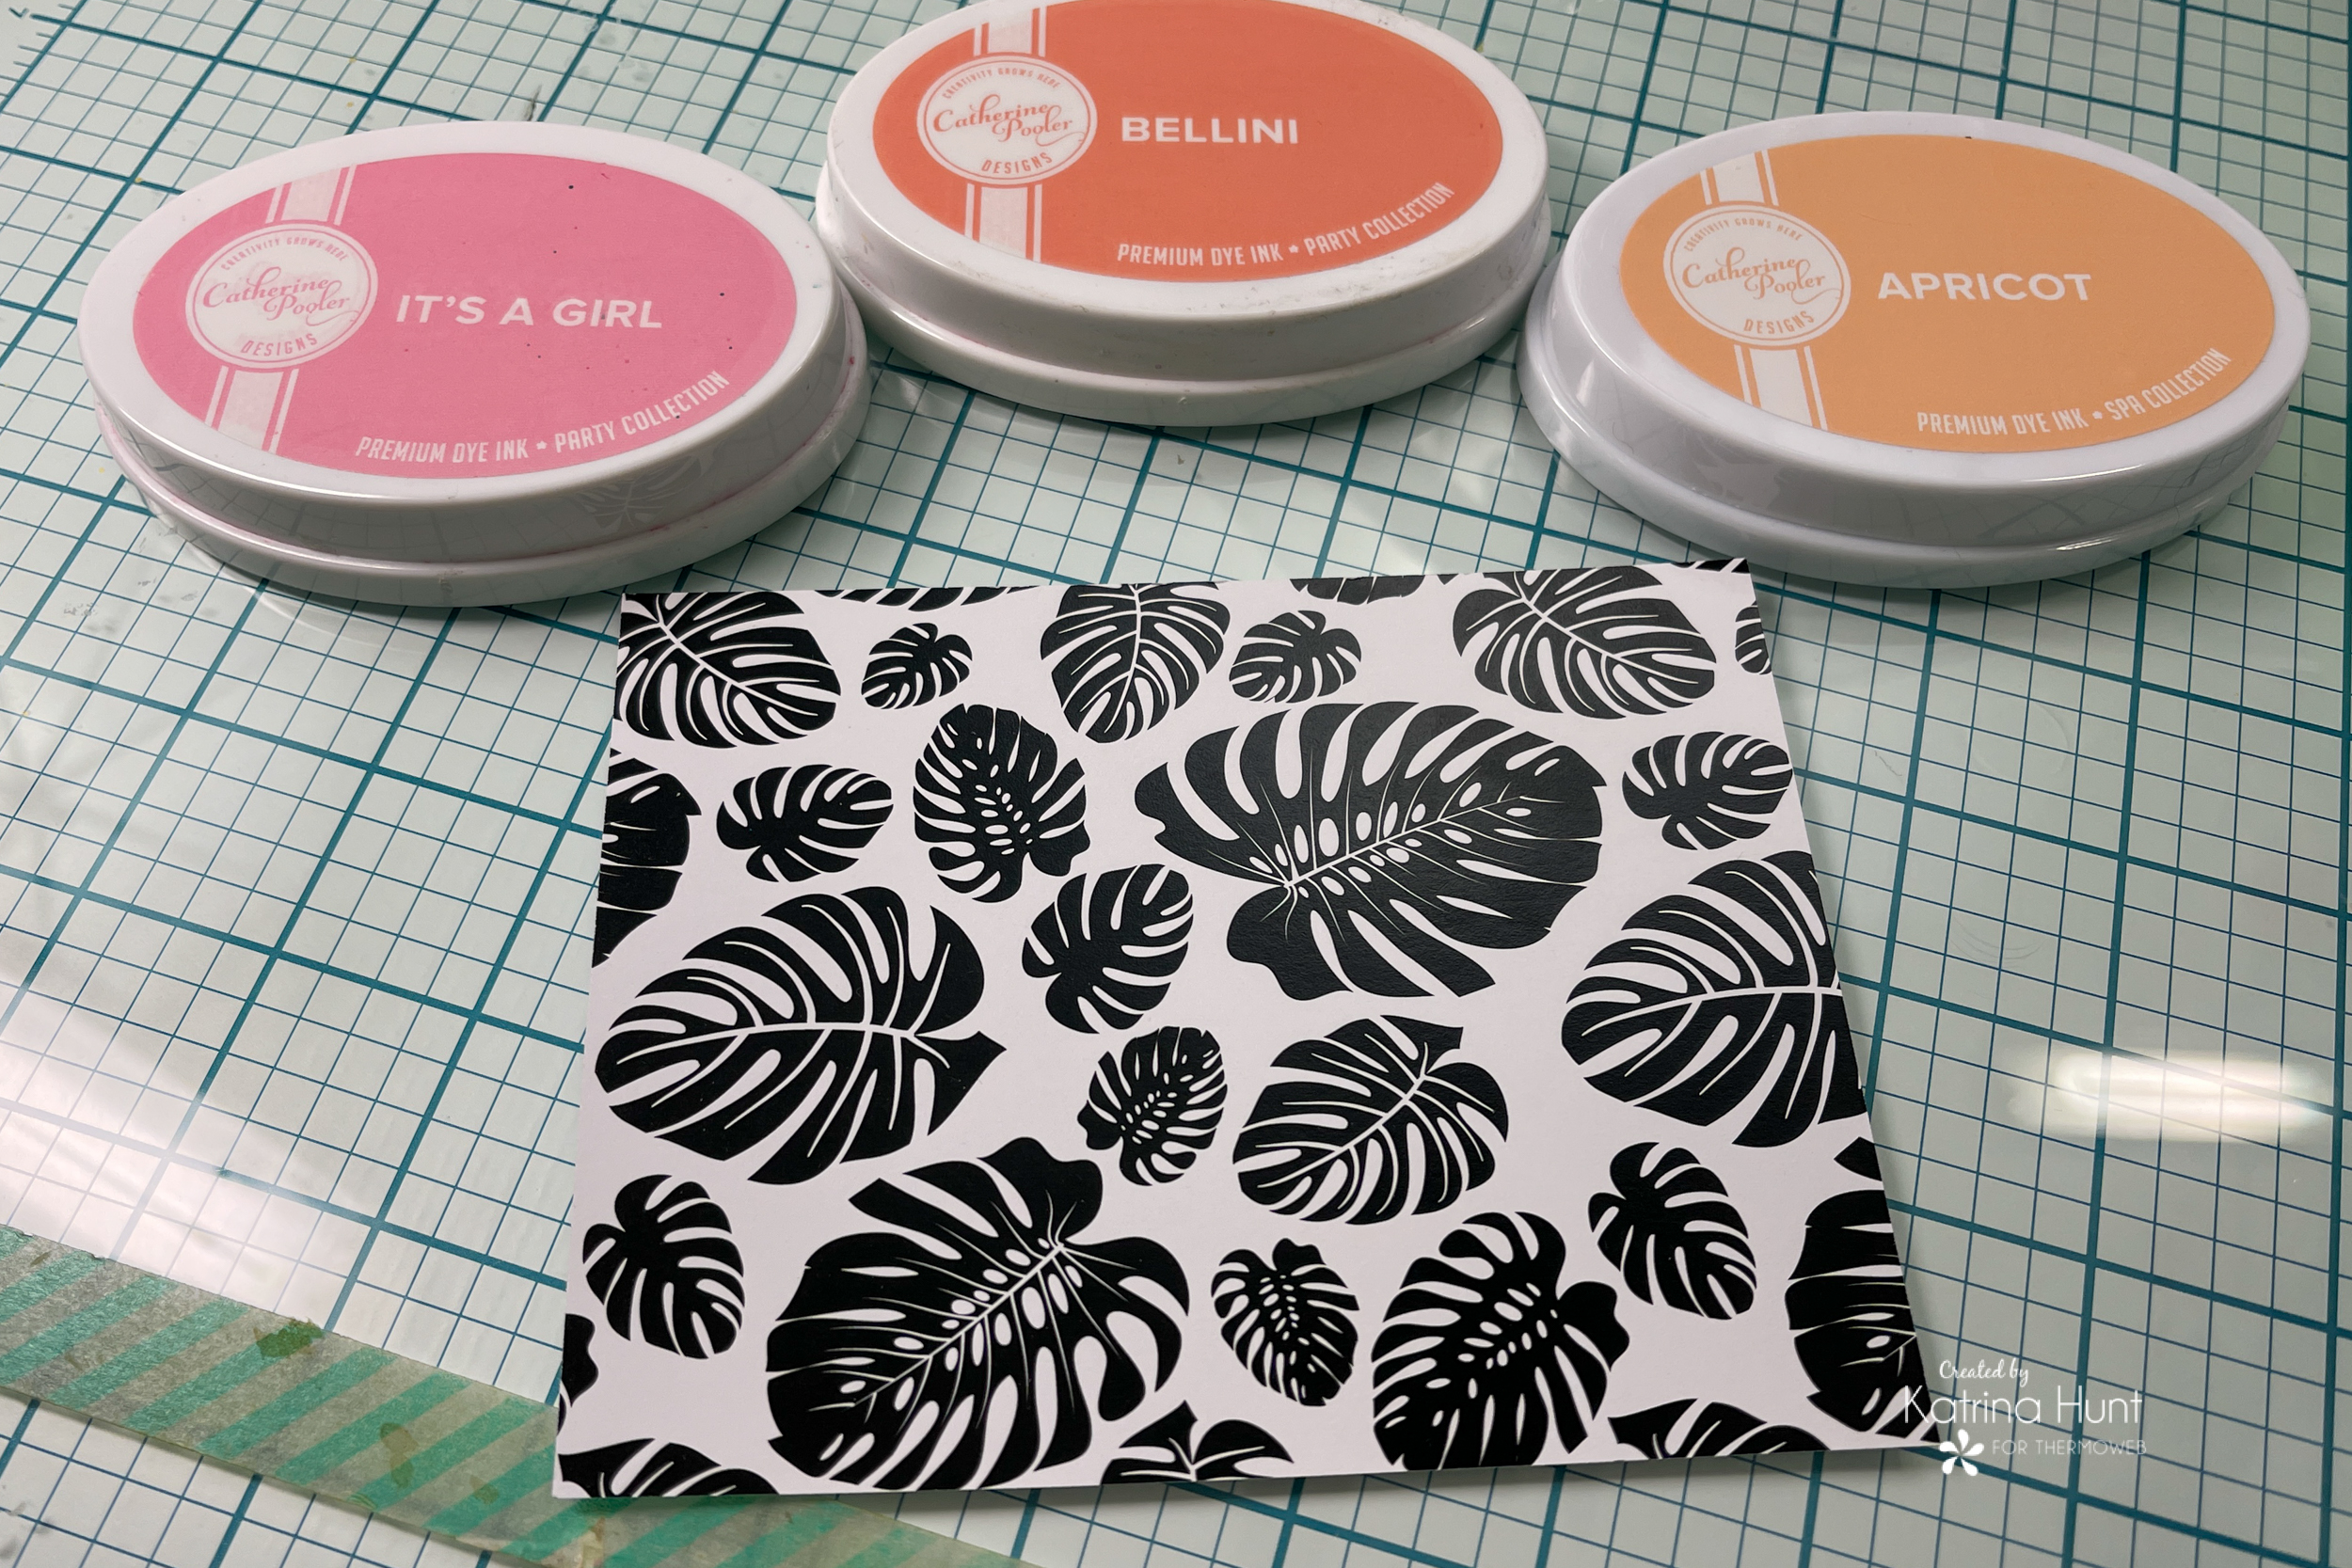
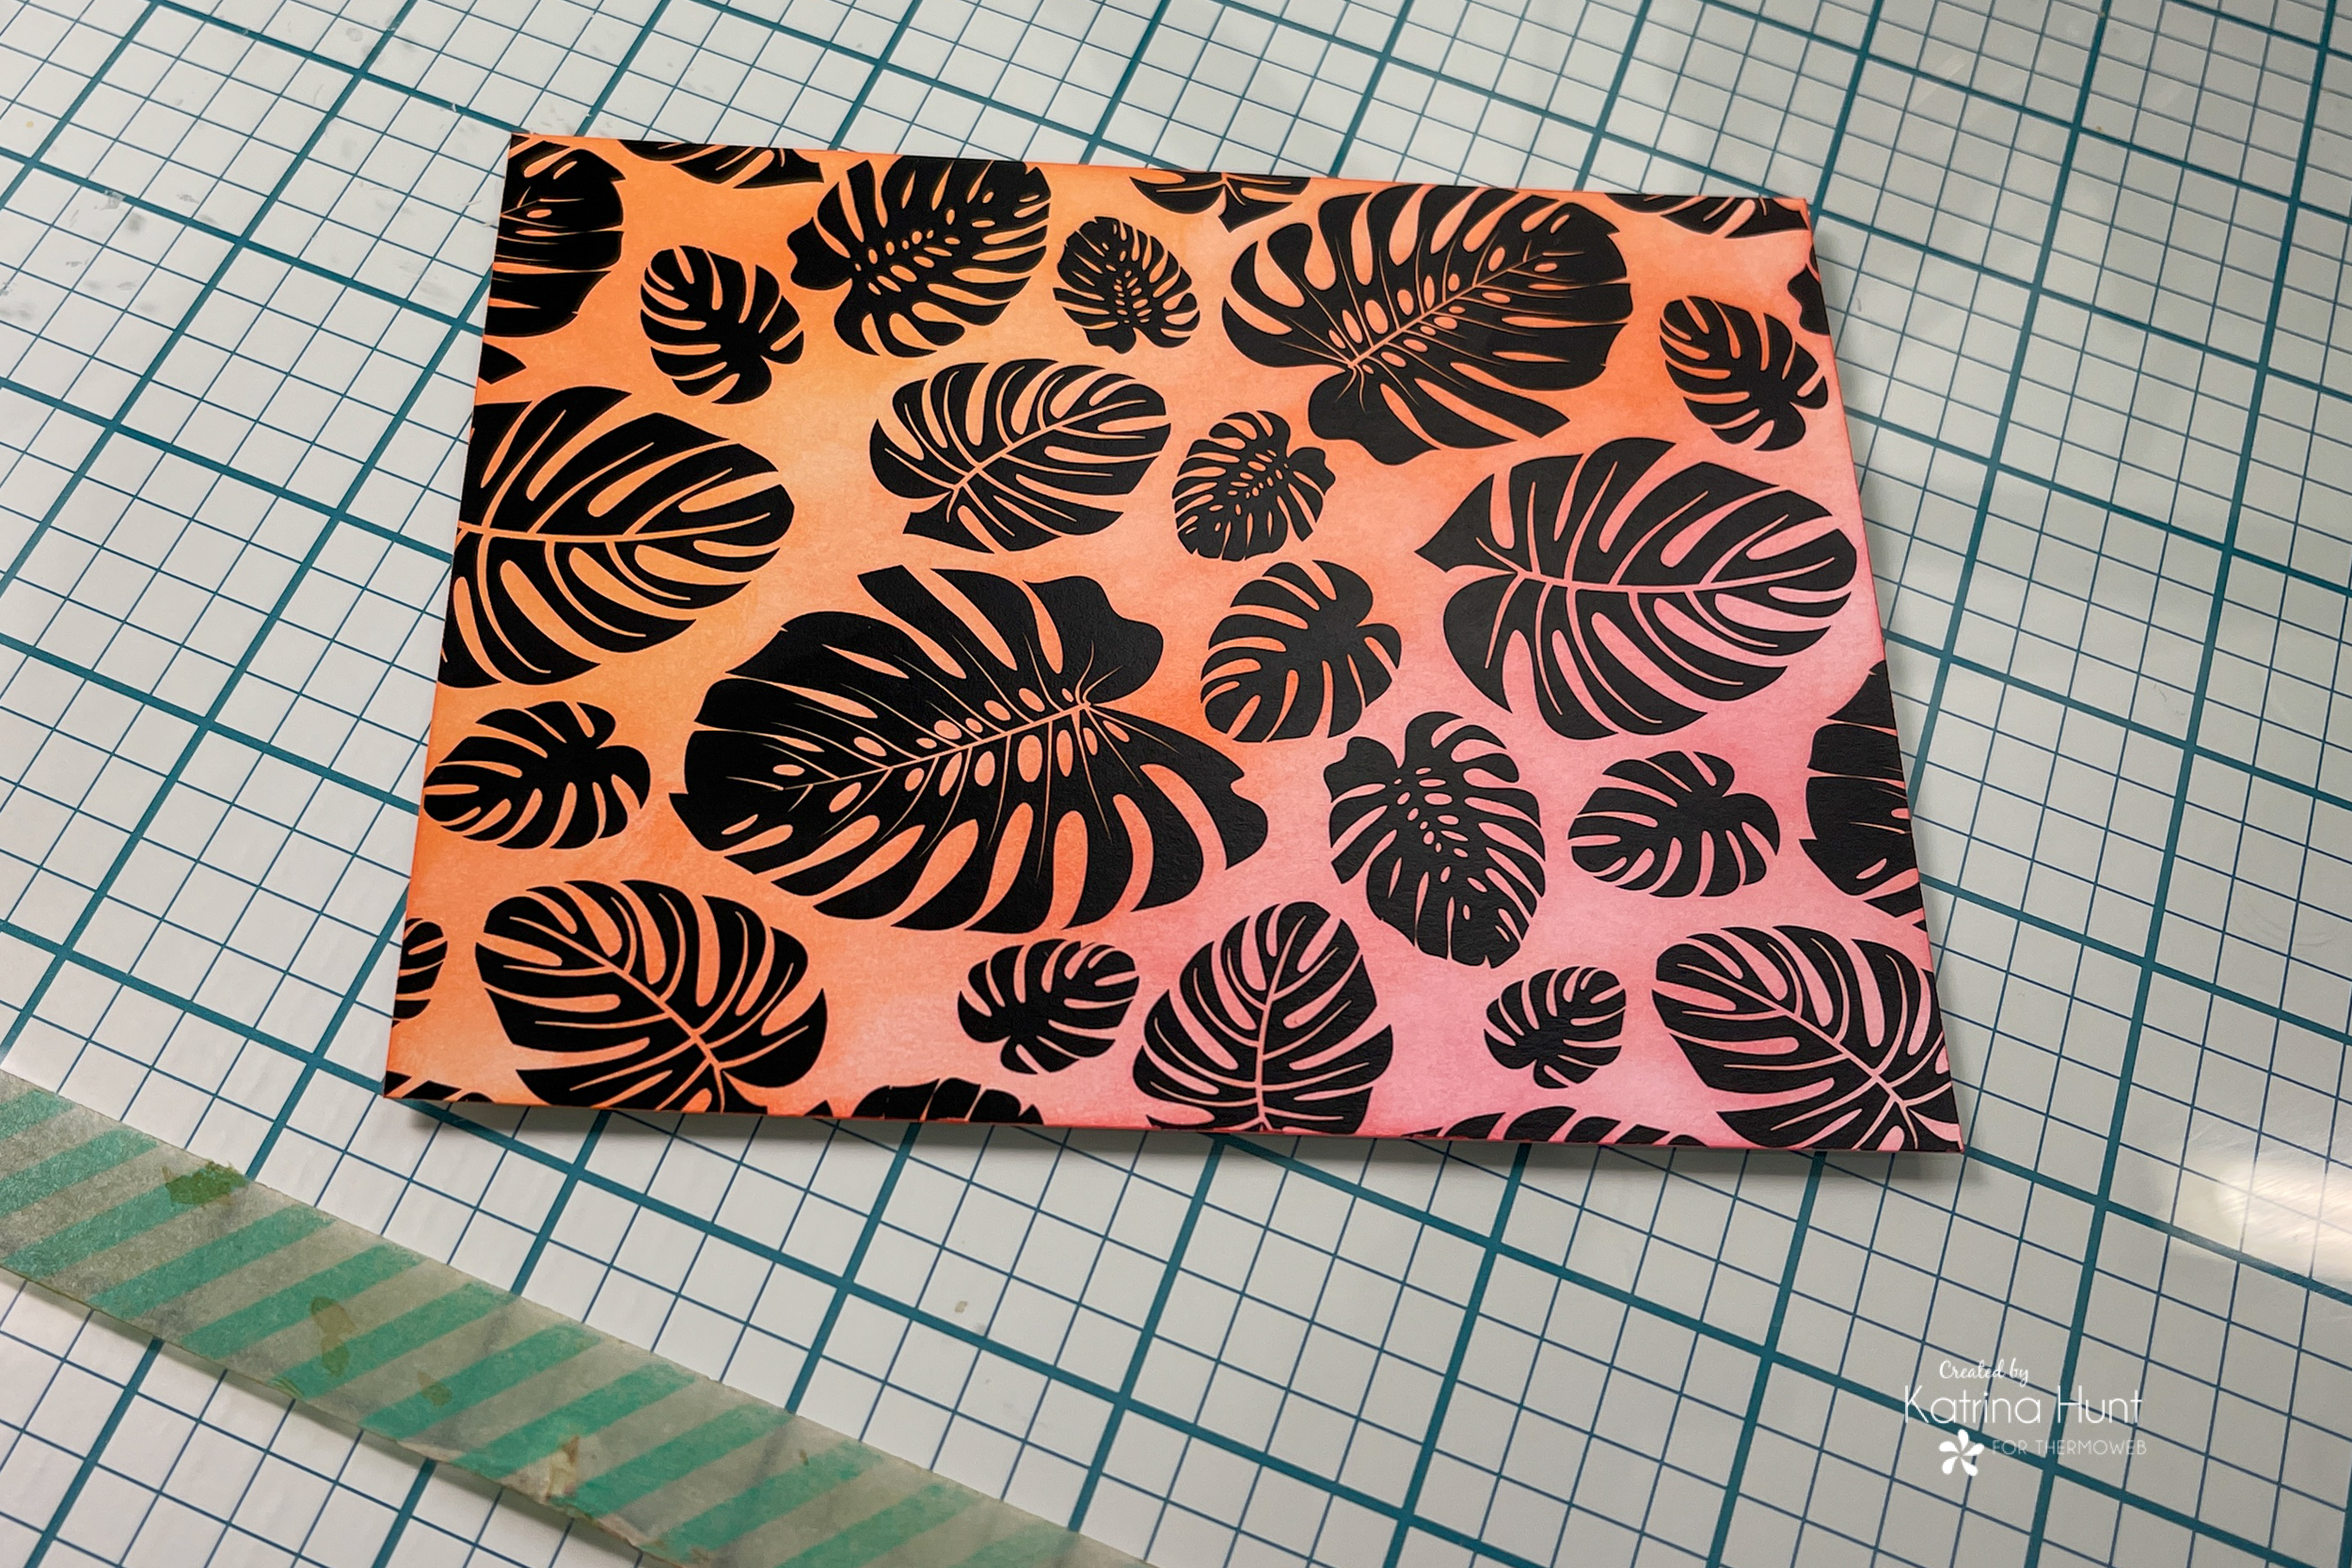
Once inked, it was time to foil. I first wiped the toner sheet down to remove any ink that transferred onto the black toner parts. This will give you a clean toner surface for your foil to stick. I picked out the DecoFoil in Aqua, because it went with the color palette in the collection I was using. I used the new Craft & Carrier nonstick sheets and also a piece of cardstock to make my sandwich to run thru my laminator. 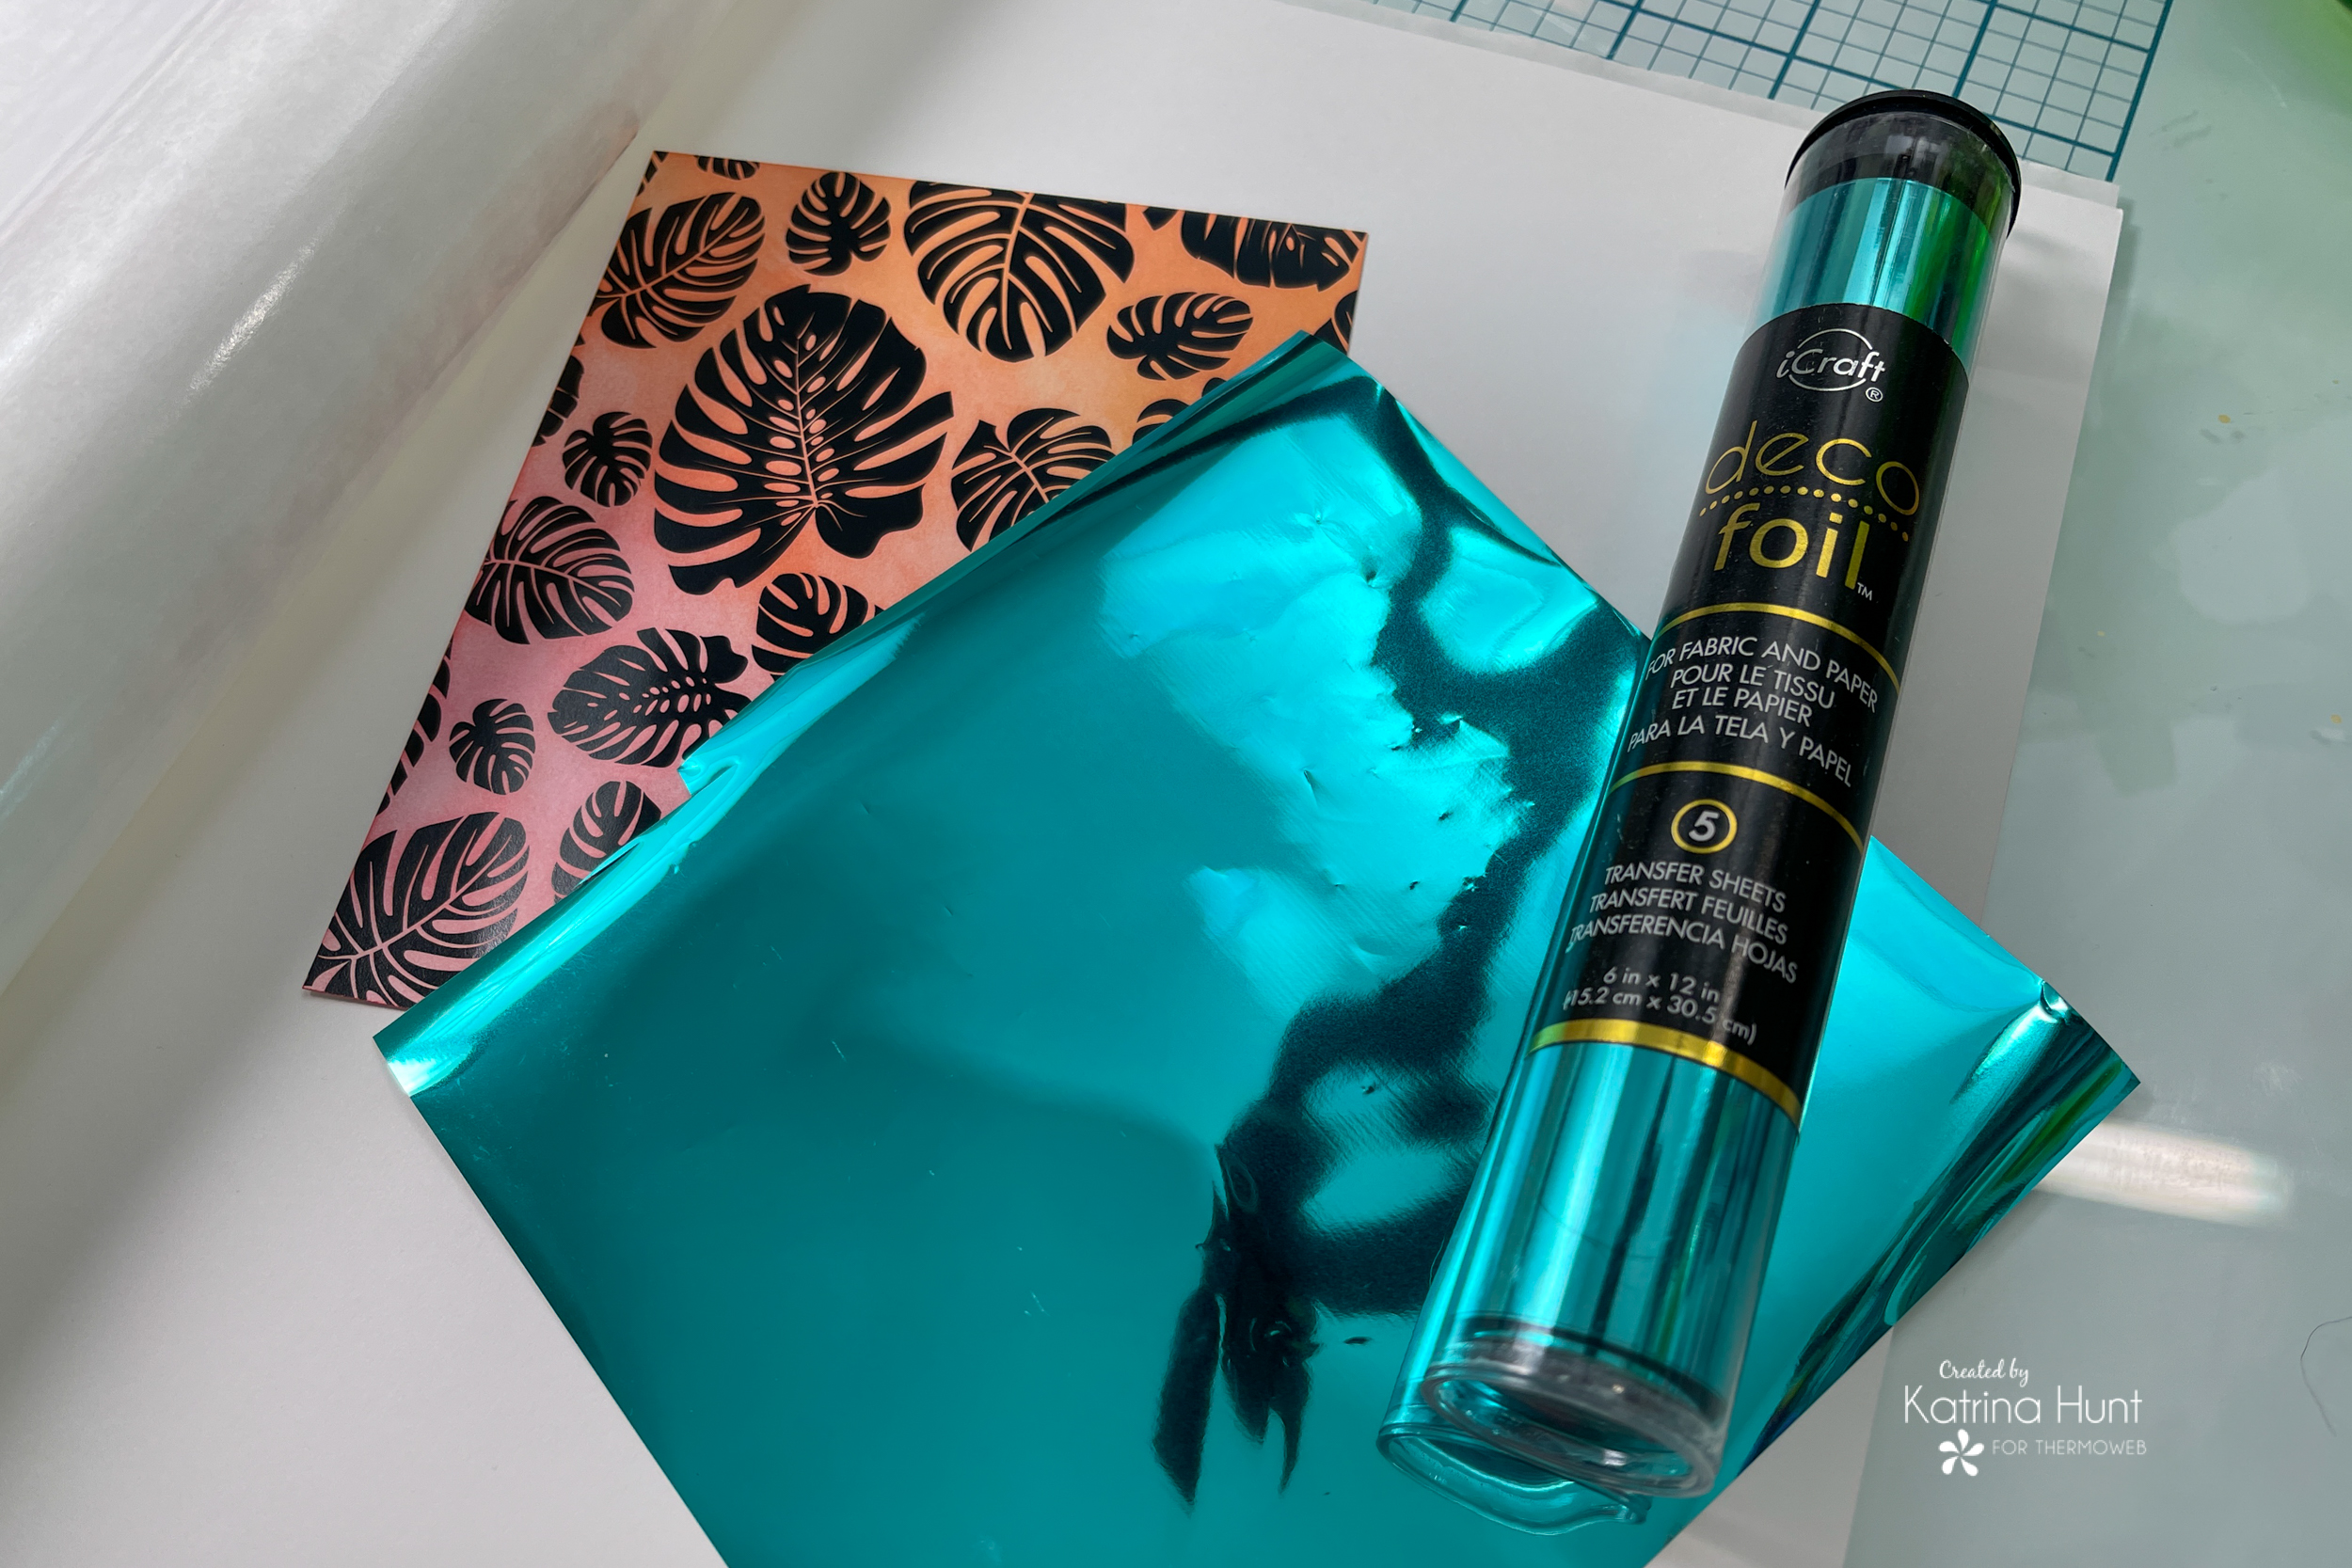
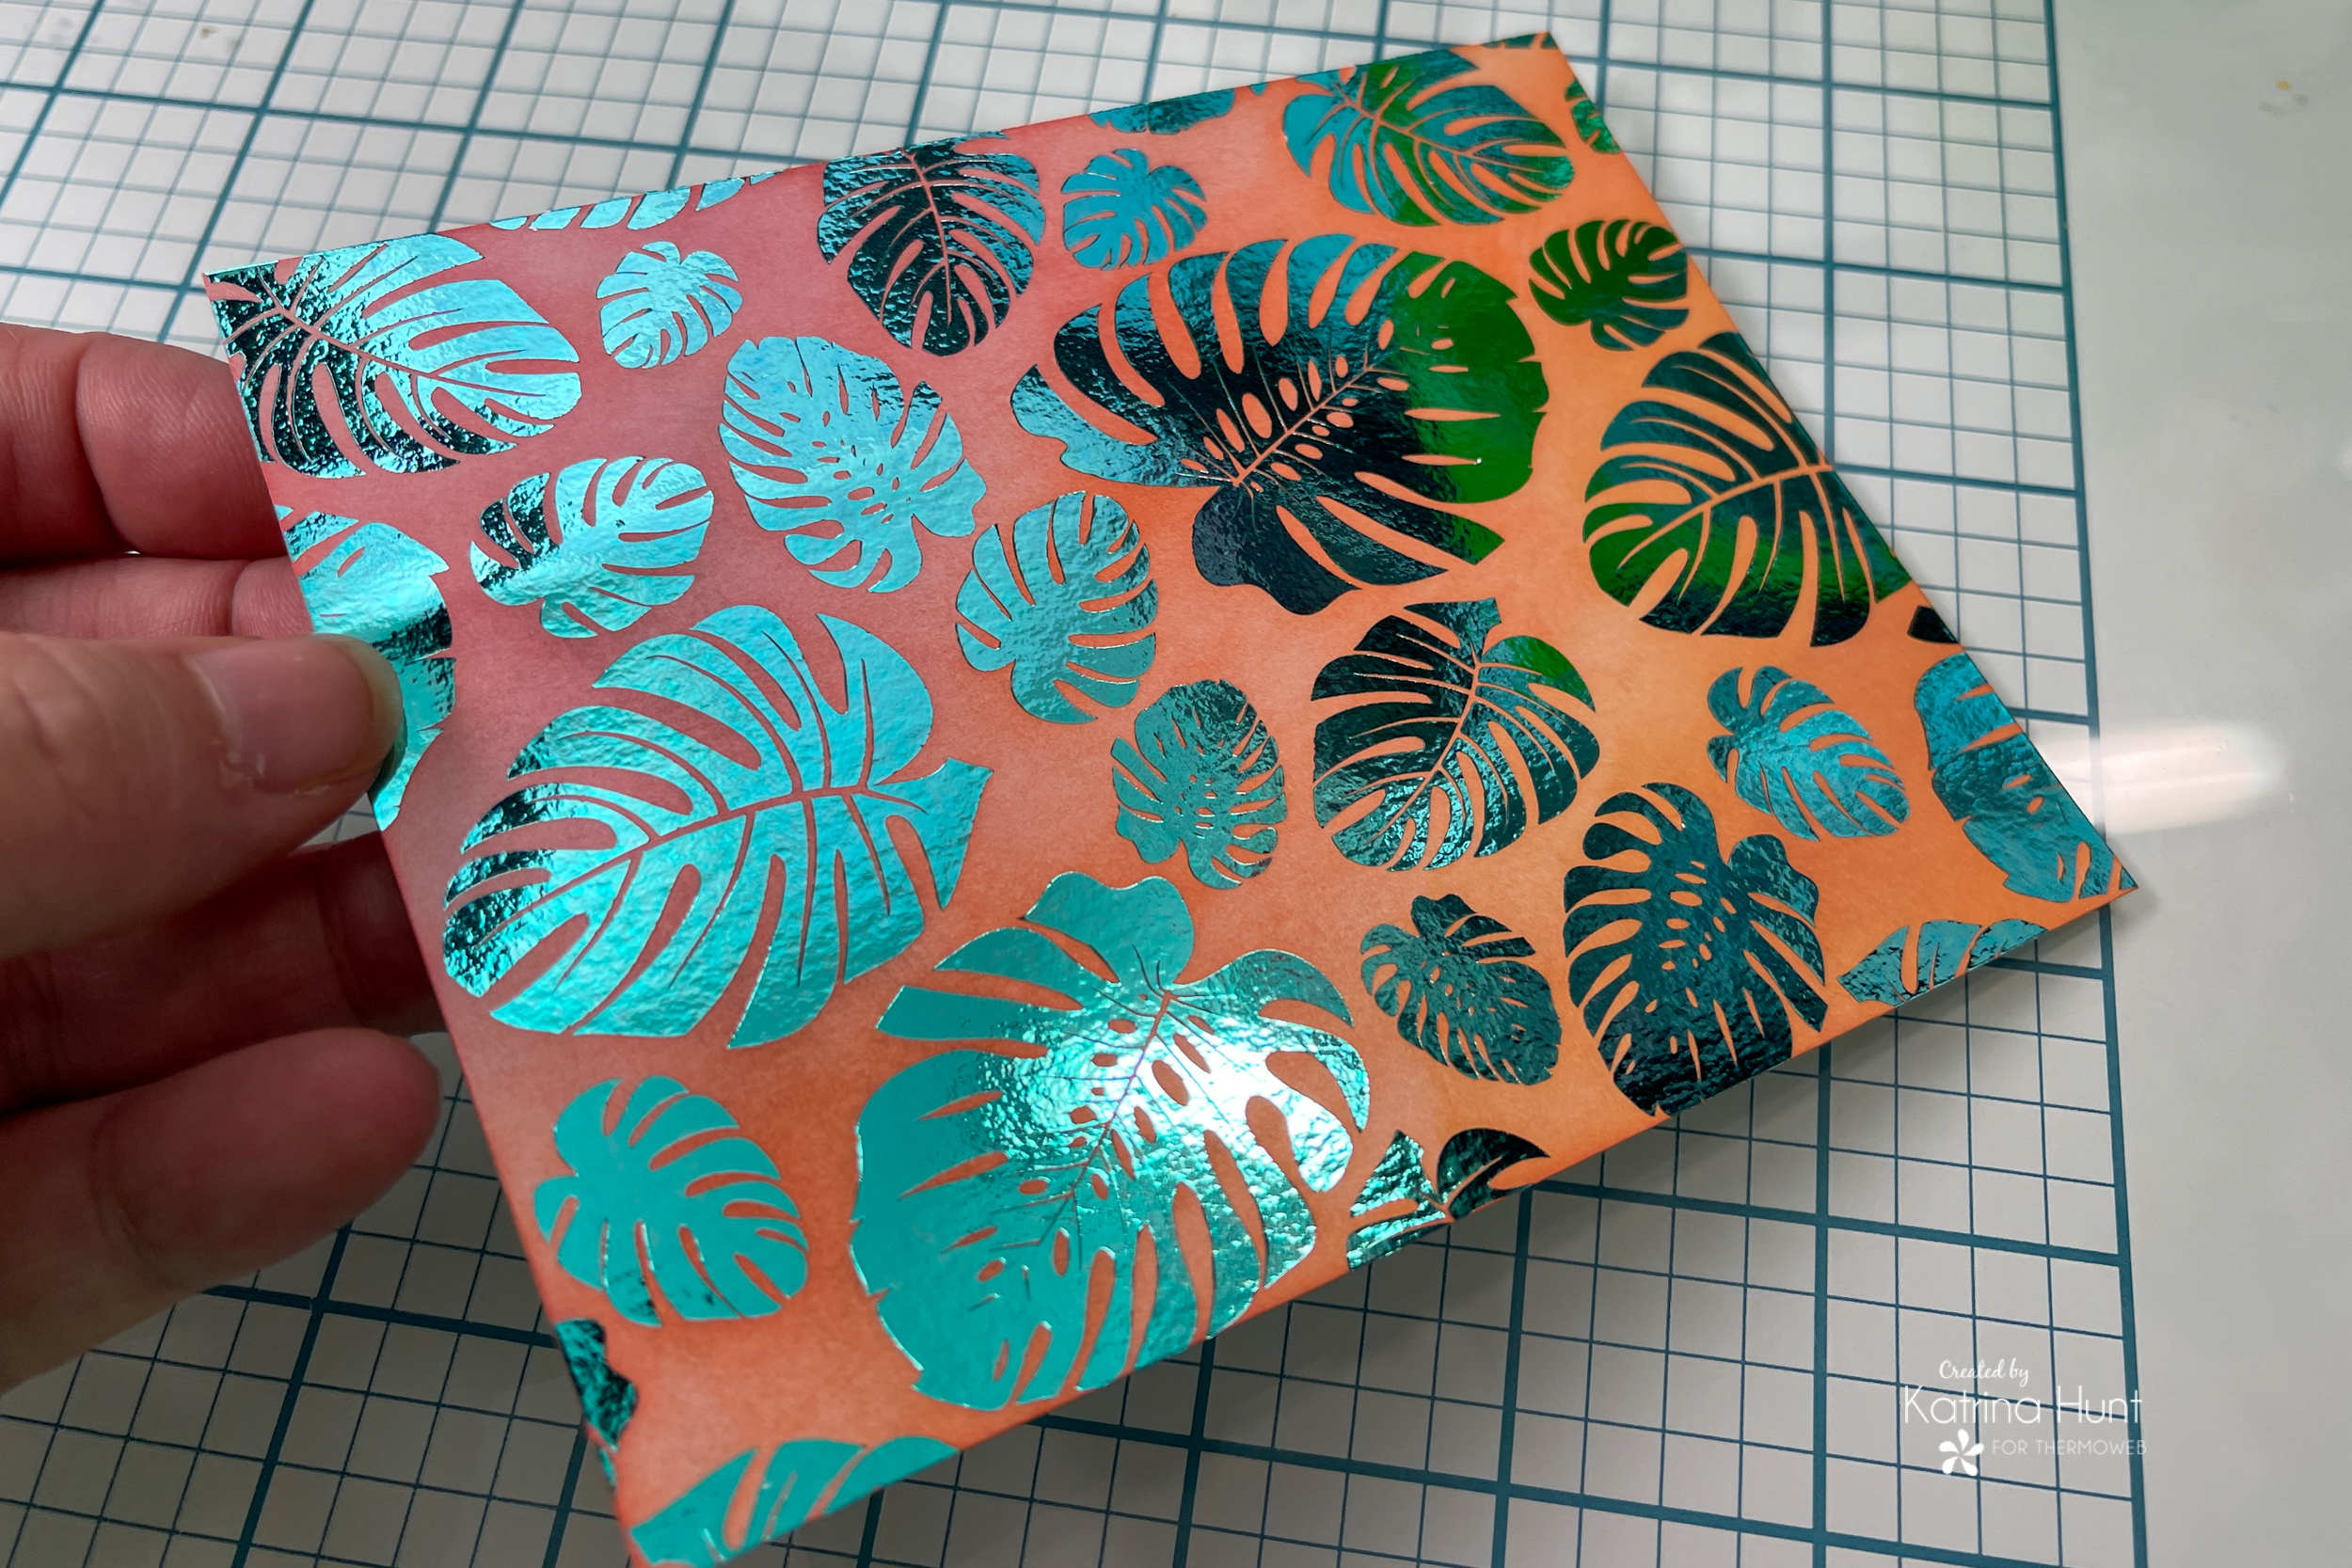
Ekks!!! So pretty right?? I love that aqua color against that ink blending! And the shine!
Making the Embellishments
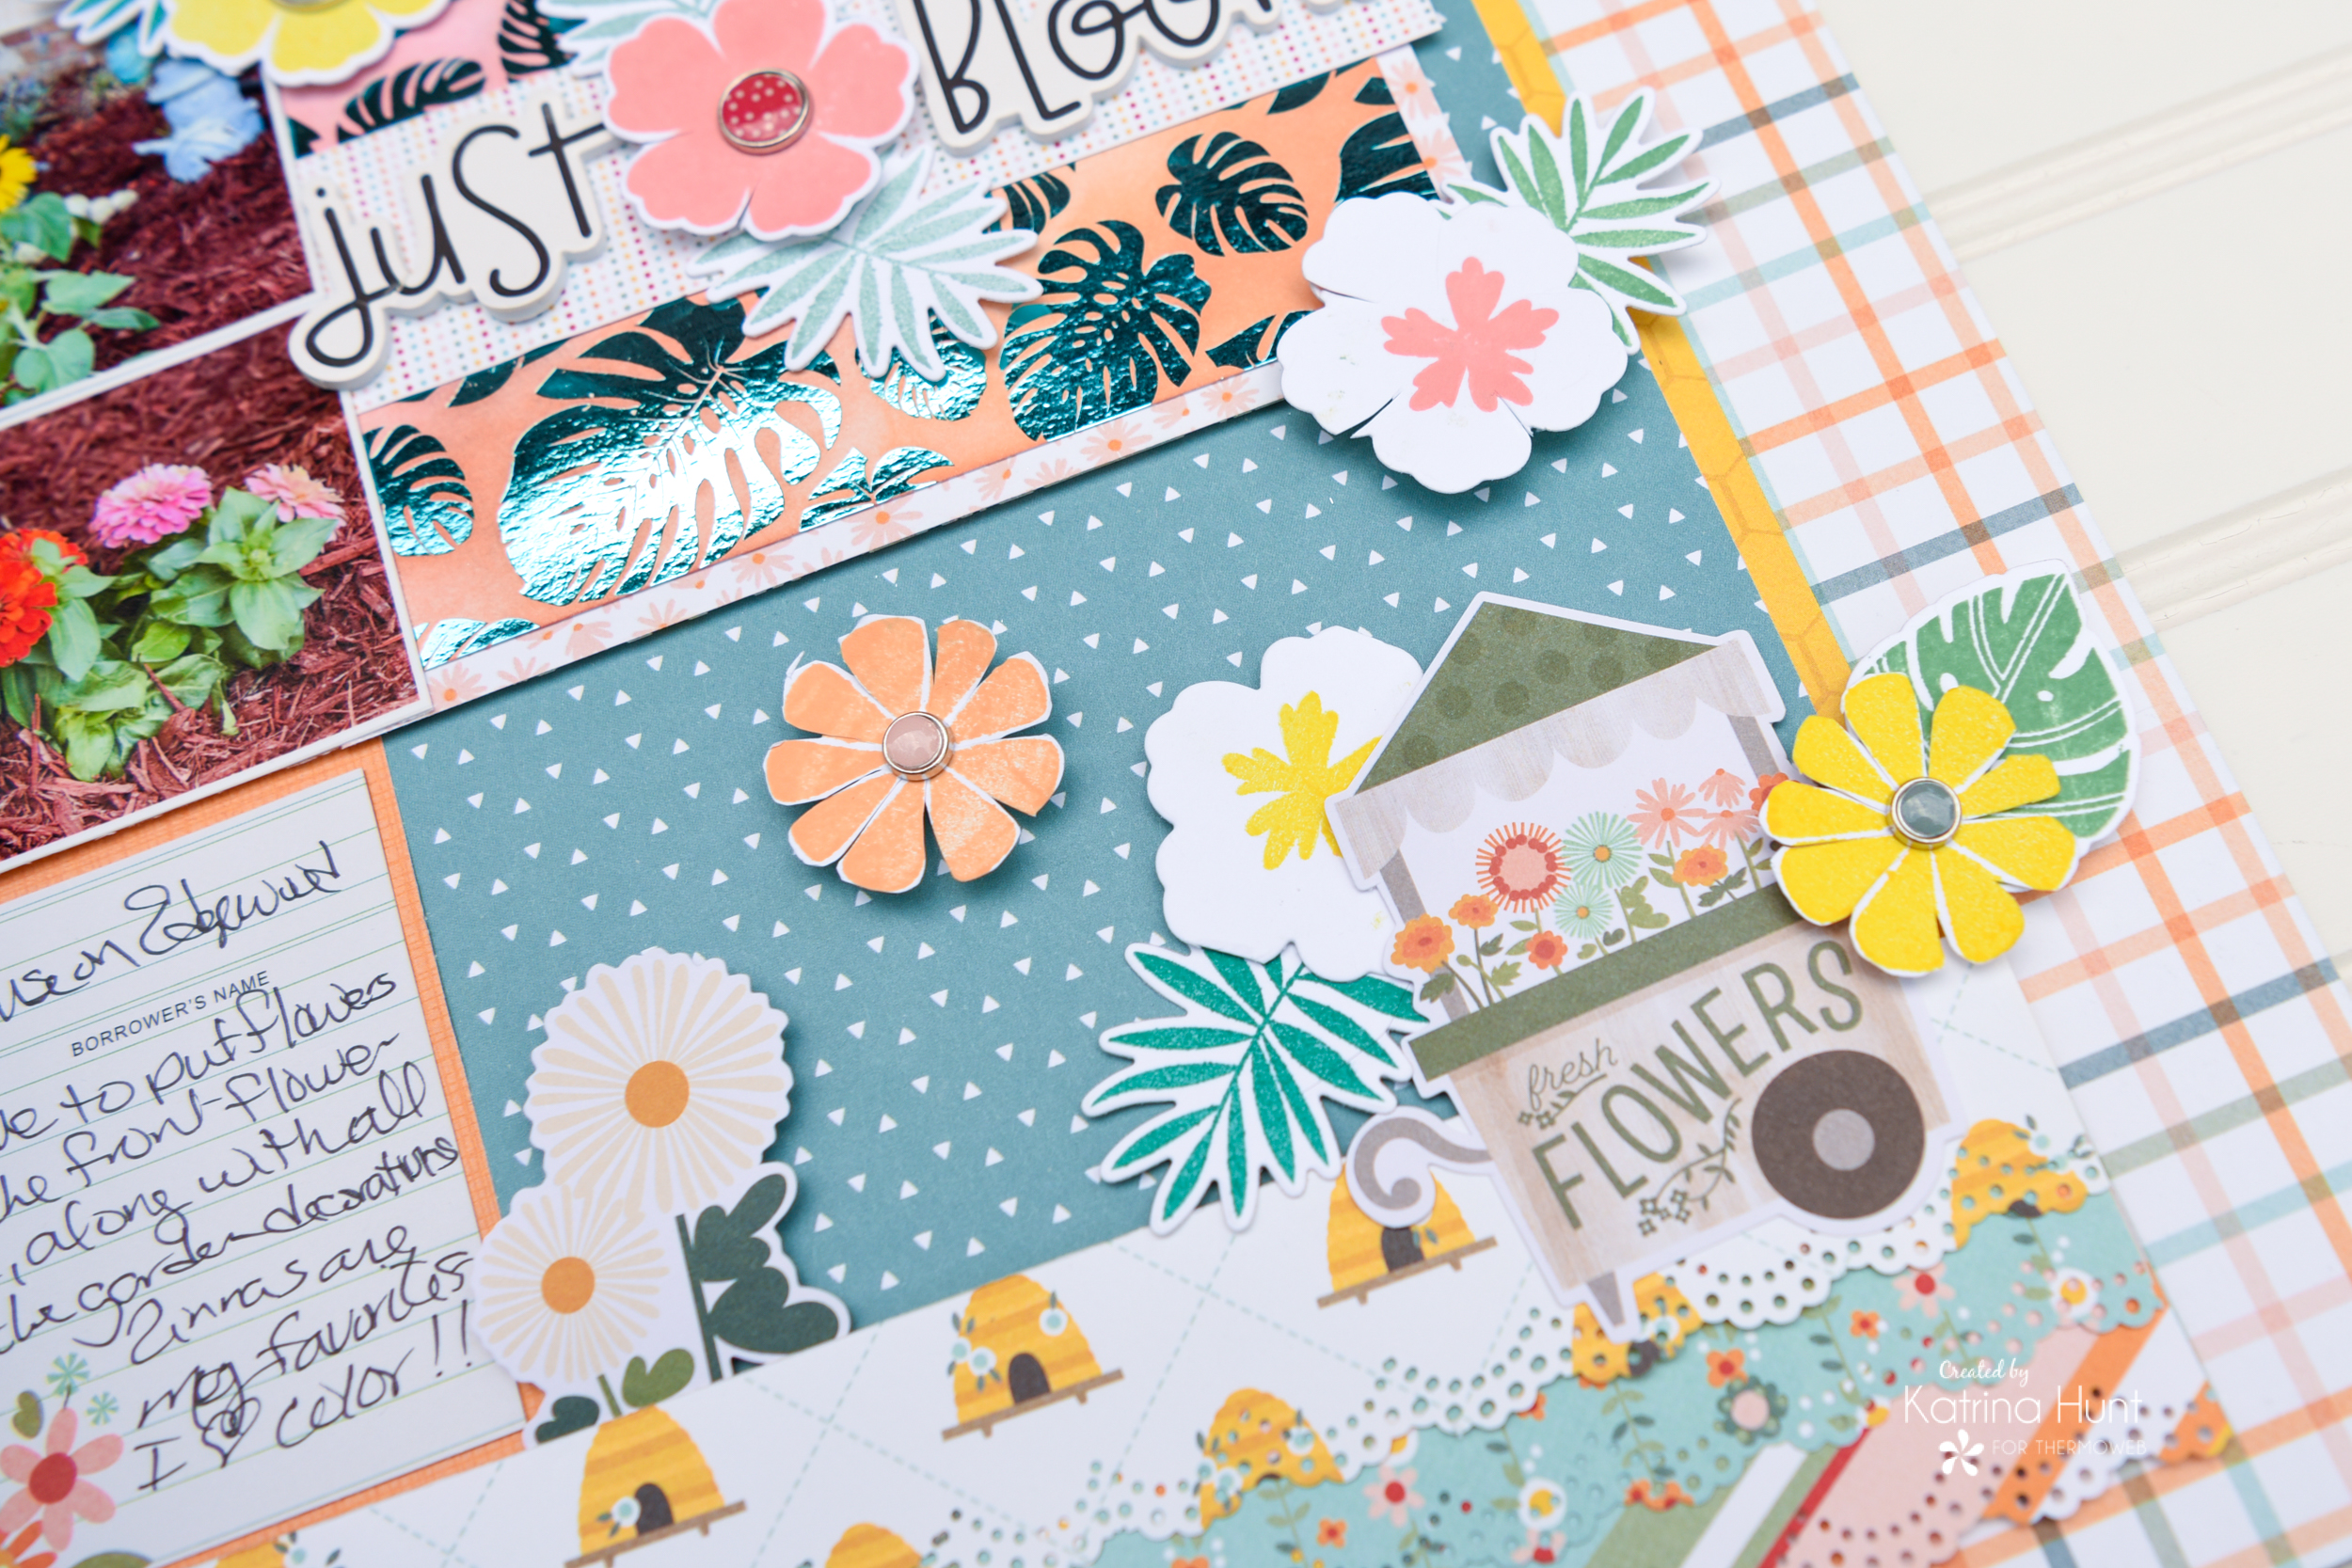
So, I knew I wanted to mix the paper collection embellishments with the stamps and dies. As I was looking at the stamps and picking them out, I saw the citrus center section and thought…HHHmmmmm, could that make a flower? Turns out, it made a perfectly cute and fun flower! So I stamped a bunch of images in different ink colors and then went to die cut. The citrus section I had to hand-cut, as there is no die for it.
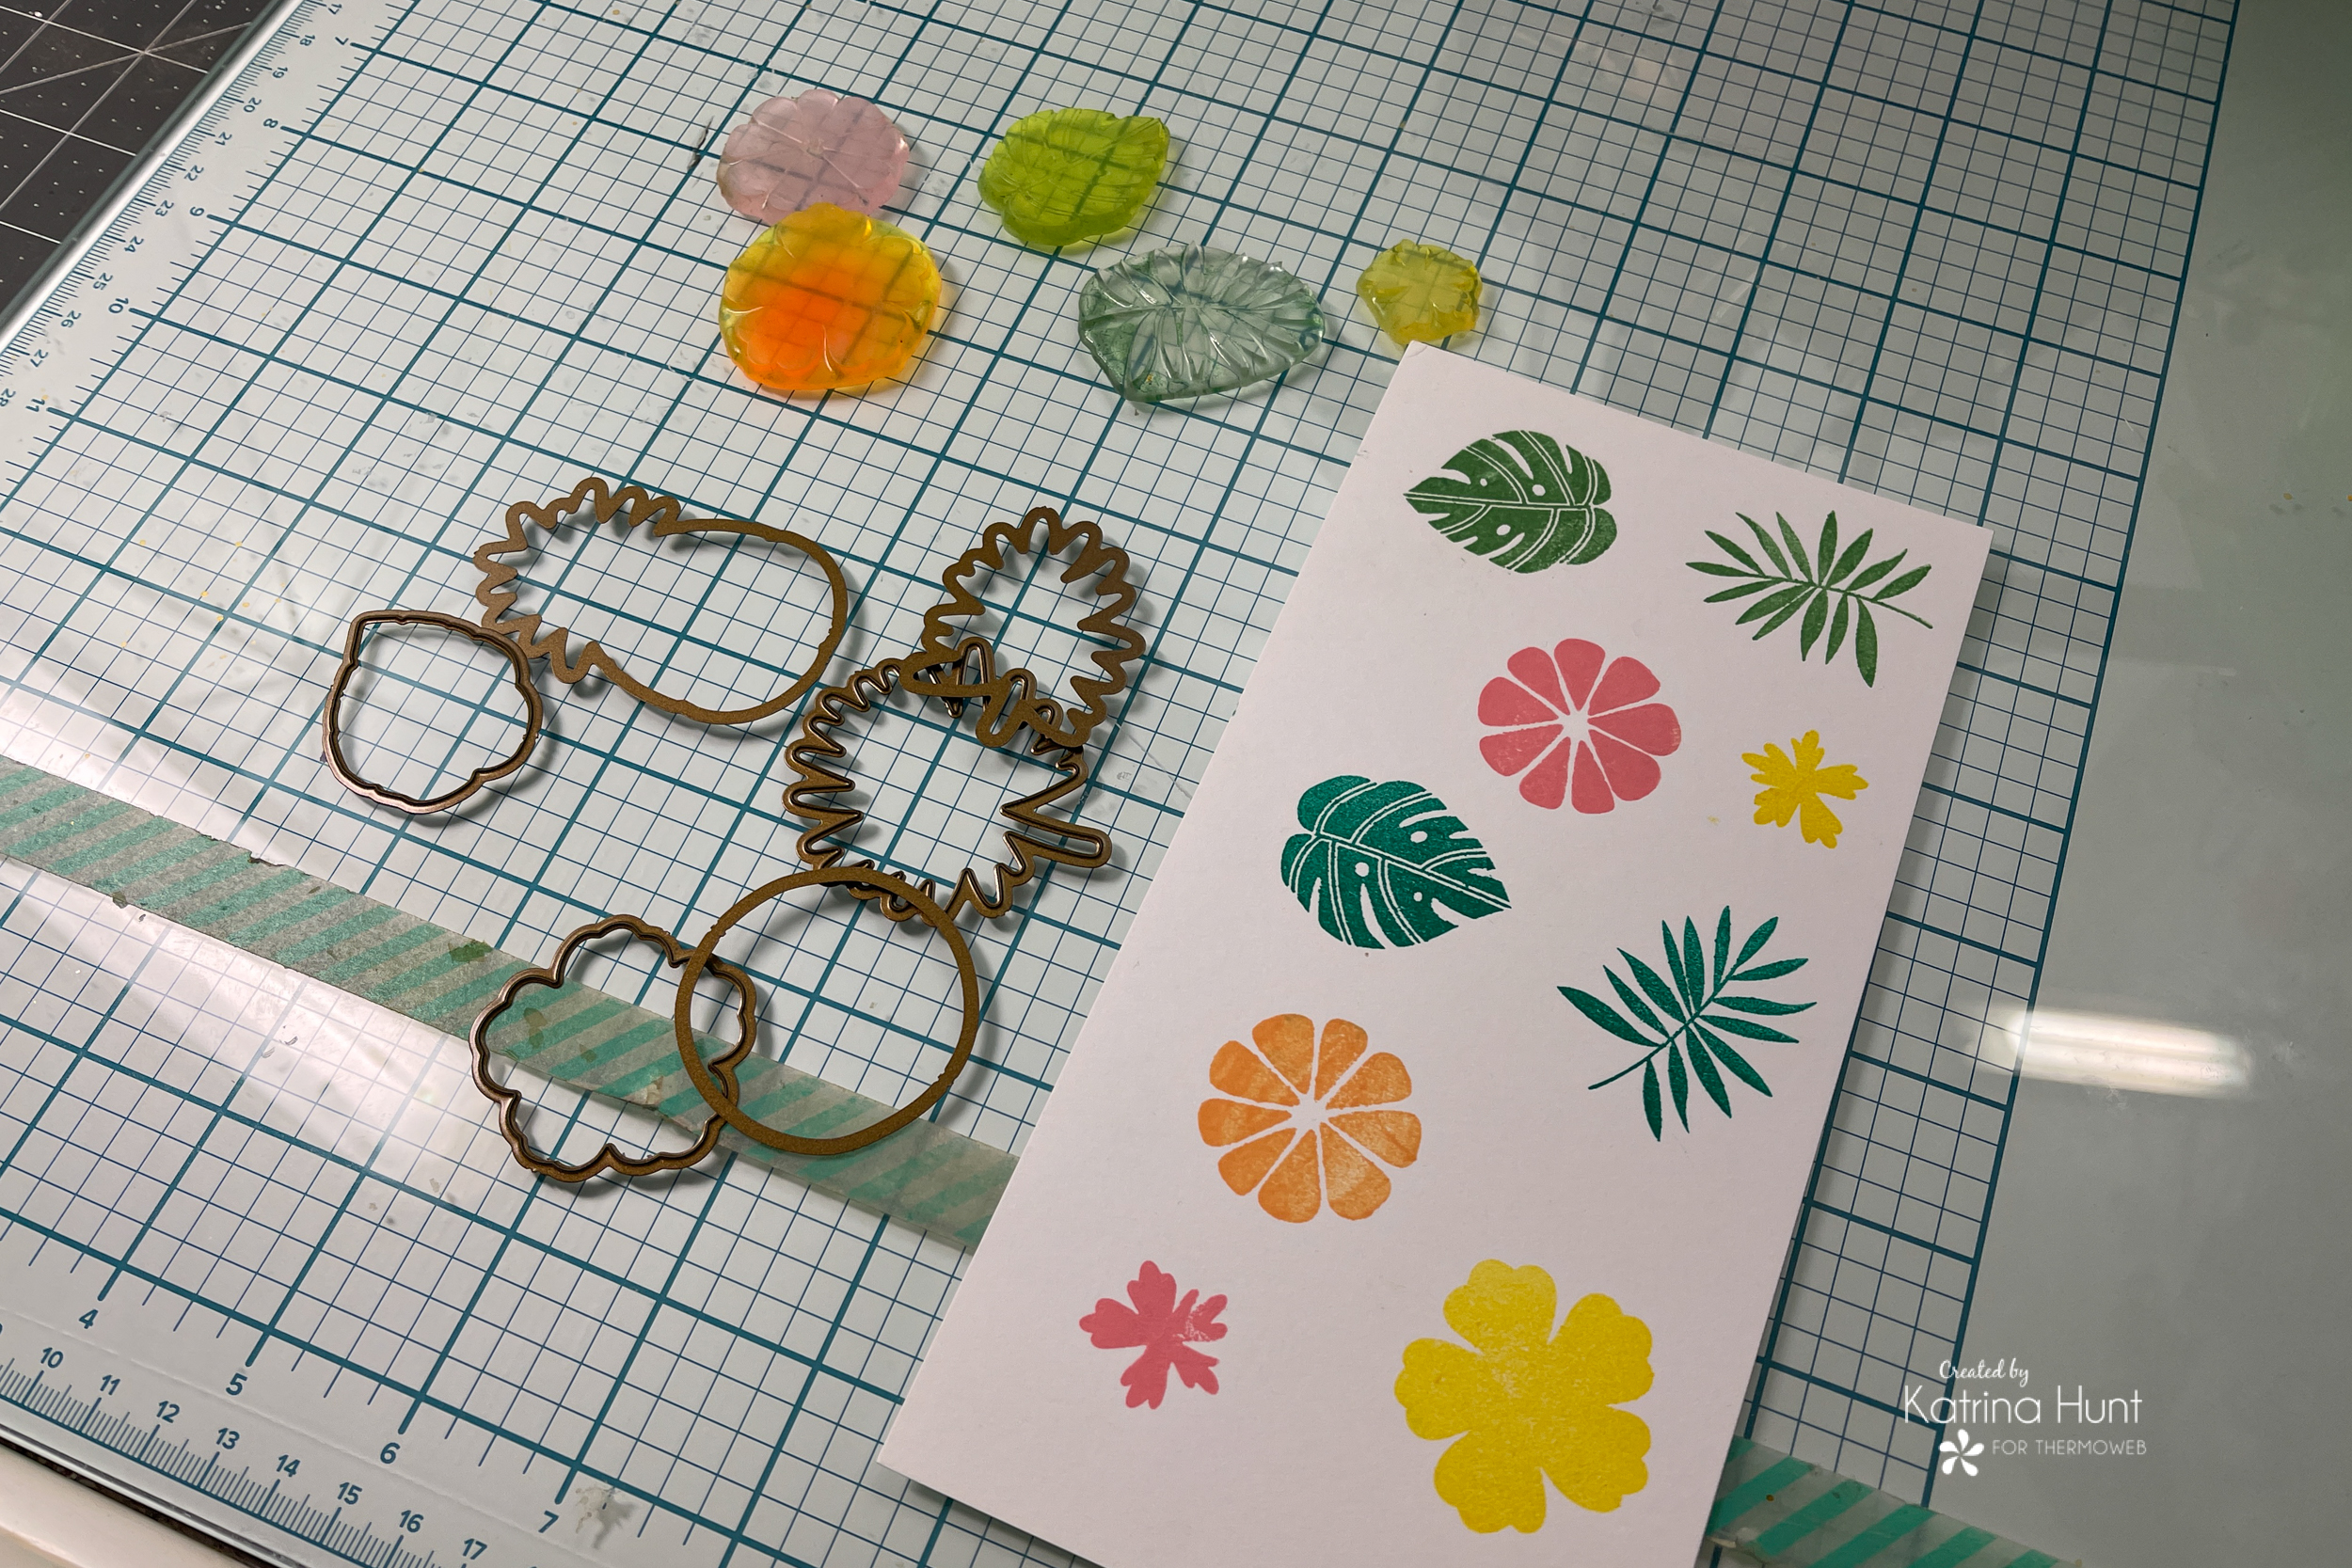
I used the new Pixie Tape to hold my dies in place as I ran them thru my Gemini Jr. machine.
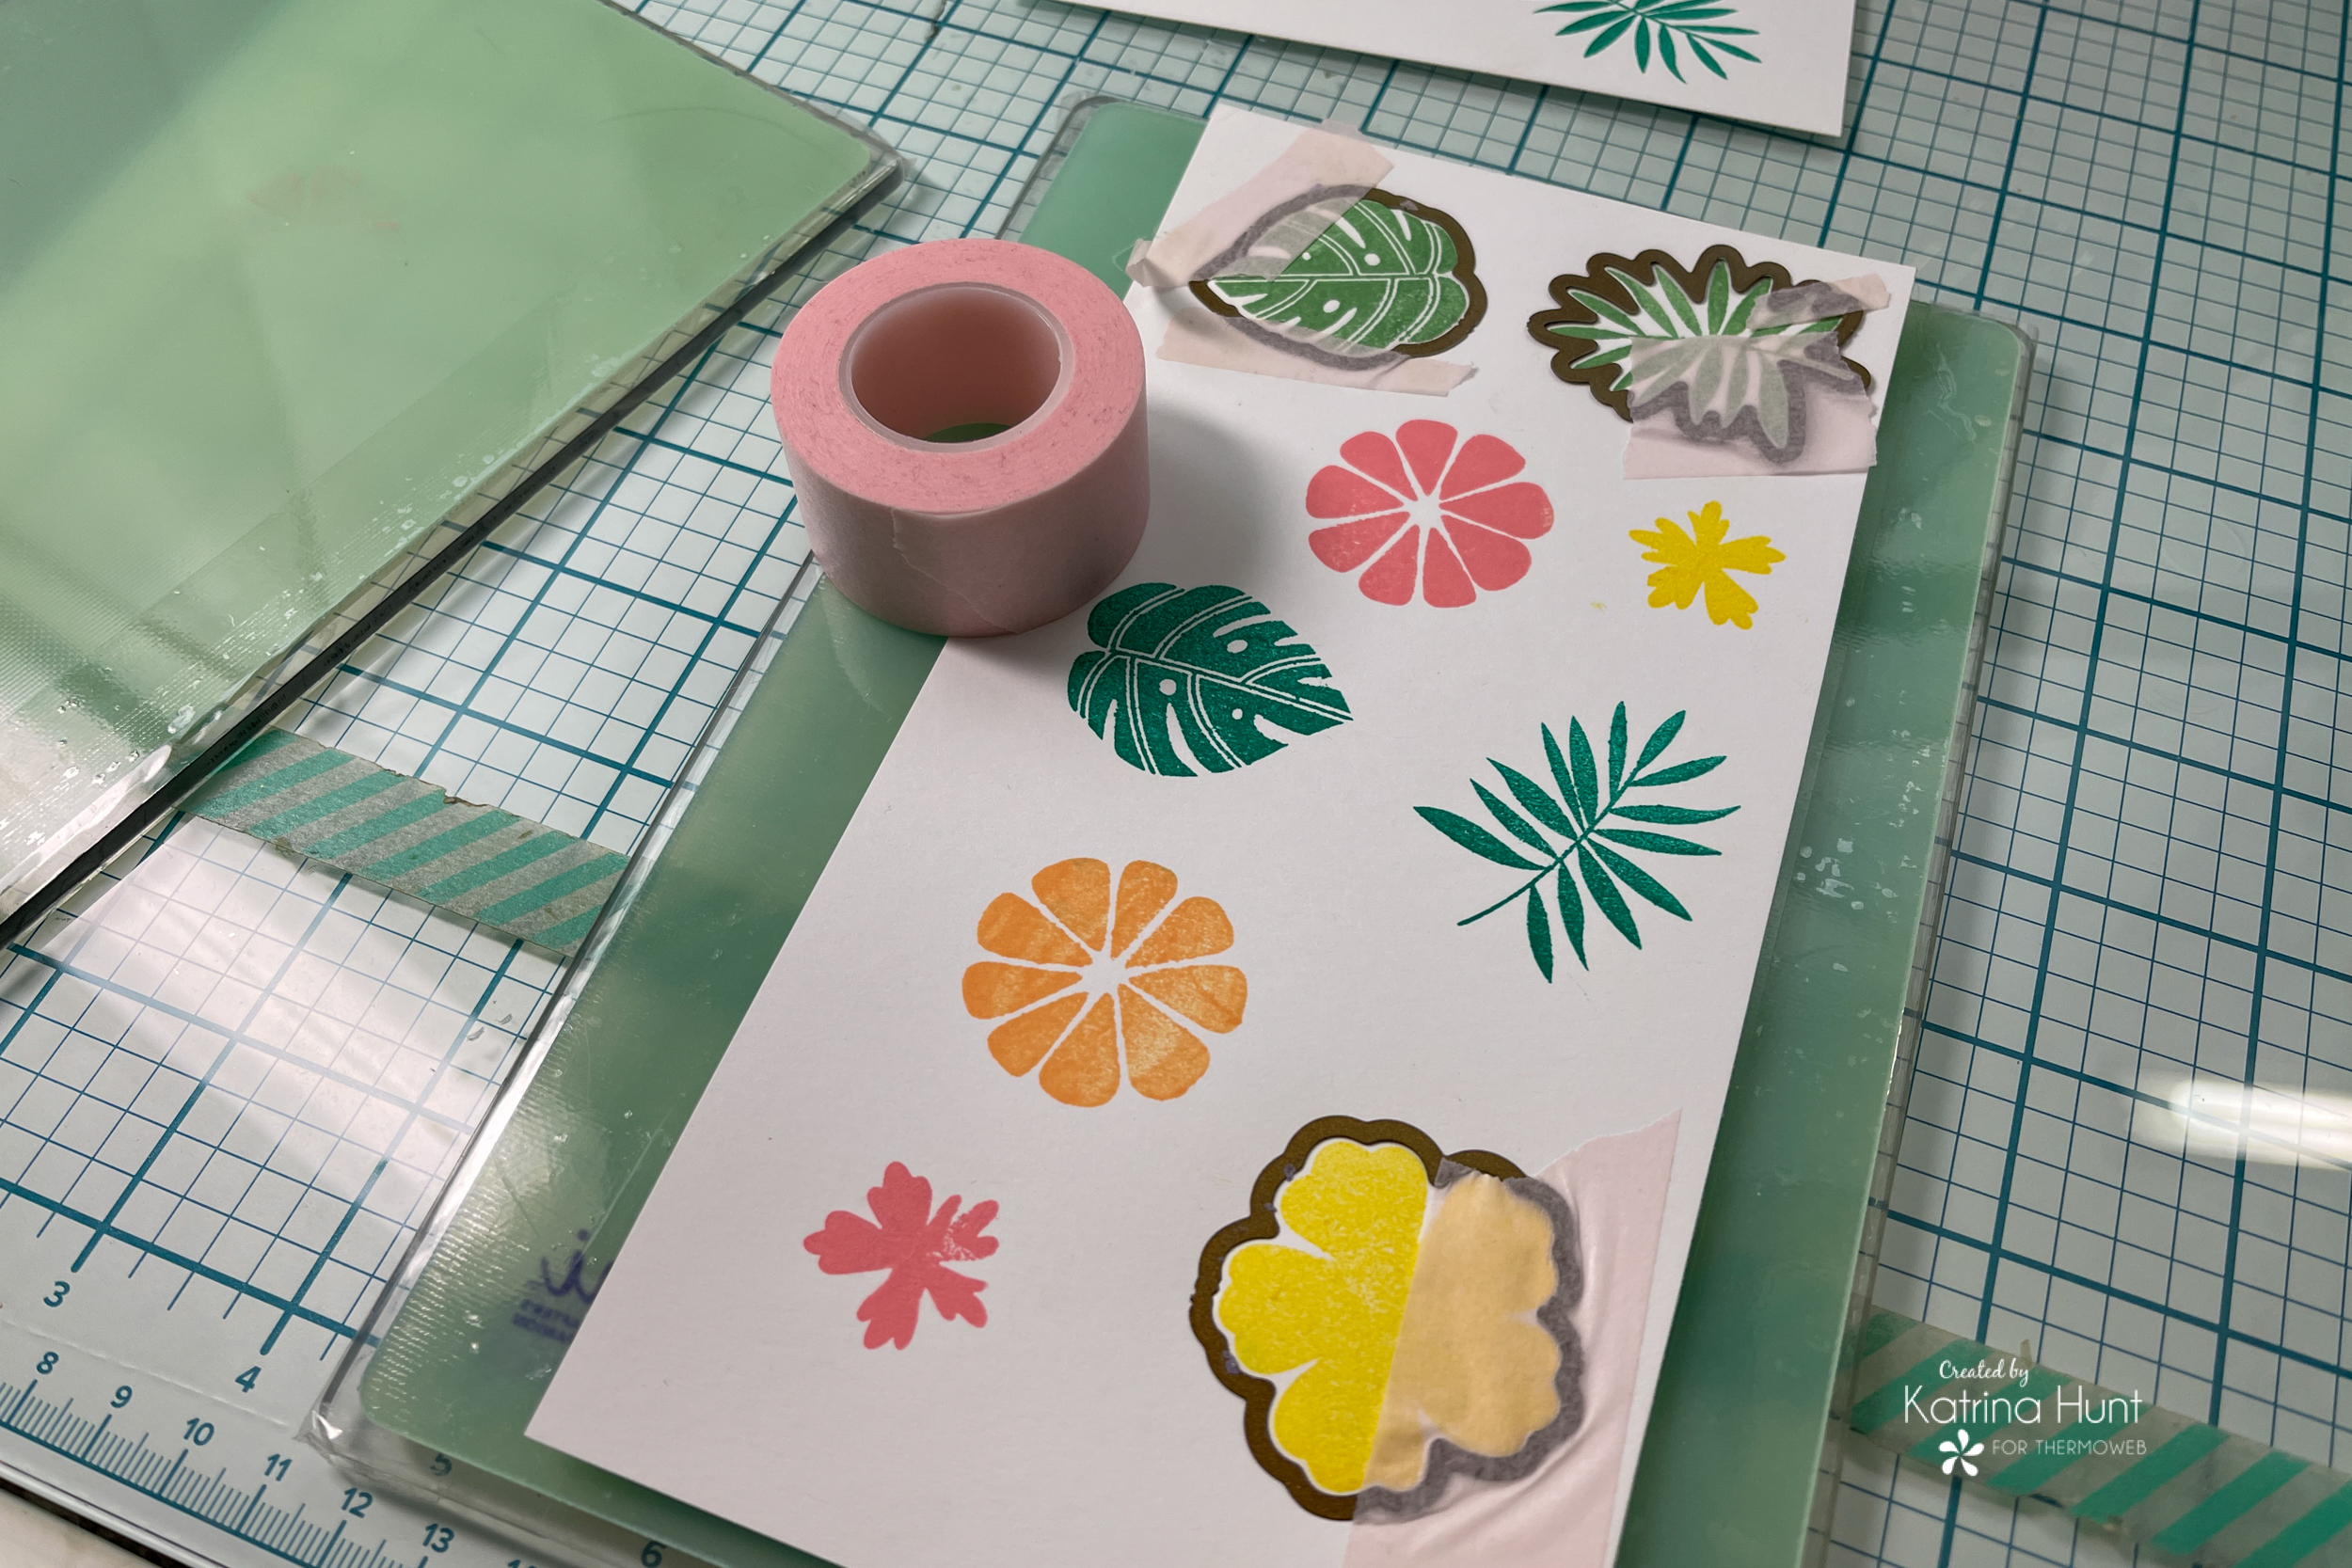
As I was doing this, I realized that the little tiny flower centers did not have a die either. What to do? Well, place a flower die around them and die cut. Make a white flower with a colored center!
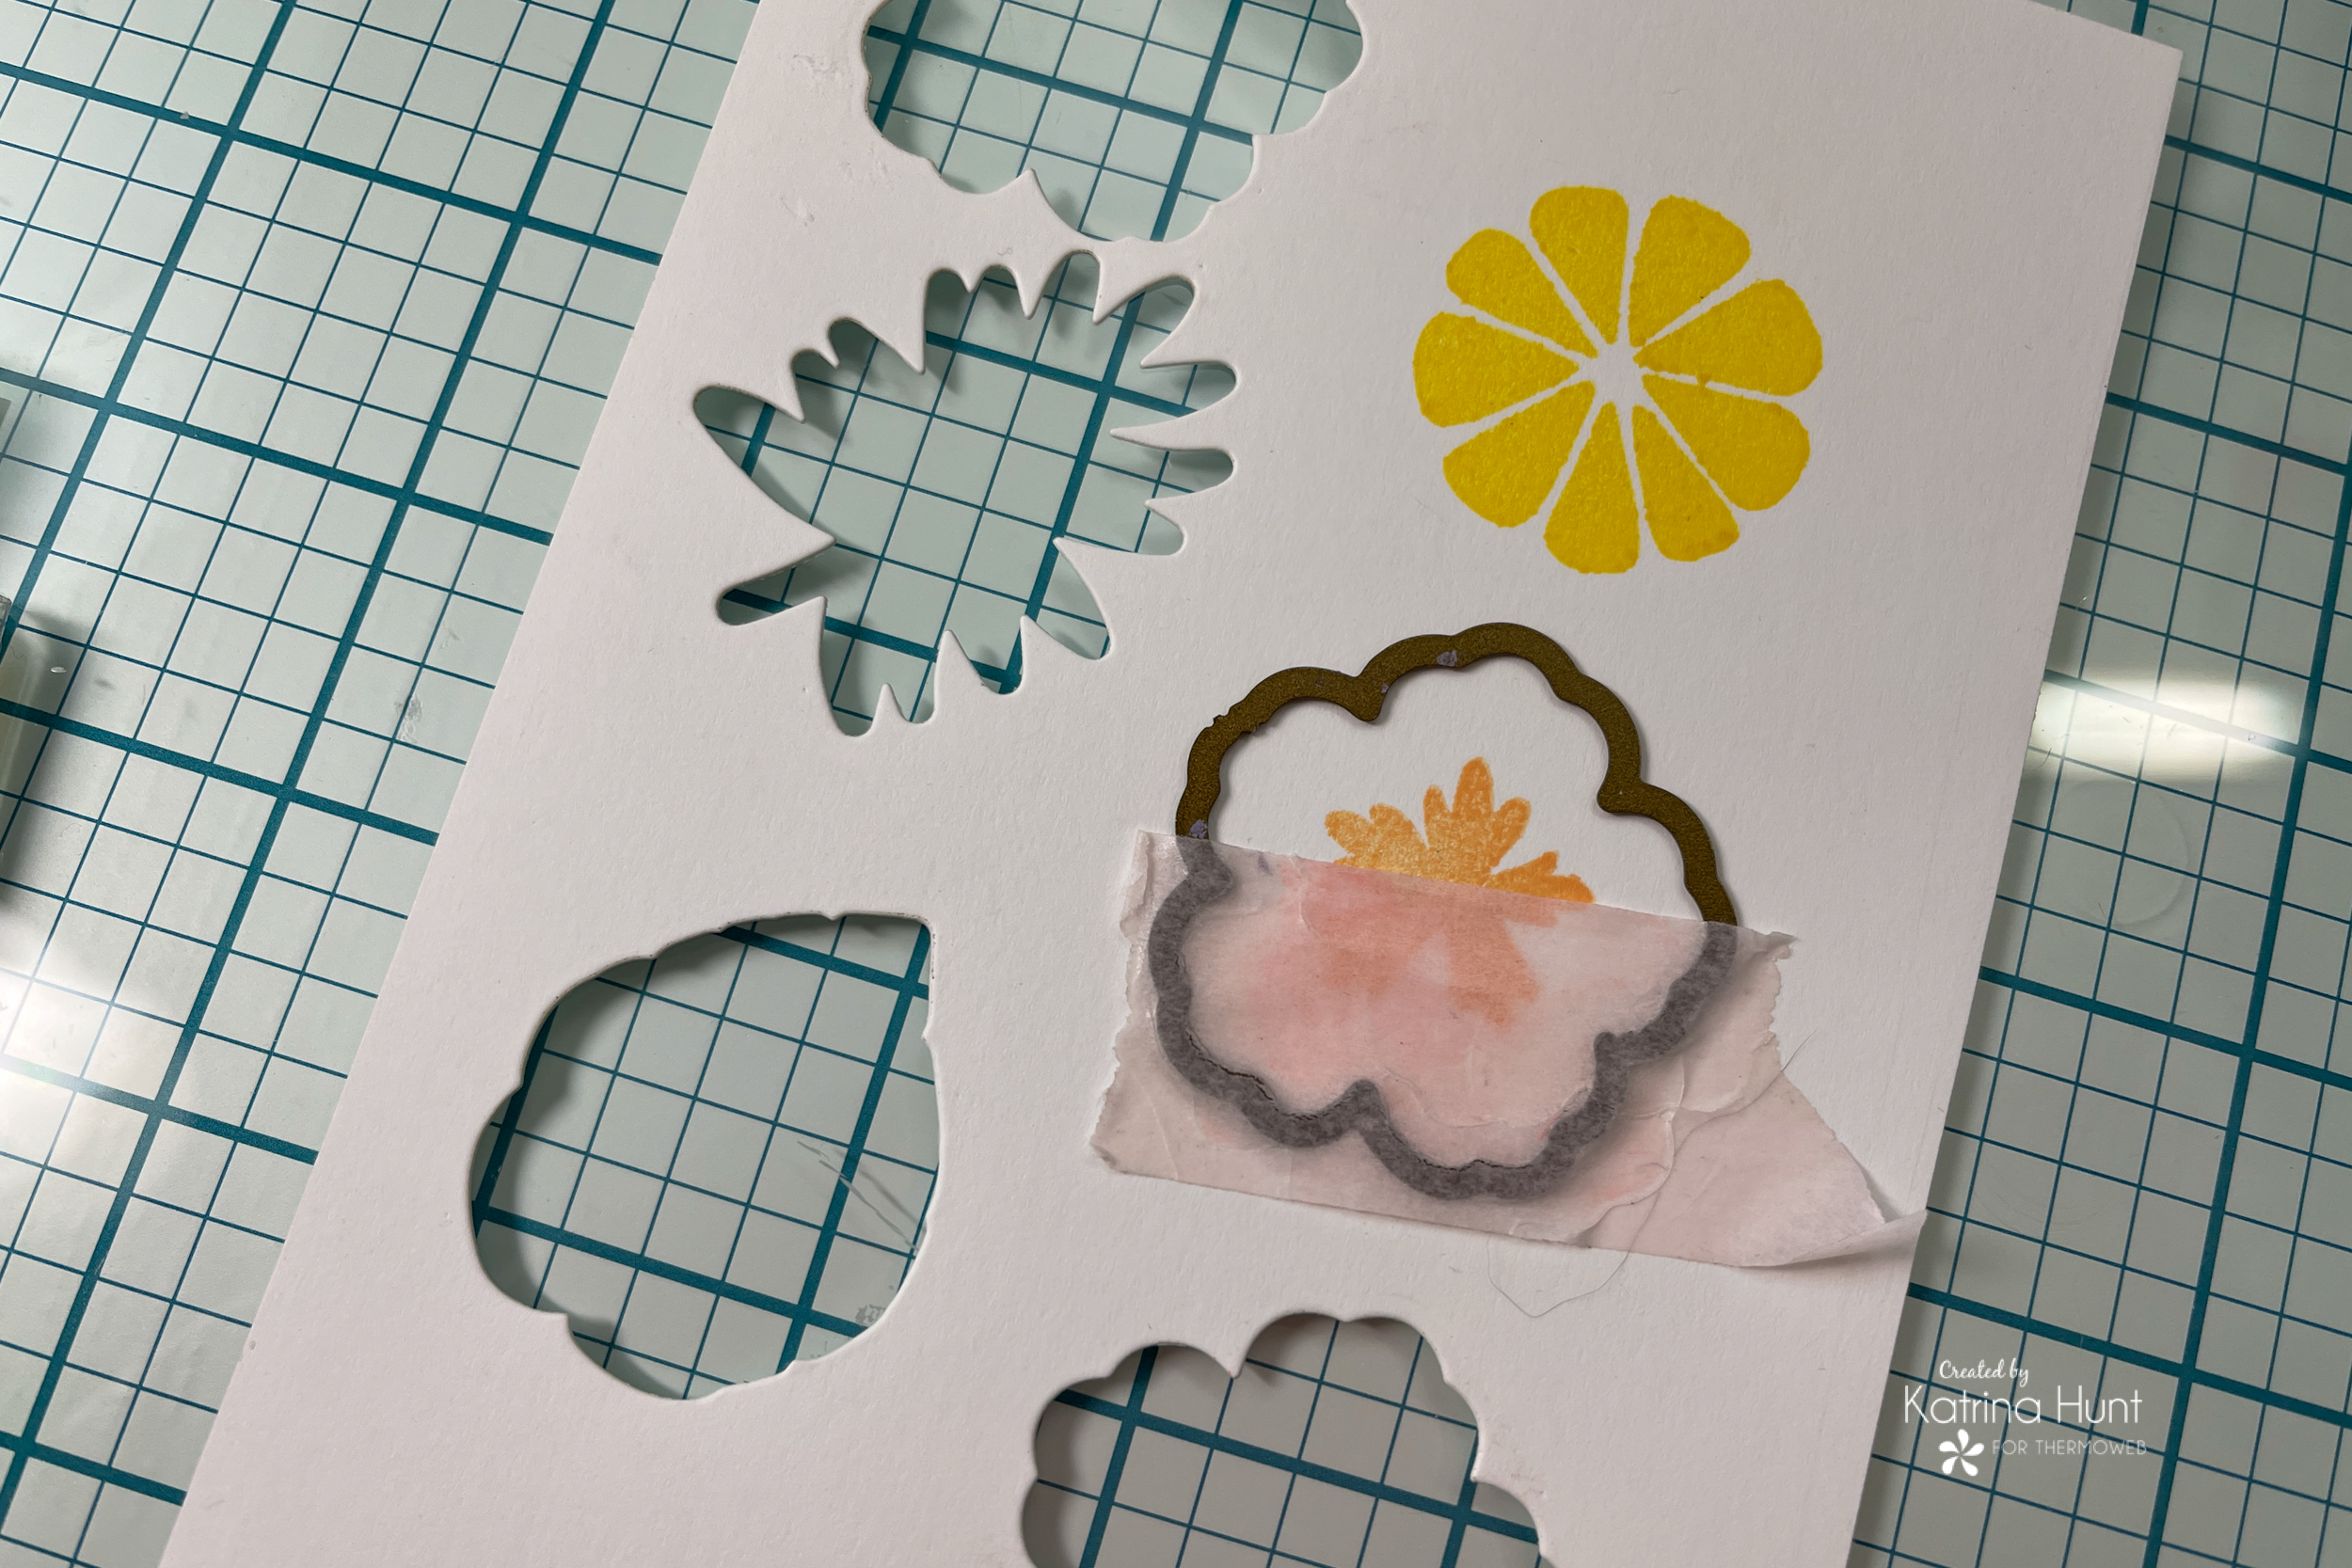
Turns out THAT was a good idea also! This is a great way to stretch your stamps and dies to get more out of them. I also really like the plain white die-cut flowers, but none of them ended up on my layout!
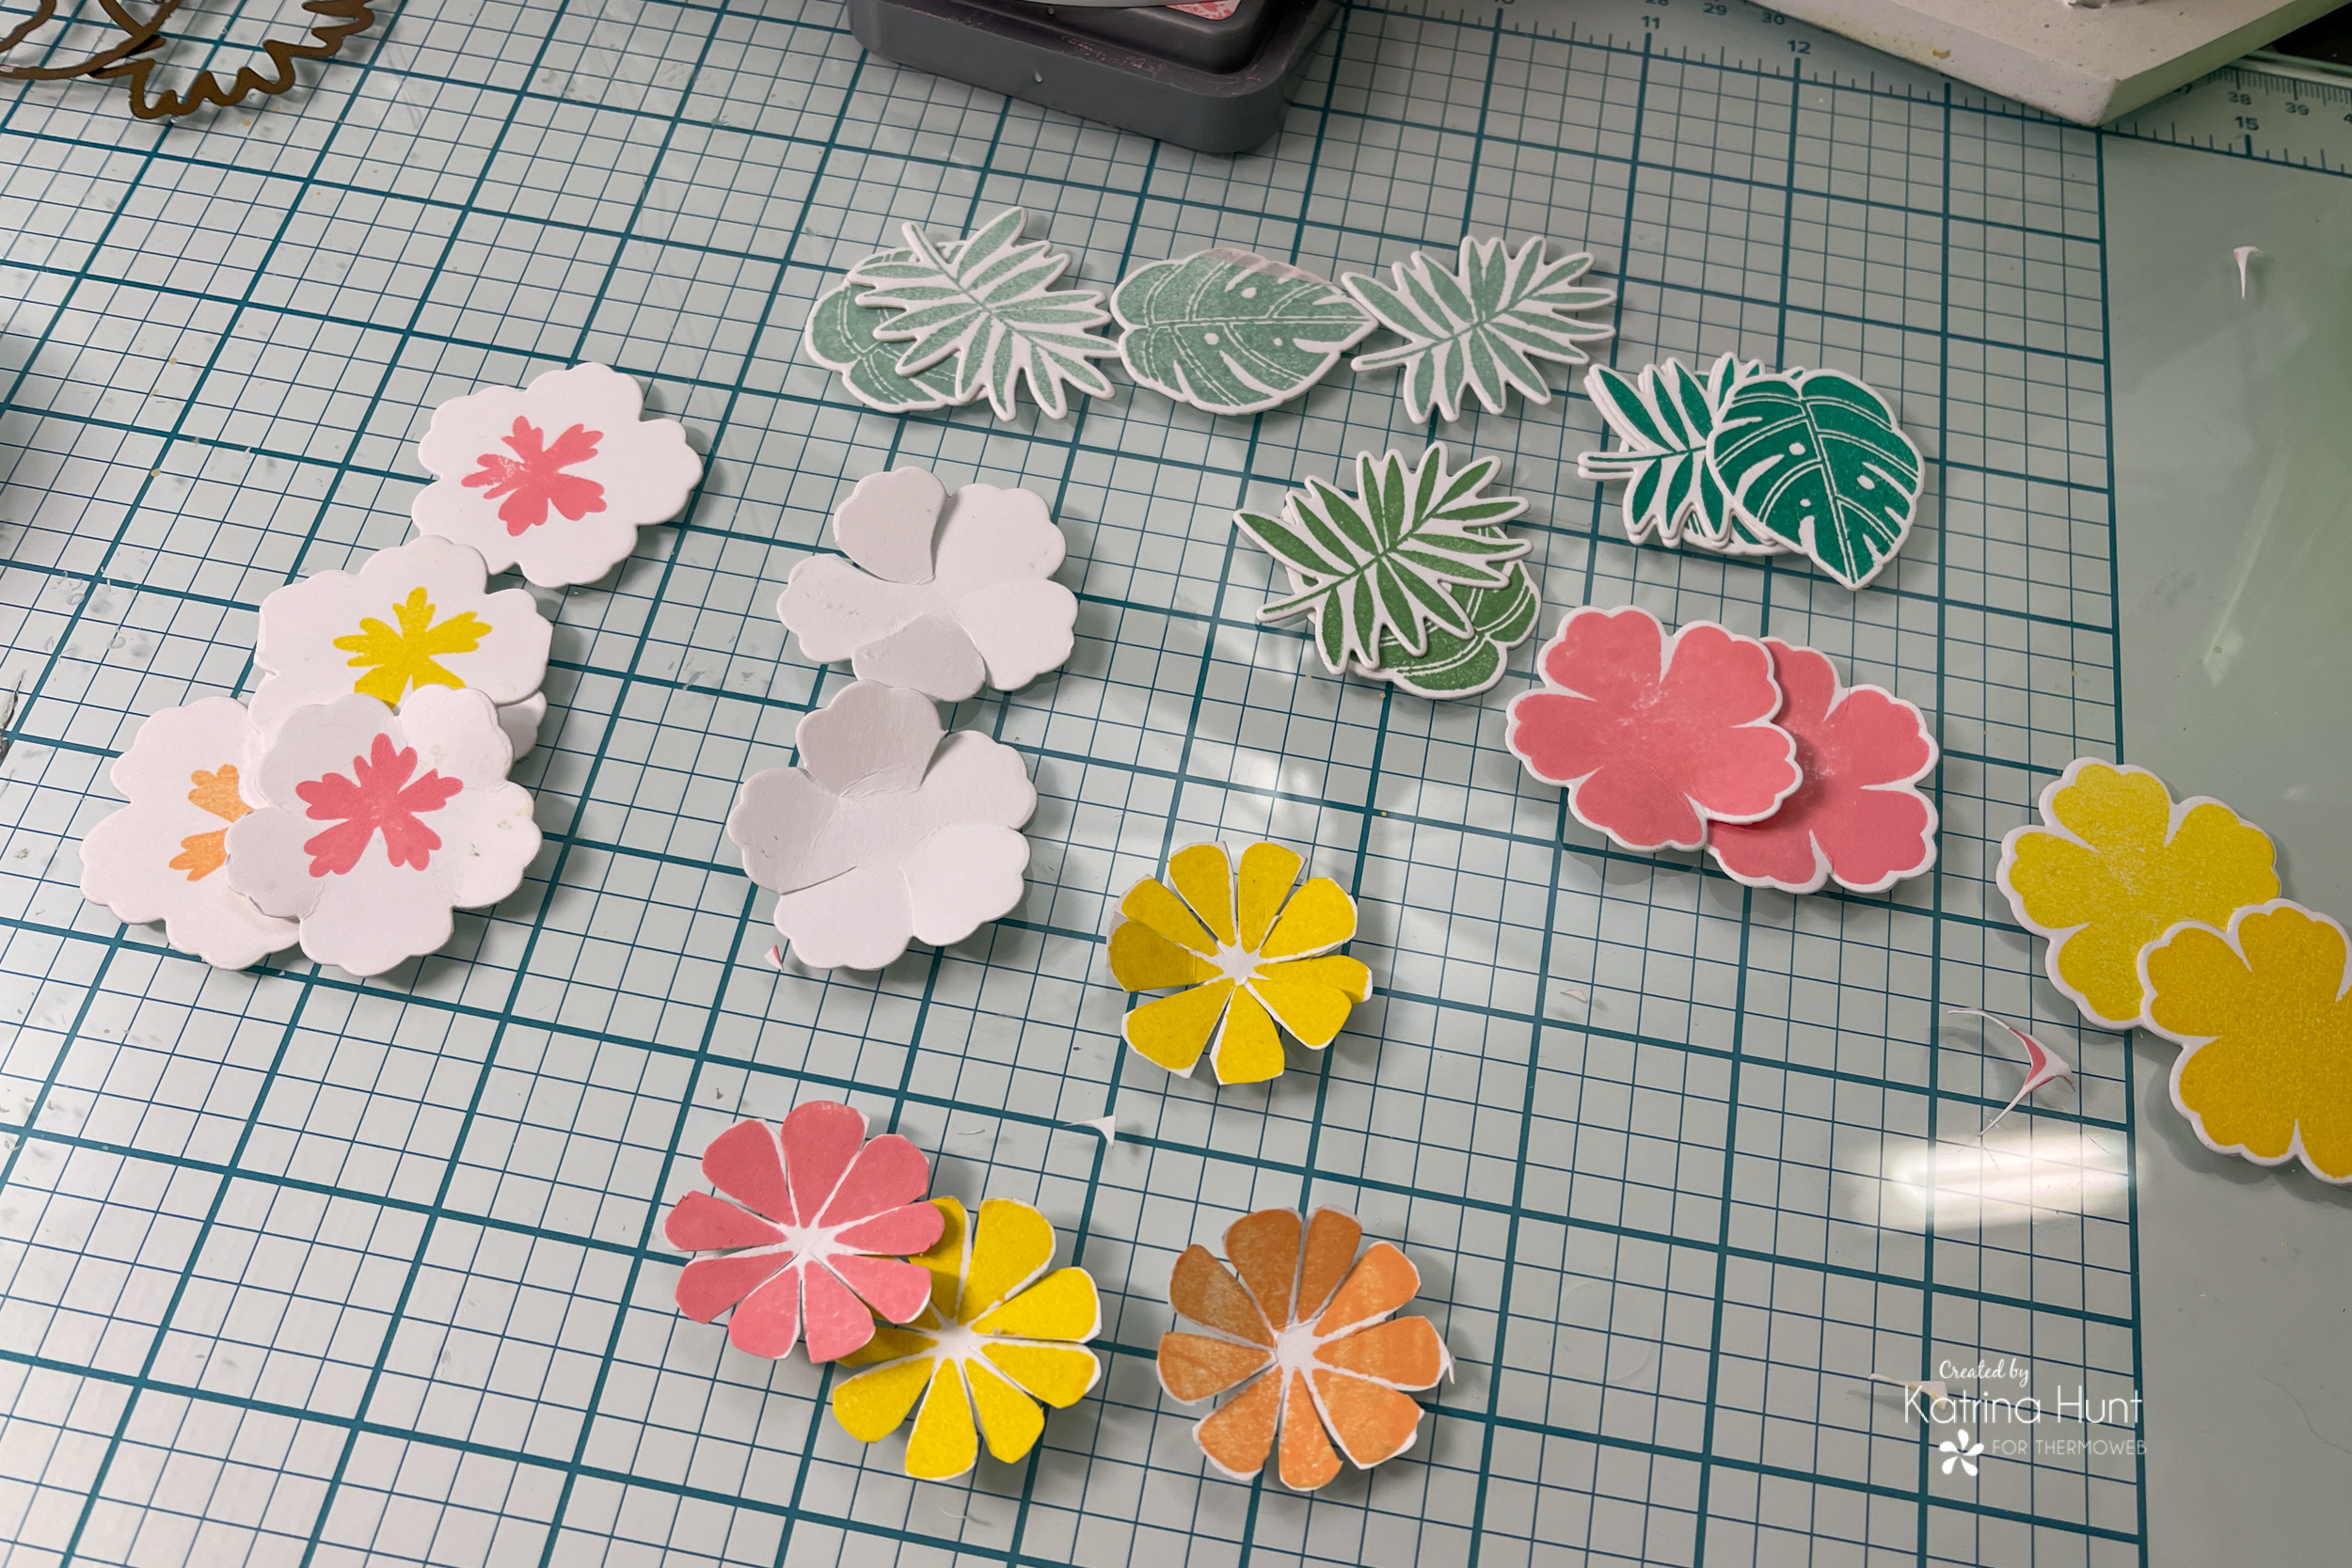
For added dimension, scissor cut between petals.
Bringing It All Together
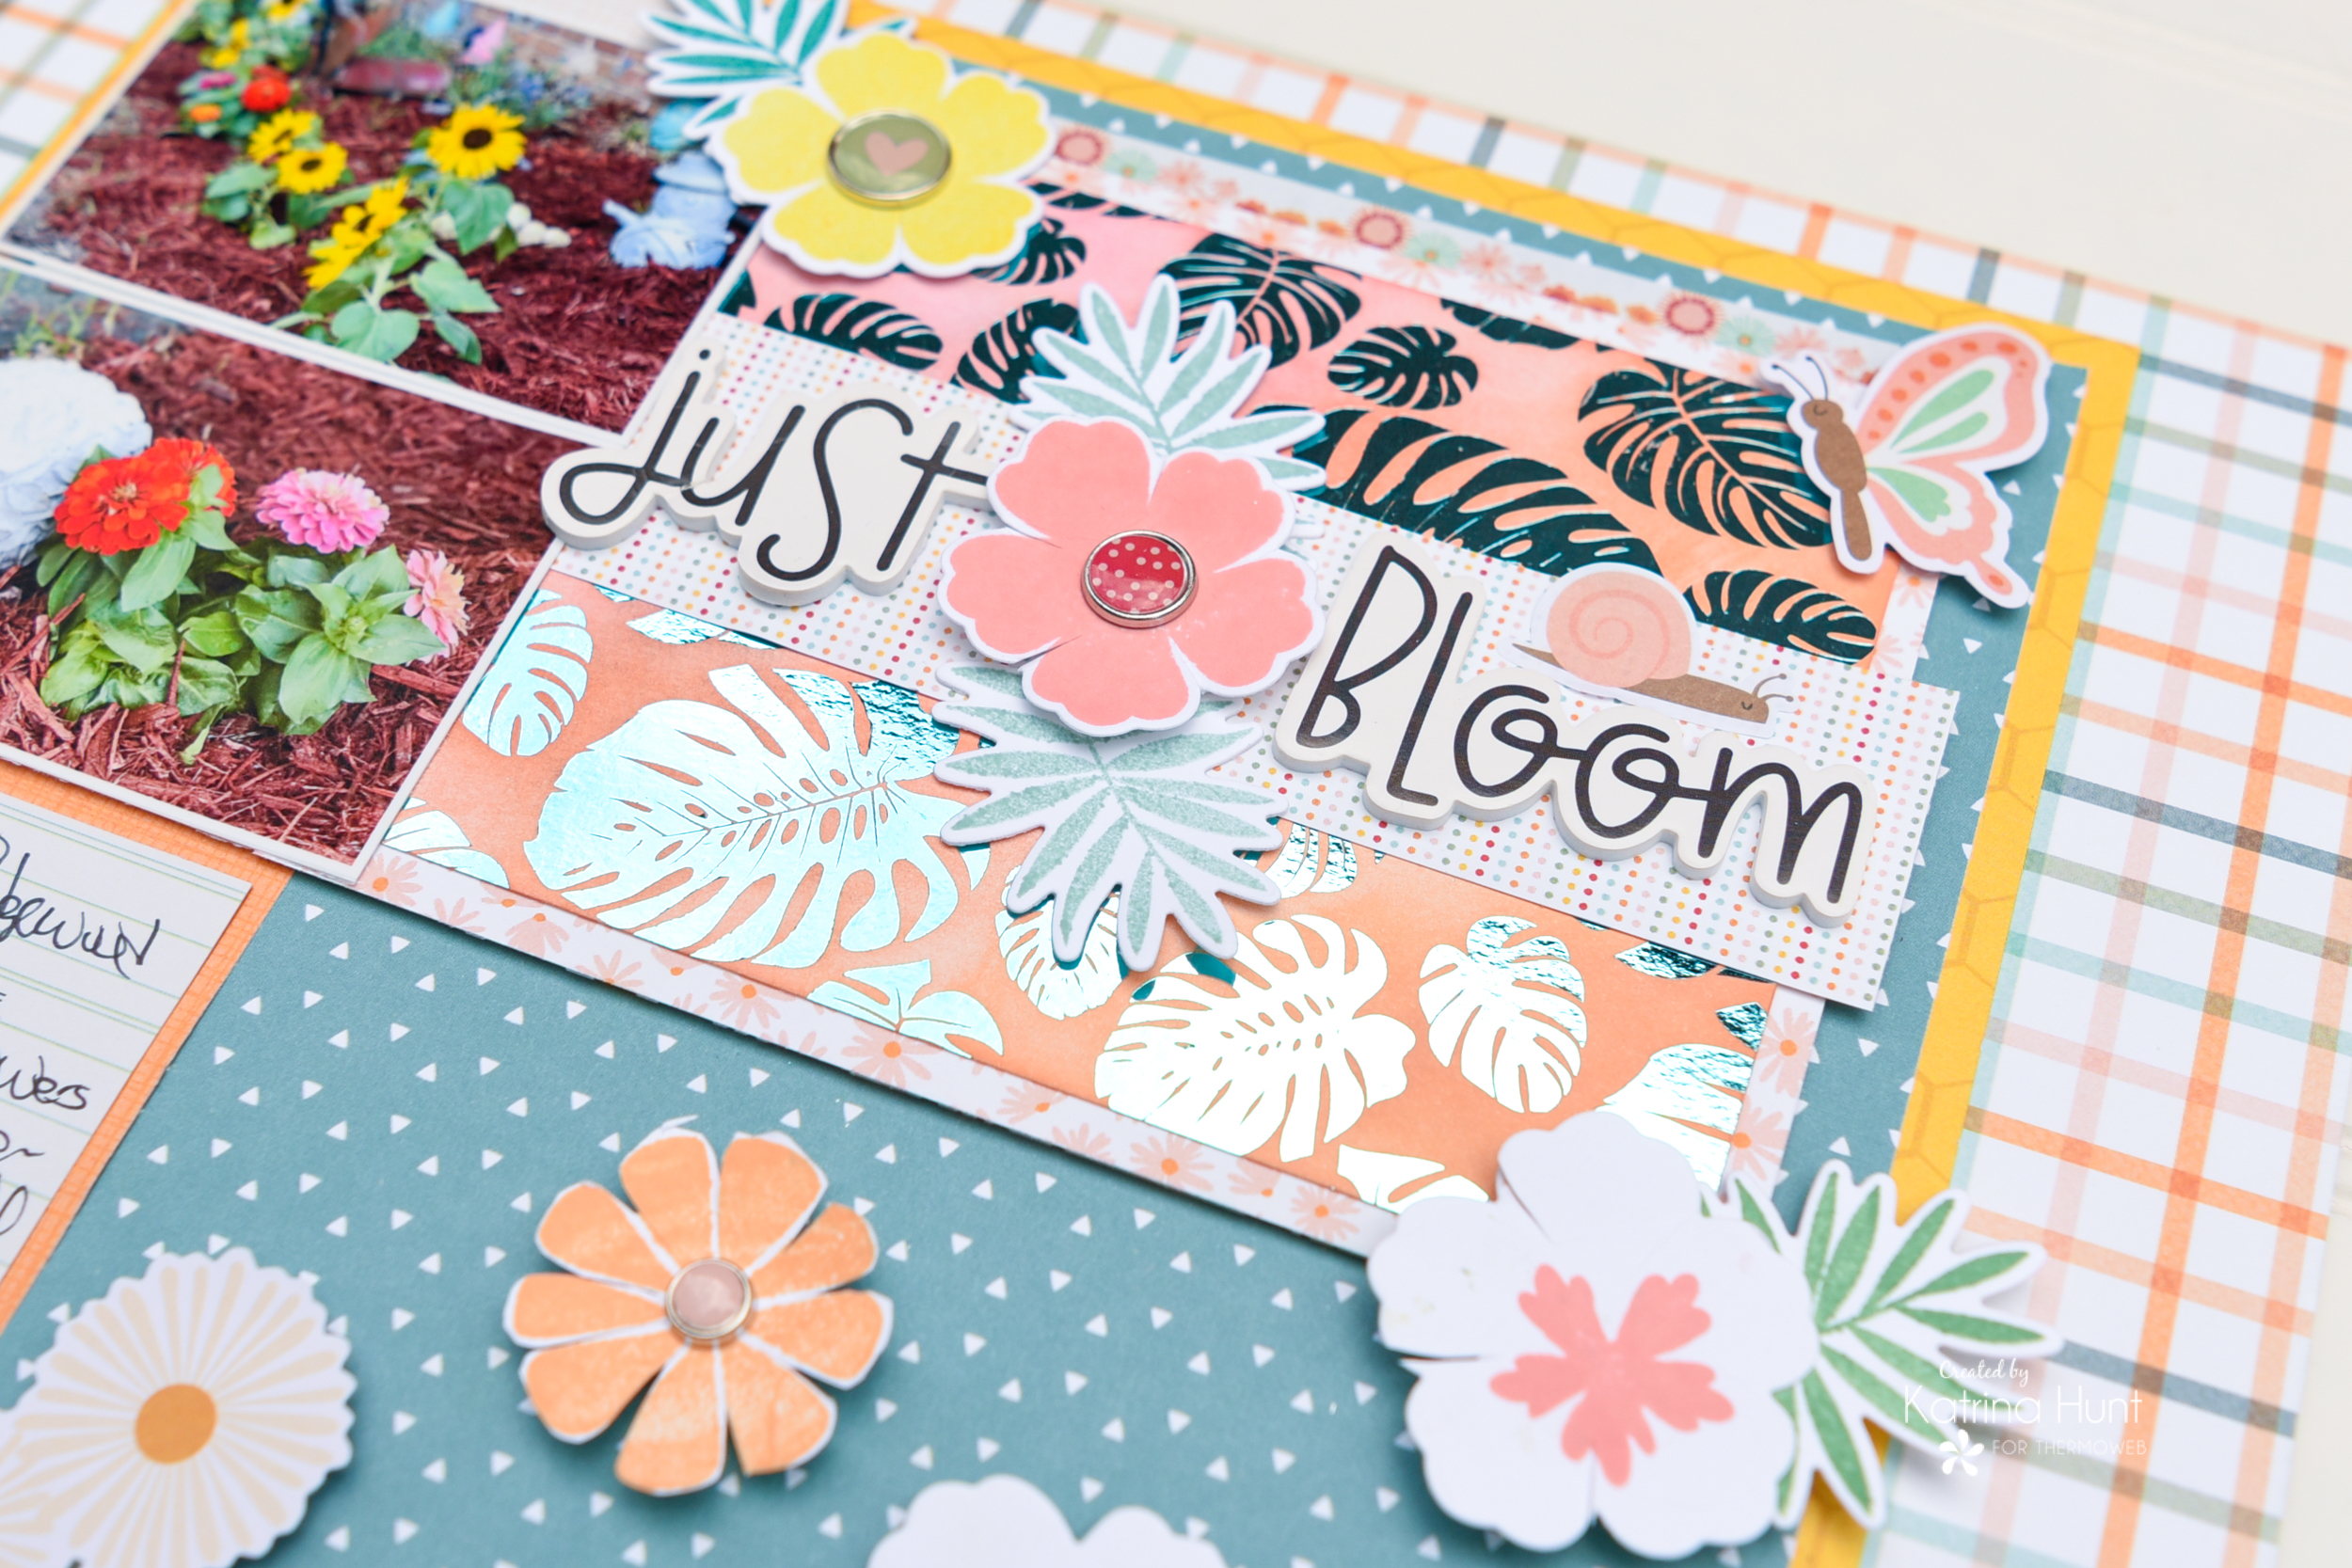
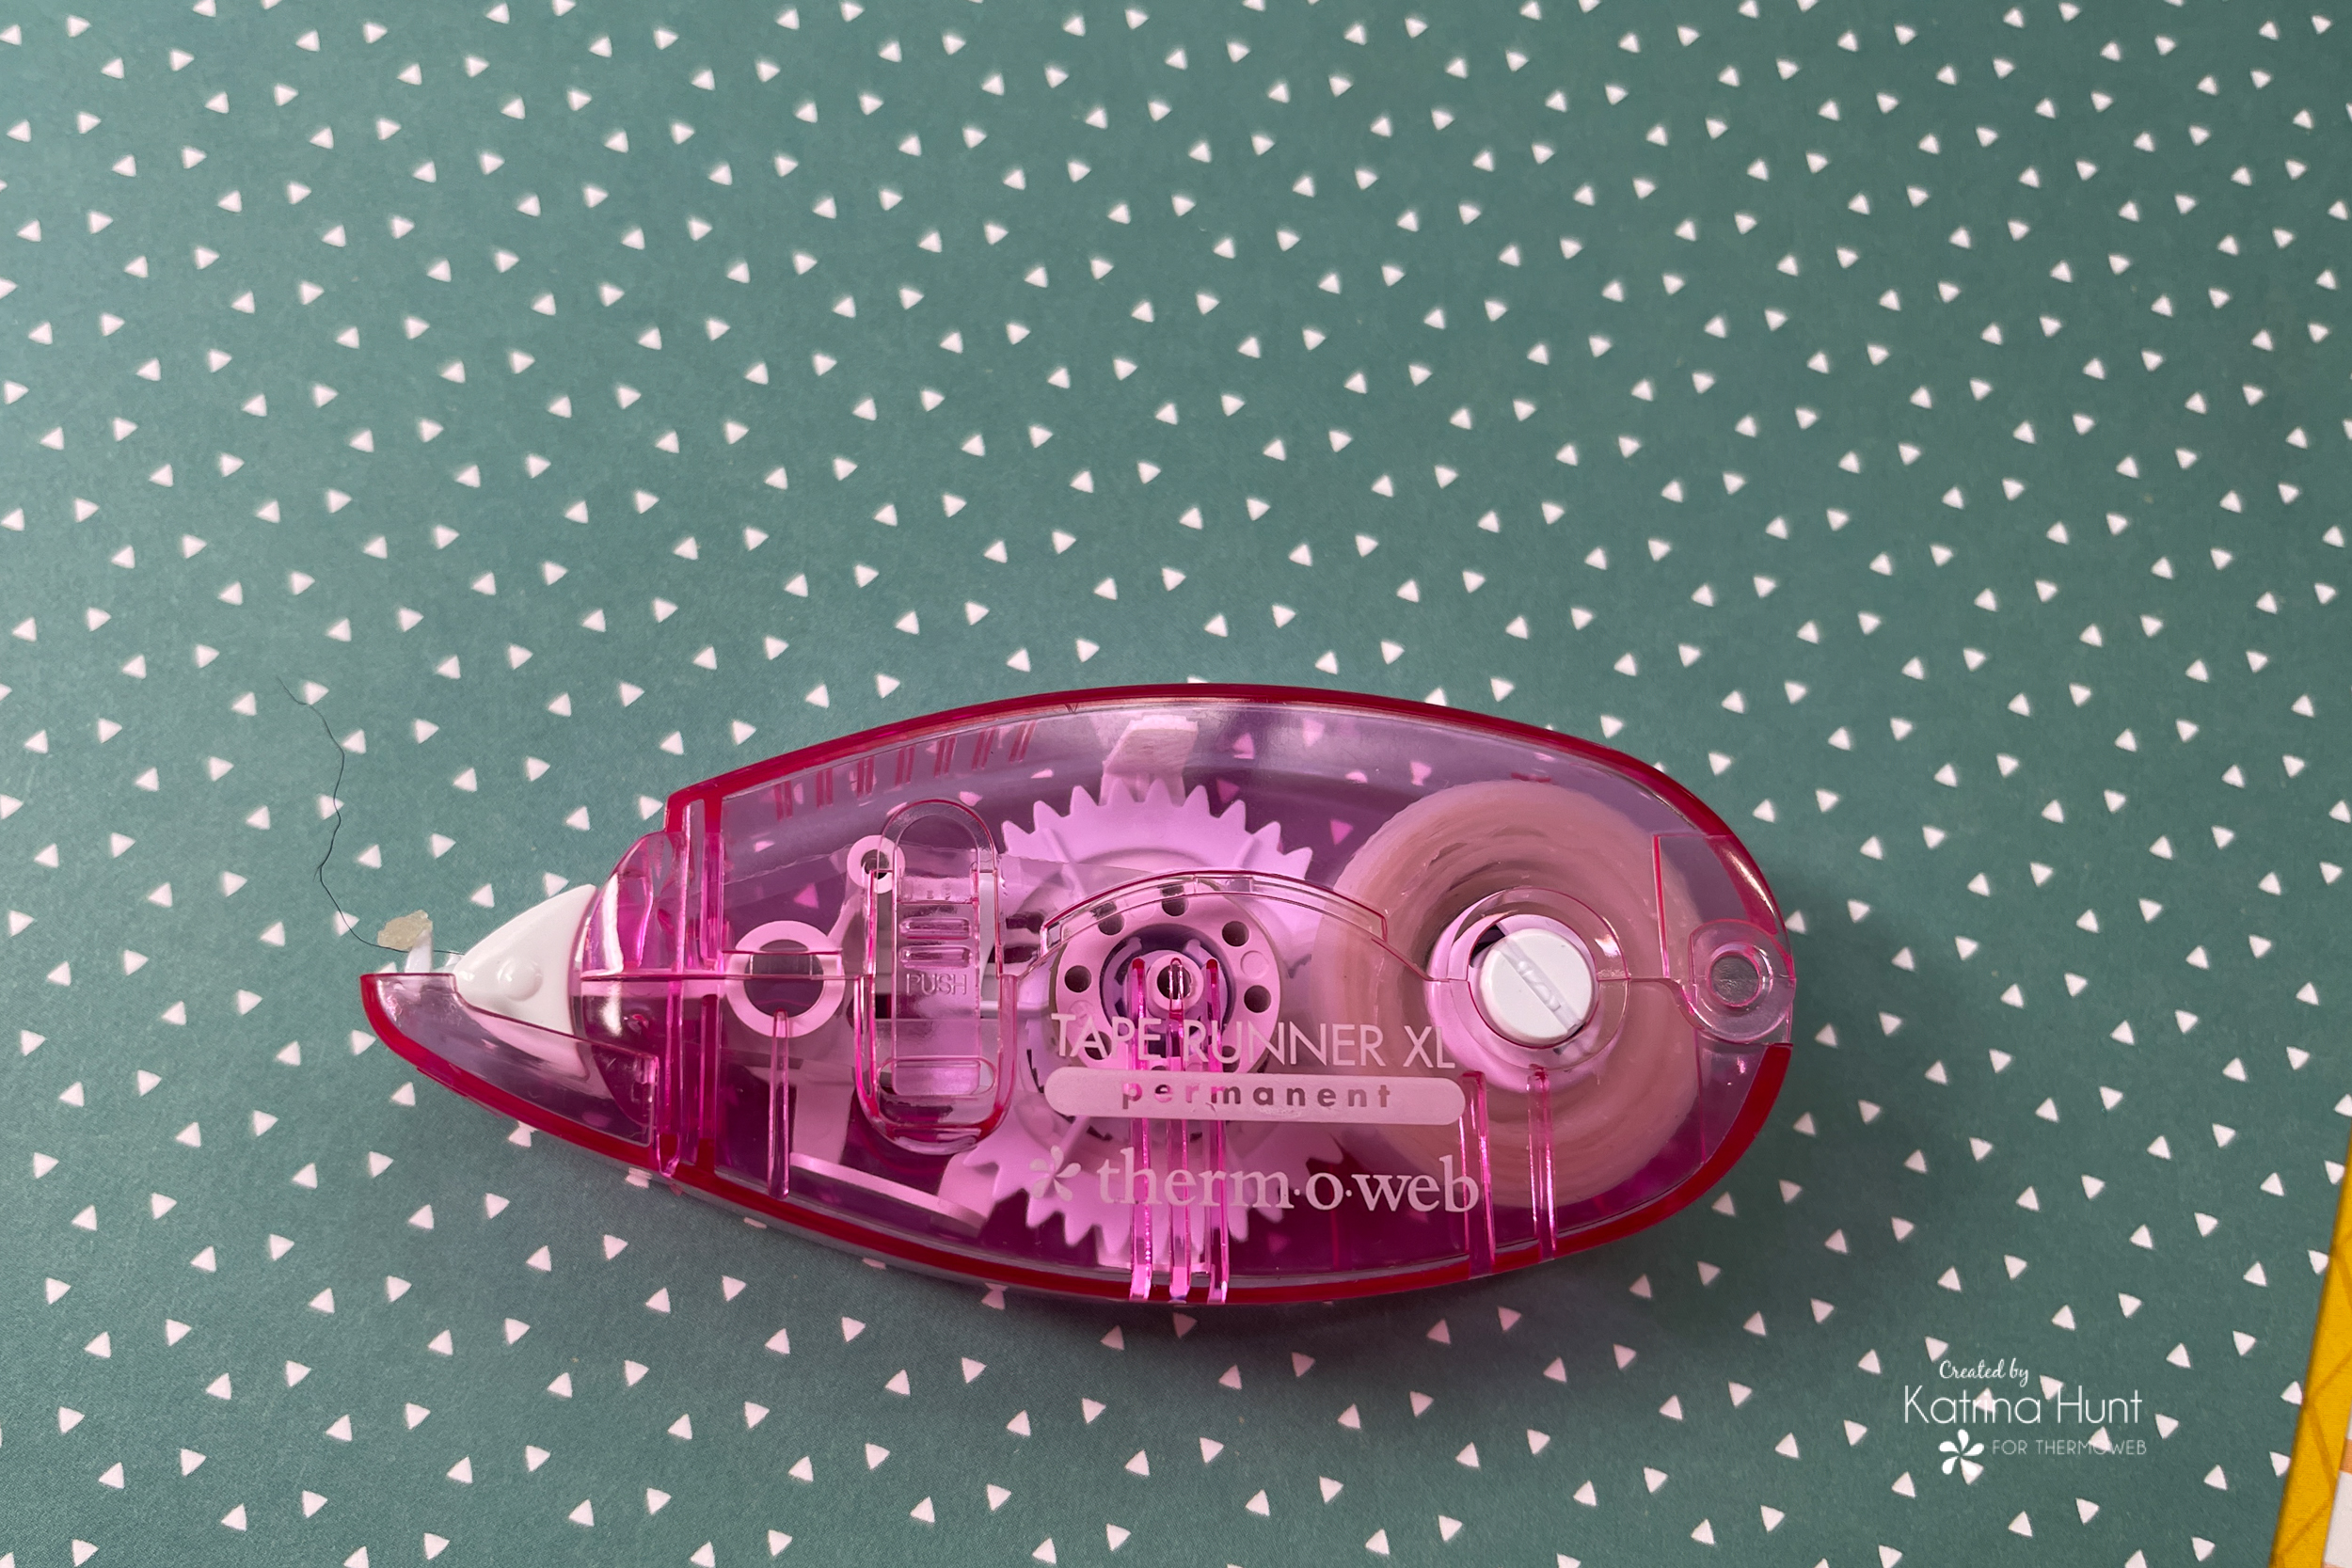
Once I had everything stamped and die-cut, I set to putting the layout together. I used my favorite Memory Runner XL, along with the rolls of foam tape. This made the process very quick and easy!
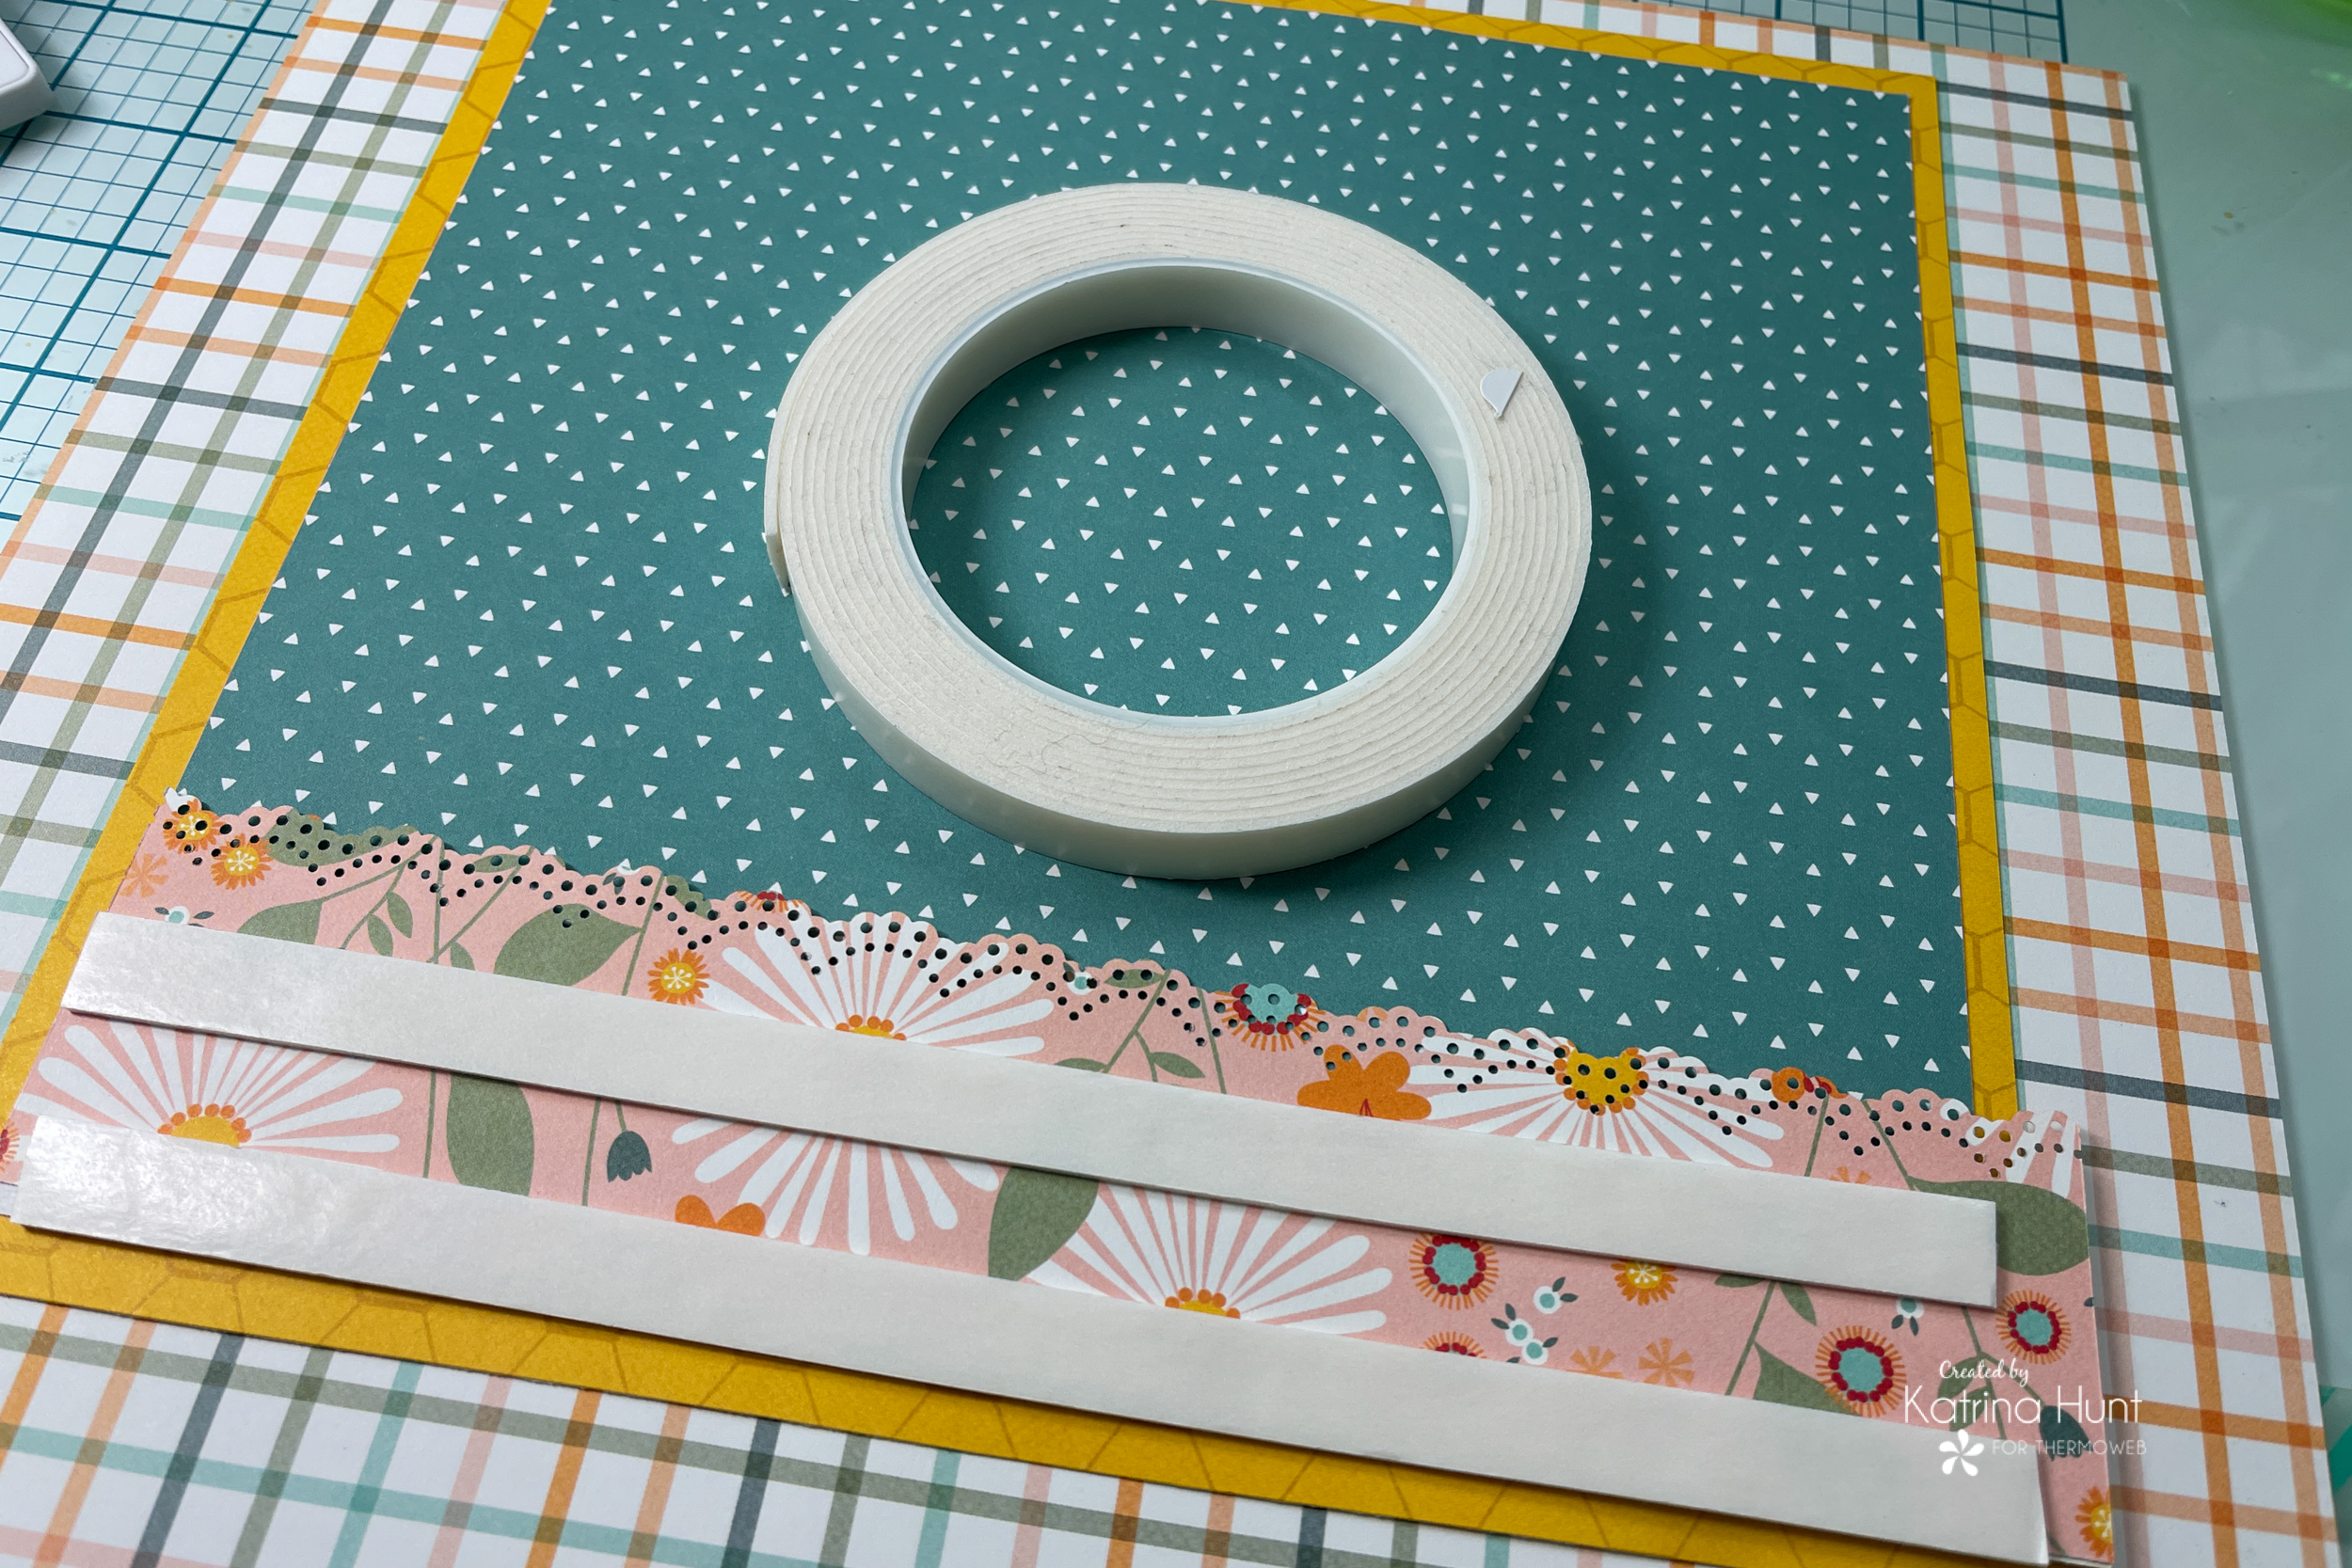
I did punch three border strips and adhered those with the foam tape at the bottom ( which veers from the sketch I used).
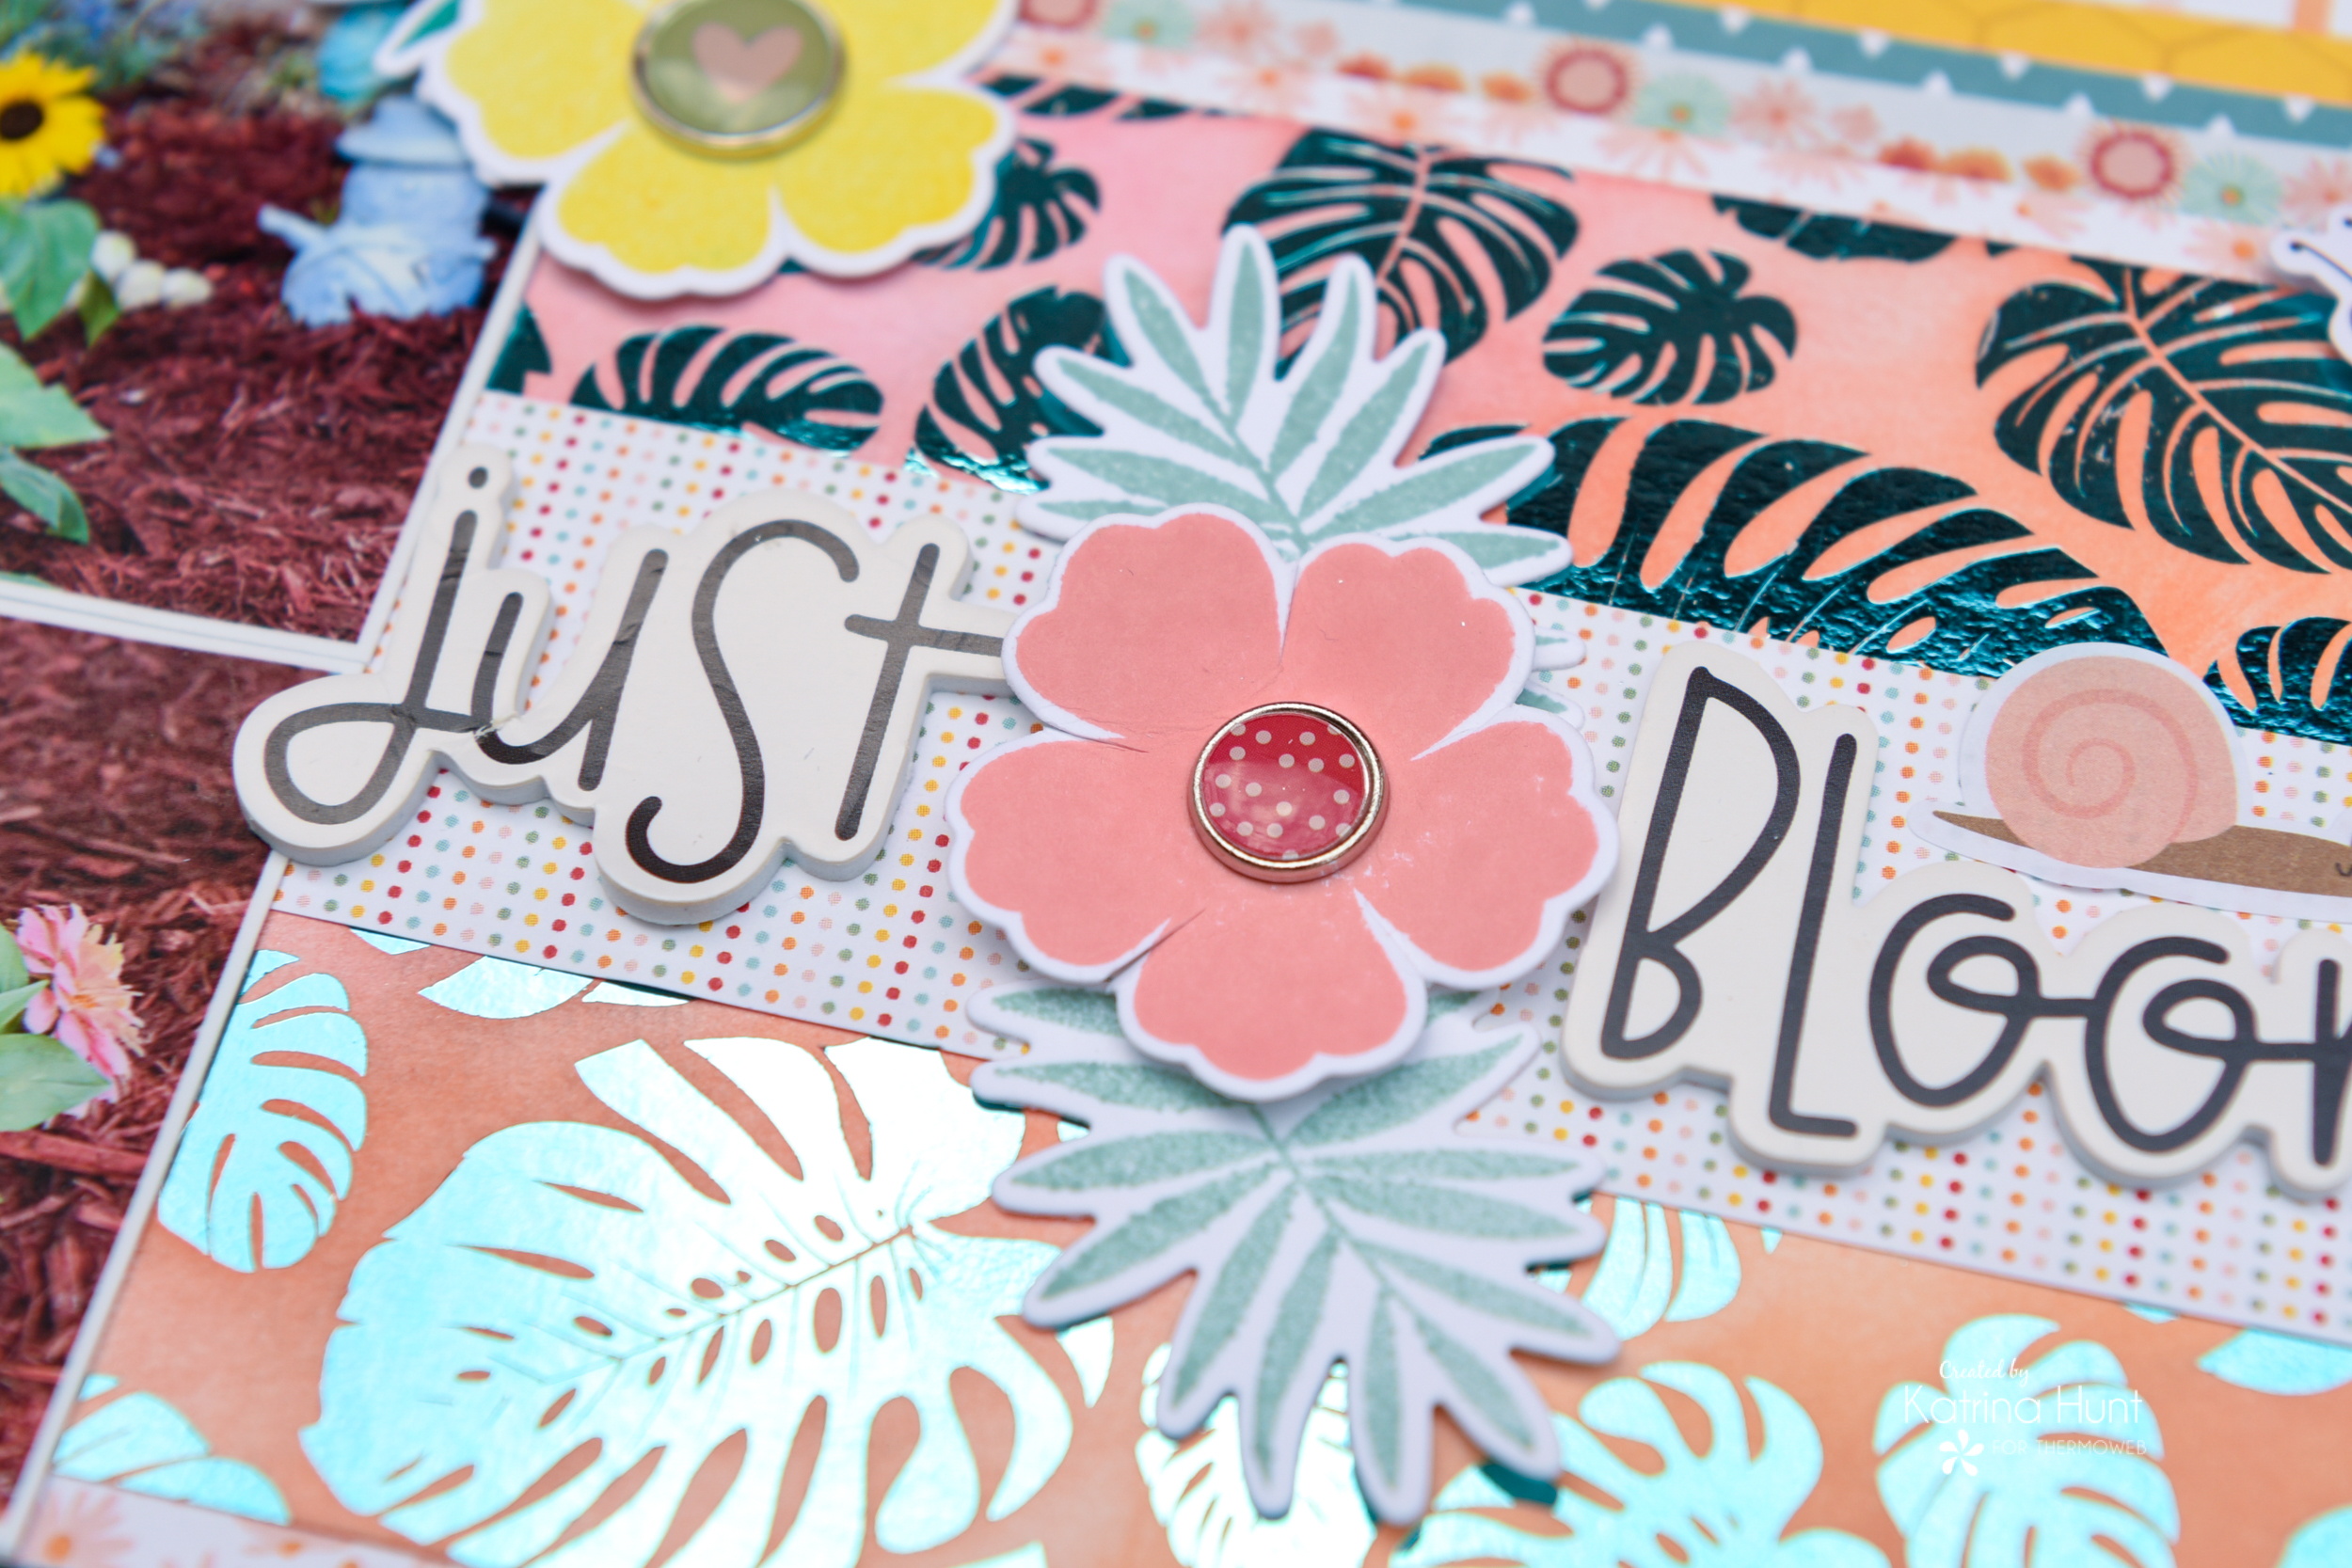
After everything was put together, I added a few embellishments from the paper collection and a lot of the sticky brad for flower centers. I love how this layout turned out!
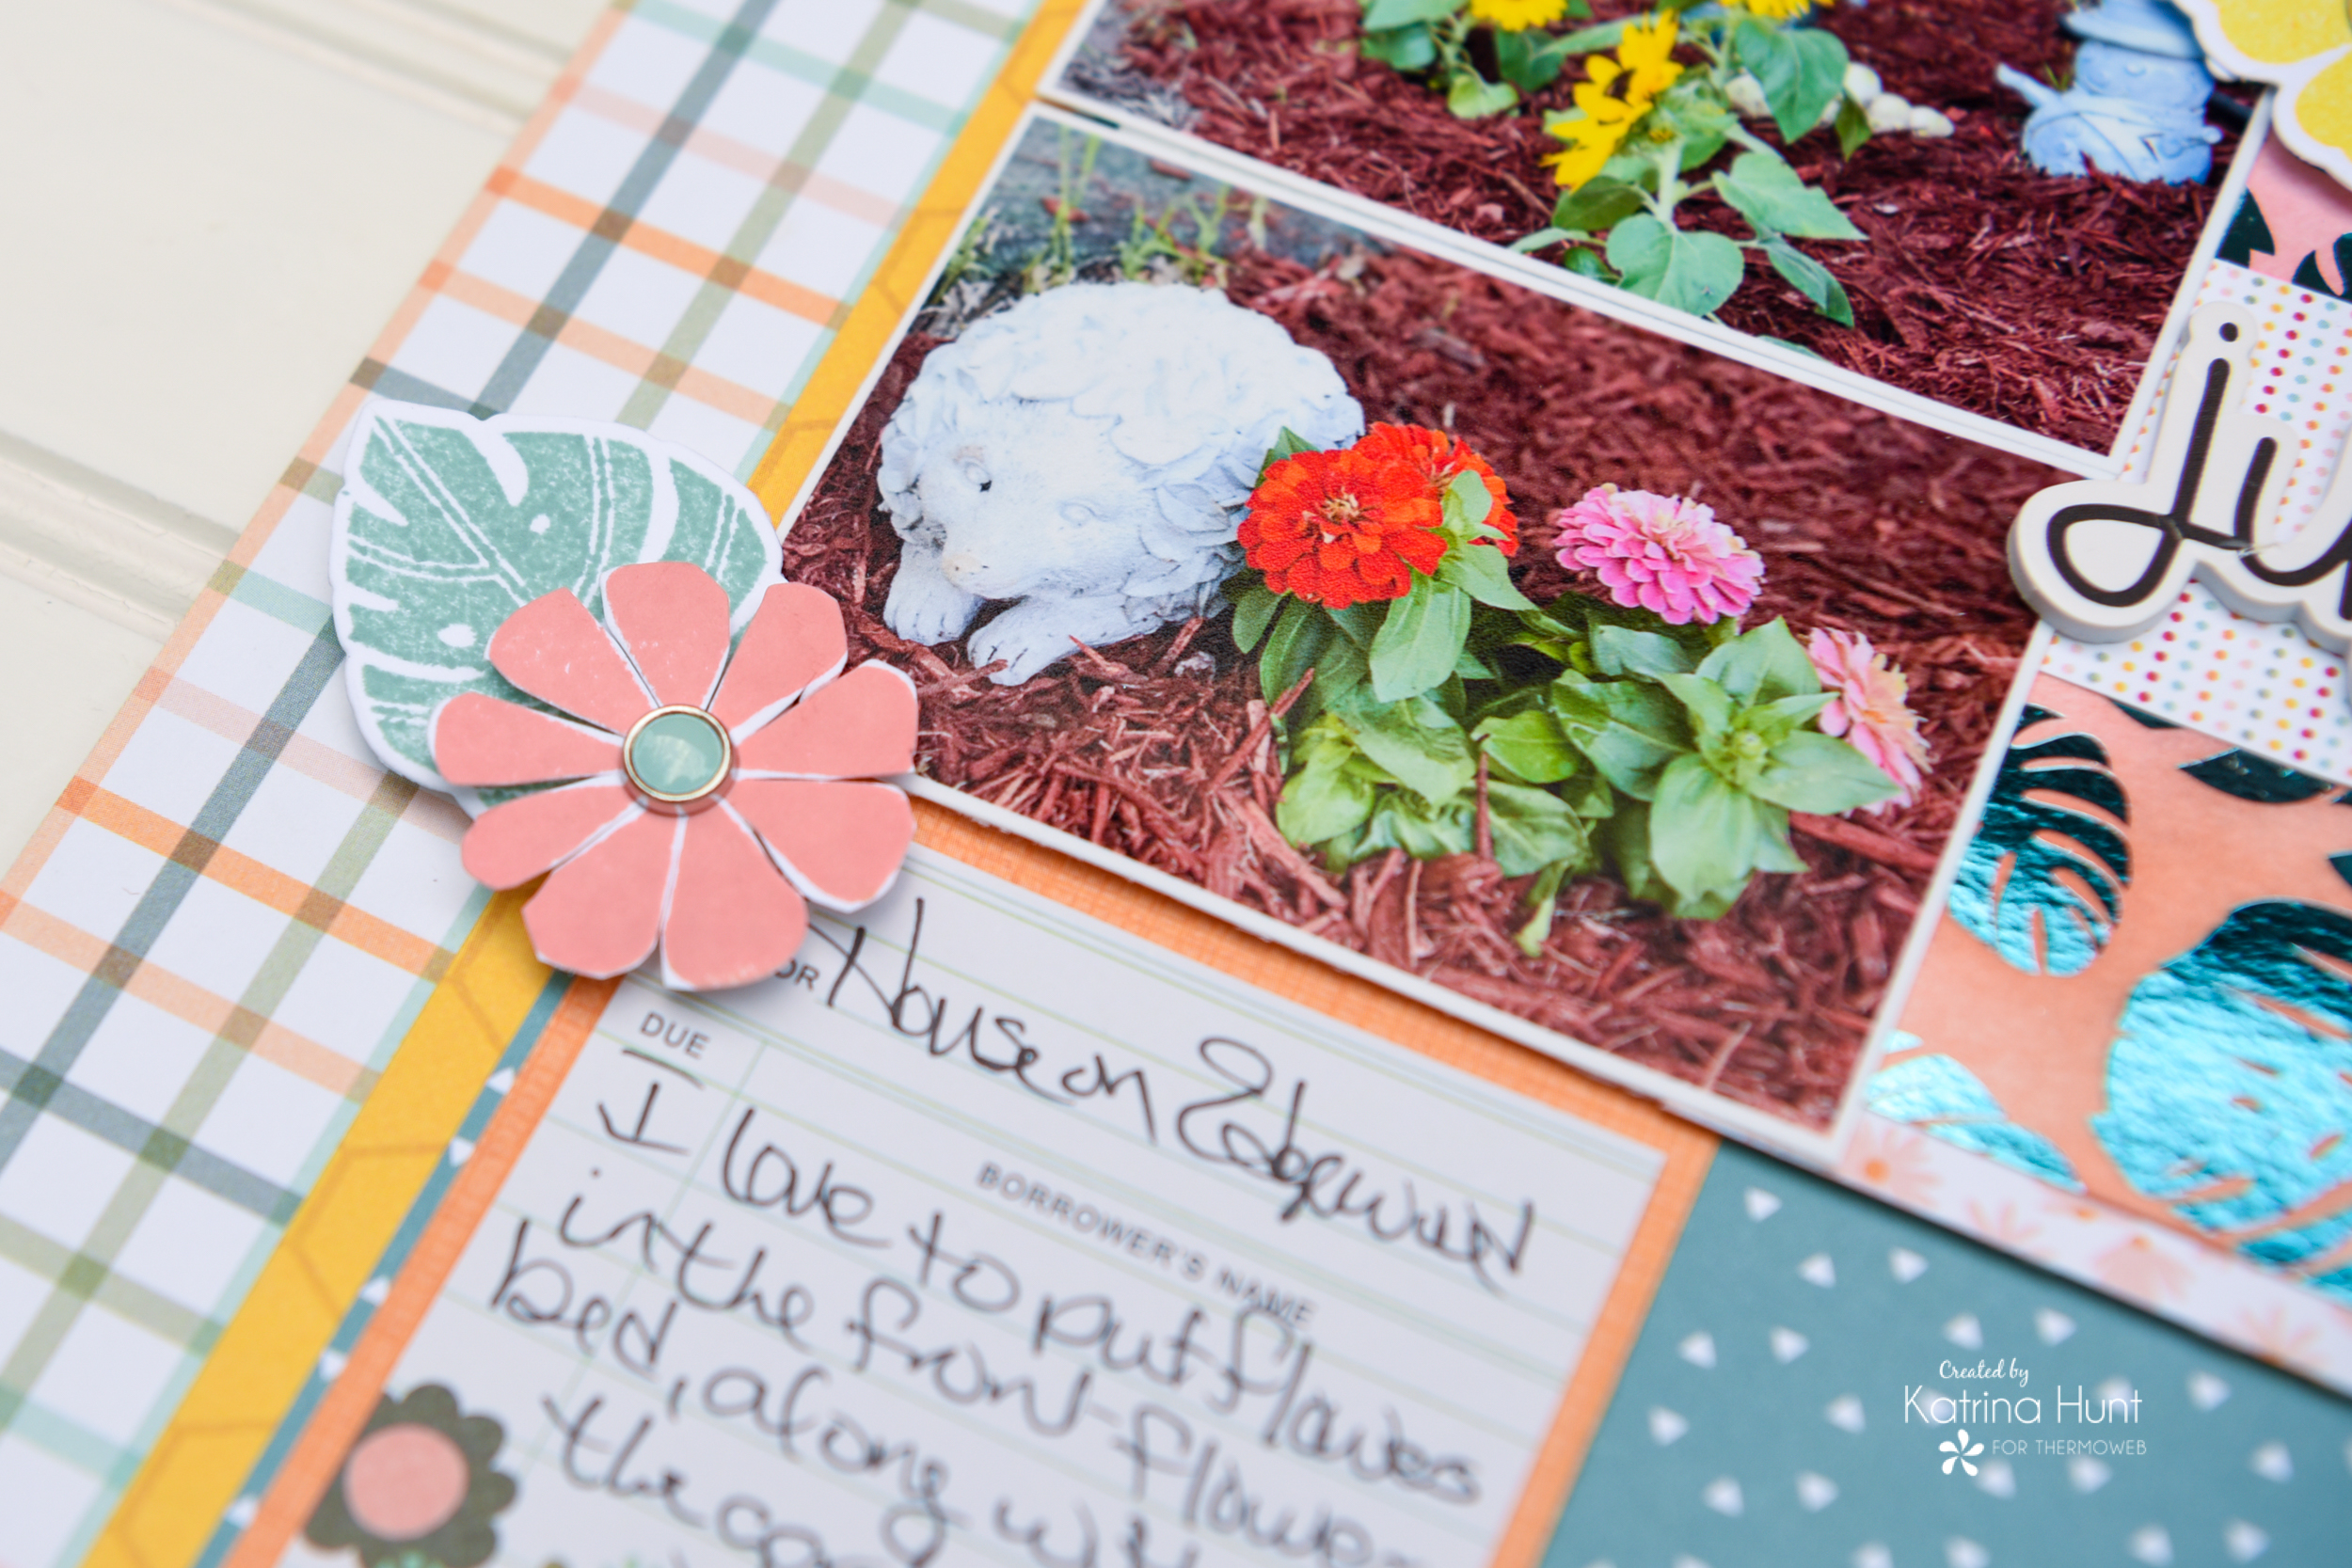
And I am missing my zinnias this year. The weather has not been great for planting and no one seems to have these double dwarf ones. I just decided to give the flower bed a break and try again next year!
Thanks for stopping by the blog today! Make sure and document all your beautiful blooms!!! Have a great day!
This post contains affiliate links. For more information, see our disclosure HERE.
