 Hey everyone!! Kristen here from Sunflower Seams Pattern Co. and I am super excited about today’s blog post as I am new to the Education Team and this is my first project for you!
If you are like me, you thrive on getting things done last minute. Ok, maybe not THRIVE, but life just always seems to work out that way. If that is you then you probably have not started those costumes for next week. So here is an easy but super cute costume idea that you will definitely be able to finish this week: STRAWBERRY SHORTCAKE!!!
Strawberry Shortcake Halloween Costume
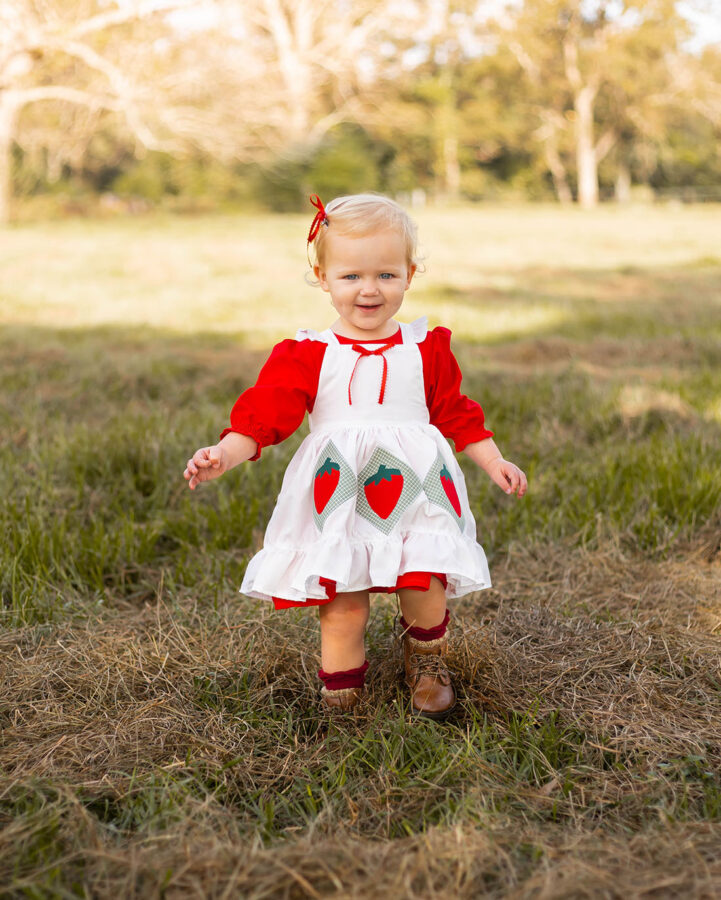
Supplies:
- Heat-n-Bond Lite Iron-On Adhesive
- Heat-n-Bond Ultra Iron-On Adhesive
- Thermoweb Strawberry Applique Pattern
- 1/8 yd Red Fabric
- 1/8 yd Green Fabric
- 1/8 yd Green Plaid Fabric
- Sunflower Seams’s Violet Pattern (offered in both Baby and Girl)
- Violet’s Supplies (red fabric, 1/4″ elastic, snaps or buttons)
- Sunflower Seam’s Willow Pattern (offered in both Baby and Girl)
- Willow’s Supplies (white fabric, 3/4″ elastic)
- Red Hair Bow
Cutting Instructions
- 12″ x 4″ Heat-n-Bond Lite Strip
- 7.5″ x 3″ Heat-n-Bond Ultra Strip
- 6″ x 3″ Heat-n-Bond Ultra Strip
- 13″ x 5″ Green Plaid Fabric Strip (Strawberry Diamond)
- 8.5″ x 4″ Red Fabric Strip (Strawberry Bodice)
- 7″ x 4″ Green Fabric Strip (Strawberry Leaves)
- 4 White Strips of Fabric 3.5″ x the Width of your Willow Skirt
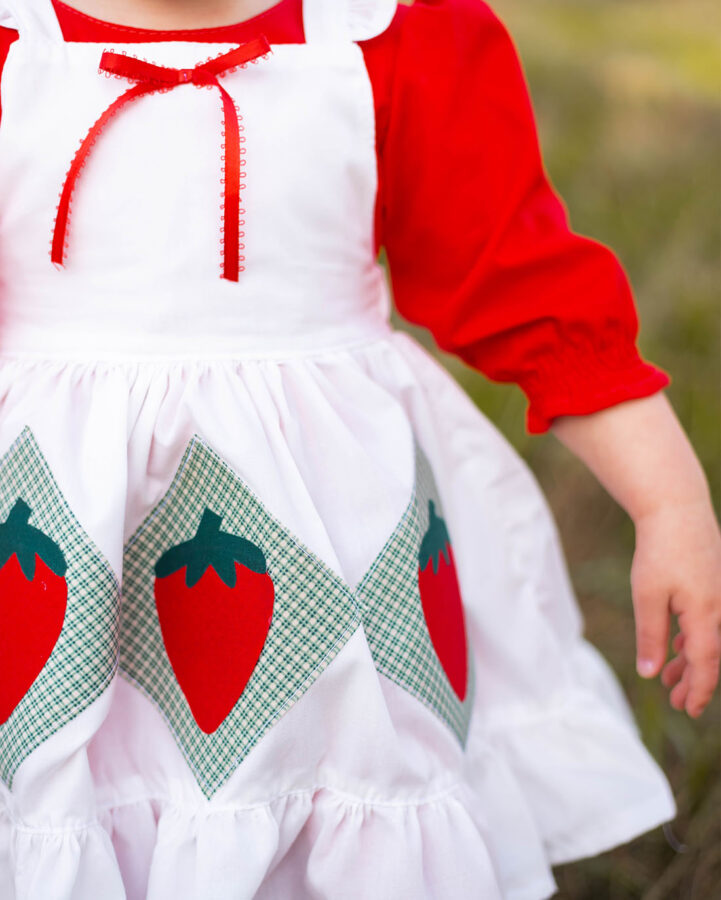
Sewing Instructions:
1. Complete the Violet dress as the tutorial states following the simple bodice instructions. You can any sleeve length you prefer (I made the elbow-length sleeves) and you will want to pick the dress-length skirt. Choosing the dress length makes sure that the red will poke out the bottom!
2. Complete the Willow bodice as the tutorial states following the flutter sleeve and tie straps instructions. For the skirt, you will want to cut the Mini skirt length.
3. Add your appliqués before you start on the Willow skirt.
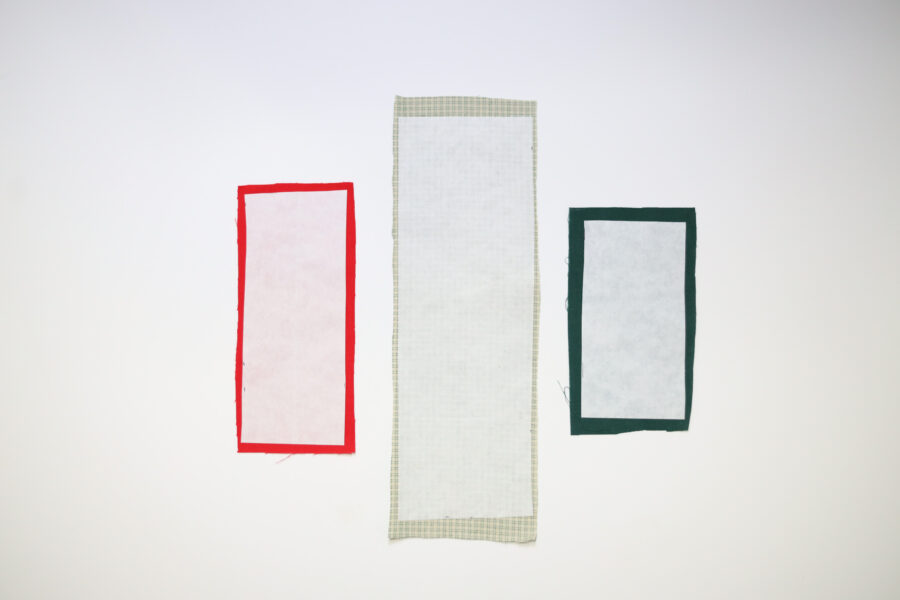
A. Lay the Heat-n-Bond Lite strip on the wrong side of the green plaid strip. Lay the larger Heat-n-Bond Ultra strip on the wrong side of the red fabric. Next, lay the remaining Heat-n-Bond Ultra strip on the wrong side of the green fabric. Fuse the adhesives to the fabric following the package’s instructions.
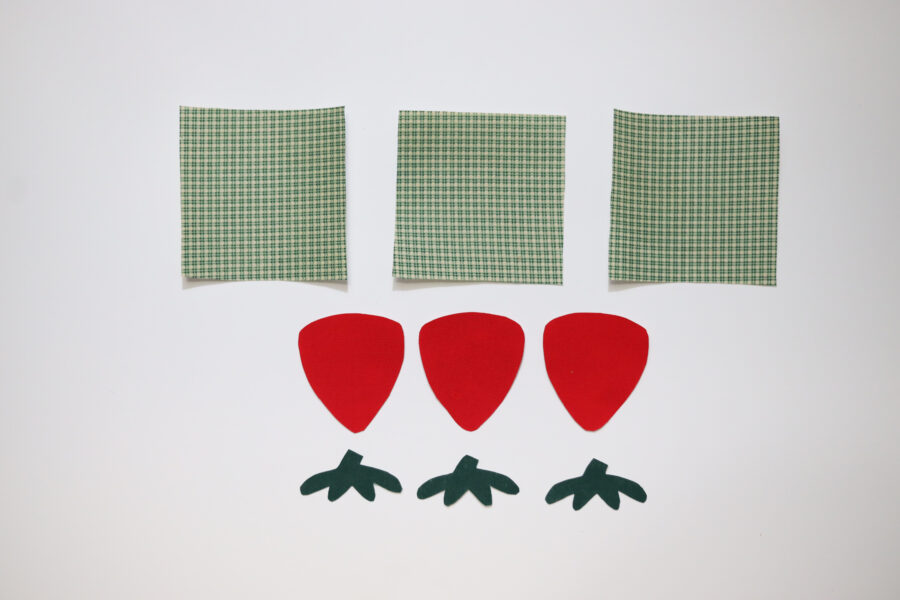
B. Cut the Strawberry appliqués paper pieces out. Trace the Strawberry Diamond onto the back of the adhesive backing of the green plaid strip (a regular ink pin is acceptable). Repeat for the Strawberry Body on the red strip and the Strawberry leaves on the green strip.
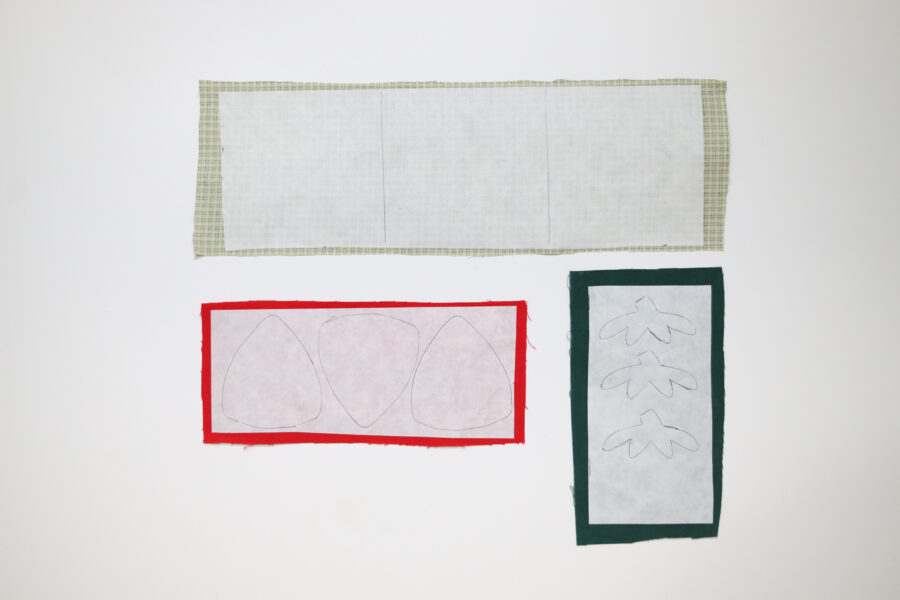
C. Cut the traced pieces out.
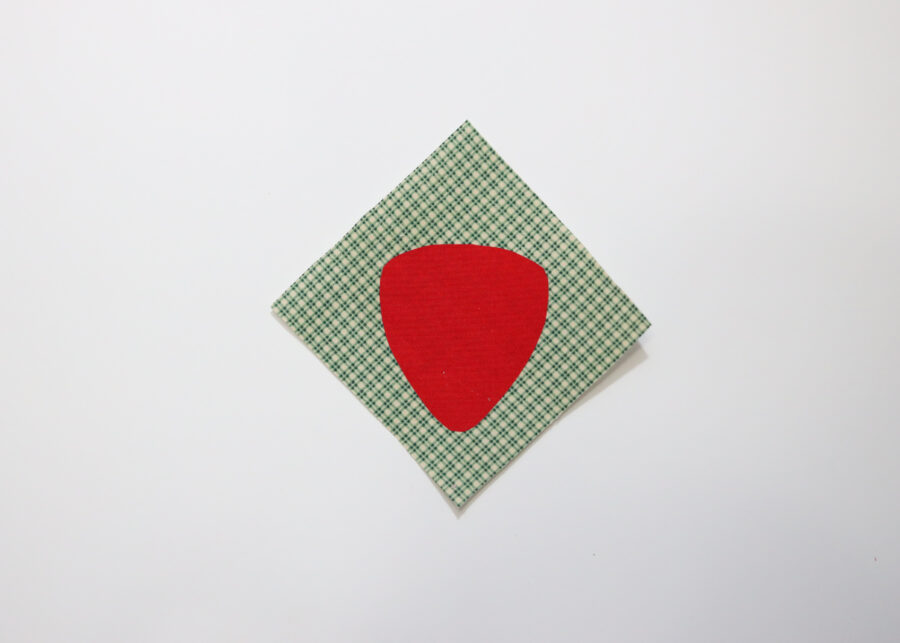
D. Remove the adhesive backing on one of the Strawberry Body pieces. Place the strawberry in the middle of the Strawberry Diamond 1″ from the bottom point of the diamond. Fuse it to the diamond according to the Heat-n-Bond Ultra instructions.
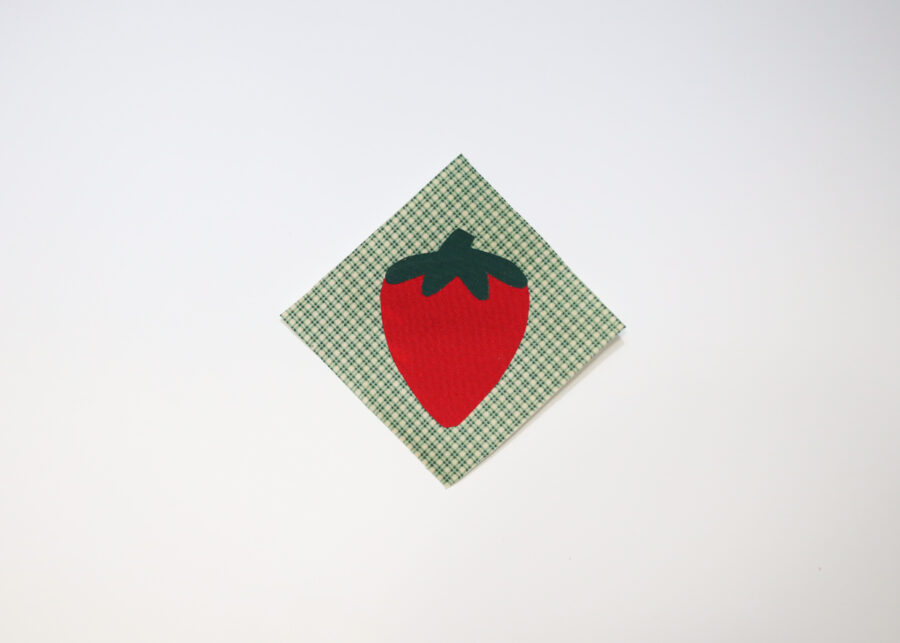
E. Remove the adhesive backing on one of the Strawberry Leave pieces. Place the leaves on top of the Strawberry Body. Fuse it to the strawberry according to the Heat-n-Bond Ultra instructions.
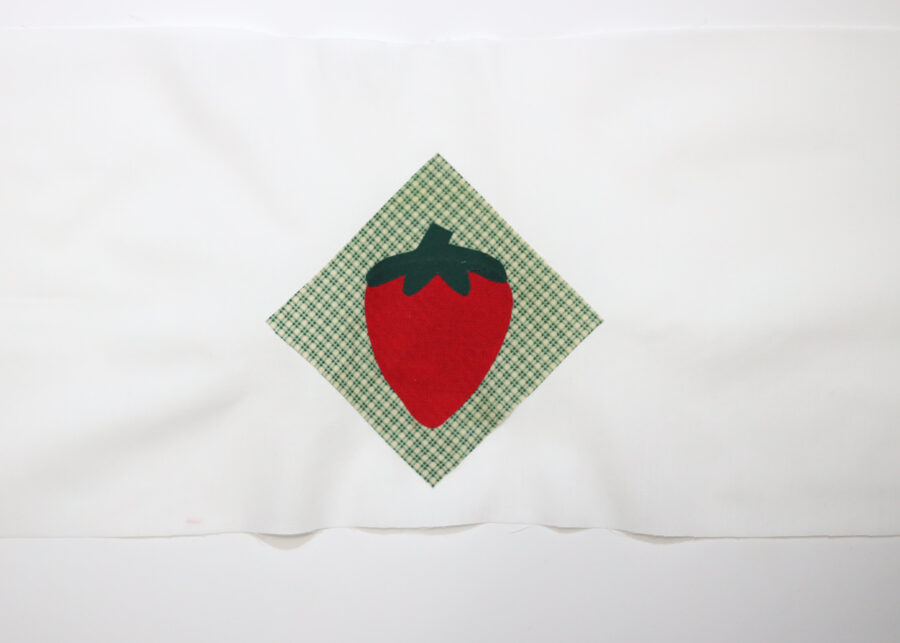
F. Remove the adhesive backing on one of the Strawberry Diamond pieces. Place the Diamond on the front Willow skirt piece in the direct center 3/4″ from the bottom raw edge. Fuse it to the skirt according to the Heat-n-Bond Lite instructions. Next, sew around the diamond.
G. Repeat Steps A-E for the other two appliqués. Place each appliqué on the Willow skirt 3/4″ from the bottom raw edge and 1/2″ from the center appliqué. Fuse it to the skirt according to the Heat-n-Bond Lite instructions.
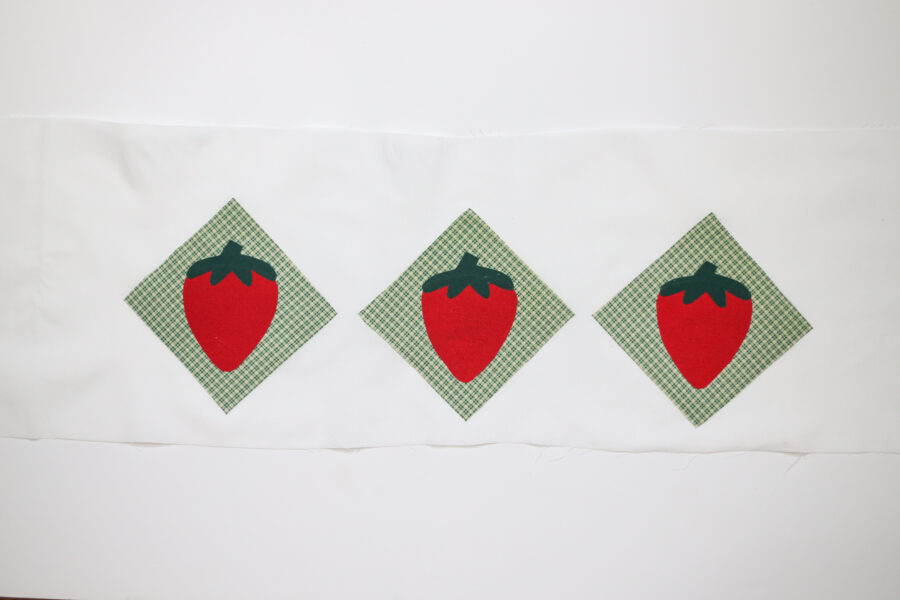
4. Attach the skirt pieces together and attach them to the Willow bodice following the Willow tutorial. Complete the ruffle for your Willow skirt using the four white fabric strips you cut and the instructions for the tiered skirt in the Violet instructions.
5. OPTIONAL: Add a red ribbon bow to the Willow bodice.
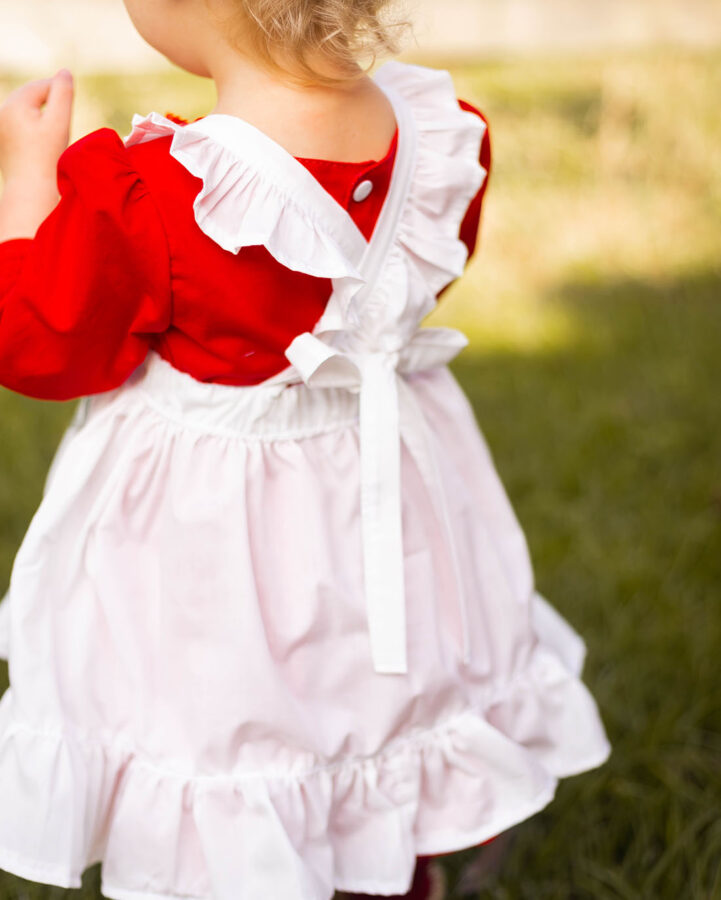
And you are finished!!! Now just pair your costume with some brown shoes in your little’s closet and finish it off with a red or pink hair bow!
I hope you enjoy making your Strawberry Shortcake costume as much as I did!!
