


 Hi! I’m Lisa Ruble from Love to Color My World and I’m here today with a quick and easy tutorial: 5-Step Fabric Leaves. I’ll warn you–they’re addictive and so fast to make that every time you find an autumn-hued fabric in your stash, you’ll want to make another one!
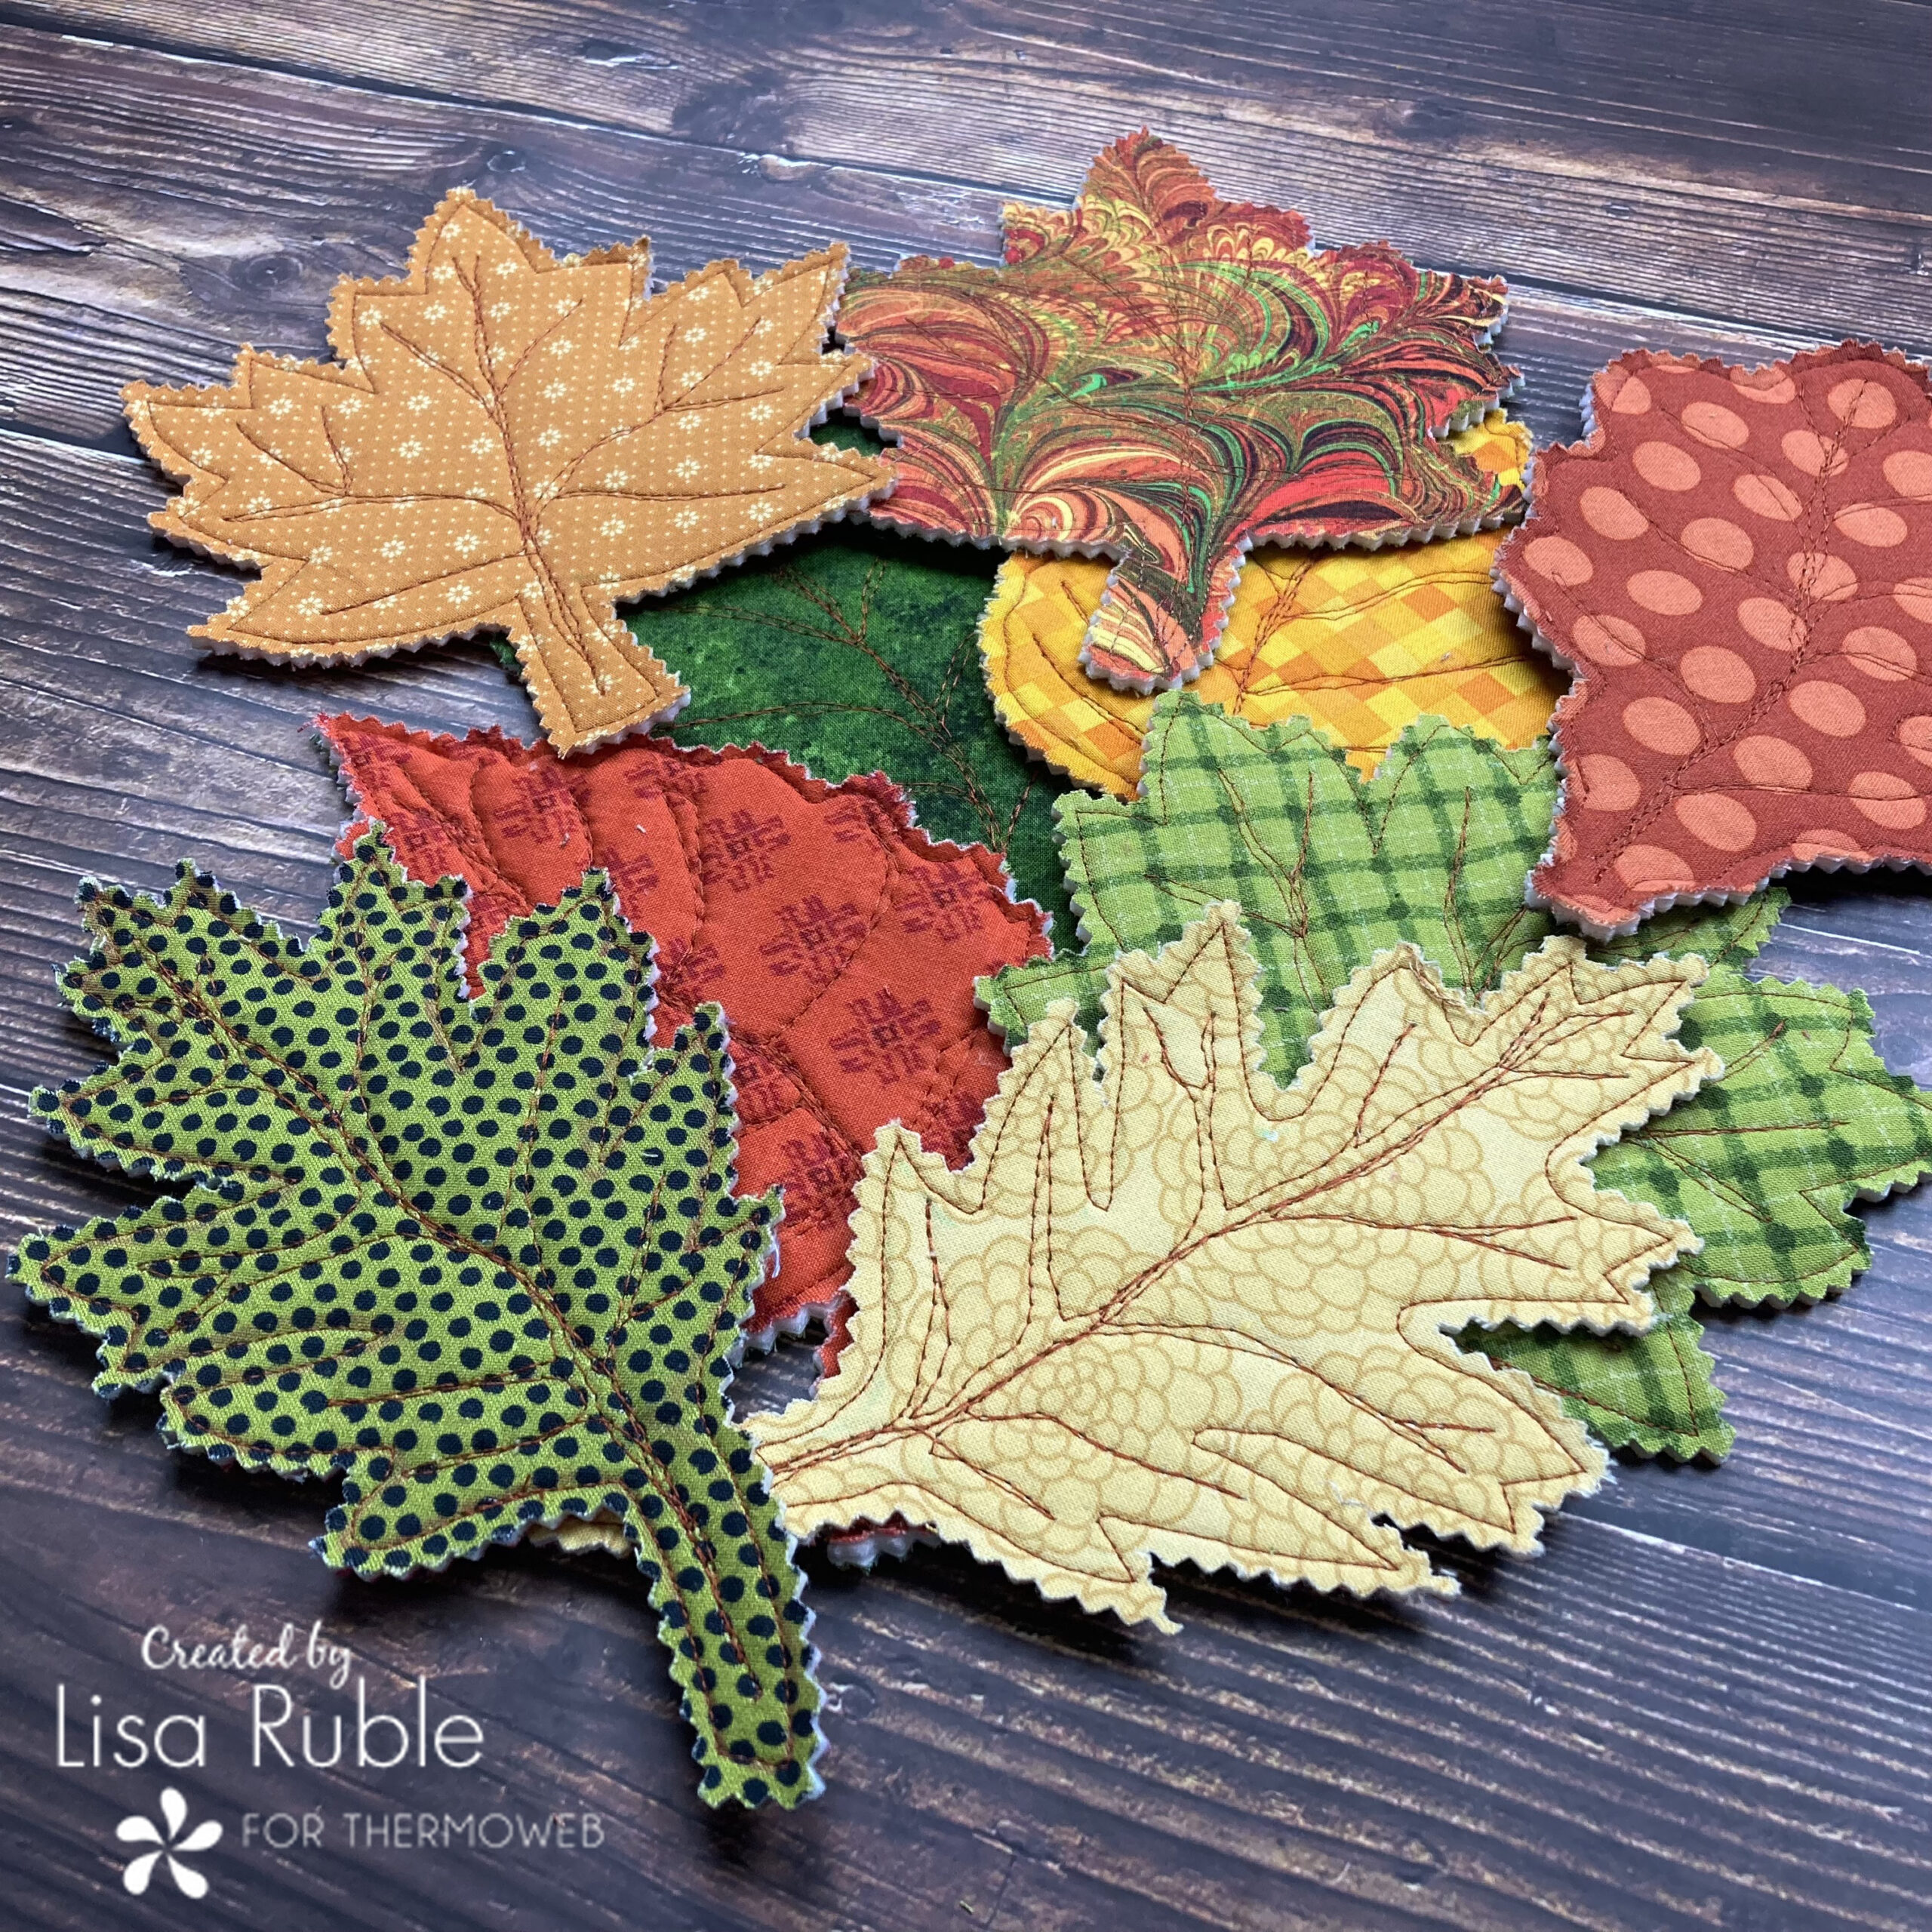
Fabric Fall Leaves with HeatnBond Fusible Fleece
![]()
Fall is in the air, and here in Michigan, our colors are gorgeous! Brilliant reds, rich golds, deep oranges, and of course some leftover green. This season is fleeting, though, so I thought it would be fun to stitch some fabric leaves to keep those colors around a little bit longer. (Plus, you don’t have to rake these!)
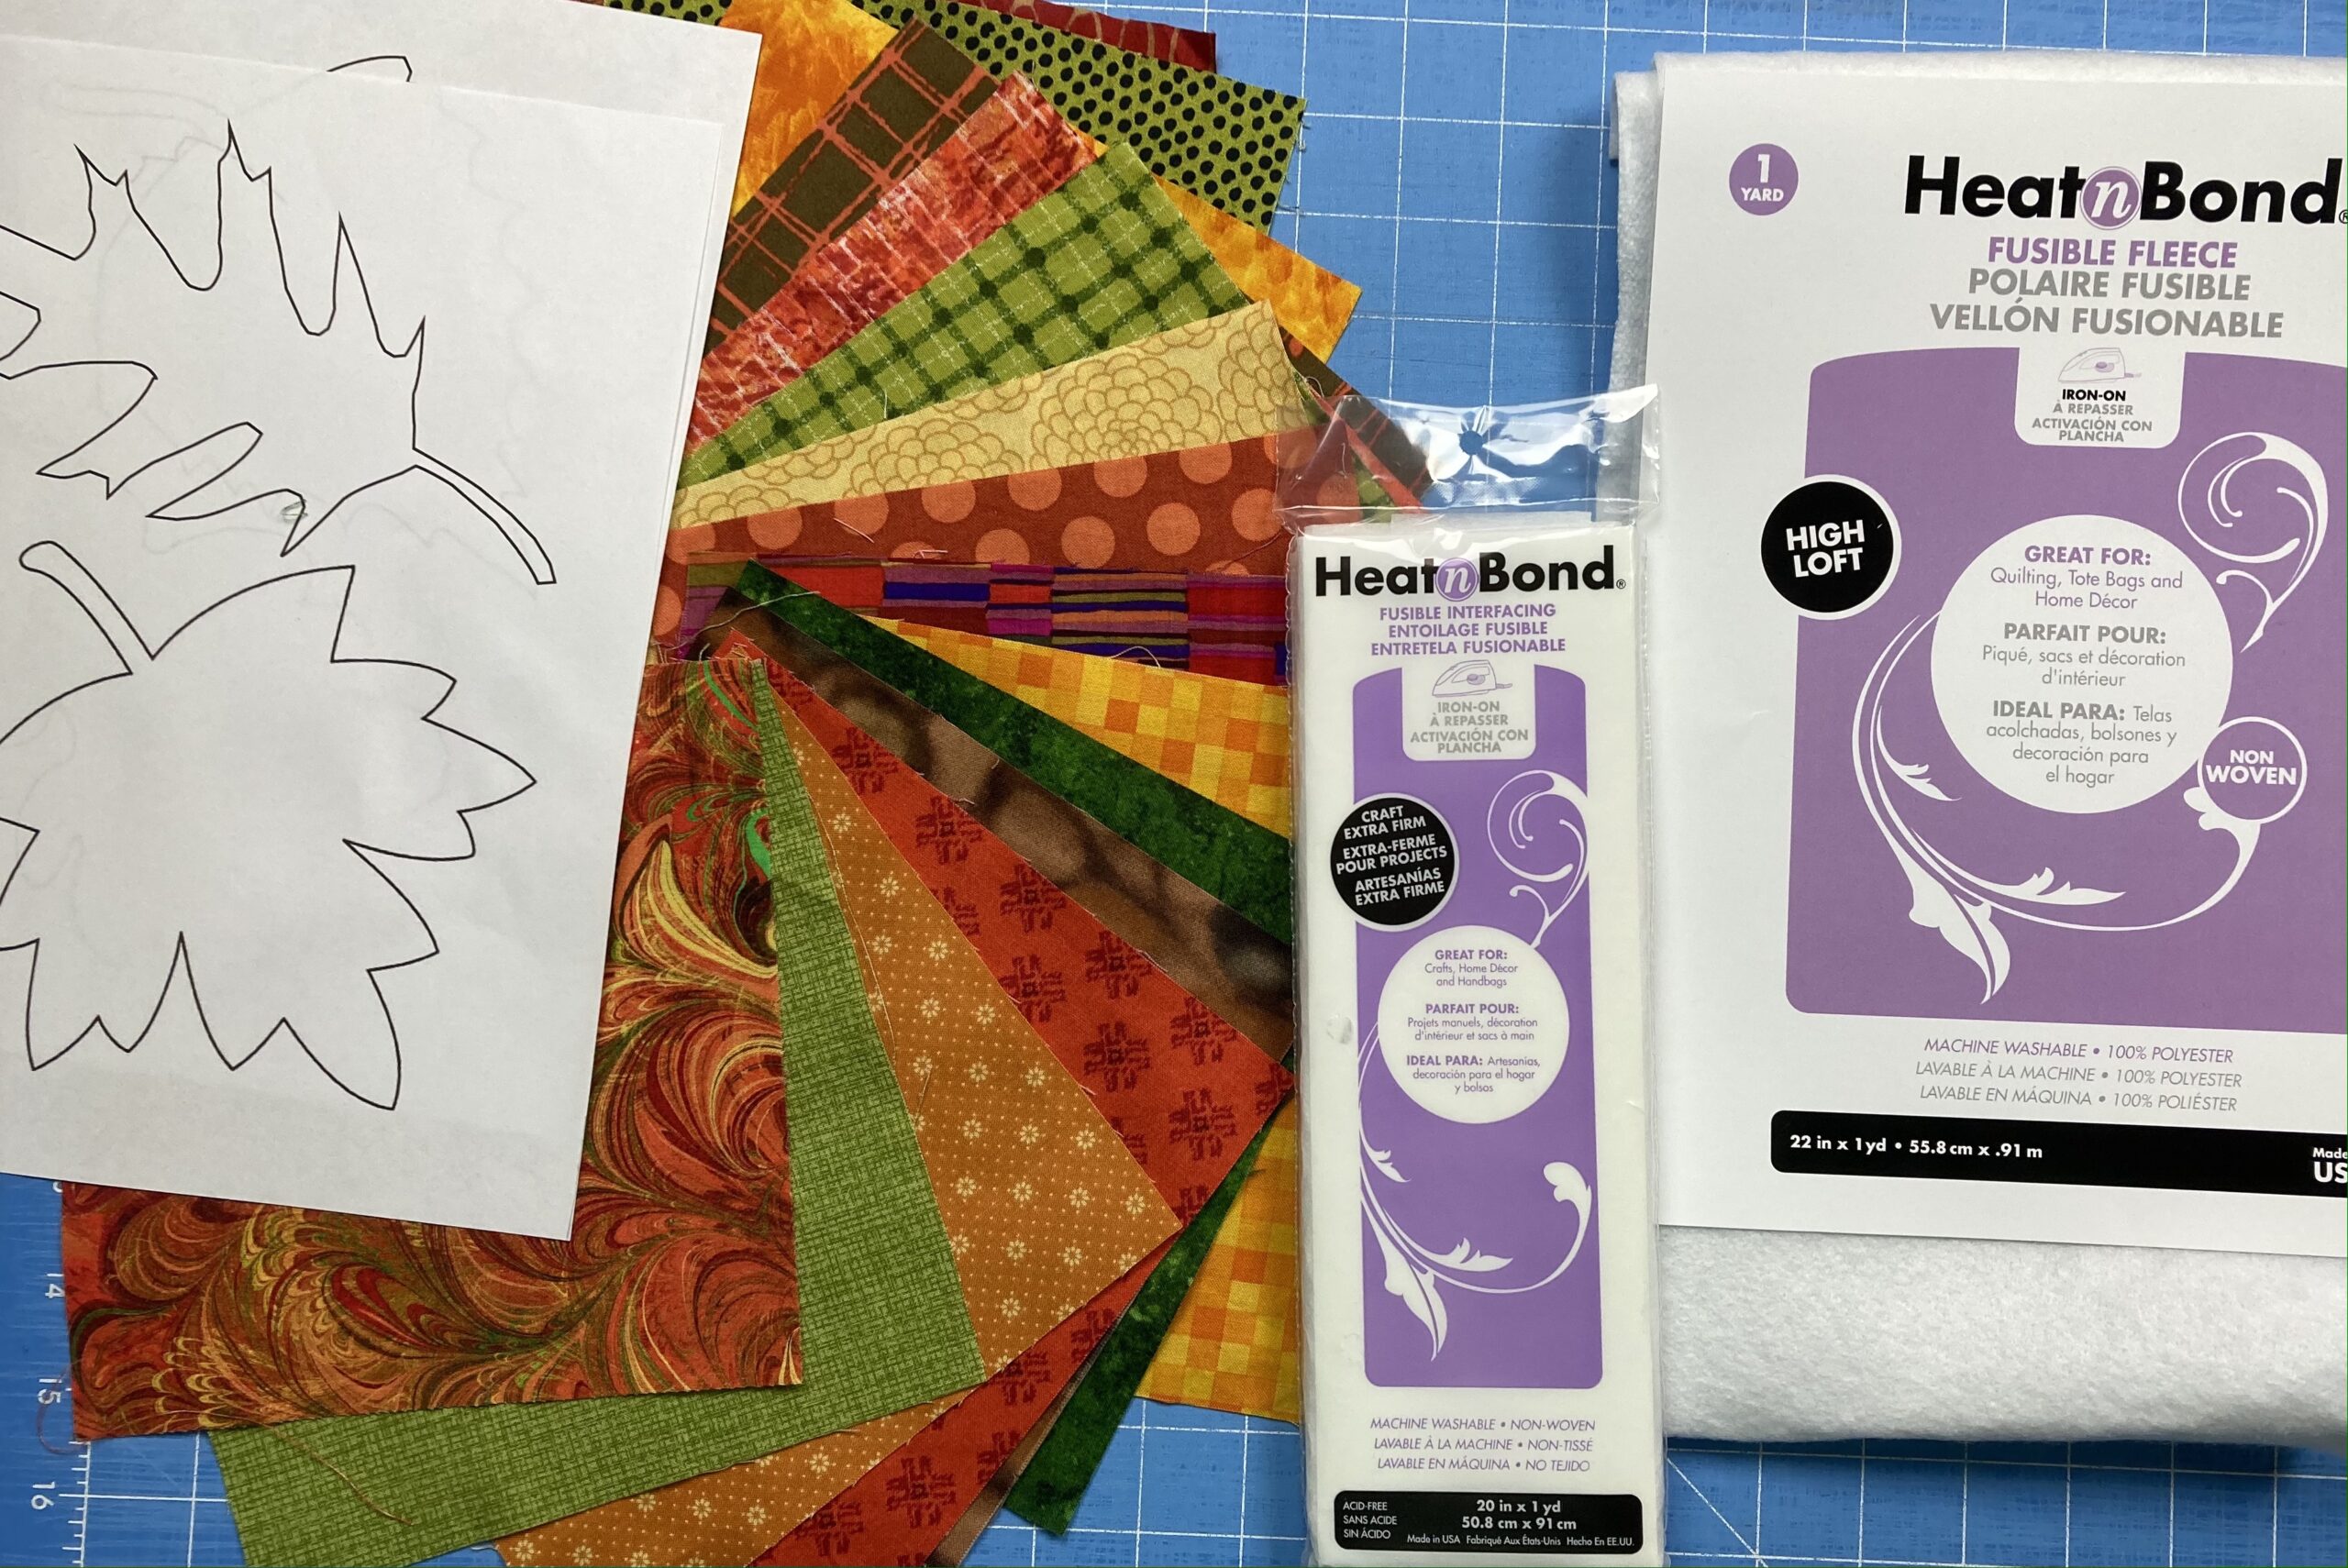
You’ll Need: (per fabric leaf)
(2) 7″ squares fall colored fabric
(1) 7″ square HeatnBond Fusible Fleece
(1) 7′ square HeatnBond Fusible Interfacing Craft Extra Firm
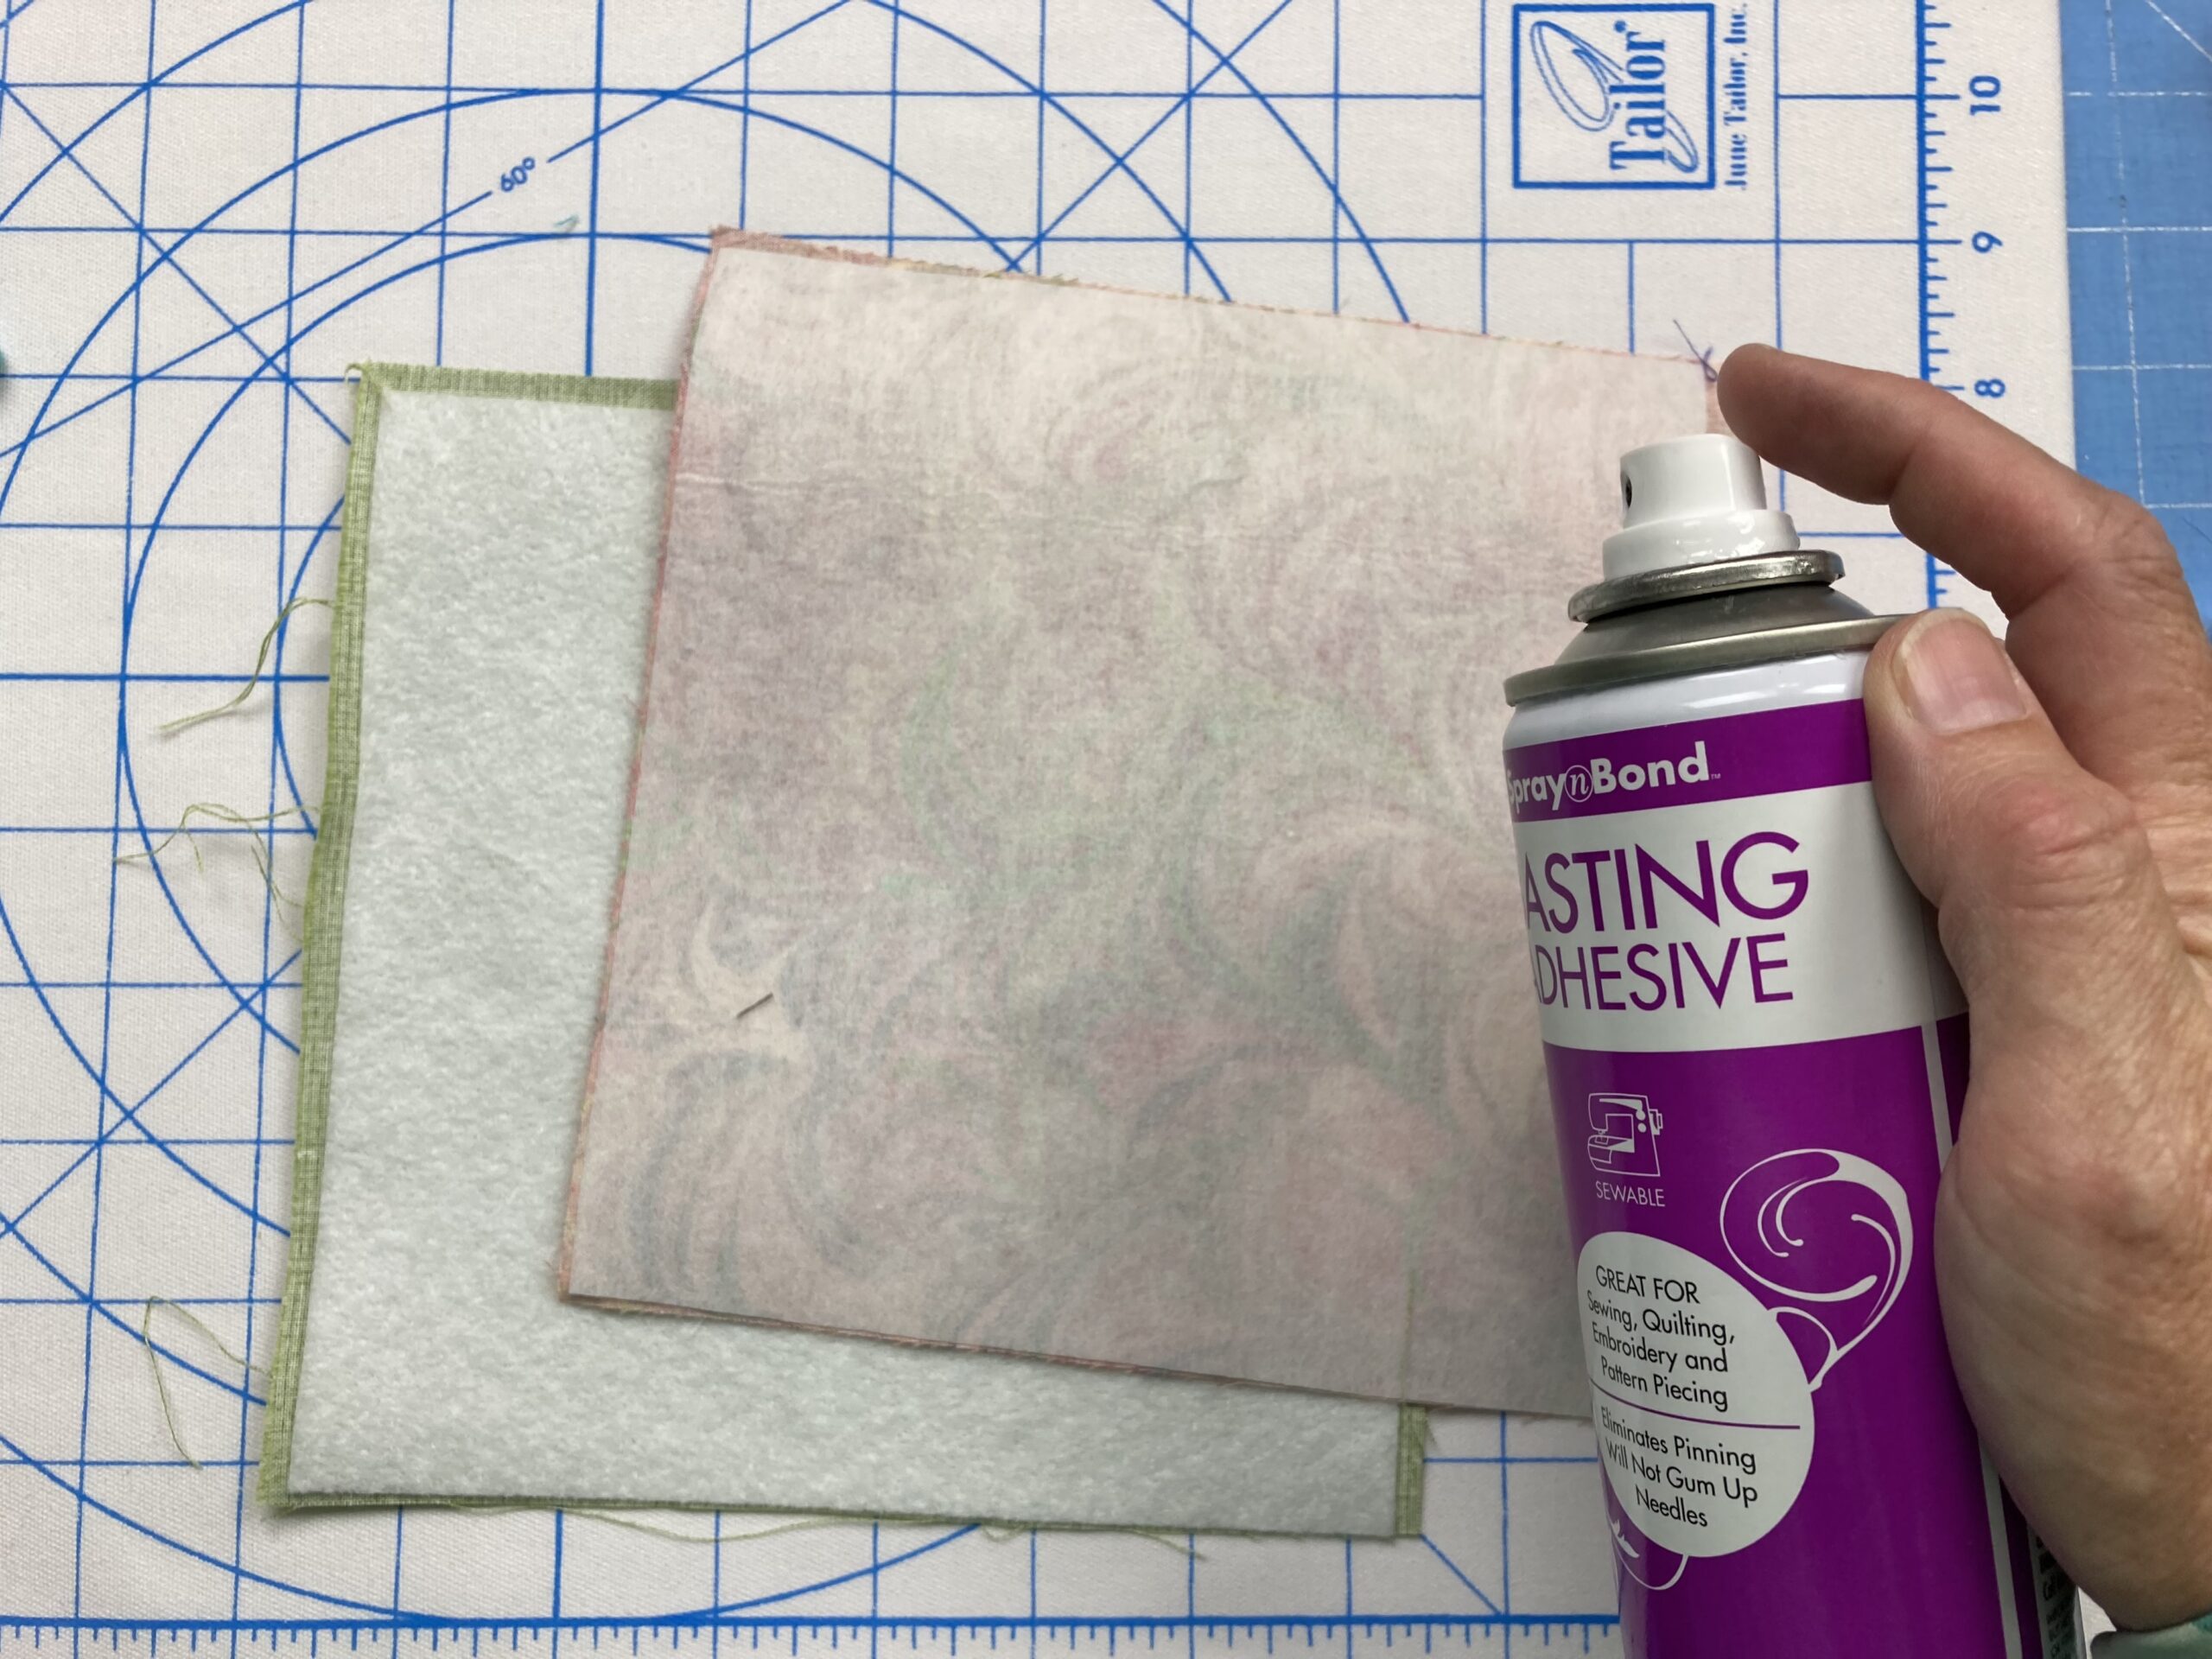
SpraynBond Basting Adhesive Fabric Spray
Pinking shears
Fabric marking pen
Download the leaf templates here.
Making a Fabric Leaf
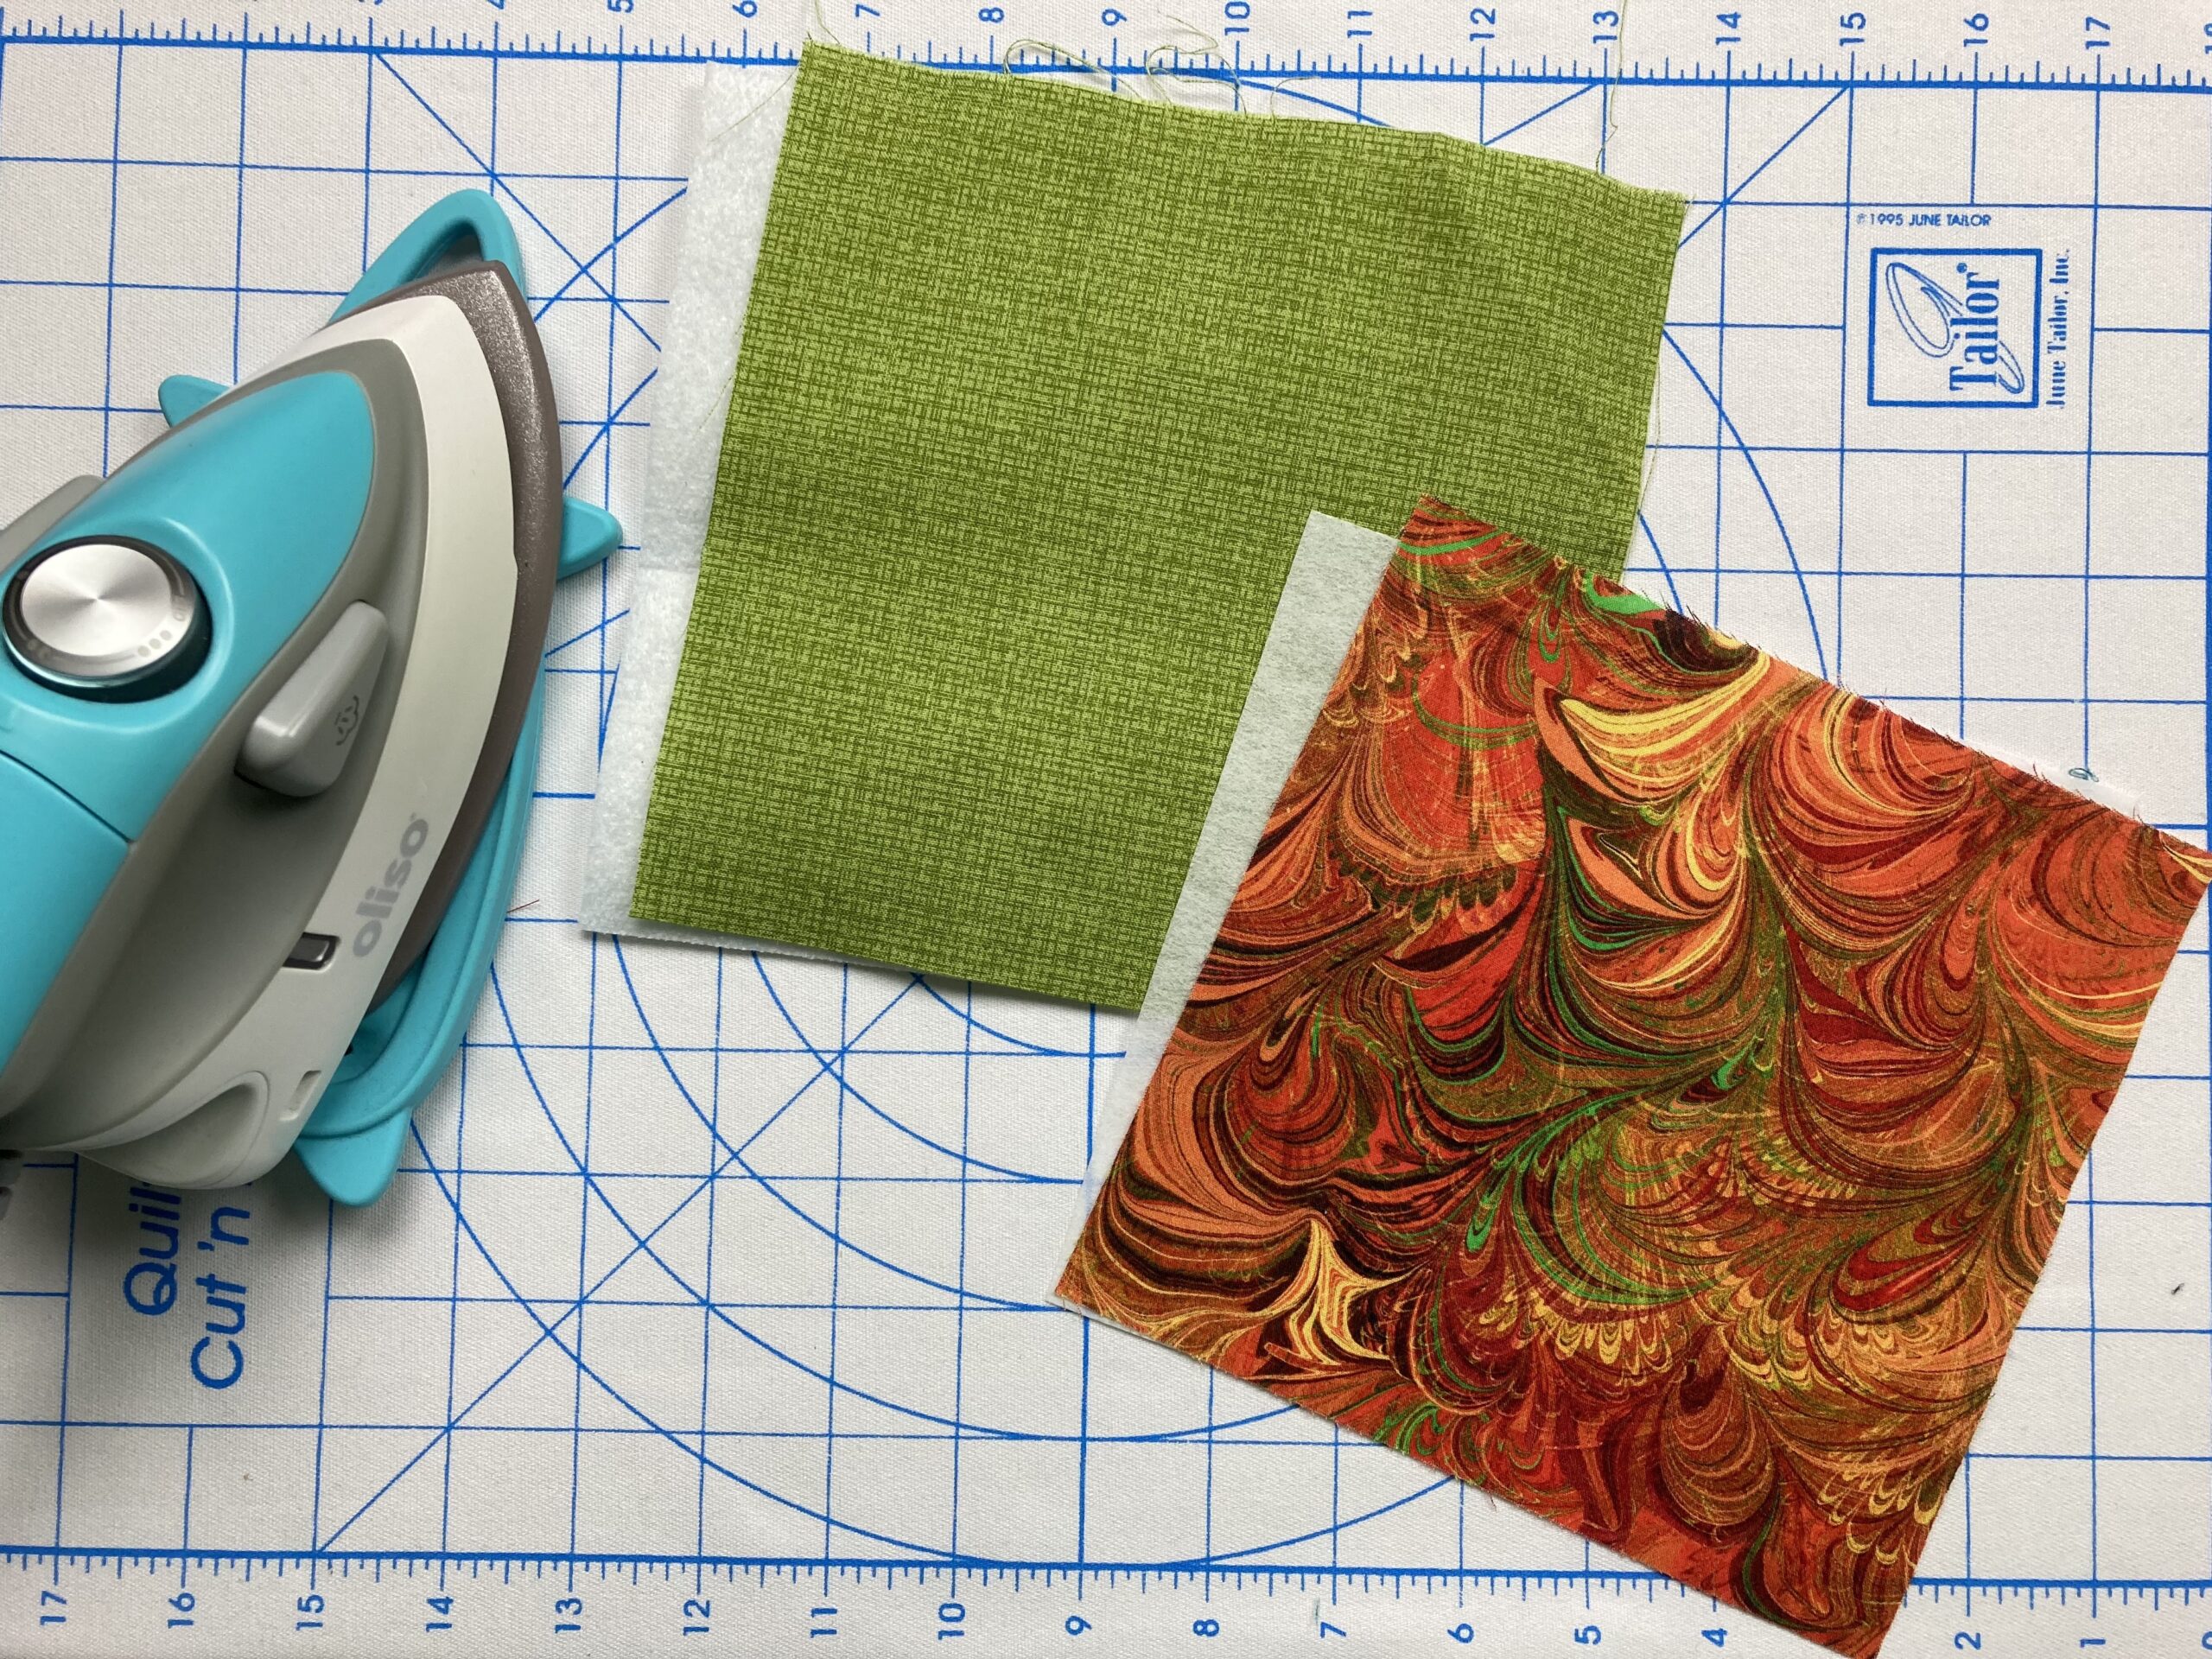
Step 1 Adhere a fusible fleece square to one fabric square and an interfacing square to a second fabric square. Use basting spray to fuse together to make a fabric sandwich.
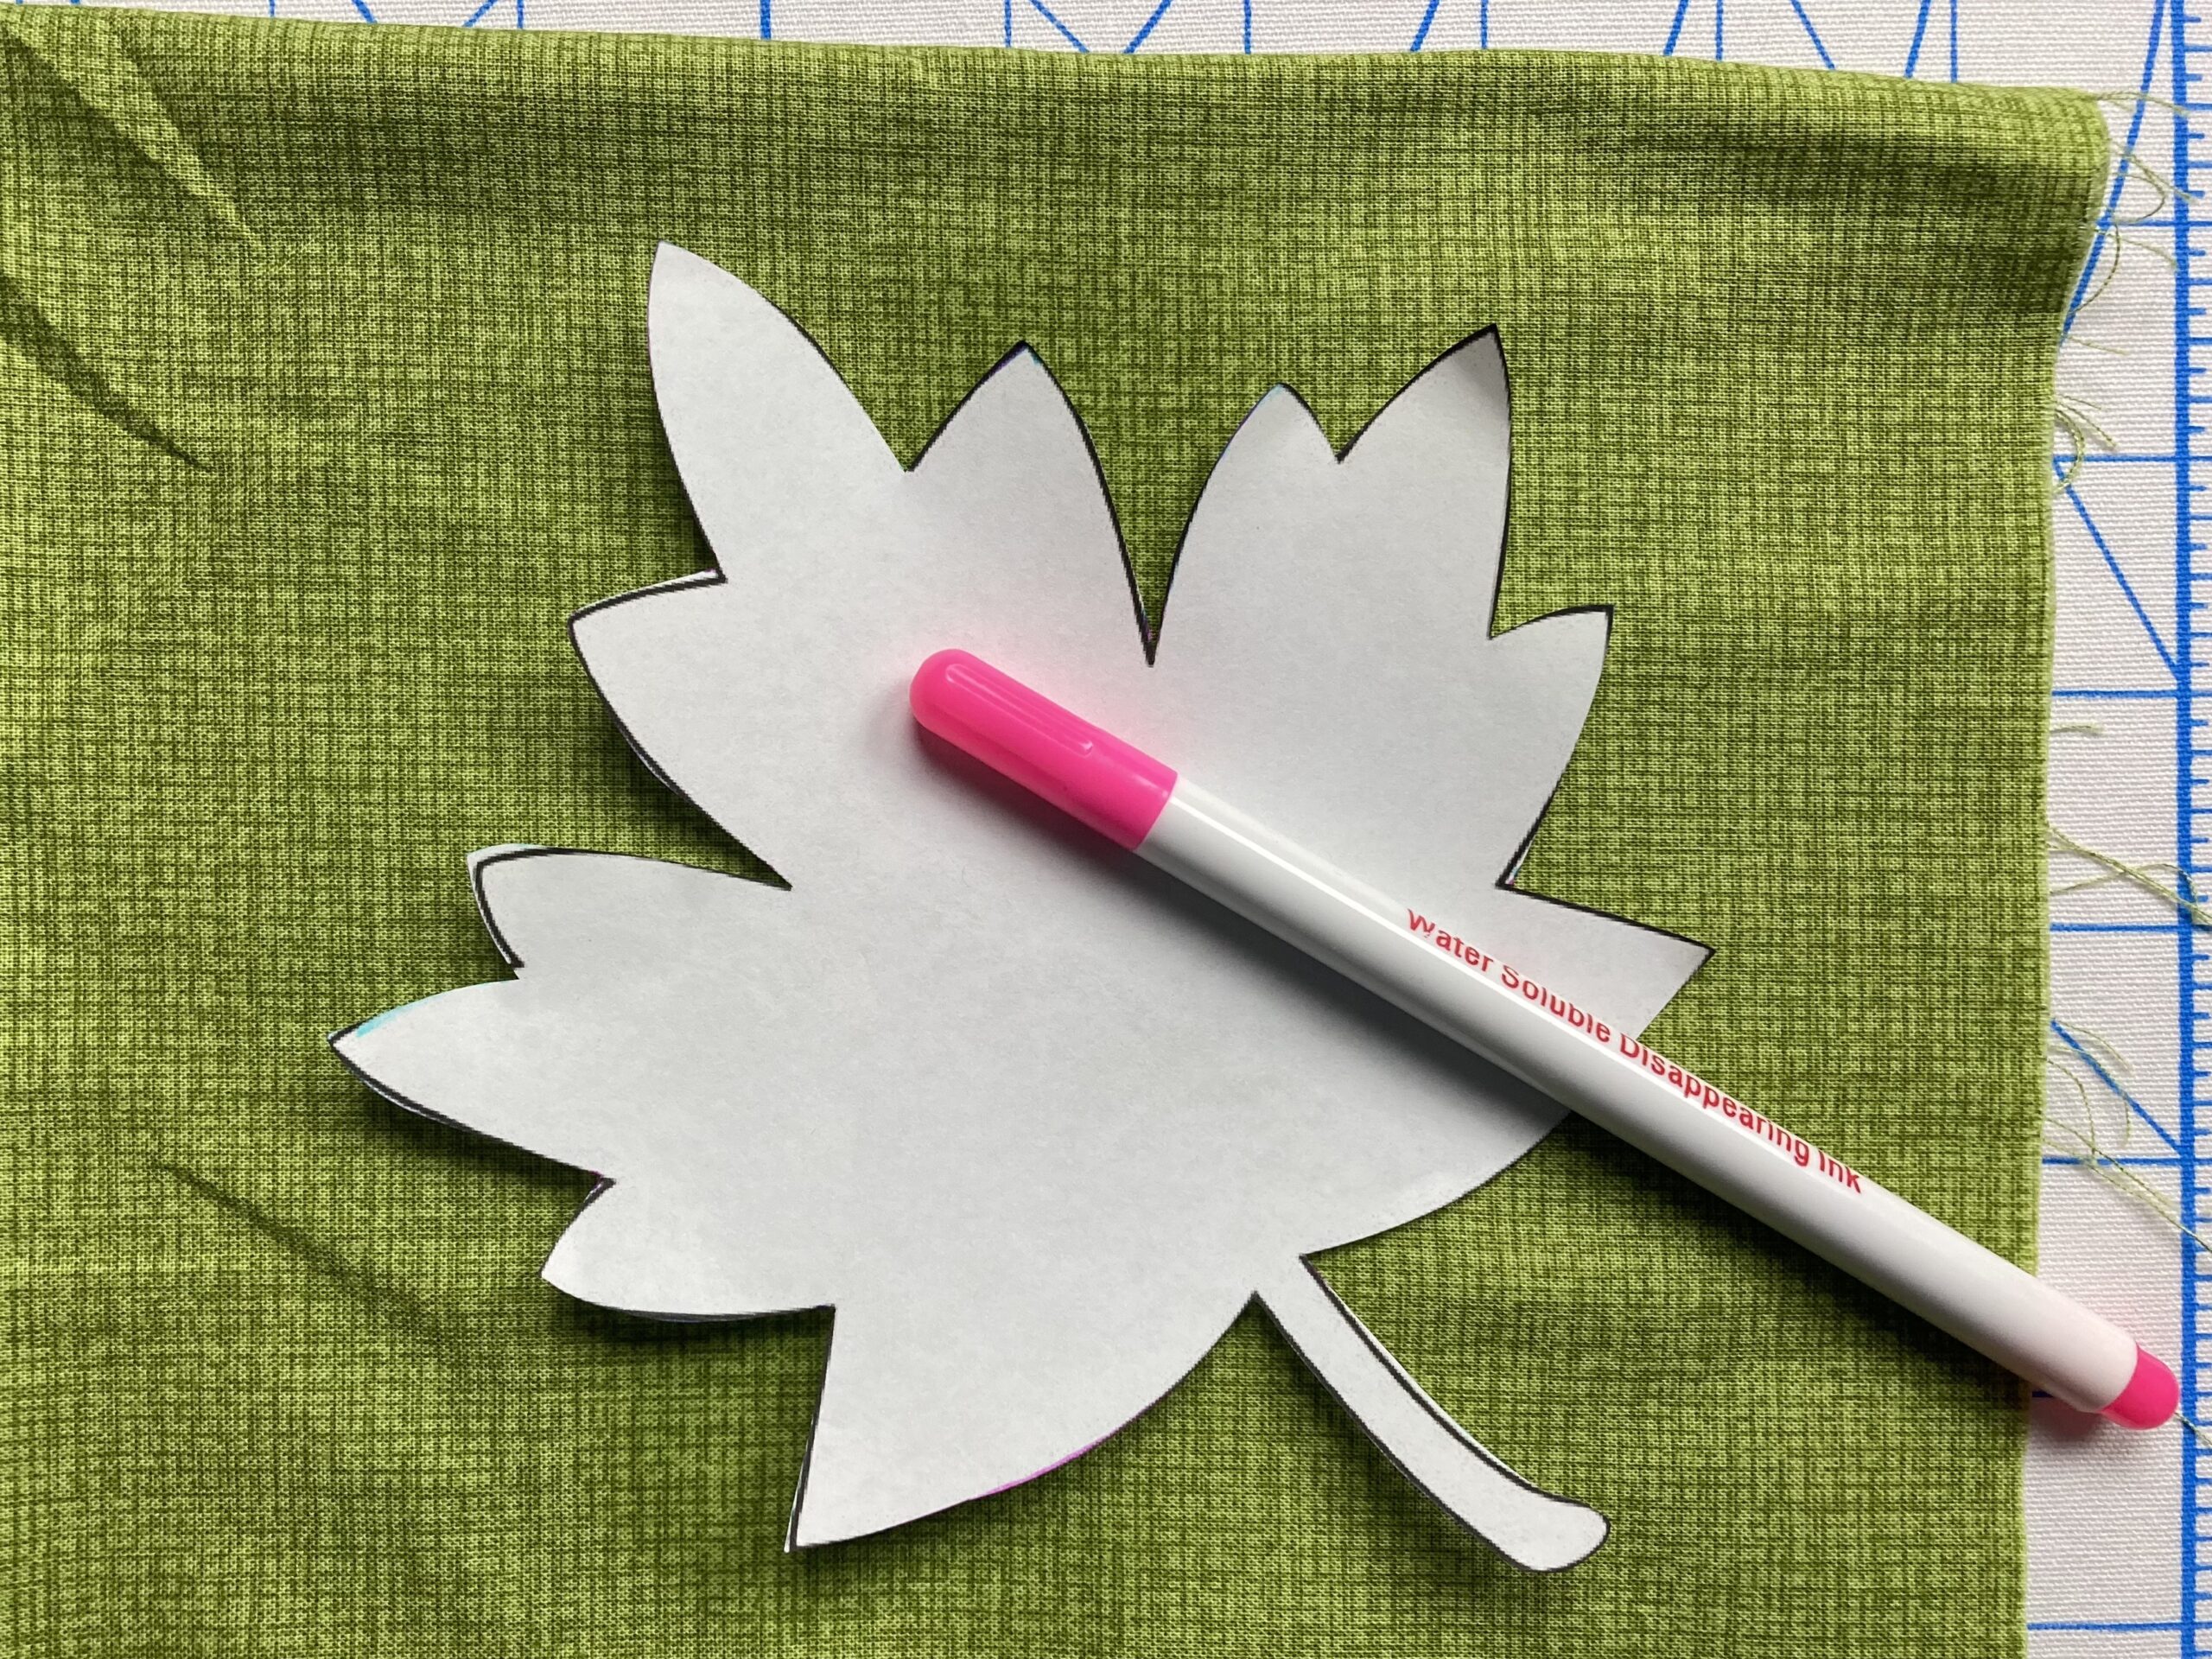
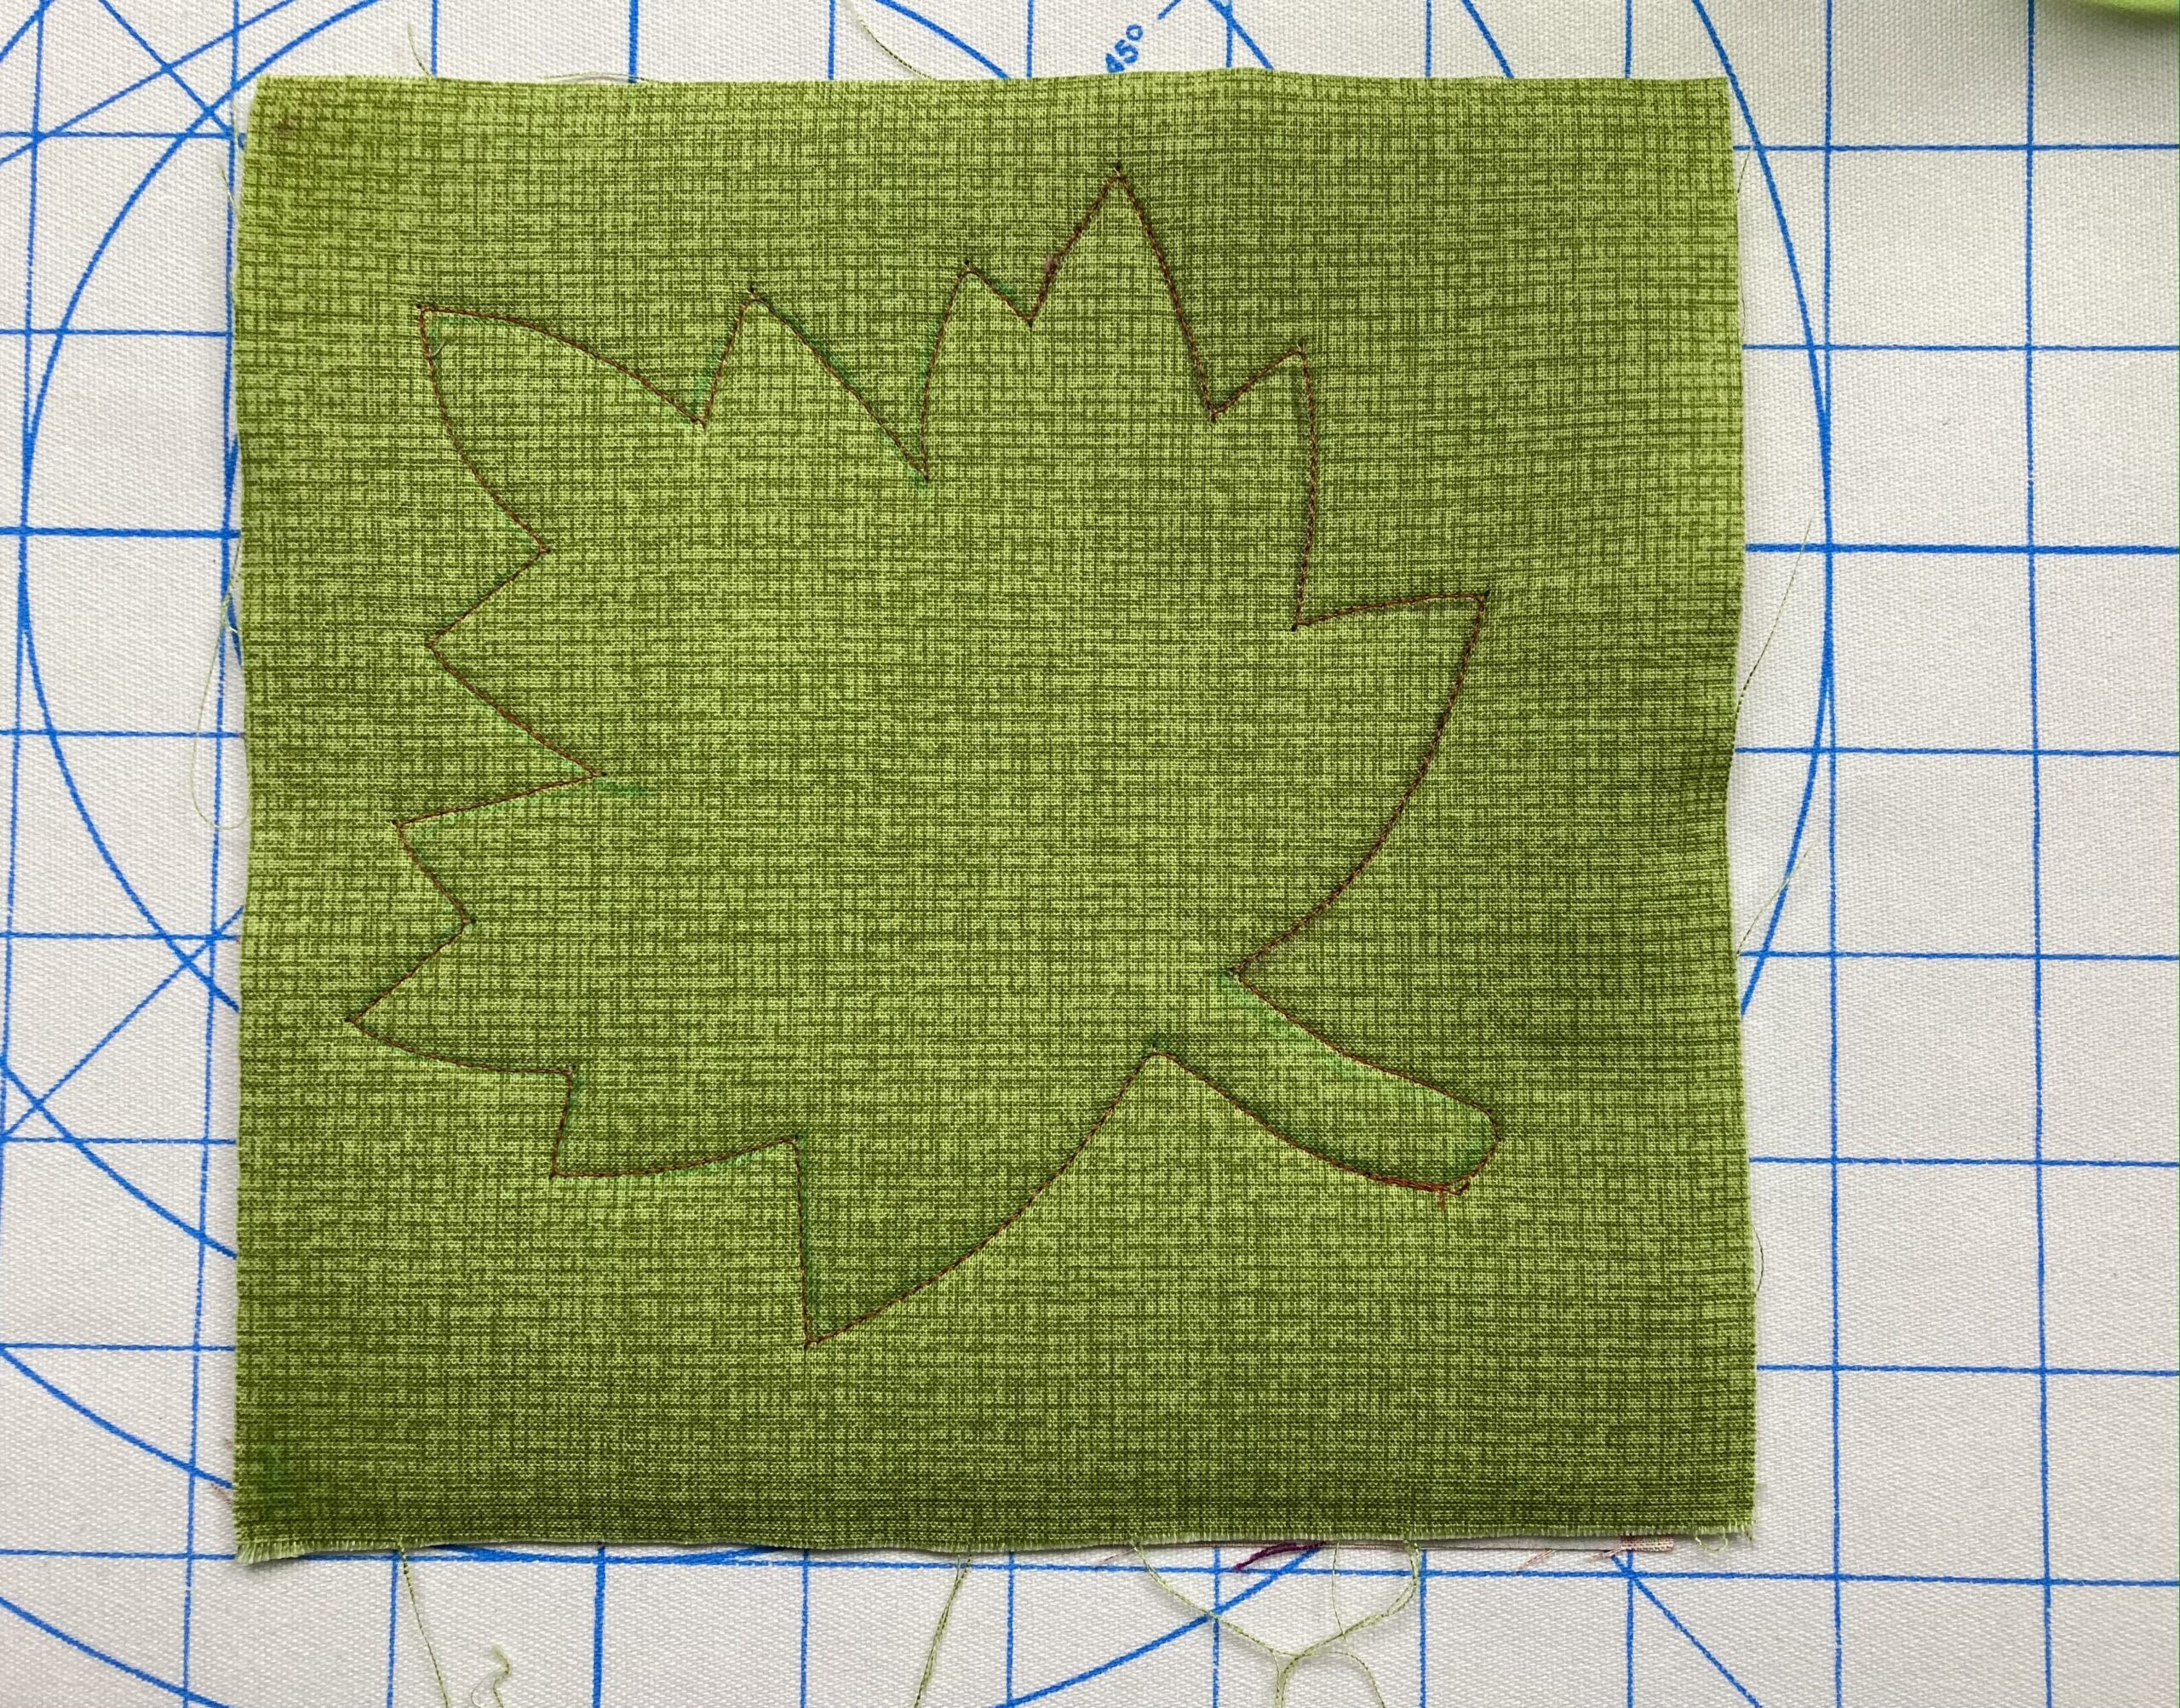
Step 2 Trace your desired leaf shape onto the fabric sandwich using a fabric marking pen. Tip: Trace the leaf onto the lighter-colored fabric so you can see your marked lines when you stitch.
Step 3 Stitch all the way around the leaf on the drawn line. Backstitch at the end to secure stitching.
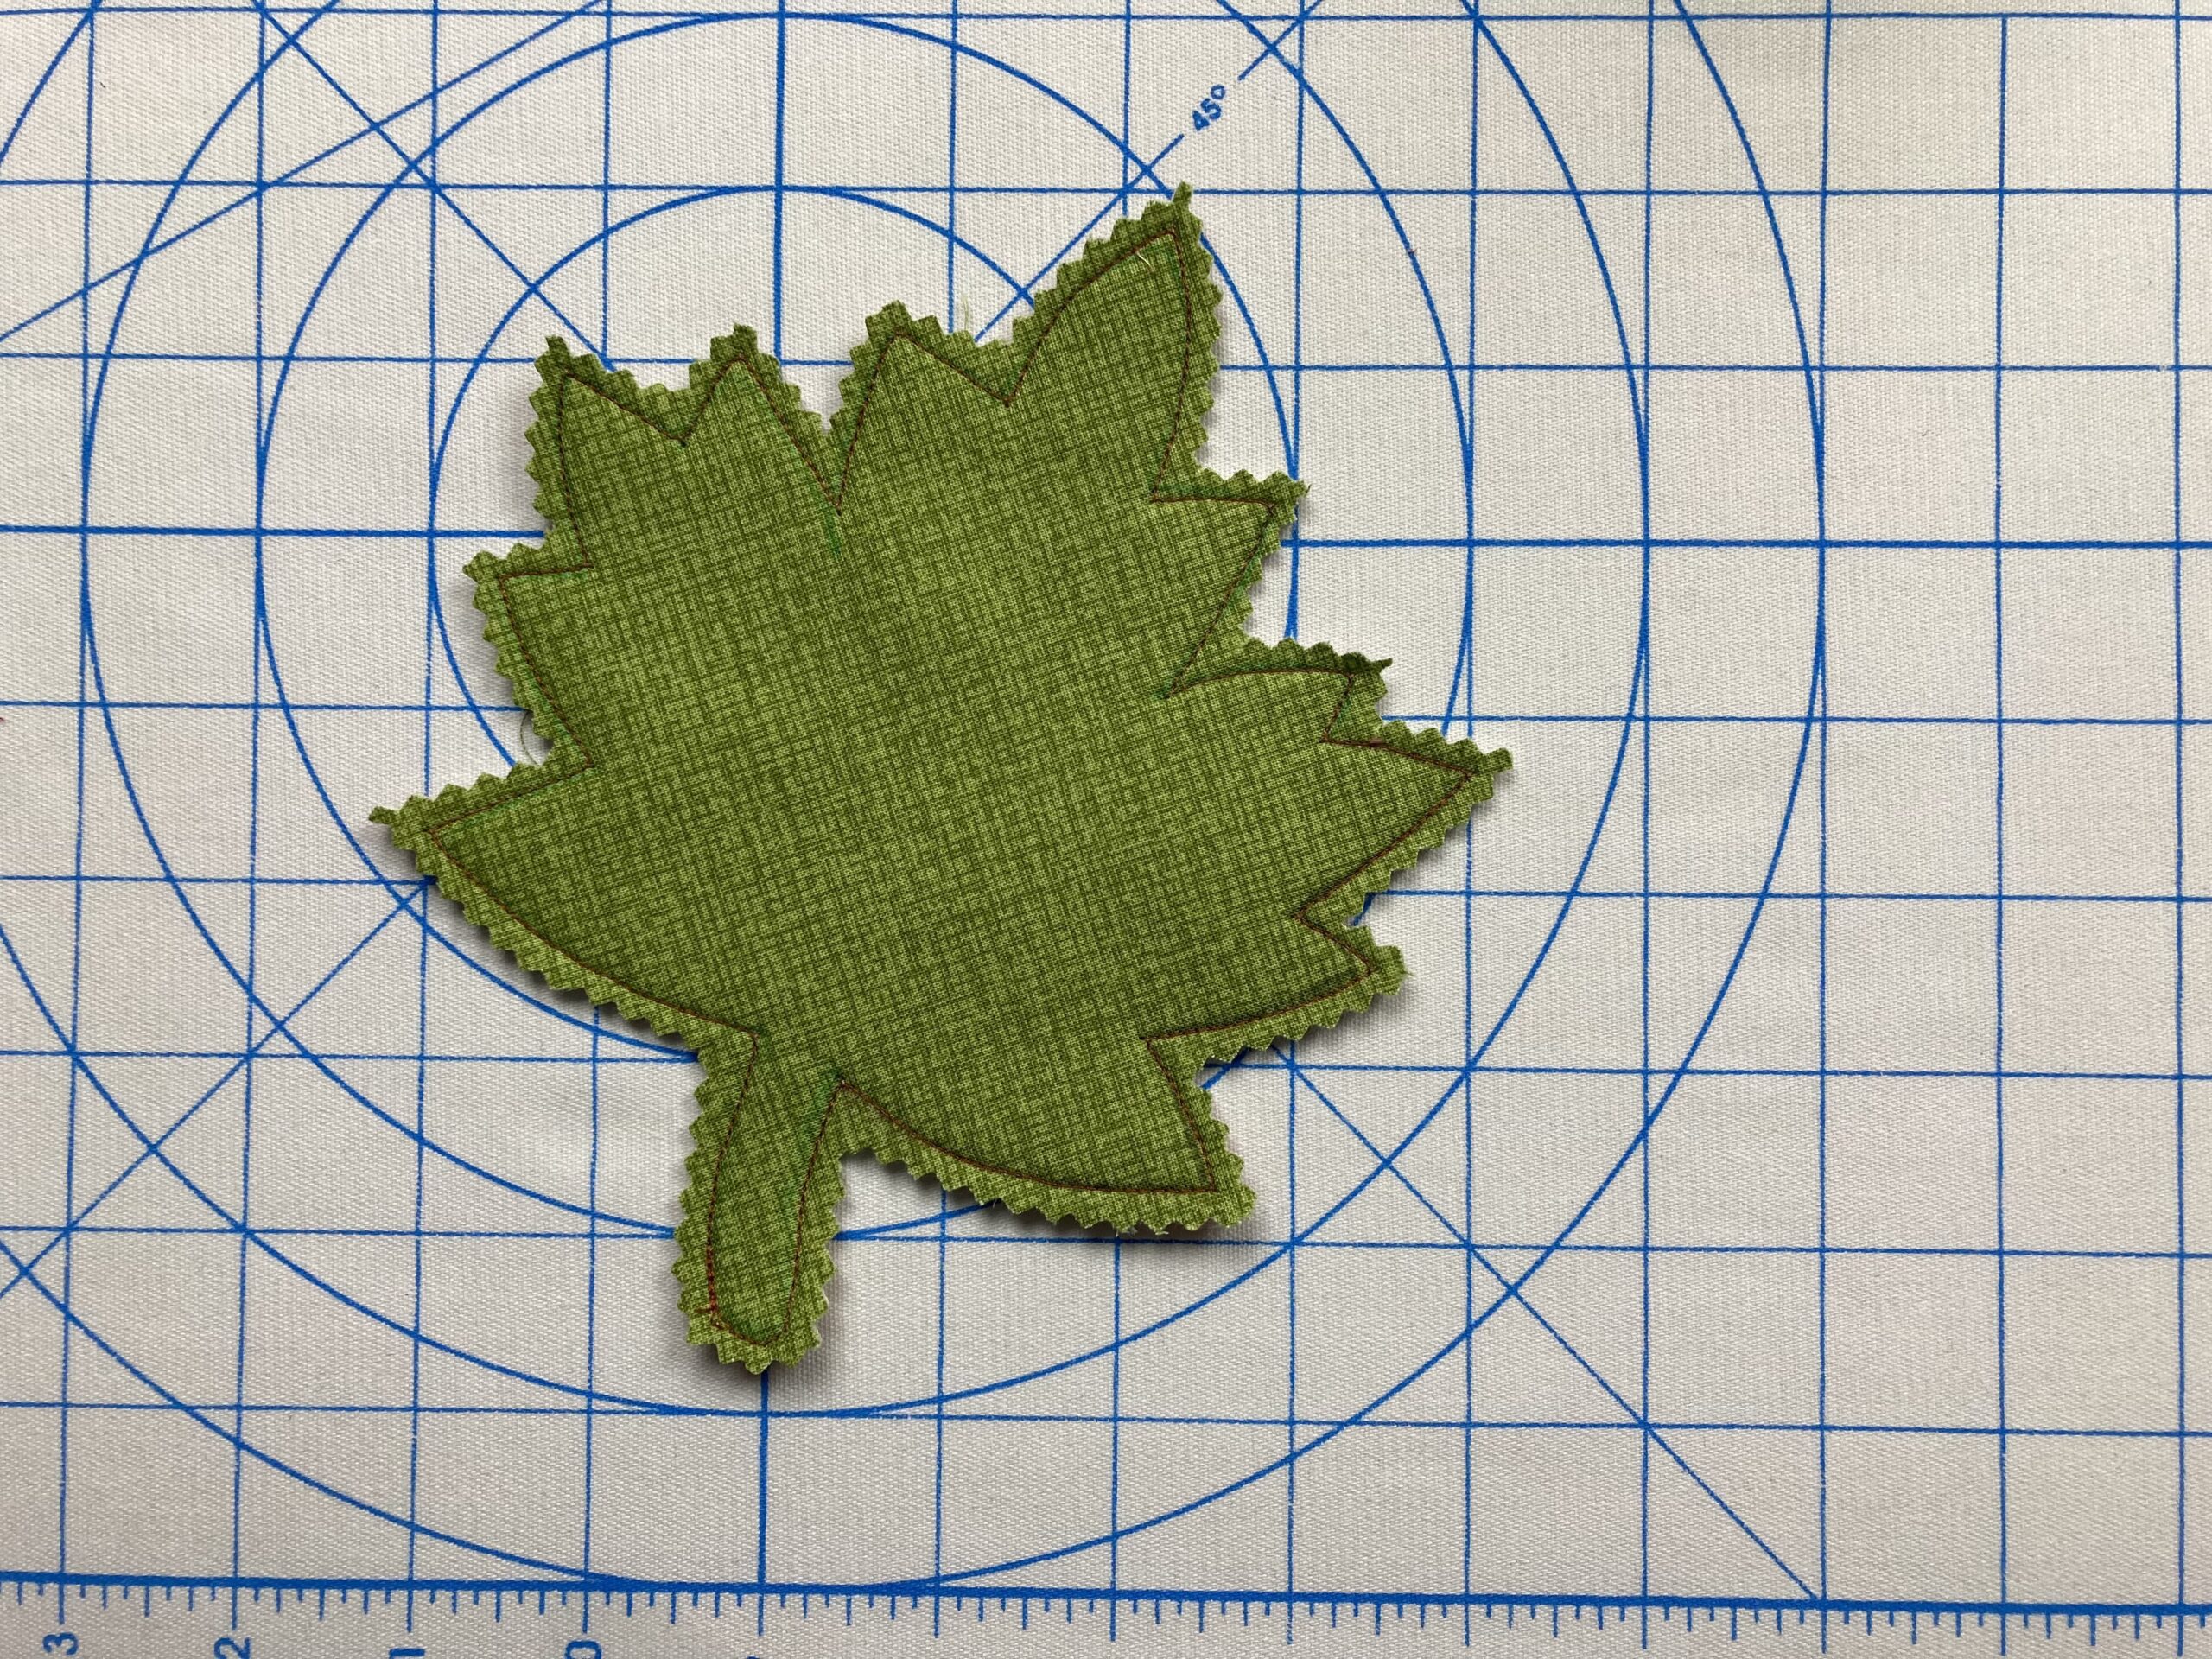
Step 4 Using pinking shears, cut out approximately 1/4″ past the stitched line.
Step 5 Using a free motion quilting foot, quilt leaf veins into the leaf.
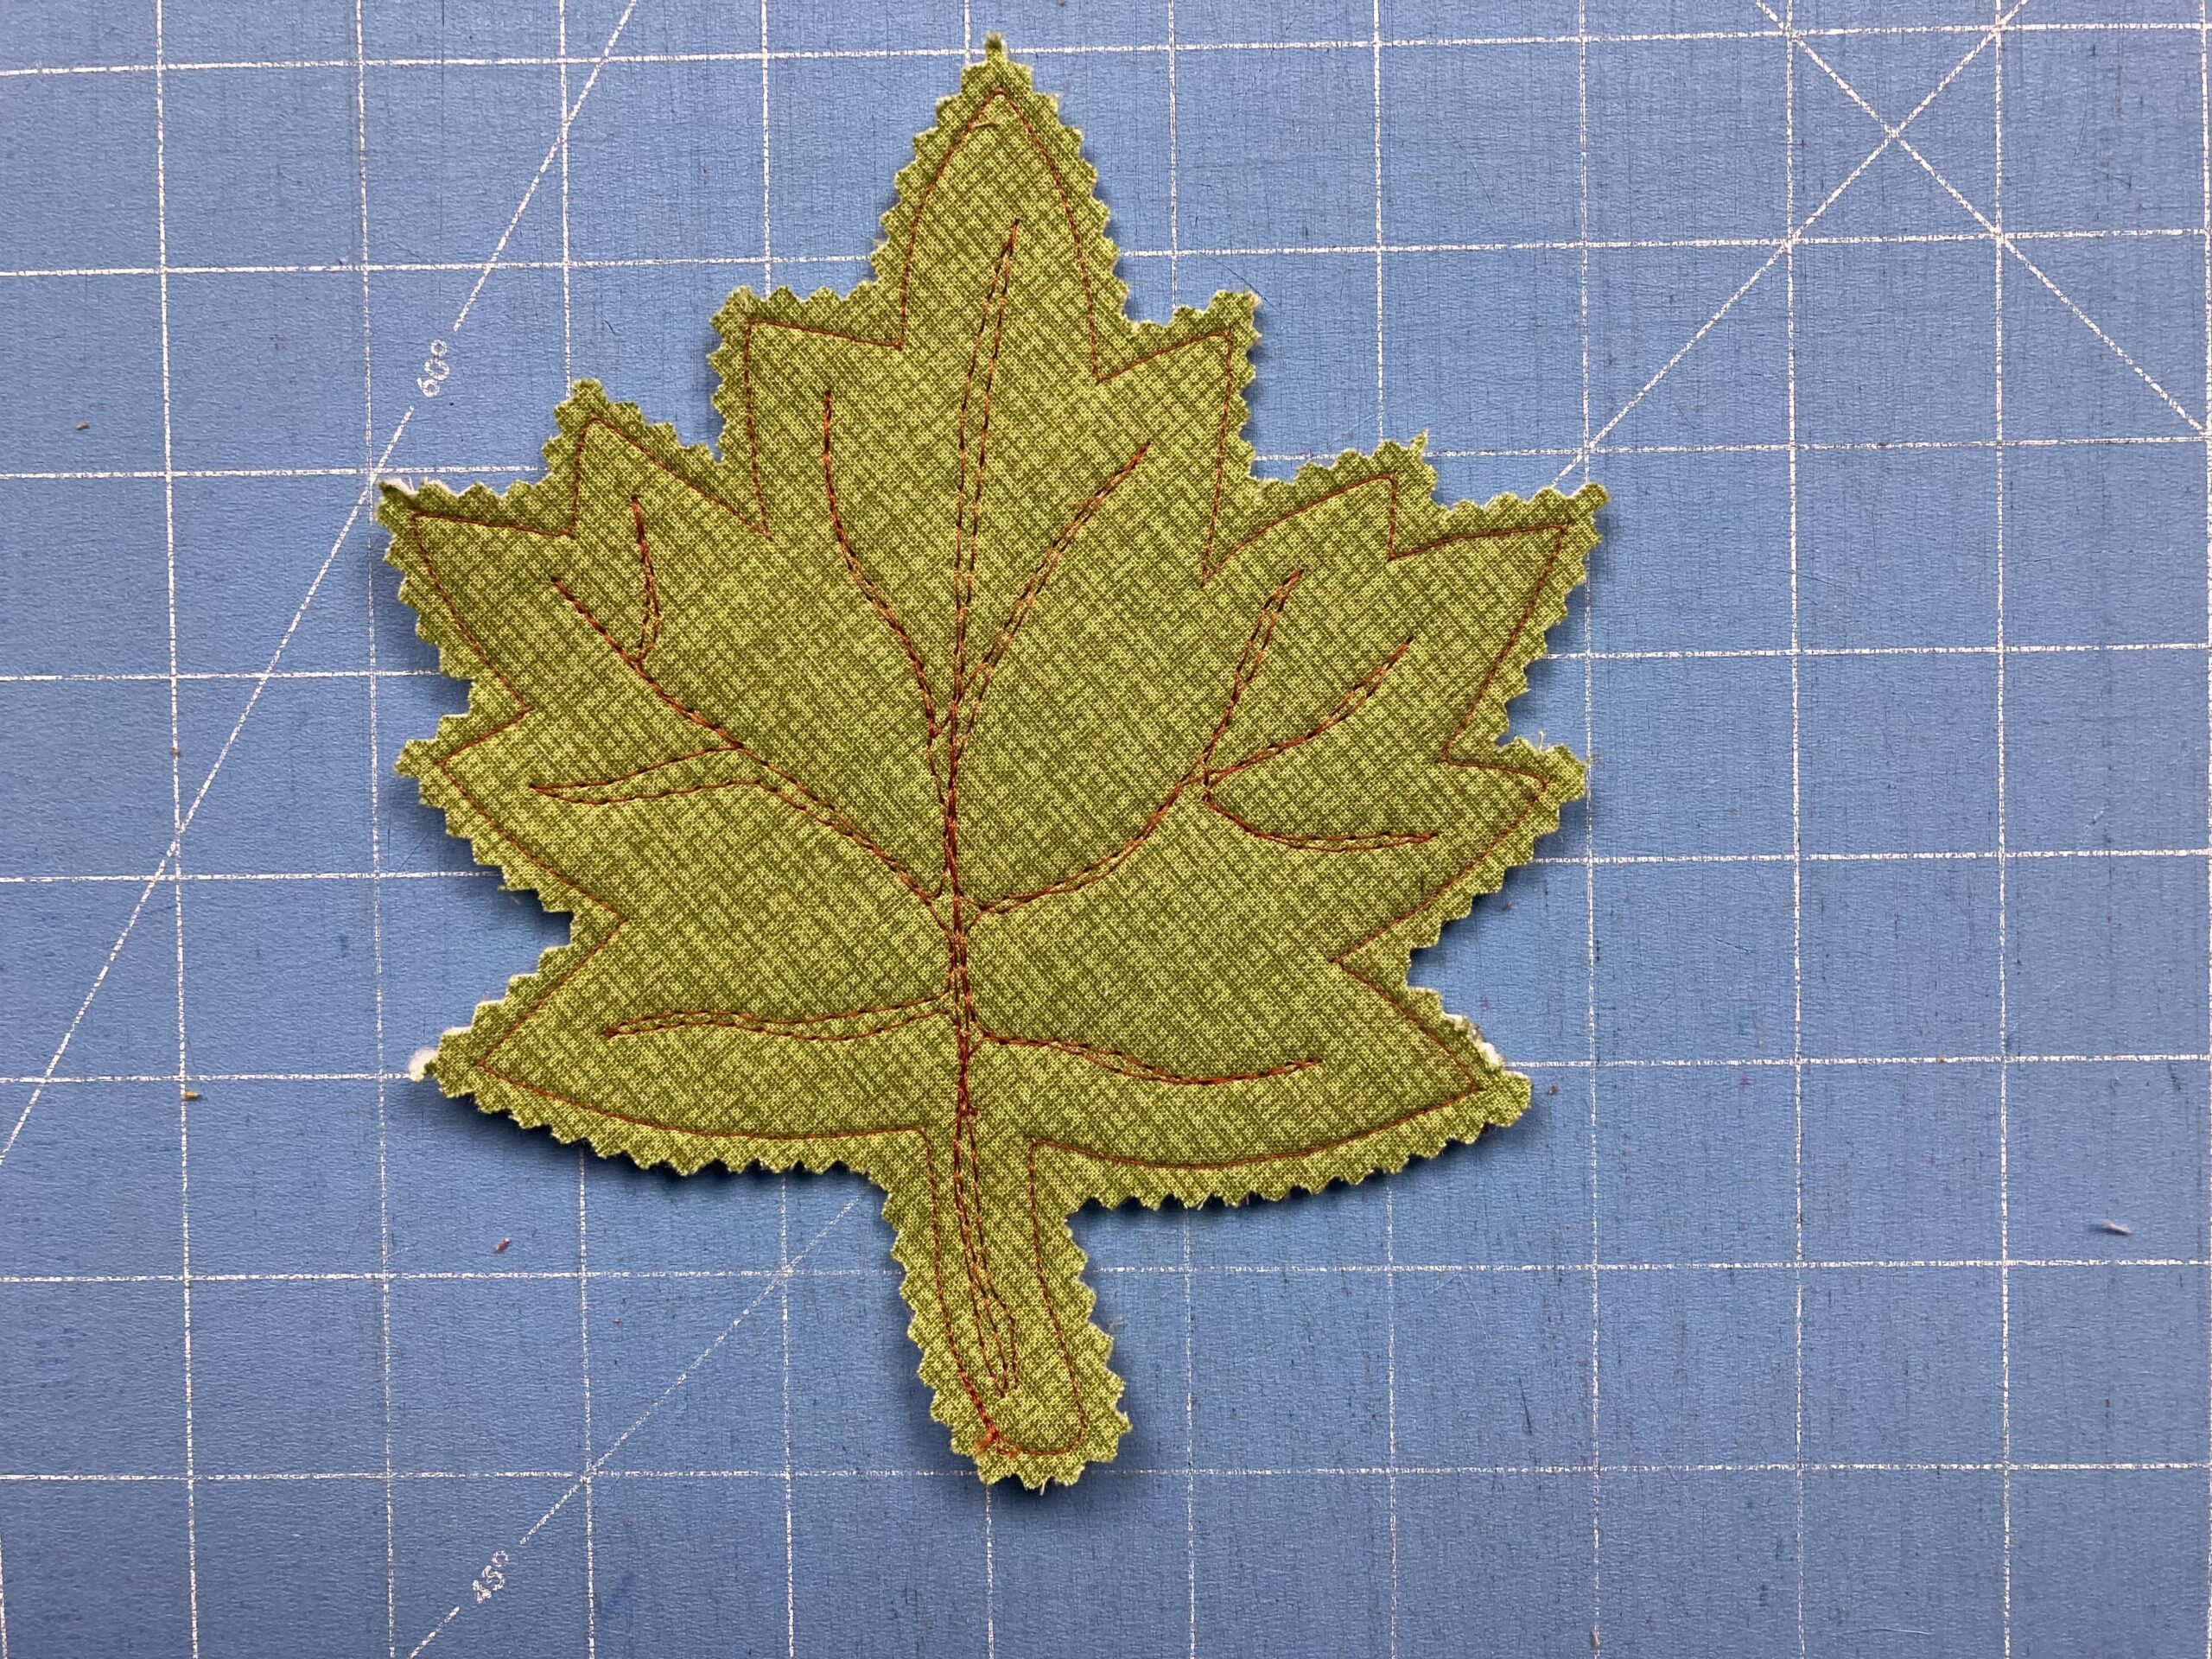
That’s it! And then repeat!
Happyfall!HappyFall!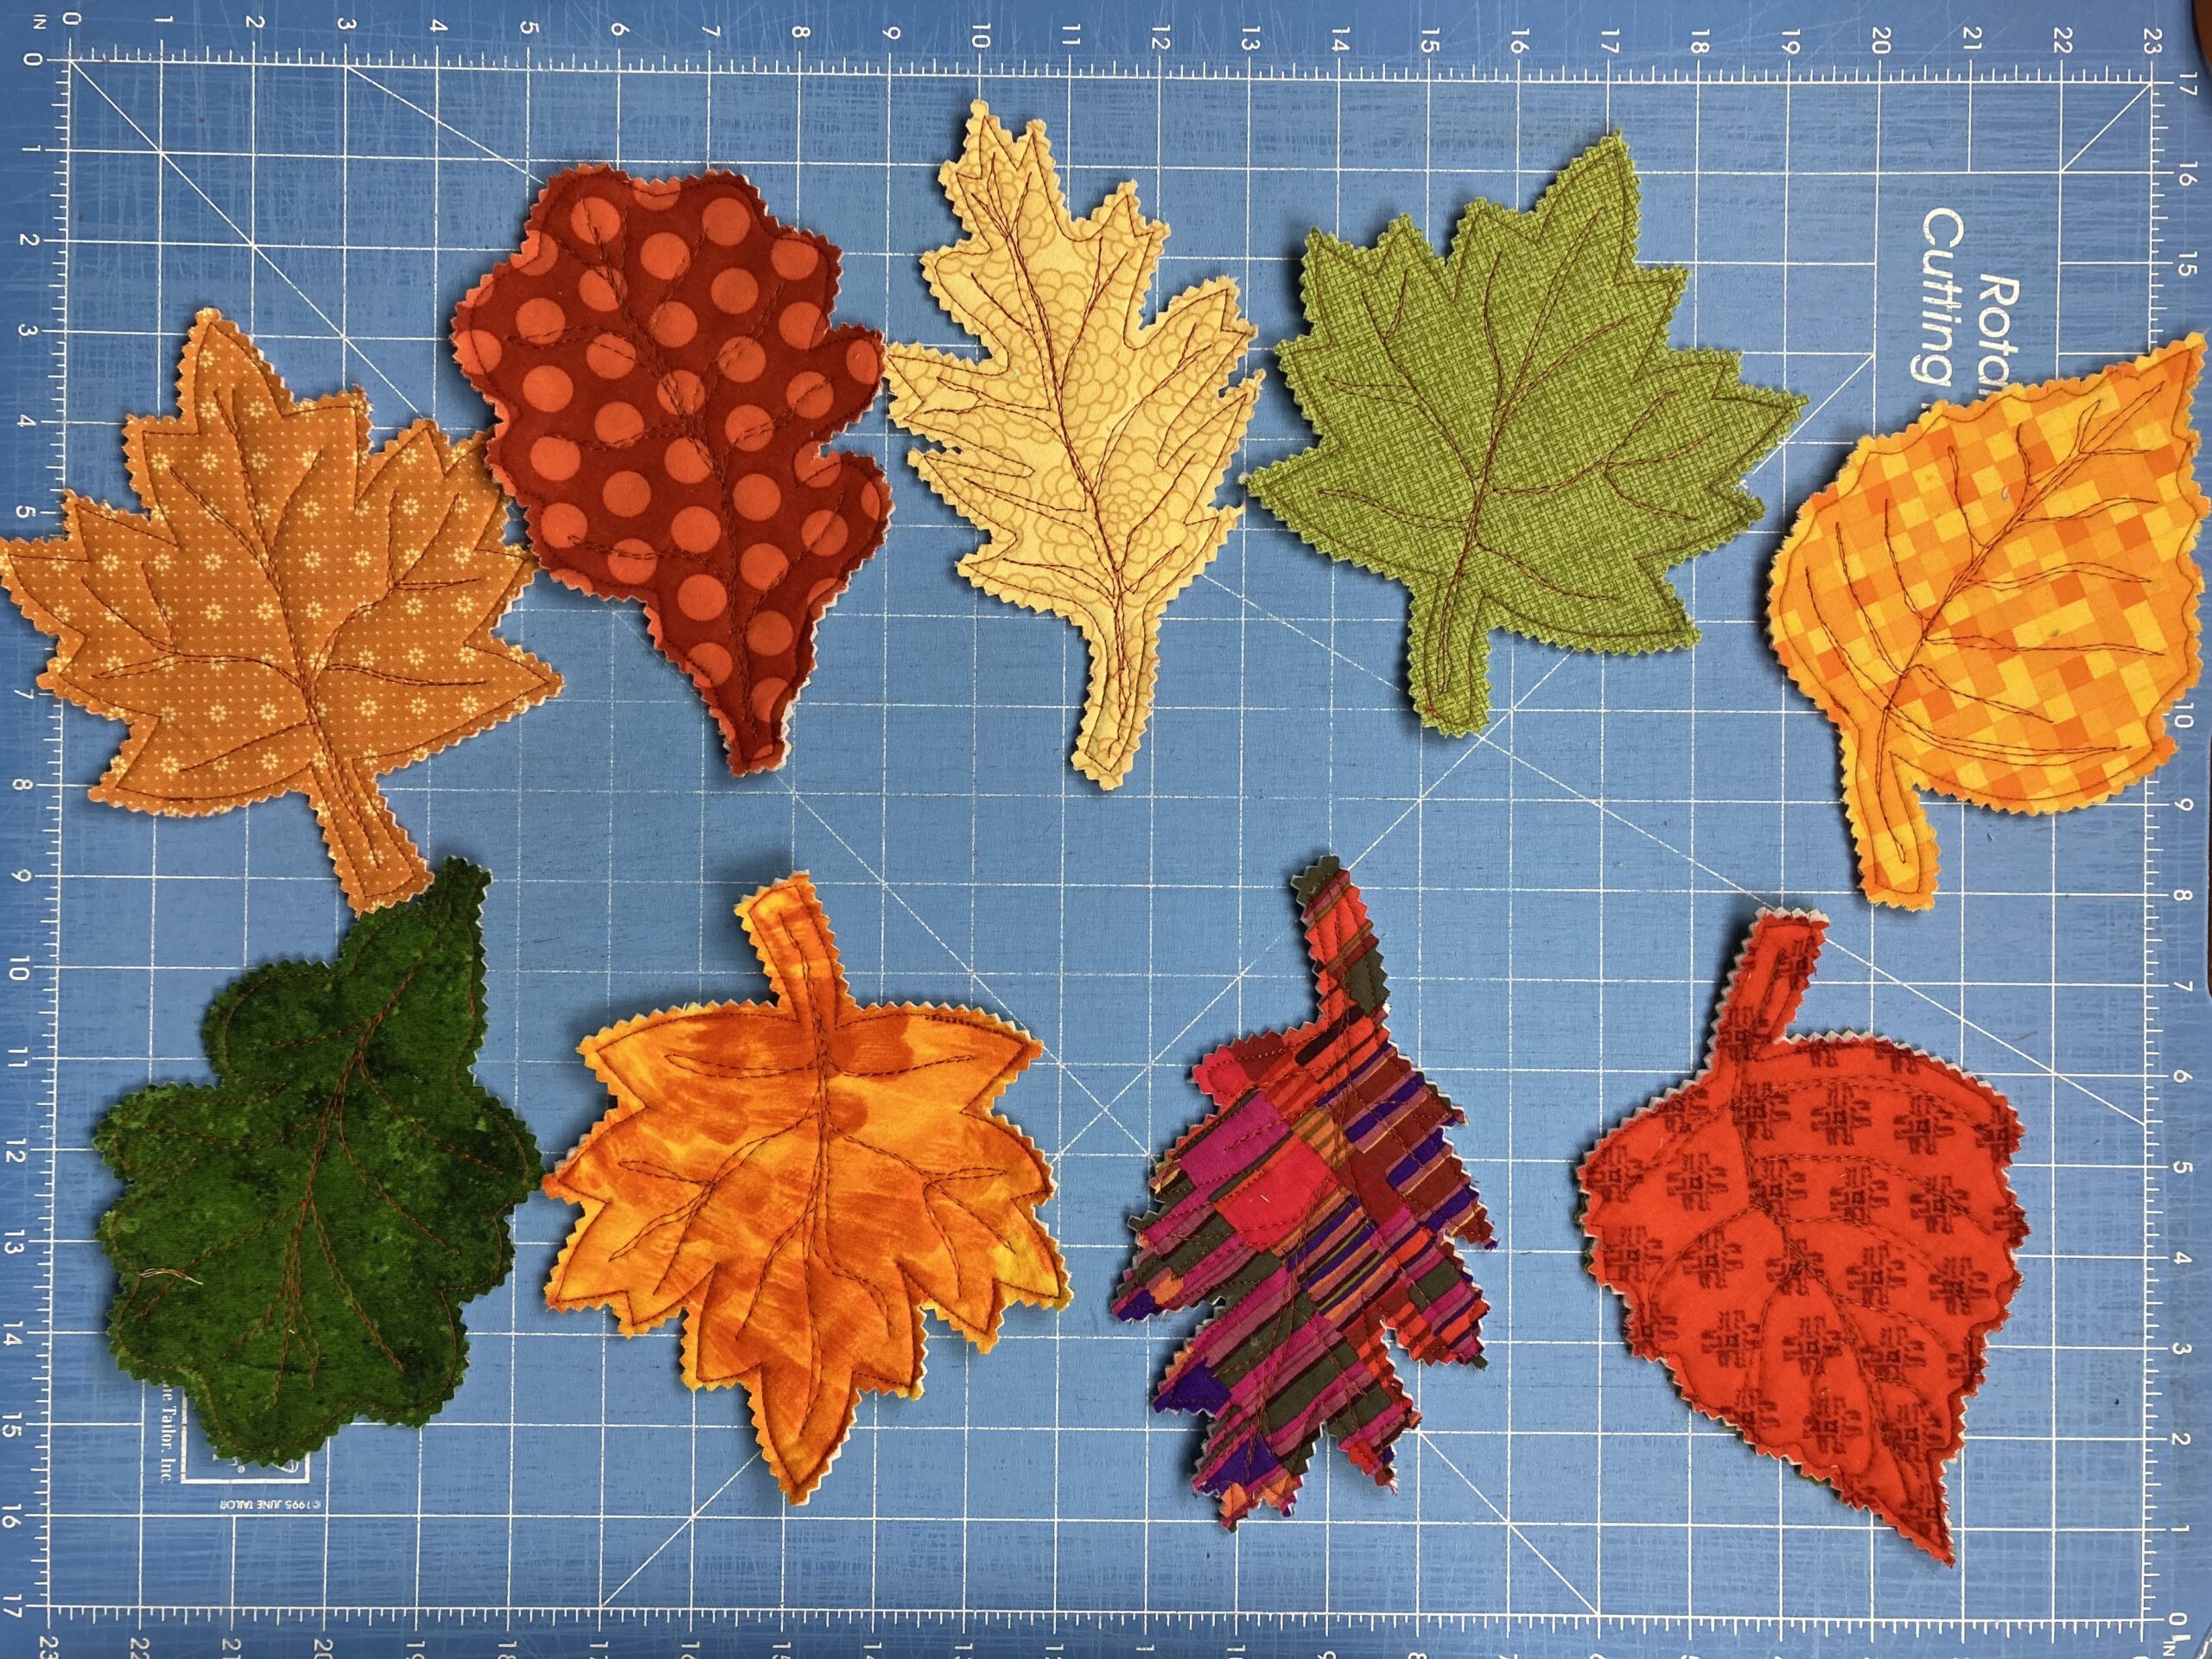