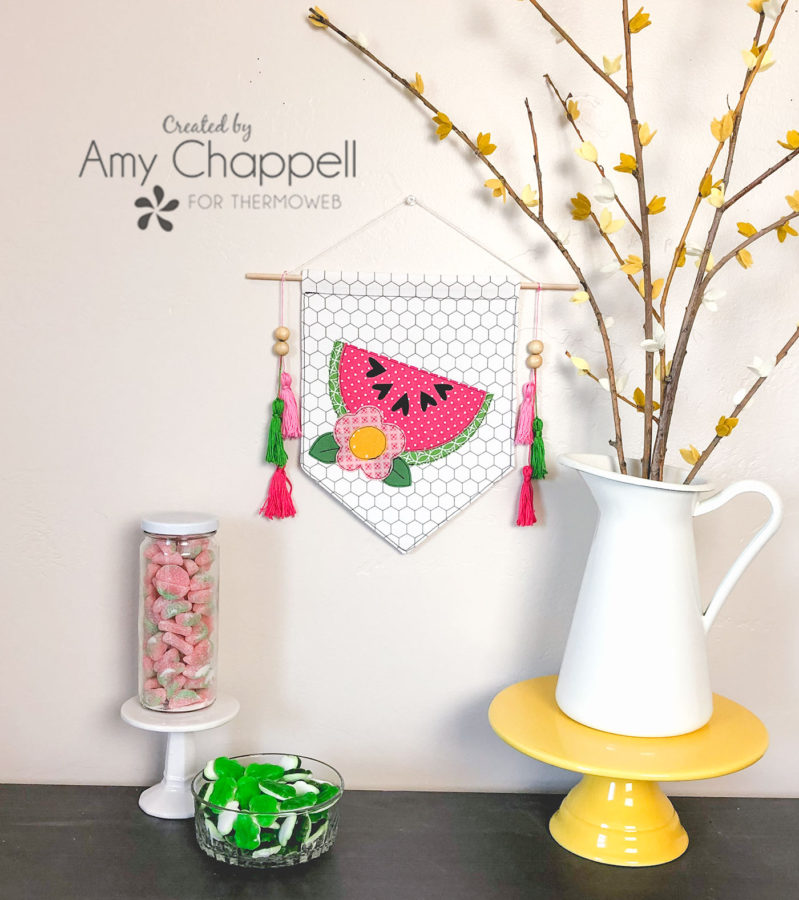
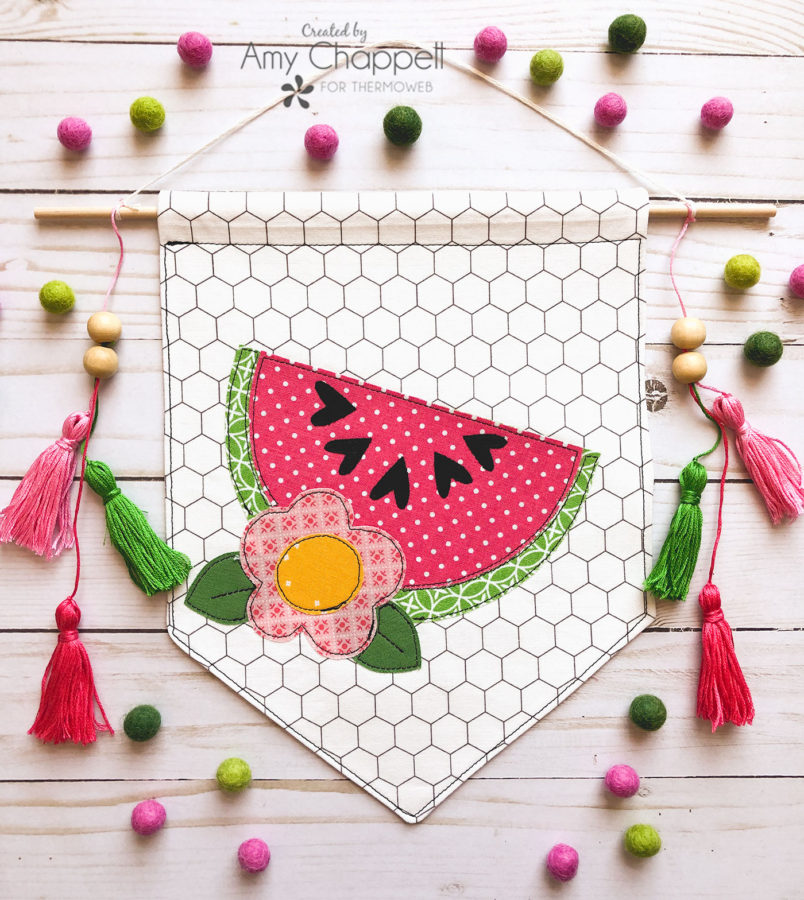
I love fun and simple projects for the summer. I can add accents to my home, but not take up a bunch of time I would rather spend outside. This Watermelon Applique banner is a quick and easy project to use on your porch, in your garden or in your home!
Watermelon Applique Banner Tutorial
Supplies:
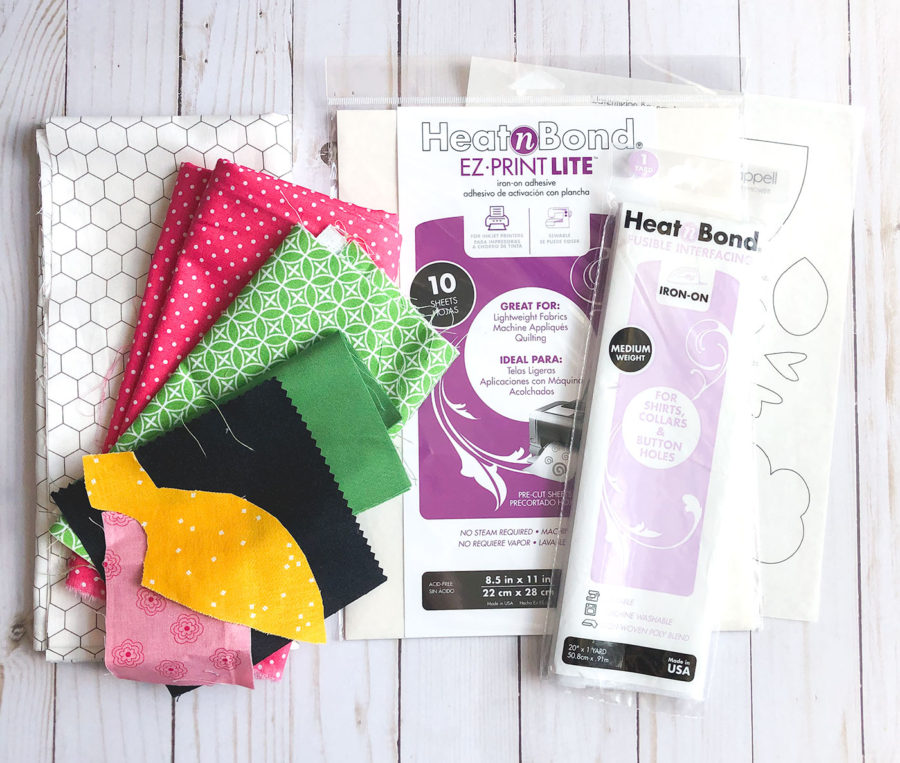
- watermelon banner applique pattern
- Heat n Bond EZ – Print Lite
- Heat n Bond Medium Weight interfacing
- Fabric – fat quarter for banner and scraps for applique
Prepare Fabric for banner and Applique
*note: if you want to sew this exact banner, you can find the directions in the tutorial on my blog here: Welcome Wall Banner, otherwise use your favorite banner method. If using my tutorial, cut the banner fabric into rectangles and then cut a rectangle of fusible medium weight interfacing 1/4″ smaller than the fabric. Fuse the interfacing onto the wrong side of the fabric for the front of the banner. Cut out the banner shape, then add the applique before assembling the banner.
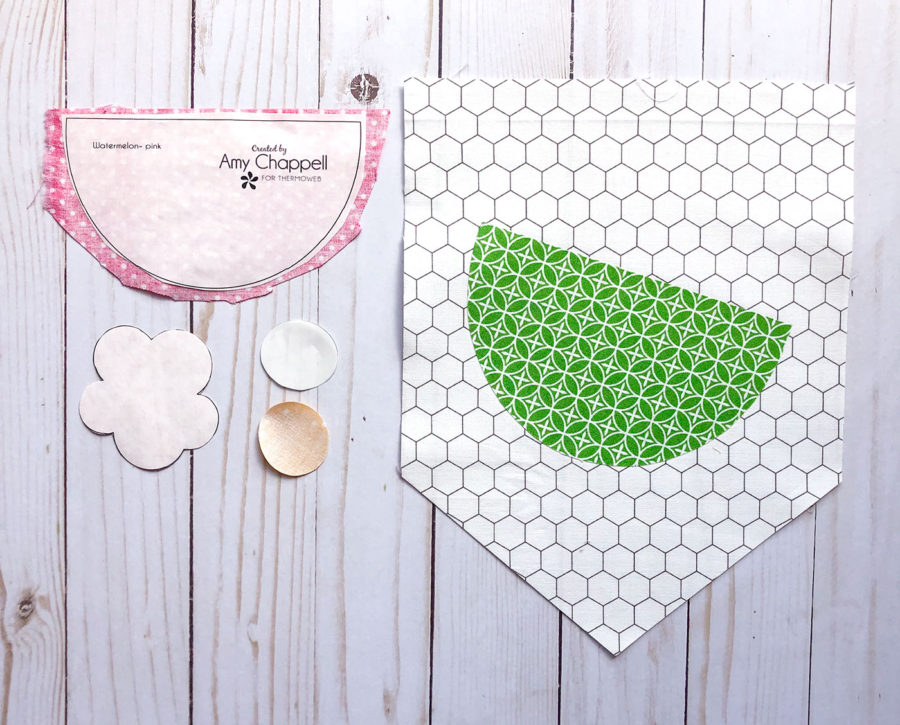
- Print the applique pattern onto a sheet of the Heat n Bond EZ Print Lite
- Cut out each pattern piece leaving a slight margin around each one.
- Fuse the applique pattern onto the wrong side of the fabric chosen for the piece.
- Cut out the pattern piece on the printed lines.
- Remove the paper backing from the applique pieces.
- Arrange the applique as desired on the front fabric piece for the banner.
- Fuse the applique into place.
Finish Watermelon Applique Banner
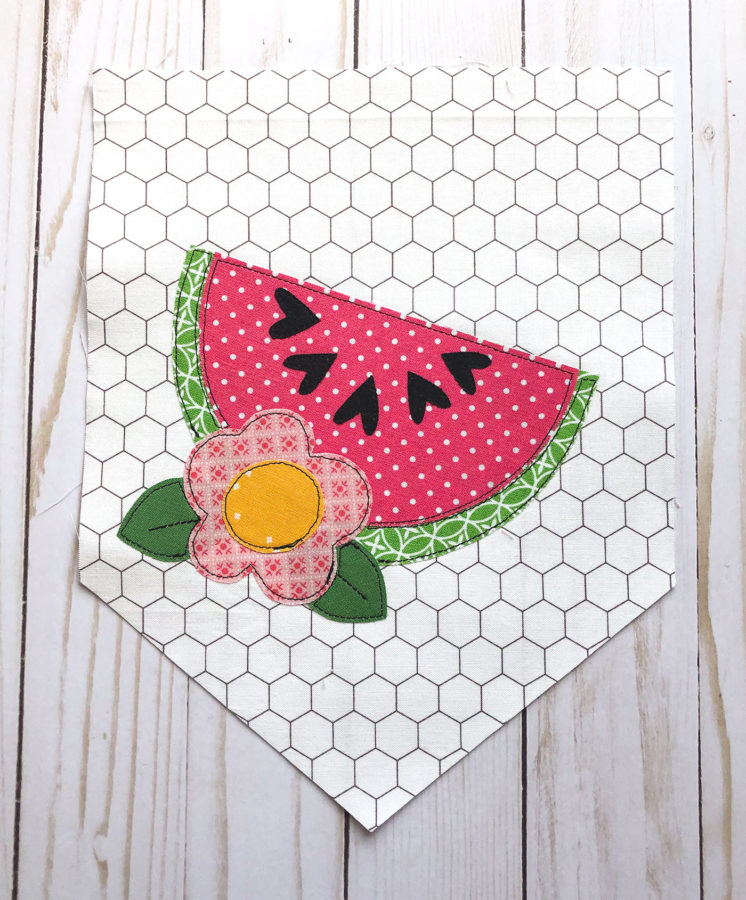
- Use a narrow zig-zag stitch or a straight stitch to sew around each of the applique pattern pieces. I chose to use a black contrasting stitch to outline the applique pieces.
- Assemble the banner using your method of choice.
- Embellish as desired. I made tassels using embroidery floss to add some color and texture to my banner.
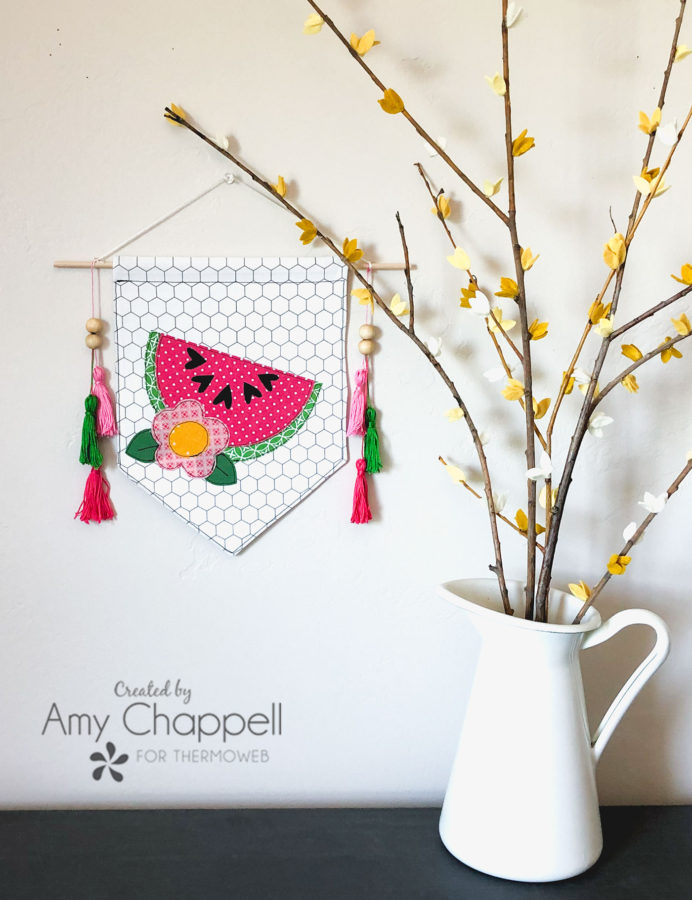
Banners make great additions to gallery walls, on front doors or as a focal point in a room. There are so many fun ways to style a banner!
Happy sewing friends! xoxo, Amy
