Hi hi!!! I hope everyone is staying safe during this interesting time in everyone’s life. It’s Katrina from Paper, Scissors, Glue and Hybrid Too sharing a hybrid layout using a couple of different colors of Gina K’s Glitz Glitter Gel.
Birthday Scrapbook Layout
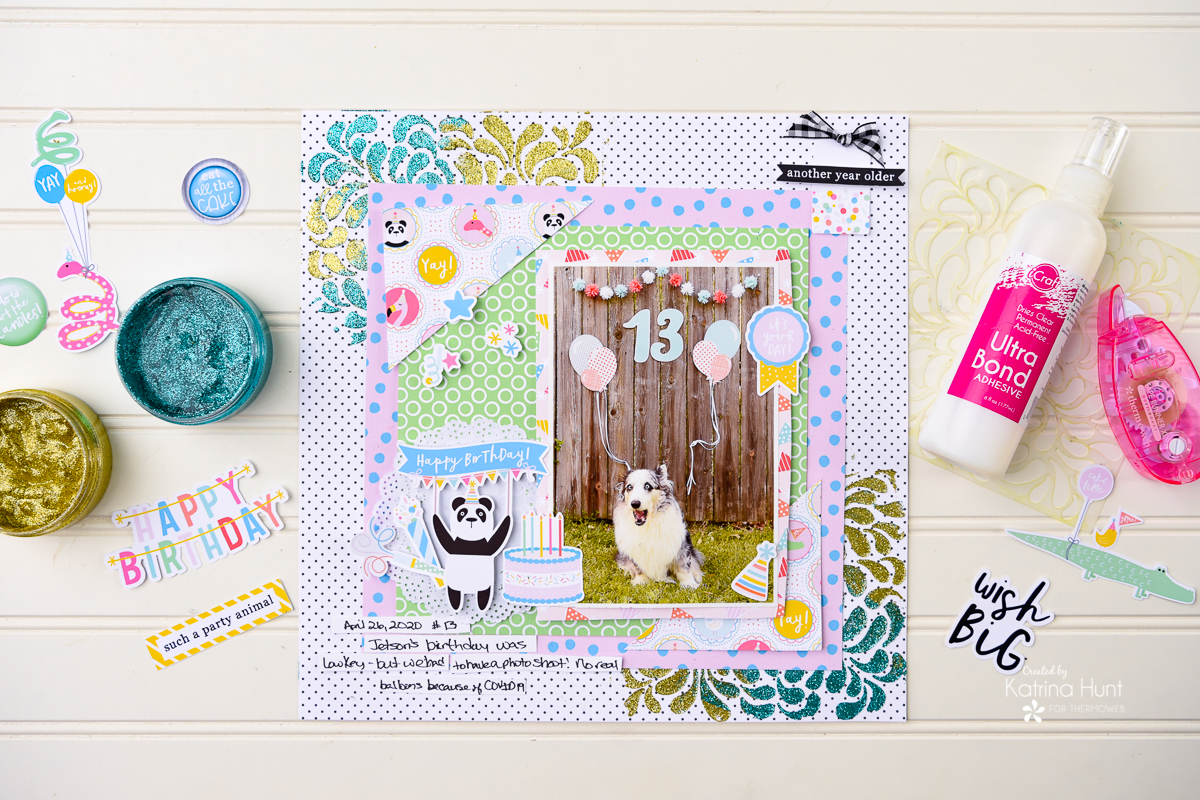
Therm O Web Supplies Used:
Therm O Web Memory Runner XL
Therm O Web Memory Runner XL Refill
Zots – Small Package
Zots – Small Box
3D Foam Squares -1/2 inch
3D Foam Square -1/4 inch
iCraft Deco-Foil Foam Adhesive Sheets – White
iCraft Purple Tape 1.5 inch
iCraft Purple Tape .5 inch
Gina K Designs Glitz Glitter Gel – Turquoise Sea
Gina K Designs Glitz Glitter Gel – Gold
Gina K Designs Gingham Ribbon – Black and White 10 yards
iCraft Ultra Bond Liquid Adhesive 2oz Bottle
iCraft Ultra Bond Liquid Adhesive 6oz Bottle
Other Supplies Used
Catherine Pooler Designs Stencil – Swoop
Digital Scrapbook Collection by Becca Bonneville – Sprinkles
Layout Steps
This was Jetson’s 13th birthday and we have been celebrating birthdays big since you never know how long you will have your furry friends. This look cracks me up and got the most comments when I posted it to my Facebook page, so I had to scrap it! And his birthday was during our stay at home orders, so we had to get creative with die-cut paper balloons and a banner I have hanging in my crafty area!
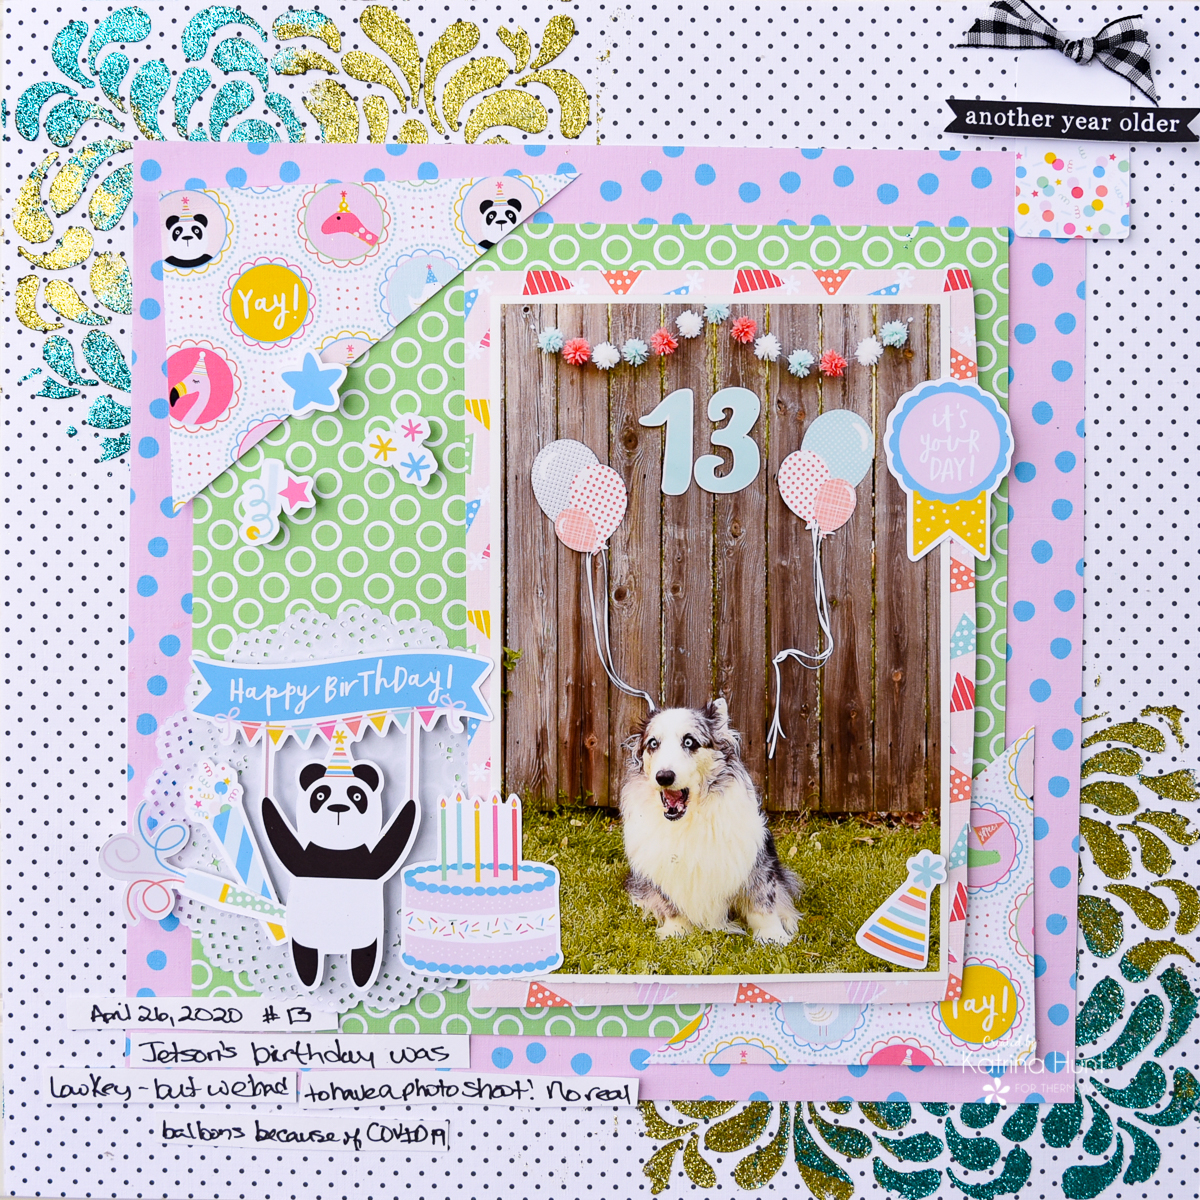
Since this is a hybrid layout, I started by printing out all my papers and die-cut elements I wanted to use. I do have a wide format printer, but you could easily do this on an 8.5×11 regular printer and either scrap a smaller size, or just use a 12×12 sheet of cardstock for your background. Especially since you are adding a stenciled image to the background paper.
After I had that done, I started matching colors of the Gina K Glitz Glitter Gel to the colors in the paper collection. The Turquoise Sea and Gold were the colors that worked best with the paper collection, so away I went!
I took the stencil I was planning on using and taped it with Purple Tape in one corner. I used a palette knife to spread the glitter gel over the stencil. While spreading the glitter gel, I made sure to overlap the colors for a fun effect.
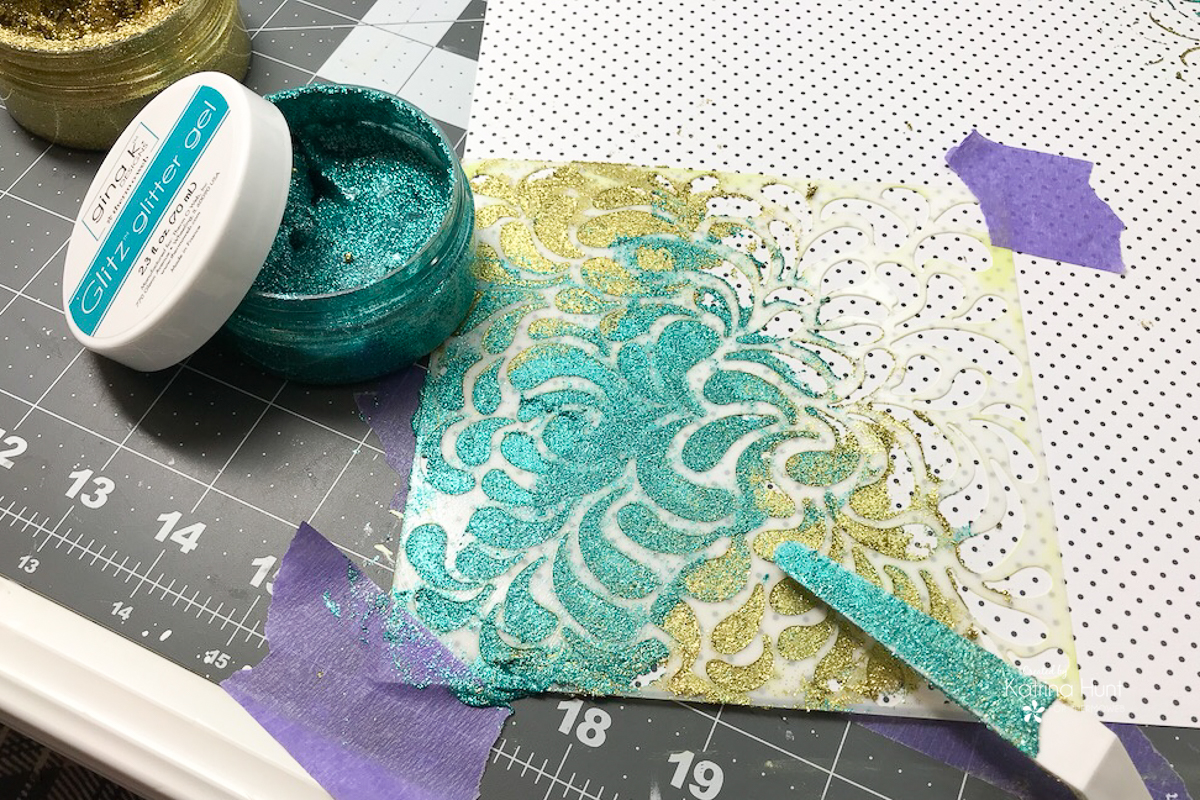
My gold gel was a little on the dry side (my lid wasn’t on all the way!), but by adding a few drops of water at a time, I brought it back to life easily! You can also use plastic wrap or Press and Seal over the top and under the lid to keep the moisture in.
As you can see, it spread and blended just fine!
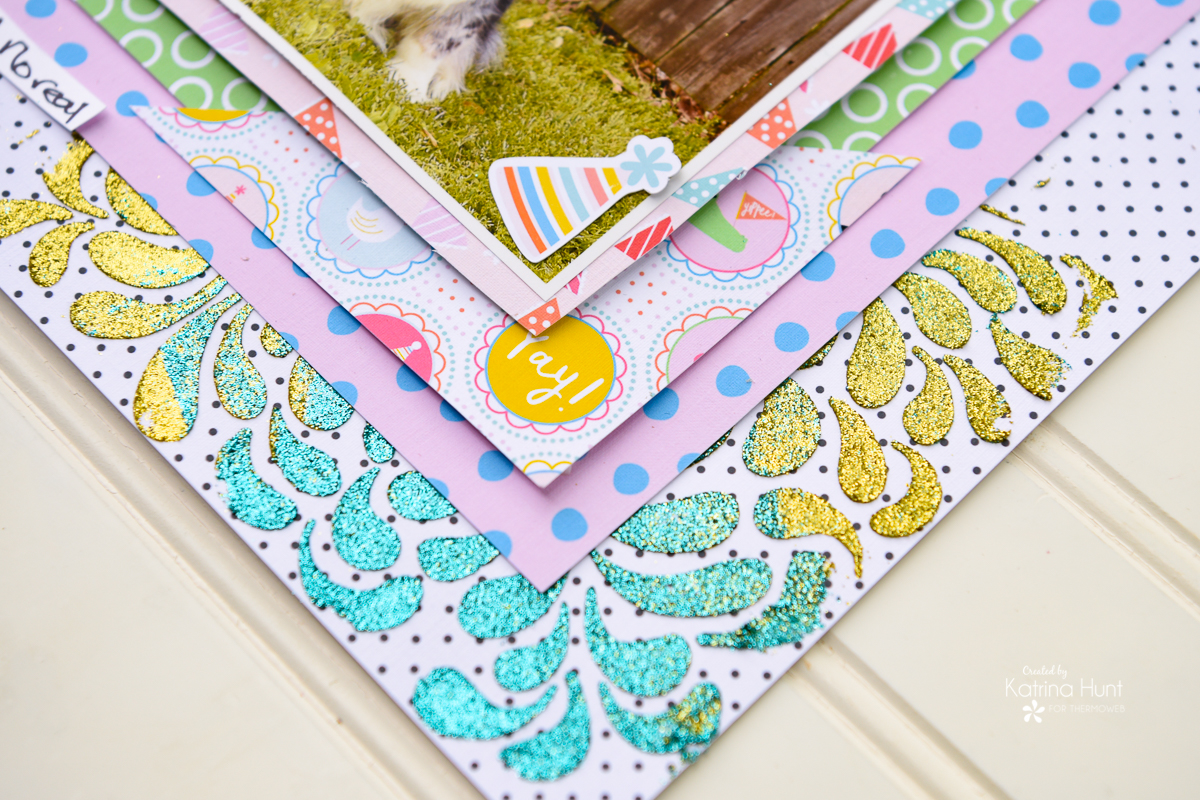
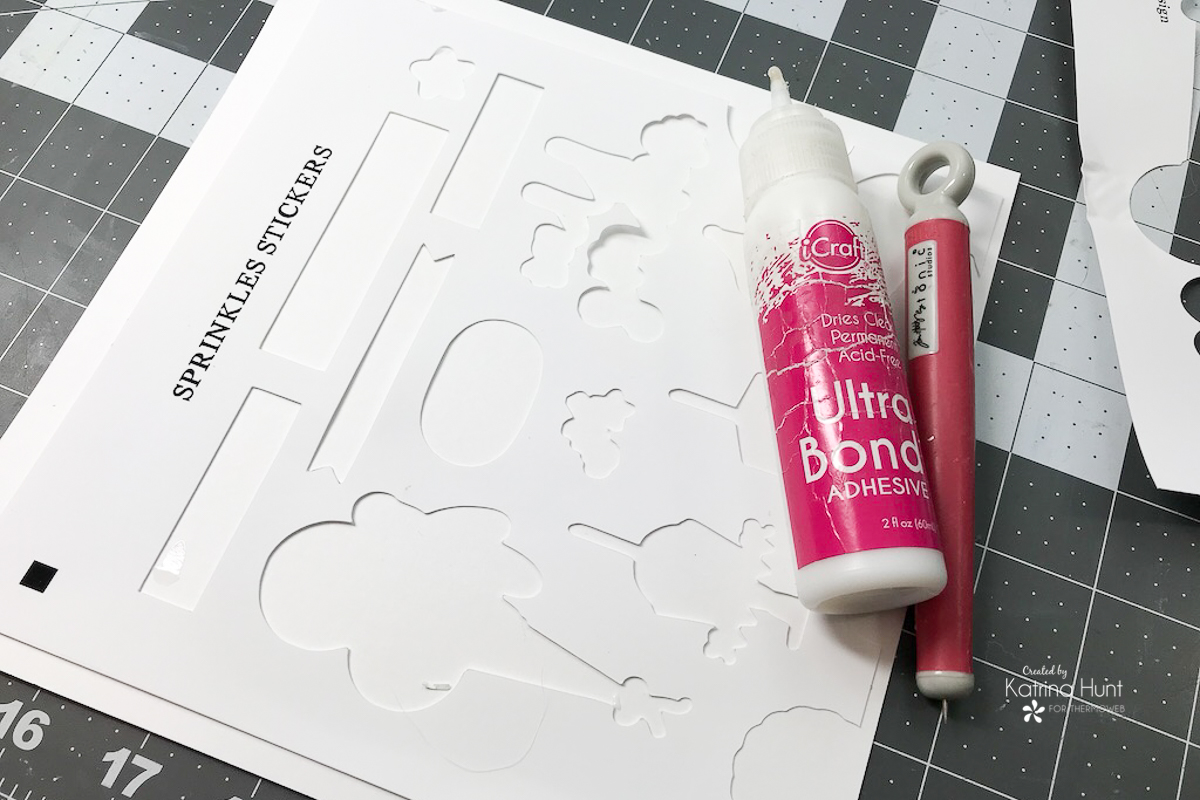
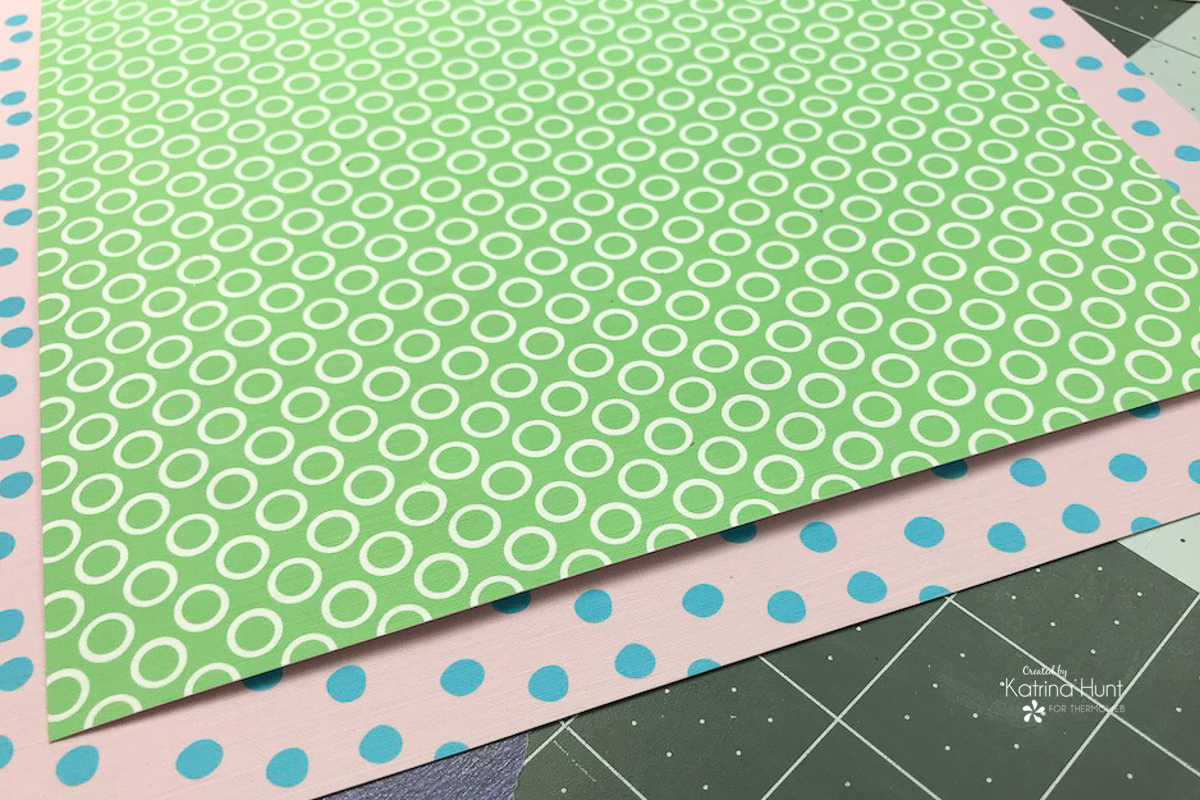
While the gel was drying on my background, I started working on the middle of the layout. I knew I wanted layers, but I wasn’t sure how many. When I do hybrid, I end up with scraps from my print and cut feature on my Cameo for the elements. I hate that I am throwing those scraps away, so I decided to do something about it. Using the Ultra Bond Liquid Adhesive, I used the scraps as layers behind my green square. It worked perfectly, not too bulky and I still had a little added dimension without going full-on foam adhesive.
And you can see here, it added just a little dimension to that green layer!
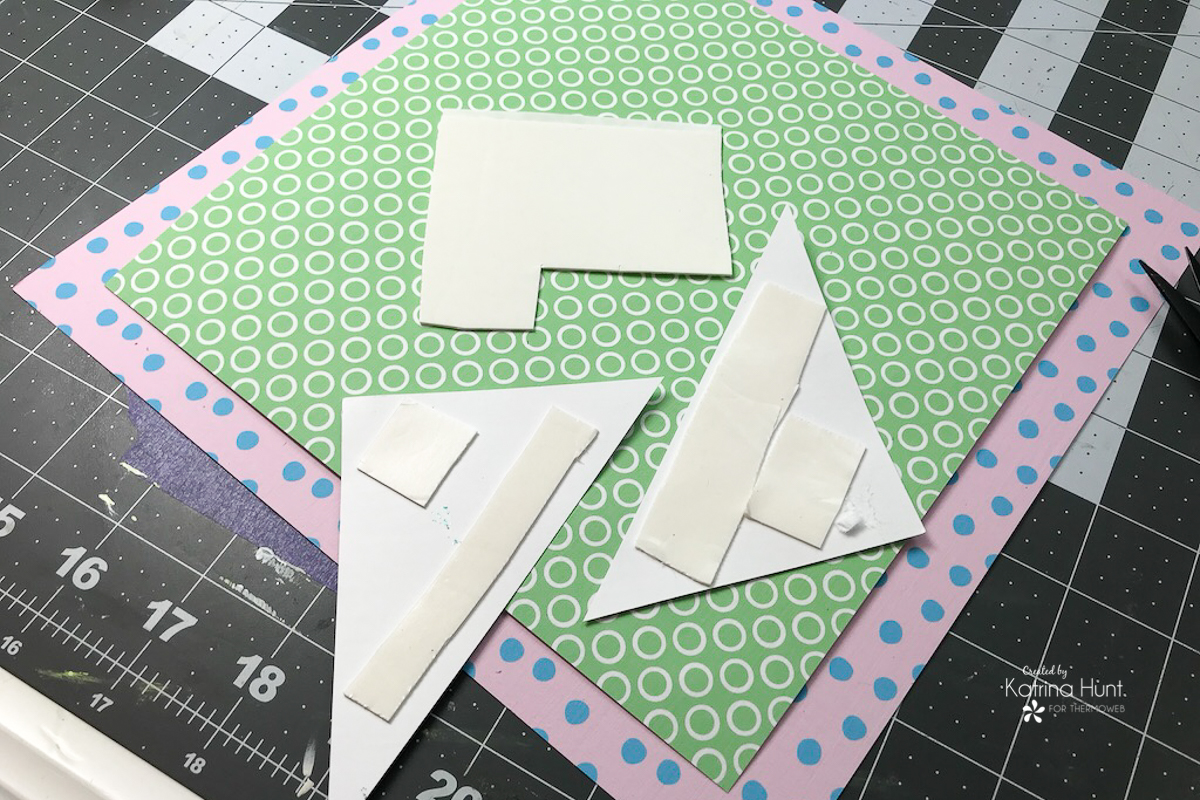
After that layer was complete, I added some corner pieces out of a coordinating pattern paper. I did want those to stand up a little, so I used the Deco Foil Foam Adhesive Sheet and just cut off pieces that I needed. FYI, I do this ALOT with that adhesive! By adding those corners, it brings your eye into the center of the layout also.
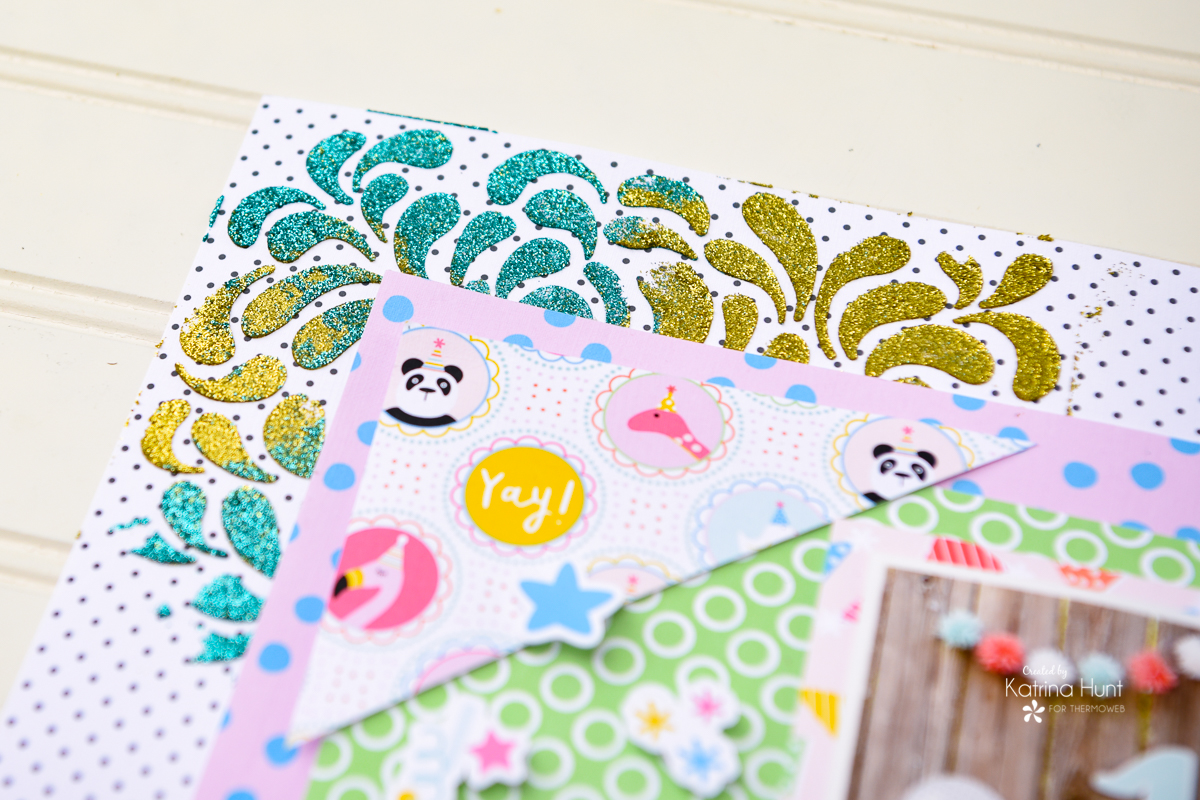
Now we move onto the picture and embellishing the layout. When using pattern papers, I find it best to always use some type of a mat behind my picture. I also use 3D Foam Squares to pop pictures up! Pictures are the focal point of your layout, so make them stand out and up!
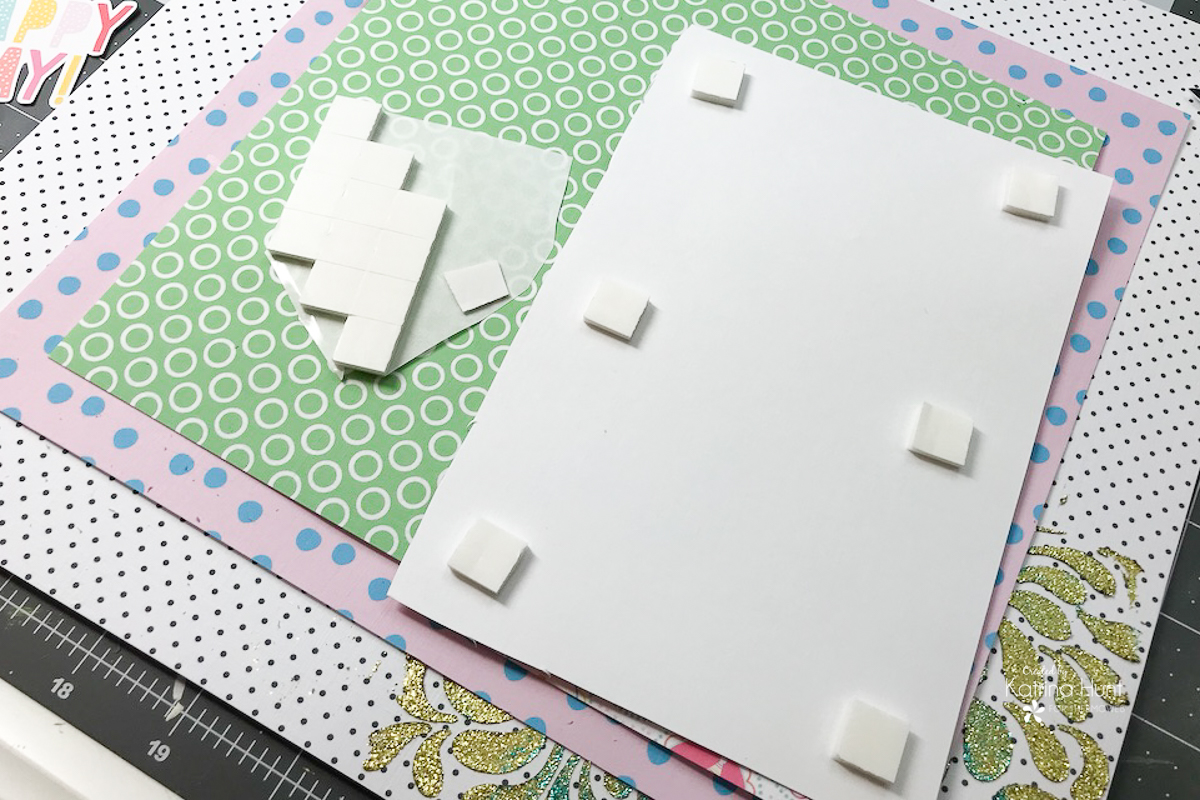
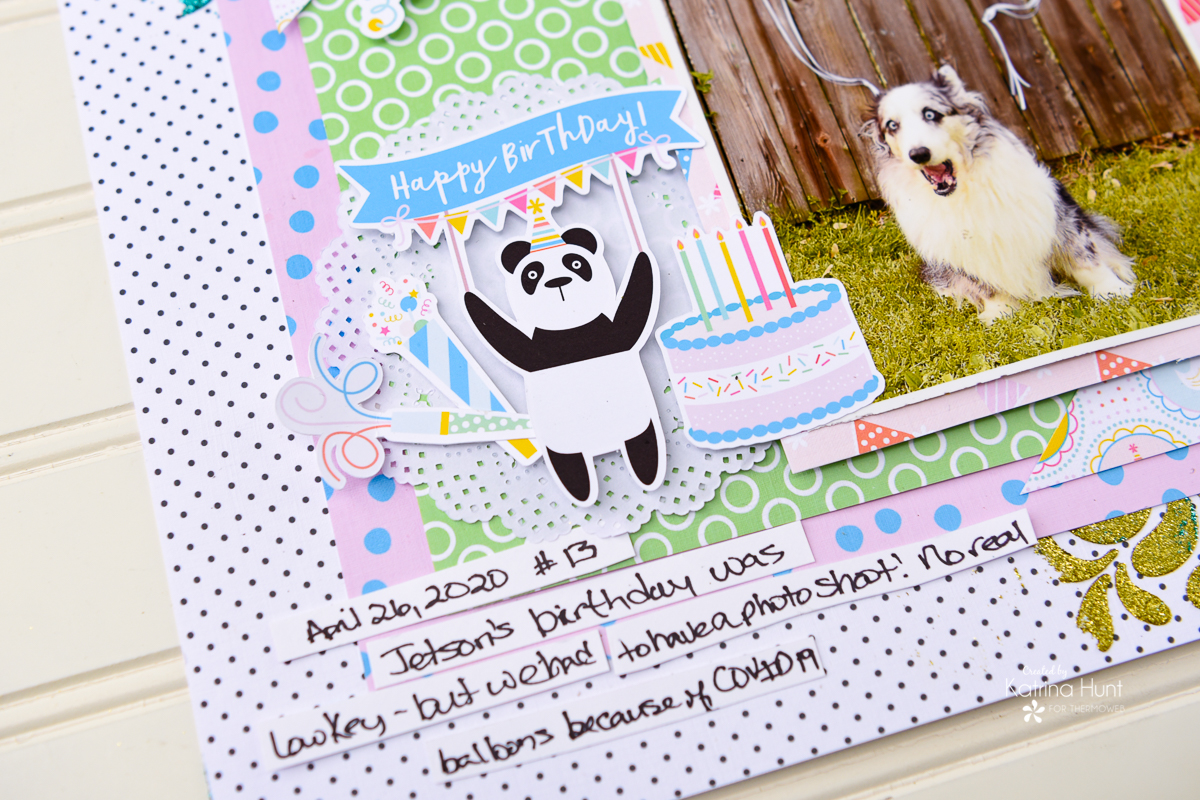
I also use an assortment of 3D Foam Squares and Deco Foil Foam Adhesive for adding die cuts to my project. By varying the height of items, it draws the viewer into the project to look at details closer. Below, the cake is the same height as the picture. I then placed the panda bear at a slightly lower height and then tucked the whistles in at a lower height than the bear.
And because of the look on Jetson’s face, I had to use the “another year older” banner! I popped it up on another tag that I tied a tiny ribbon on using the Gina K Gingham Ribbon in Black and White to tie everything together.
Thanks for stopping by the blog today!! Stay Safe!
This post contains affiliate links. For more information, see our disclosure HERE.
