No-Sew Tree Skirt Tutorial
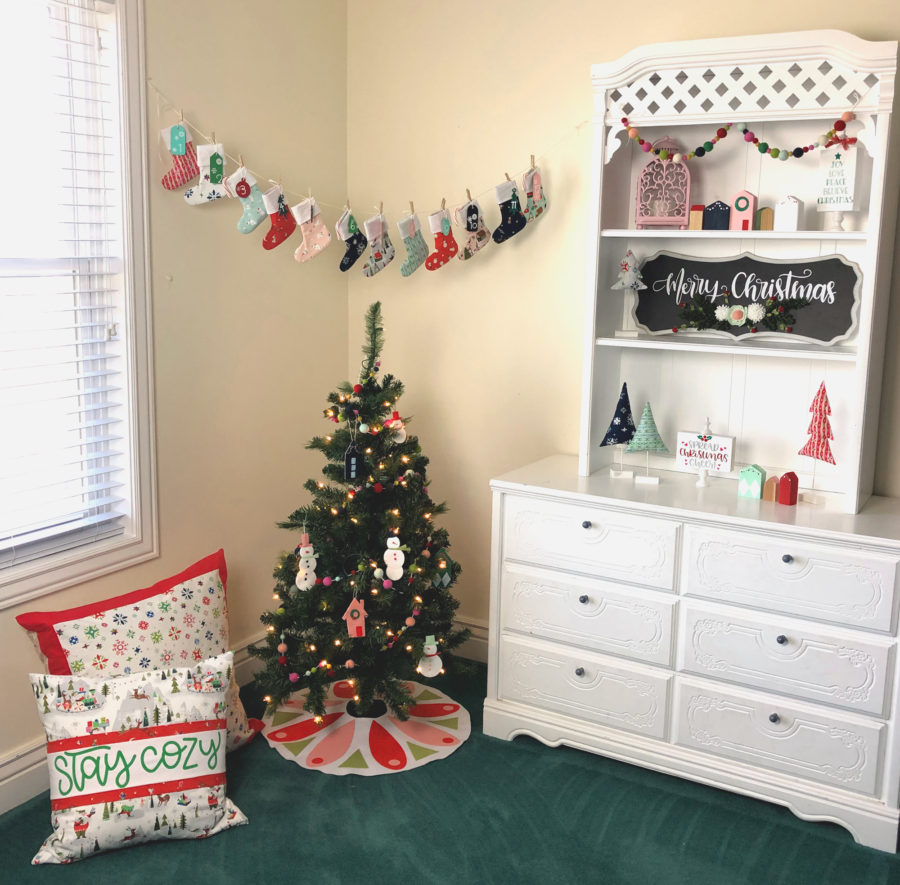
Last Christmas I had the opportunity to make a few things for my girls to decorate their room with. The stocking countdown banner and the large floor pillows (I show how to make the banded pillow cover here) were both hits with the girls, but my personal favorite was the No-Sew Tree skirt. Made with just felt and Heat n Bond Ultrahold this tree skirt comes together really quickly and can be totally customized to match your color scheme. I love the Scandinavian vibe of it and the simplicity of the design.
No-Sew Tree Skirt
Supplies:
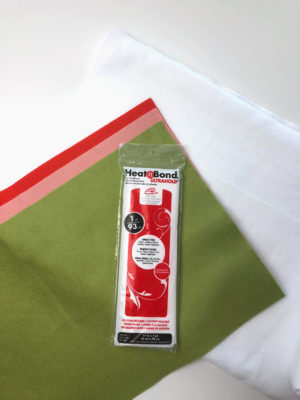
You will need white felt- a piece that is at least 24″ square
Red, Pink, and Green wool blend felt- or other colors of choice: at least a 12″ square of each color
Heat n Bond Ultrahold Fusible Adhesive
Assembling the Tree Skirt
Prepare the pattern pieces by tracing the petals, triangles, and circles from the pattern onto the paper side of your Heat n Bond Ultrahold. Cut apart the pieces according to the colors indicated on the pattern leaving a slight margin around the pattern pieces. Fuse the Heat n Bond Ultrahold to the felt- there should be 4 petals and 4 circles of both red and pink and then 8 triangles out of green. Finally, cut out each pattern piece along the traced line. Now it’s time to make the tree skirt base.
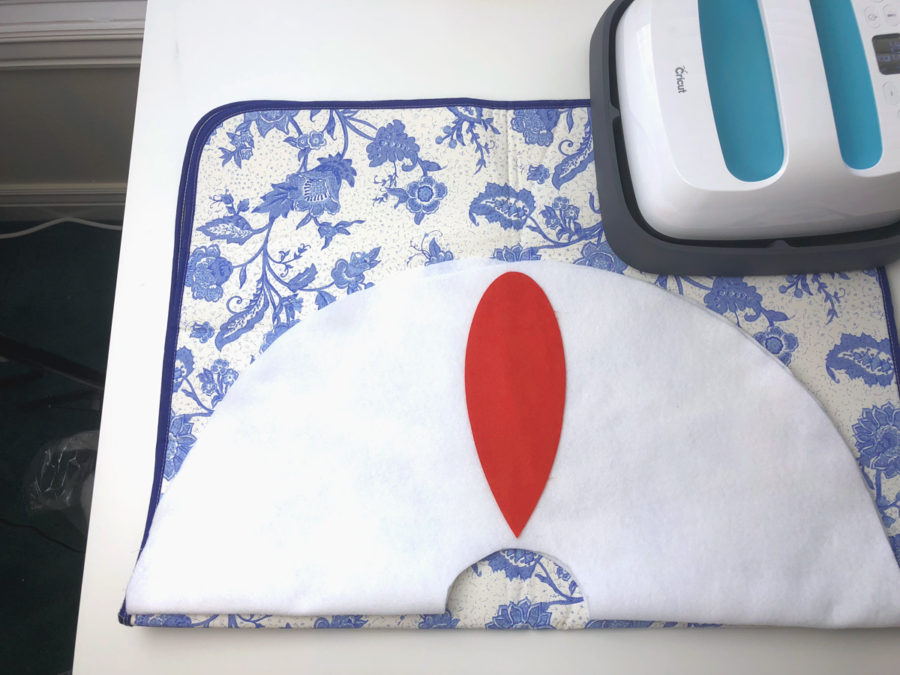
Begin by cutting your white felt into a 24″ wide circle.
Next, you will cut a 4″ circle out of the center of your larger circle.
Fold the large circle in half and crease the two folds. Then fold in the other direction, lining up the creases you just made and crease these folds- this will divide your circle into quarters.
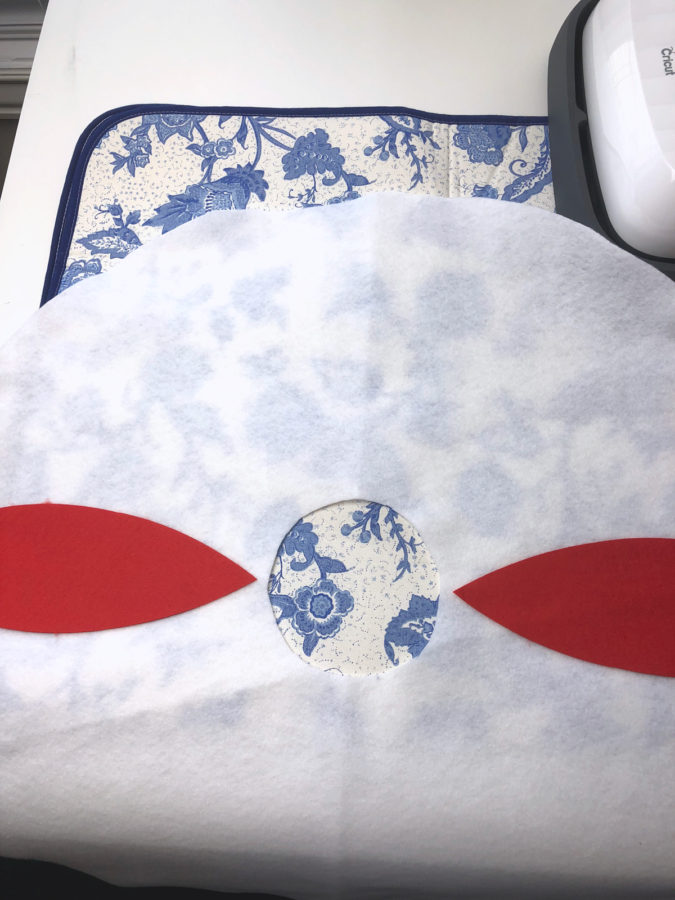
Remove the paper backing from two of the red petals and center them on two opposite creases. Use an iron with medium heat to fuse the petals into place. Repeat for the other two red petals.
*Note: I used a Cricut Easy Press to fuse my pieces- it’s a great use of this tool because it has a nice large flat surface and a timer to ensure you are fully fusing the pieces, but a regular iron also works well, just make sure to give it the full time to fuse.
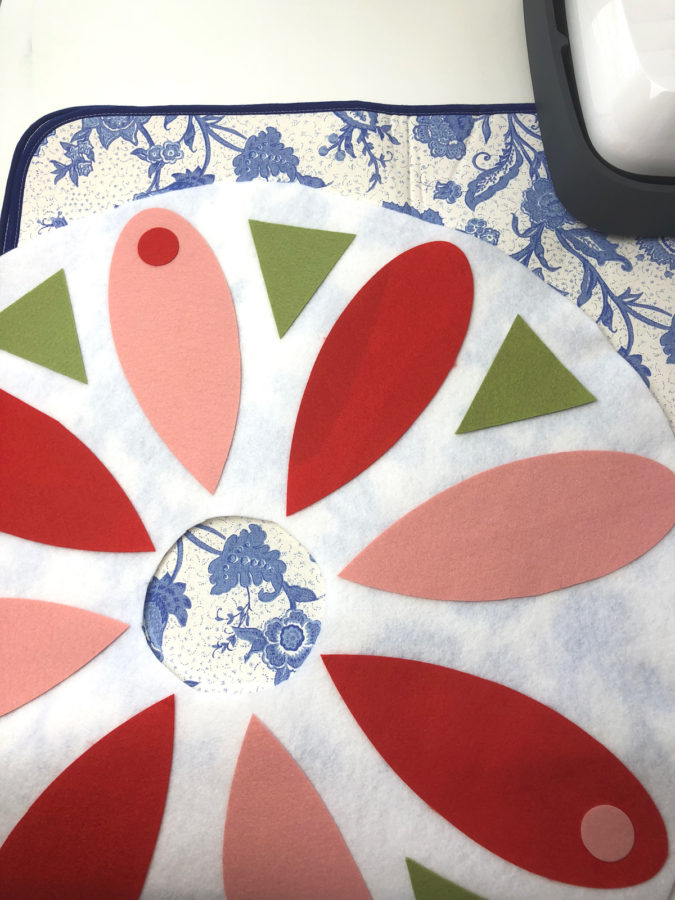
Fill in the spaces between the red petals by centering the pink petals in the space. You could fold and crease guidelines for these as well, but I think it’s just as easy to eyeball it. Add the green triangles and the circles in opposite colors to the petals. Fuse each piece as you place it.
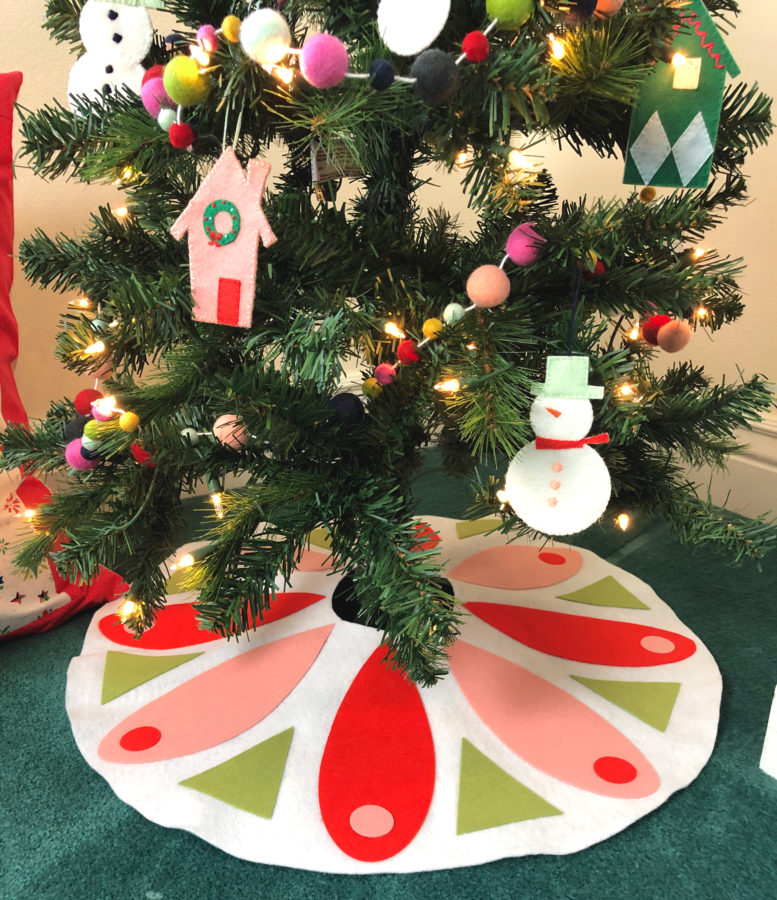
And that’s it! It really couldn’t be easier. Place your tree skirt at the bottom of a mini Christmas tree and enjoy! Of course, you can always add felt decorations and a felt pom garland to increase the cuteness level! I hope you enjoy this fun project and that you’ll join me over on my blog: Ameroonie Designs for more tutorials and inspiration!
Happy Crafting! xoxo, Amy
