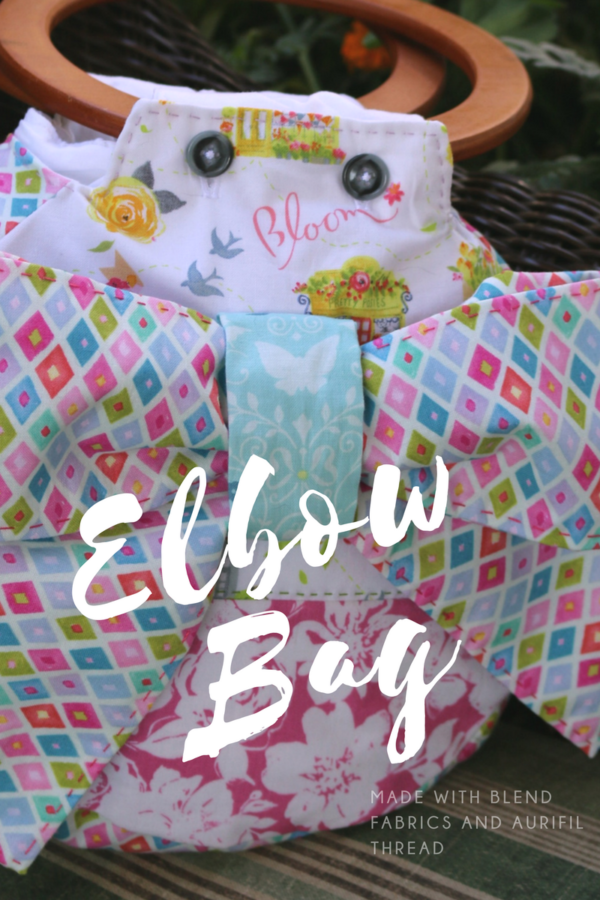
If you were lucky enough to get to Quilt Market this year, you just might have seen this bag hanging in the Blend booth. Hi, All!! It is Amy of Sew Incredibly Crazy. I am always so excited to work with Blend Fabrics. Do you ever just fall in love with a fabric line? Blend Fabric’s Chelsea’s Market from designer Brenda Walton is just one of those fabrics for me. The beautiful palette of colors just speaks to me and so did this cute little bag pattern that I found in a
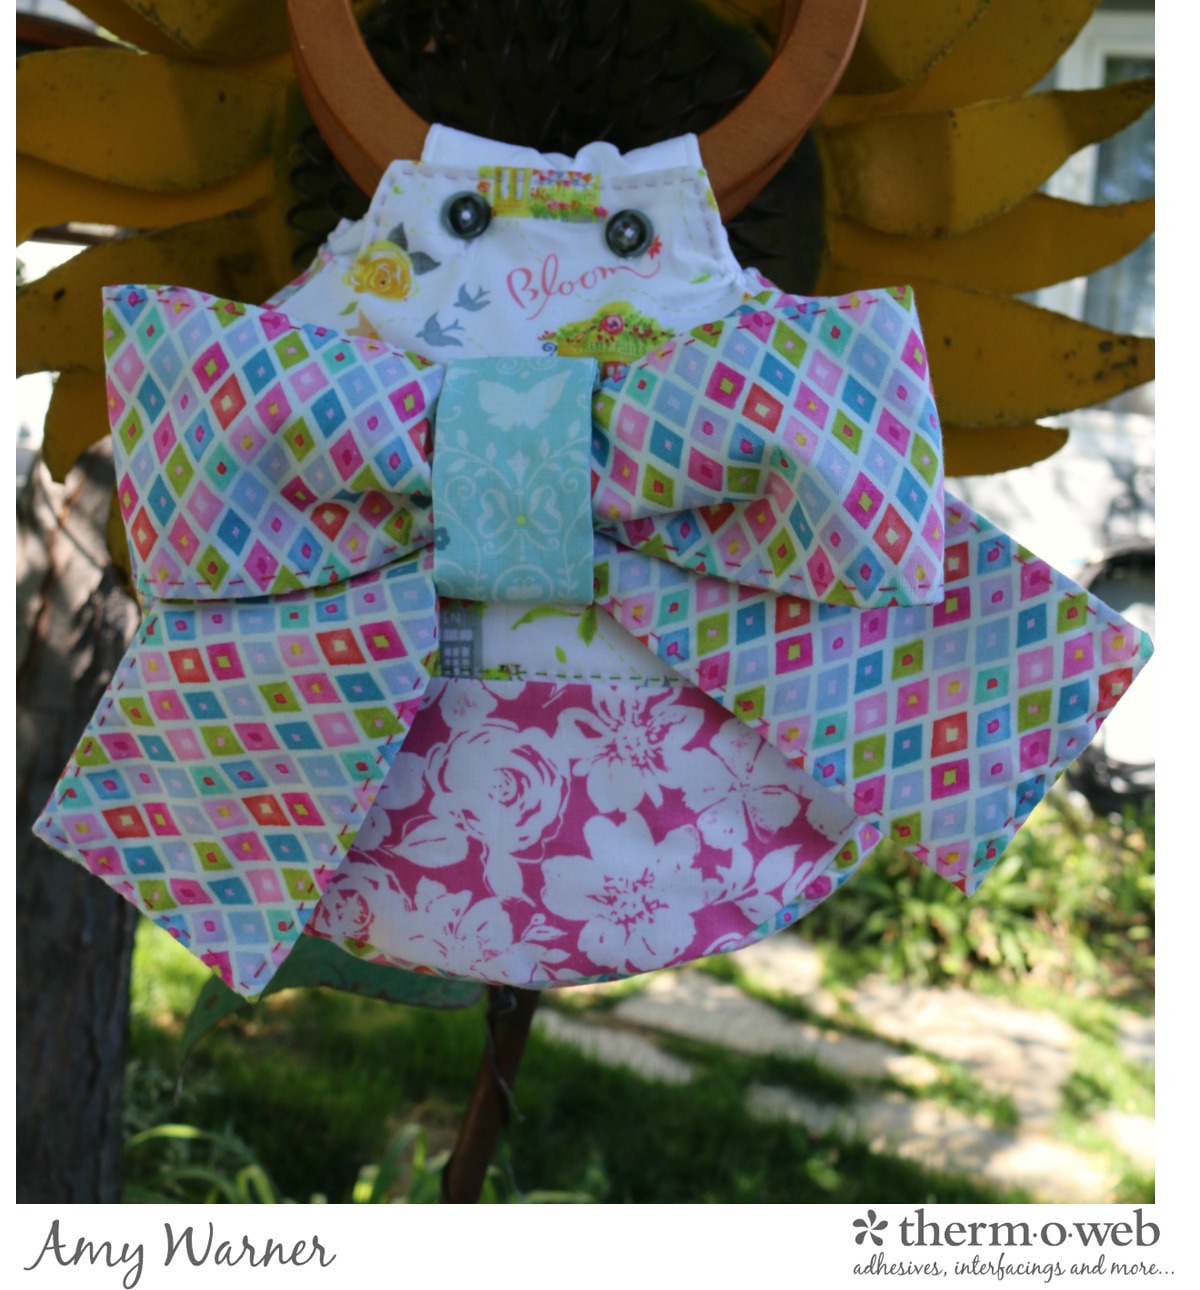
Chelsea Market Elbow Bag Featuring HeatnBond Interfacing
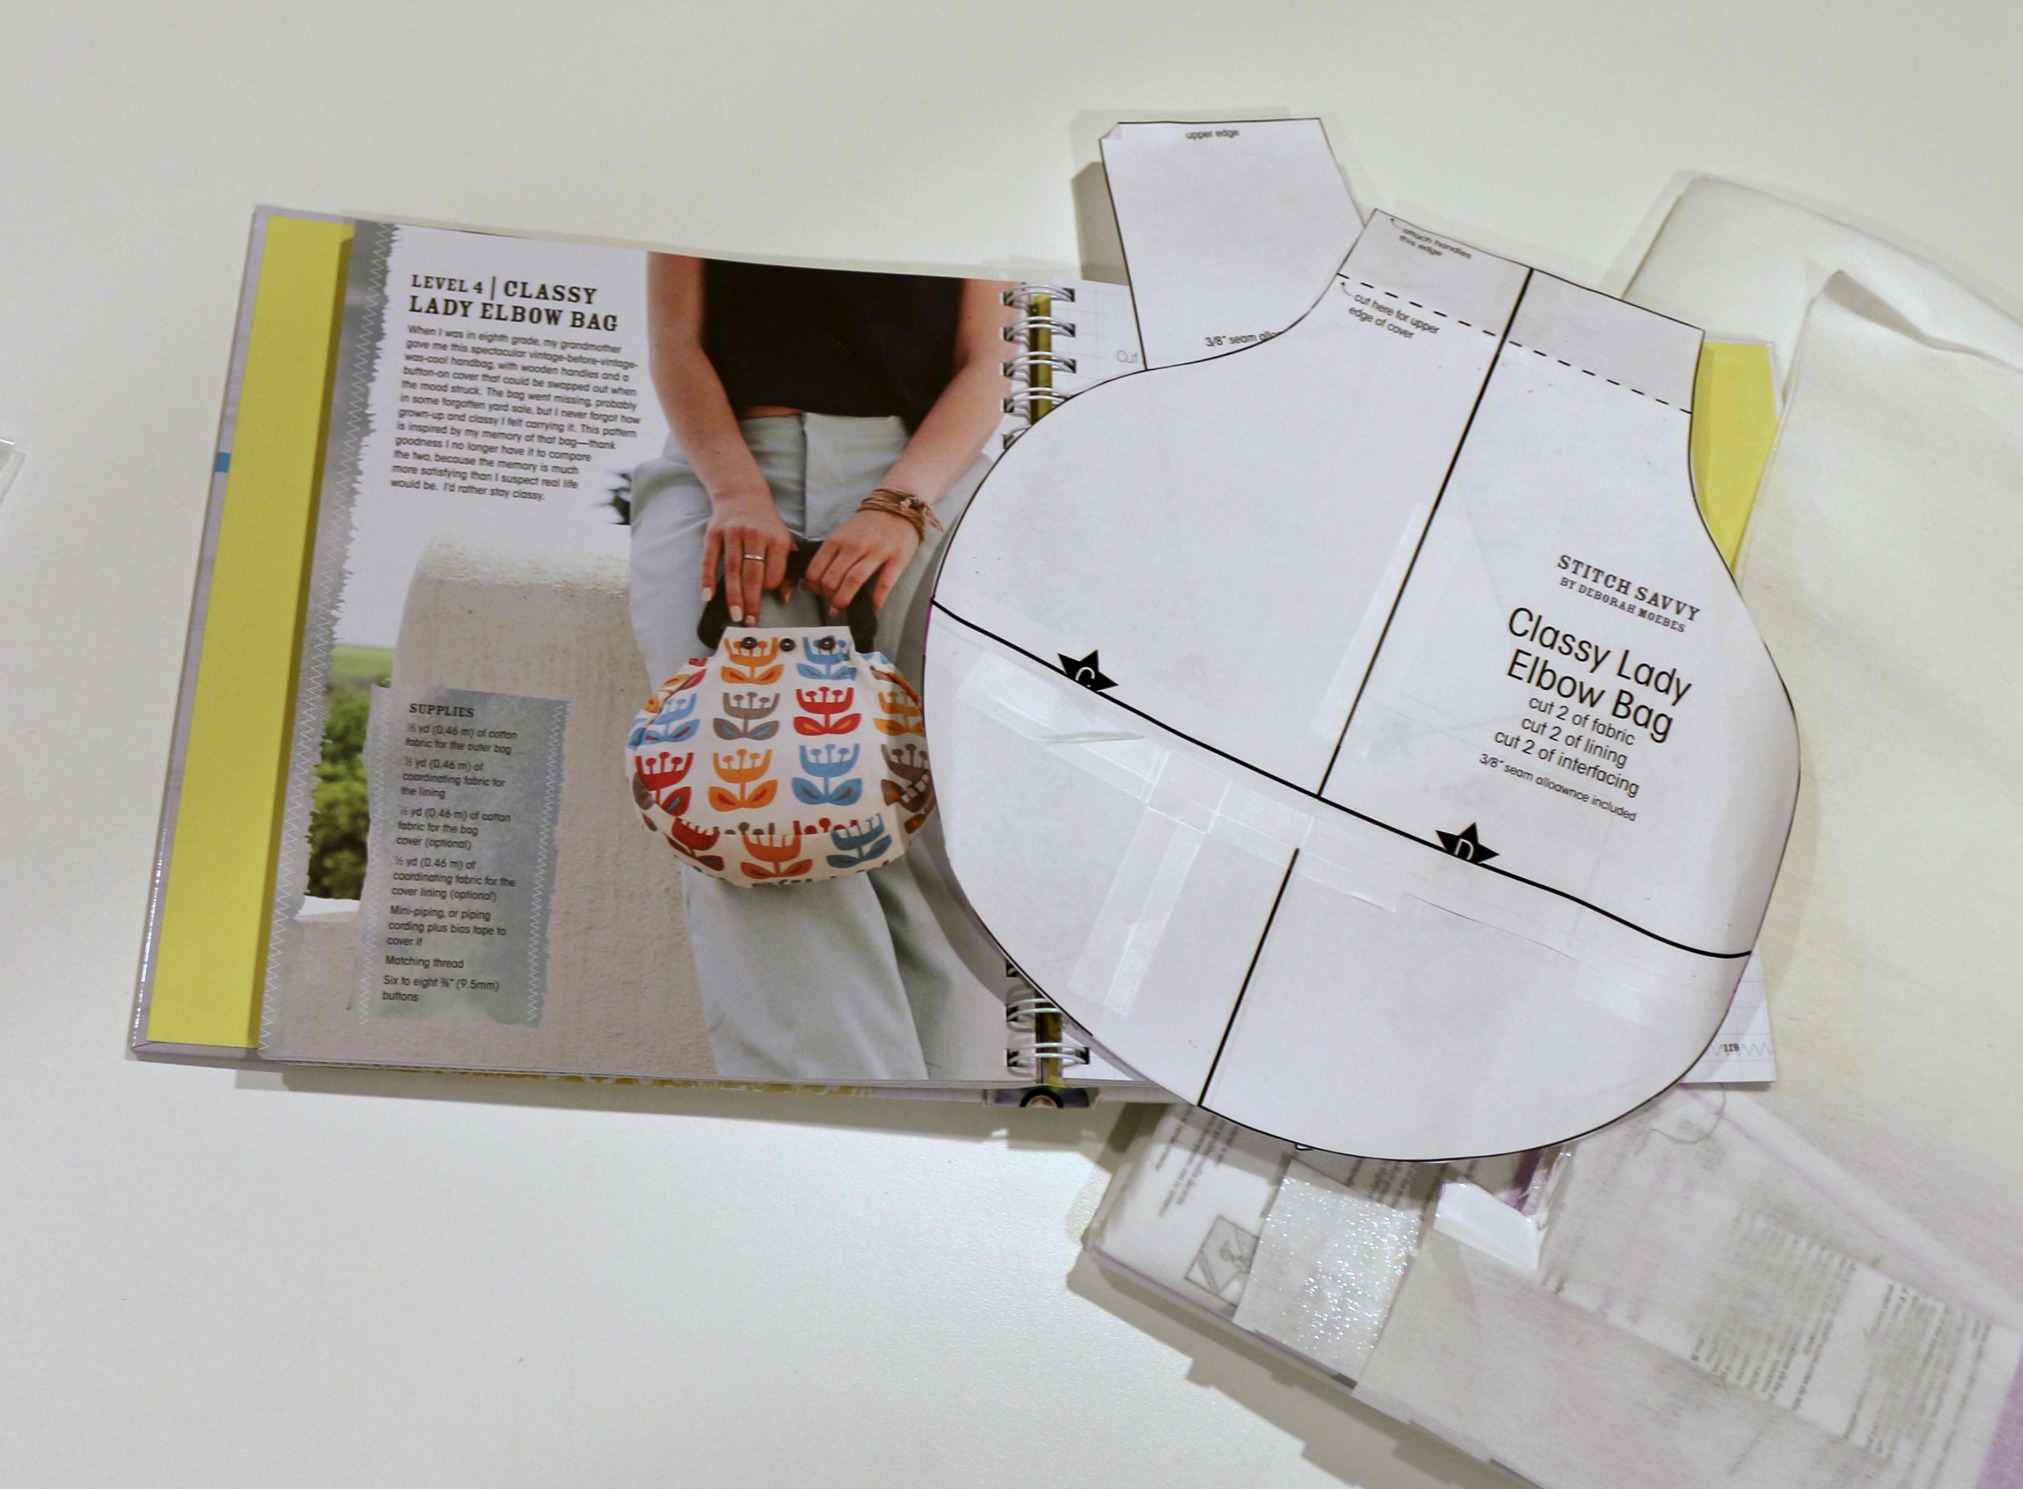
The book is Stitch Savvy by Deborah Moebes of Whipstitch. Inside is a Classy Elbow Bag. I thought that both would go quite well together.
Chelsea’s Market Elbow Bag Supplies:
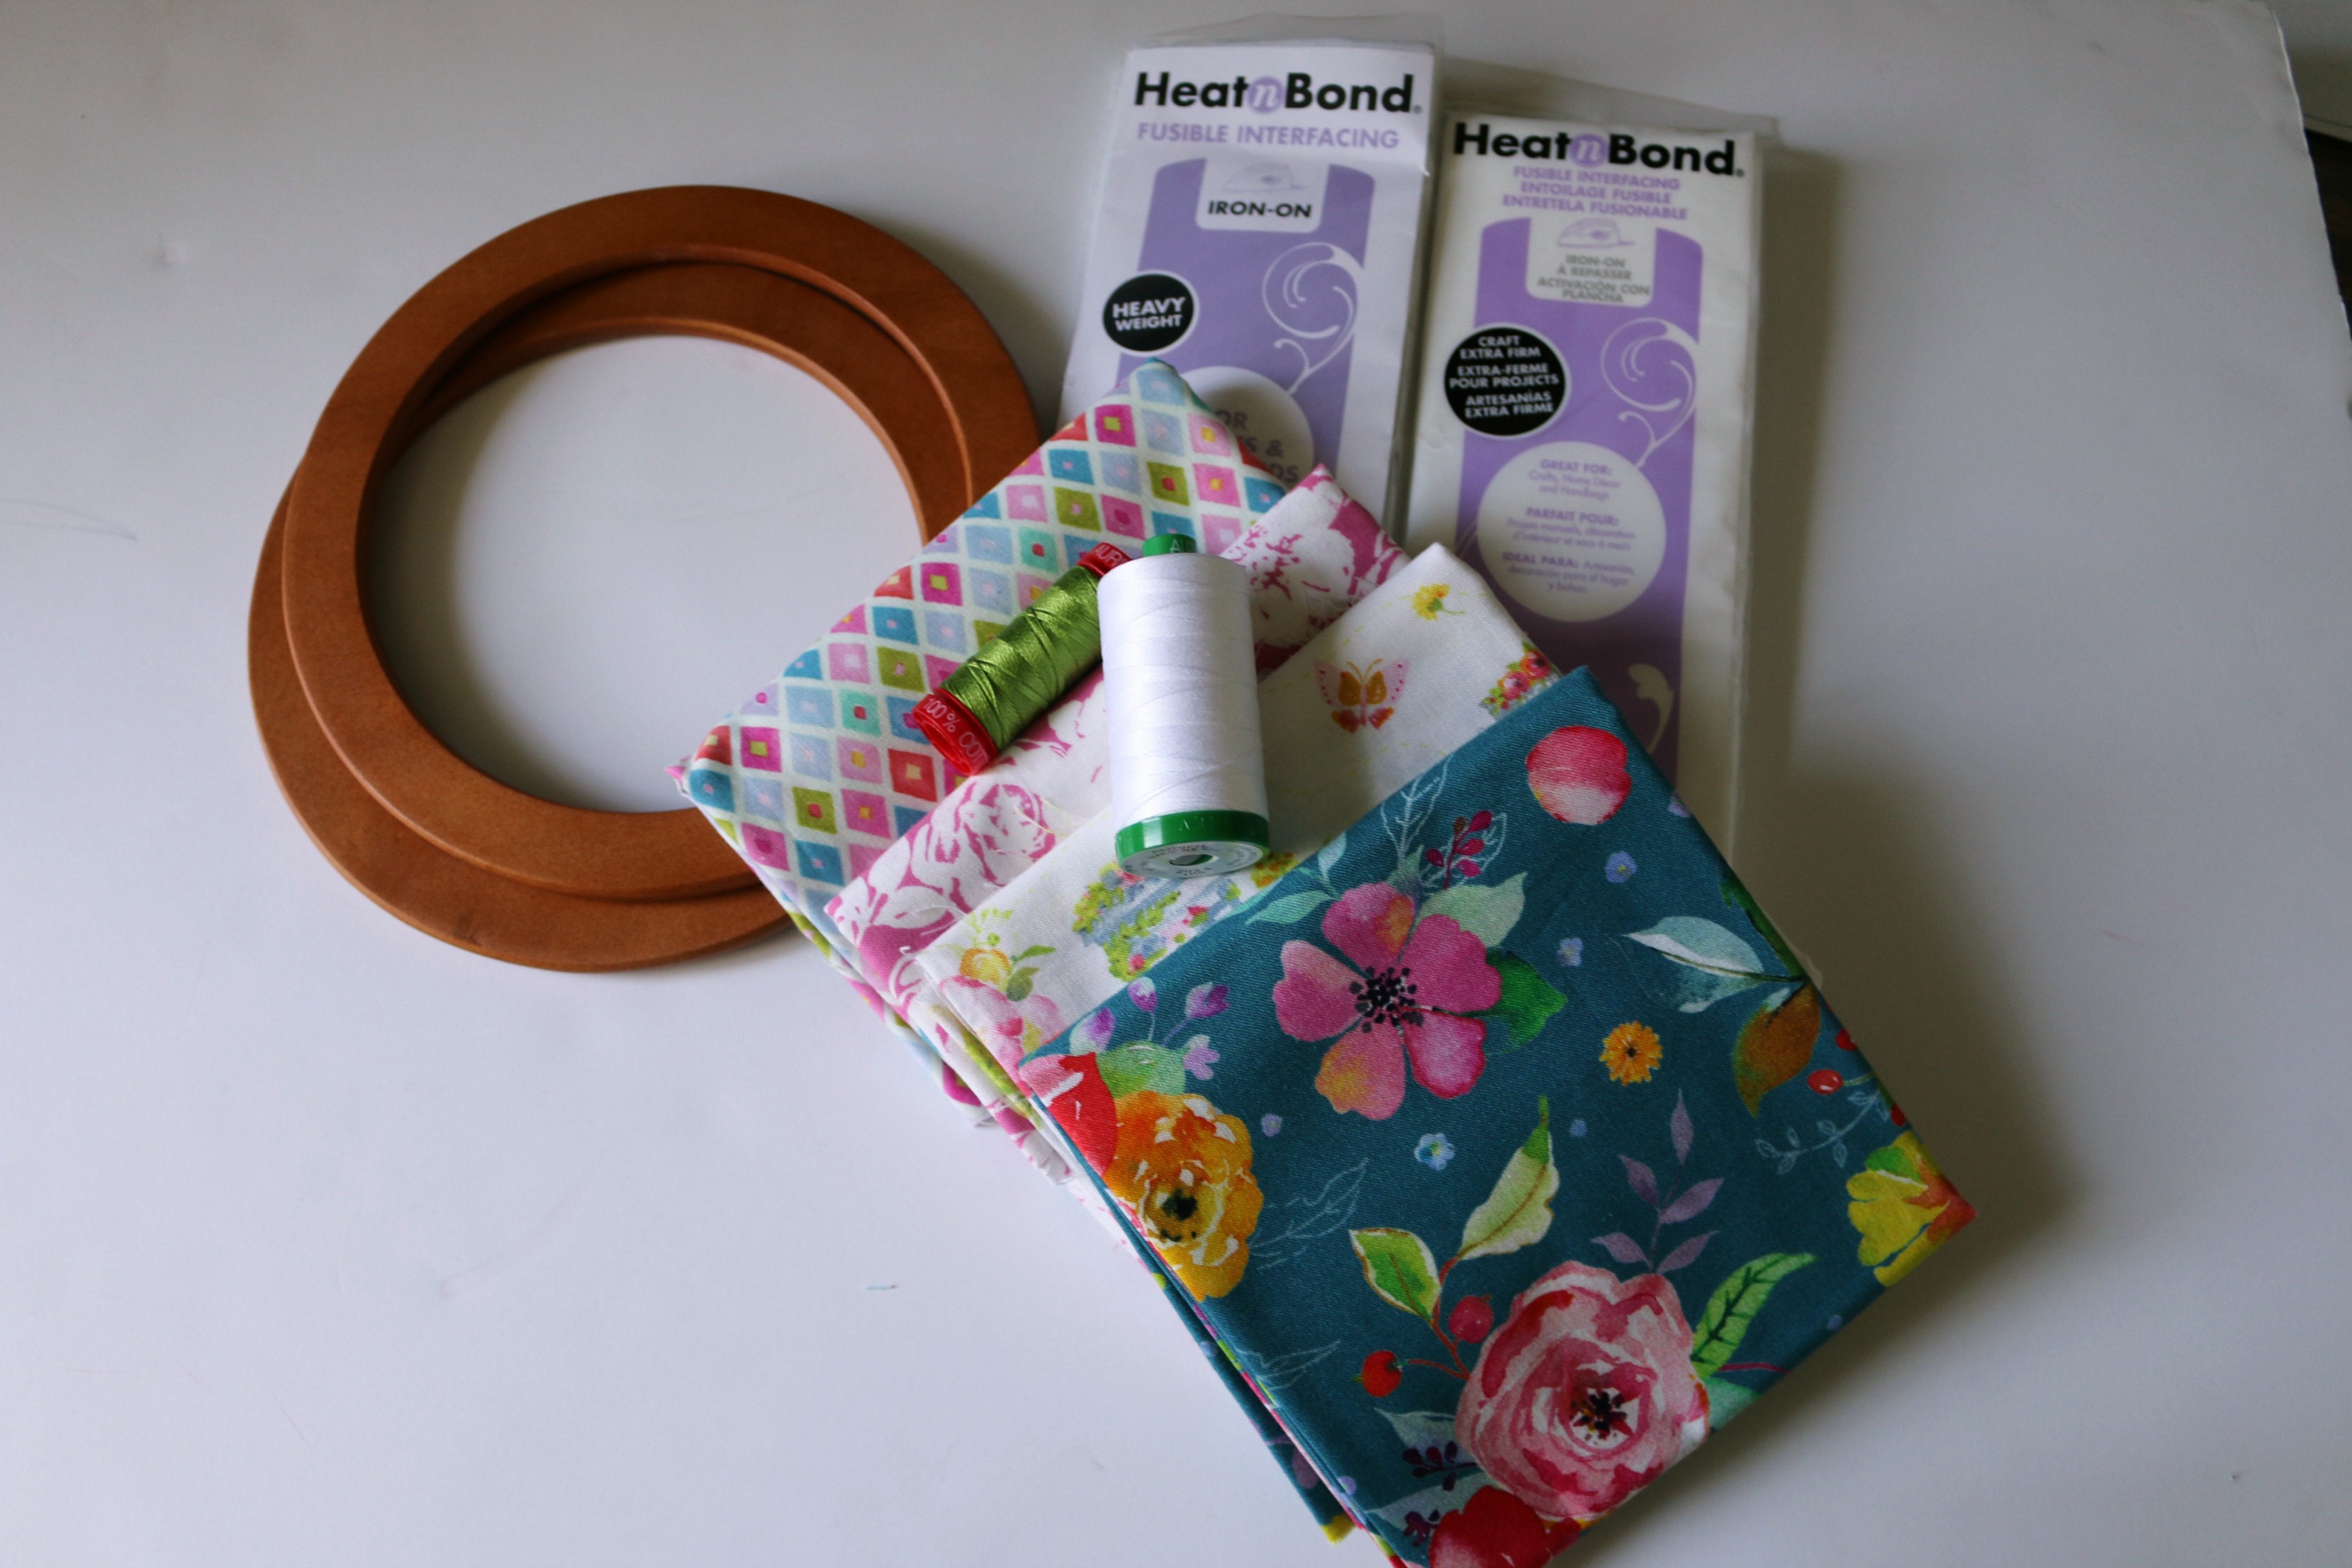
Fat Quarter of Chelsea Market
Wooden Purse Handles
1/4 yard White Fabric
HeatnBond Non-Woven Craft Fusible Extra Firm or Fusible Interfacing – Heavy Non-woven interfacing (This bag was constructed using the Extra Firm Craft)
HeatnBond Fusible Interfacing – Medium Weight
Aurifil White thread for construction
Aurifil thread – 12wt. 2888 & 2530 for hand stitched details
Oliso Iron
Sewing Machine
Other Sewing Supplies
Chelsea Market Elbow Bag Construction Instructions:
- Follow the cutting instructions. In the there, it states that you can make a cover for the bag. To do this construct the bag pattern first just using white fabric.
- Interface the bag with either HeatnBond Non-Woven Craft Fusible Extra Firm or Fusible Interfacing – Heavy Non-woven interfacing (This bag was constructed using the Extra Firm Craft) This gives the bag structure.
- Sew up the body of the bag according to the instructions.
- This gives you a nice base to work with. Sew the white base bag onto the wooden handles using Aurifil White thread. Take small stitches trying to hide as best as possible.
- Work on making the outer cover with your Chelsea Market Fabrics. Cut 1 – 6″ x 18″ Essex Rose Pink (Floral) fabric. Cut 1 – 10″x 18: Columbia Road Ivory. Sew the two pieces together.
- Cut the pattern out.
- Interface the bag body using HeatnBond Fusible Interfacing Medium Weight.
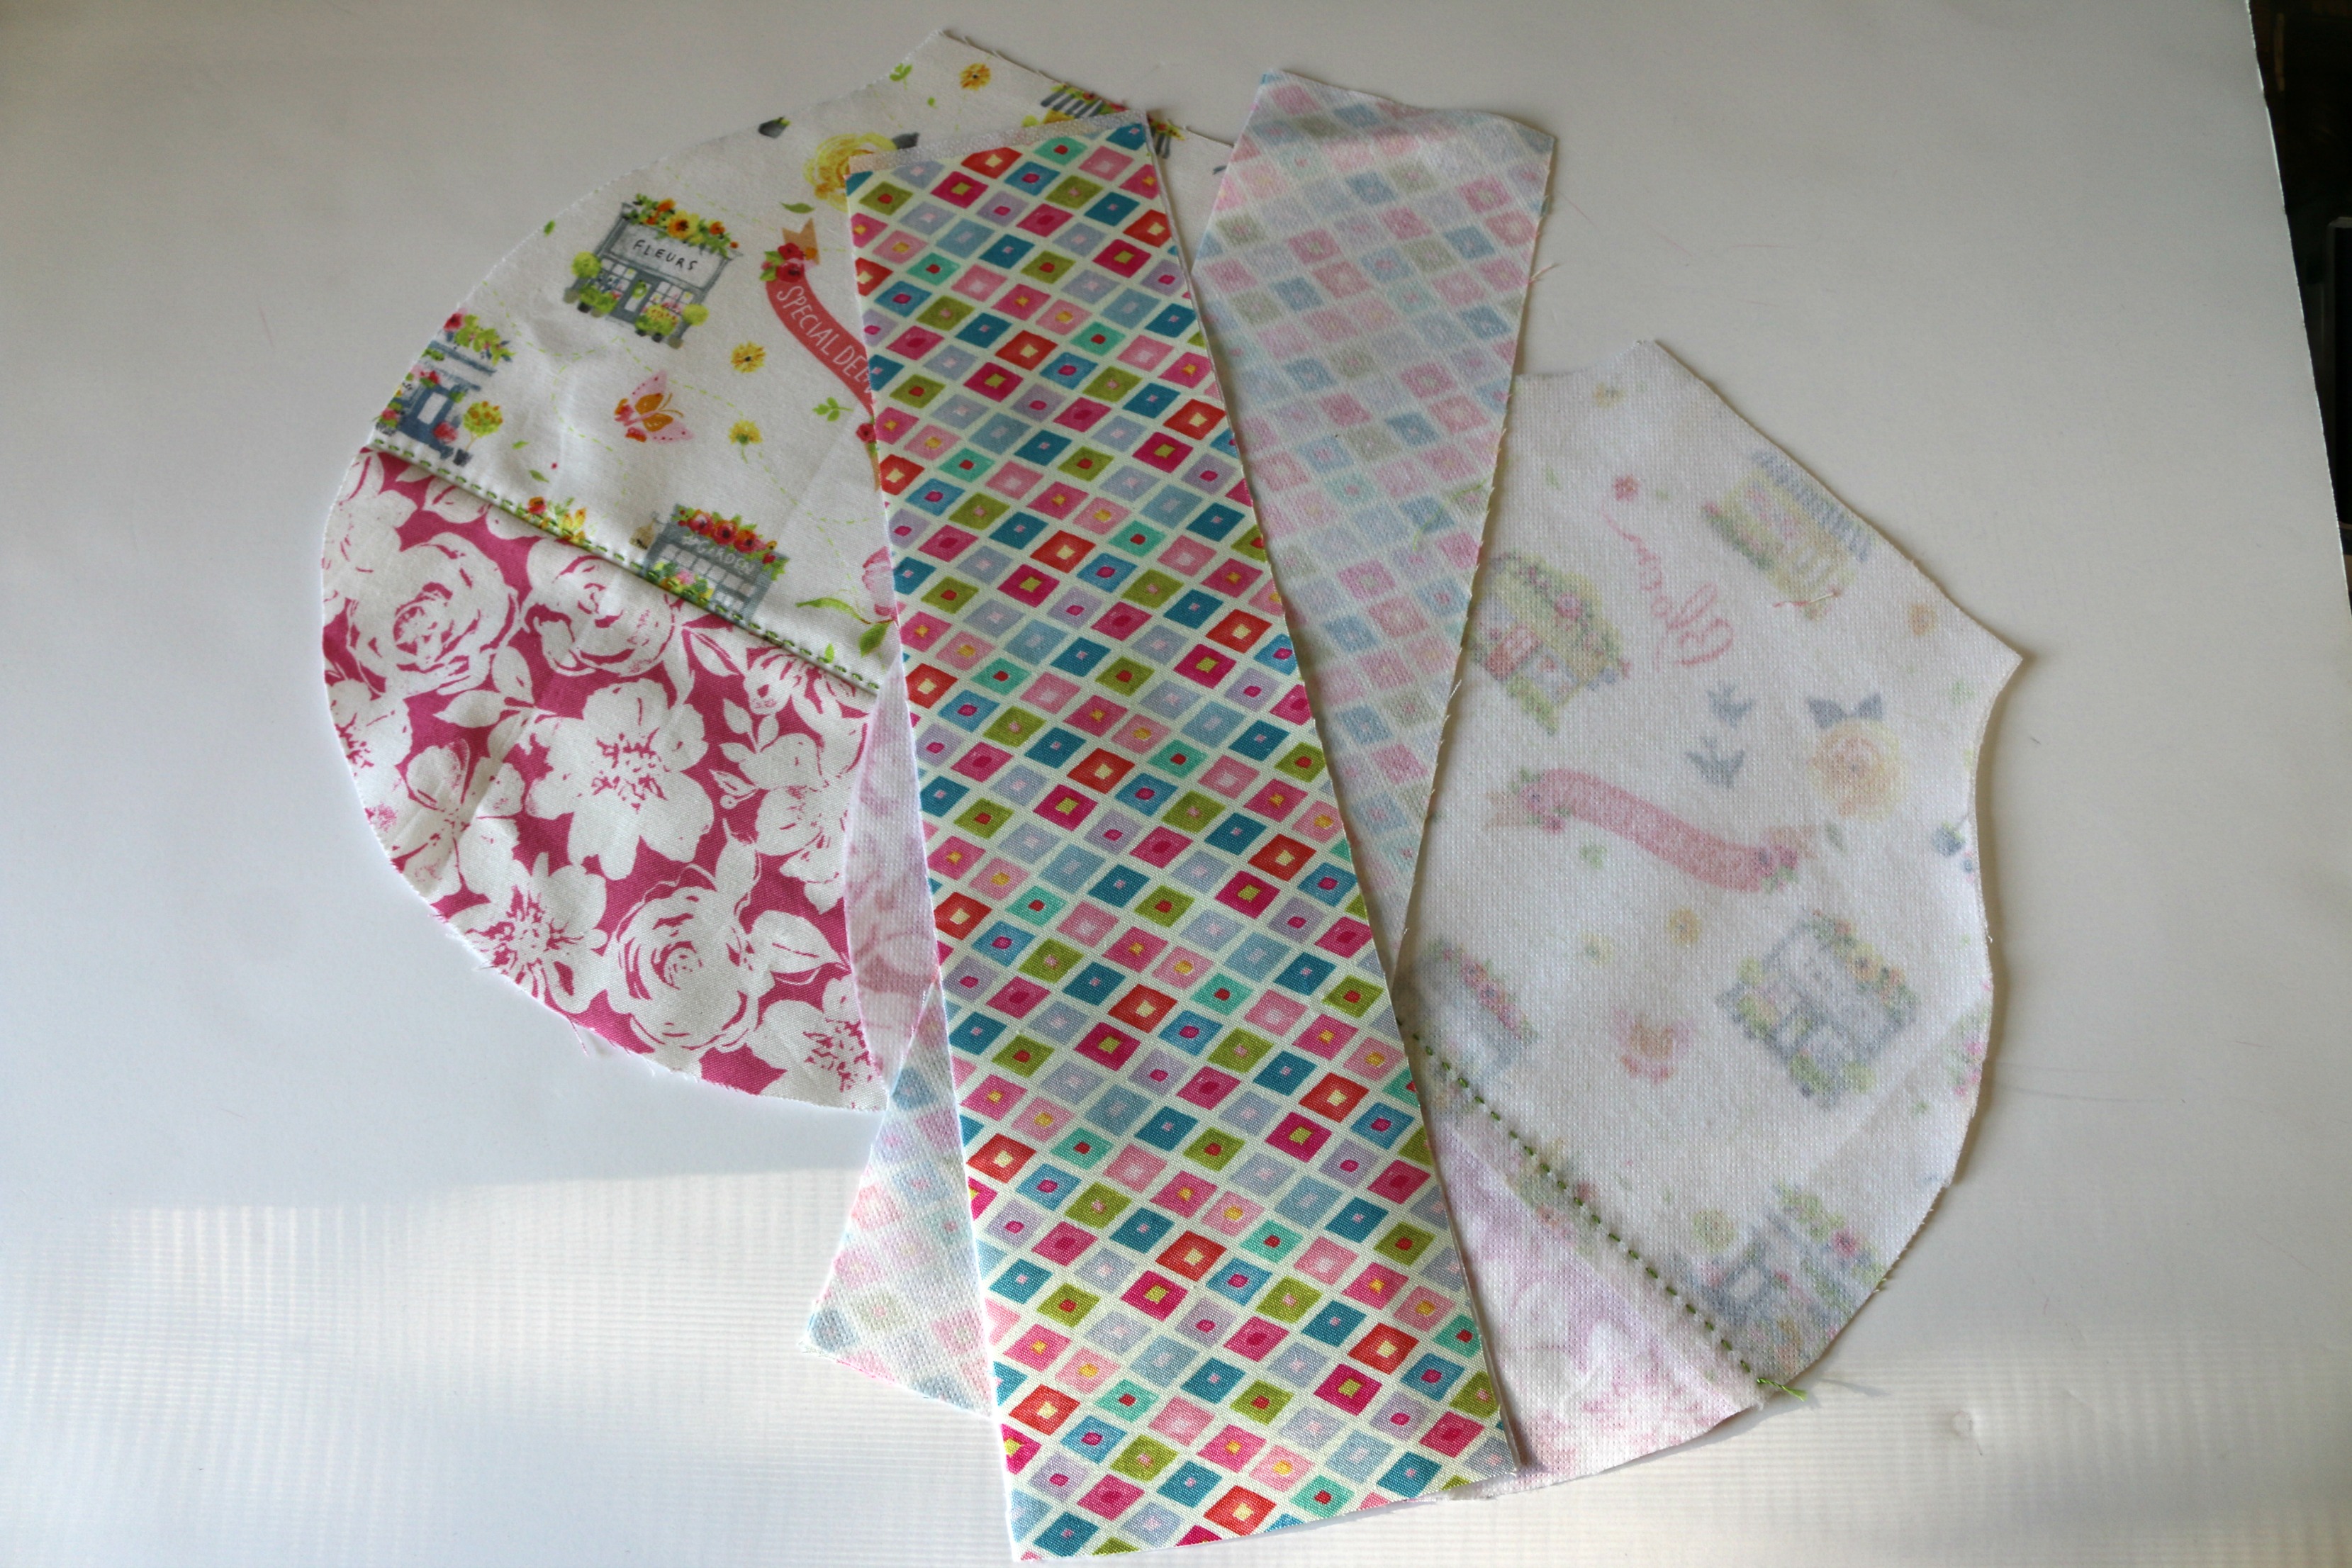
- Handstitch along the top edge of the bag pieces with Aurifil 2888.
- Continue to follow the instructions from the book to construct the rest of the bag.
- Adding the bow. Refer to this POST to get the instructions to the bow.
- Hand-stitch around the outside edge of the bow using Aurifil 2530 before sewing it to the bag.
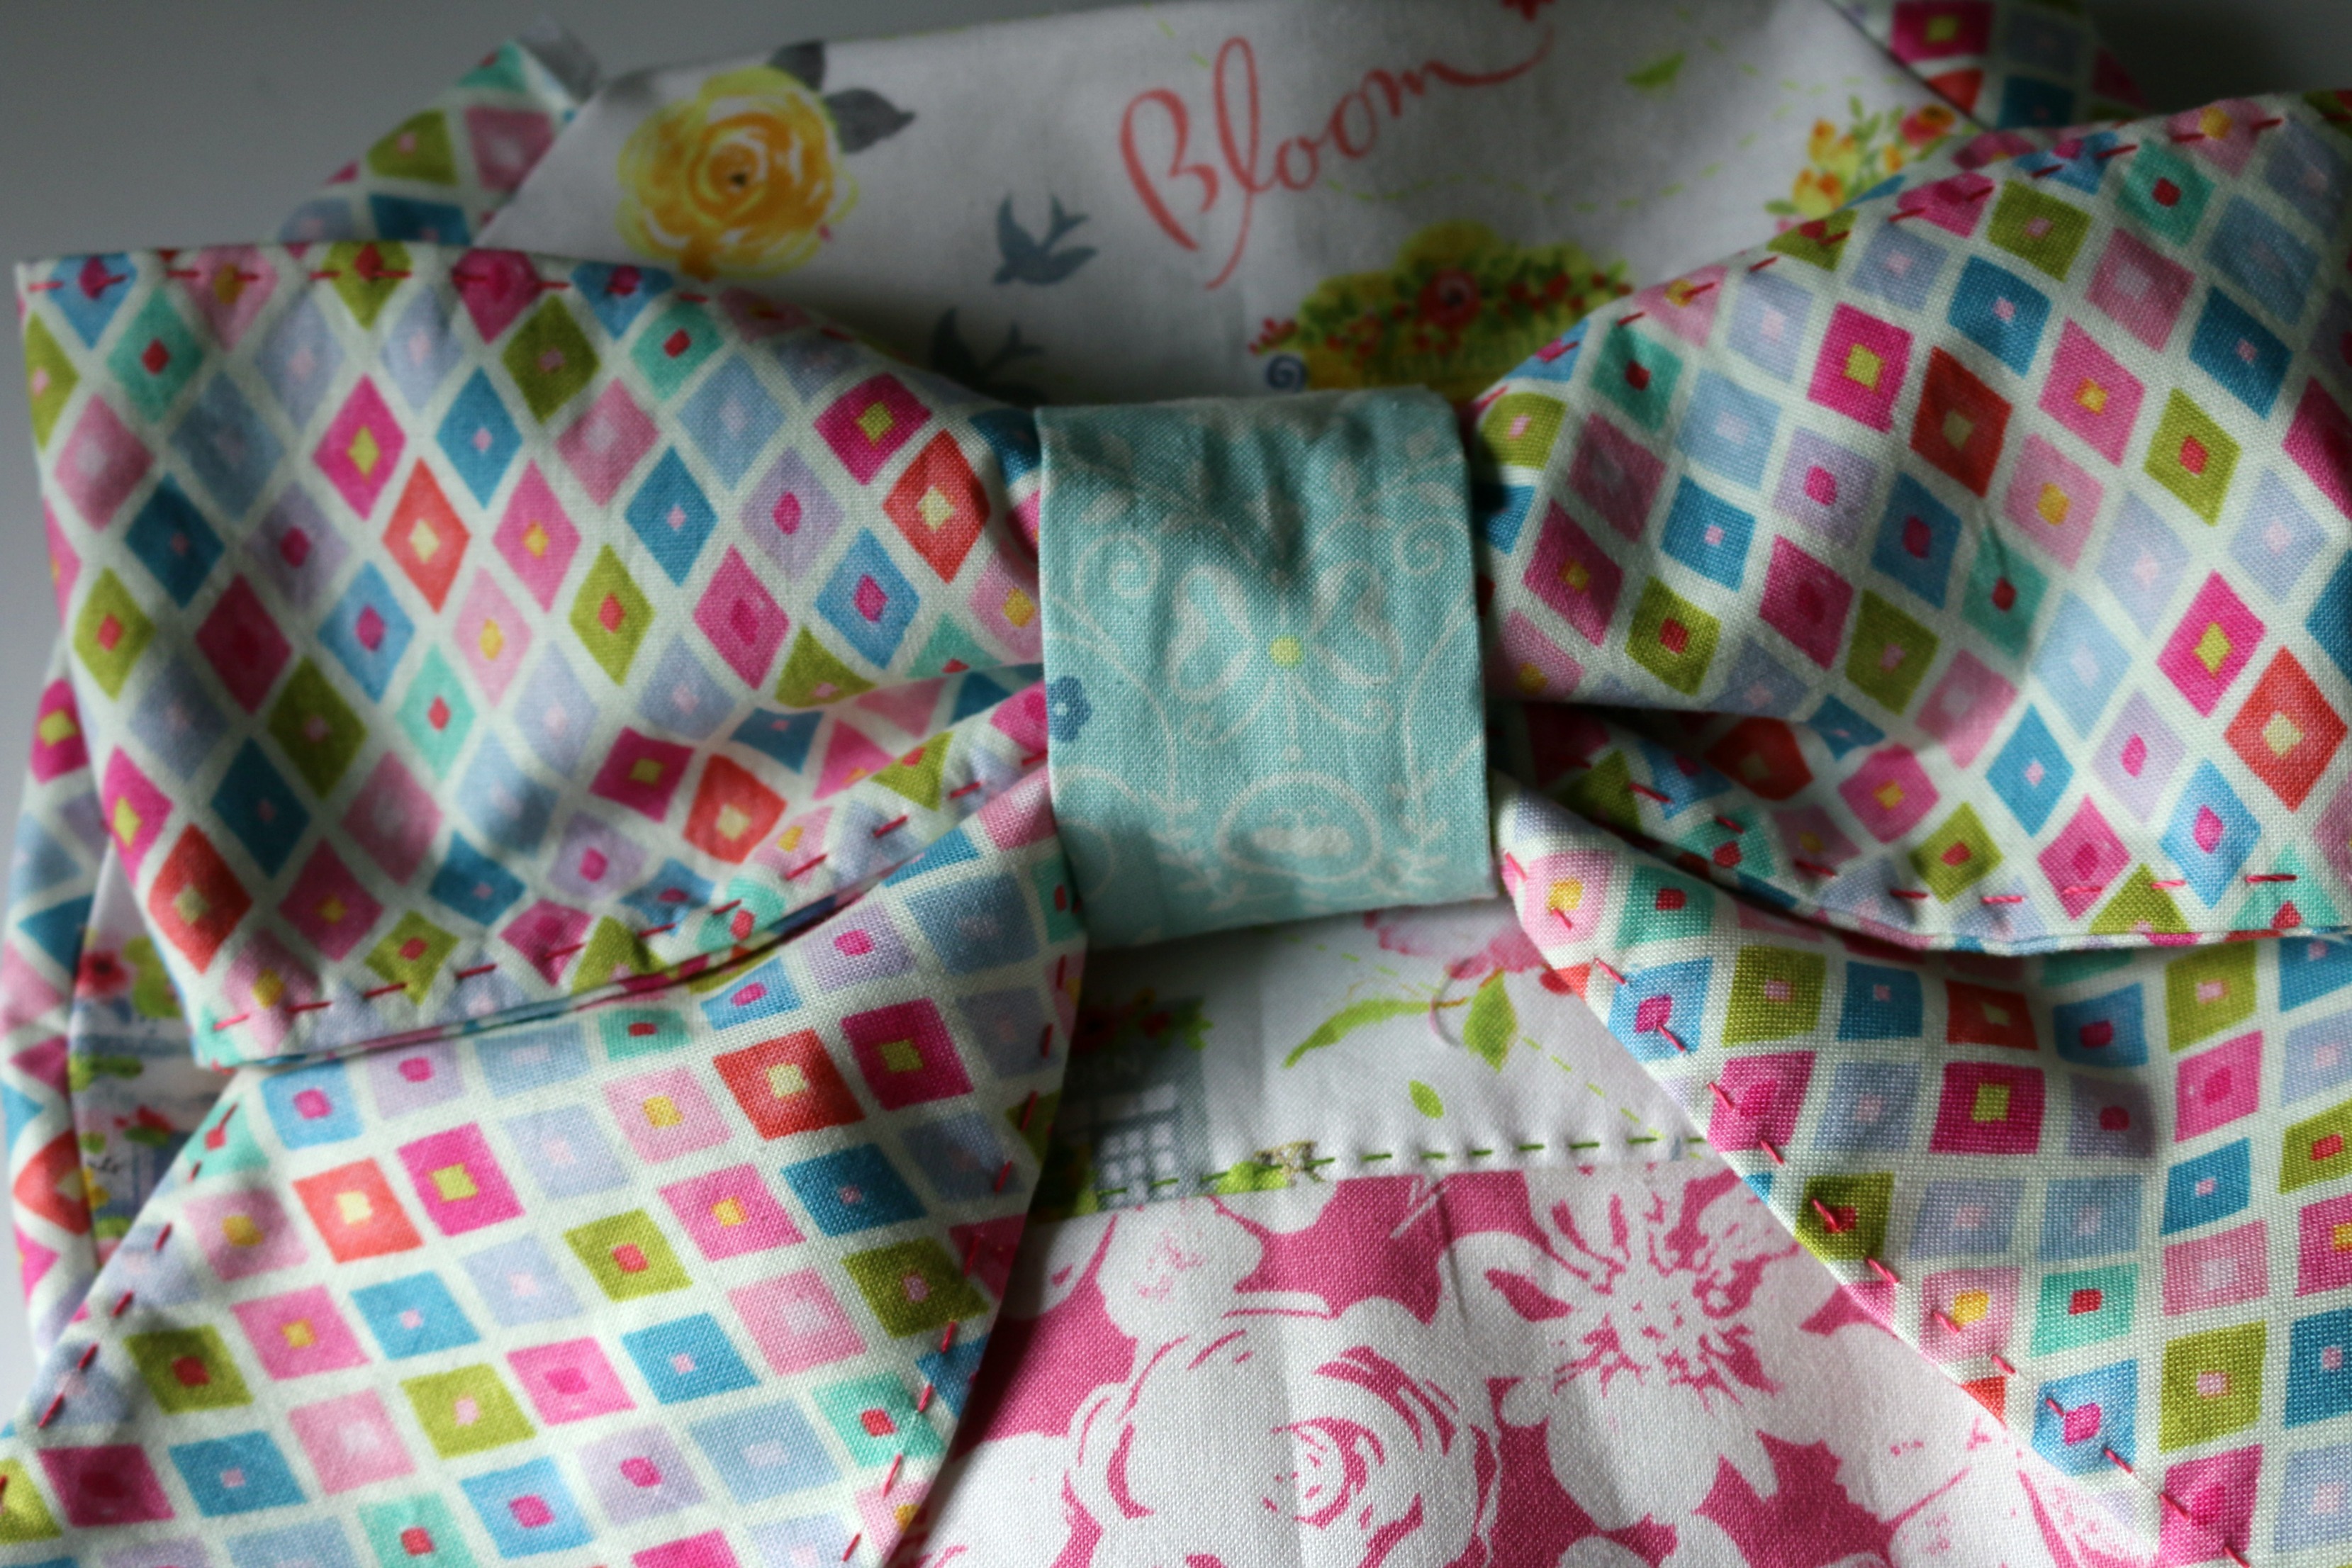
- Complete the outside cover adding button holes.
- (Optional) Hand-stitch around the top edge with Aurifil 2888
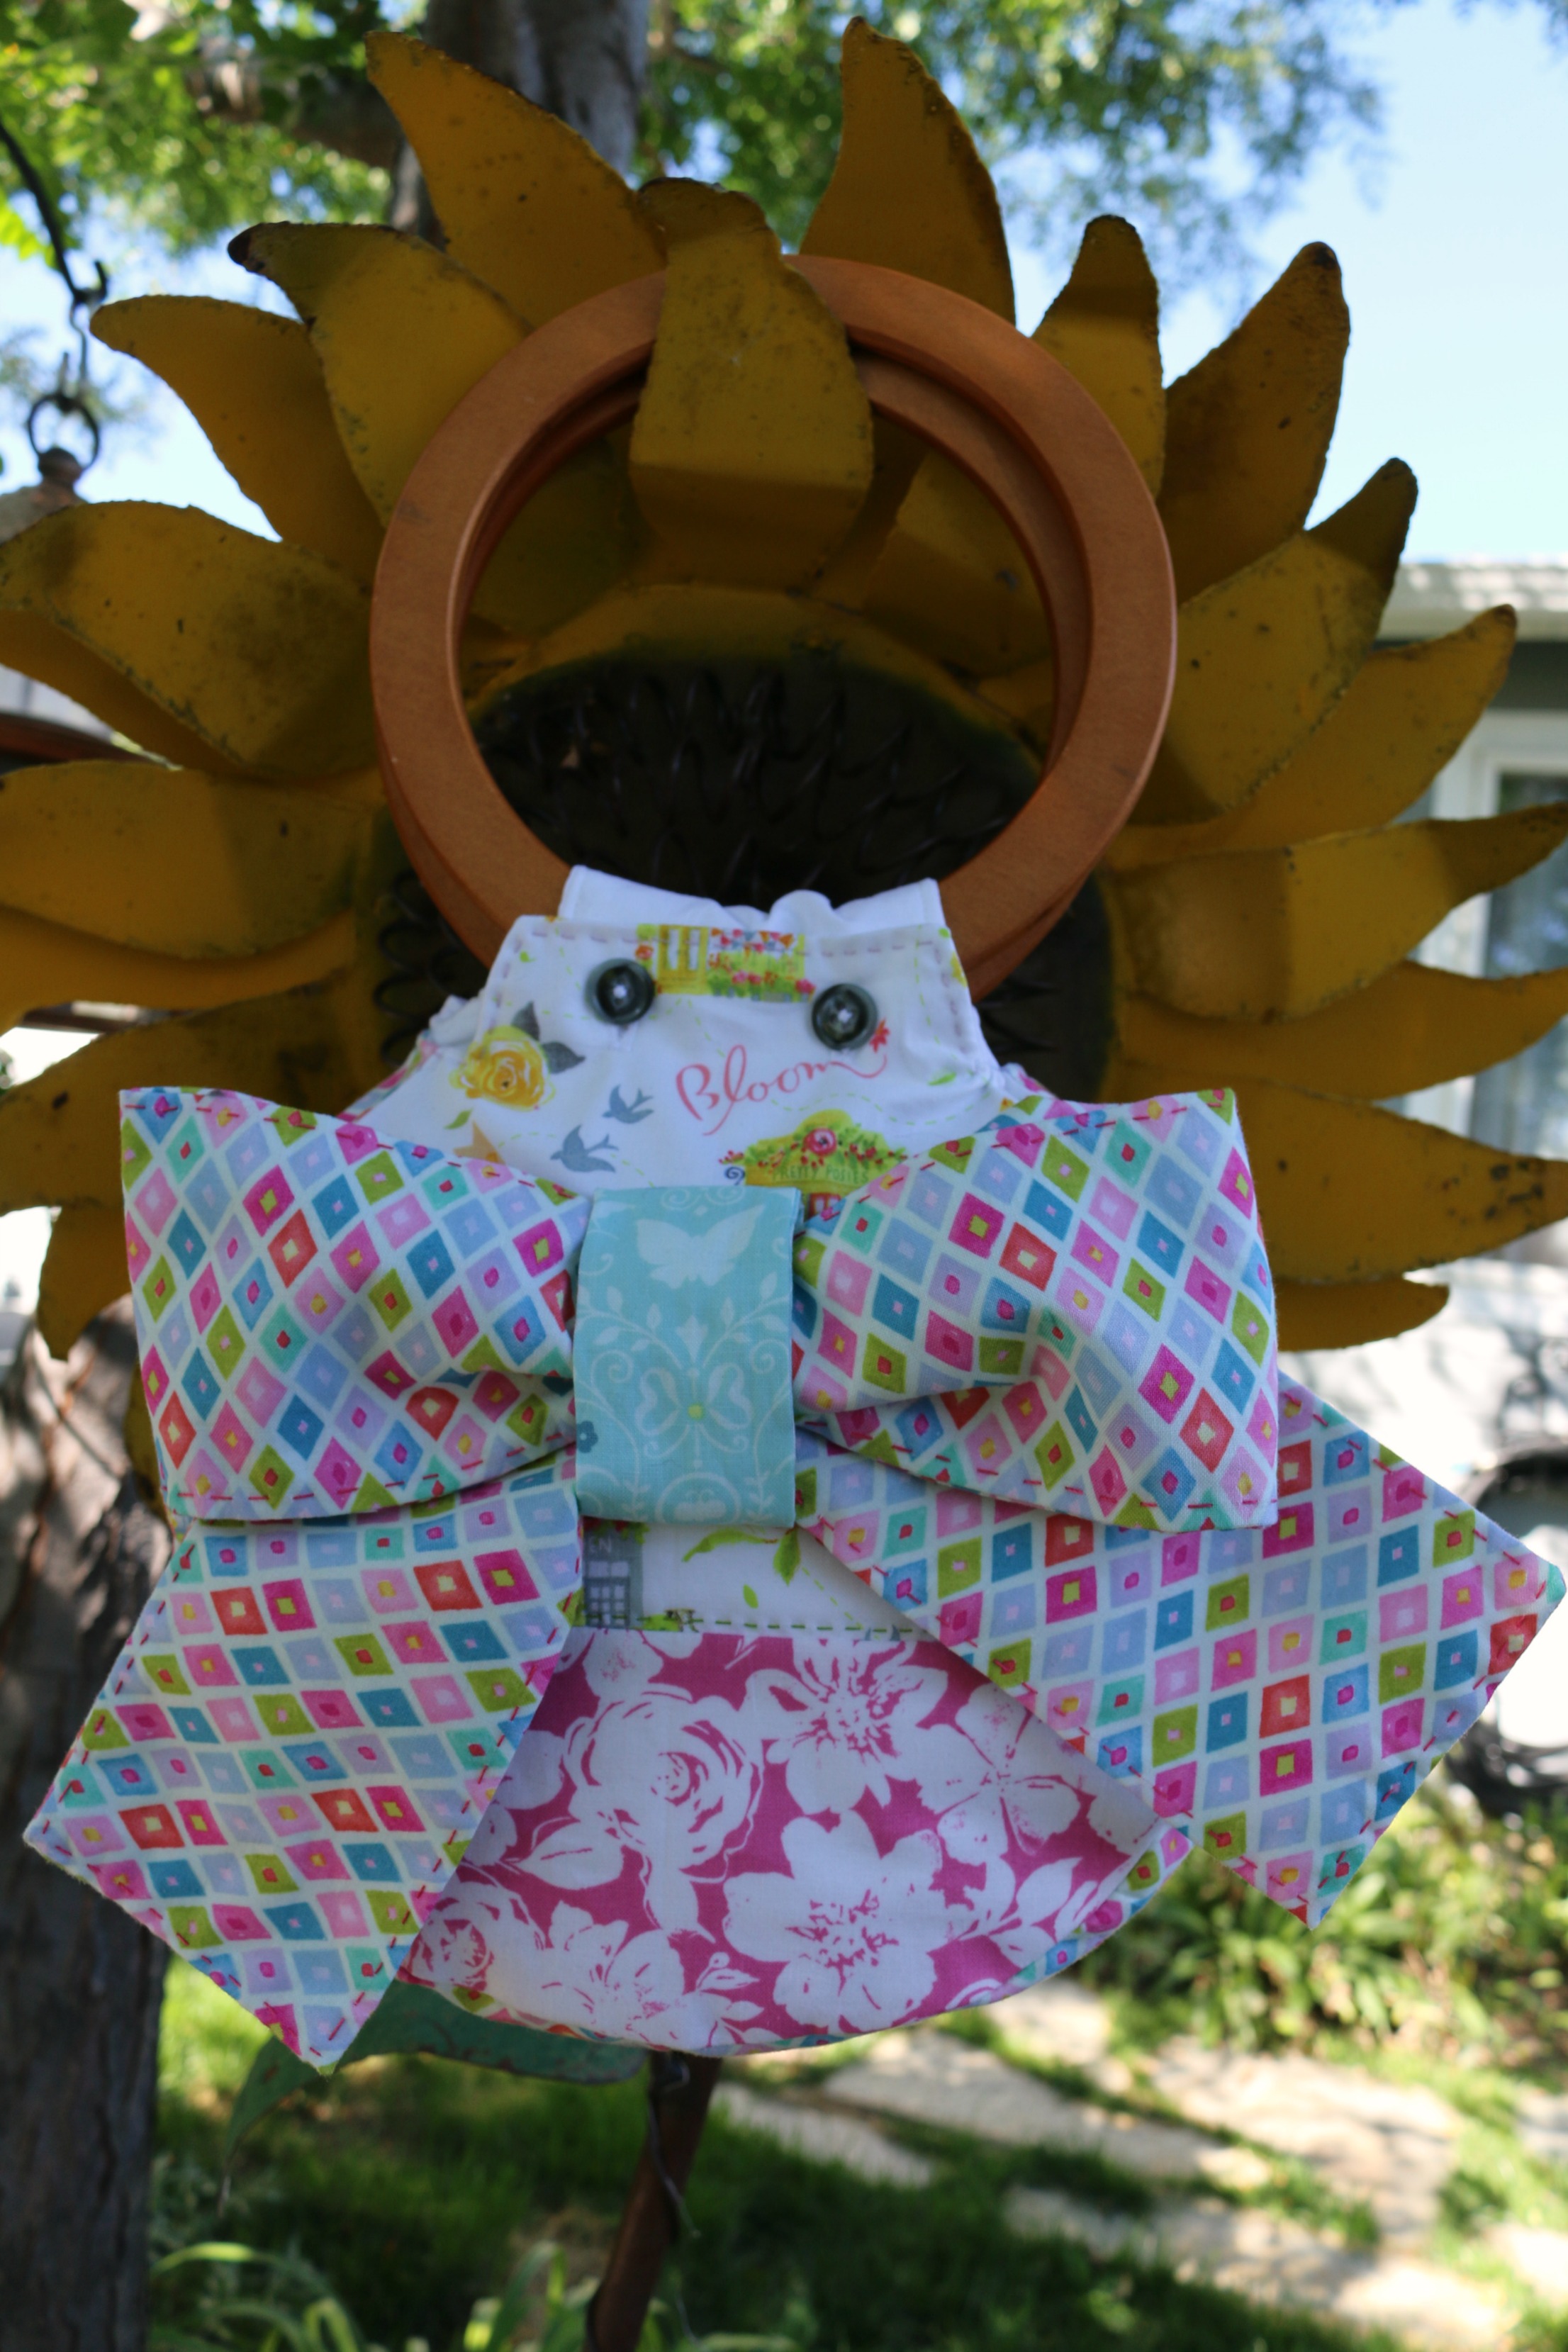
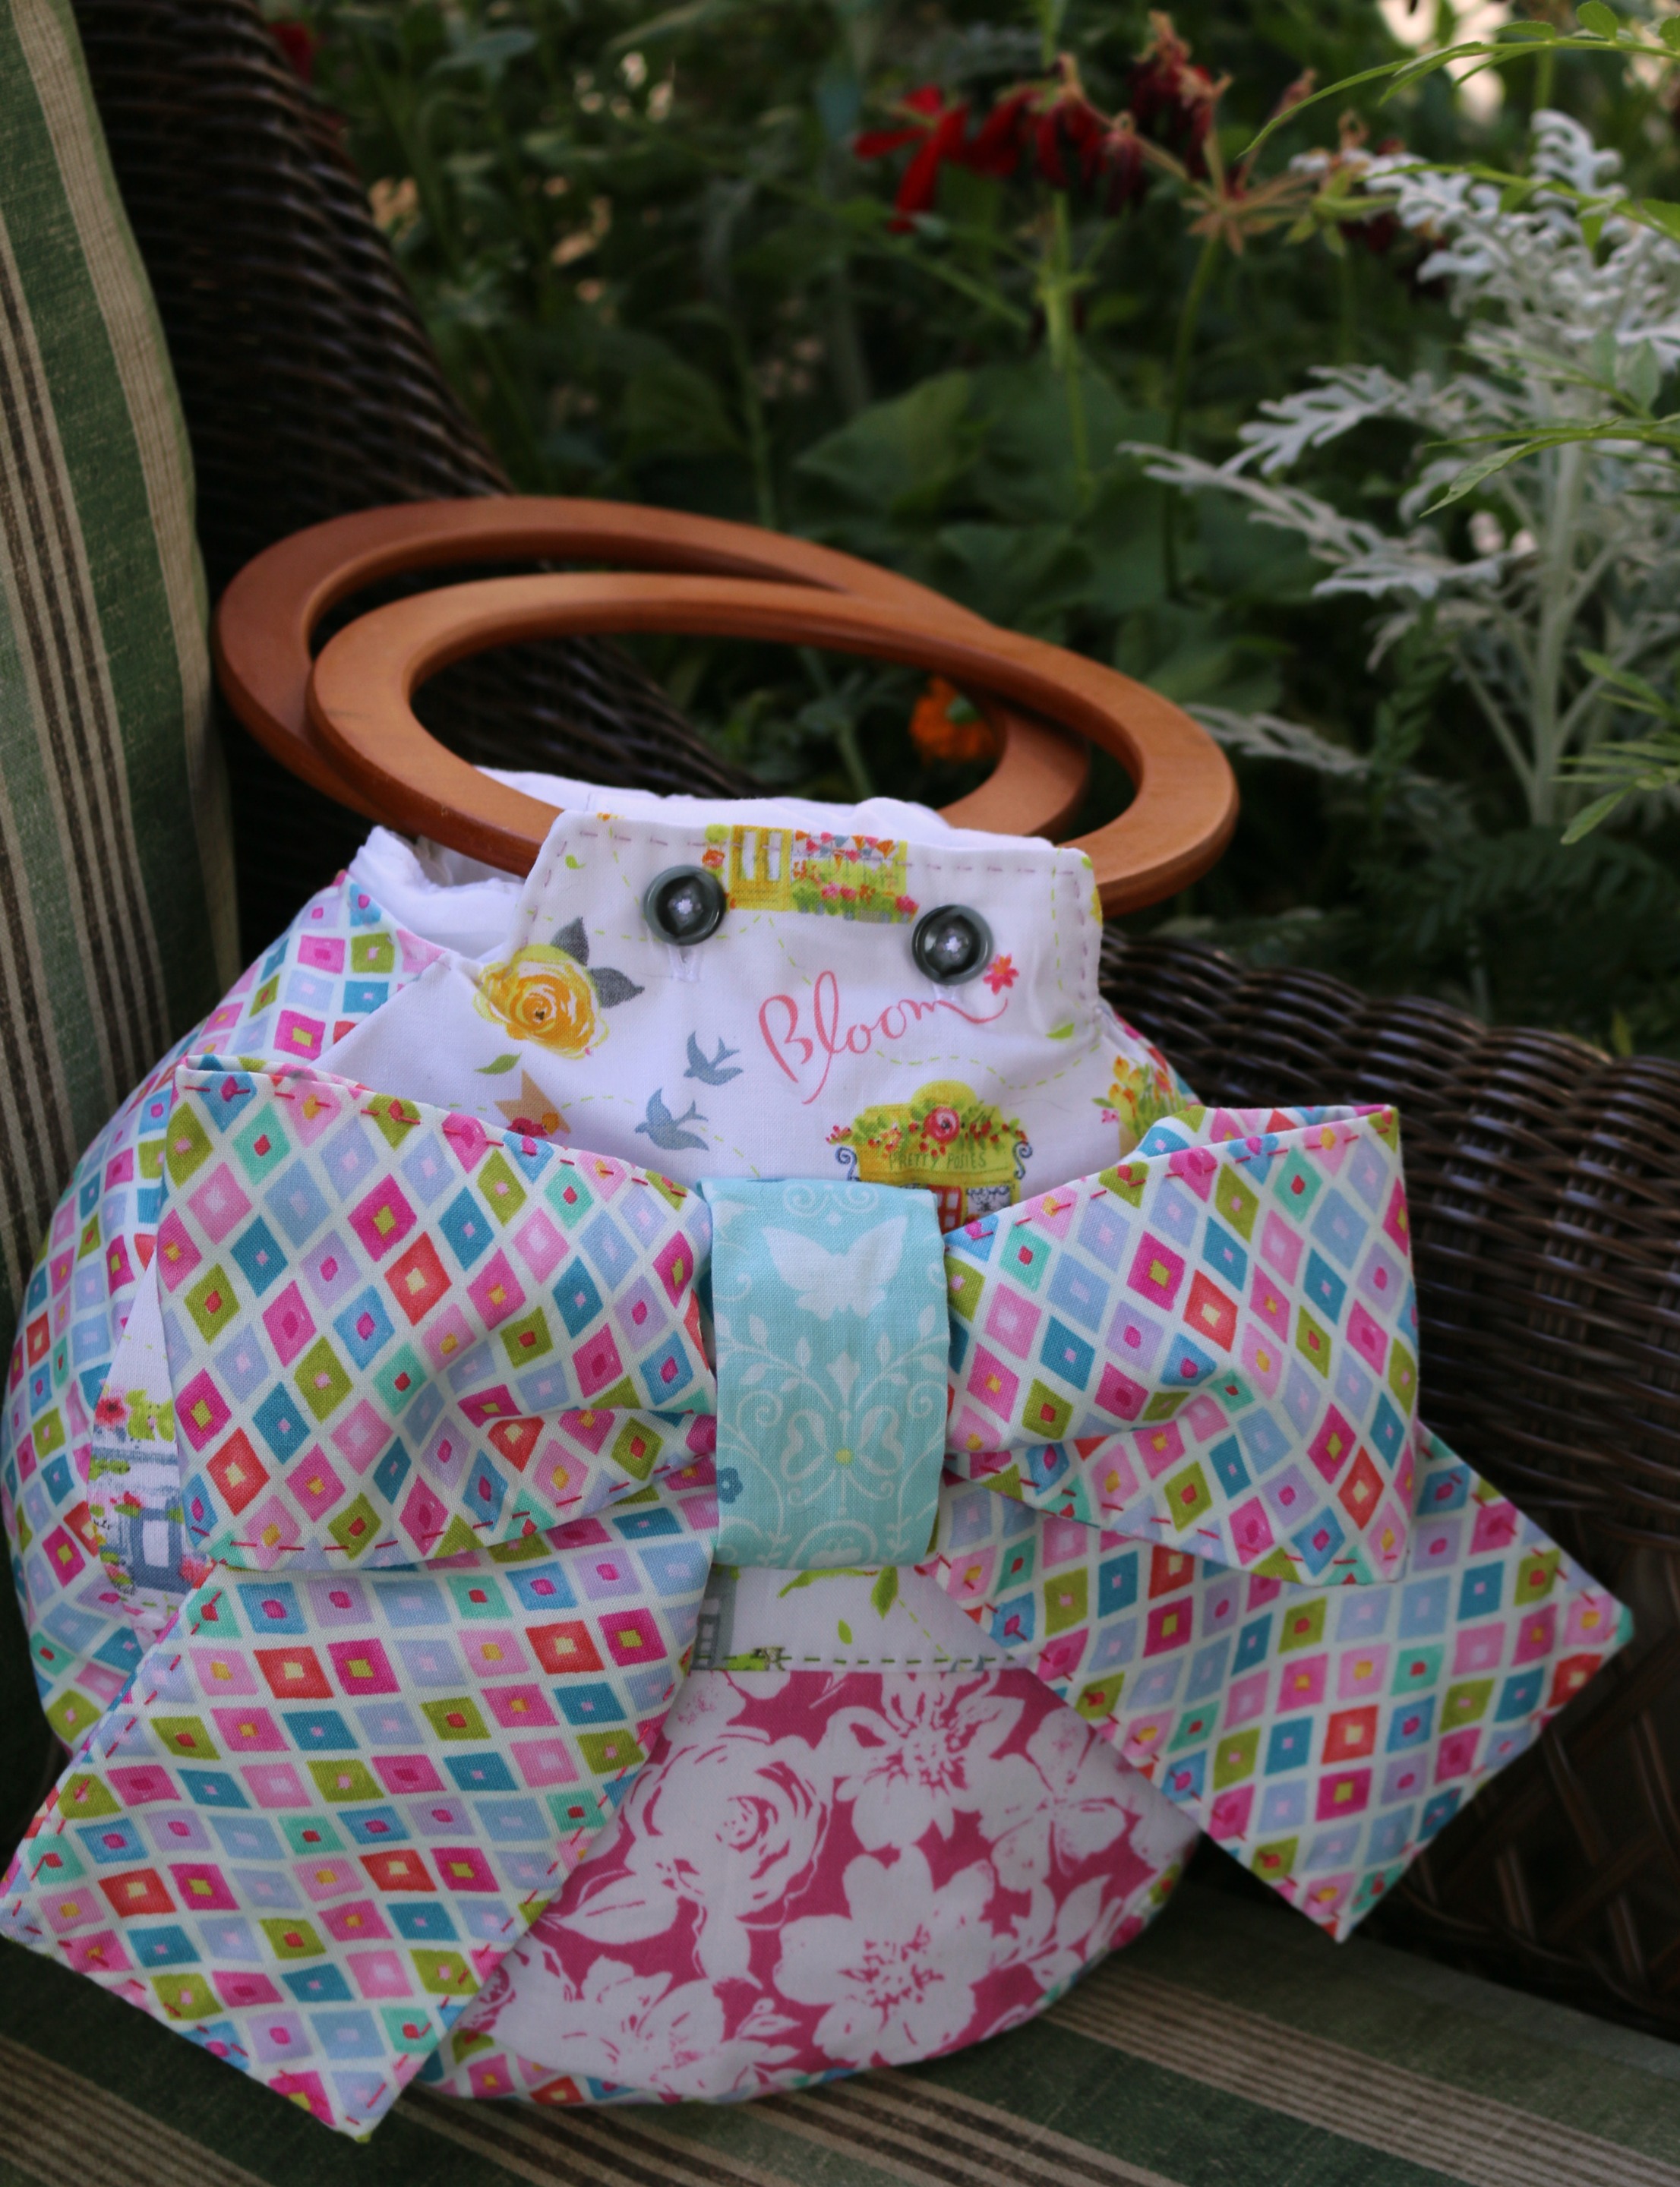
- TAKE YOUR NEW BAG OUT ON THE TOWN (Maybe to Market)!!

[…] around them. I made a tutorial a back here on how to make a run fabric bow. You can check it out HERE. Add handles and a lining to make your tote […]
[…] a bow according to the direction found HERE The size of the bow came be customized. This one was created using 2 – 3″ x 22″ […]