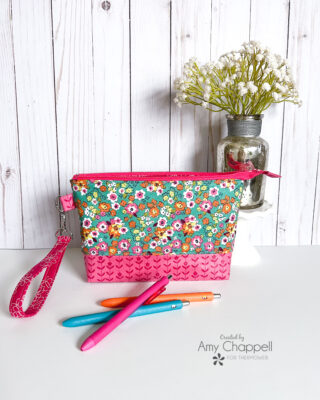
Zipper pouches are some of my very favorite things to sew. They show off darling fabrics, are quick and easy, and they are so useful. Make a zipper pouch even more useful by adding Iron-on Vinyl to your fabrics. Iron-on vinyl helps resist water and dirt and gives more body to your pouch- helping it stand on its own. It’s a fantastic and simple process and today I’m here to give you some of my best tips for working with Iro- on vinyl. HI! I’m Amy from Ameroonie Designs and let’s get sewing!
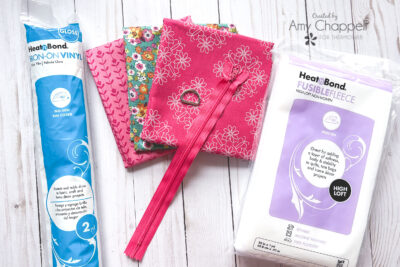
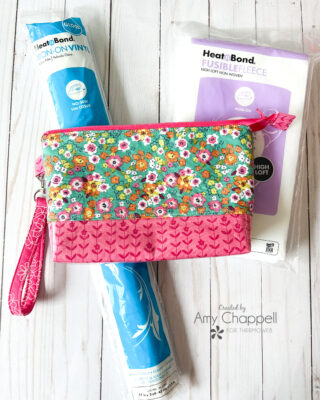
I am going to be sewing a pouch from my Nesting Travel Pouches pattern. The size I am making is the Makeup size. In addition to your fabrics, I am using Flower Farm by Riley Blake Designs, you will also need Iron-on Vinyl, Fusible Fleece a zipper and a D-Ring. All of the sewing instructions are found in the pattern. But, before we sew, we need to make our coated fabric.
Thermoweb Supplies:
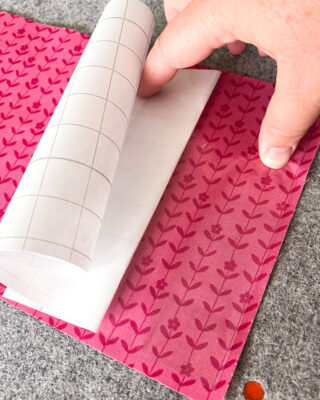
Begin by washing the fabric, without fabric softeners. Once it’s dry, cut it down to the size you need. TIP: Cut your fabric a little larger than the finished size you need to allow for squaring up and to give you a buffer around the edges of the Iron-on Vinyl. For example: if you need a piece to finish at 4″ X 6″, cut your fabric to 5″ X 7″ and then cut your Iron-on Vinyl to 4 1/2″ X 6 1/2″. TIP: After you have cut your Iron-on Vinyl to the right size, peel back the backing paper a couple of inches and fold it over. This will give you a small section of Iron-on Vinyl exposed to help you center it on your fabric. Once this part is placed, gently pull back on the paper backing while you lay down the Iron-on Vinyl. DO NOT discard this paper backing!! We will be using it a lot!
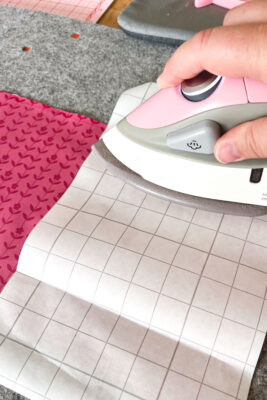
Place the paper backing on top of the Iron-on vinyl and fuse according to the package directions. TIP: Make sure your fabric is free of lint and thread or you may end up fusing it to your project. This is true even after it is fused. If you are pressing the project with the laminated surface toward your ironing surface, you may still pick up threads and lint in the Iron-on Vinyl. Keeping a lint roller handy is useful whenever you work with laminated fabrics.
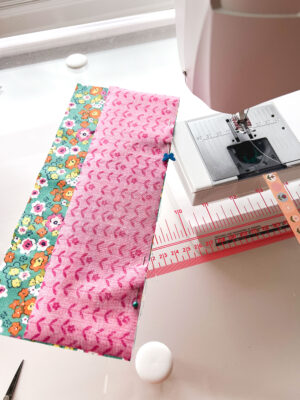
Pin holes in laminated fabric don’t heal as easily as they do in regular fabric. TIP: pin your pieces together within the seam allowances so the pins don’t make holes in your finished project.
If you have trouble feeding your laminated fabric through your sewing machine, try using a Teflon foot, a walking foot (although test this first as sometimes the jagged feet on the walking foot can leave marks in the laminated fabric) or cover the bottom of your presser foot with matte scotch tape. Use a pin to open a hole in the bottom of the foot for the needle to pass through.
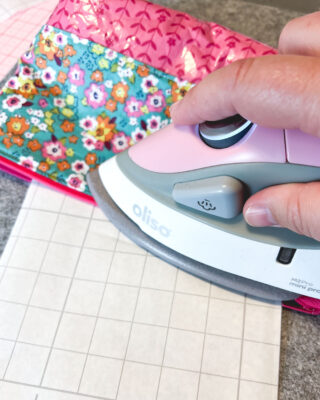
One final TIP: don’t press two laminated sides of your project together. For example, this pouch is also lined with laminated fabric, so if I press on the outside of the pouch, the two laminated sides would be touching inside. Be sure to slide your Iron-on vinyl backing paper in between the two sides before pressing. *I learned this lesson the hard way. 😉
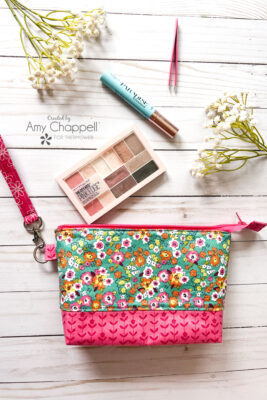
With Iron-on Vinyl on the bottom and lining of this pouch, it makes for easy clean up when there are spills and helps resist dirt. It makes for a great pencil pouch or makeup bag!
I love sharing these kind of tips and tricks and I try to do so often over on my Instagram page @AmeroonieDesigns or on my blog http://www.AmeroonieDesigns.com. I hope I will see you there! Until then, Happy Sewing!
