


 Hello and welcome!
It’s Julia from Inflorescence Designs! I’m so joyful you are visiting today. This week we are all about plants and flowers!
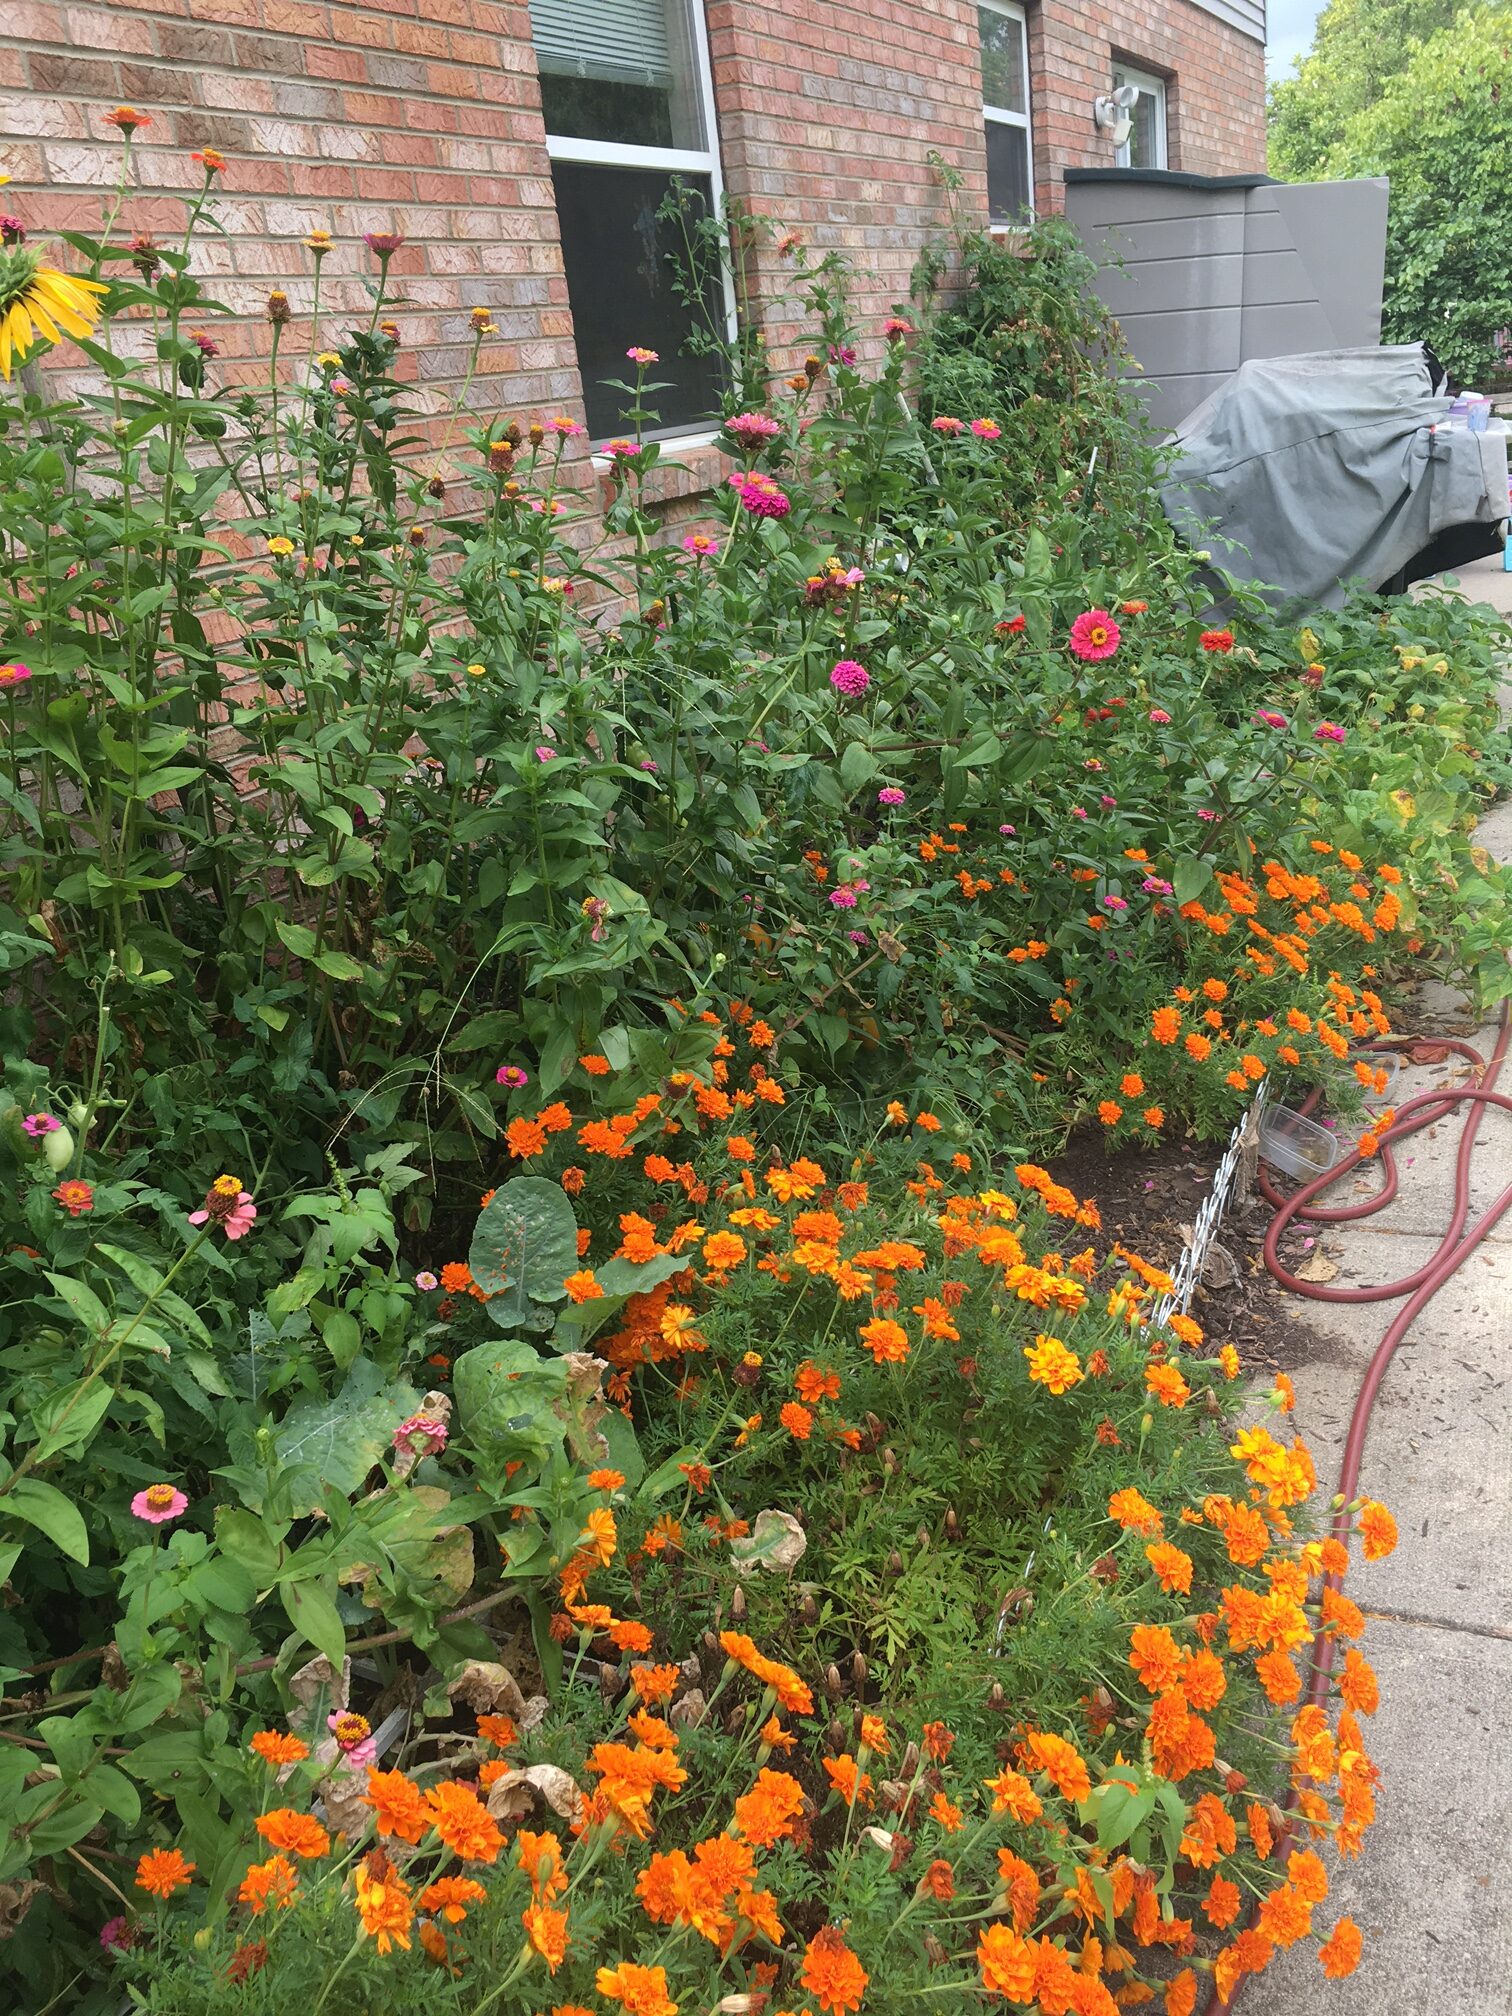
Today’s project is inspired by the garden I grow every year. In addition to sewing and crafting, my other passion includes tending my veggie and flower garden as well as preserving the wonderful bounty I receive each year. My eldest daughter is actually named after my favorite flower: Dahlia. The photo below shows my garden at the pinnacle of the growing season last year.
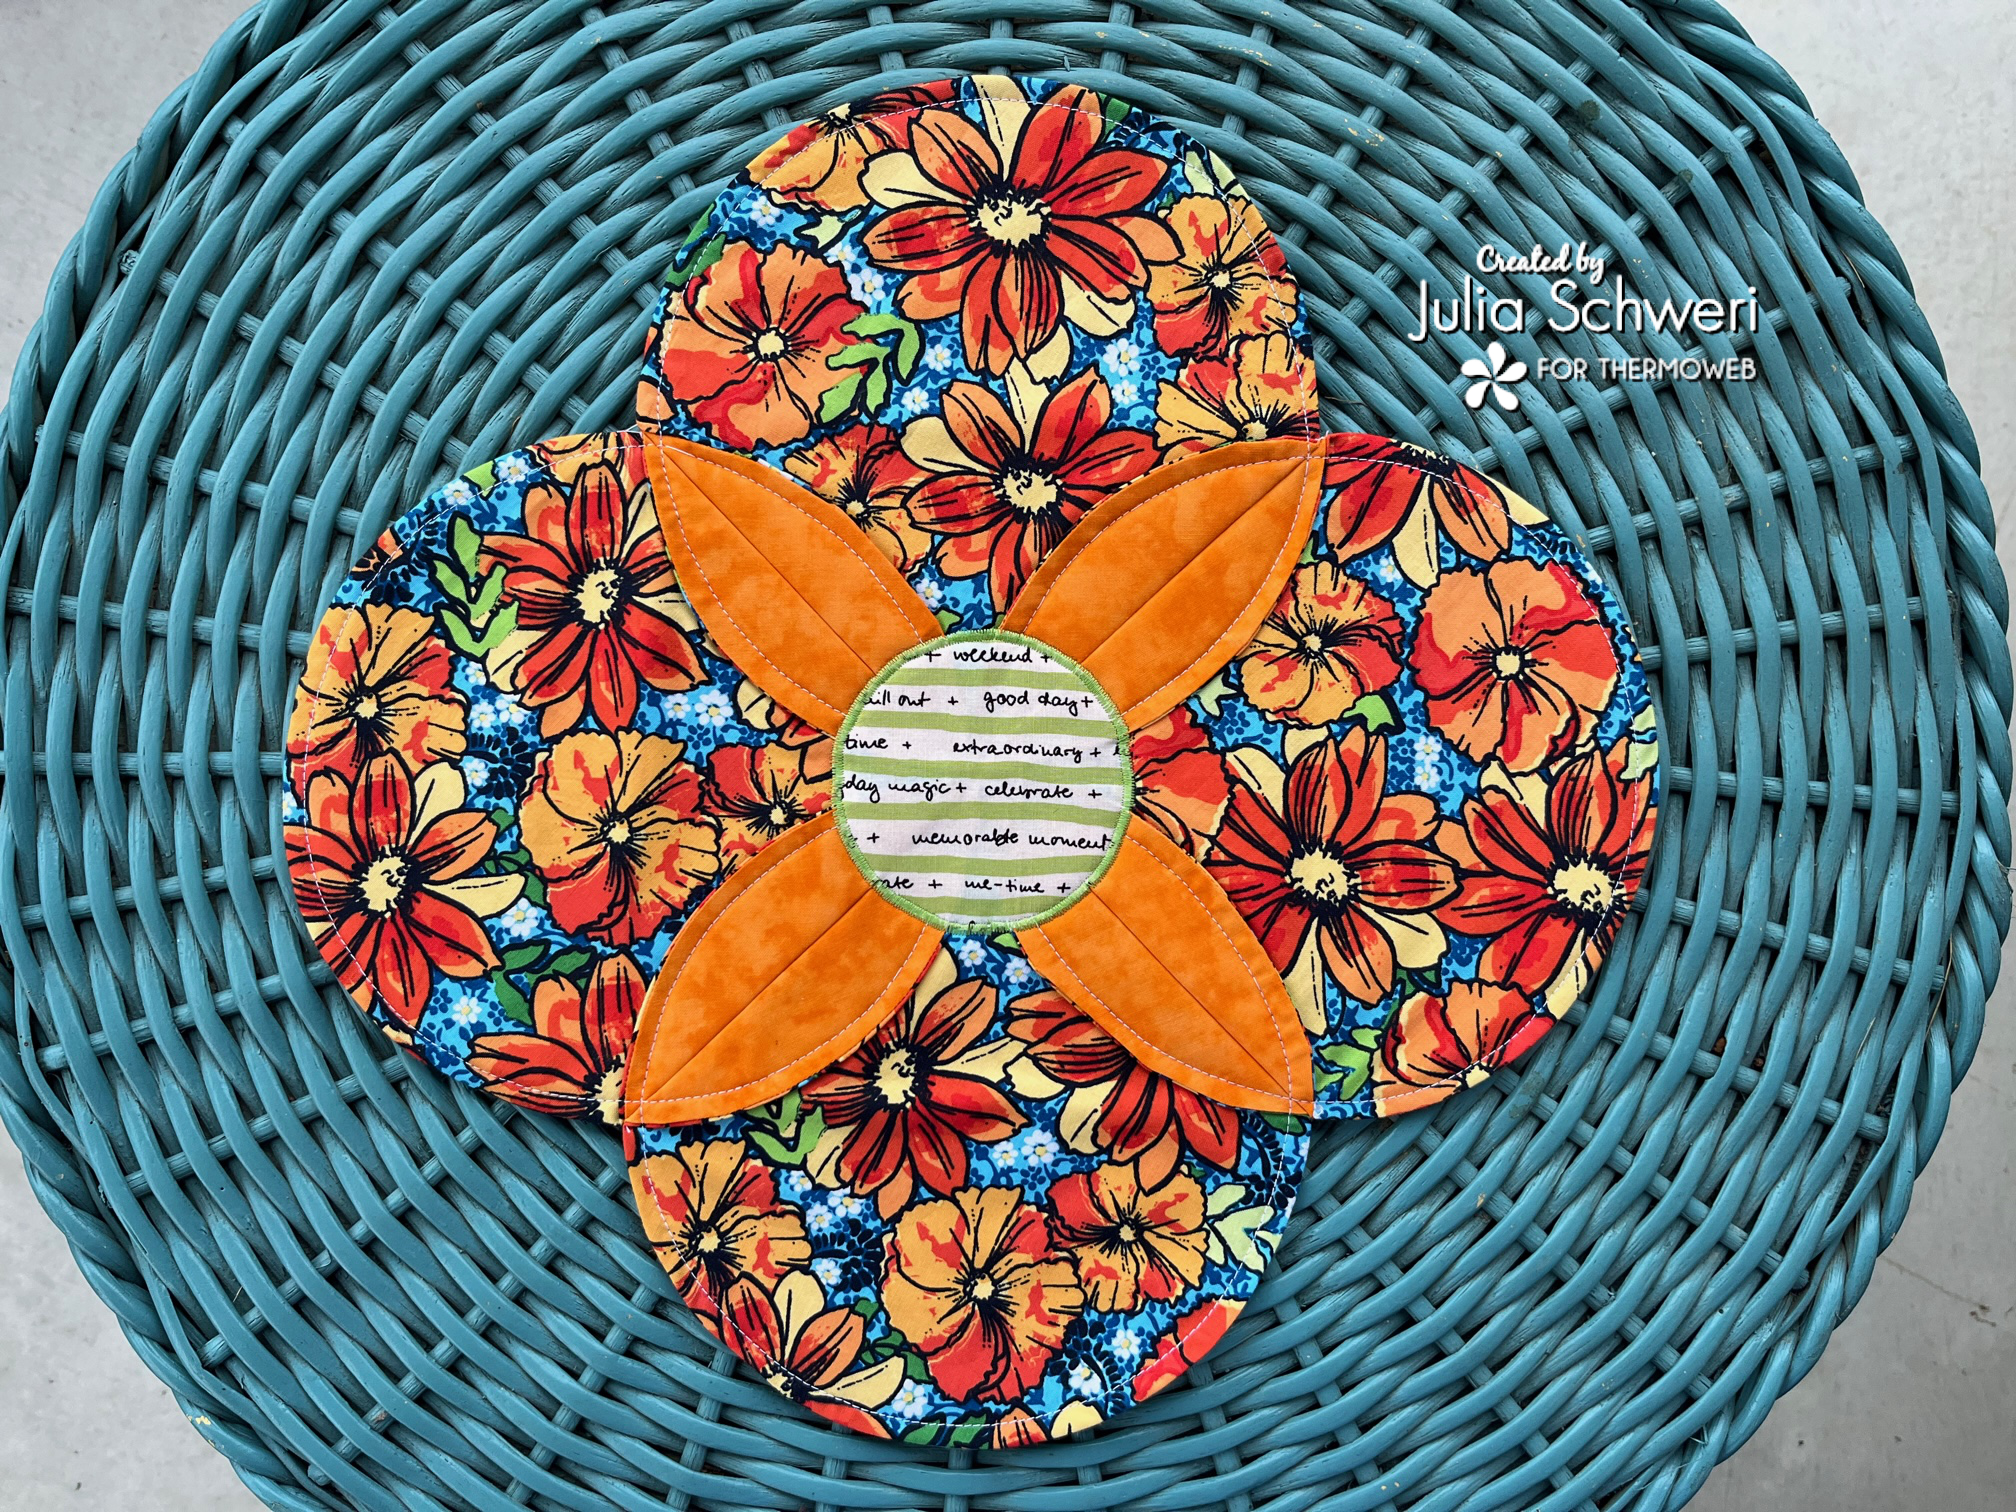
Zinnia Fabric Flower Placemats
Since it is only early June, my garden this year is still very small. But give it a couple more months and it will be flooded with the same rainbow of hues and swarming of butterflies and hummingbirds.
Today’s, project is specifically inspired by the zinnia flowers I grow every year. I love growing zinnias for fresh-cut flowers inside my kitchen.
Zinnia Placemats with Fusible Fleece

Beginner sewing pattern!
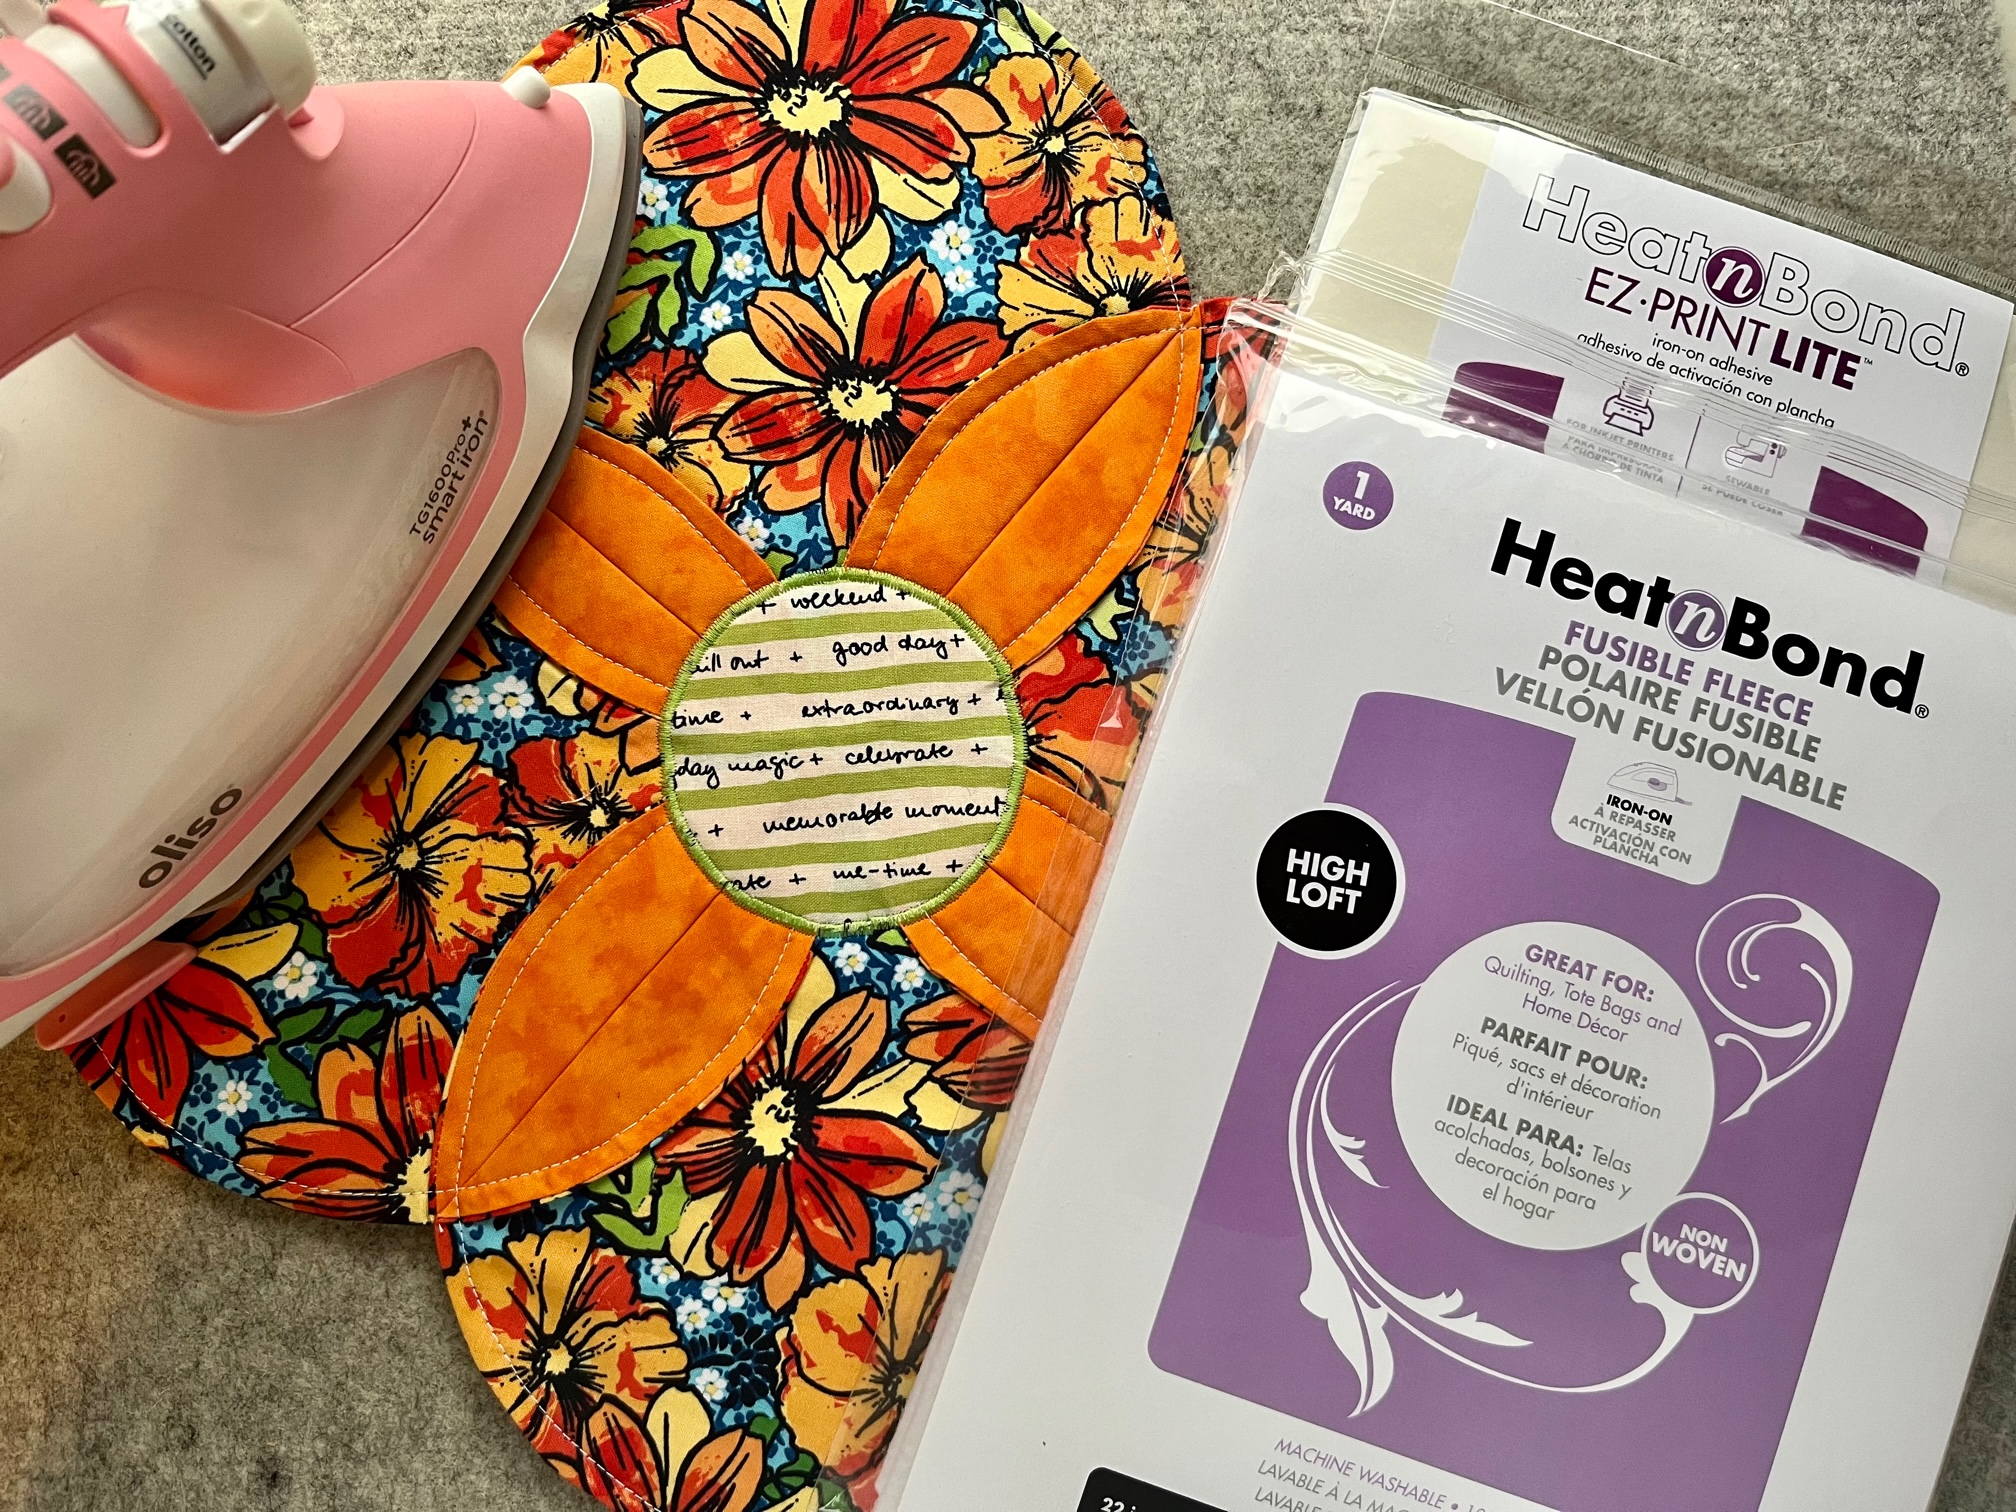
Supplies:
-
Start by downloading the FREE PDF pattern HERE!
- HeatnBond Lite (One 3″ circle)
- HeatnBond Fusible Fleece (Four7″ circles)
- Front flower fabric 10″ by width of fabric (Four 8″ circles)
- Back flower fabric 10″ by width of fabric (Four 8″ circles)
- 4 1/2″ flower center fabric (One 3.5″ circle)
- Oliso Iron
- Basic sewing notions
- Optional: Circle cutting ruler–8″, 7″ 3.5″ and 3″ (templates are included in the pattern)
Sewing Instructions:
Begin by…
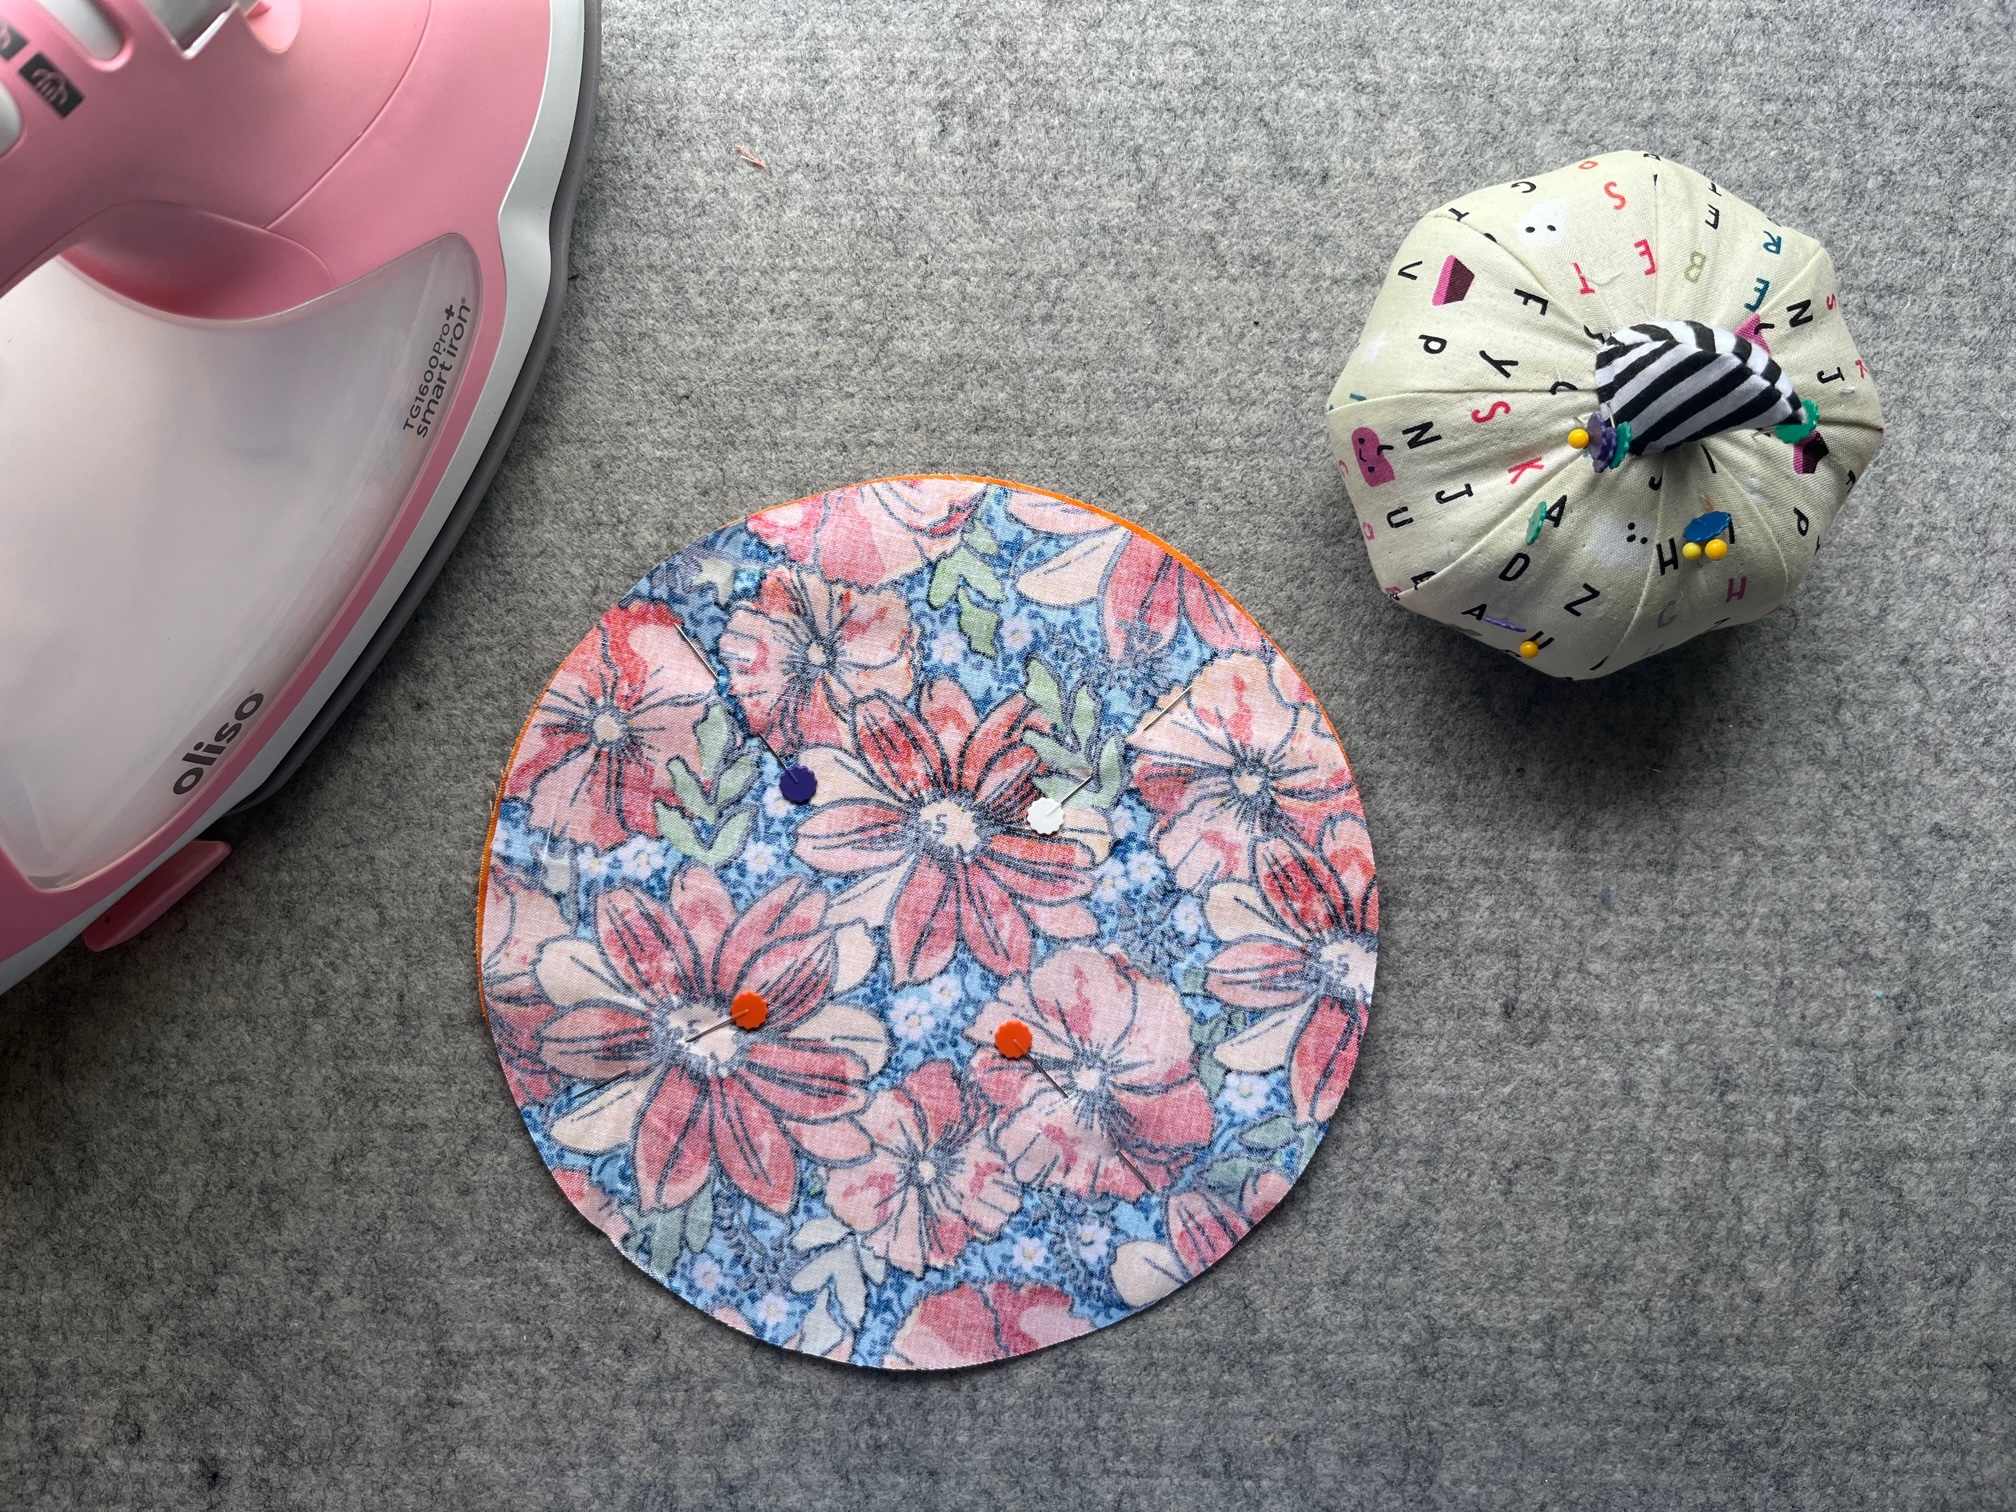
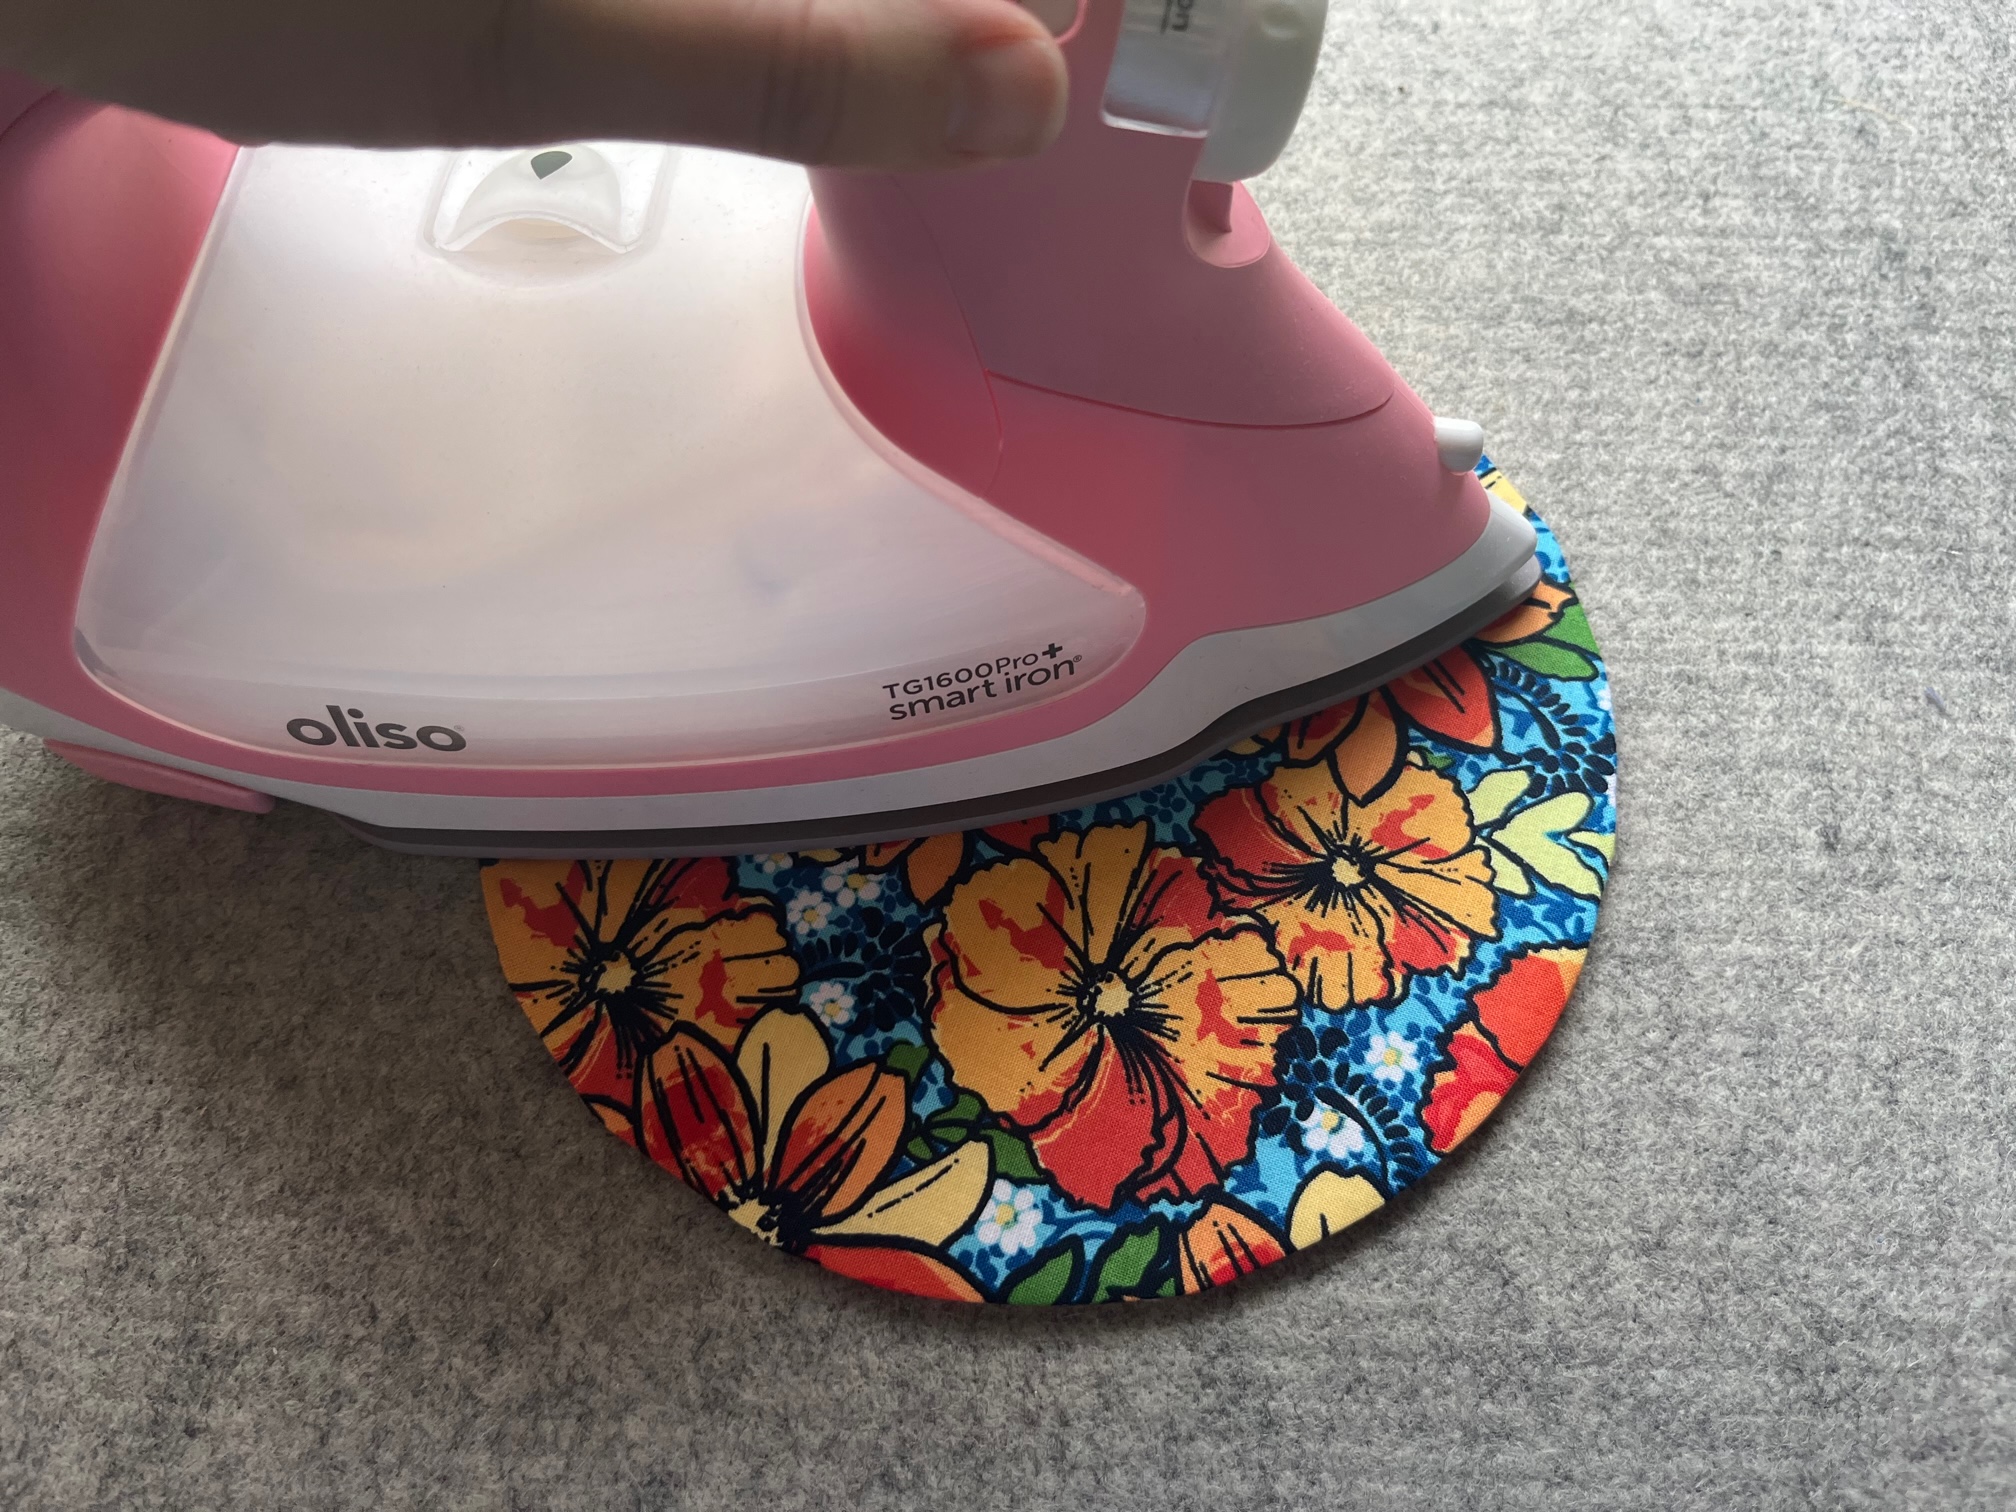
Print off your FREE “Zinnia Placemat” pattern located in the supplies list above. Gather your materials and cut out your fabric, iron-on adhesive and fusible fleece.
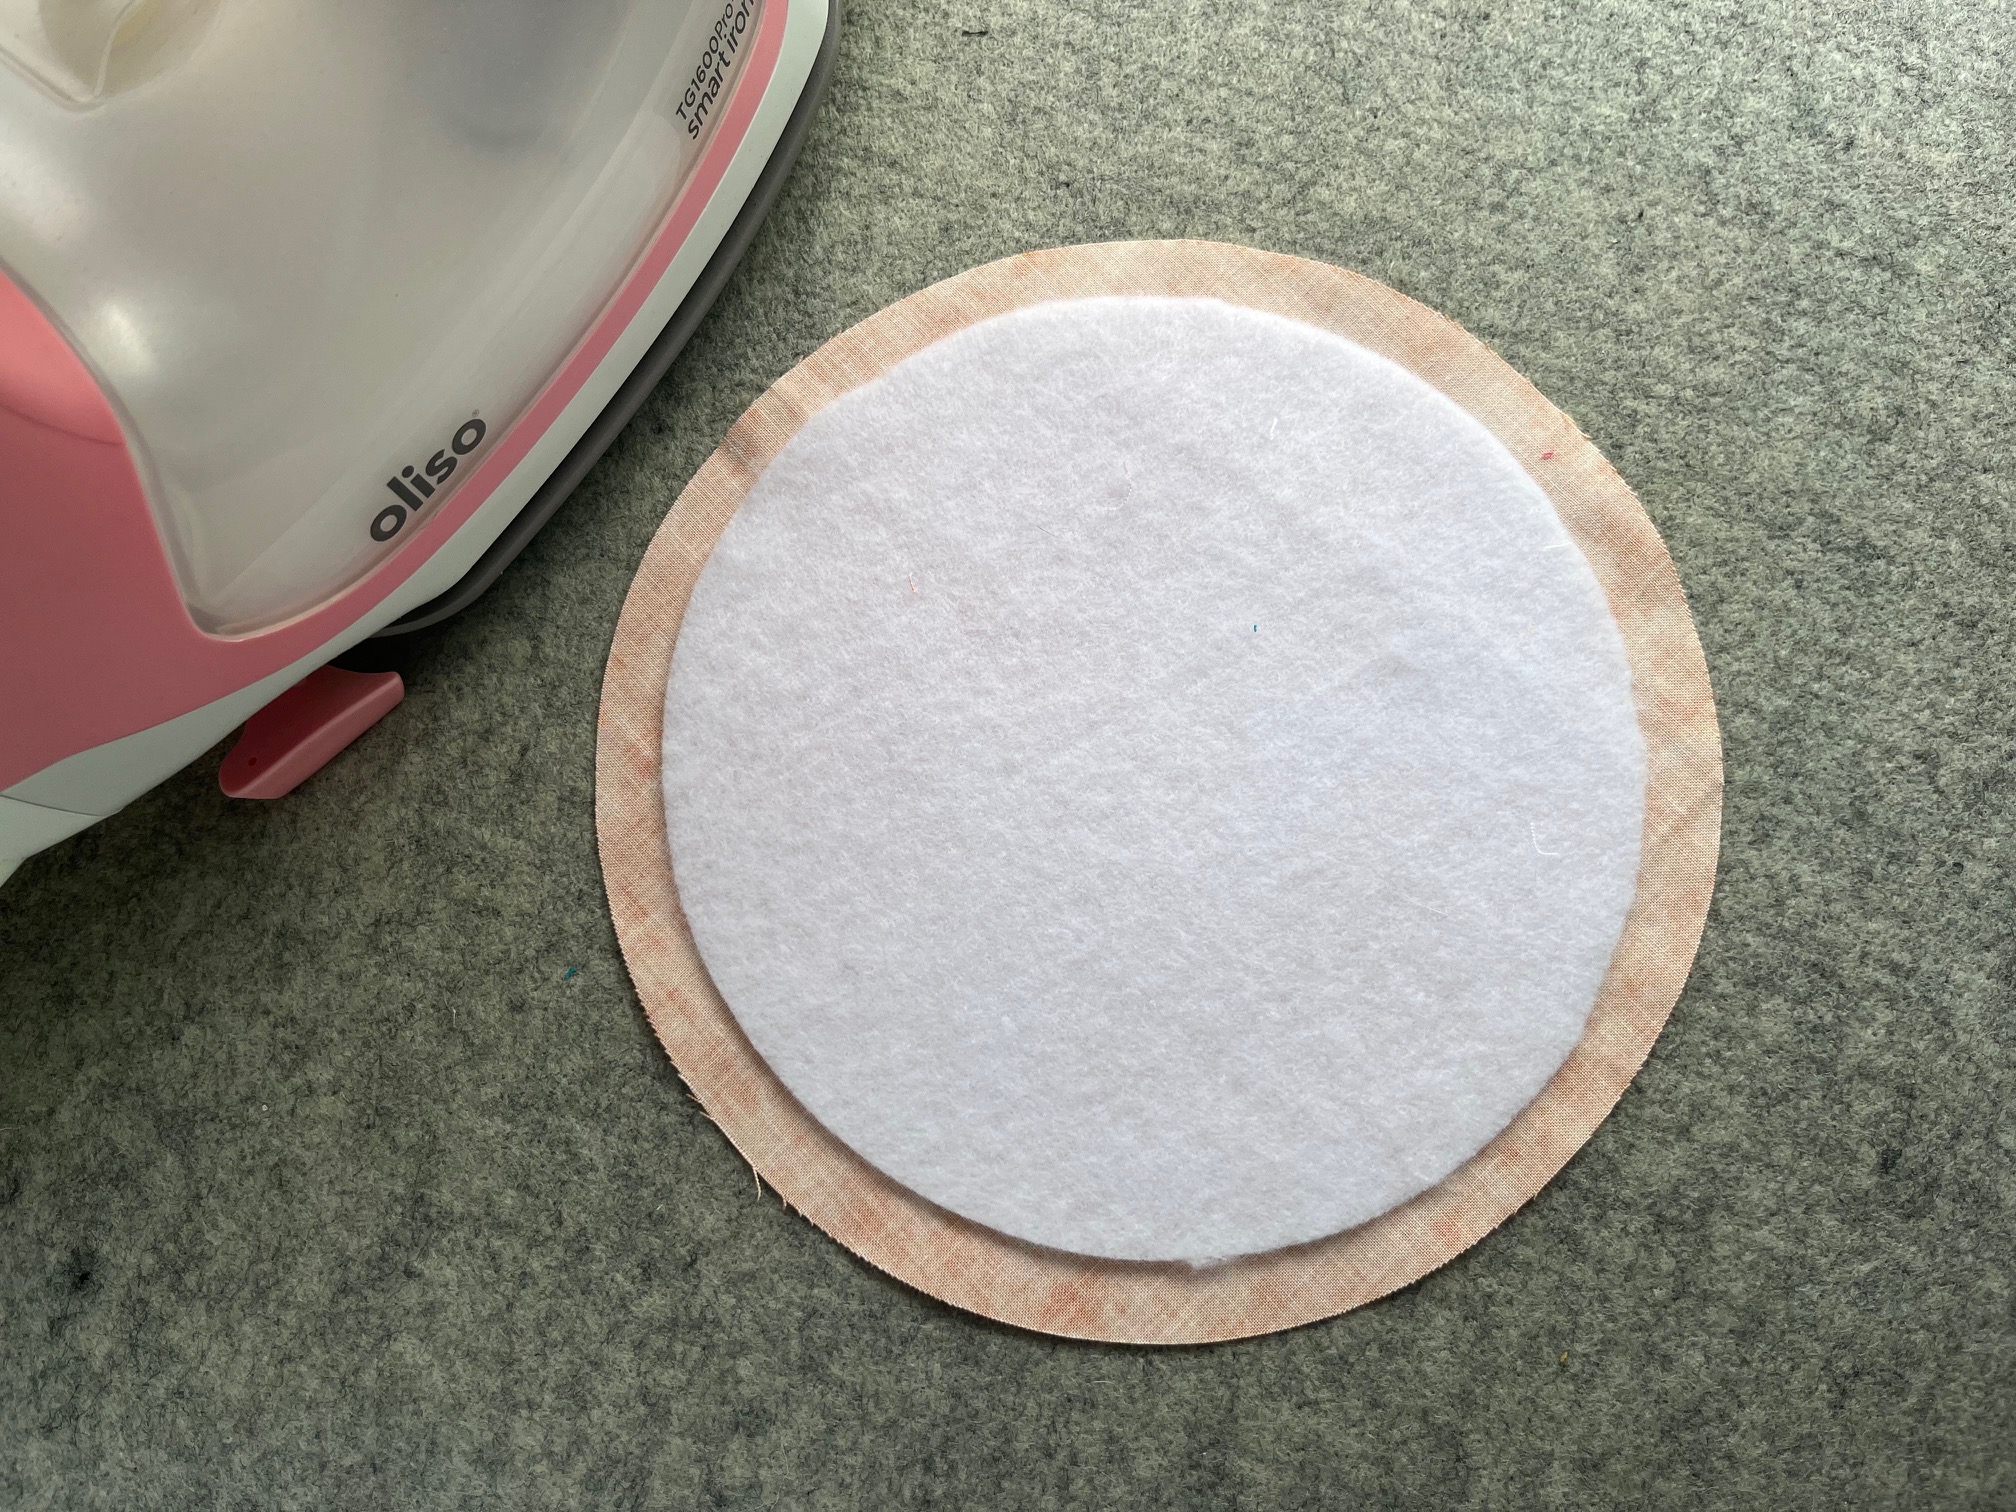
Fuse your fleece to the fabric you want to be the smaller inner petals.
Next…
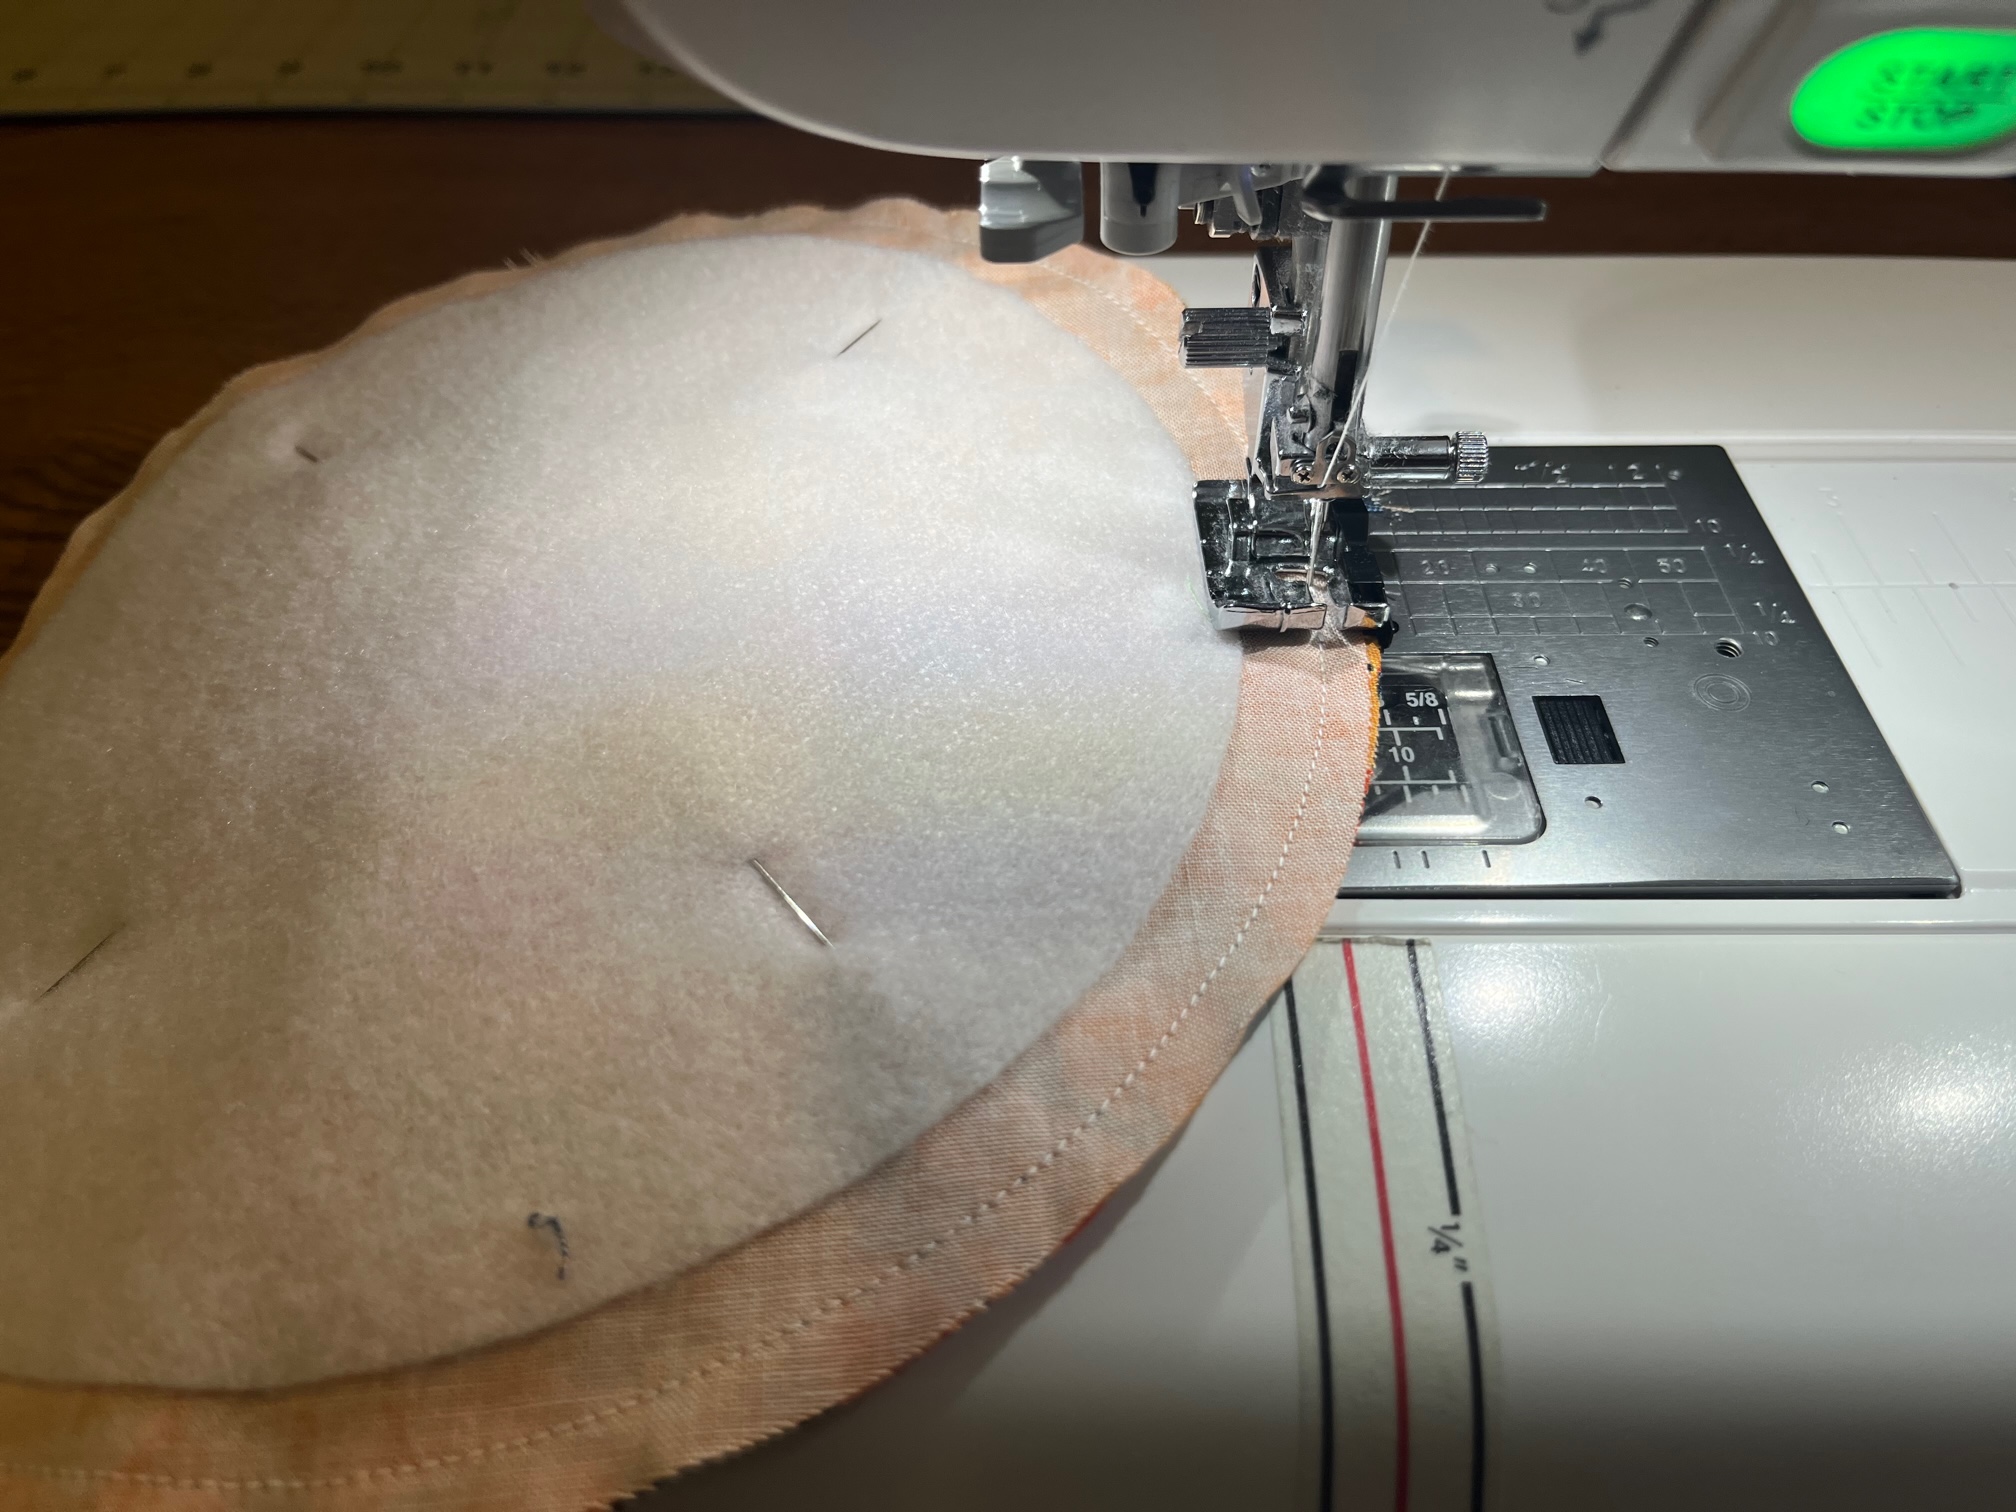
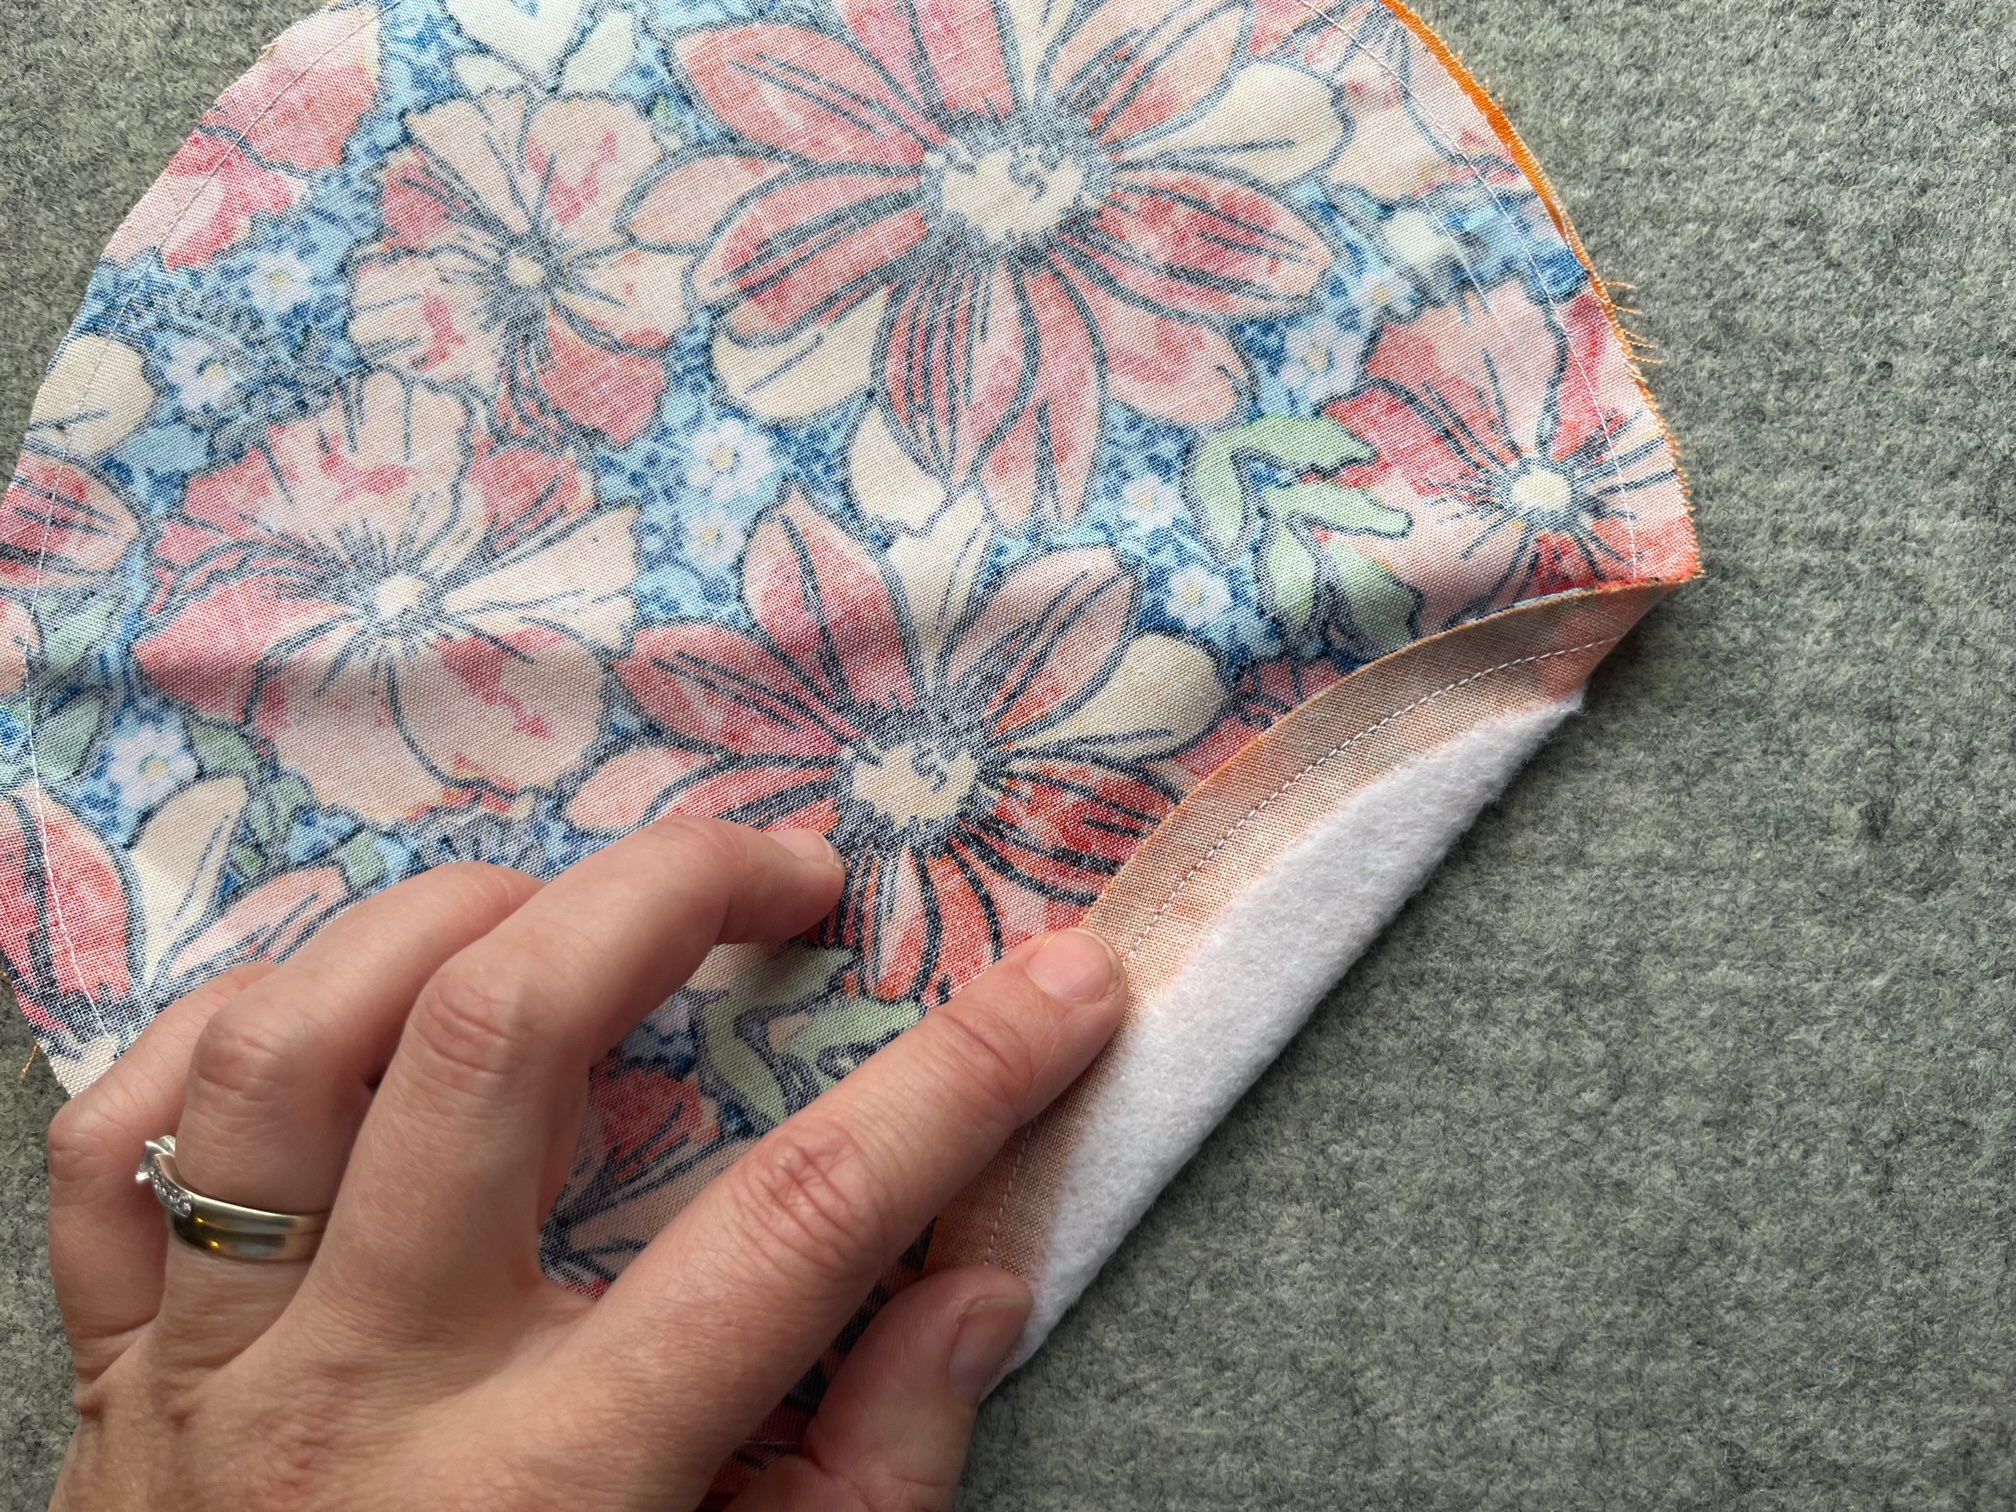
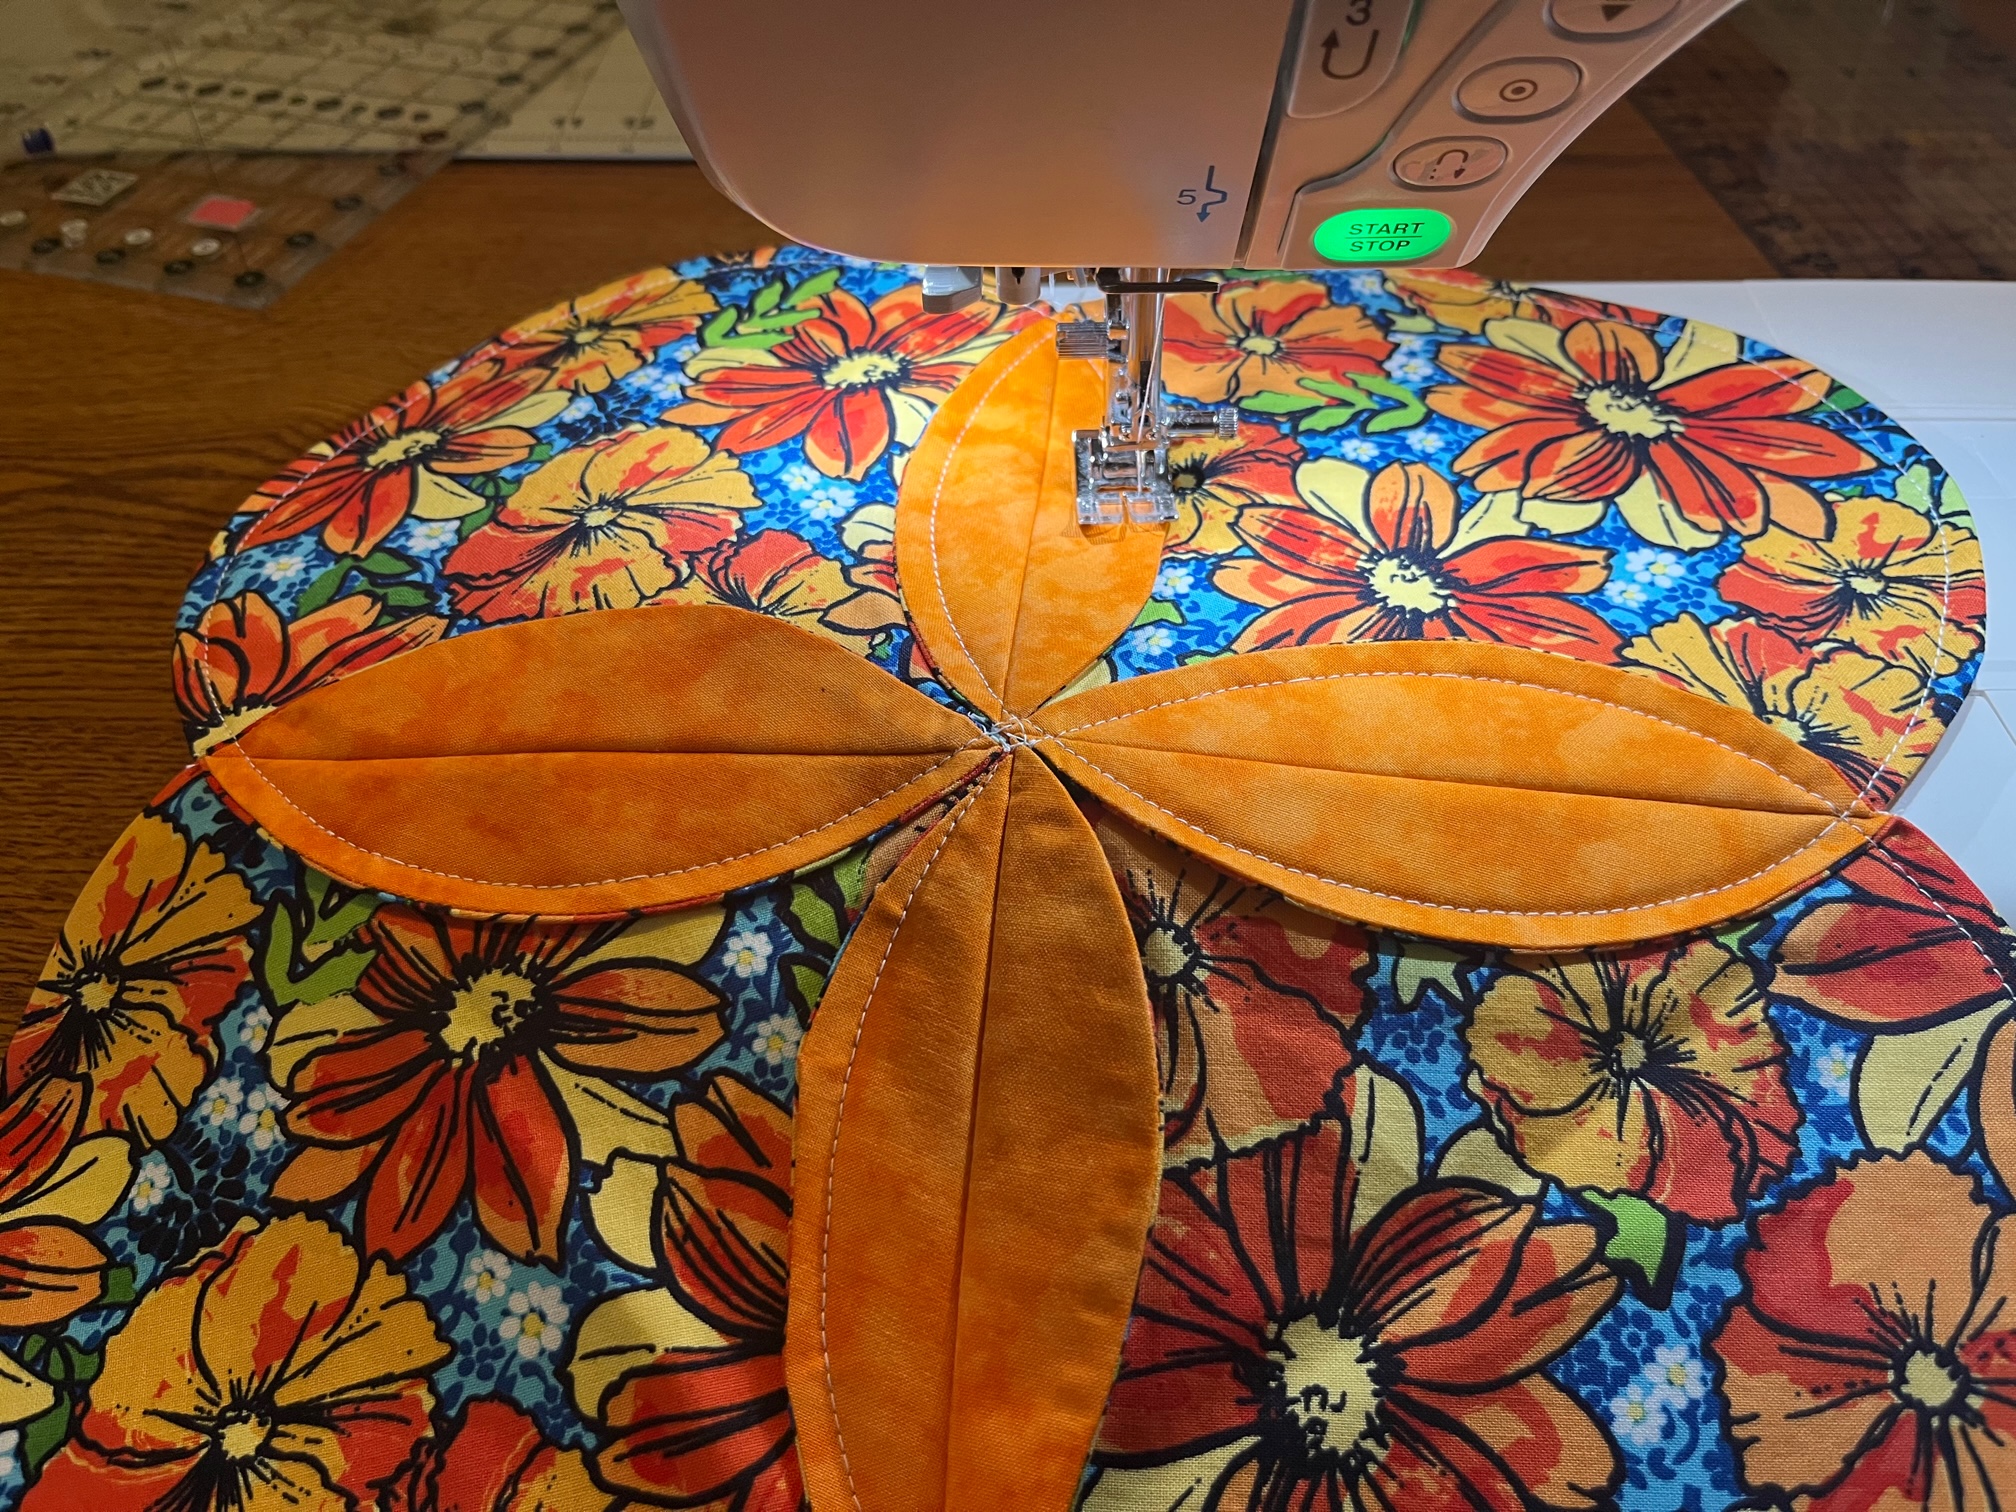
Layer your larger petal fabric right side facing down to the right side of the circle you just fused.
Important Tip: Layer the fabric right sides together. The fusible fleece should be facing outwards. In the photo below the fleece is the side touching the pressing mat.
Sew around the entire circle 1/4″.
Next…
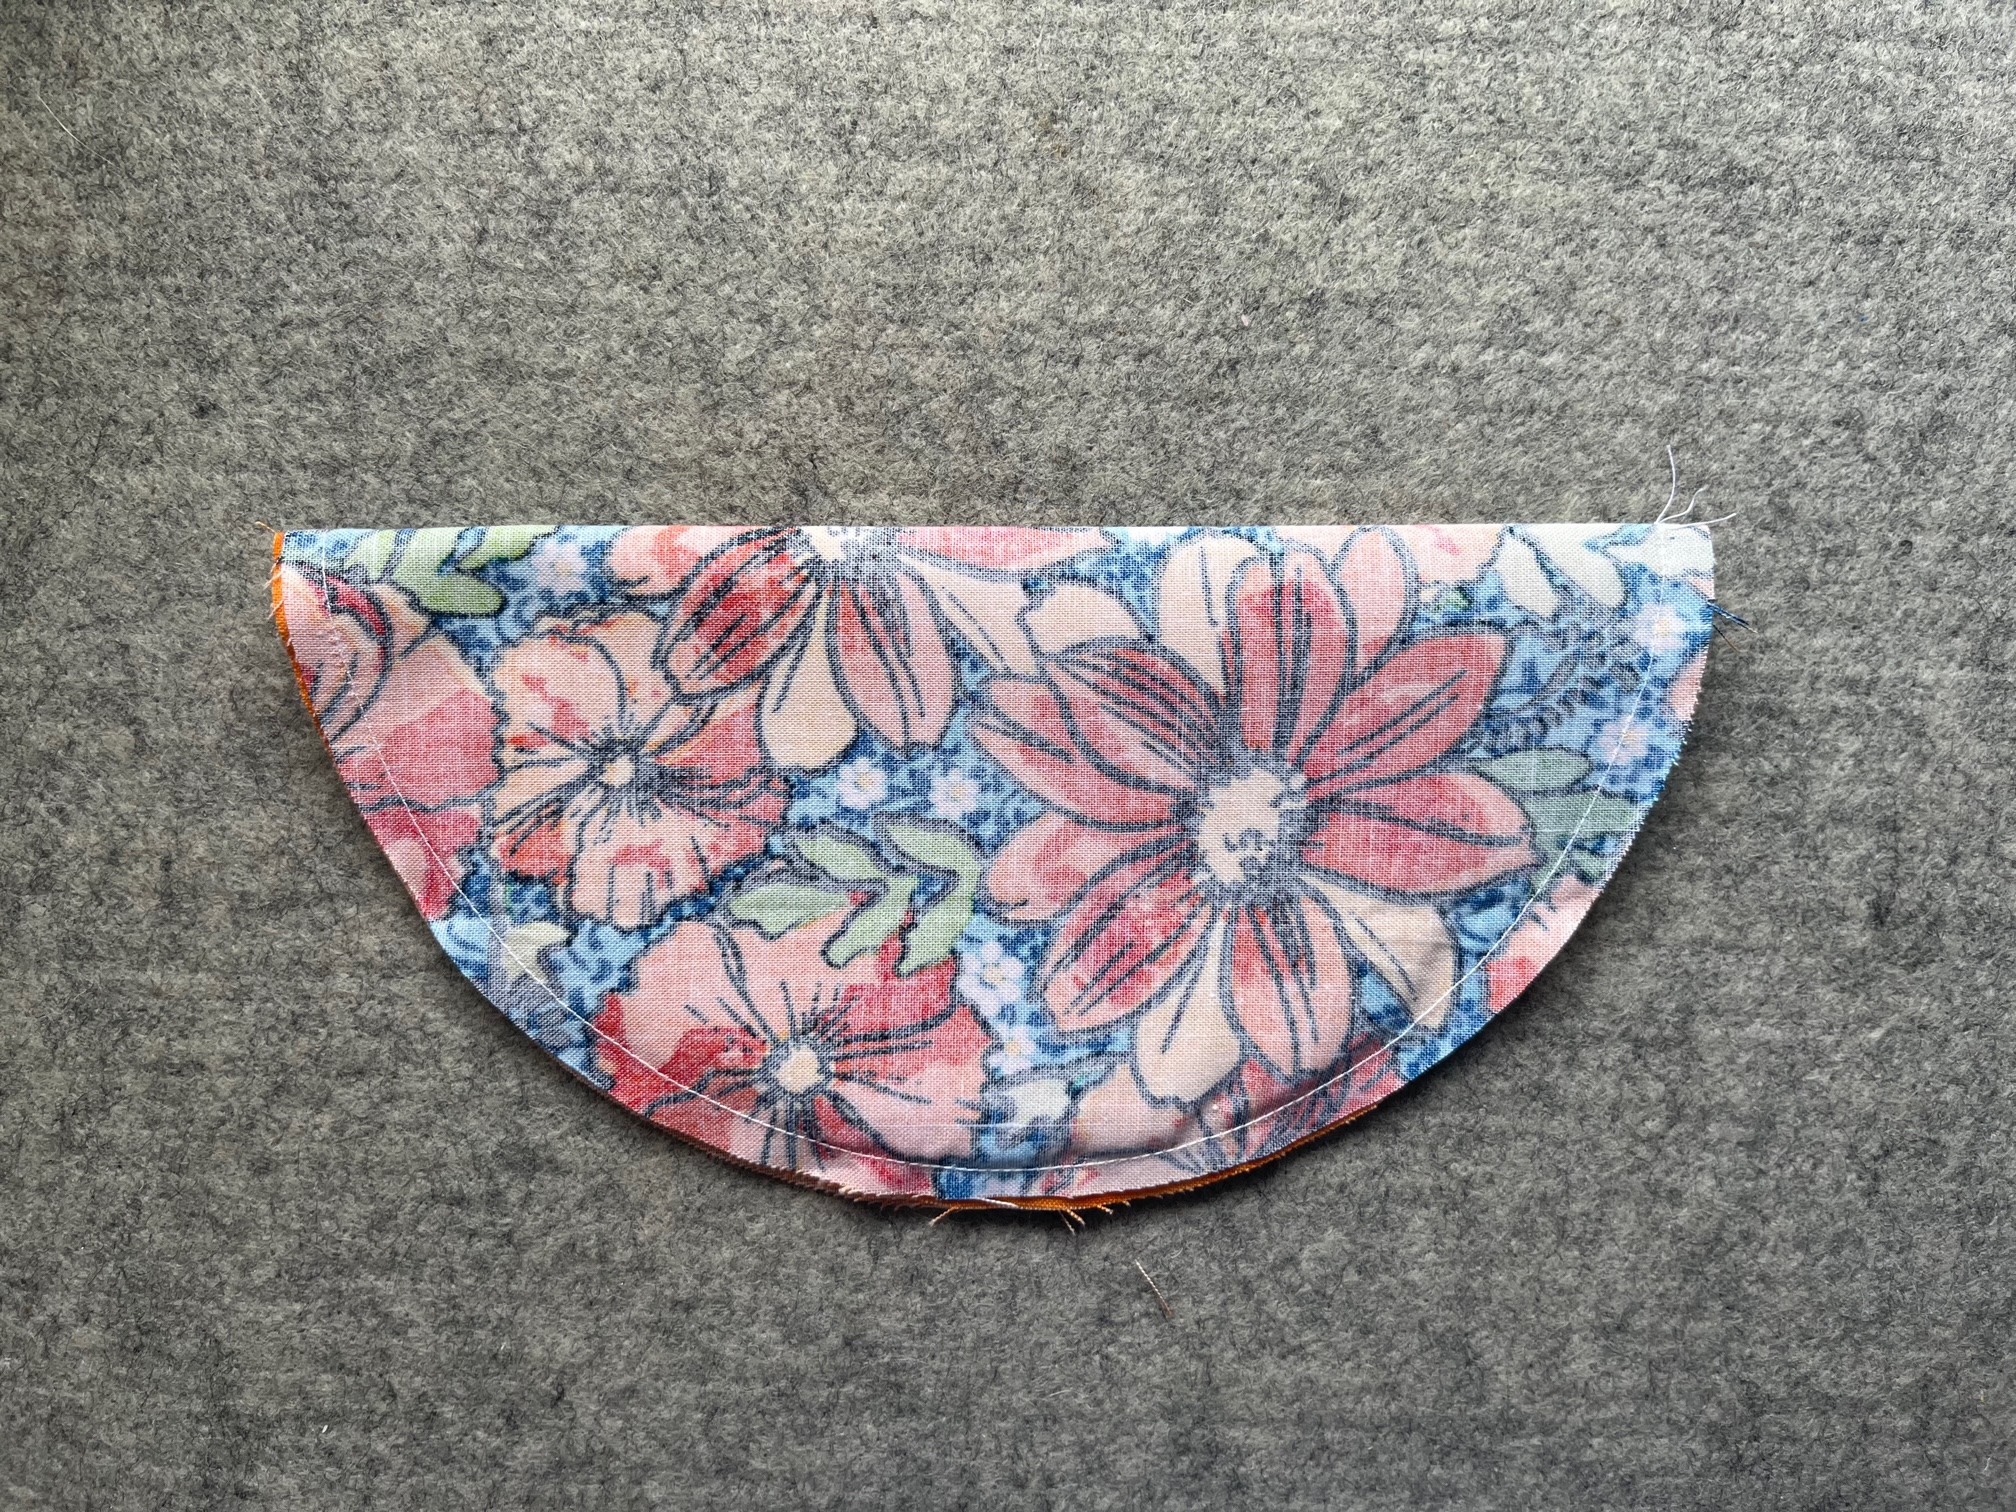
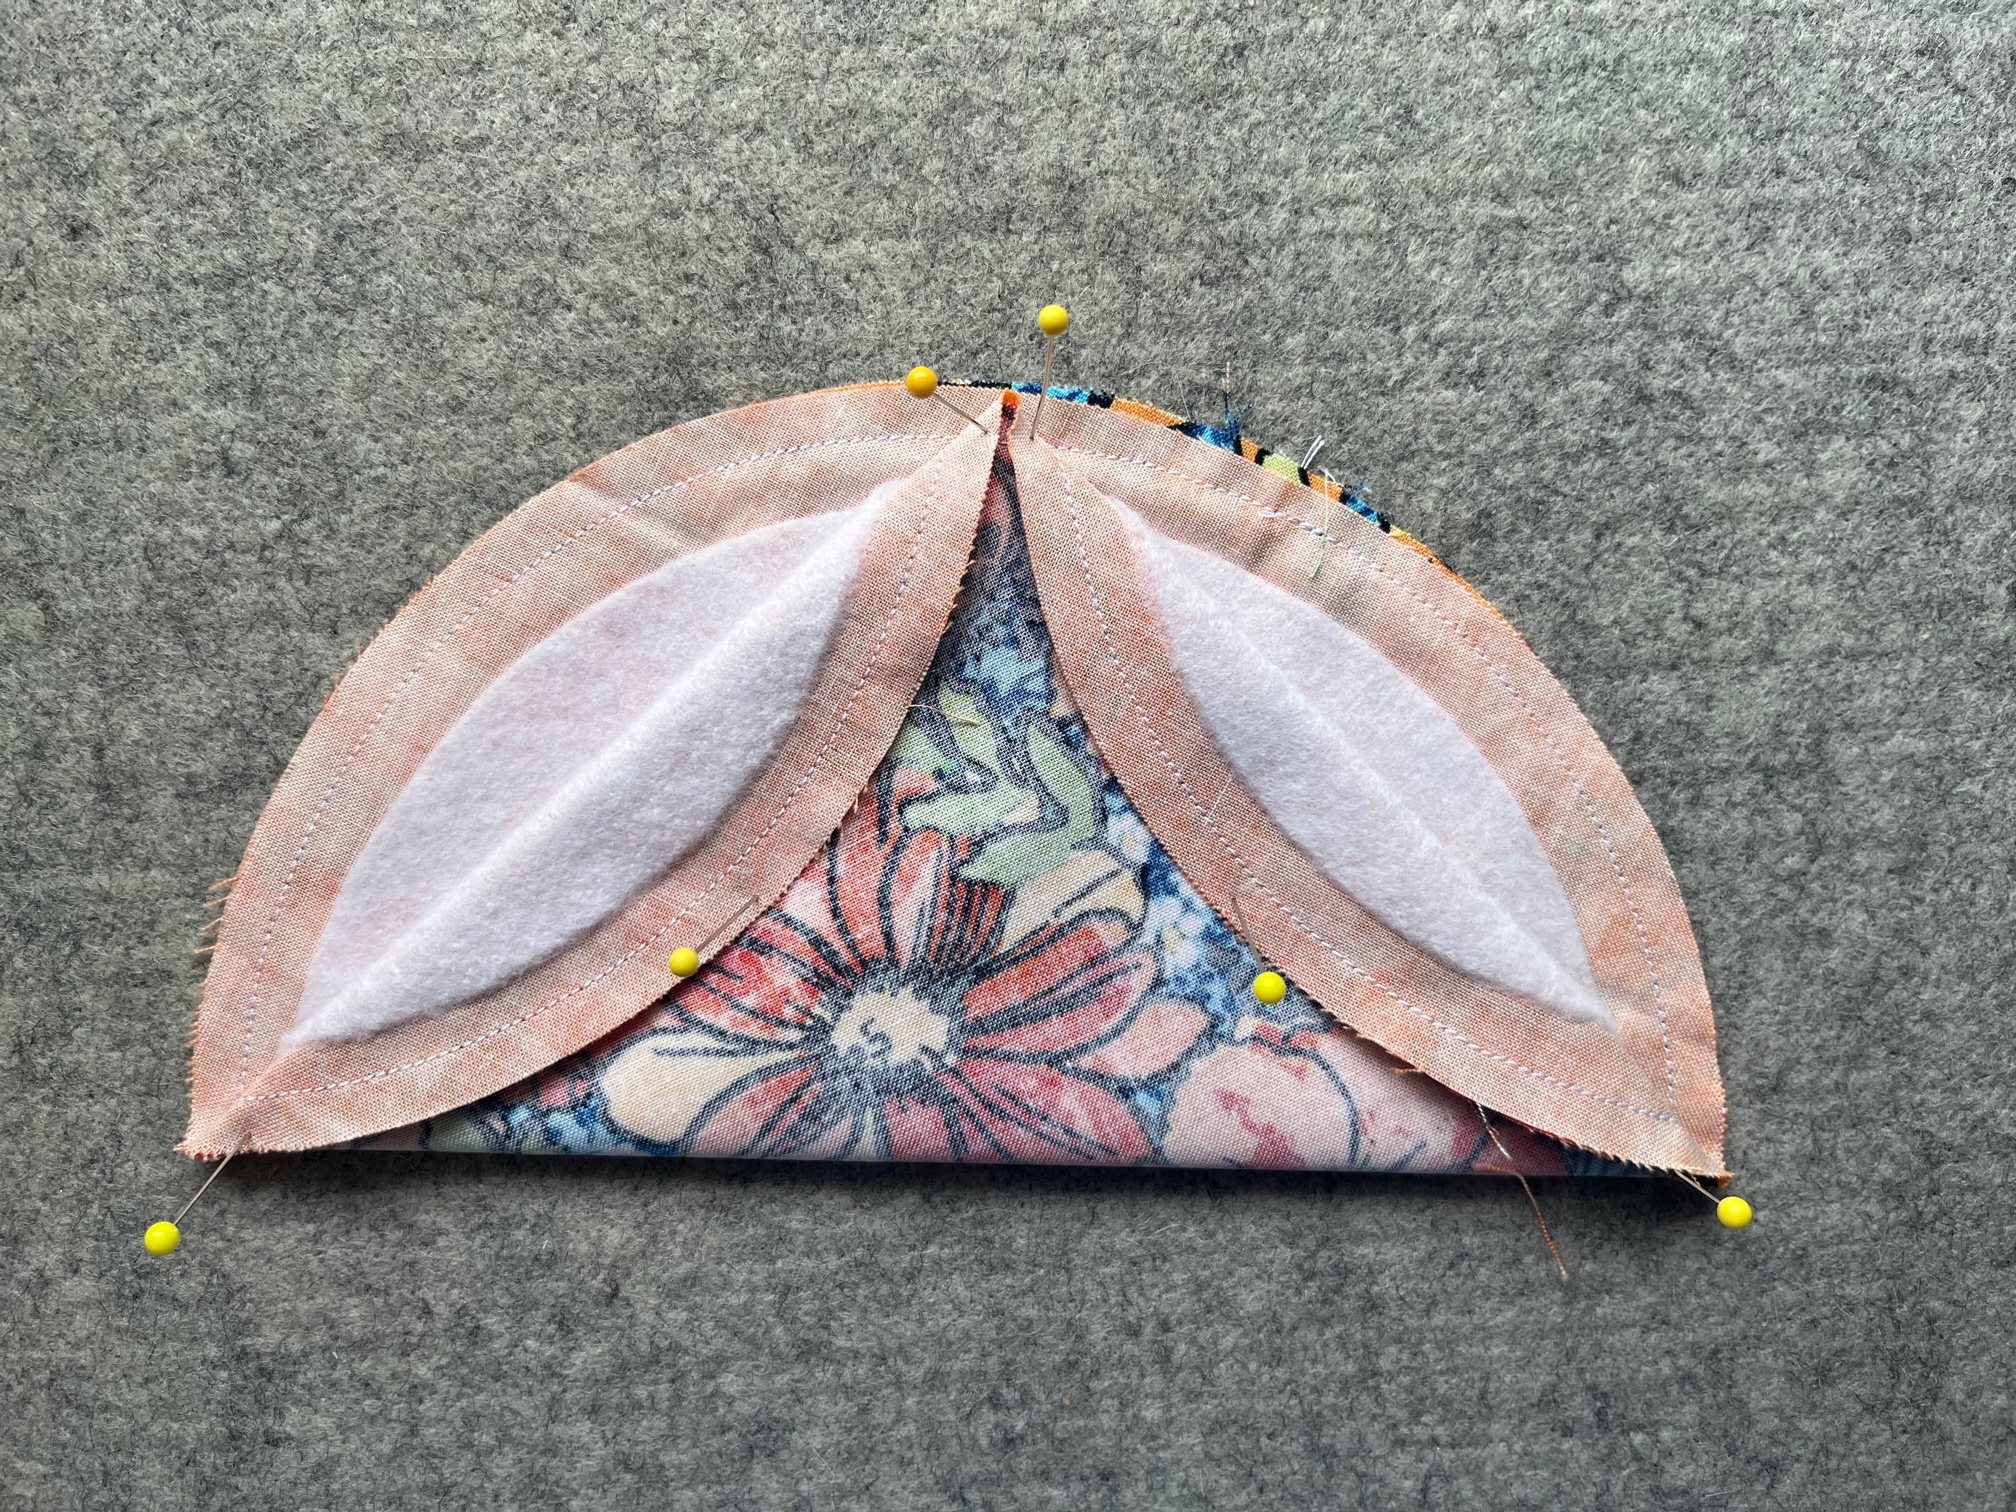
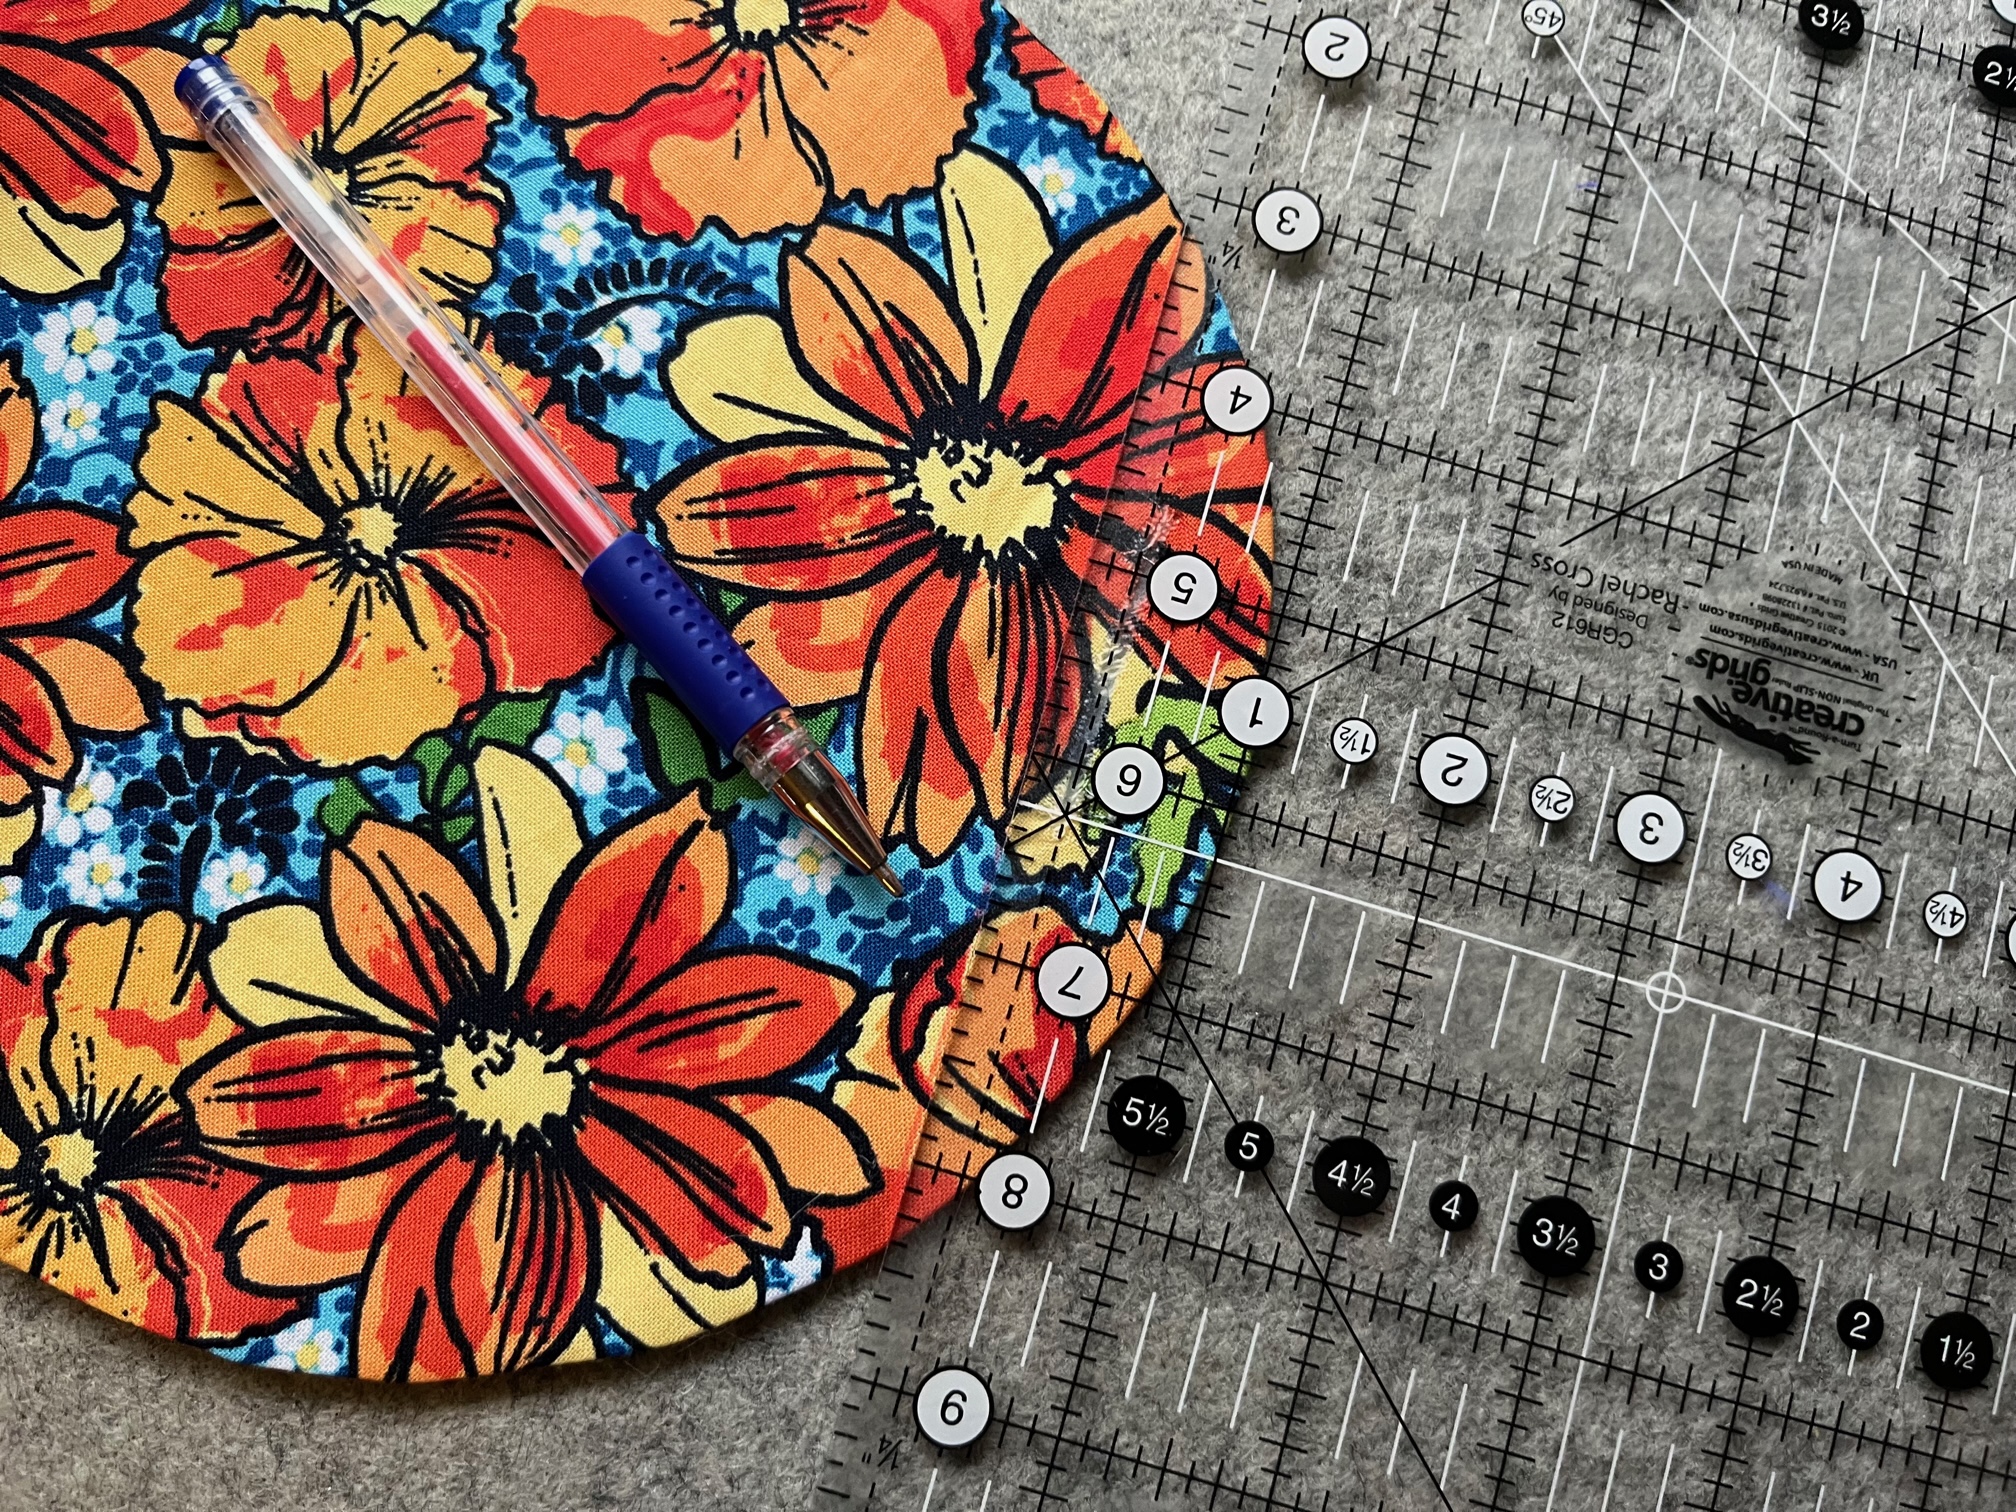
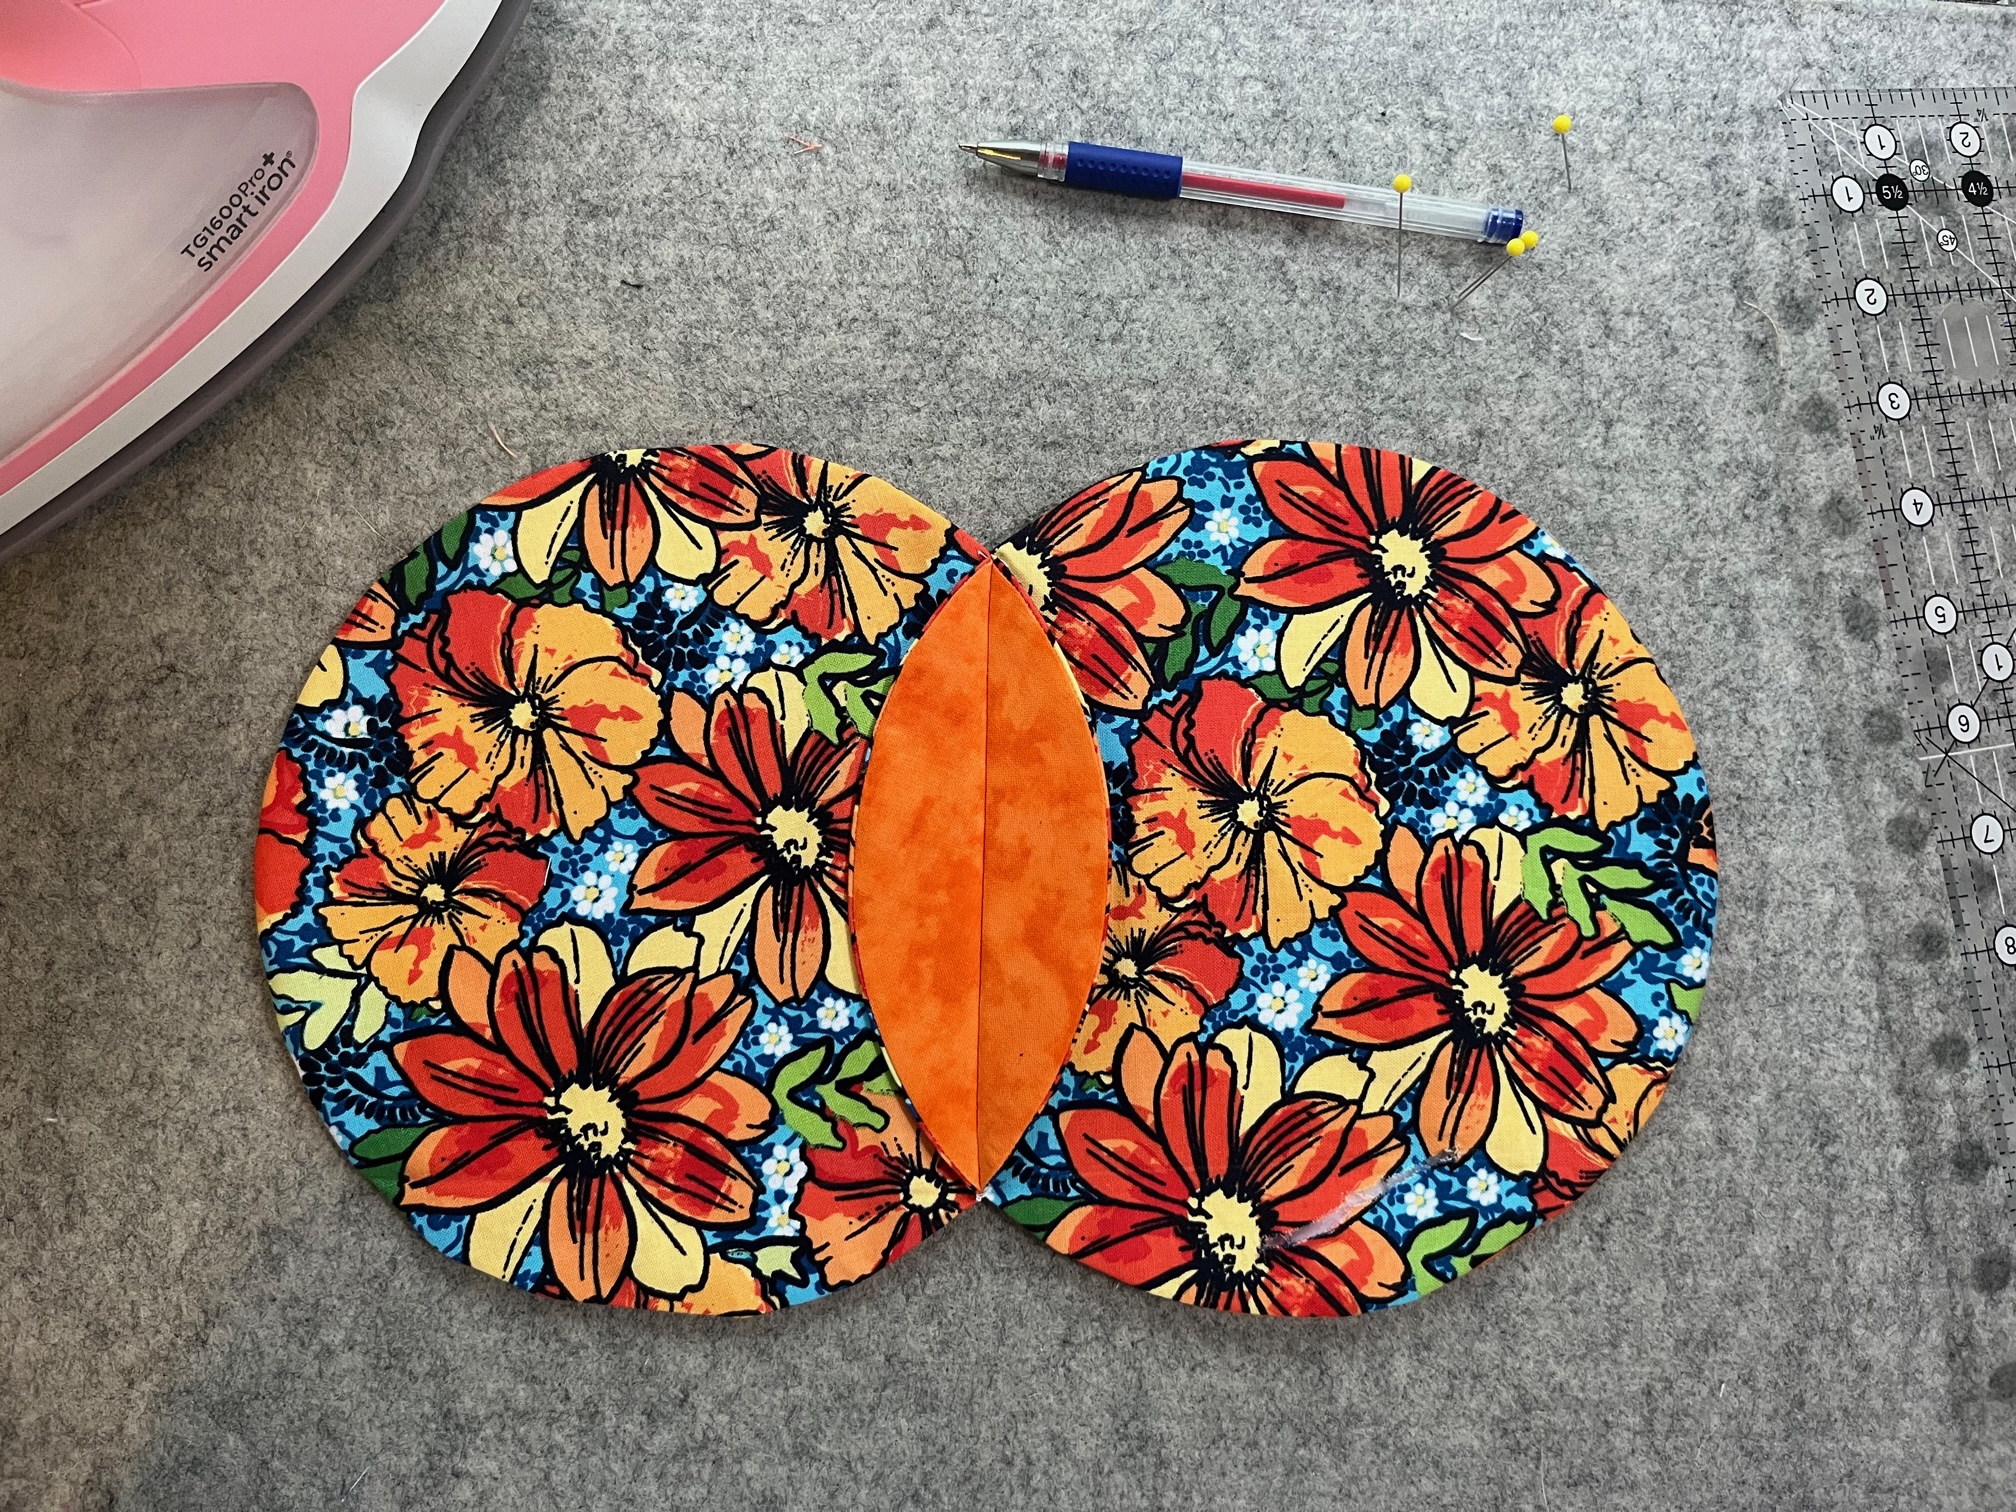
We need to turn the circle right side out. To do that, you need to do the following:
- Find the center of the circle by folding it in half.
- Fold up/down both sides to meet the center point.
- Press the folds to make a crease.
- In the creased area make a slit with a seam ripper or sharp scissors. Make sure to only cut the larger petal fabric.
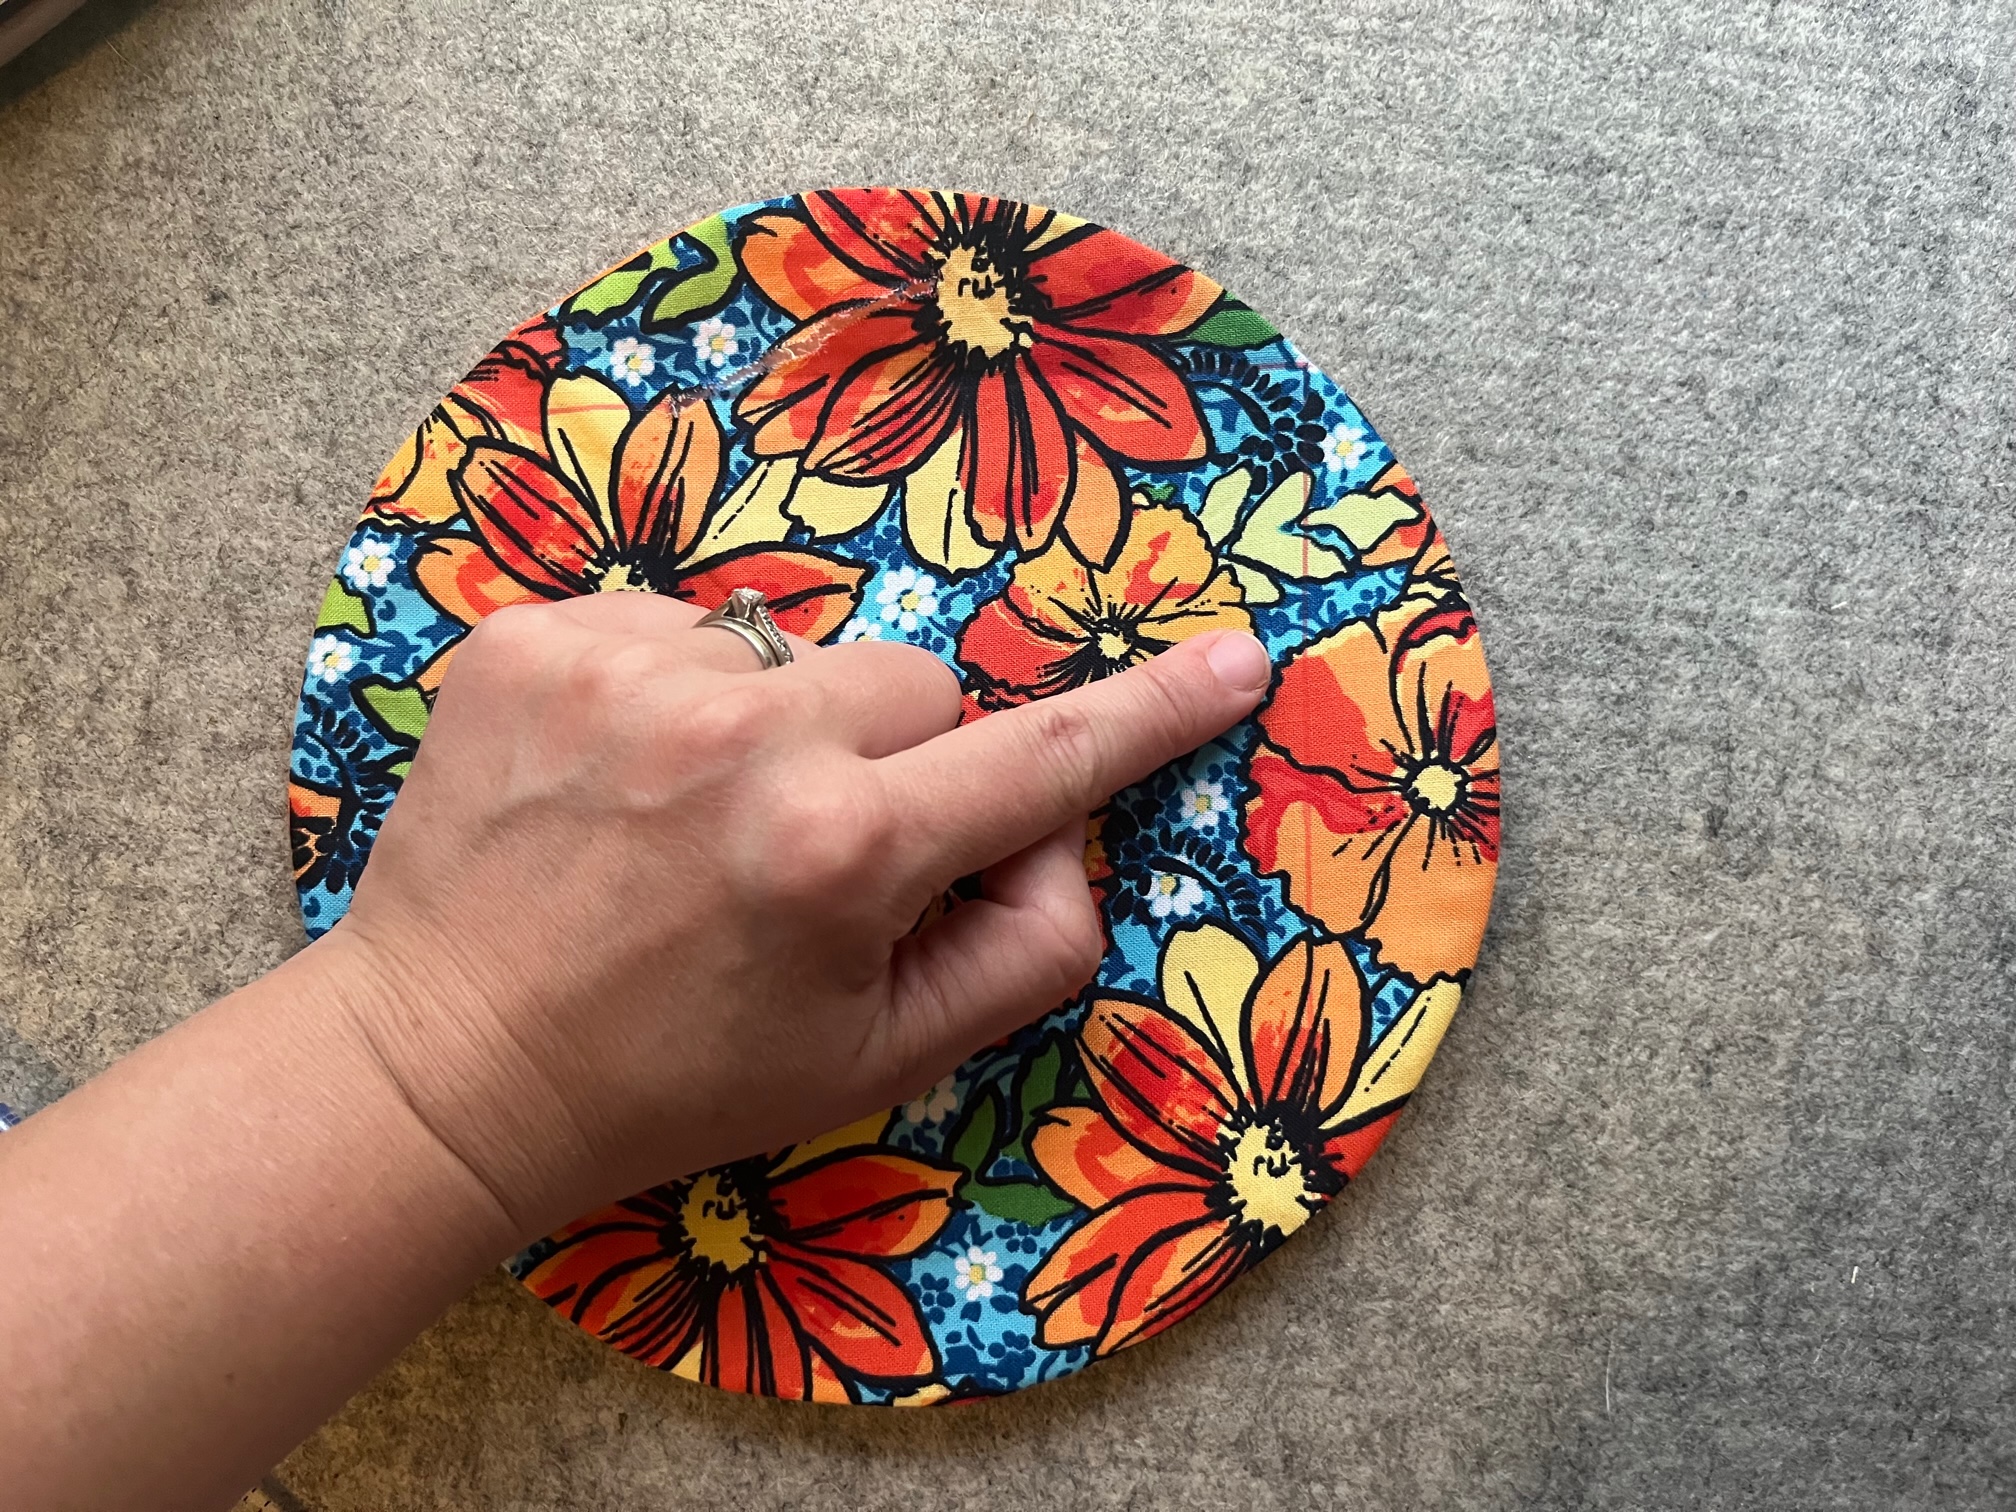
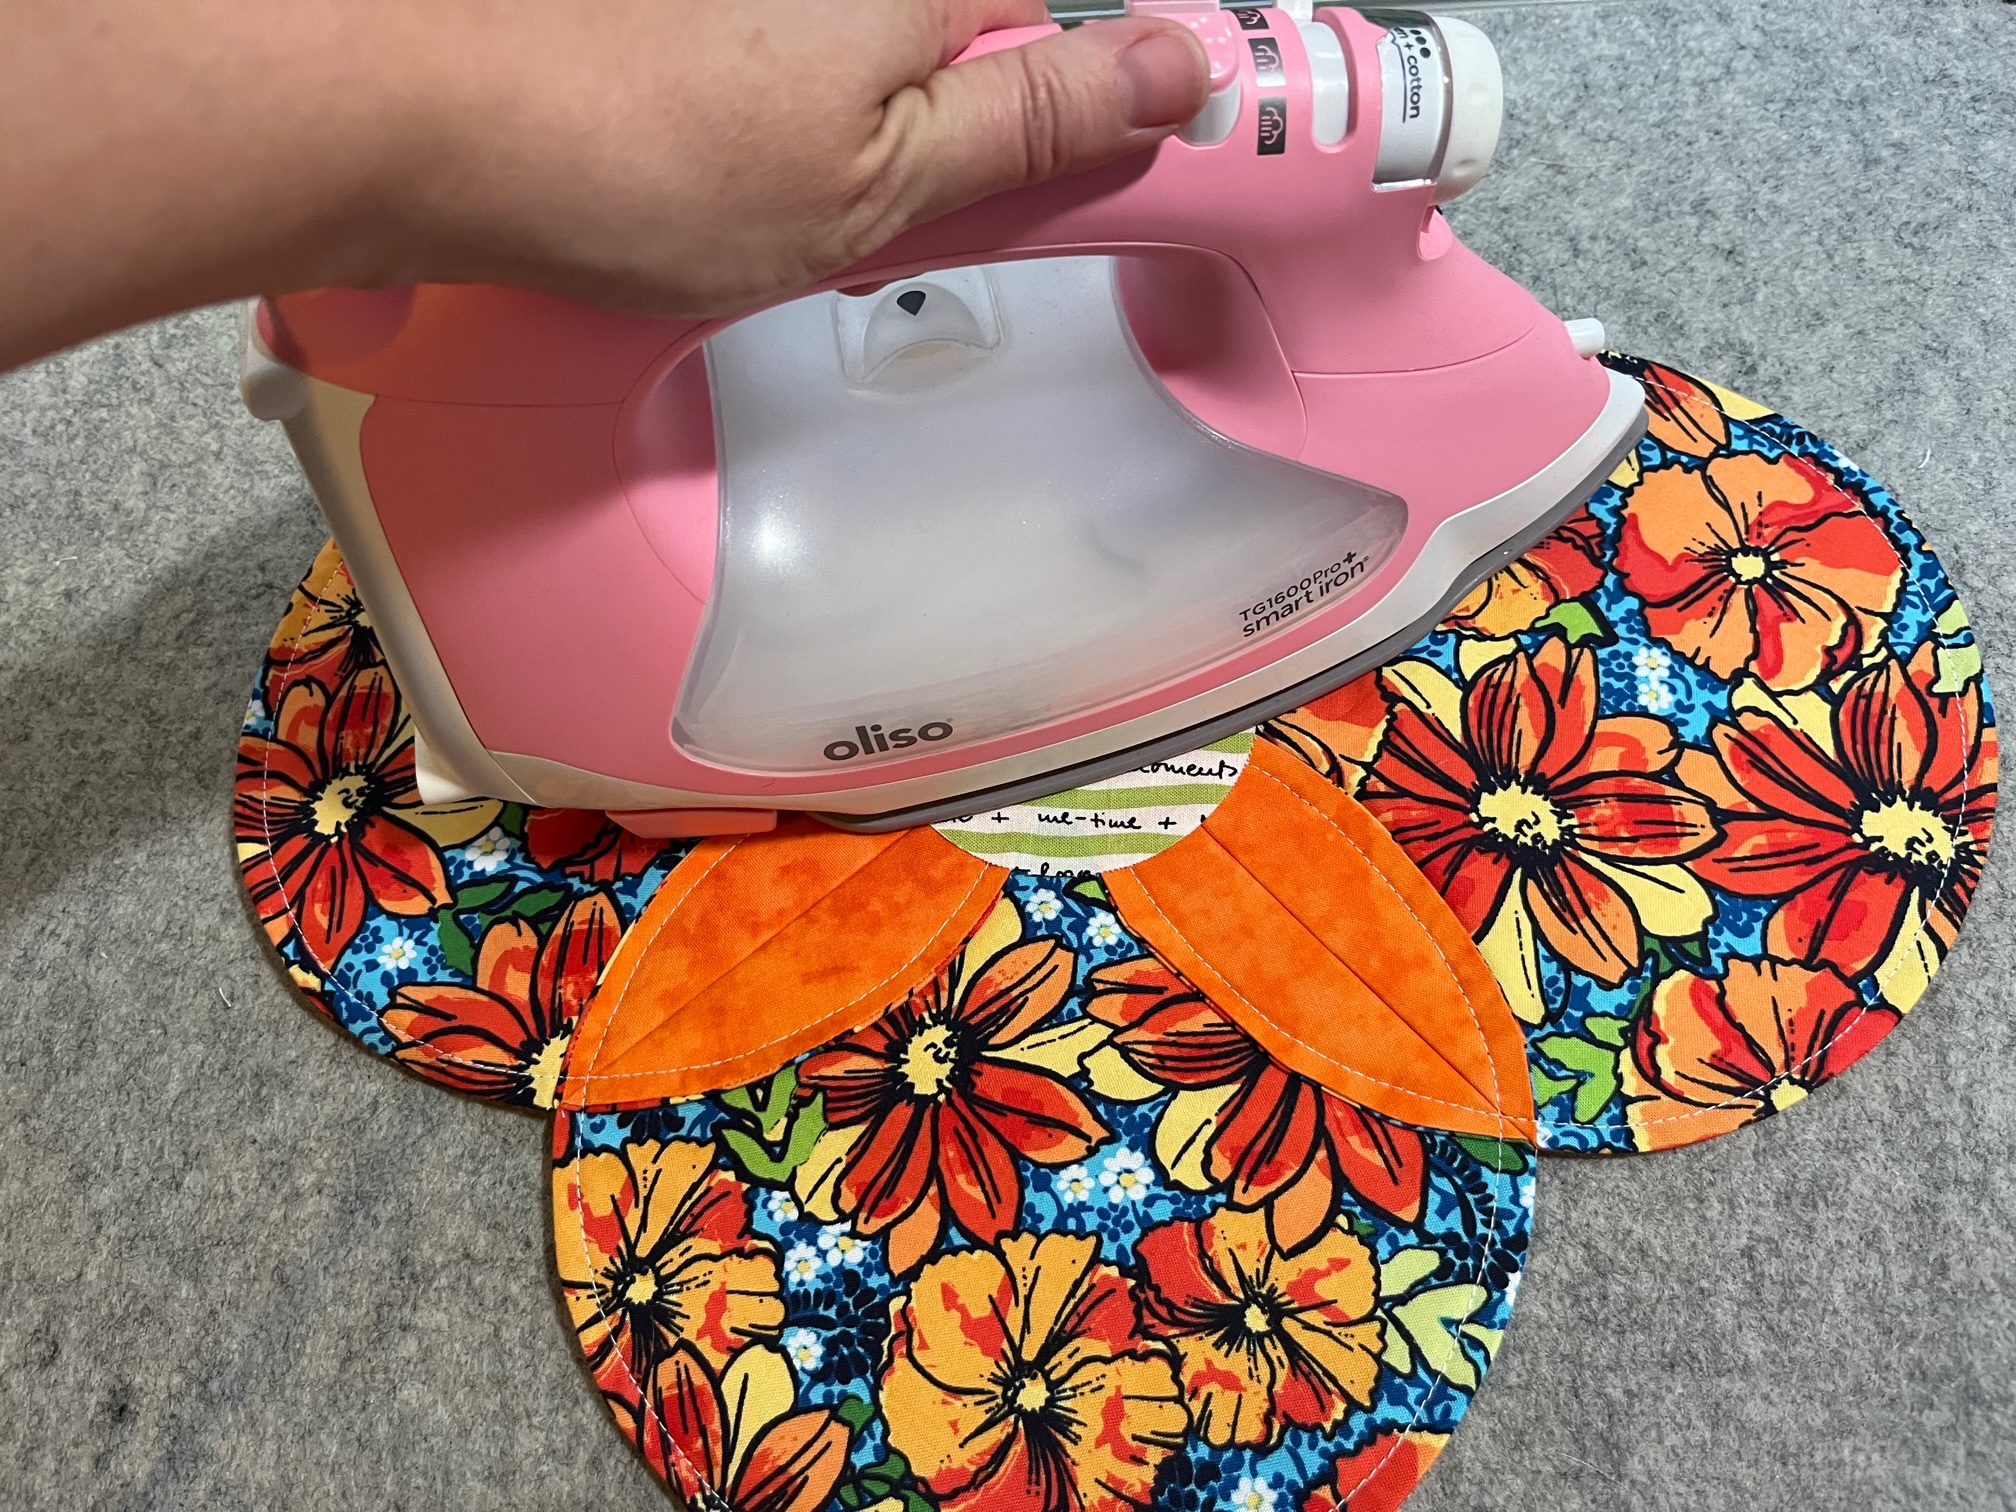
- Turn the circle right side out and press.

[…] my lilies to flower), there are lots of floral projects floating around the web. Check out these zinnia placemats, cute flower coasters, and a tutorial to make DIY flowers that you can use to decorate any […]