You’re a Hoot Layout by Candace Kos
Supplies:
Therm O Web Glitter Dust – Gold
Therm O Web iCraft Adhesive sheets
Therm O Web Sticky Dot Runner
Cardstock – Bazzill Basics
Washi Tape – Love My Tapes
Cricut – Doodlecharms (Heart)
Cricut – “Just Because” Cards (Owl, title)
Patterned Paper – scraps
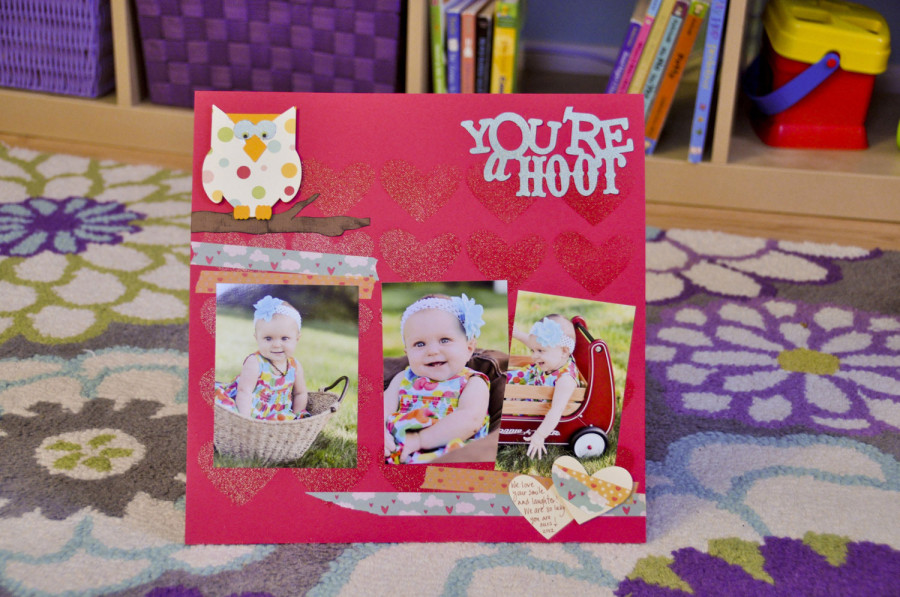
I knew the moment I saw the adorable polka dotted dress at Carter’s that I wanted to have a photo shoot in the yard. My little fashionista was more than happy to model for me. She is such a ham! I rummaged around the house for props and decided to use a bean bag, our little red wagon and the basket that we used for her newborn photos. We had a blast snapping a series of shots in our backyard!
For the layout, I wanted to focus to be on the fun we had and I thought a patterned background paper might take away from her vivid dress. So I decided to use plain pink cardstock and thought it was the perfect opportunity to showcase our new Therm O Web Glitter Dust spray!
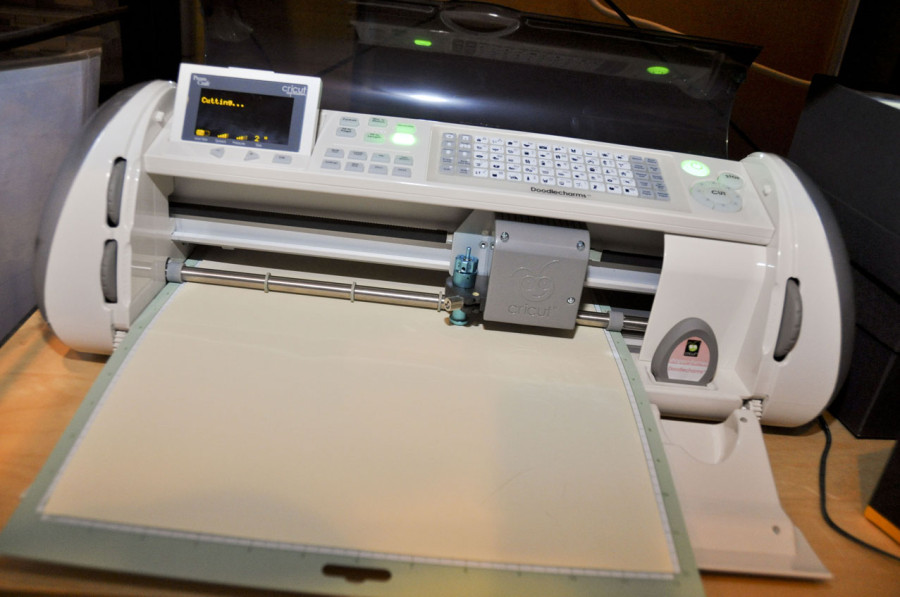
First, to make the background paper, I loaded a sheet of cream cardstock into my Cricut® machine. I set it to Fill Page with a 2 inch heart from the Doodlecharm cartridge.
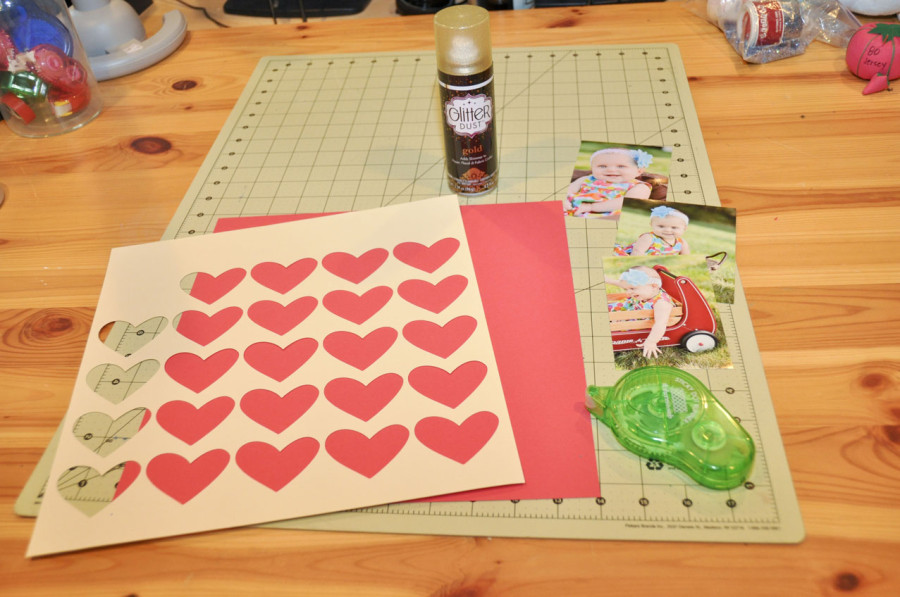
I gathered the supplies I needed; pink cardstock, the die-cut sheet from the Cricut® machine, my Therm O Web Sticky Dot™ Runner, Glitter Dust™ spray, iCraft™ Adhesive sheets and Sticky Dots™ sheets for later and some of my favorite photos from the shoot.
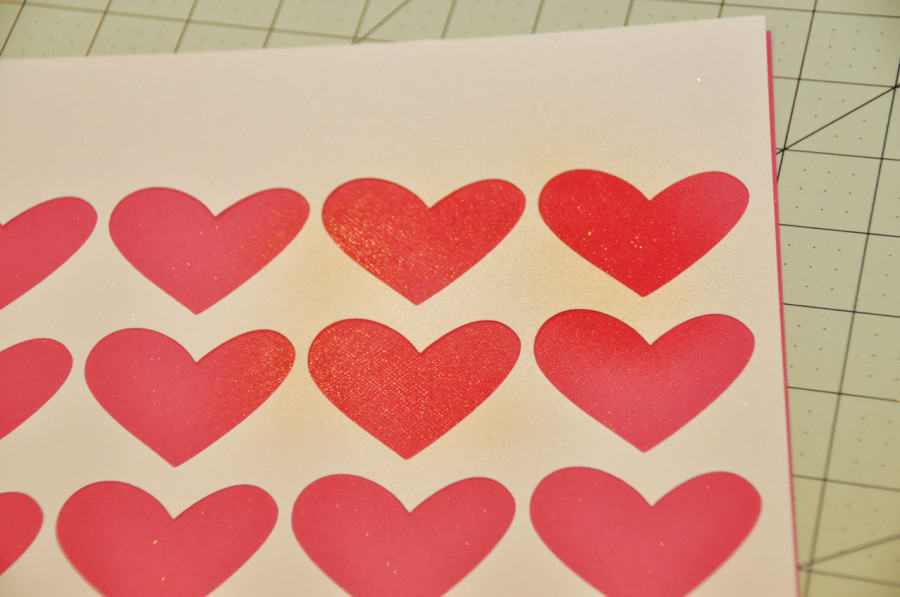
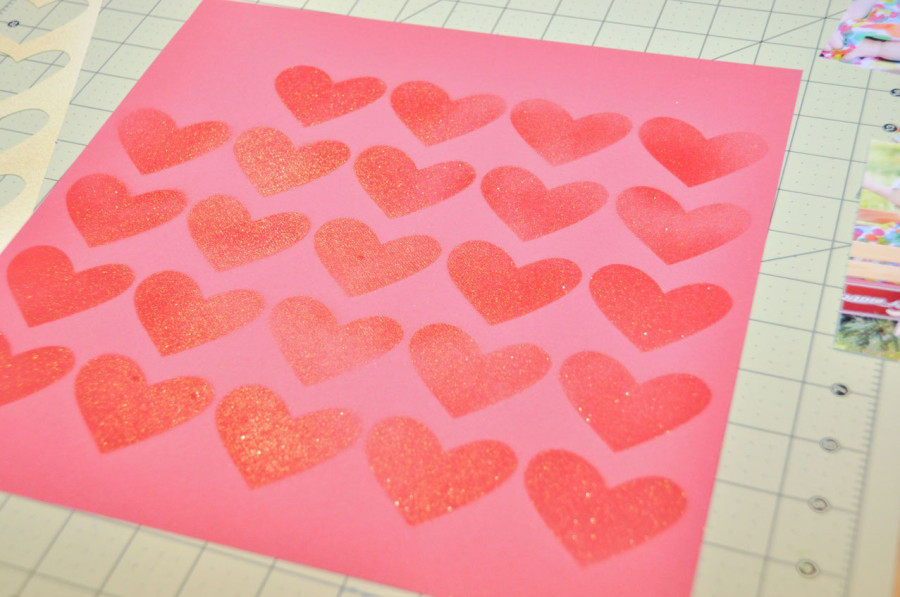
After removing the cut hearts, I decided to use the negative space as a mask on my background paper. I simply laid the remaining paper on top of my pink cardstock and sprayed it with Therm O Web Glitter Dust™ spray in Gold to add shimmery hearts to the cardstock.
Instant sparkly background paper! This technique would work great with all kinds of shapes…stars, doily, snowflakes, circles…really anything you can think of and cut out!
After the hearts dried, it was time to assemble the layout. I adhered some super fun Washi Tape from LoveMyTapes in strips above and below where I was laying out the photos. And then I added the actual photos. I used my trusty Sticky Dot™ Runner but I did make sure to add a lot of adhesive and especially made sure adhesive was present in the areas where there was NOT going to be Glitter Dust™. Otherwise, I would suggest a stronger adhesive such as SuperTape™ to adhere to the actual sections treated with Glitter Dust™.
I then added two of the hearts I cut out to the bottom corner as journaling blocks. The top one I added matching Washi tape to it and popped it up with Therm O Web Foam Squares to add dimension.
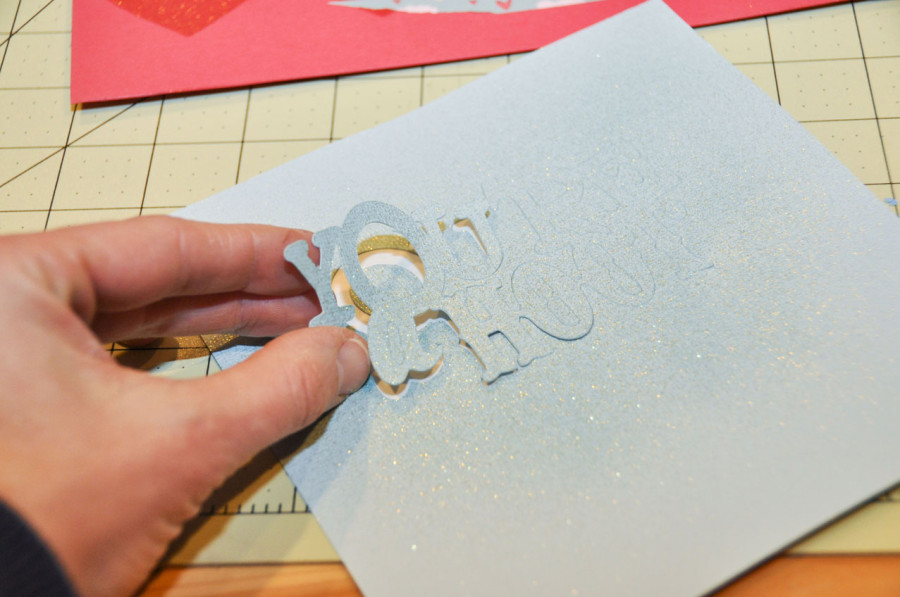
For the title and owl, I added iCraft Adhesive to the back of blue cardstock, polka dot patterned paper and yellow cardstock. I ran them thru the Cricut® machine and cut out the “You’re a Hoot” title and owl from the Just Because Cards cartridge. I sprayed the title with Glitter Dust™ spray in Gold and added it to the top corner.
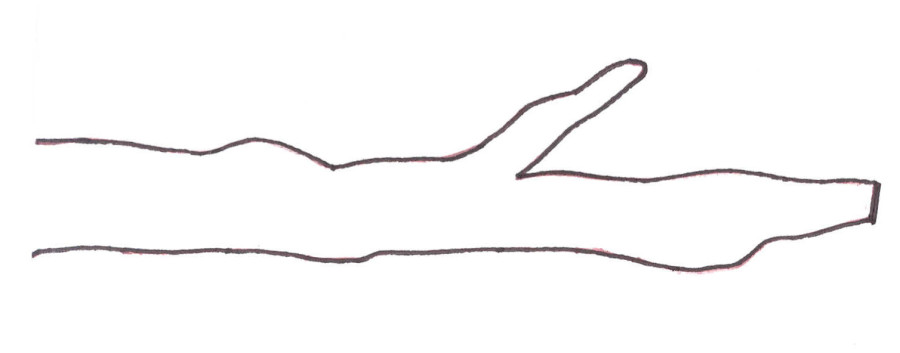
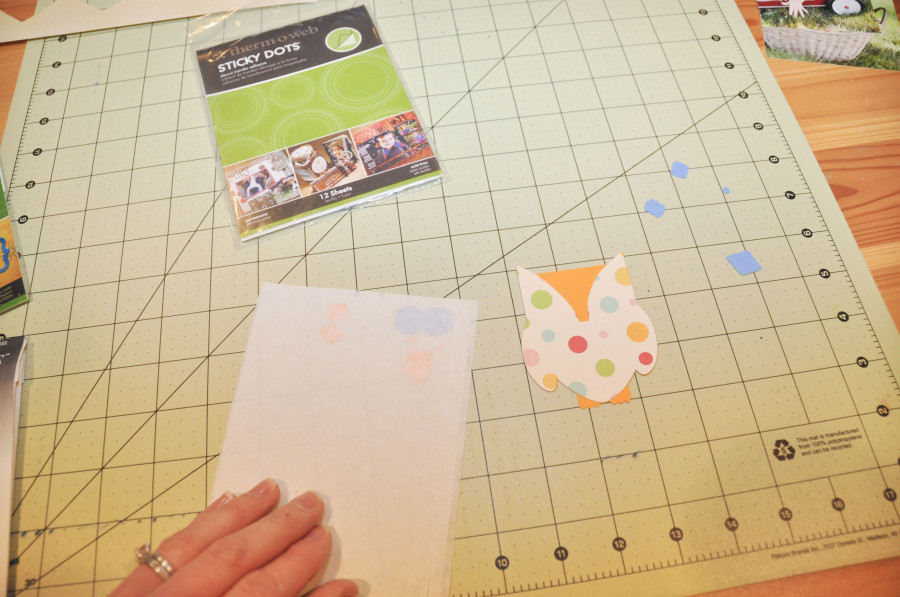
Then I assembled the Owl body. I originally cut out the eyes and such but didn’t like the ones I cut out. I had to cut a second set and forgot to add iCraft™ to the paper before I ran it thru the machine, luckily there are more ways to get total coverage on small details…by sticking them on with Sticky Dots™ transfer adhesive sheets! I perched him up on a hand-drawn branch (see the below for a template!) using Therm O Web Foam Squares. I drew his eyes on, but you could use googly eyes too!
I hope you enjoyed these techniques and might try combining die-cutting with new innovative products such as Glitter Dust™ sprays! The results can be just what you’re looking for!
Have a Creative Day!
– Candace

[…] Download Image More @ thermoweb.com […]