This post uses affiliate links at no additional cost to you! By clicking the links in this post, I earn a small commission should you make a purchase. Thank you in advance!
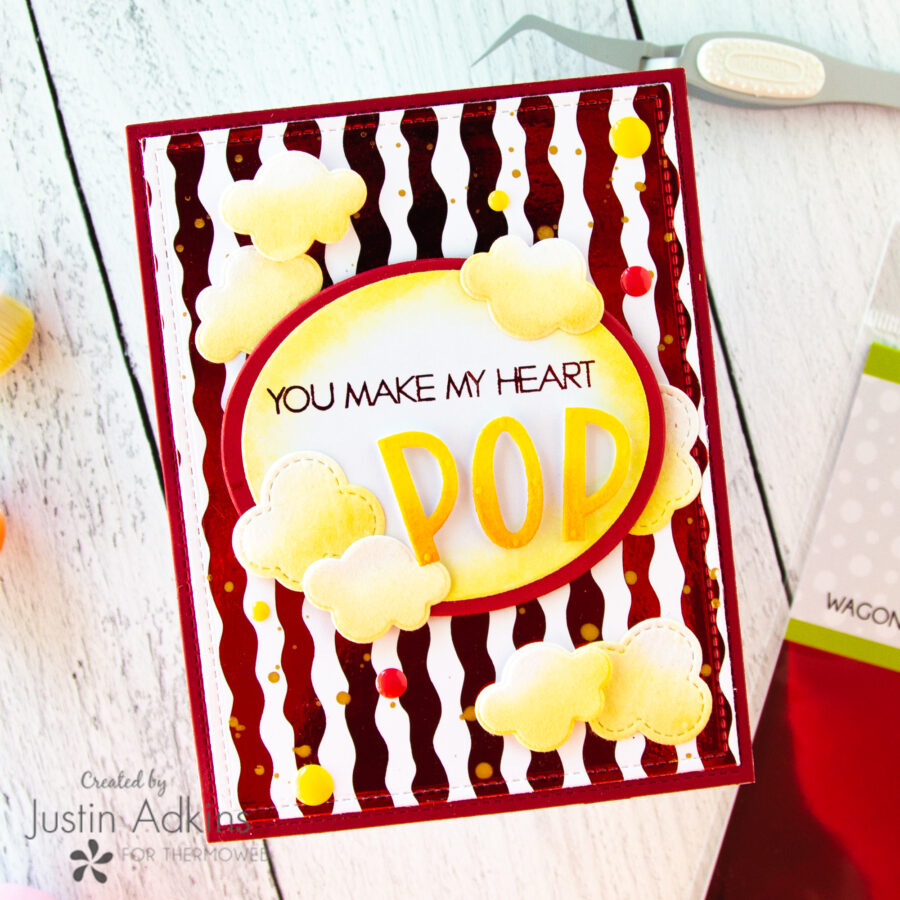
Hello everyone! Justin here, and I am so excited to be sharing a super tasty project with you, inspired by our Carnival-themed week! Now, in my opinion, no trip to the carnival is complete without a trip to the food stand, and popcorn is a staple at the carnival!
I’ve got a photo tutorial below to walk you through how I foiled and flocked my way through putting this card together!
Therm O Web Products Used:
Laura Kelly Foil Transfer Sheets – Wagon Red
Laura Kelly Toner Sheets – Wacky Waves
Deco Foil Adhesive Transfer Designs – Happy Everything
Deco Foil Flock Transfer Sheets – White Latte
Deco Foil Flock Transfer Sheets – Sunshine Yellow
UltraBond Permanent Liquid Adhesive
iCraft 3D Foam Tape, White, 1/16″
Other Key Products Used:
Large Stitched Rectangle Stackables by Lawn Fawn
Outside-In Stitched Rectangle Stackables by Lawn Fawn
Henry’s ABC’s Lawn Cuts by Lawn Fawn
Tree House Lawn Cuts by Lawn Fawn
Reveal Wheel Puffy Cloud Add-On Lawn Cuts by Lawn Fawn
Oval Infinity Dies by Hero Arts
Distress Inks: Antique Linen, Squeezed Lemonade & Ripe Persimmon
Metallic Watercolor Accents
Enamel Dots
Colored Cardstock
Now let’s get to the tutorial!
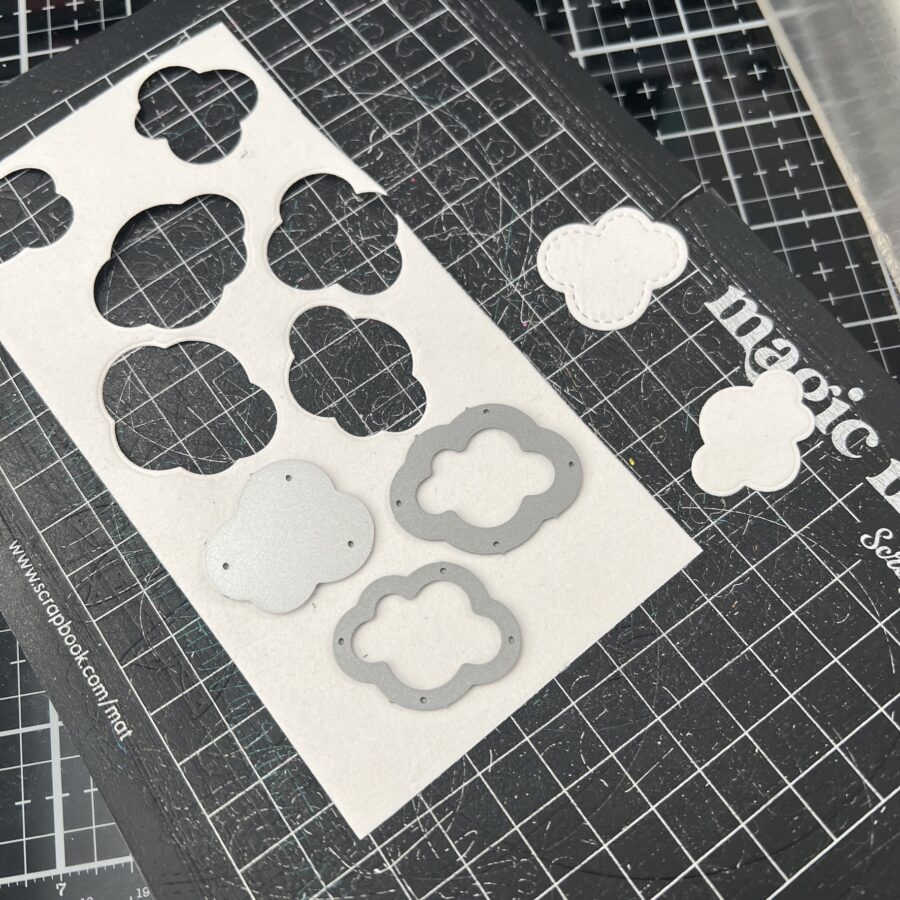
I started my project by first turning on my laminator so it could pre-heat for a good 20-30 minutes. While waiting for my laminator to pre-heat, I began prepping all of my die cuts. First, I took the White Latte Flock Transfer Sheet and cut out a total of 9 “popcorn” pieces. I didn’t actually have any popcorn die cuts, so I shopped my stash and used the Reveal Wheel Puffy Cloud Add-On Lawn Cuts and the Tree House Lawn Cuts by Lawn Fawn.
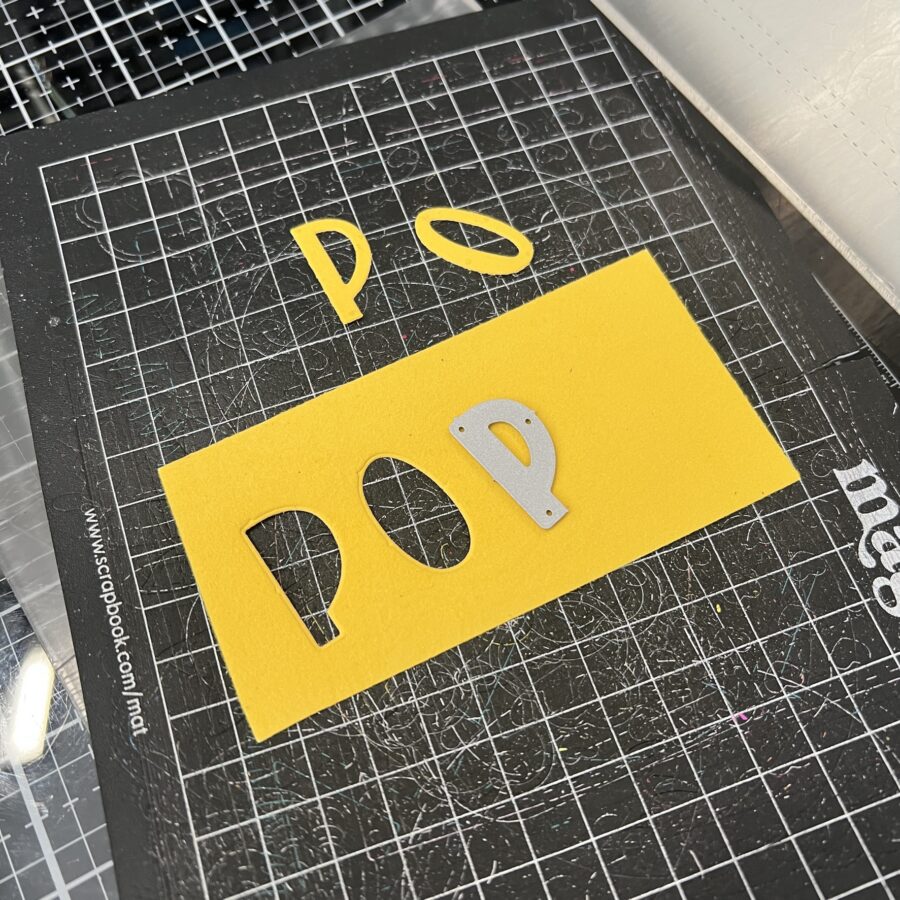
Next, using a piece of a Sunshine Yellow Flock Transfer Sheet, I die cut the letters “POP” using the Henry’s ABC’s Lawn Cuts by Lawn Fawn.
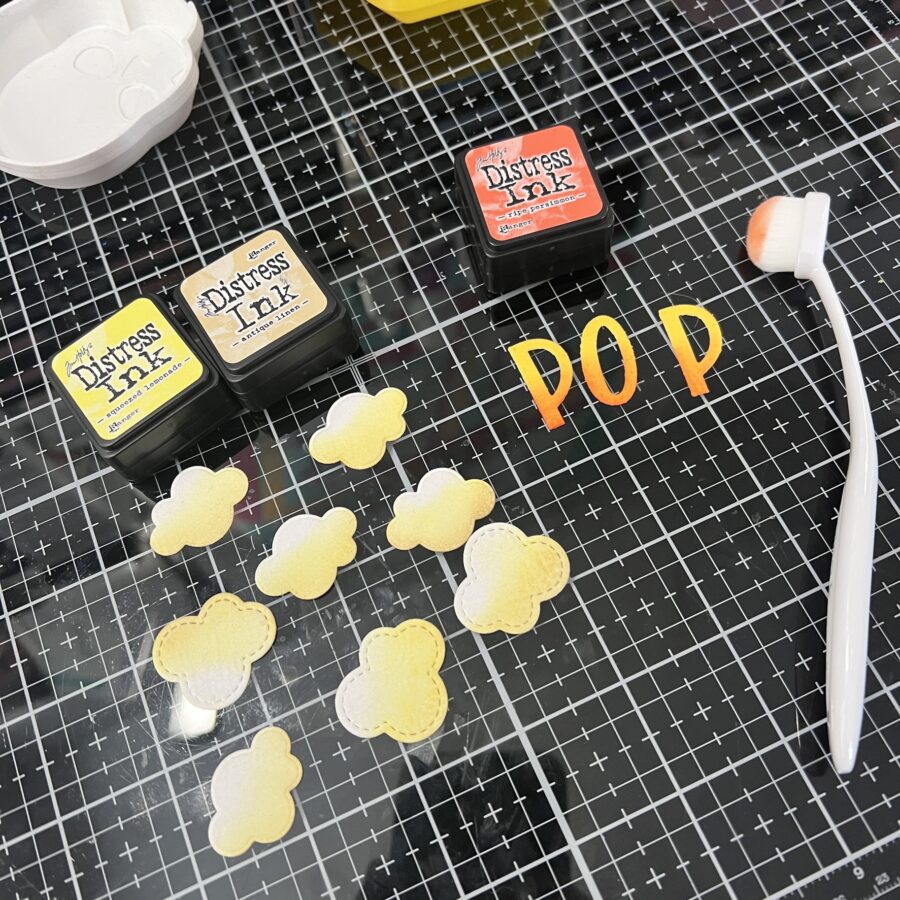
I then began a little bit of ink blending over my flock bits. For my popcorn pieces, I used a combination of Squeezed Lemonade and Antique Linen Distress Inks. For my “POP” die cuts, I used Ripe Persimmon Distress Ink just on the bottom portion of the words.

I then grabbed a piece of white cardstock and a piece of red cardstock from scrap bin, and die cut (2) ovals using Hero Art’s Infinity Nesting Dies- Oval set. The red oval is the size up from the white oval, and this will give that white bit a red frame. Note: for paper, I love using Pixie tape to hold my dies in place so I don’t have to worry about any shifting during my die-cutting process.
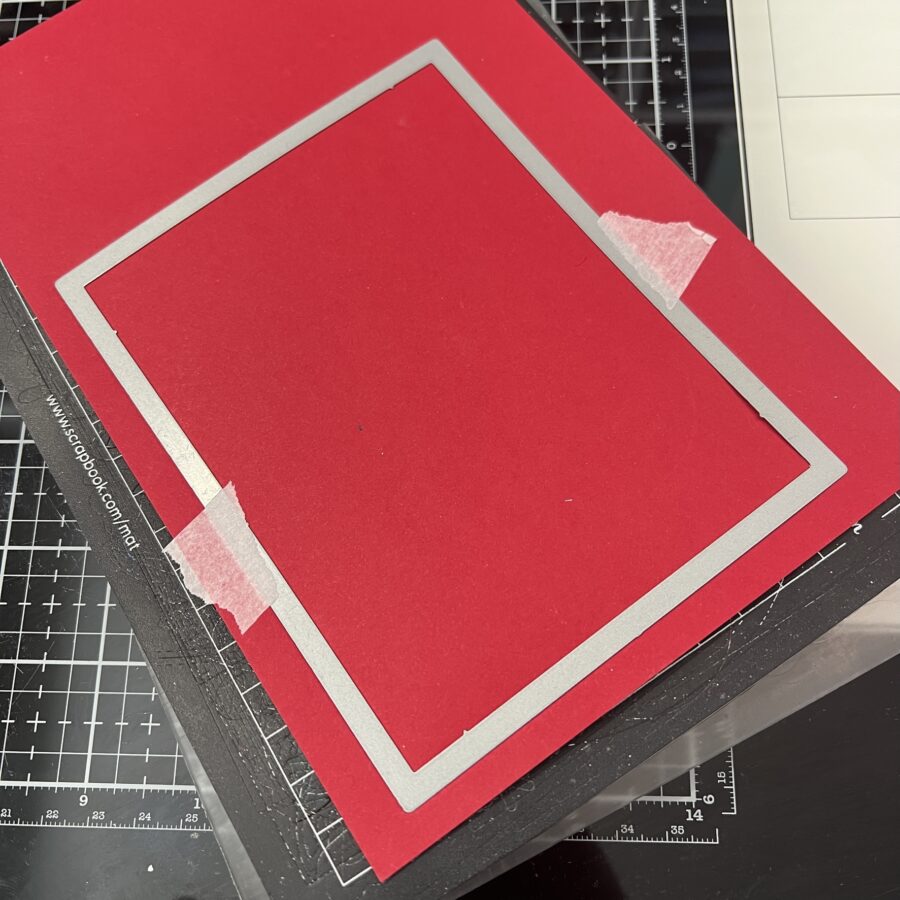
I then used the largest die from the Large Stitched Rectangle Stackables Lawn Cuts by Lawn Fawn and die cut a red rectangle.
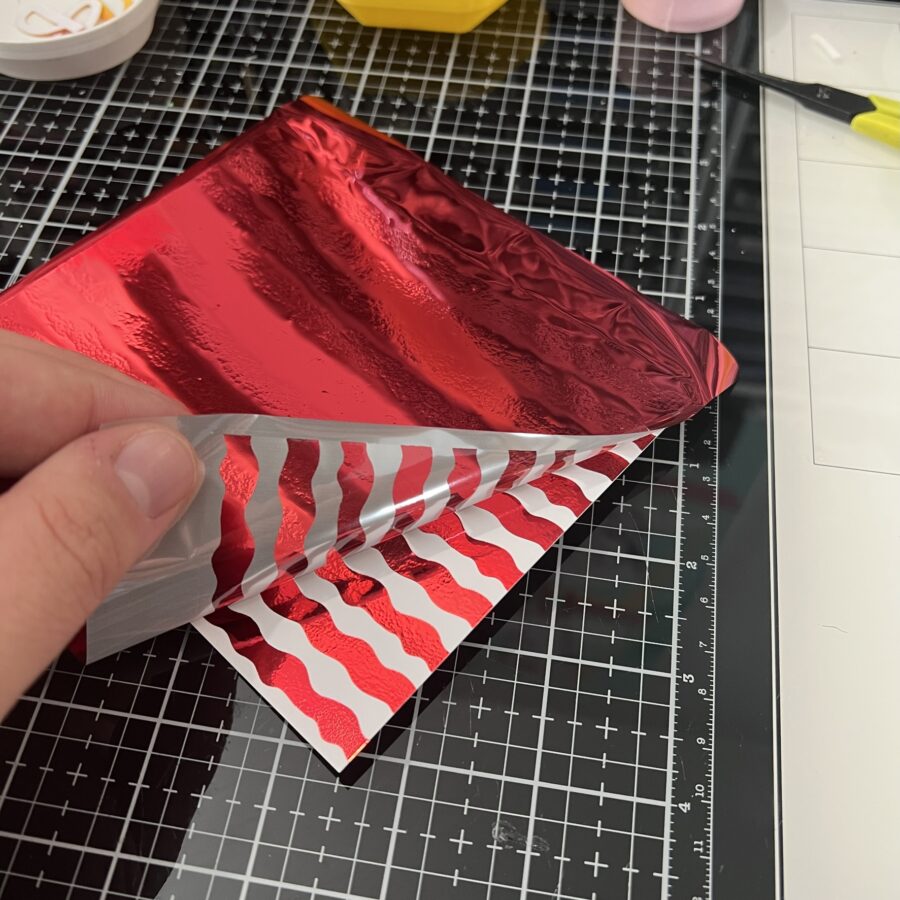
At this point, my laminator was all warmed up and ready for foiling! I cut down a piece of a Laura Kelly Wacky Waves Toner Sheet to about 4.5″ x 5.75″, and foiled it with a Laura Kelly Wagon Red Foil Transfer Sheet.
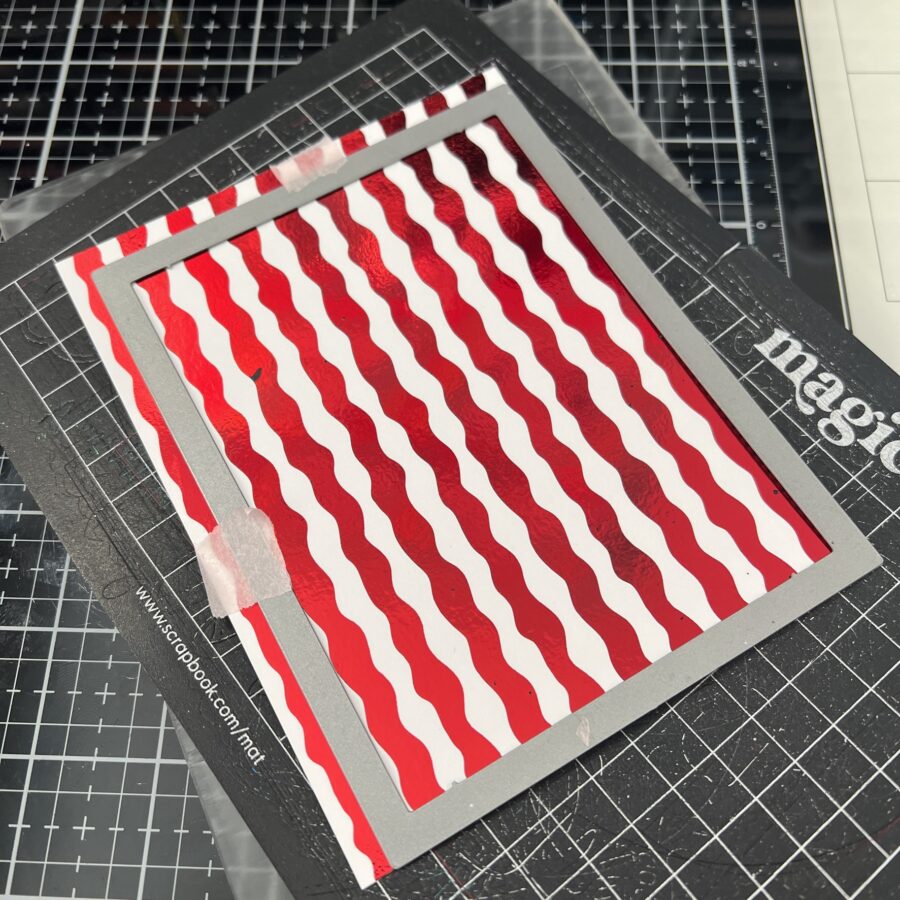
Because I wanted this panel to also have a stitched effect, I went ahead and die cut my foiled toner sheet with the largest die in the Outside-In Stitched Rectangle Stackables Lawn Cuts by Lawn Fawn.
Note: whenever I want a toner sheet to be die cut, I like to foil first, and then die cut second. This is because sometimes die cuts can cause indentations in your toner sheet that will be very difficult to foil afterward. If you foil first, you don’t have to worry!
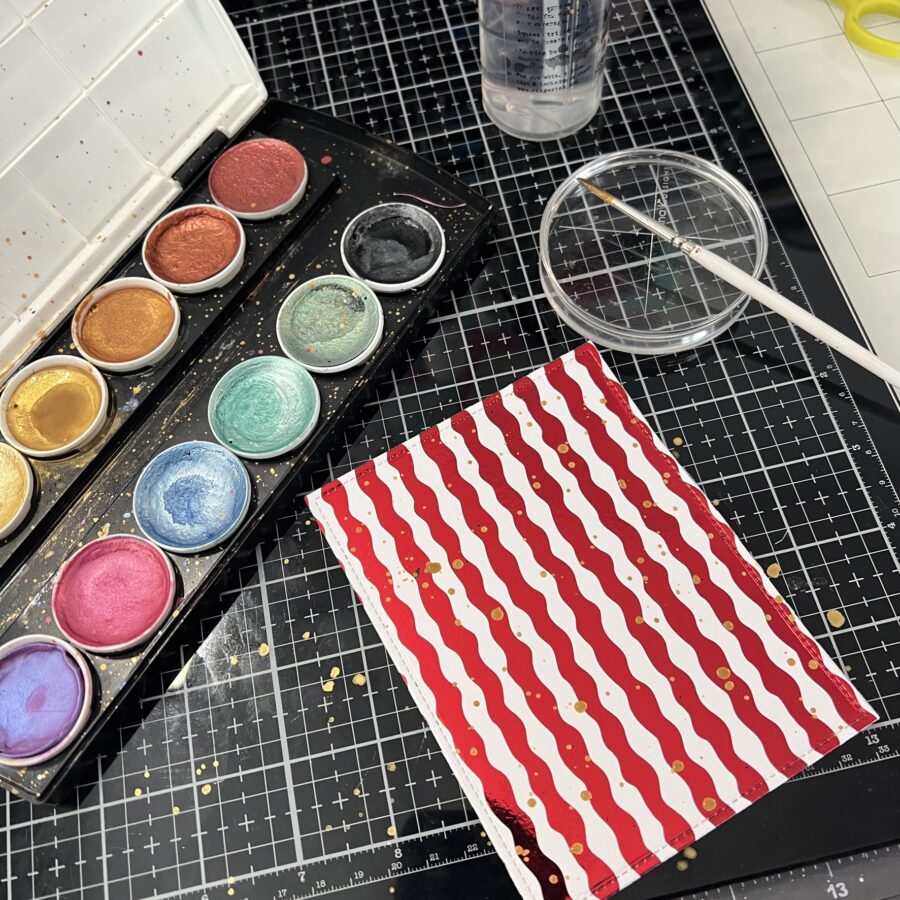
Next, using some Metallic Watercolor Accents, I splattered gold watercolor over my panel and set it aside to dry.
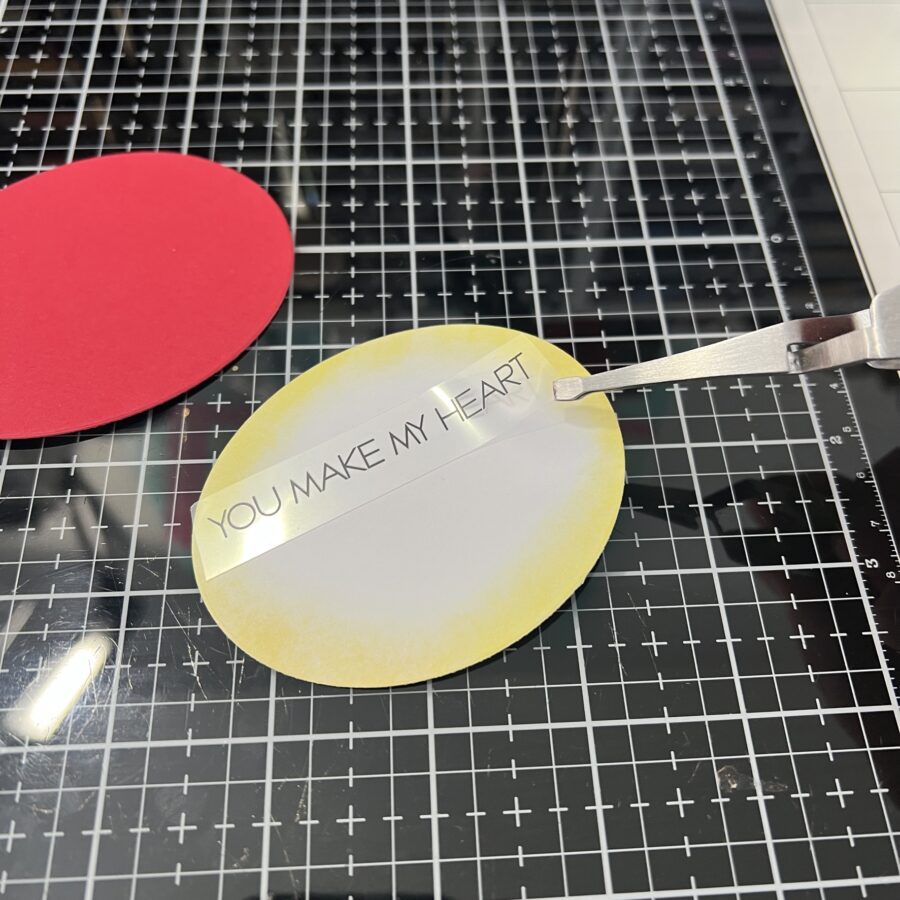
I then began working on my sentiment oval. I forgot to take a picture, but first, I distressed the edges of my white oval with Squeezed Lemonade Distress Ink. Then, as you can see in the image, I cut out the sentiment “You make my heart” from the Happy Everything Adhesive Transfer Designs set, placed it onto my oval, and processed it through my laminator.
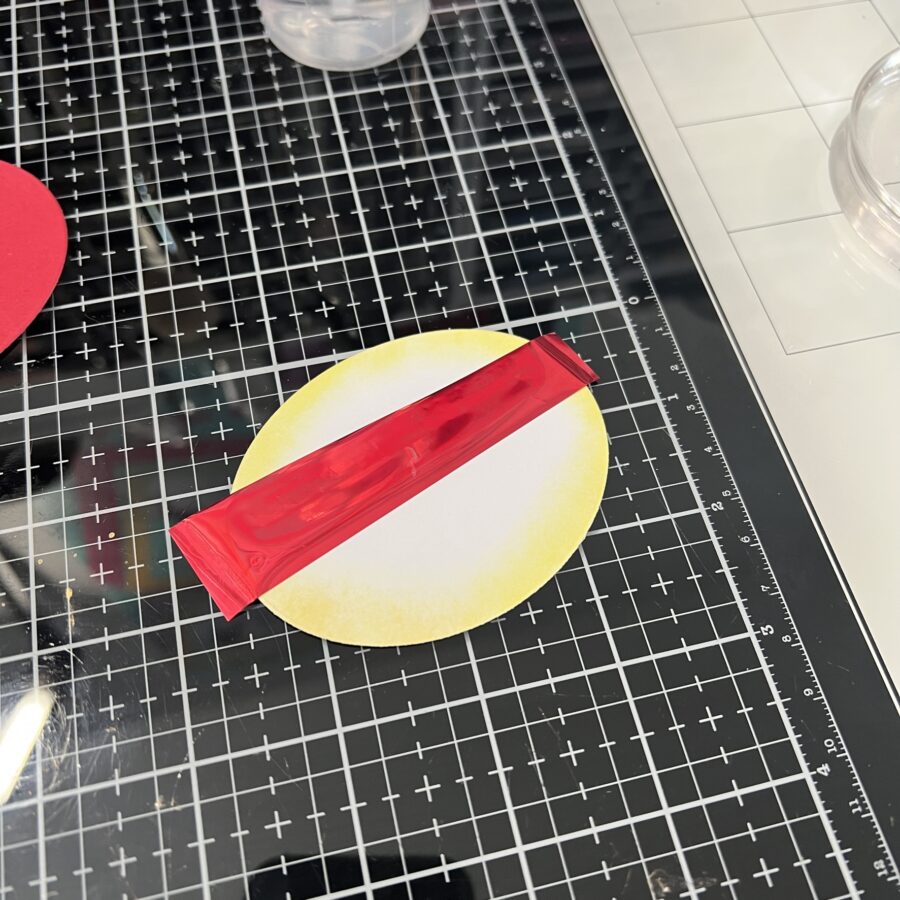
After removing the Adhesive Transfer Designs Acetate, I went ahead and placed a scrap bit of a Laura Kelly Wagon Red Foil Transfer Sheet on top of my sentiment. I went ahead and processed this through my laminator.
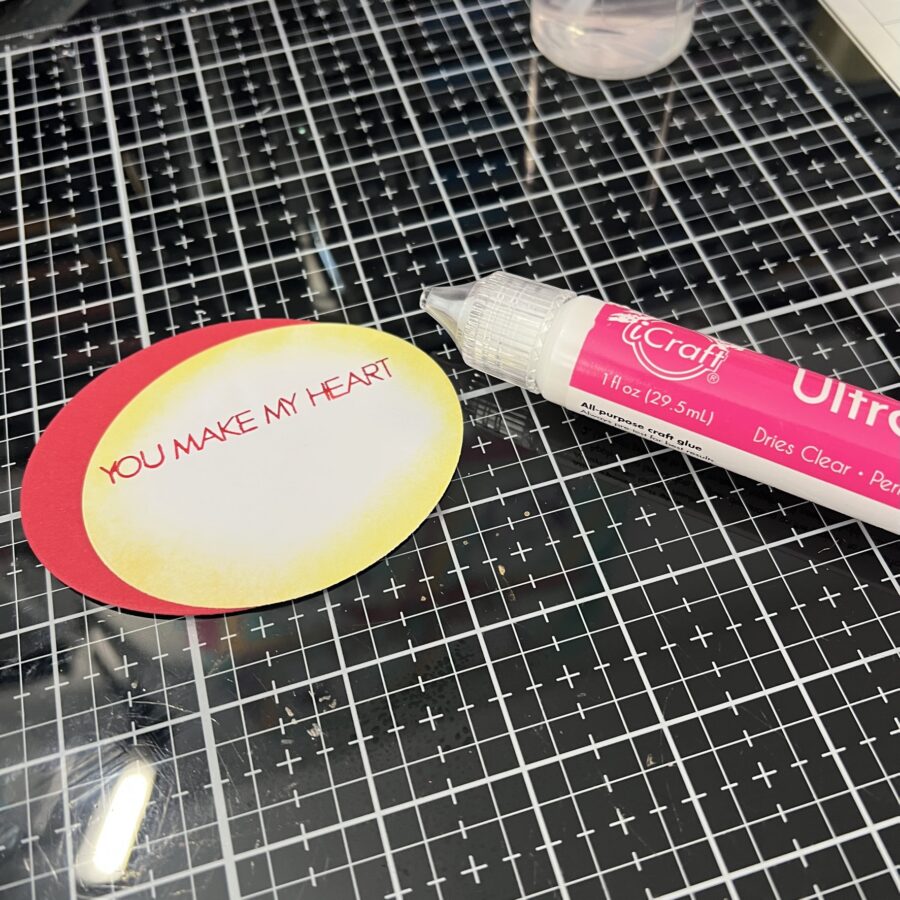
Once my sentiment was foiled, I went ahead and used UltraBond Liquid Adhesive to adhere the sentiment oval to my red oval.
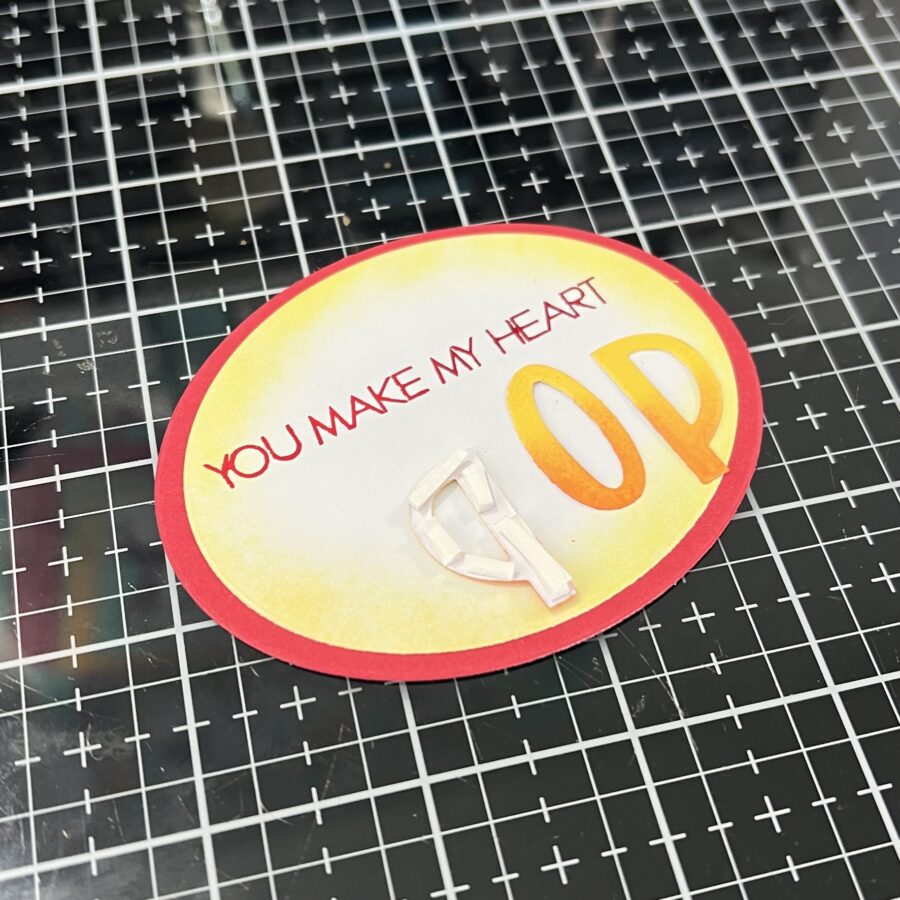
Using White 1/16″ iCraft 3D Foam Tape, I adhered my “POP” sentiment to my oval unit.
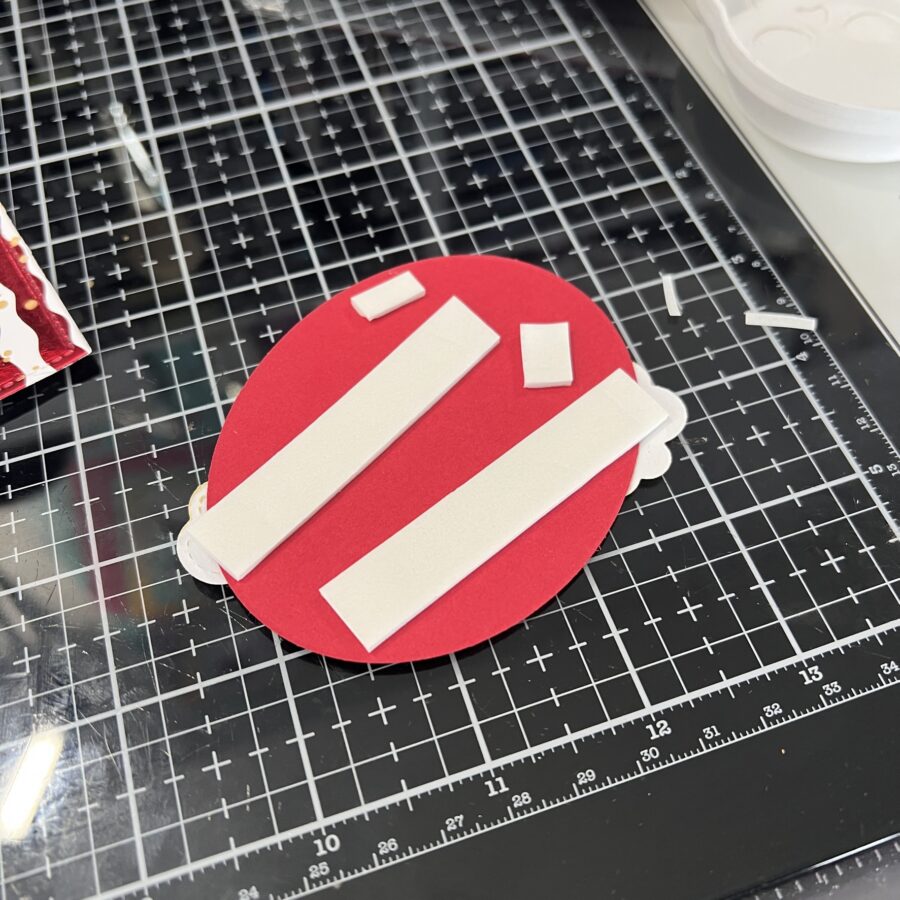
I added a couple popcorn bits to my oval sentiment unit using UltraBond Liquid Adhesive. Then, using more White 1/16″ iCraft 3D Foam Tape, I prepared my sentiment unit to be adhered to my card.
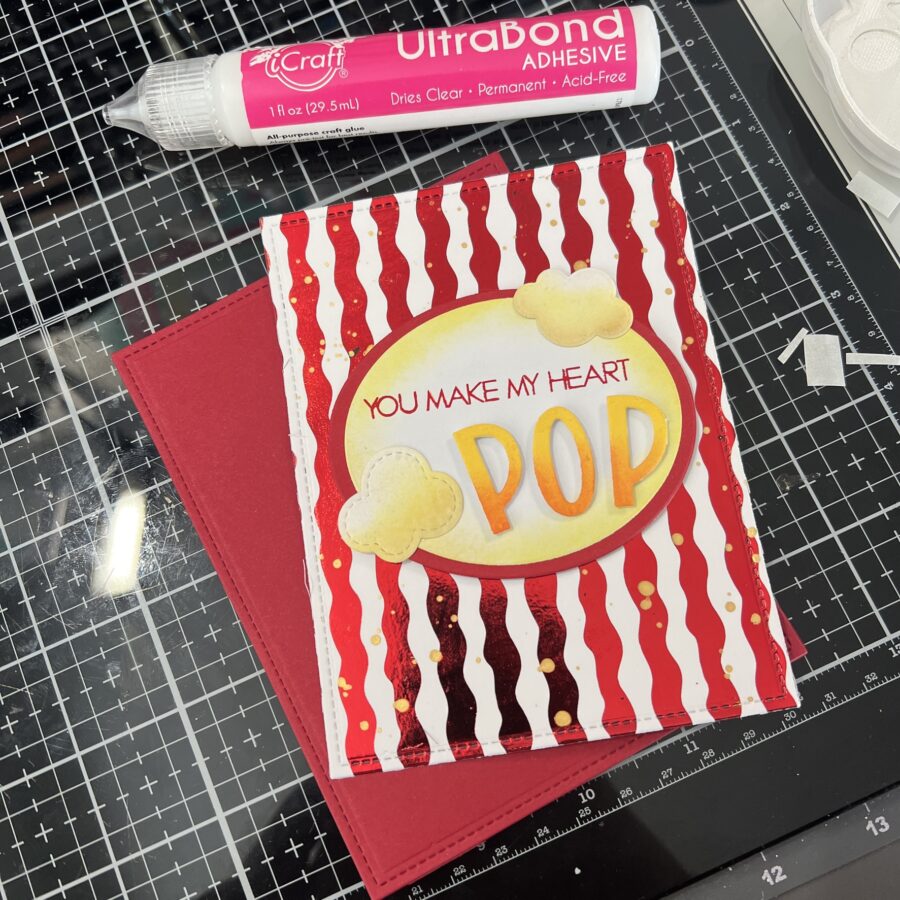
I adhered my sentiment unit onto my Wacky Waves Toner Sheet background and then used UltraBond Liquid Adhesive to adhere my toner sheet layer to my red cardstock layer.
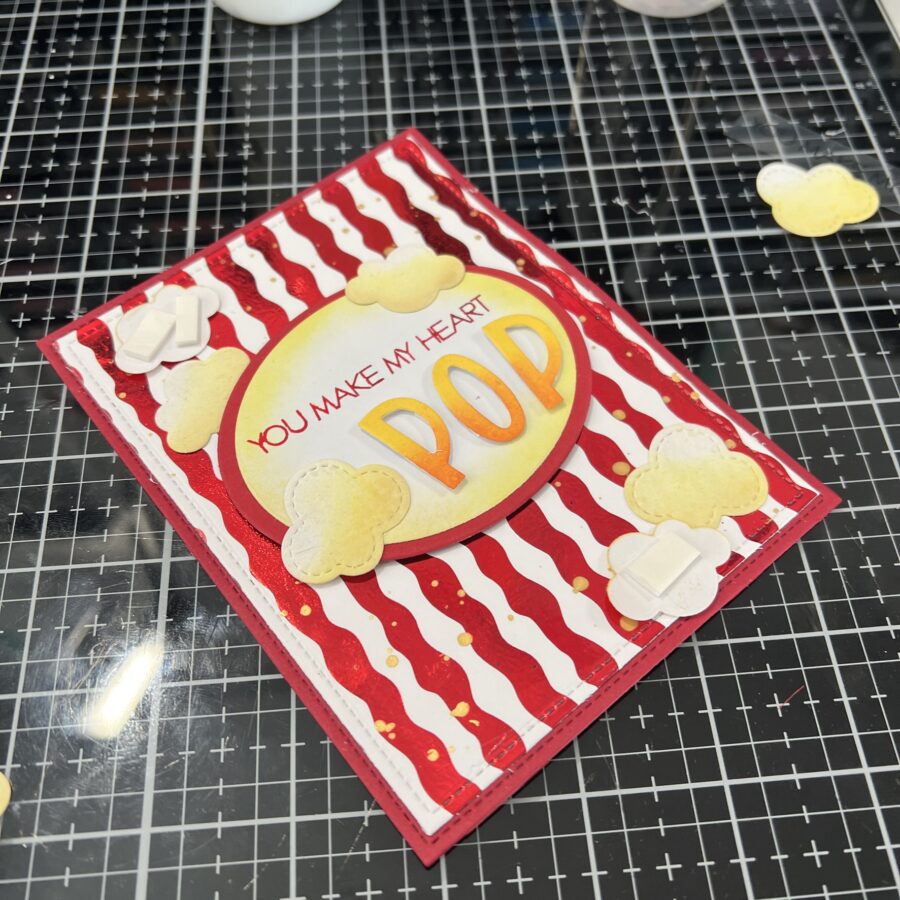
I finished off my card by adhering the rest of my popcorn bits using a combination of both White 1/16″ iCraft 3D Foam Tape & UltraBond Liquid Adhesive. I then adhered the entire panel to an A2-sized card base and was completed!
Below are a few more photos of the completed card!

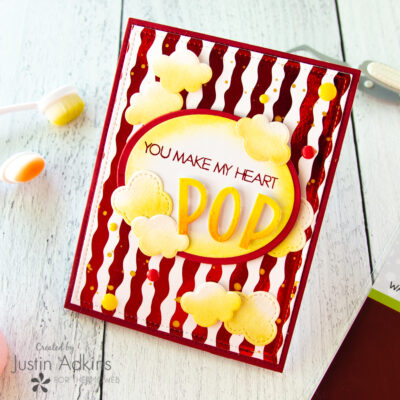
Thank you so much for stopping by the Therm O Web blog and celebrating our Carnival Theme Week with us! I hope this project “popped” some inspiration the next time you reach into your Foil and Flock stash to create a project!
Don’t forget that you can find me on Instagram and on my Personal Blog for more crafty Inspiration!
Thanks again, and happy crafting!
Justin

[…] designs you will find over on the Therm O Web blog created by one of their design team members Justin Adkins!Oh my goodness this makes my heart POP!!! Justin used a variety of Therm O Web products including […]
[…] see that over on the Therm O Net weblog created by certainly one of their design group members Justin Adkins!Oh my goodness this makes my coronary heart POP!!! Justin used a wide range of Therm O Net […]