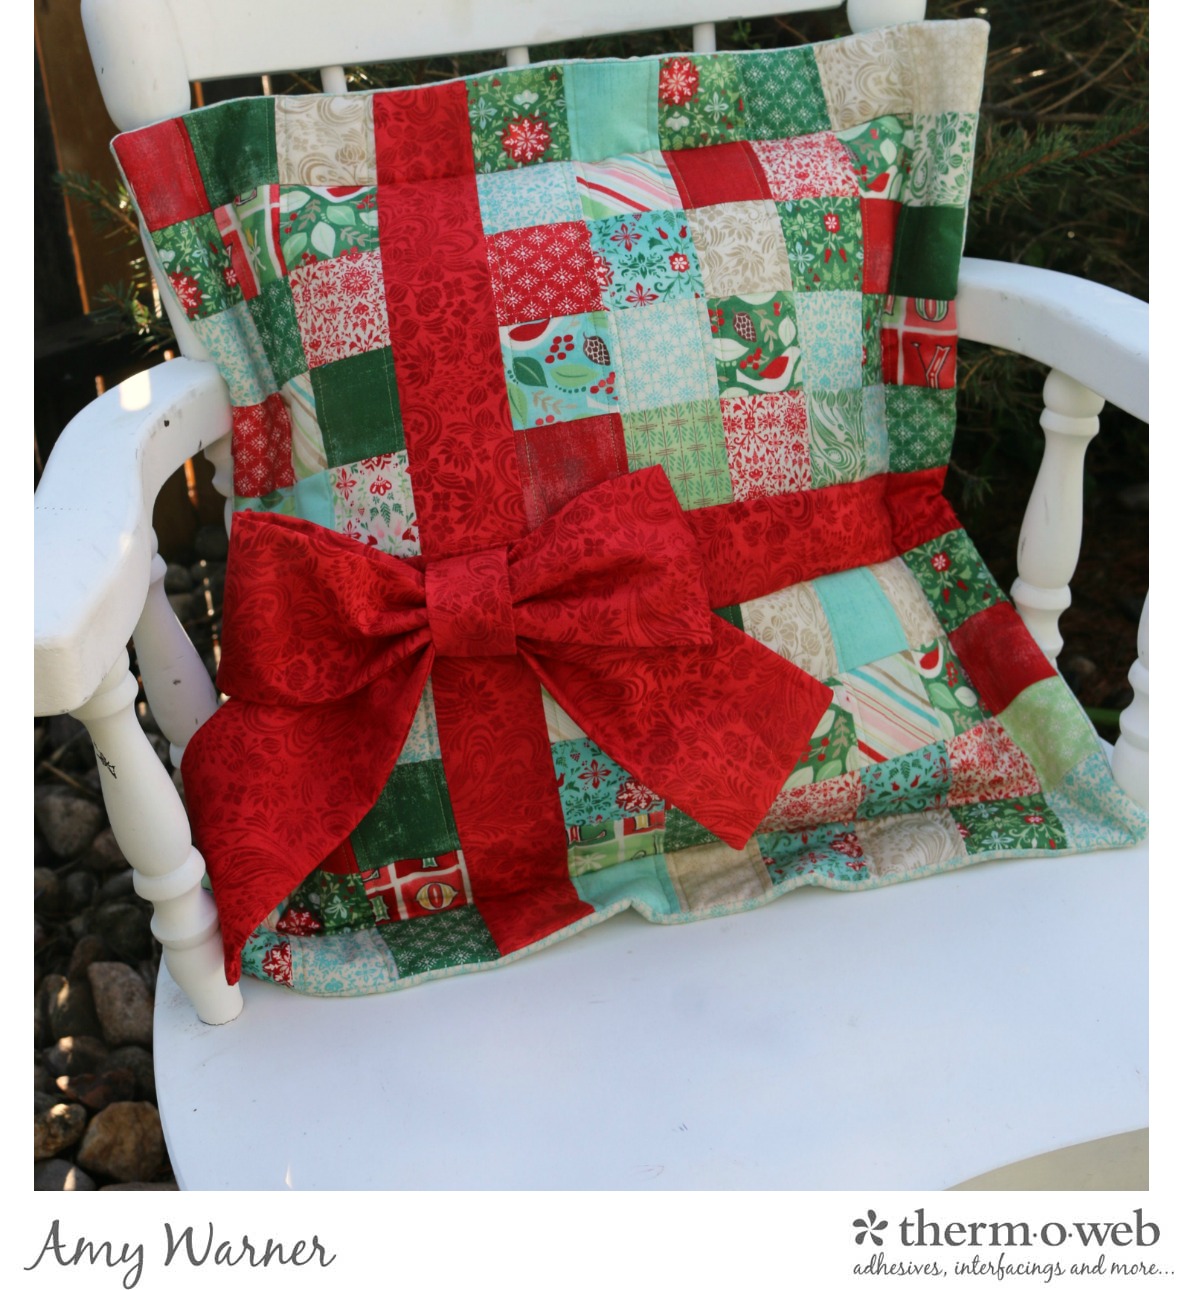
Wrap Up the Perfect Christmas Present Pillow
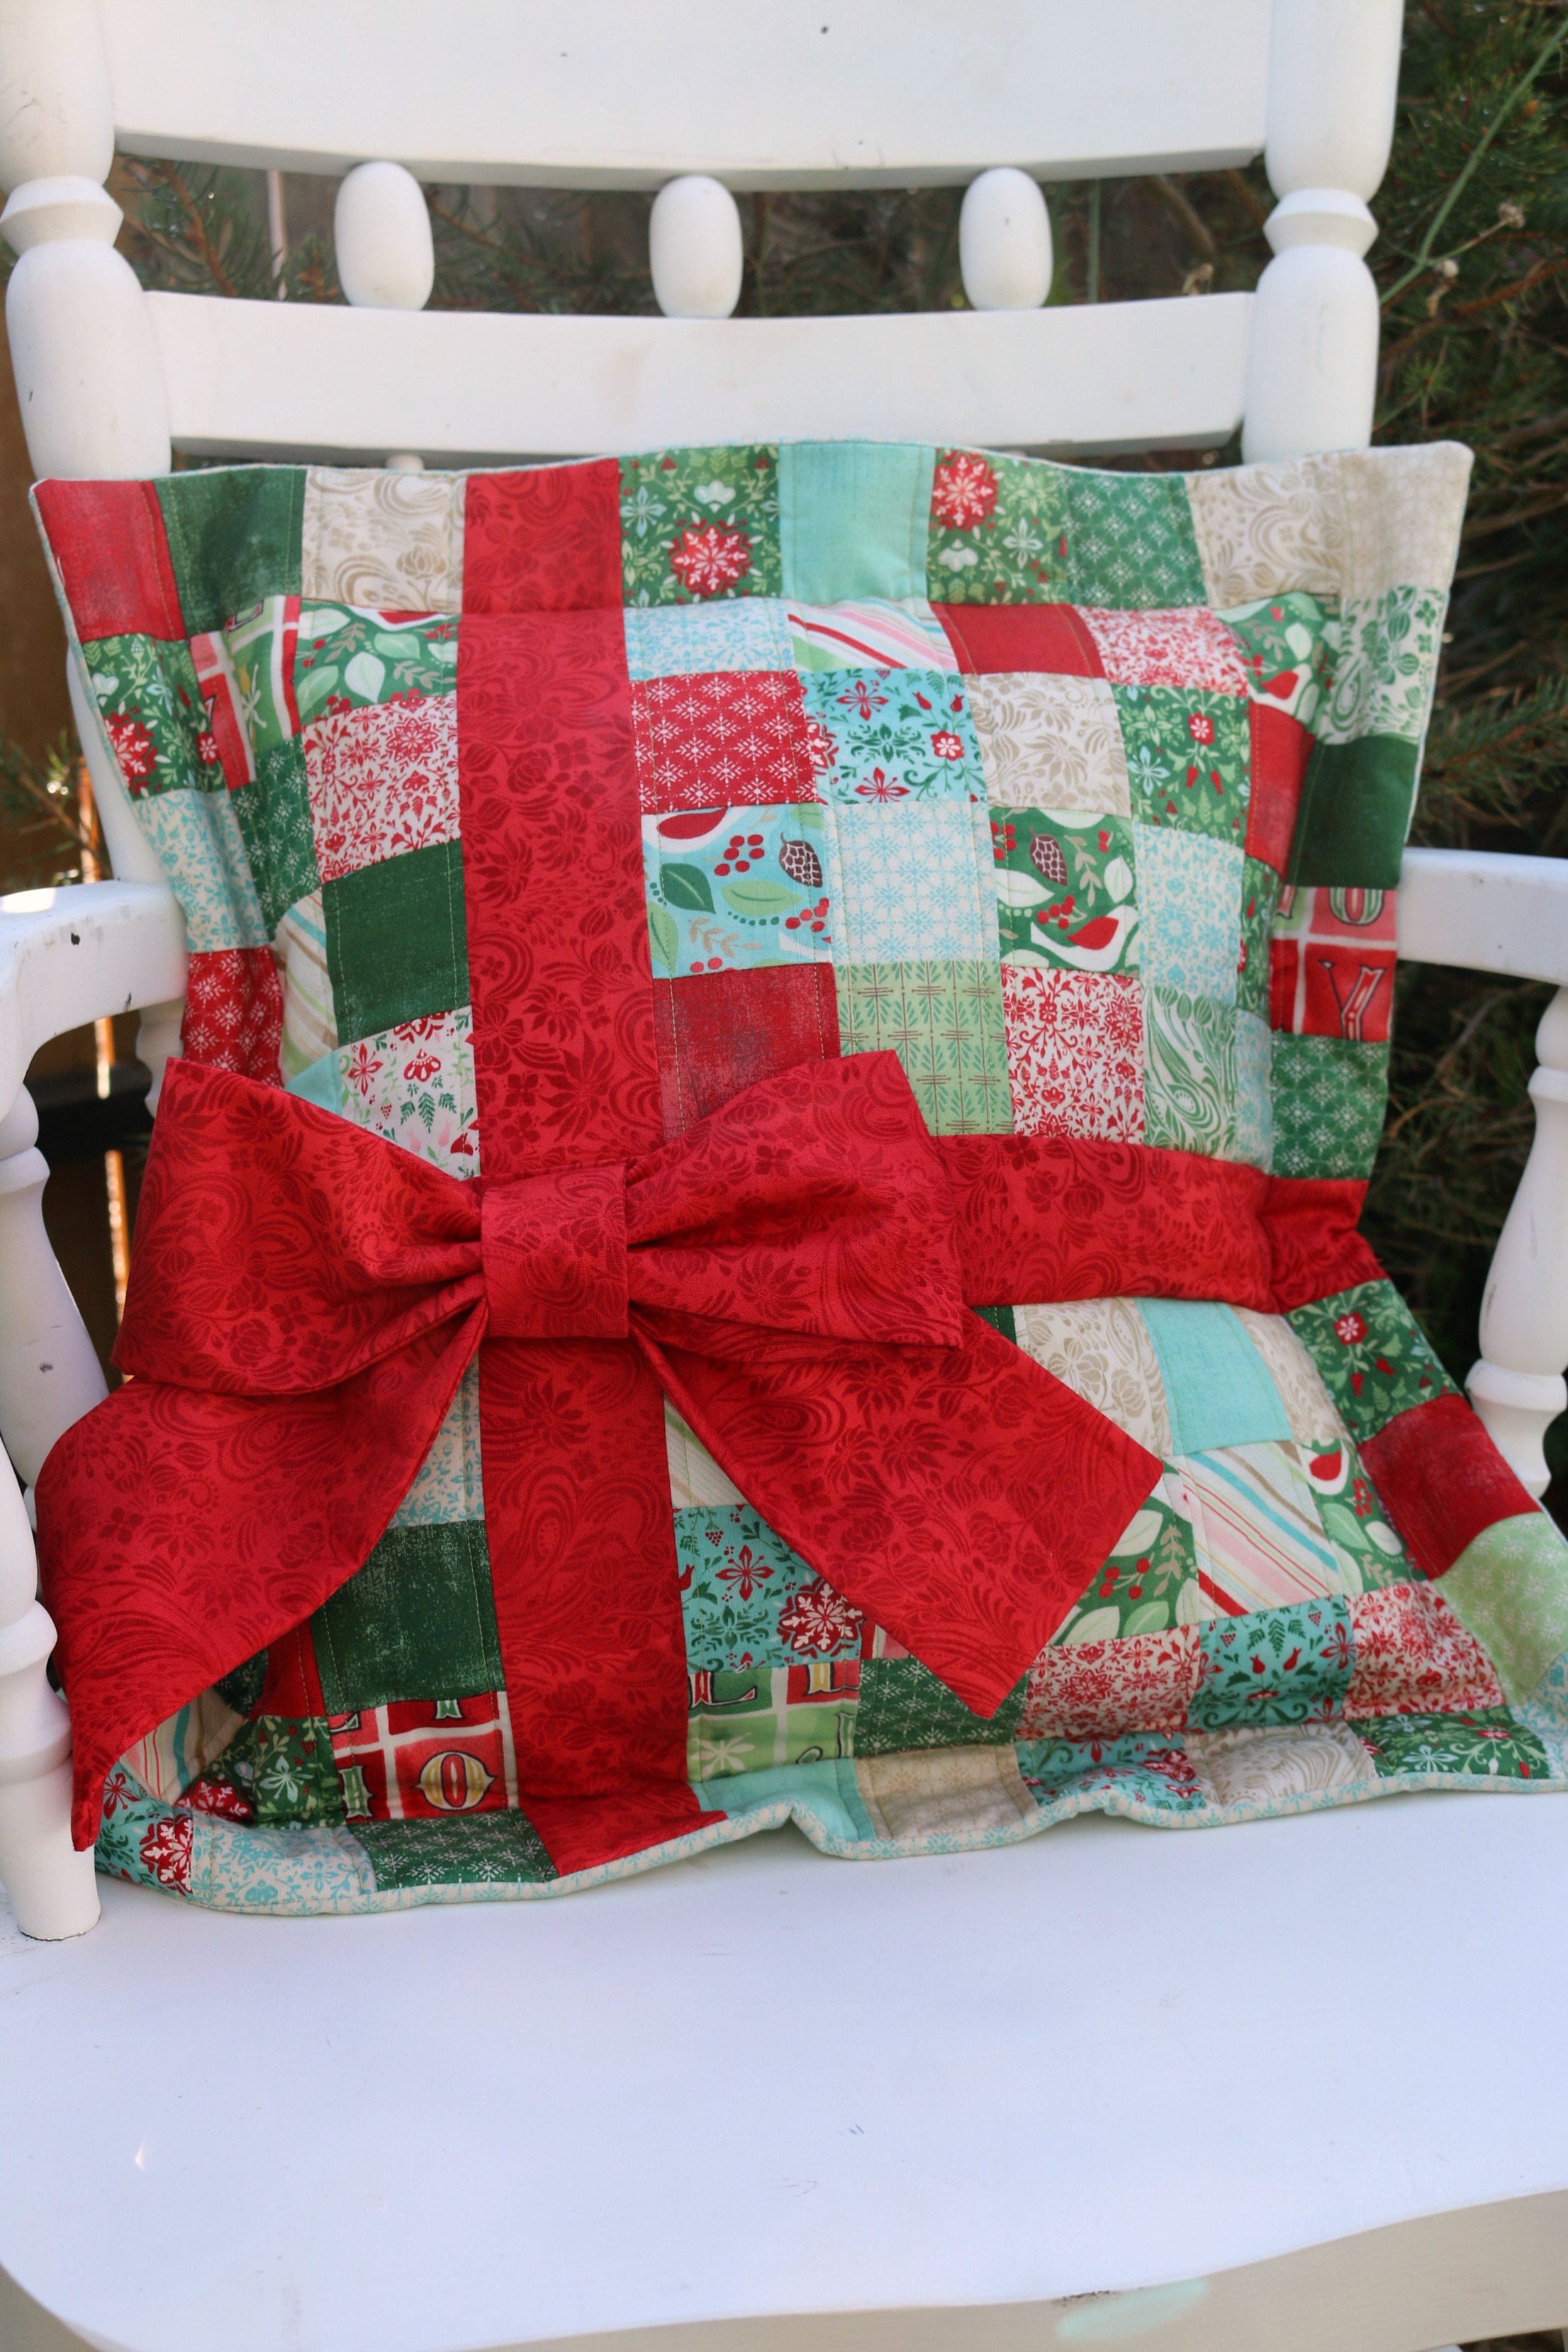
For most of us that quilt, we have a spare charm pack or scraps of a favorite Christmas fabric line. Why not put them to good use, and create a present pillow to adorn your sofa during the holidays. Amy of Sew Incredibly Crazy, here to show you just how easy it is to create a Christmas Present Pillow.
Christmas Pillow Present Supplies:
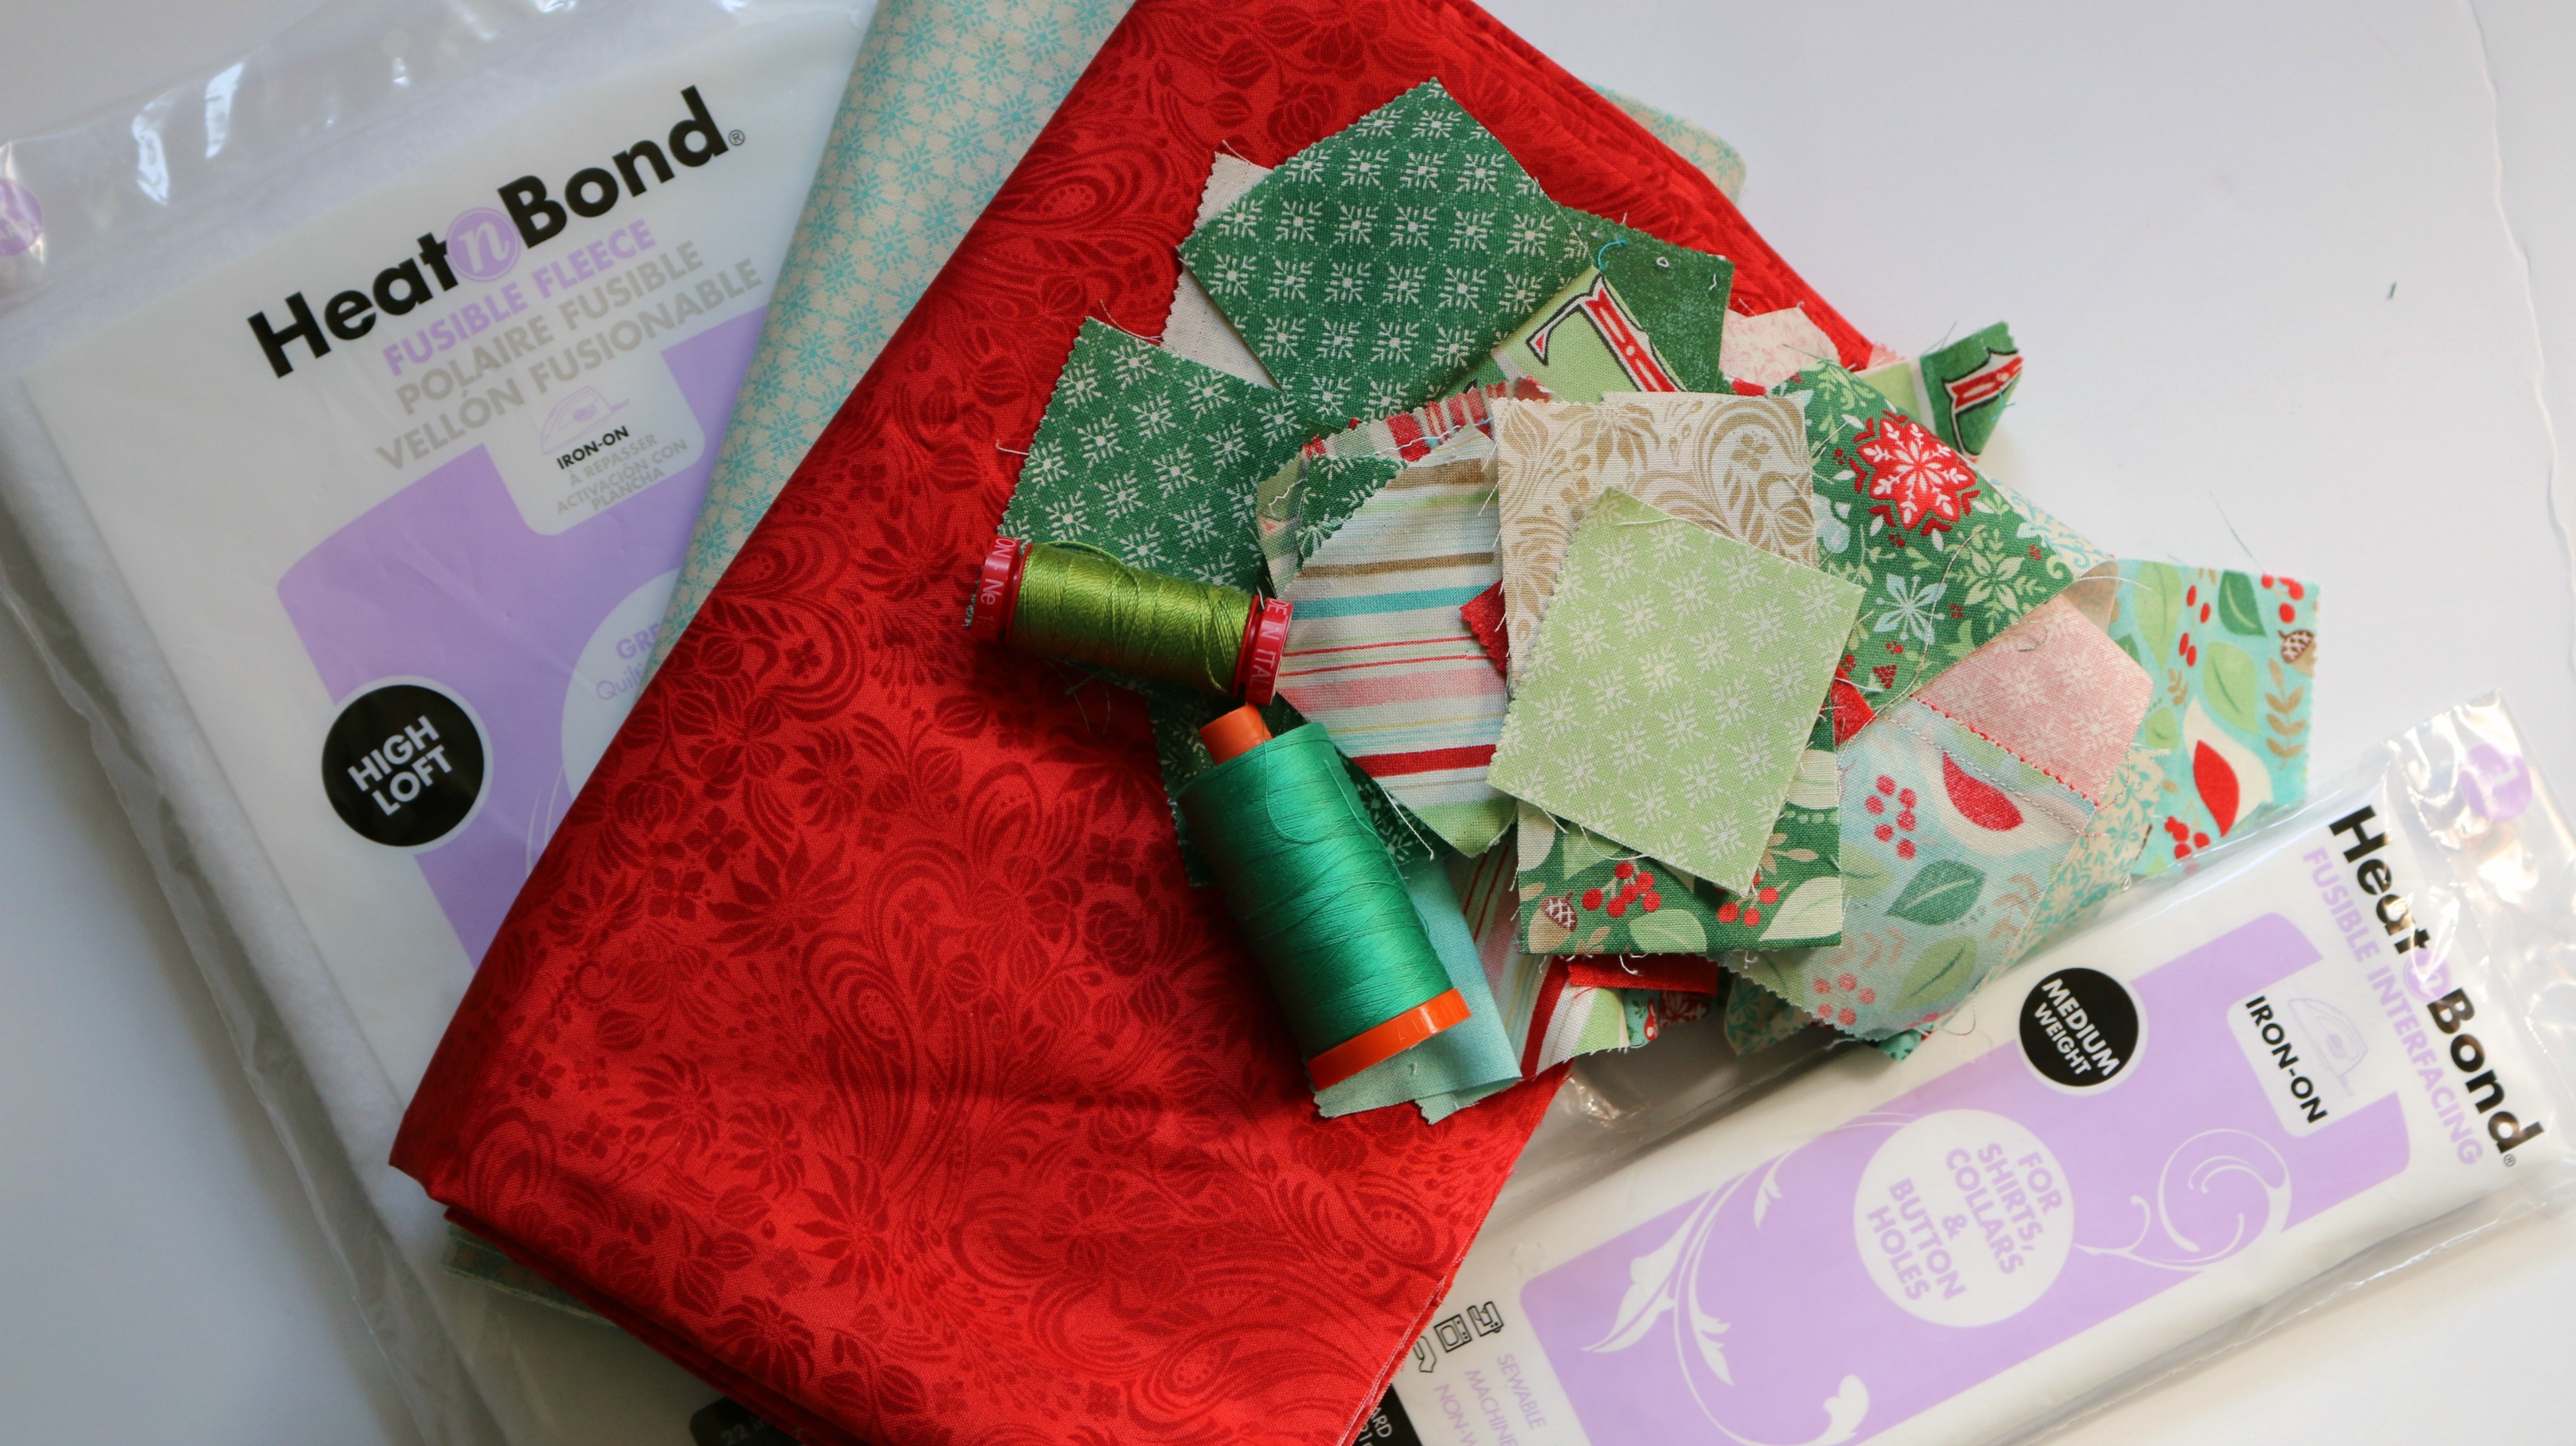
81 – 2 1/2″ squares – you can either pick up 2 mini charm packs or one regular one and cut them to size
1/2 yard fabric for back
1/3 yard red for bow
HeatnBond® Fleece Fusible High Loft
HeatnBond® Fusible Interfacing Medium Weight
Aurifil Thread: 2865
16″ pillow insert
Cutting instructions:
From the red fabric:
Ribbon around present
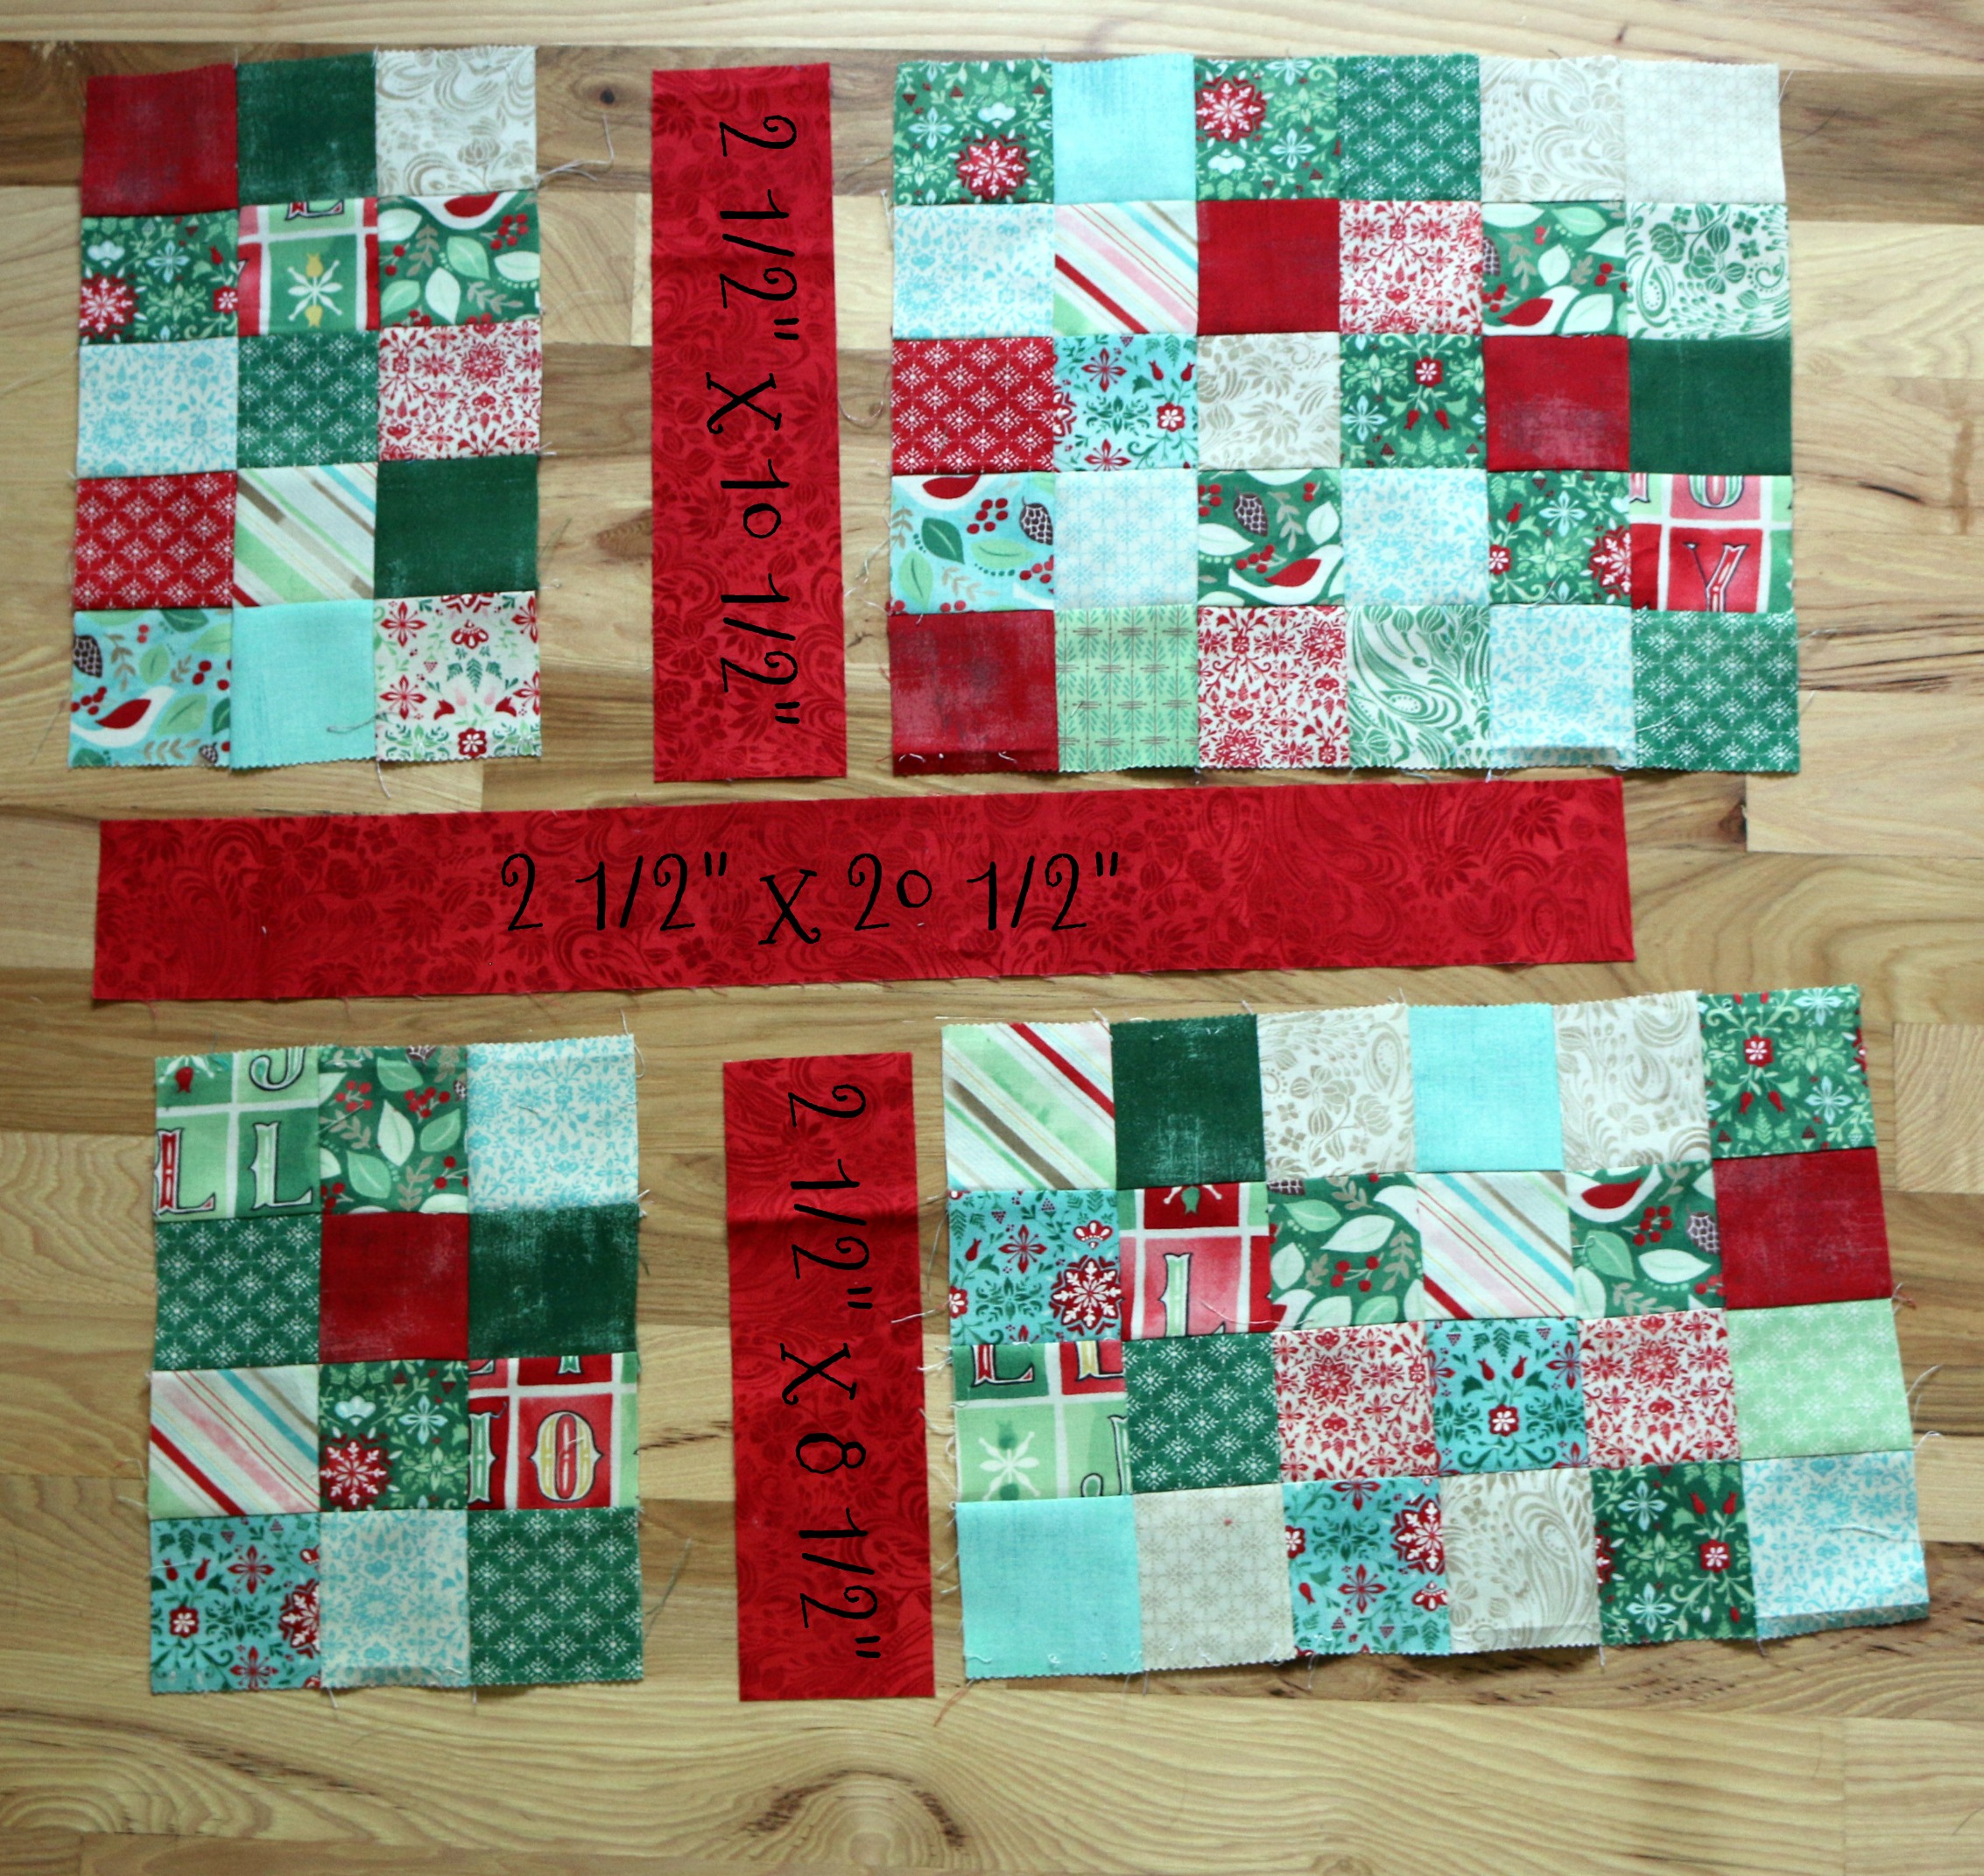
1 – 2 1/2″ x 10 1/2″
1 – 2 1/2″ x 8 1/2″
1 – 2 1/2″ x 20 1/2″
For the bow
1 – 7 1/2″ x 36″
1 – 7 1/2″ x 4″
From various Christmas fabrics:
81 – 2 1/2″ squares
Christmas Pillow Present Assembly Instructions:
Step 1:
Sew your 2 1/2″ squares as shown in the picture above.
Step 2:
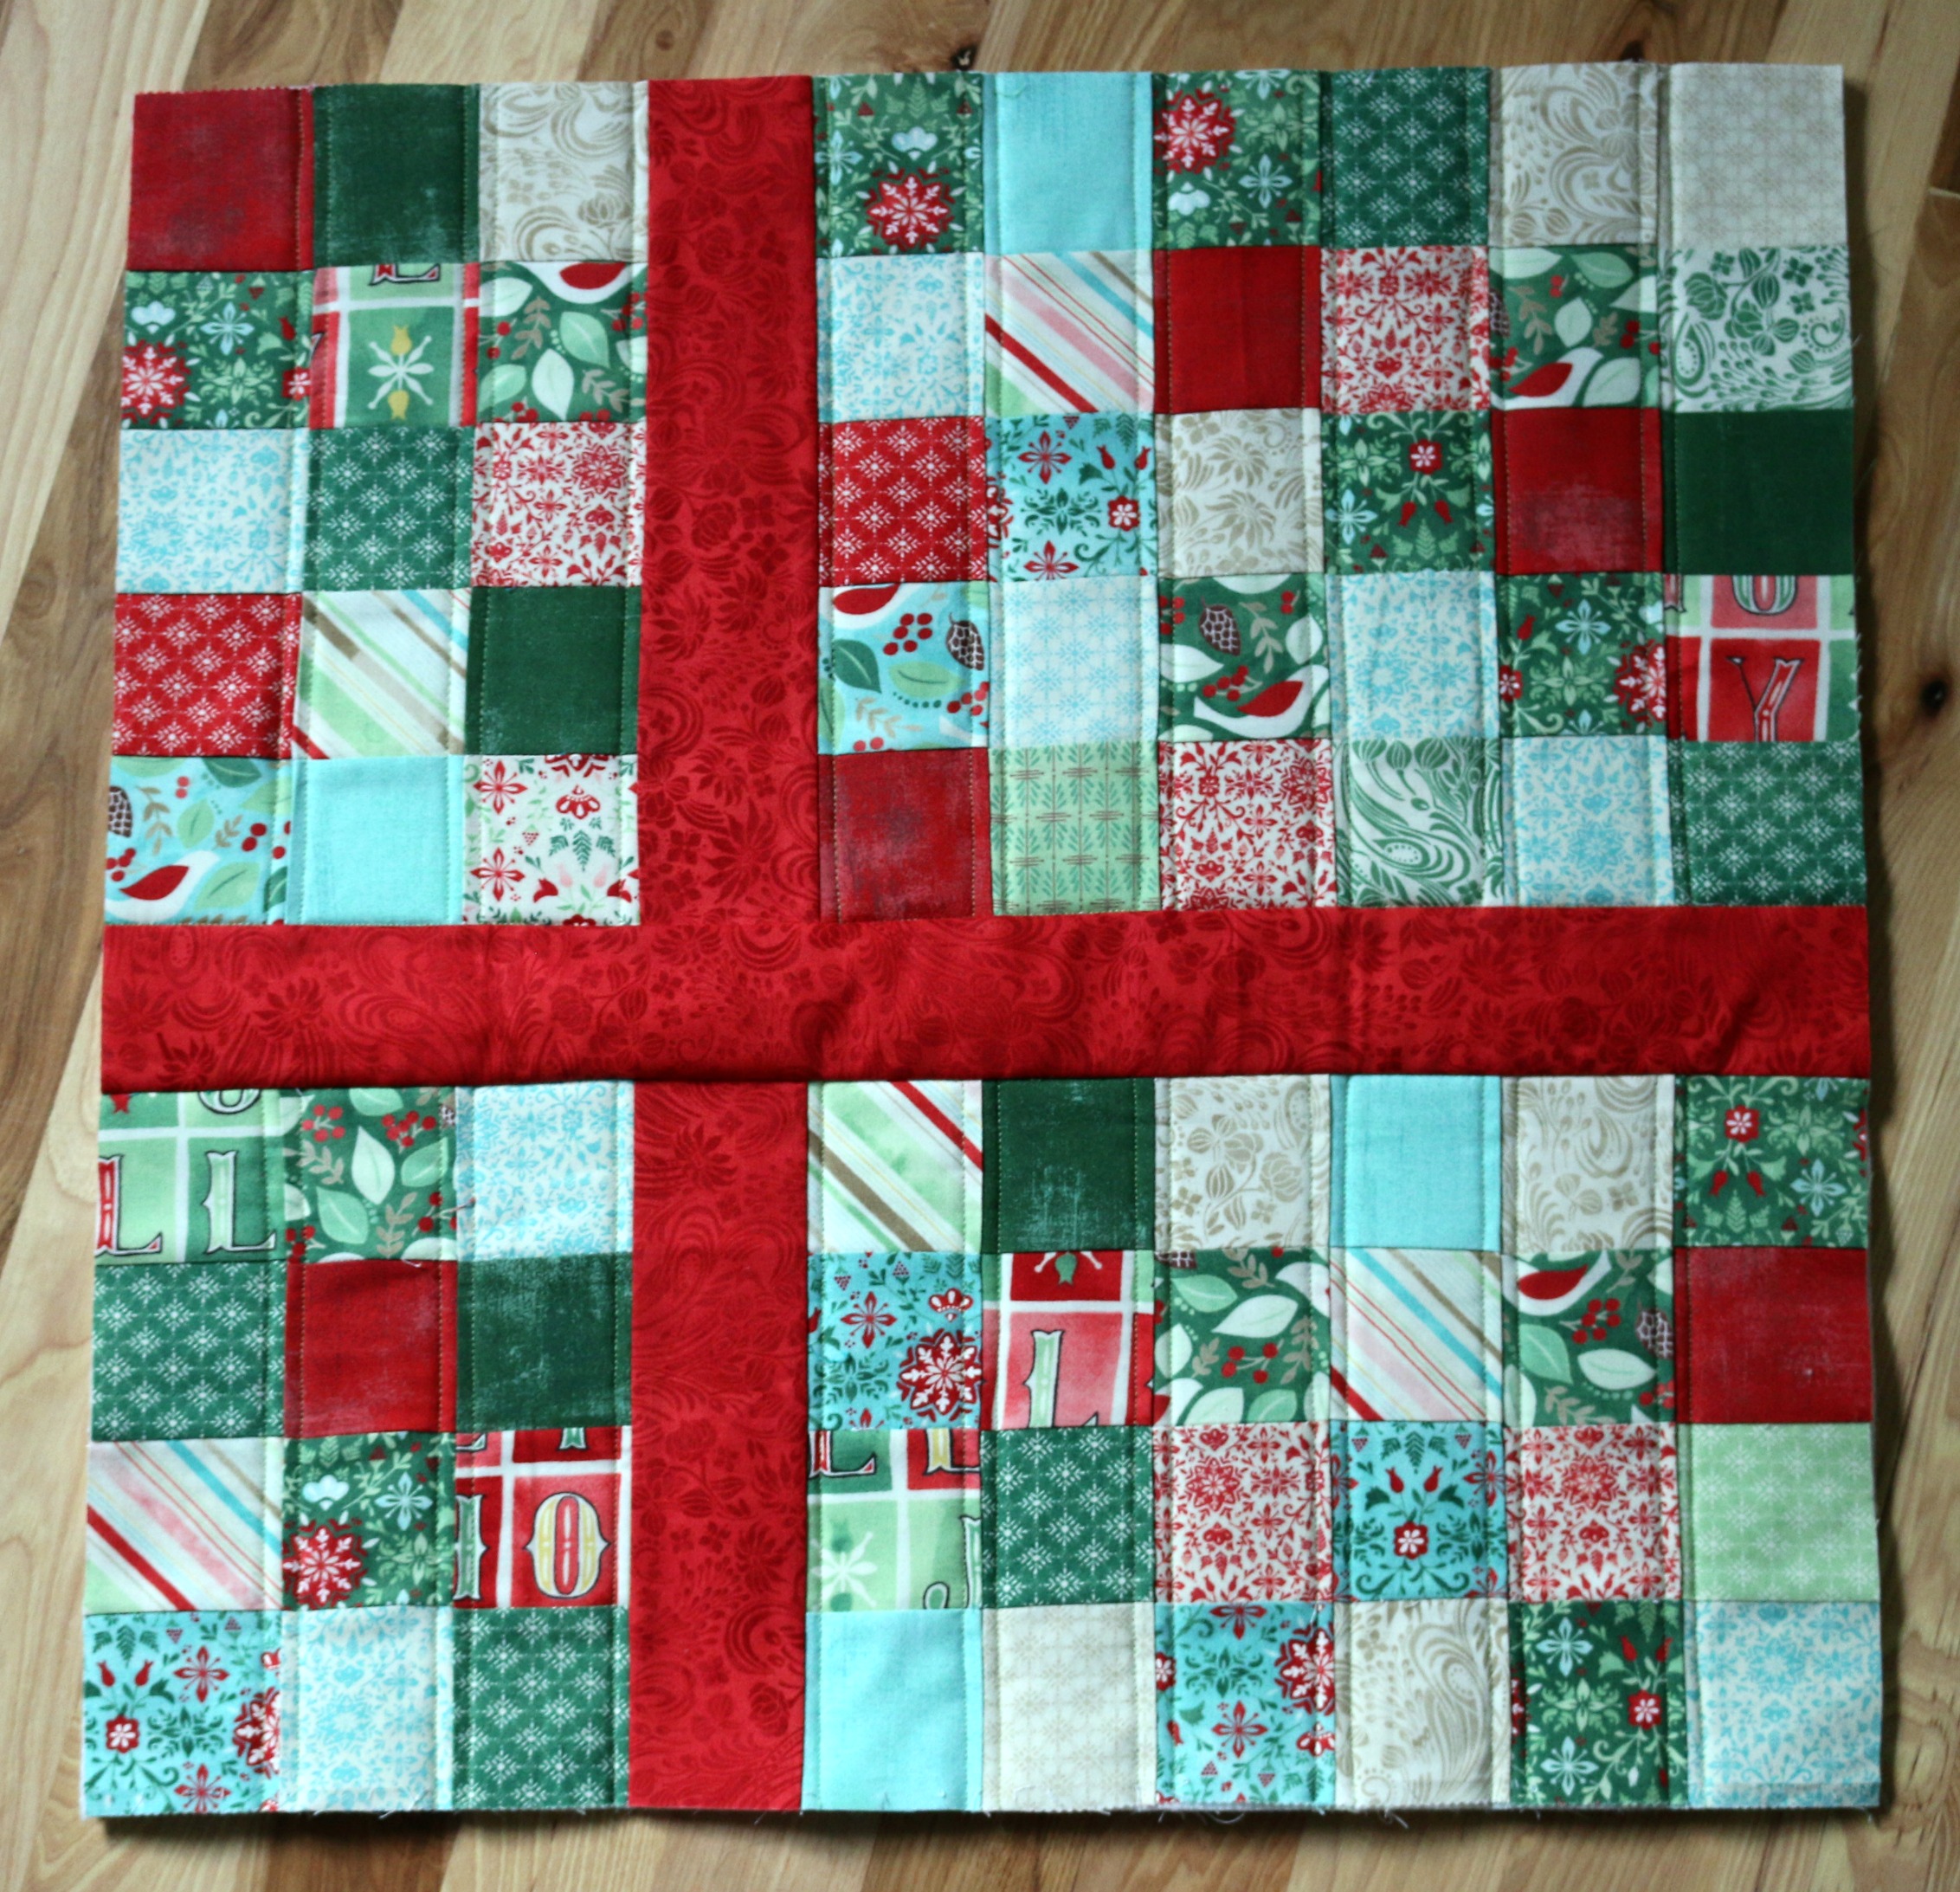
Sew the 2 1/2″ by 8 1/2″ red piece between the 2 1/2″ squares. Press towards the red.
Step 3:
Repeat Step 2 with the 2 1/2″ x 10 1/2″ red piece. Press towards the red.
Step 4:
Repeat Step 2 with the 2 1/2″ x 20 1/2″ red piece. Press towards the red.
Step 5:
Iron your Fusible Fleece to the back of your present block.
Step 6:
Quilt as desired. This was done with a straight stitch using Aurifil color –
Step 7:
Prepare the bow. Iron a 7 1/2″ x 36″ piece of the HeatnBond Fusible Interfacing Medium Weight to the wrong side of your bow.
Step 8:
Repeat with the 7 1/2″ x 4″ rectangle.
Step 9:
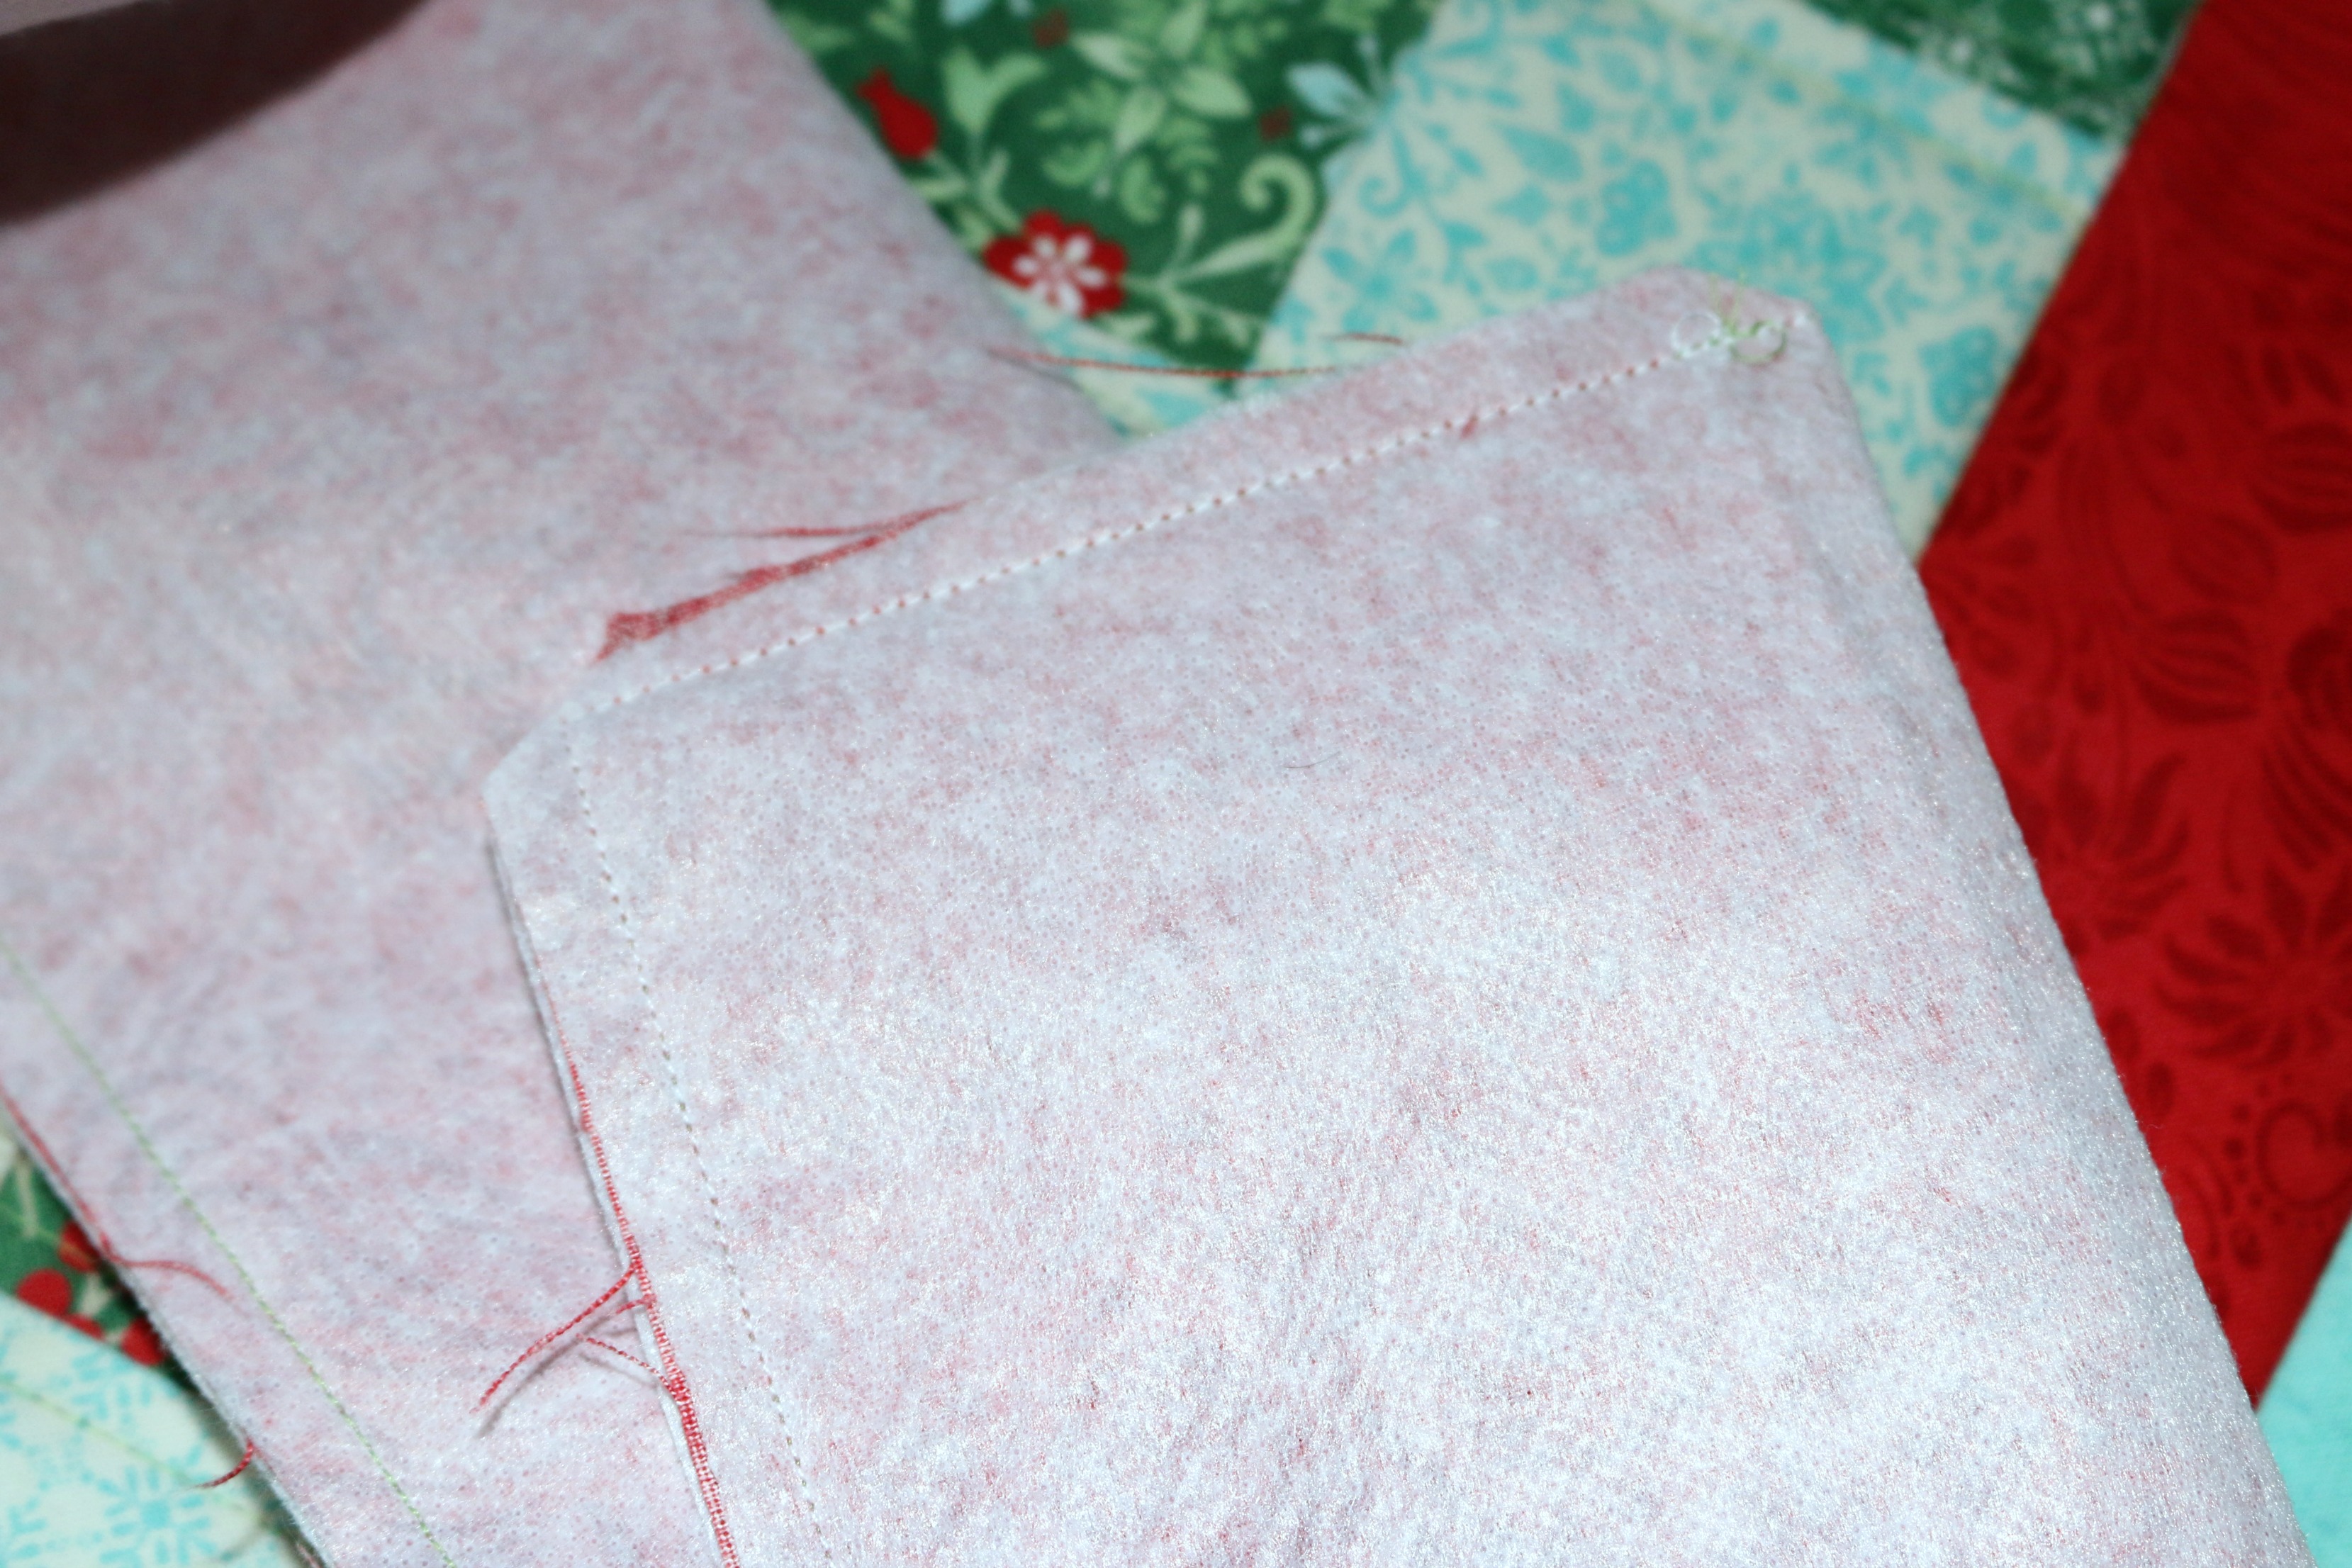
Fold the 7 1/2″ x 36″ piece long ways and stitch along a short side and the long side, leaving the end open to turn. Repeat with the smaller rectangle. Clip the ends.
Step 10:
Turn right side out. Hand stitch the opening of the bow closed. The smaller piece can be sewn shut with your sewing machine.
Step 11:
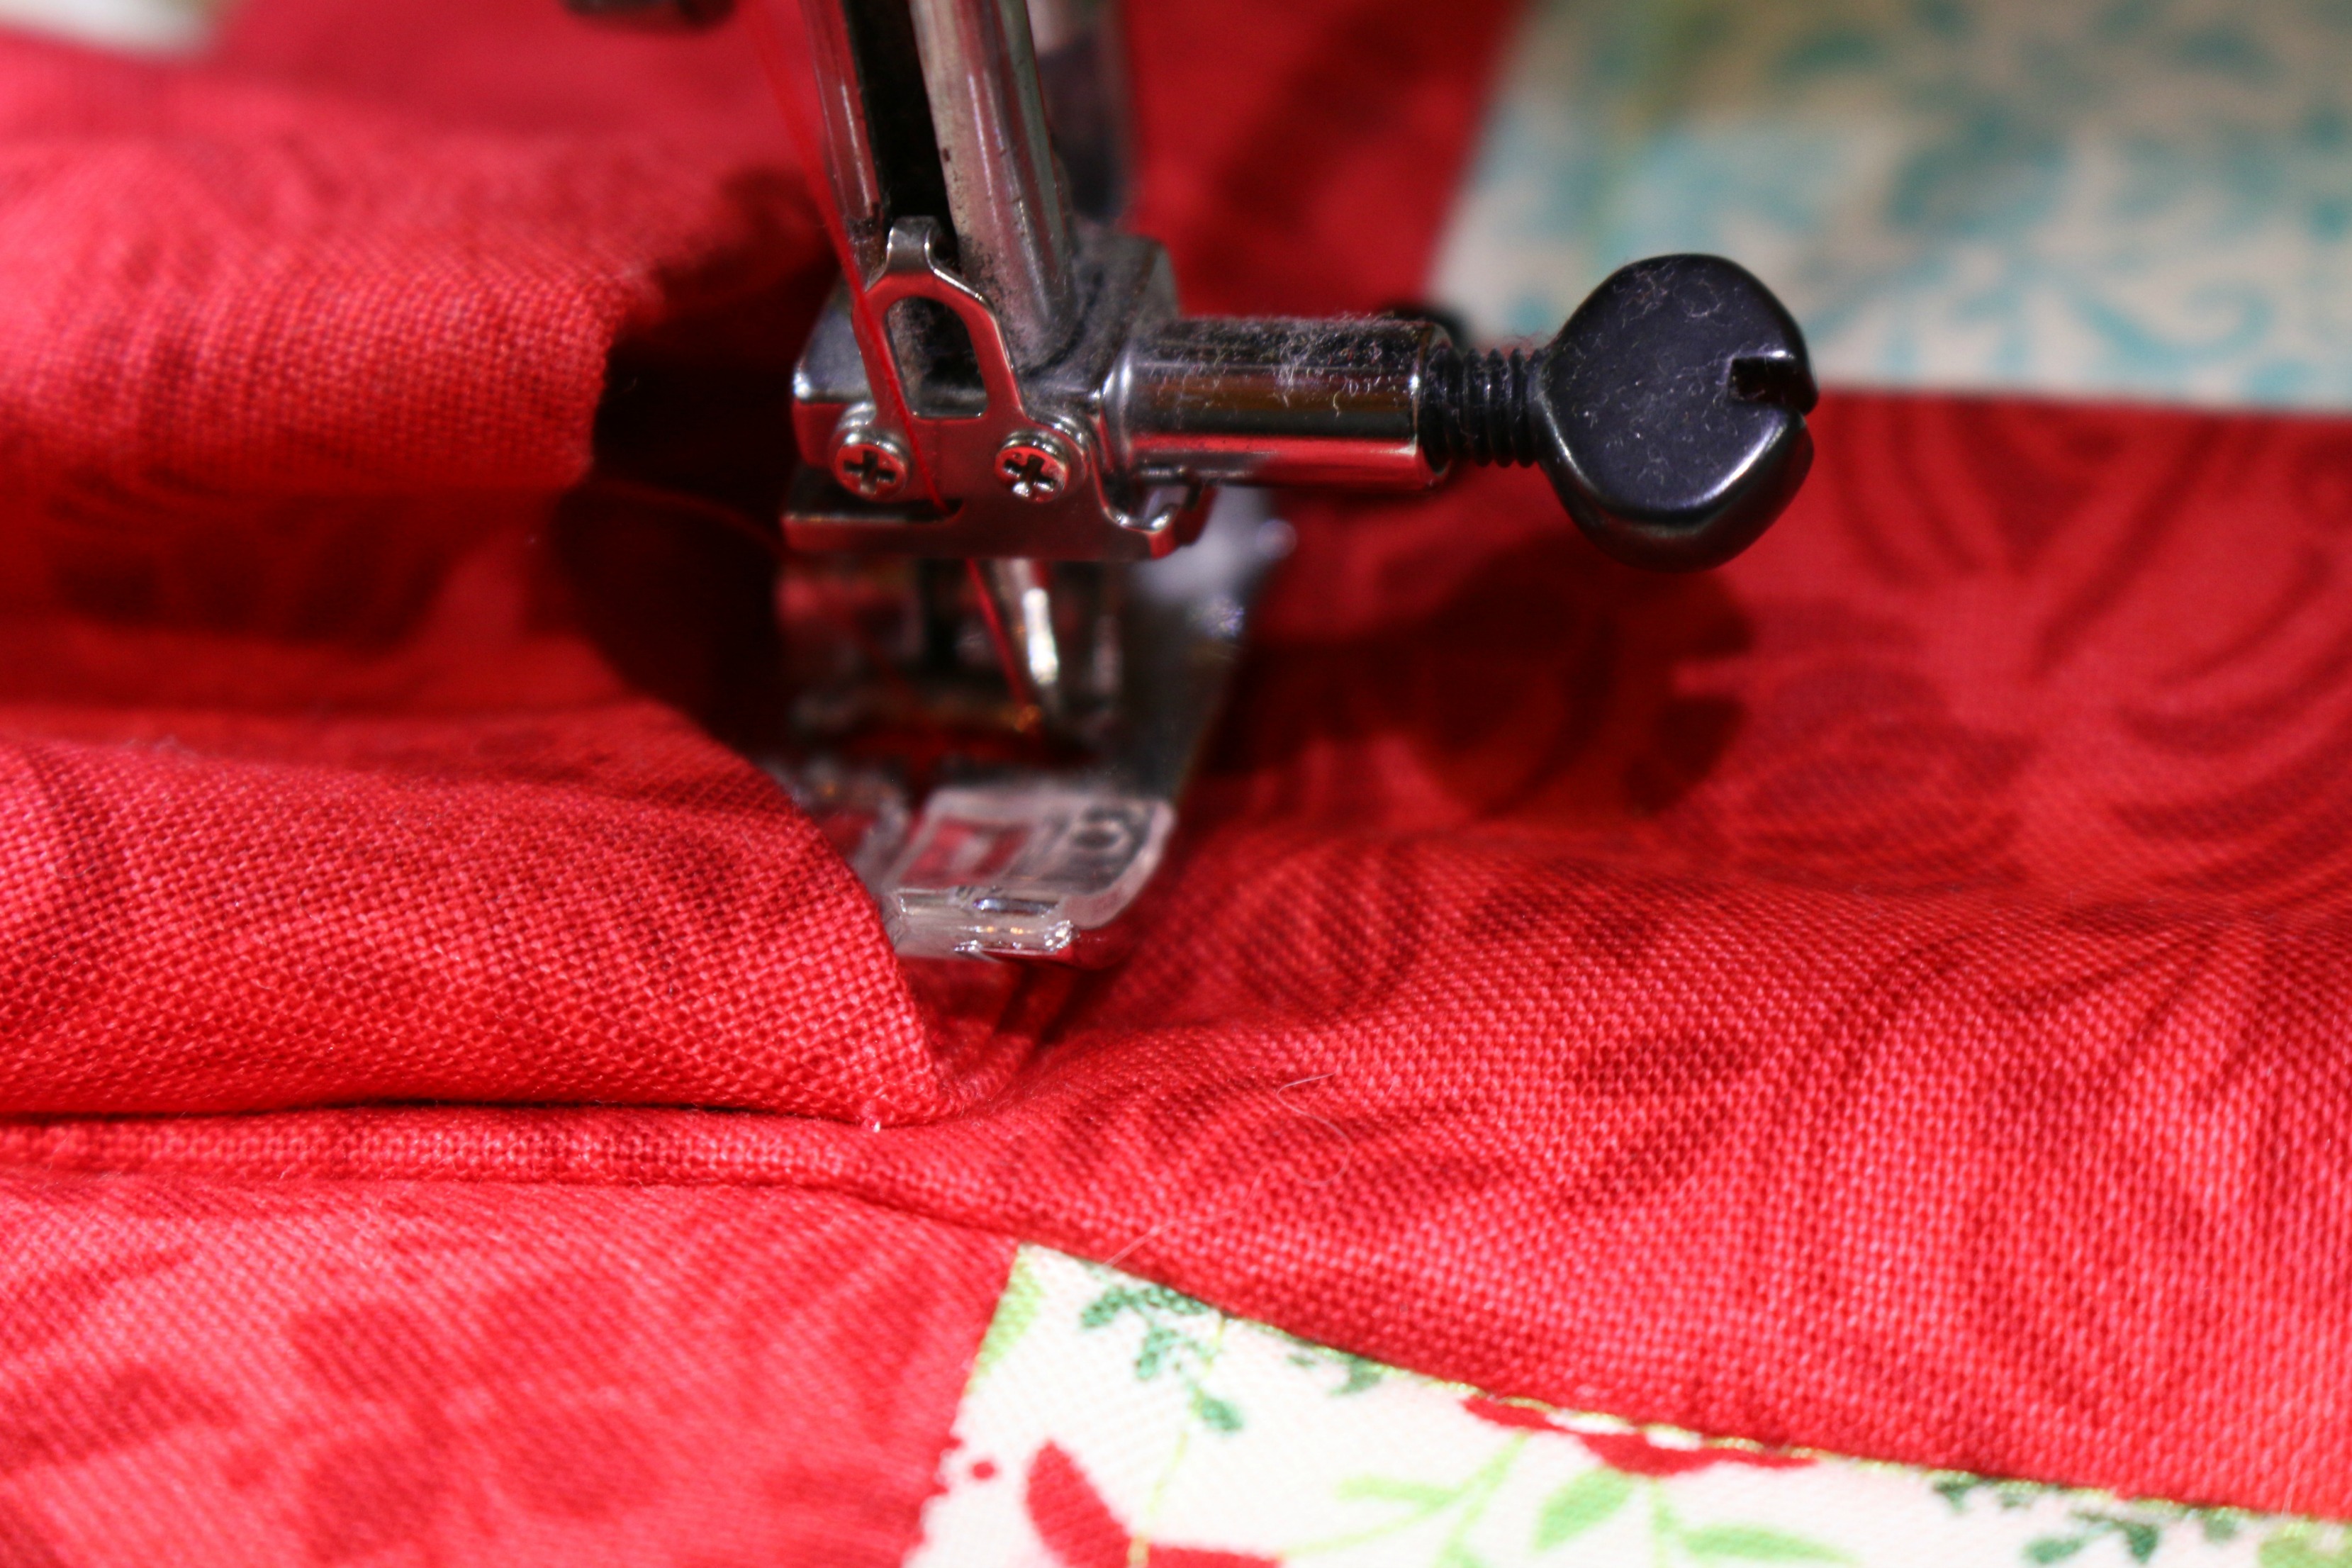
Fold the smaller rectangle over onto itself and sew it in the center where the red fabrics intersect. Sew on each side of the bow center.
Step 12:
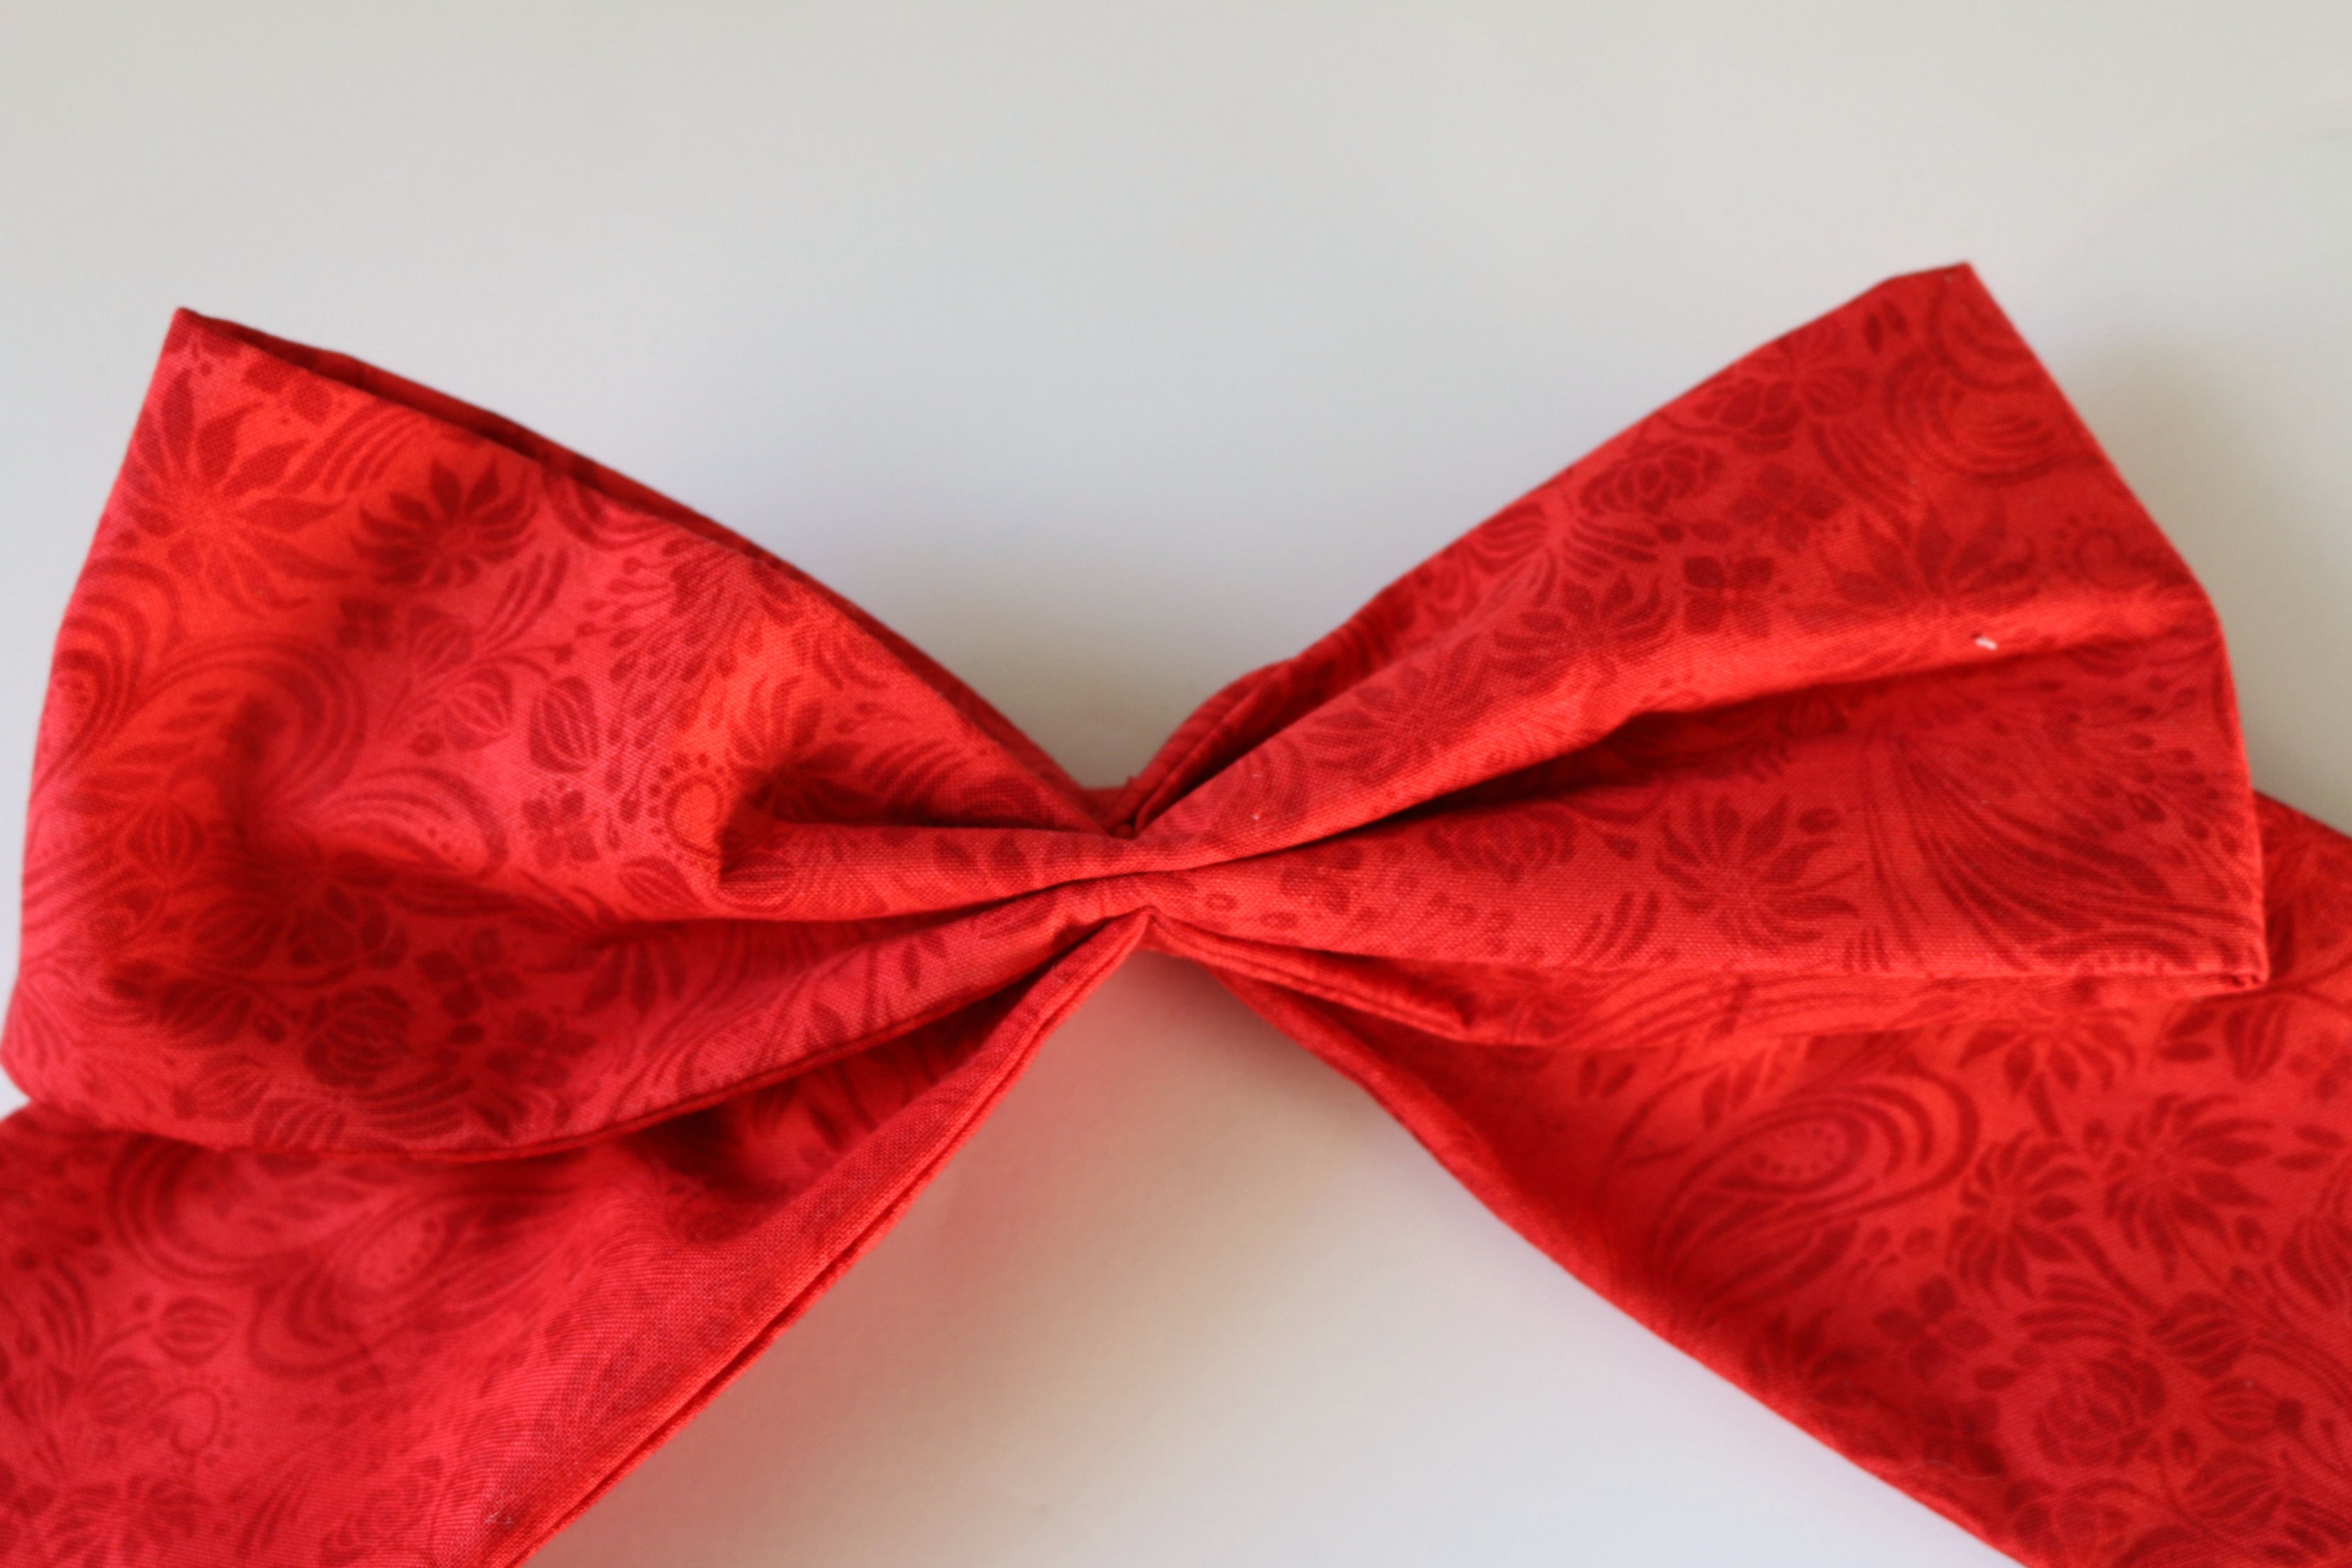
Take the longbow piece, fold it to make a bow. Hand sew the bow. It might require a thimble to push the needle through.
Step 13:
Finish the back of the pillow. This one is completed with an envelope back.
Step 14:
Topstitch in the ditch around the last set of squares.
Step 15:
Insert the bow through the center. If desired, hand stitch the bow onto the pillow front.
Make a couple so that you have a whole stack of presents on your couch.

We’ve been celebrating Christmas in September and have a few giveaways for you to enter….here’s where you can go enter to win:
National Sewing Month Giveaway
2 Comments on Wrap Up the Perfect Christmas Present Pillow
1Pingbacks & Trackbacks on Wrap Up the Perfect Christmas Present Pillow
-
[…] the bow. Refer to this POST to get the instructions to the […]

Edith Gorzo
September 21, 2017 at 2:58 pm (8 years ago)Love your pillow. Have to add it to my to do list. Hopefully get it done before Christmas. LOL